The Nintendo Switch is both a handheld console and a home console, which means it can be hooked up to your TV, just like a PS5. But how easy is it to connect up to your gaming TV when you've become so used to holding it to play games?
The hybrid console is specially designed to be played in a number of ways. There’s handheld mode, where you play with the controllers attached to the side of the Switch’s display.
There’s also tabletop mode, where you lean the Switch on its kickstand and detach the controllers for solo or group play.
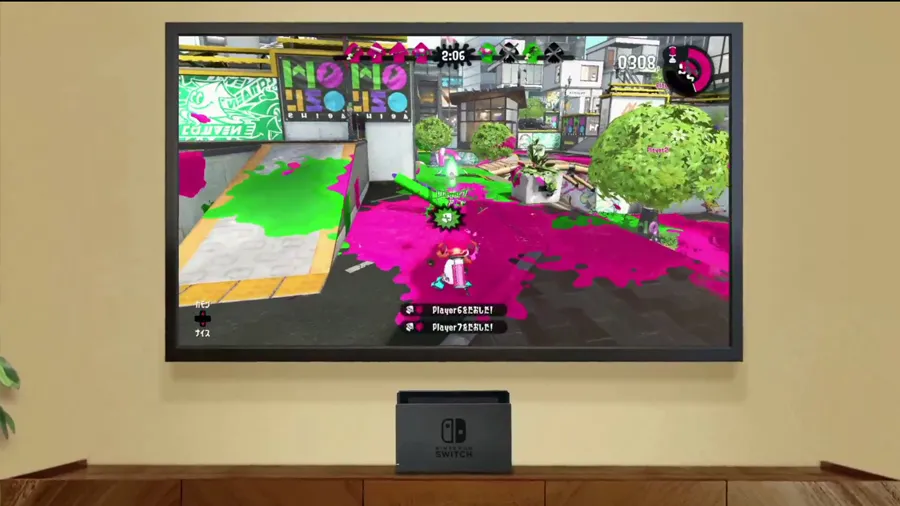
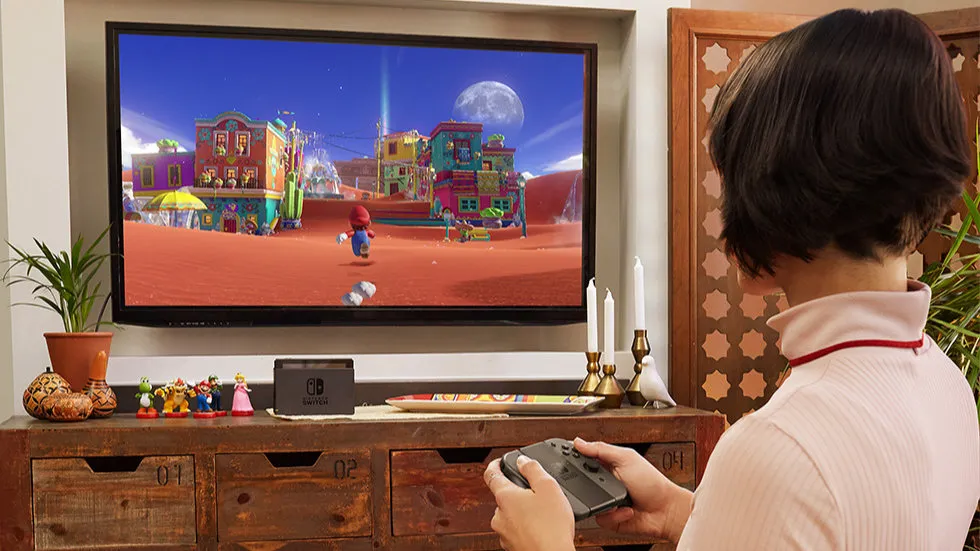
Article continues belowOr there’s docked mode. This allows you to send a video feed straight from your console to a television. The huge benefit to this mode is that you can enjoy your favorite Nintendo games on a screen deserving of them.
After all, the Nintendo Switch’s own screen is only 6.2 inches with a middling 1,280 x 720 pixel resolution. This makes it perfect for gaming on-the-move or getting cosy and gaming from your bed or settee.
But if you want a more immersive gaming experience and you're sat right in front of a big TV, why not make use of it. Replacing the Switch screen with a 40-inch TV and 1,920 x 1,080 resolution makes a massive difference in every sense of the word. It'll also bring out even more loving detail from the games you’re using your Switch for. This makes it a great option if you've already got a lot out of your favorite games and want to shake up the experience.
A big screen is, of course, also much better for playing games with friends. Even if you've not tried it before, it's obvious that playing Mario Kart in split-screen on a 6.2-inch display would be less than ideal.
The good news is it’s much simpler than you might expect to get your Switch up and running on your TV, and we’ve run through each step in our how-to guide below.
- Check out the best Nintendo Switch bundles and sales
1. Get your wires ready

A quick note: HDMI cables aren’t bundled in with most purchases, so you will have to source your own. There are a few brands and makes on the market, with varying materials and slightly different transfer speeds, but for transmitting 1080p video any bargain buy HDMI 2.0 cable from Amazon or your local computing store will be fine.
When you buy a Nintendo Switch console, you’ll get a gray-black dock bundled in for this very purpose. First, you need to open the back of the dock, revealing two cable ports.
The uppermost port is for the AC adaptor, which plugs into a wall socket to supply power to the console. The lower port is for an HDMI 2.0 cable, with one end plugging in here and the other end plugging into your TV. The Switch can’t stream content wirelessly to another device, so you’ll need a cable to do the hard work.
2. Get your Switch ready

Once you’re all plugged in and you've closed the back of the dock, you’ll need to place your Switch console inside the dock. You slide the Switch in from the top of the dock, with the screen facing out of the front (where you can see the Switch logo). There’s a small connector point at the bottom of the dock that plugs into the console, which is easy to slide onto.
3. Detach your controllers

If you haven’t already, now’s the time to slide off the controllers from your Switch. The Joy-Con controllers jut out from the sides of the dock, and you’ll still be able to reach them; all you have to do is press in the small ‘release’ button on the back of each Joy-Con and slide it upwards, detaching it from the console.
New Switch purchases will also come with a Joy-Con grip you can slide the controllers into – pictured above – though you can also use a Pro controller, or even use one Joy-Con turned on its side.
4. Turn on that TV already
Next, turn on the TV, and search for the correct HDMI input. Many TVs will have a ‘Source’ button on the remote, or have a menu for inputs among the settings.
You’ll be able to turn on some modern TVs simply by hitting the home button on your Switch controller, activating the display and jumping straight to the right input – though you can also turn this feature off in the Switch’s own settings menu.
Keep in mind that your TV or monitor will need to be at least 1080p to see a graphical difference – though the Switch can’t output in 4K resolution, even if the television is capable of it.
5. Start playing!
That's it! Nothing left to do but sit back and relax with your seamless gaming setup.
There are few games that wouldn't be improved with the TV treatment, and you can head to our list of the best Nintendo Switch games to see the best contenders – or Nintendo Switch SD cards to fit even more games onto your console.
- Nintendo Switch Online: everything you get with Nintendo's online service
