How to use a Nintendo Switch Pro Controller with a PC

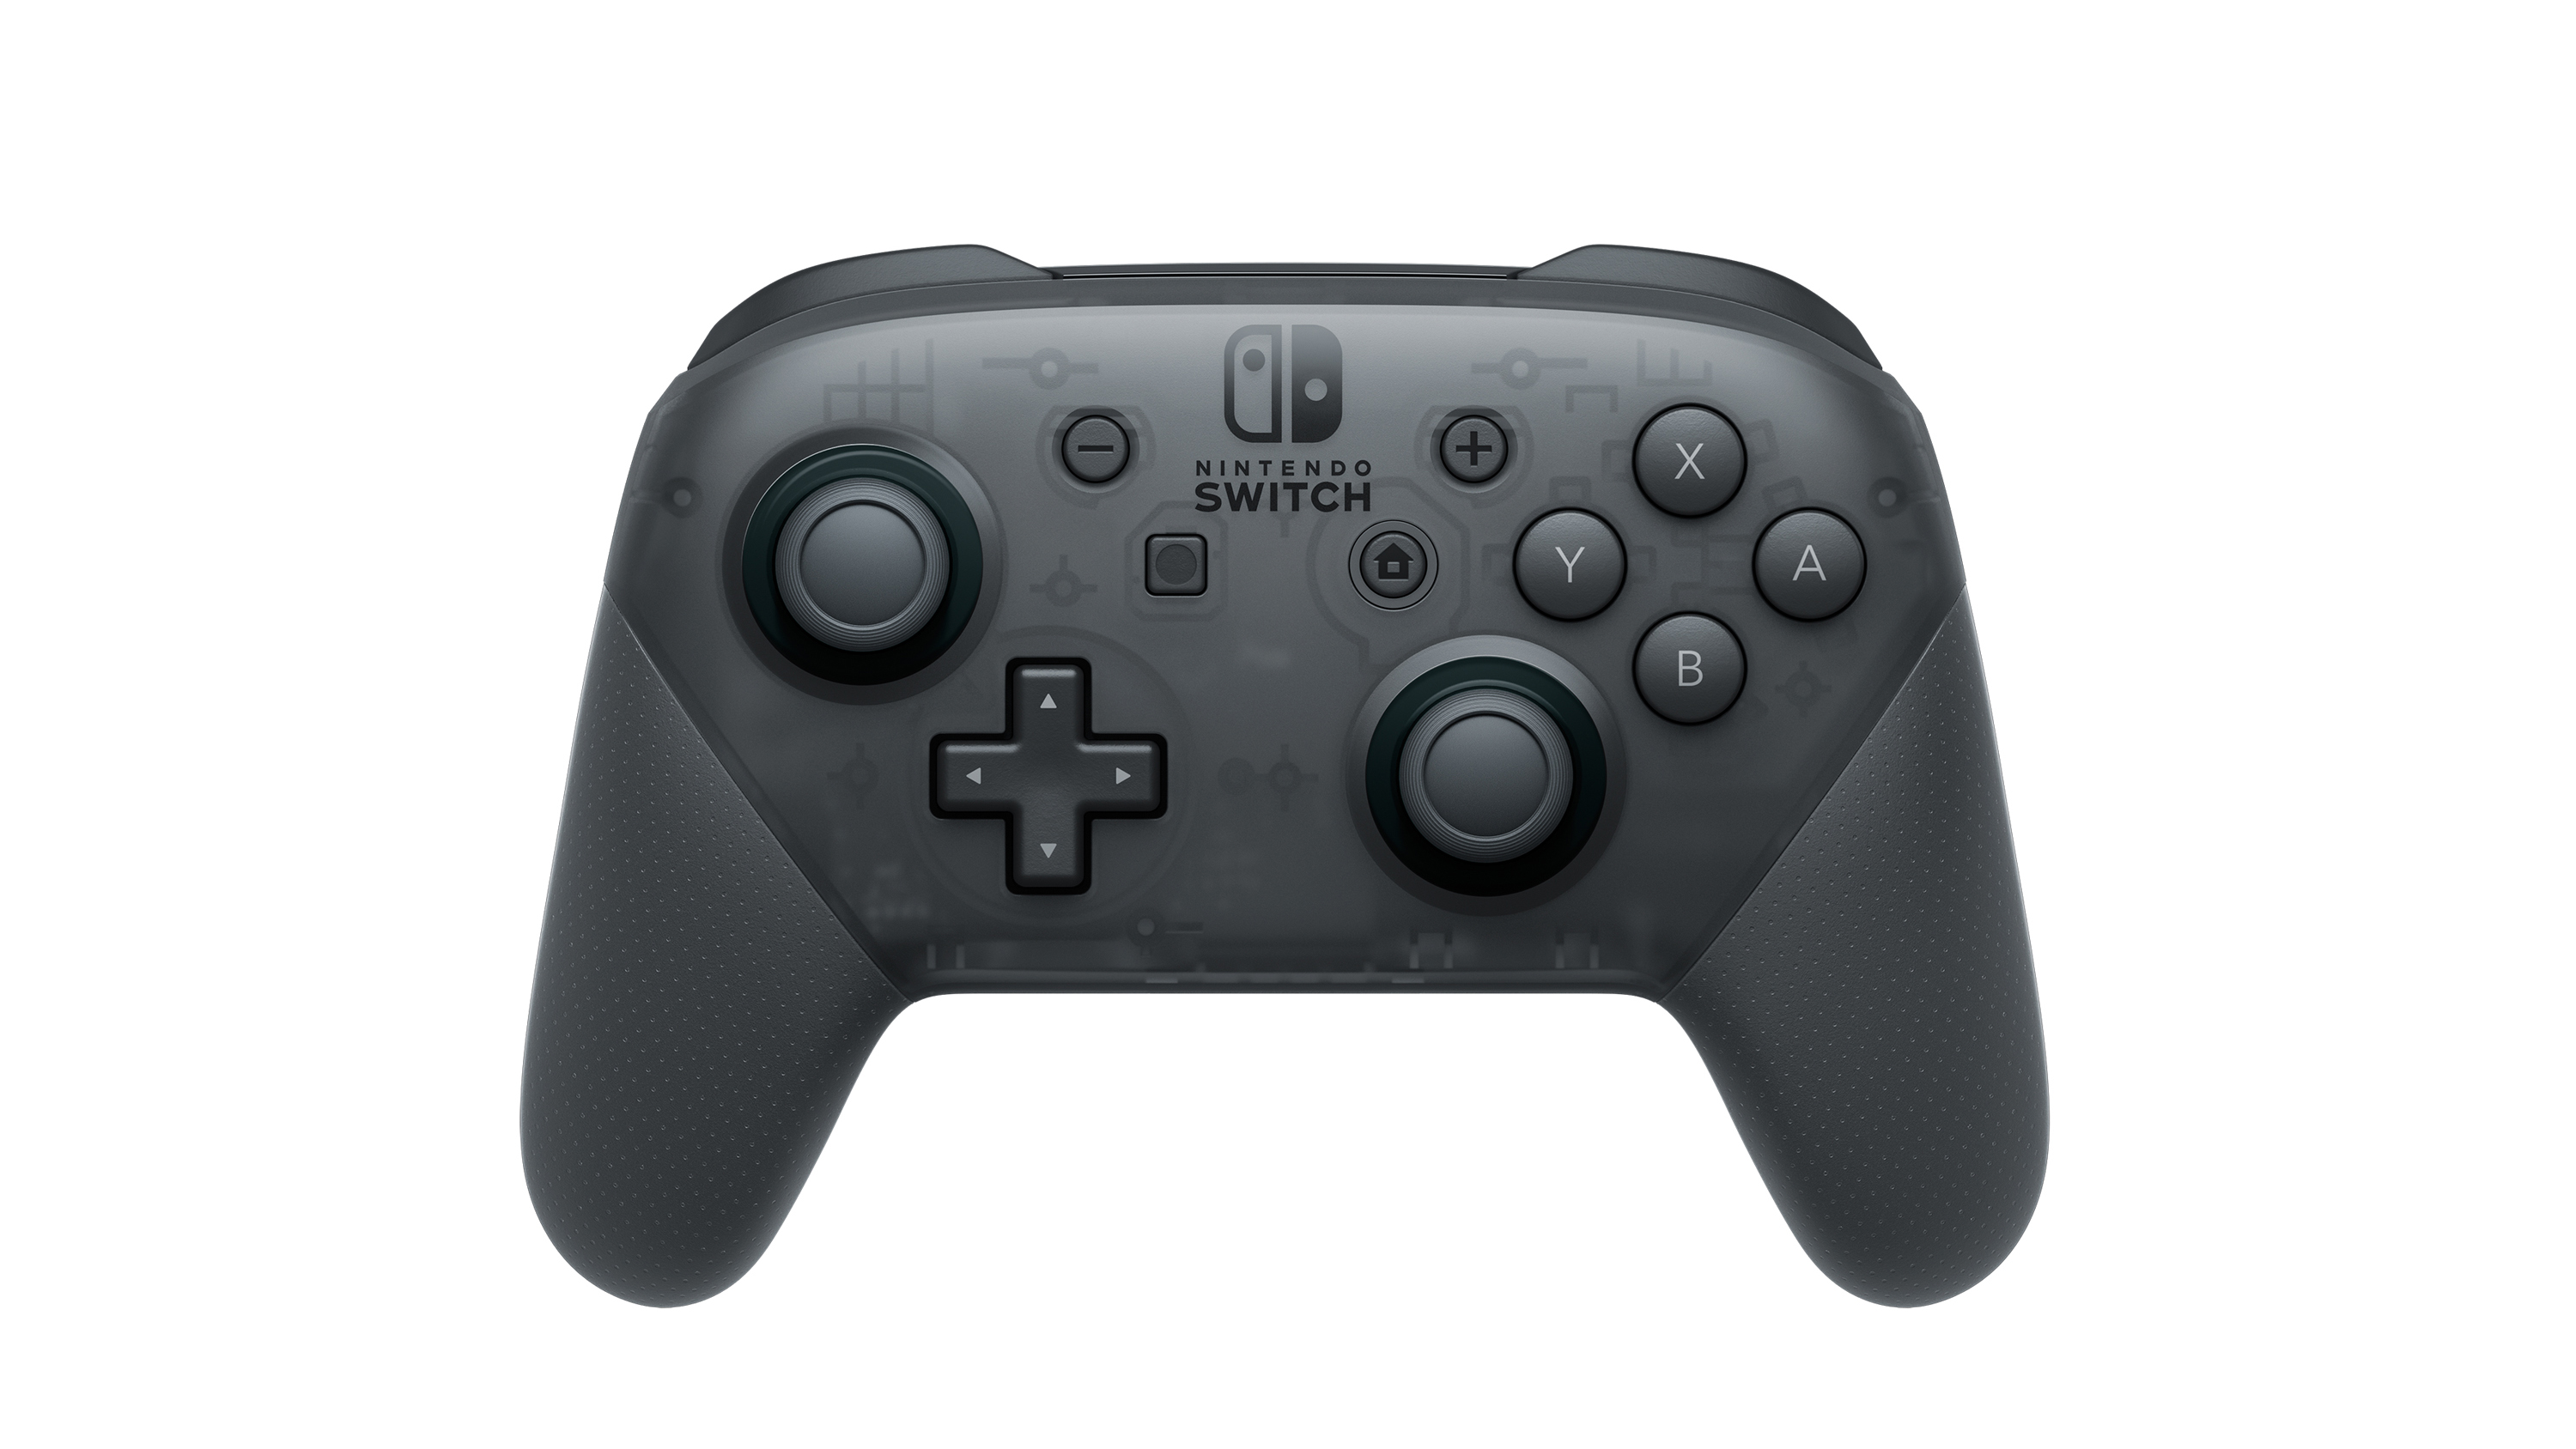
We’ll show you how to use a Nintendo Switch Pro Controller with a PC here. It might not be cheap, but the Nintendo Switch Pro Controller is quite the gamepad. In fact, it’s among the best that Nintendo has ever produced, coming with a top-notch directional pad, features like gyro-motion support, and a design that’s comfortable to use for extended gaming sessions. And, you can use it for more than just with your Switch.
For those whose gaming is done primarily through Valve’s Steam platform, using the Switch Pro Controller with a computer is amazingly simple. However, setting it up to use with other games or other gaming apps, emulators for instance, takes a lot more effort. And, while it’s more involved, it’s not impossible.
Regardless of how you want to use your Switch Pro Controller, we’ve put together this step-by-step guide so you’ll be gaming keyboard-and-mouse free in no time.
- Check out all the best Nintendo Switch Pro Controller prices and sales

Using a Nintendo Switch Pro Controller with Steam
This one doesn’t take much work at all, as the Steam platform includes built-in Switch Pro support once you’ve digged into the menus a little bit.
Once you’ve fired up Steam, open the settings menu. You’ll see the ‘Controller’ menu option, jump in there and then open ‘General Controller Settings. You’ll get some options that can be switched on or off, and it’s here you’ll want to enable ‘Switch Pro Configuration Support’.
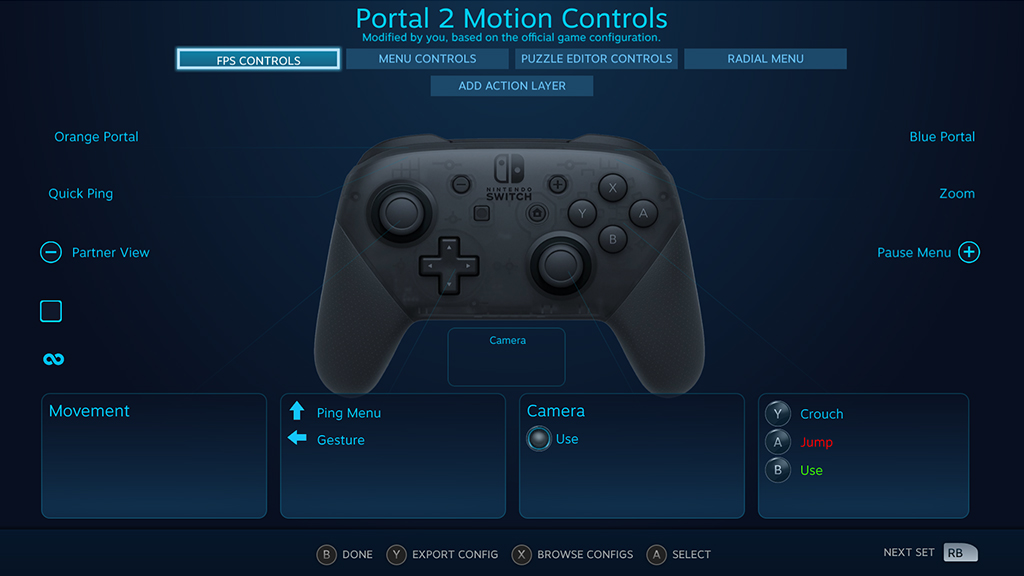
By default, most PC games assume you’re using an Xbox controller, but its buttons map slightly differently to a Nintendo pads. So, if you prefer the X/Y and A/B placement of the Switch Pro controller, make sure to also tick the ‘Use Nintendo Button Layout’ option.
If you’d rather set this on an individual game basis, right click the title in your library and select ‘Edit Steam Controller Configuration’. This will let you make a custom button map for each game. It’s here you’ll get further customisation options too, from gyro controls right down to whether or not you want the Home button to light up.
Sign up for breaking news, reviews, opinion, top tech deals, and more.

Using a Nintendo Switch Pro Controller with other Windows games and apps
Not into playing games on Steam? Have a library of disc titles that you want to play, use another storefront or want to fire up some emulators? Using the Nintendo Switch Pro Controller in these situations is a bit more difficult, but still possible – you’ll just need some different tools to get the job done.
First off, the easy option: buy an 8Bitdo Wireless Bluetooth Adapter. Regularly available for less than £20 / $20, it lets you easily (and wirelessly) hook the Switch Pro Controller up to a Windows machine, duping the operating system into seeing it just as if it was a native Windows controller. It’ll even support the pad’s motion controls (though rumble is not supported). It’s not exclusive to the PC, or Switch Pro Controller either – it’ll make lots of different console’s pads work on PC, while also letting you use controllers not intended for one console work on another. It’s a great little purchase, and well worth the money.
But if you’re looking for a free way to wire up your Switch Pro Controller with your PC, read on!

First of all, you’re going to need your controller’s USB-C cable to plug the pad into your PC, and a piece of software called x360ce – this is an application that lets you play around with DirectInput controllers (the type that the Switch Pro Controller is) to make sure your computer will recognise the controller. As some games are 32-bit titles and some are 64-bit, you’re going to want to download and set up both the 32-bit version of x360ce and the 64-bit version of x360ce, using the instructions below.
- Find your game’s .exe file: This is the file that fires up your game. x360ce needs to be set up individually for every game you want to play, and you’ll need to point it to where your game lives.
- Copy the x360ce.zip into the folder containing your game’s .exe: Once it’s in the right folder, extract the x360ce.zip file, which will then create an application file with a little controller icon. Open that and you’ll be prompted to make a .dll file. Click create and make the .dll file.
- Search automatically for settings: That’s the prompt that will fire up once the .dll file has been created. Make sure the ‘Search the Internet’ checkbox is ticked, and x360ce will now hunt down an appropriate Switch Pro Controller layout for you. Most of the time, this should do the trick, so click Next, and then Finish.
- Test the buttons: You’ll now get a look at the layout, as if it was on an Xbox 360 pad. Play around with the buttons that have been set, and see if it’s to your liking. Make any edits you like, and then click Save, and close x360ce.
If everything has worked, your game will automatically pick up the Switch Pro Controller as the appropriate input the next time you play it. You won’t even need to open x360ce. However, you’re going to need to go through the above steps for every individual game or application you want to use the Switch Pro Controller with, hence our suggestion to just cough up the cash for the 8Bitdo dongle instead.
- Best PC games: what to play with your newly configured pad

Gerald is Editor-in-Chief of Shortlist.com. Previously he was the Executive Editor for TechRadar, taking care of the site's home cinema, gaming, smart home, entertainment and audio output. He loves gaming, but don't expect him to play with you unless your console is hooked up to a 4K HDR screen and a 7.1 surround system. Before TechRadar, Gerald was Editor of Gizmodo UK. He was also the EIC of iMore.com, and is the author of 'Get Technology: Upgrade Your Future', published by Aurum Press.