
Virtual reality, and particularly the Oculus Rift, is being hailed by many as one of the next major trends to sweep the tech world, and for good reason.
It presents a whole new, much more immersive way to game, plus it’s great for things like education, where students can take a much more hands-on approach.
Of course, there are a few great virtual reality headsets out there – and they’re not all worth buying.
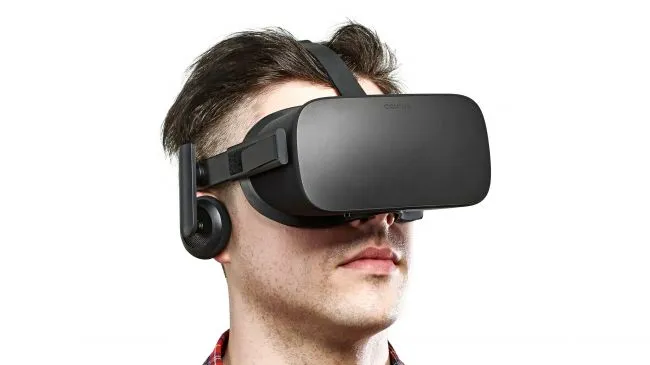
Article continues belowThe Oculus Rift was arguably the first headset to bring VR into consumer consciousness, and it’s still one of the best VR headsets on the market. On top of being simply a great headset, it also has pretty good developer support – likely because it was among the first major headsets to be released.
- Here are the best Oculus Rift games
Before you can dive into virtual reality, you will need to set up your Oculus Rift – which means both setting up the headset itself, and setting your computer up to be able to work properly with the headset.
Thankfully, we don’t think it’s an overly complicated process – though we do recommend setting aside at least 30 minutes for it.
No matter how tech savvy you are, we’ve got you covered – here’s how to set up the Oculus Rift.
- The best Oculus Rift deals are just a click away
Oculus Rift requirements
Of course, before you even think about setting up the Oculus Rift itself, you’ll need to make sure you have a powerful enough computer to be able to handle what the Rift needs.
The Oculus Rift is a pretty powerful device, and as such you’re going to need a relatively powerful computer. What that means is that if you’re in the process of building a computer or buying a new one, then you’ll need to keep these Oculus Rift requirements in mind.
If you already have a computer and its components aren’t powerful enough for the Oculus Rift, you’ll need to think about switching out some of those components or buying a new computer altogether.
Here’s a quick rundown of the minimum specs you’ll need for the Oculus Rift:
- Nvidia GTX 1050 Ti / AMD Radeon RX 470 or better
- Intel Core i3-6100 or better
- 8GB of RAM or more
- HDMI 1.3 output
- 1x USB 3.0 port
- 2x USB 2.0 ports
- Windows 8.1 or newer
These specs are minimum requirements, so if you have more powerful components then they’ll work, too.
In fact, Oculus recommends you go for some slightly more powerful specs. For example, the company recommends you go for a Nvidia GTX 1060 GPU or better, along with an Intel Core i5-4590 CPU or better, and 3 USB 3.0 ports.
Still, if you’re meeting the minimum specs, the Oculus Rift will run. It may not run all software – Oculus says some content may require specs that exceed even the recommended specs – but it should still run.
Computer specs aren’t the only requirements you’ll need to keep in mind. In order to use the Oculus Touch controllers, you’ll also need enough space. Oculus says that a space of at least 3 x 3 feet is required, though some content needs a play area of 7 x 5 feet.
How to set up the Oculus Rift
Now that you have the headset itself and the hardware needed to properly run it, it’s time to set up your system so that you can finally enjoy virtual reality.
Thankfully, the Oculus Rift is a little easier to set up than some other virtual reality headsets, like the HTC Vive, but for some it may still be a little complicated.
Follow the steps below to ensure your Oculus Rift is properly installed.
Setting up the headset
1. Download and open the Oculus Software.
2. Make sure your GPU drivers are up to date. To learn how to do that, head here for a Nvidia GPU, or here for an AMD GPU.
3. Remove the protective films from your headset lenses.
4. Connect the headset cable’s HDMI connector to the HDMI port on your GPU. Make sure you plug it into your graphics card, not your motherboard’s HDMI port.
5. Connect the headset cable’s USB connector to a USB 3.0 port on your computer; USB 3.0 ports are blue.
6. Connect the sensor cable to another USB 3.0 port. Once all three of these cables have been plugged in, you should see green icons next to them in the Oculus software indicating that they’ve been connected successfully.
7. Click next in the Oculus software. Then click “Update Now” on the firmware update screen. Do not unplug the the headset while the firmware is being updated.
Connect the Oculus Remote
1. Pull the plastic tab out from the battery door on the back of the remote.
2. Press and hold the select button, which is the main button at the top of the remote.
3. The remote should automatically connect to the headset.
Setting up the Oculus Sensors
1. Open Oculus software, head to “Devices” in the menu, click “Configure Rift,” and select “Sensor Setup.”
2. Enter your height.
3. Place sensors between three and six feet from where your head will be during Rift use. Make sure nothing gets in the way between the sensor and where your headset would be, even if you crouch or move during use.

4. Hold the headset in front of you and move it around. You’ll get a notification when the headset and sensor have connected.
5. Follow the steps again for the second sensor.
Setting up the Oculus Touch controllers
1. After connecting the Oculus Sensors, you’ll automatically be prompted to set up the Oculus Touch controllers. If you weren’t prompted, head to the “Devices” menu, hit “Configure Rift,” then press Add Left Touch.
2. Follow the on-screen instructions to pair the Left Touch controller.
3. Follow the process again for the Right Touch.

Setting up the Guardian System
1. After setting up the Touch controllers, you’ll automatically be prompted to set up the Guardian System, which maps out where you’ll be using the Rift and warns you when you’re near the boundaries of that area. If you weren’t automatically prompted, in the Oculus software head to “Configure Rift” and hit Guardian System.
2. Follow the on-screen instructions to set up the Guardian System.
Other things you need to know
Your Rift should now be set up and ready to use, but there are still a few things to do before you actually start using it.
For starters, you may want to adjust the Rift to better fit your head. To do this, put the Rift on, then tighten the straps around the Rift.
The main strap should ride relatively low, and the tracking triangle should sit at the bony bump on the back of your head. When adjusted properly, the weight should feel balanced around your head.
If a certain component doesn’t work properly or you need to reset something, thankfully it’s relatively easy to pop into the settings in the Oculus Software and reset it yourself.
And, you can follow the instructions for a part above – you don’t have to start at the very beginning and work your way down every time you set up a new sensor or remote.
- Own a Samsung phone? Then check out our Samsung Gear VR review!