10 photo-editing tips for Photoshop Elements
Streamline your image processing in Adobe's photo app

Sign up for breaking news, reviews, opinion, top tech deals, and more.
You are now subscribed
Your newsletter sign-up was successful
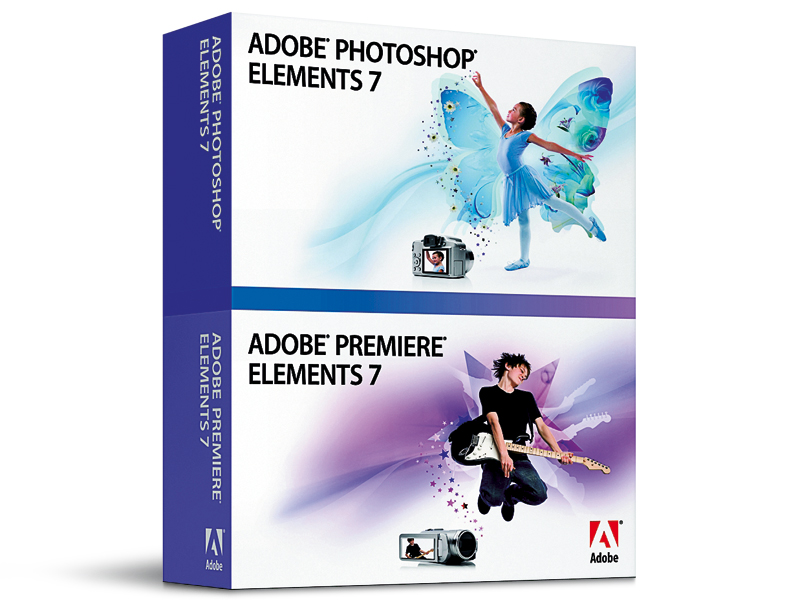
Adobe's Photoshop Elements might be seen as merely a low-cost substitute to Photoshop , but there's a little more to it than that. Photoshop is a professional graphics application (not just an image-editor) with tools and functions most photographers will never need.
But, with a handful of exceptions (mainly Curves and Layer Masks), Elements has most of the same photo-manipulation tools as Photoshop. Besides, it also comes with Adobe's excellent Organizer image cataloguing program (though not with the Mac version, alas).
Without further ado, here's our guide to 10 essential photo-editing tips for Elements users.
1. Manage colour settings
Go to Edit > Colour Settings and choose how Elements handles the working colour space. Select "Always optimise colours…" for general onscreen viewing or "Always optimise for printing" to make use of the extended gamut of the AdobeRGB colour space. Alternatively, use "Allow me to choose" for switching on an ad-hoc basis.
2. Watch your step
As you make changes to images you can step backwards through the alterations that you've made by repeatedly pressing the [Ctrl] + [Z] key combination and forward again by pressing [Ctrl] + [Y].
Sign up for breaking news, reviews, opinion, top tech deals, and more.
3. Speed your selections
Lassoing and defining sections of an image can be a long-winded process. The Quick Selection tool in the main tool palette is a super-speedy alternative and it works a treat.
4. Get a sharper image
Use the Unsharp Mask tool to sharpen a complete image, or be selective by pre -defining the area to be sharpened first (such as the eyes in a portrait), using the Quick Selection tool.
5. Switch to auto
Enhancing your images doesn't have to be a time-consuming, complex process. Switch to the Quick Edit workspace and you can apply a fully automatic Smart Fix with one mouse click. Alternatively, choose the amount of fixing on a sliding scale.
6. Go retro
Switching to imperial ruler measurements in the Units & Rulers section of the Preferences dialog is handy for working with common photo print sizes such as 6 x 4-inch.
7. Go large with your pictures
Elements does a great job of upsizing relatively small images. Go to Image > Resize > Image Size, enter the new dimensions, then tick Resample Image and choose Bicubic Smoother. Also click Constrain Proportions.
8. Turn your grey skies blue
Photoshop Elements 7 includes Smart Brushes that apply a layer mask selection in real time as well as applying an effect as you paint over areas of an image. The Blue Skies option improves British summers no end!
9. Save disk space
Photoshop files can end up being enormous if you use a lot of layers. To save disk space, use the Flatten Image option to shrink finished images down to a single layer.
10. Be moody with mono
The Enhance pulldown menu offers a brilliant Black & White conversion tool, with plenty of great presets such as Portraits, Scenic Landscapes and Infrared Effect.