How to get the best results for Generative Fill in Adobe Firefly
Adobe has made adding elements to your images and tweaking others really simple with Generative Fill in Adobe Firefly
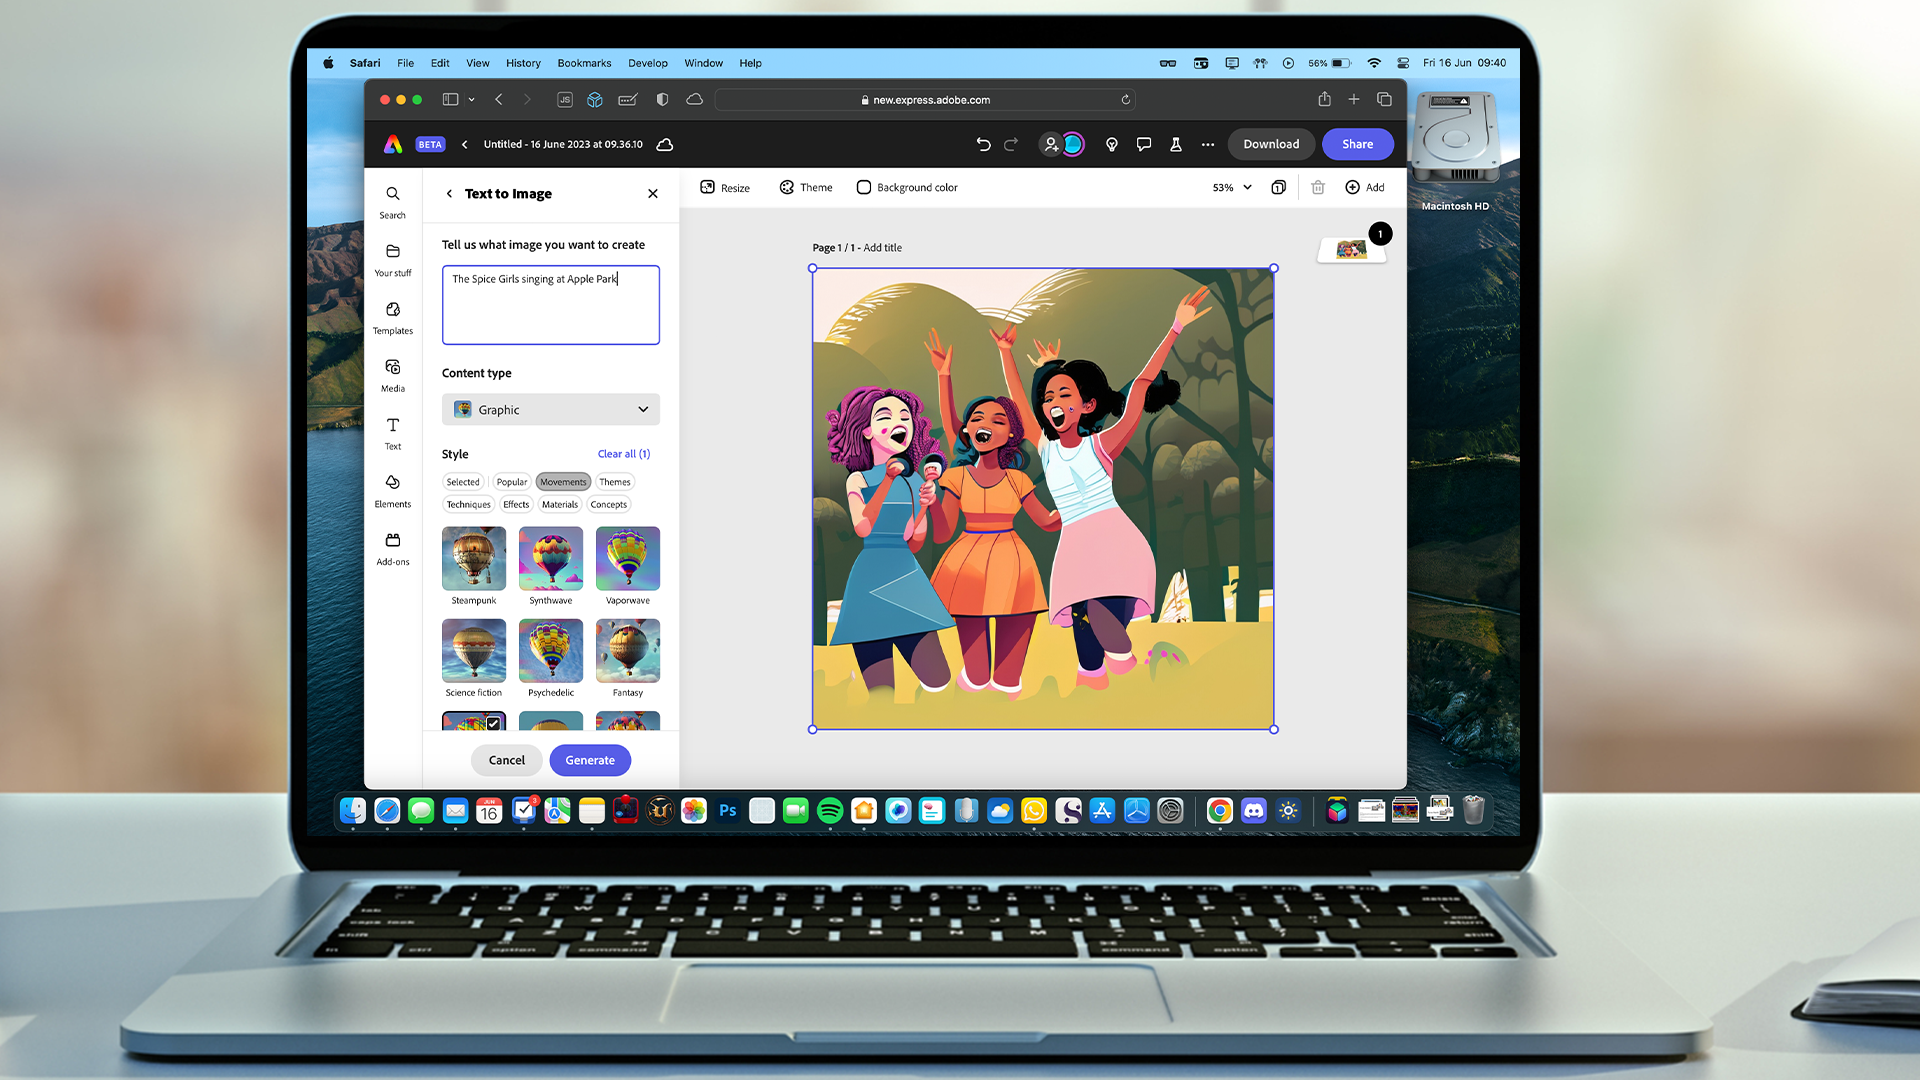
Adobe Firefly has quickly become one of the most accessible AI tools for creatives, and its Generative Fill feature is arguably star of the show.
With a few brushstrokes and a well-chosen prompt, you can add, replace, or remove objects in your images while keeping everything seamless and natural.
But as with any AI tool, the quality of your results depends on how you use it. Generative Fill is powerful, but it can produce patchy or unrealistic outcomes if you rush the process or provide vague instructions.
Whether you are preparing marketing visuals, enhancing photography, or experimenting with artistic edits, these tips will help you get the most out of Firefly’s Generative Fill.
Today, we're taking a look at how to get the best out of Adobe Firefly's Generative Fill feature. Let's dive in.
Adobe Firefly is a powerful suite of AI tools to help you edit images, add elements, and more. Available in your browser, as a standalone app and as part of a host of other Adobe software, including Photoshop and Premiere Pro. You can check it out by clicking here.

What is Generative Fill in Firefly?
Generative Fill is Adobe Firefly’s AI-powered tool for seamlessly adding, removing, or replacing elements in an image.
At its core, Firefly uses machine learning to analyse your photo and then generate new content that blends naturally with the surroundings.
Instead of painstakingly cloning or cutting and pasting in Photoshop, you simply brush over the area you want to change and describe what you’d like to see. Firefly then produces a set of variations for you to choose from.
What makes Generative Fill stand out is that it’s non-destructive, meaning your original image remains untouched, and any edits are applied as a separate layer, giving you the freedom to experiment without worry.
You can also export your results with content credentials, which makes it clear when AI was used in the creative process – a useful feature for professionals who want transparency in their work.
The tool sits alongside other Firefly capabilities such as background replacement, object removal, and generative expand, but it has quickly become the most popular due to how it mixes technical editing and creative exploration.
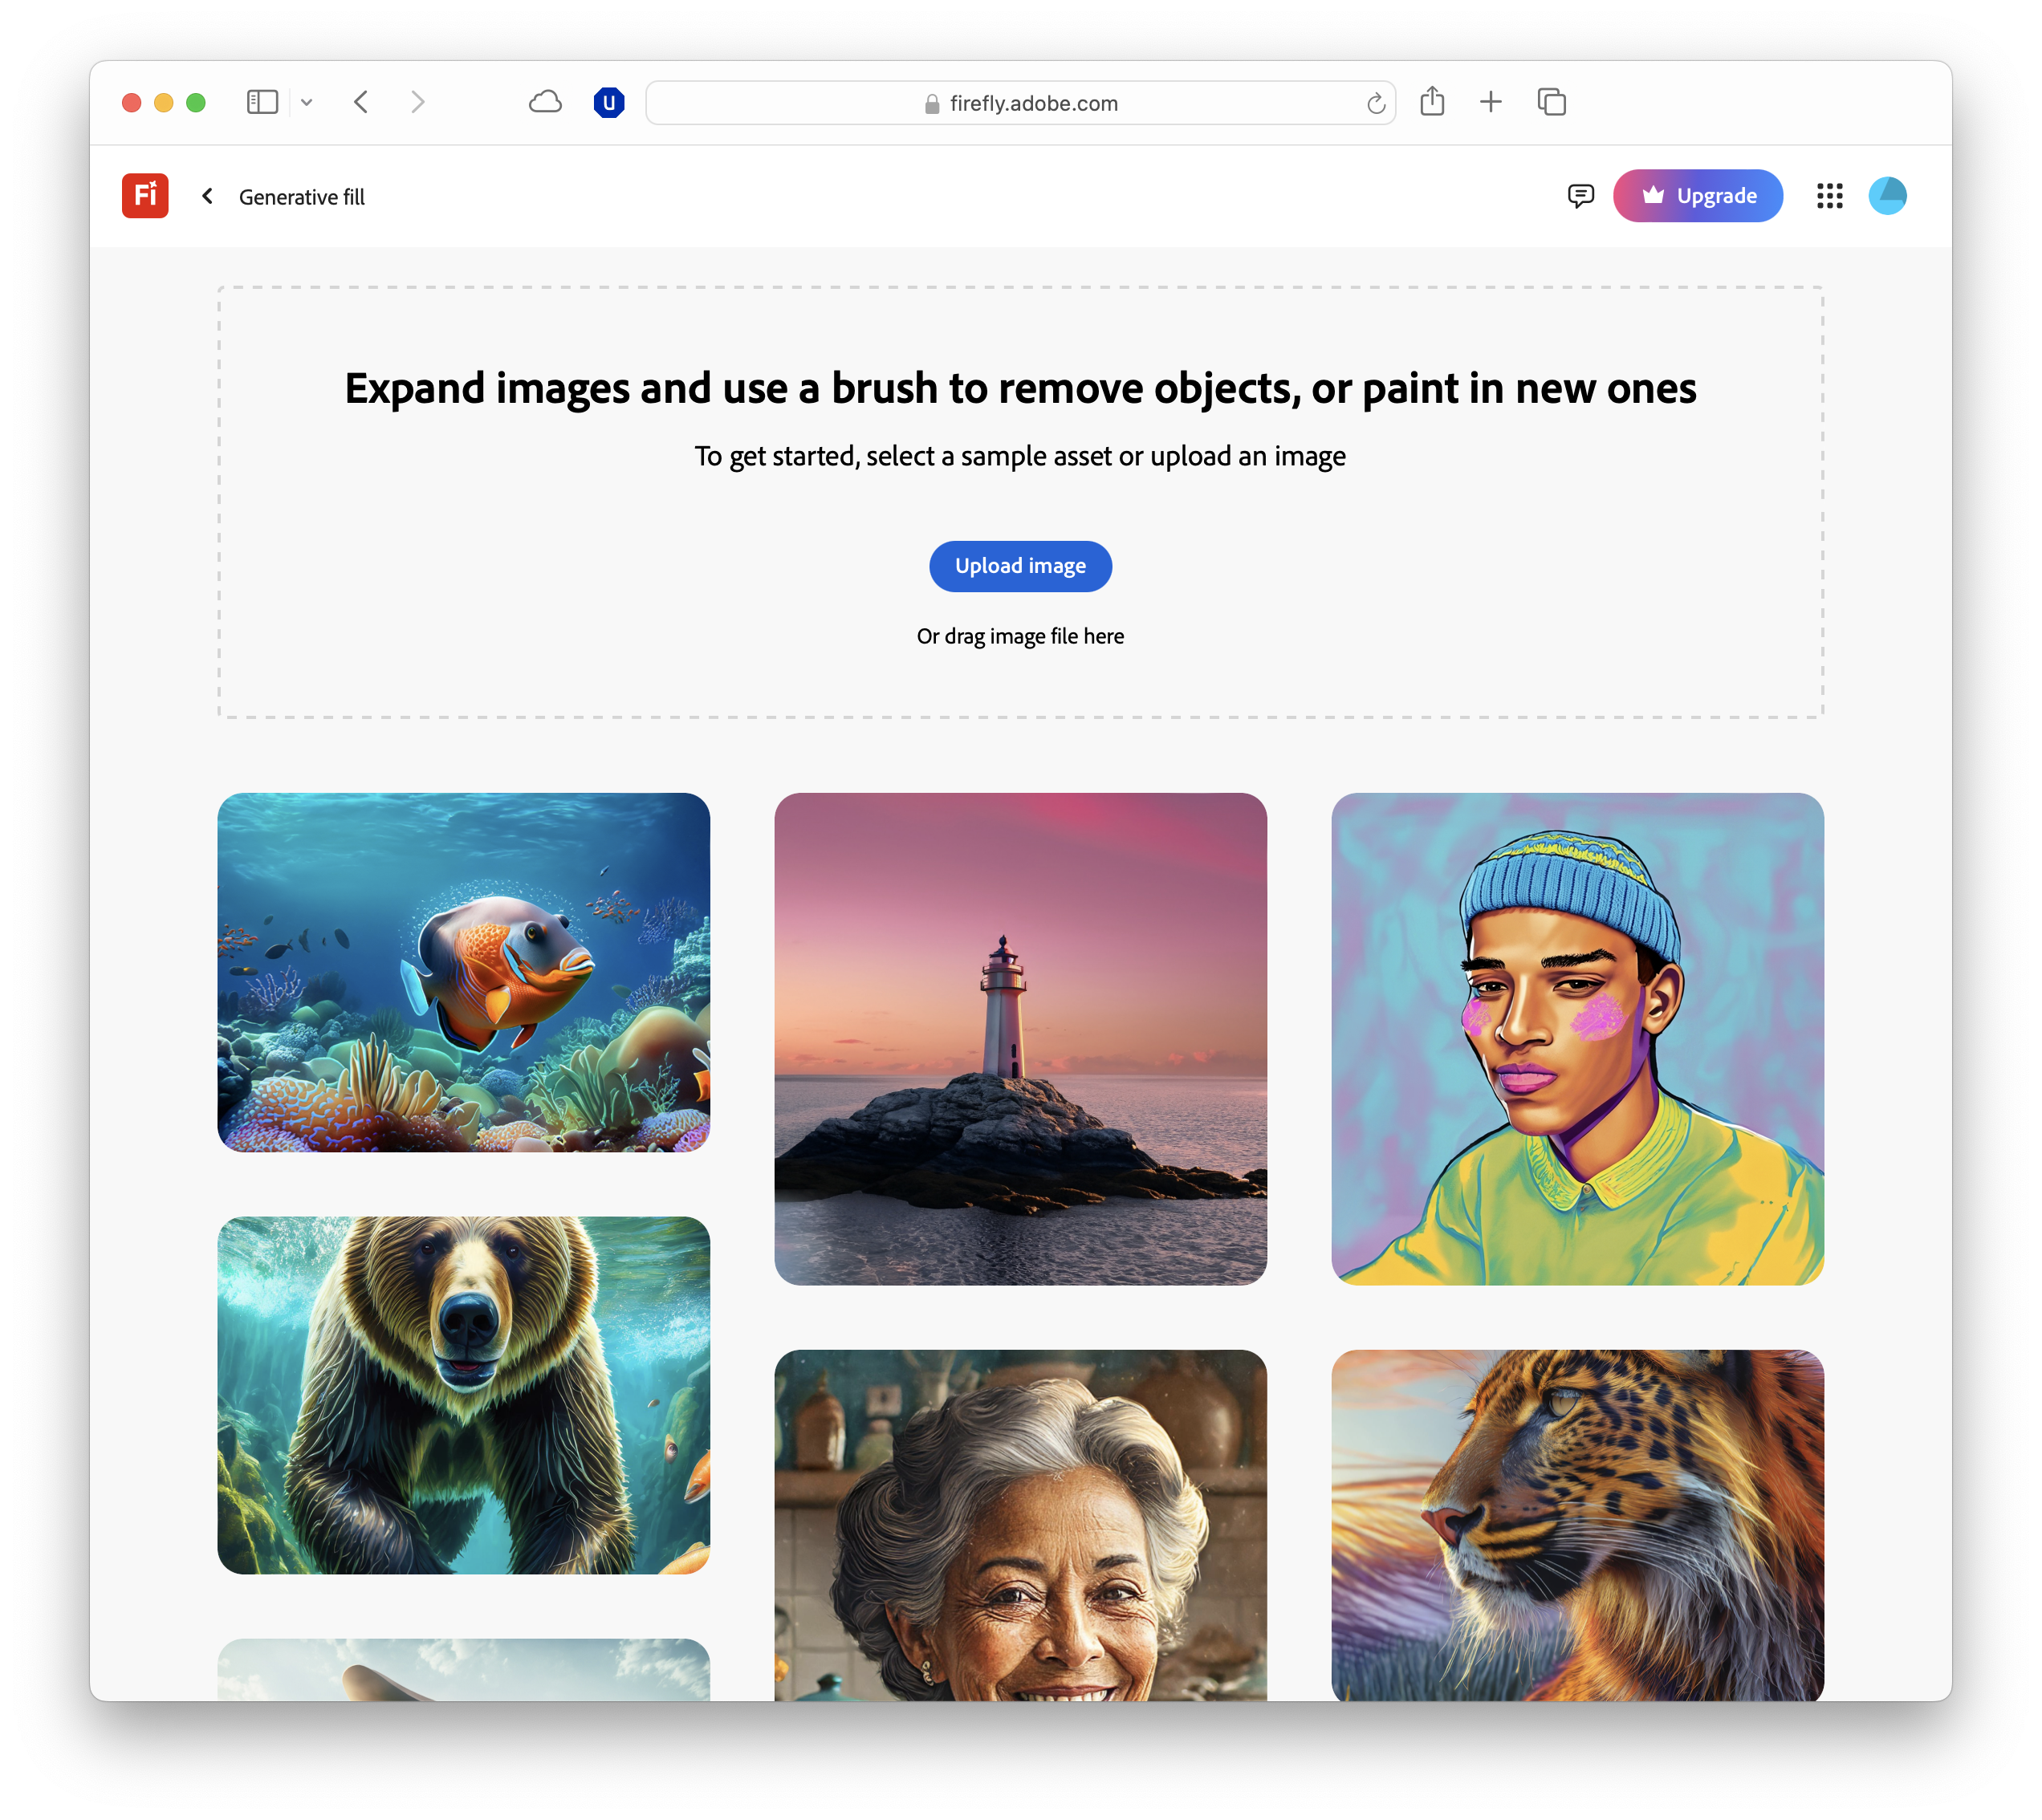
How to get started with Generative Fill
Using Generative Fill in Firefly is straightforward, but a little preparation goes a long way. The tool is available directly on the Firefly website, so there’s no need to install extra software.
Simply sign in with your Adobe ID, choose Generative Fill from the menu, and you’re ready to begin.
The first step is to upload your image, or pick a sample from Firefly’s gallery if you just want to experiment. Once the image is loaded, select the brush tool and mark the area you’d like to change.
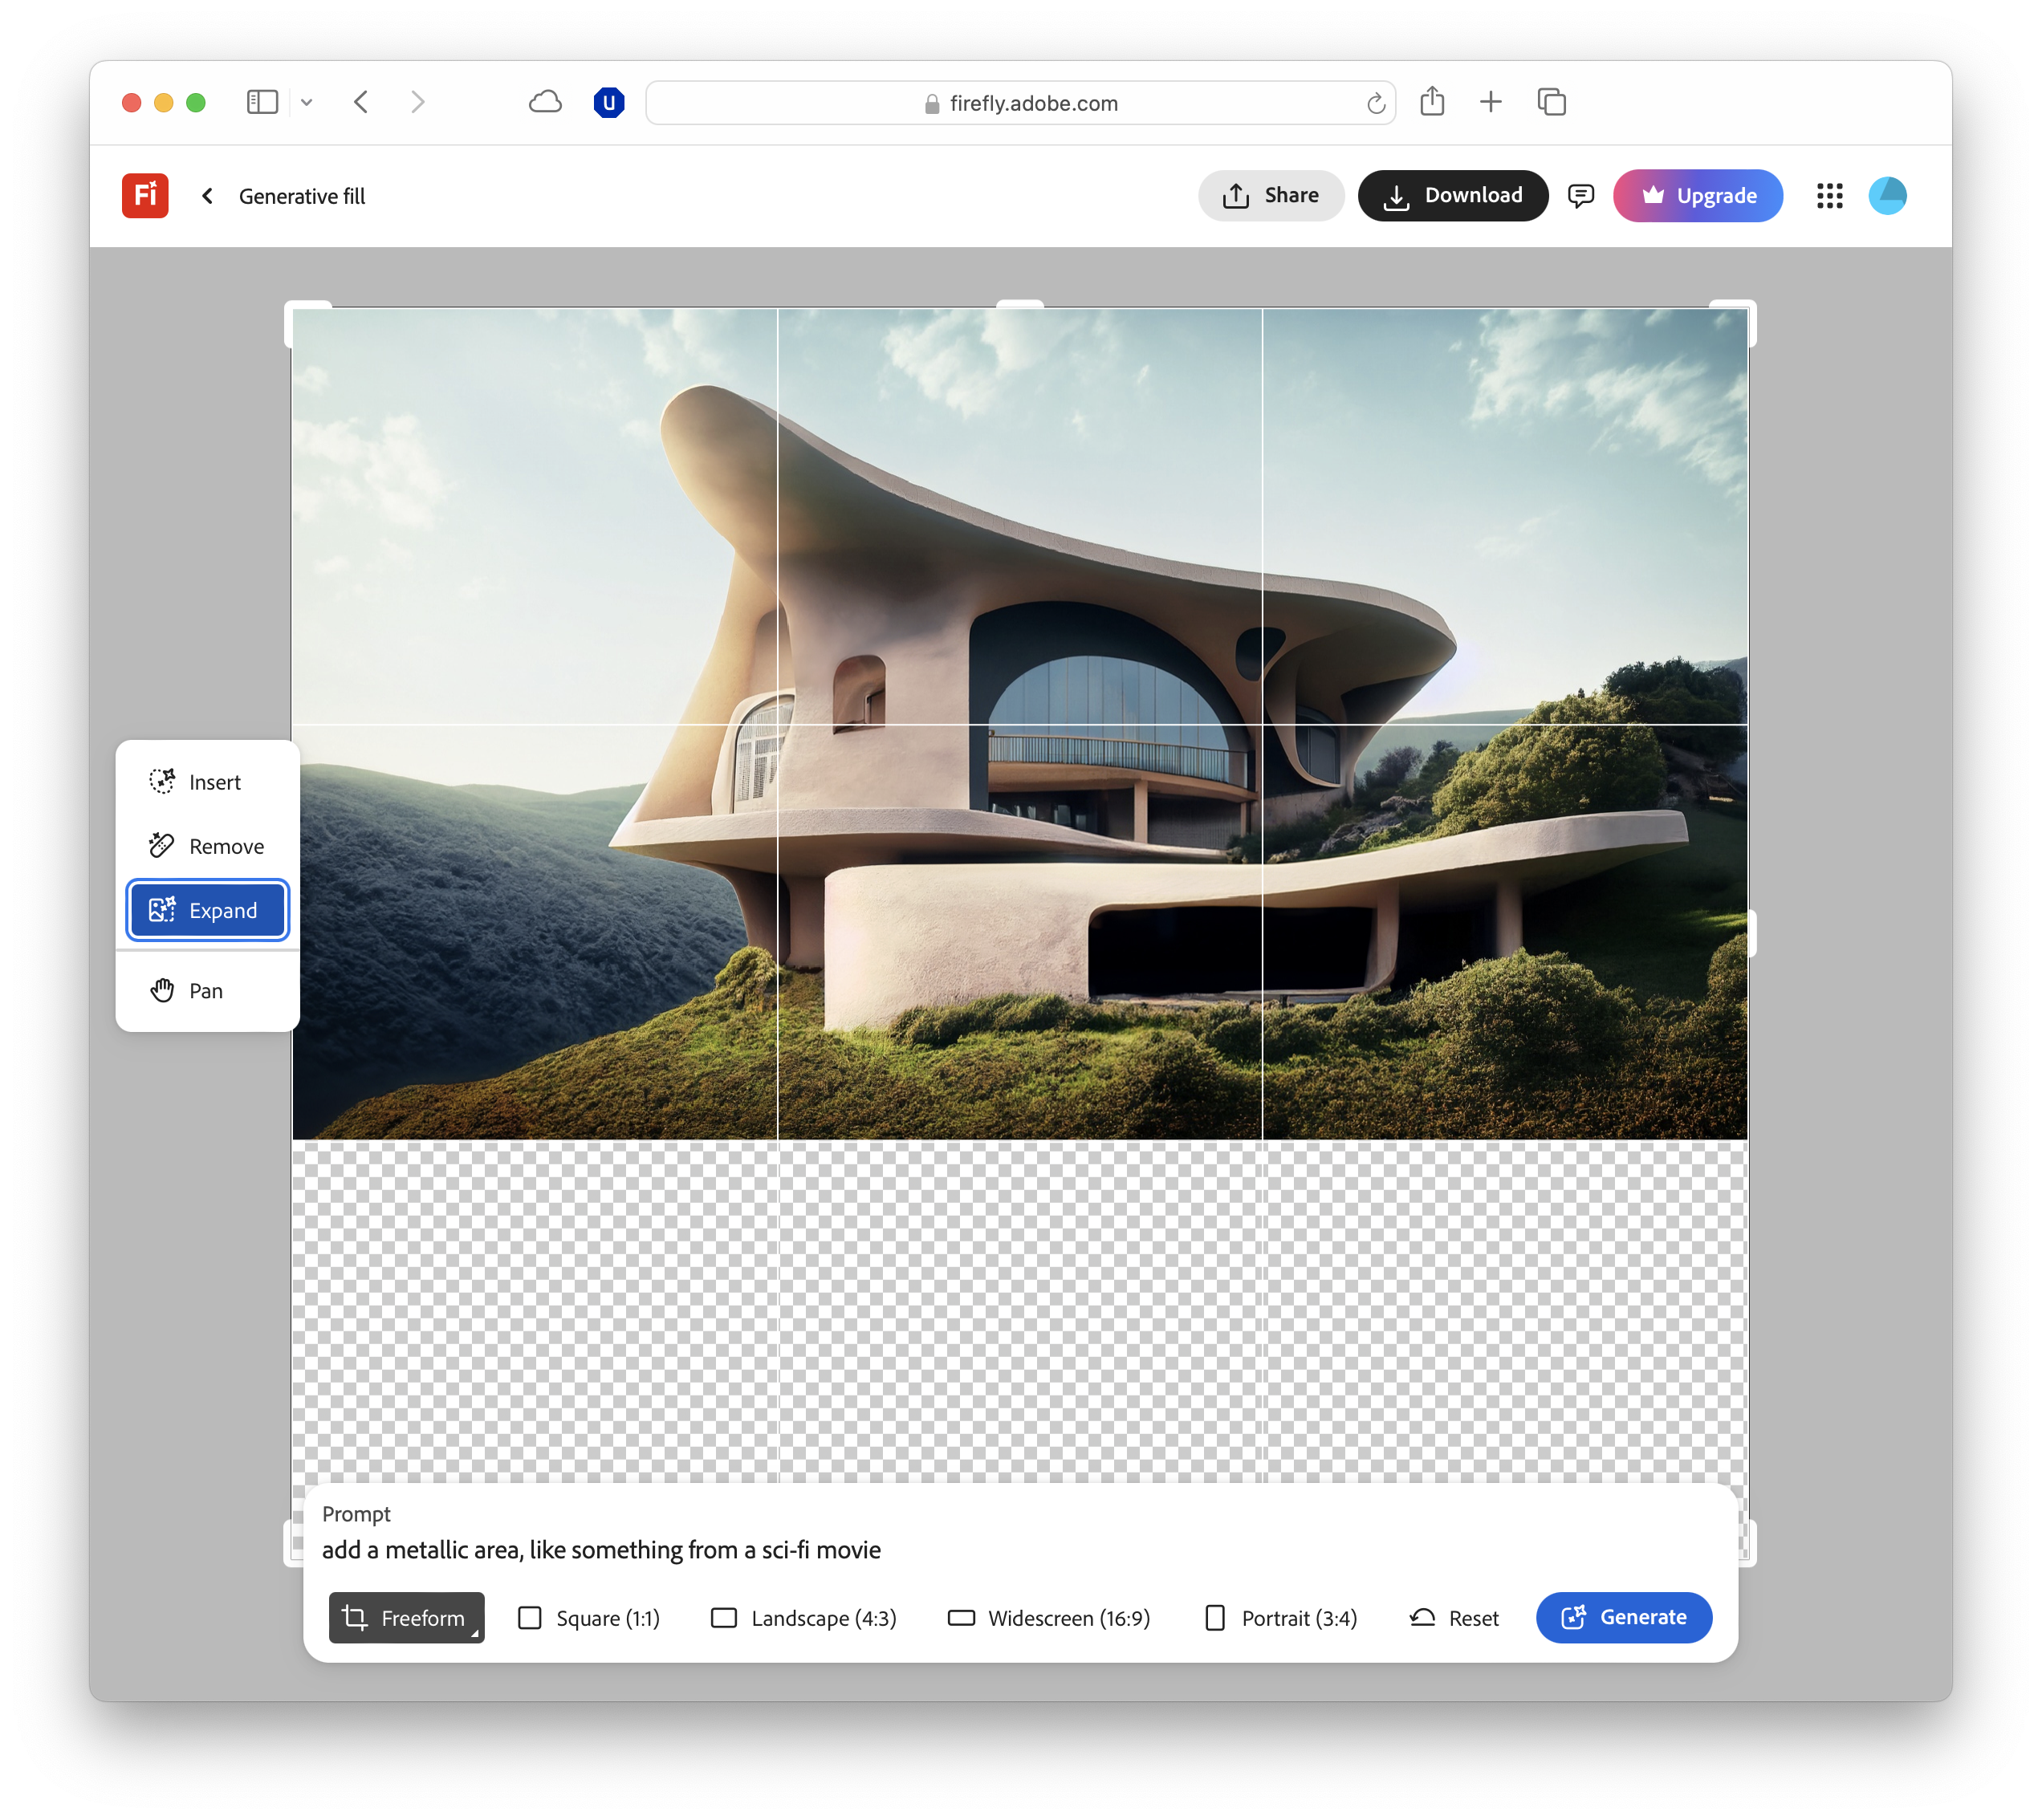
You can paint over an object you want to remove, highlight a space where you’d like to insert something new, or even define a section of background to be replaced. Adjusting the brush size helps with accuracy.
After you’ve made your selection, enter a description into the prompt box – a simple request like “add a coffee cup” will work, but more descriptive prompts usually yield better results.
If you leave the field blank, Firefly will fill the space using surrounding textures and patterns.
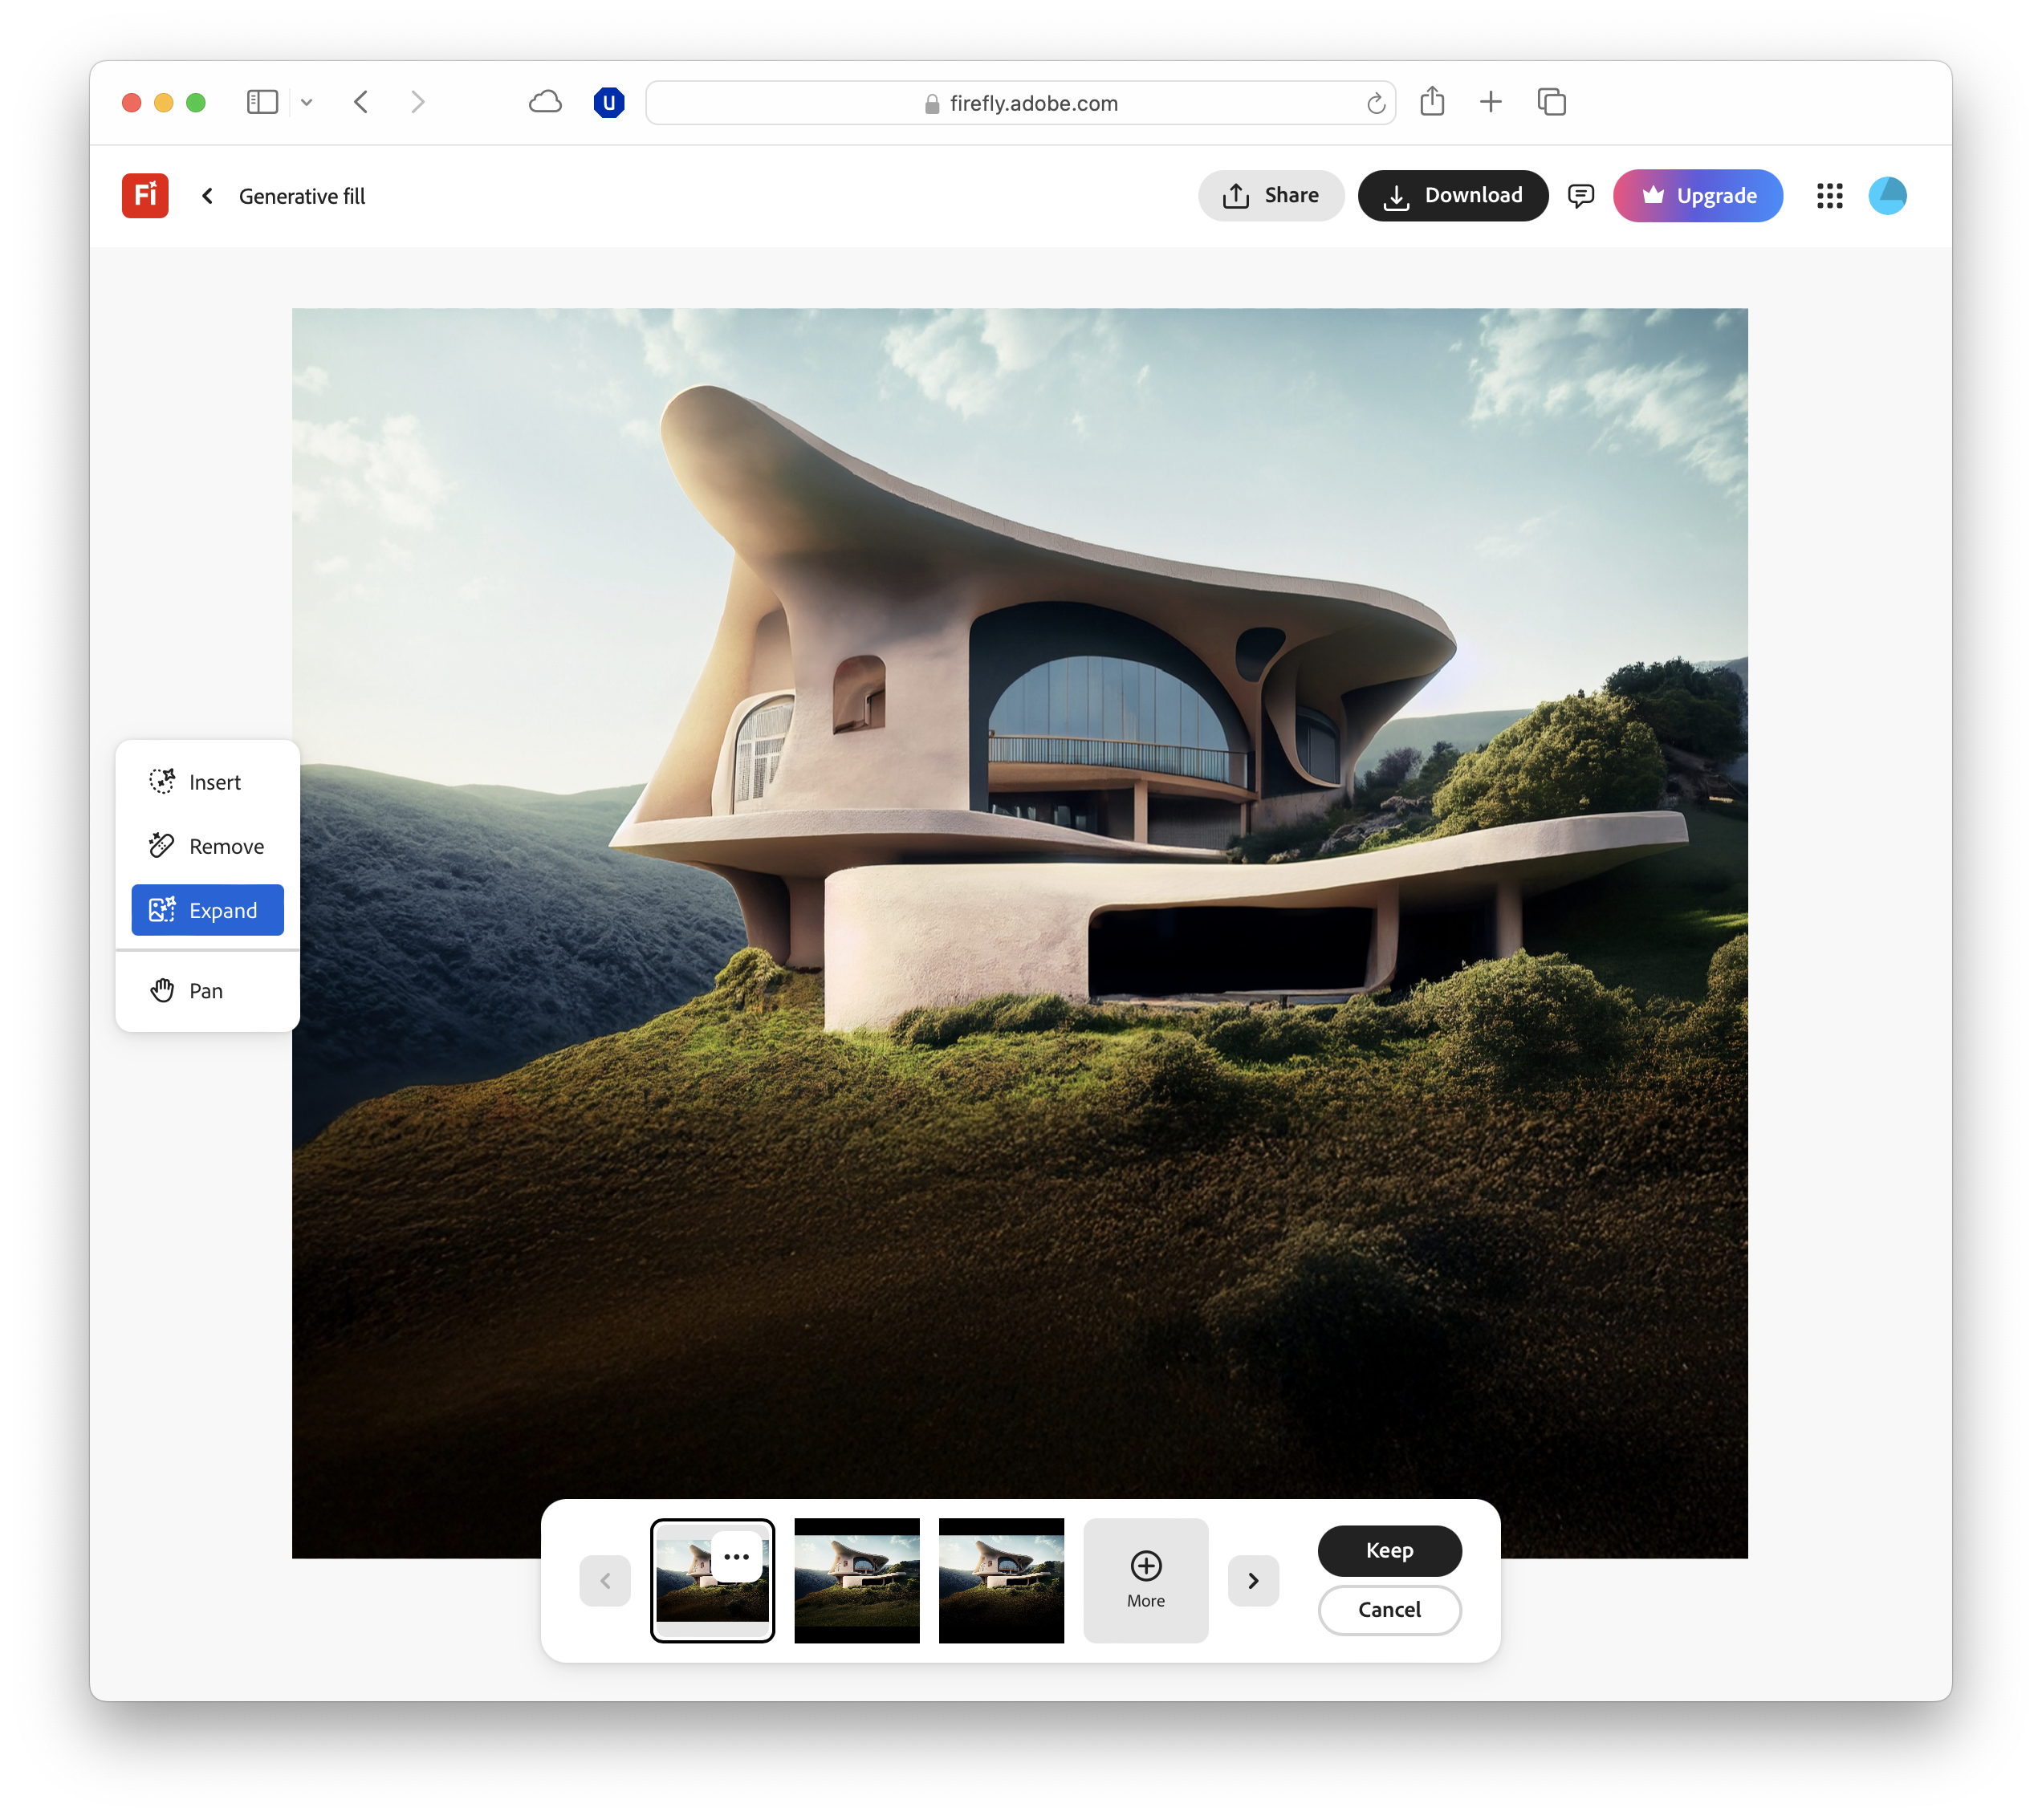
When you hit Generate, Firefly generates a handful of variations.
Browse through them, select the one that best fits your vision, or regenerate more if none are quite right. Once you’re happy, you can keep the edit, continue refining, or export the result.
It’s a simple workflow that balances control with creativity, and the more you practise, the faster you’ll get at achieving professional-looking outcomes.

How to write the best AI prompts
The quality of your prompt has a huge impact on the result.
Generative Fill interprets your words and generates content to match, blending it into the existing image. A vague instruction often produces patchy results, while a clear, descriptive prompt helps the AI create something far more convincing.
Specificity is key. For example, instead of “dog”, try “a golden retriever puppy lying on a blue sofa in natural light”. Extra details give Firefly more context, so the object is more likely to match the scale, perspective, and lighting of your photo.
Short, descriptive phrases work best, and include information about colour, texture, lighting, or style where possible.
Stylistic instructions can also work well. Phrases like “watercolour illustration” or “cinematic lighting” steer the AI towards a particular look. Even small wording changes can alter the outcome, so it’s worth experimenting.
If you don’t get what you want first time, break your idea into steps. Generate one element, then refine with another pass. Iterative prompting usually delivers better results than cramming everything into one long request.

How to use the brush tool
The brush tool is the backbone of Generative Fill, and how you use it has a big influence on the final result.
It works by defining the area that Firefly will edit, so the more precise your selection, the better the AI can blend new elements into the existing image.
Accuracy matters. A brush that’s too large often leads to clumsy edges or unwanted changes, while a smaller brush helps you trace around shapes more carefully.
Adjusting brush size as you go – large strokes for broad areas, finer strokes for details – gives you more control. It’s also a good idea to slightly overlap the edges of the object or space you want to change, so Firefly has enough context.
Be mindful of how much you select. Overpainting a background or entire object when you only need a small tweak will make it harder for the AI to produce natural results.
If you make a mistake, you can simply try again. Selections don’t need to be perfect, but cleaner outlines usually mean better outcomes. With practice, using the brush becomes second nature, helping you to work quickly.

Choosing and refining results
Once you’ve painted your selection and added a prompt, Firefly generates several variations for you to browse.
If none of the options are quite right, you can regenerate more variations with the same prompt, or tweak the wording slightly to guide the AI in a new direction.
Often, small changes – like adding “soft lighting” or “wooden table” – help refine the outcome. Don’t be discouraged if it takes a few tries, as iterative editing is part of the process.
Firefly also gives you the option to provide feedback on generated content, which is useful if you spot an unrealistic result or one that feels off. Adobe uses this feedback to improve the tool over time.
Finally, remember that Generative Fill doesn’t have to get everything perfect in one pass. You can layer edits, refine one area at a time, and gradually build towards a polished final image.
An incremental approach with AI tools is often more effective than expecting flawless results immediately.
Advanced Firefly tips for pros
Generative Fill can produce impressive edits with little effort, but a few advanced techniques help push results further.
A good approach is to combine Generative Fill with other Adobe tools.
After generating an element in Firefly, open the image in Adobe Express or Photoshop for fine-tuning. Adjusting colour balance, contrast, or perspective helps the new object blend naturally.
In Photoshop, layers and masks give more control, letting you refine edges or soften shadows.
Layering edits also improves results. Instead of generating a complex change at once, build it step by step, adding an object, adjusting the background, then refining details. This reduces errors and makes it easier to backtrack if needed.
Finally, match the overall style of your image. If it has a vintage feel or a modern look, tailor prompts accordingly.
Adding cues like “soft golden light” or “minimalist design” ensures generated content feels integrated, not artificial. Aligning edits with the photo’s tone makes the final result more convincing.
Exporting and saving your work
Once you’re happy with your edits, Firefly makes it easy to save and share them.
You can download the final image directly, complete with content credentials that mark where AI was used, transparency that is becoming increasingly important, especially if you’re sharing work professionally or publishing online.
Another option is to send the image straight into Adobe Express for further tweaks. This is useful if you want to add text, apply filters, or build the edit into a larger design, such as a poster or social media post.
Express integrates smoothly with Firefly, so you can continue working without switching platforms or losing quality.
If you’d prefer to share your image instantly, Firefly also provides a share link, which is handy for quick feedback from clients or collaborators, as it avoids emailing large files.
For print projects, exporting at the highest resolution available will give you the cleanest results, while lower-resolution exports are usually fine for online use.
Adobe Firefly FAQs
- Can I use Generative Fill for commercial projects? Yes. Firefly’s outputs are cleared for commercial use.
- What’s the difference between Generative Fill in Firefly and Photoshop?
Firefly is web-based and simple, while Photoshop offers deeper control with layers and editing tools. - Does Firefly support high-resolution exports? You can export at up to 2,000 pixels on the longest edge.
- How do I fix unrealistic AI results? Refine your selection or prompt, regenerate variations, or fine-tune in Photoshop.
- Is Firefly free to use? Yes, with limited free credits.

TechRadar Pro created this content as part of a paid partnership with Adobe. The company had no editorial input in this article, and it was not sent to Adobe for approval.
Sign up to the TechRadar Pro newsletter to get all the top news, opinion, features and guidance your business needs to succeed!
Max Slater-Robins has been writing about technology for nearly a decade at various outlets, covering the rise of the technology giants, trends in enterprise and SaaS companies, and much more besides. Originally from Suffolk, he currently lives in London and likes a good night out and walks in the countryside.

