Sponsored by

How to edit photos in Adobe Lightroom
Adobe Lightroom is a powerful tool to edit photos without having to dive into Photoshop
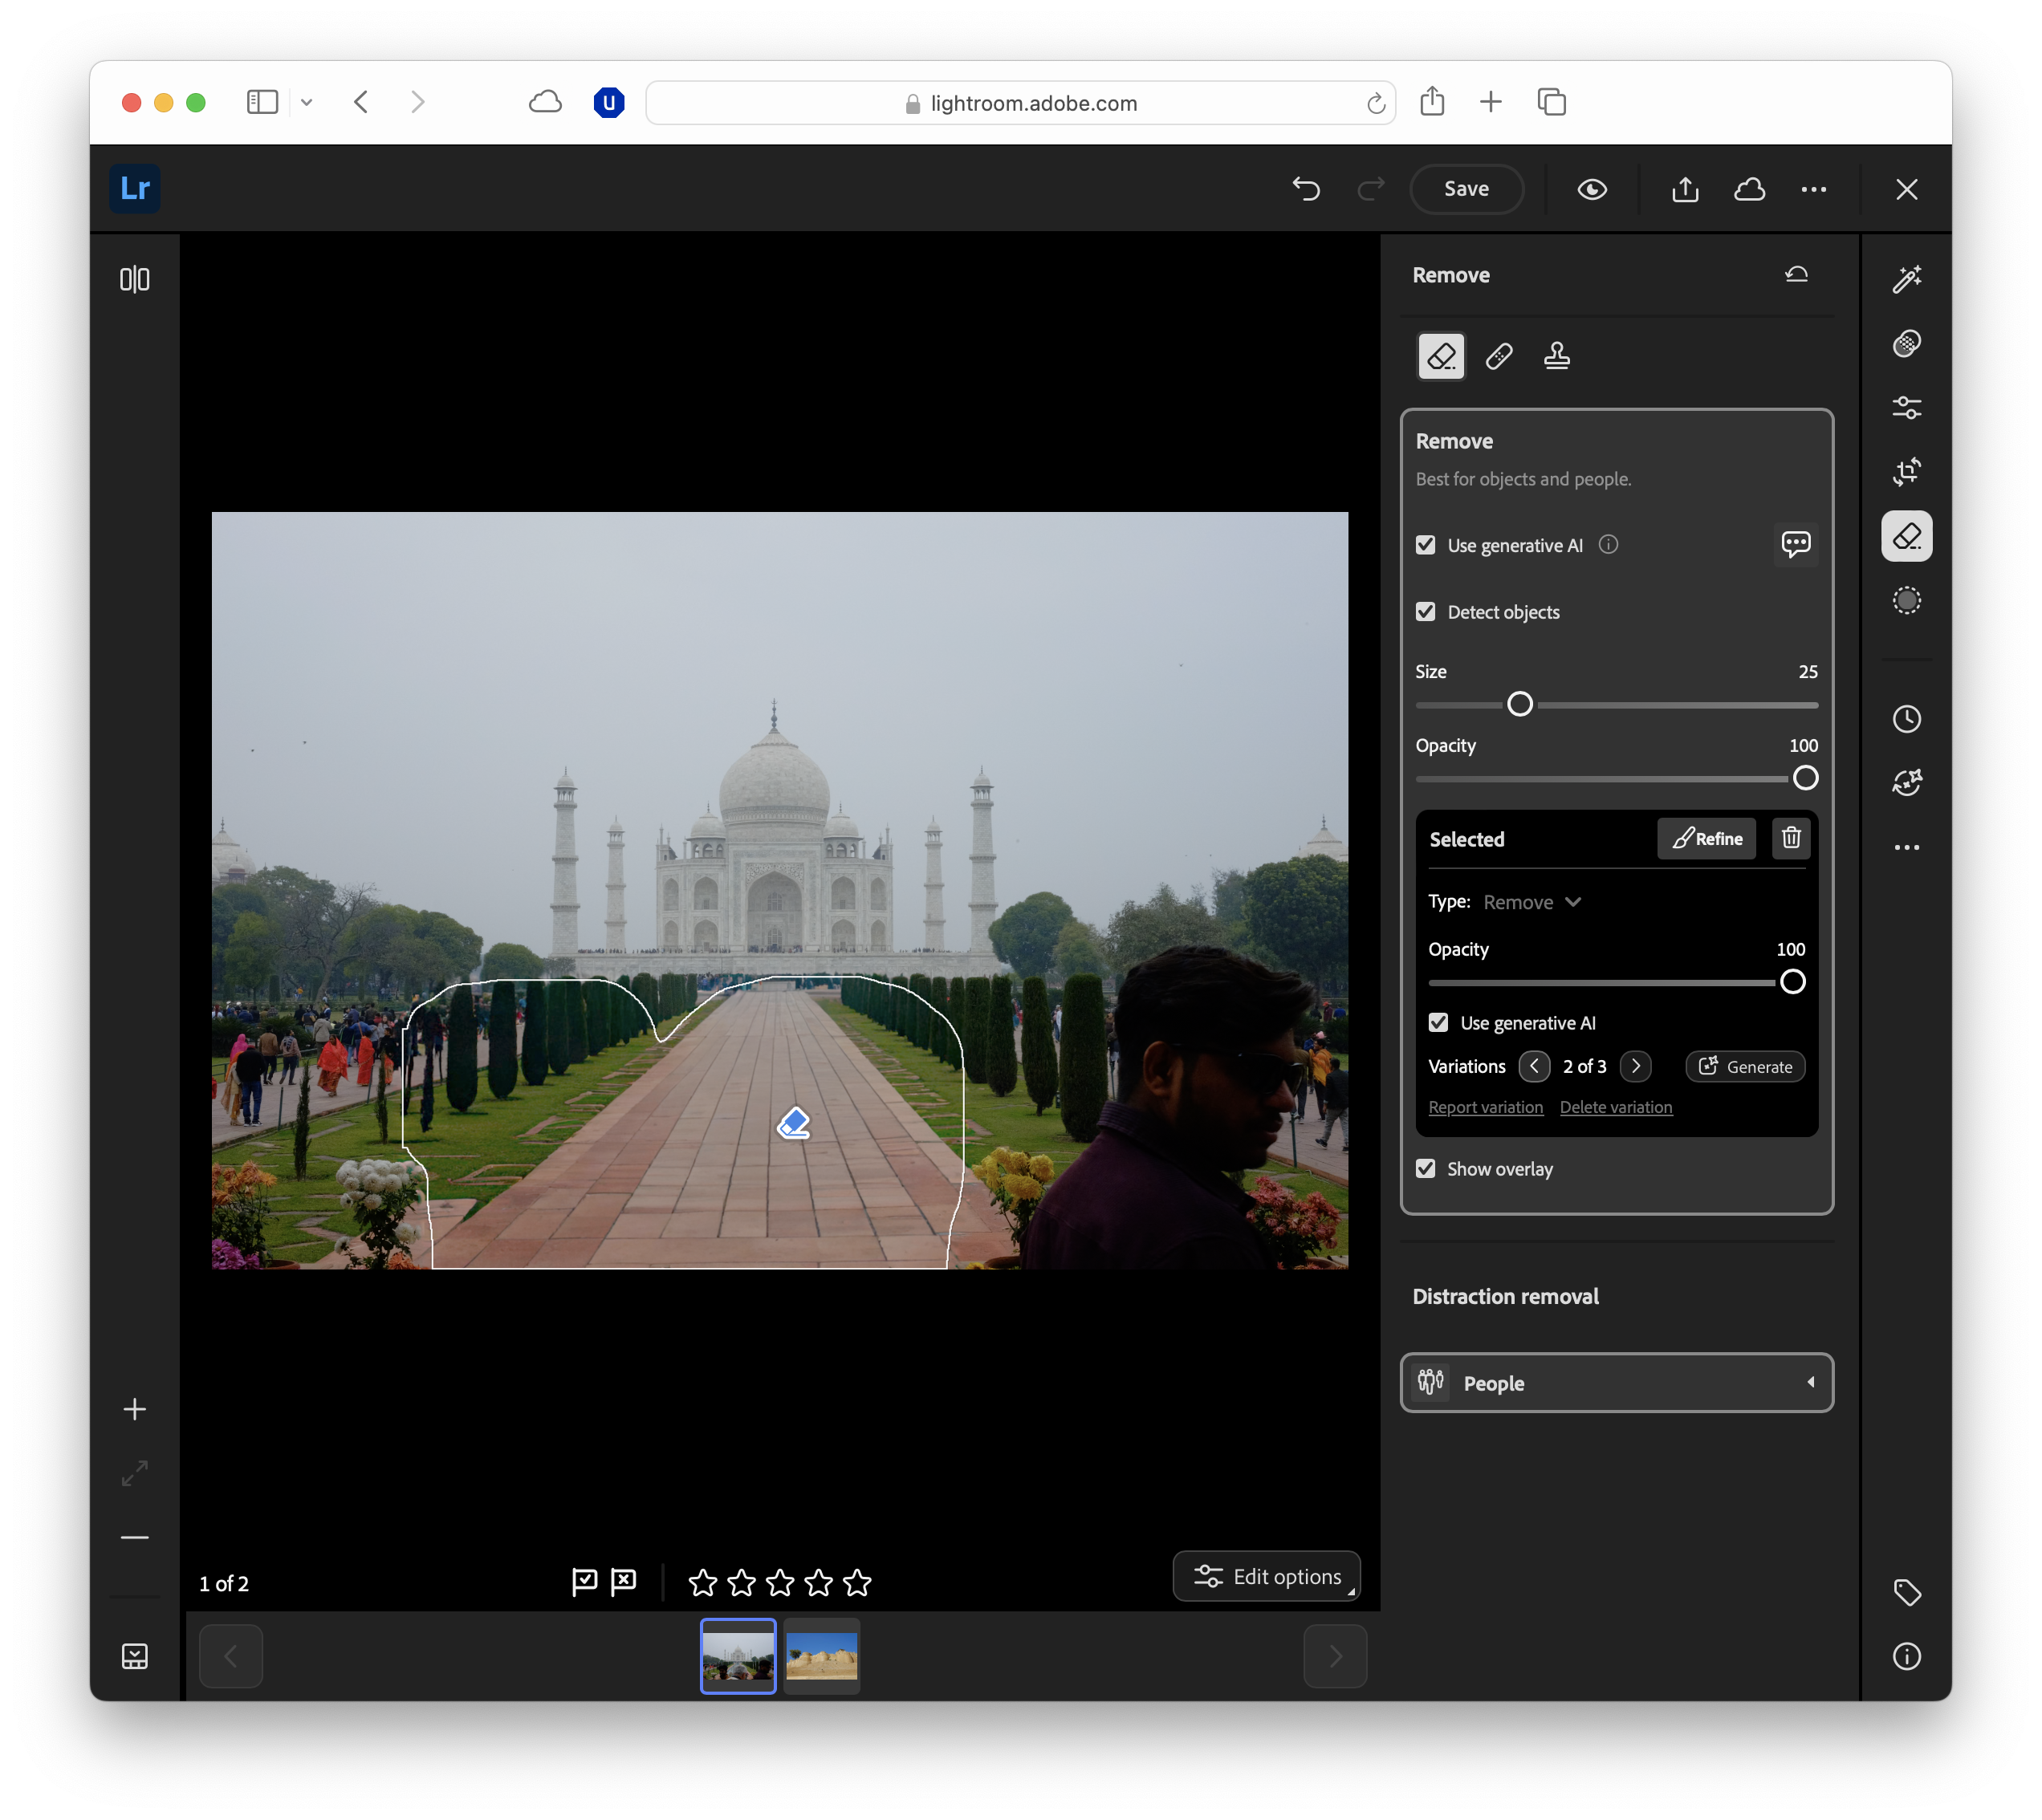
Editing photos isn’t just about fixing mistakes – it’s about bringing out the best in your images and giving them a look that’s uniquely yours.
Adobe Lightroom has long been a favourite for photographers of all skill levels thanks to its powerful, non-destructive editing tools, intuitive interface, and seamless syncing between devices.
Whether you’re fine-tuning a family snapshot, polishing a portfolio shot, or experimenting with creative colour grading, Lightroom gives you the flexibility to work quickly without sacrificing control.
While many pro photographers will choose Photoshop, Lightroom is perfect for more casual editors that still want to ensure their photos look perfect.
Lightroom comes in two main versions: the cloud-based Lightroom, which works seamlessly across desktop and mobile, and Lightroom Classic, designed for desktop-focused workflows with more in-depth organisational tools.
In this guide, we’ll walk you through the complete editing process, from importing and organising your photos to applying precise adjustments and exporting the final results.
Adobe Lightroom isn't quite as powerful as Photoshop, but for most people, there are a lot of great features to help you edit your photos. You can check it out by clicking here.
Importing and organising photos
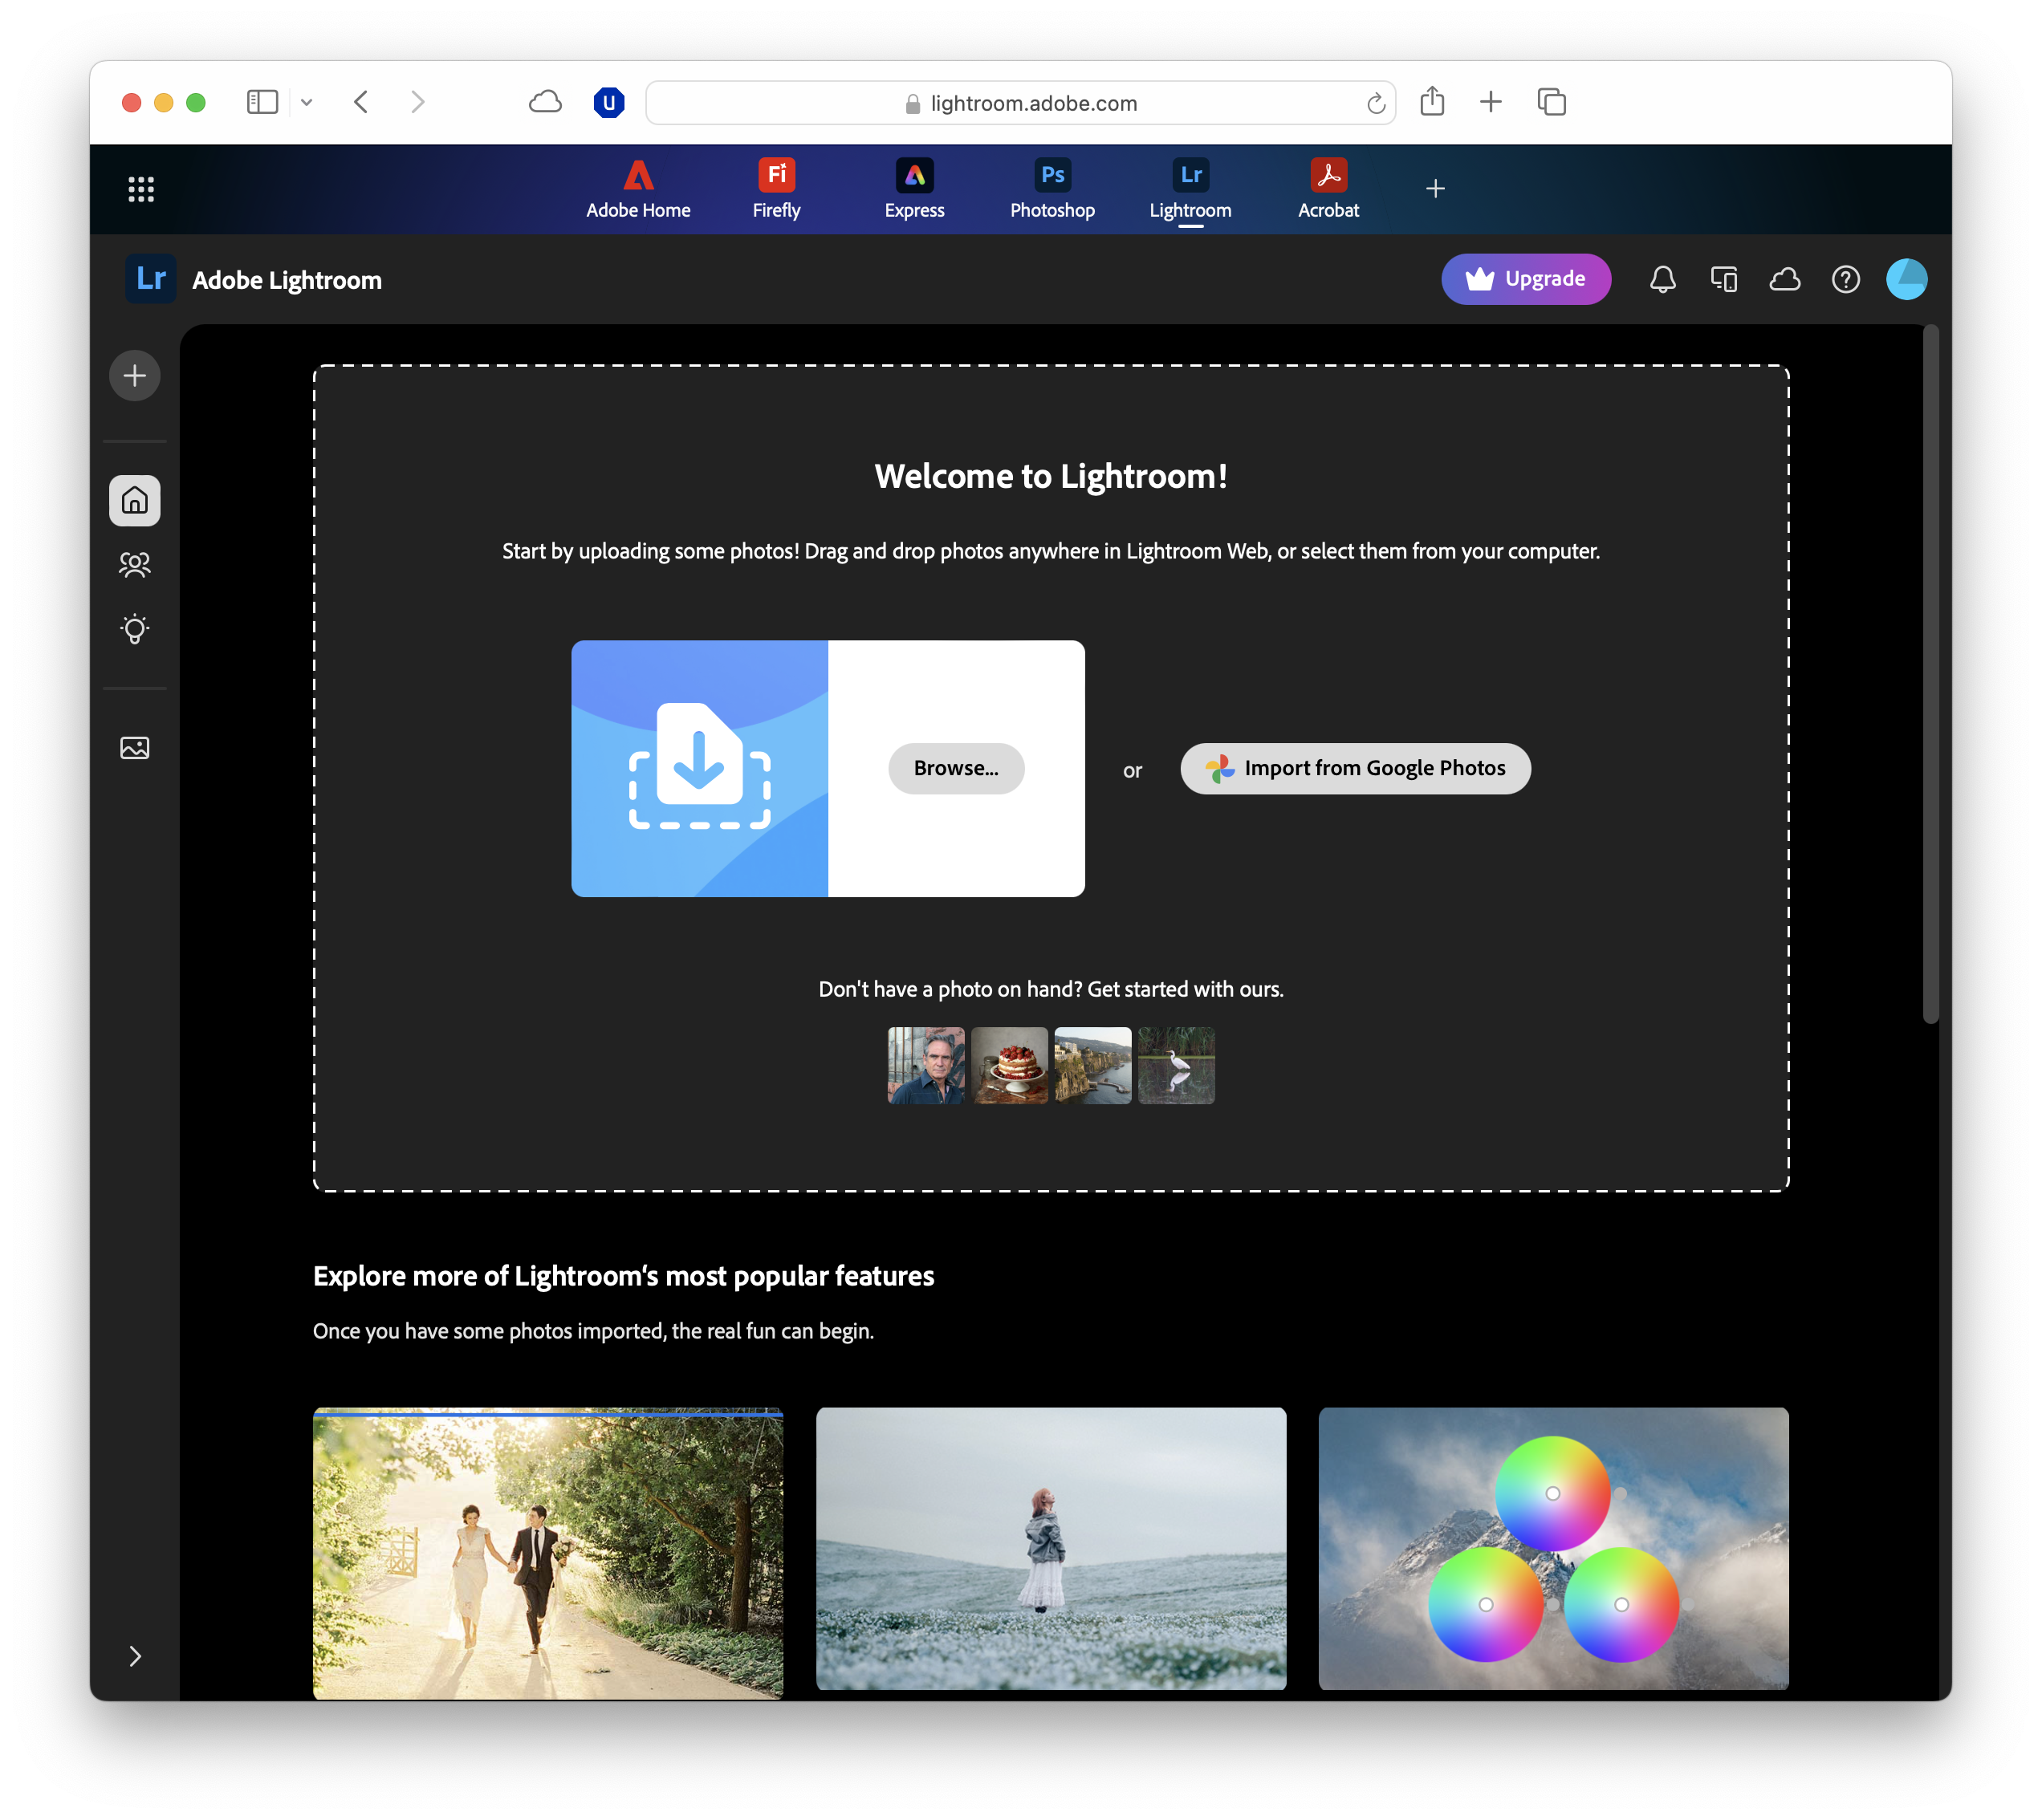
Before you can start editing, you’ll need to bring your images into Lightroom.
The process is straightforward, but the exact steps depend on whether you’re using Lightroom or Lightroom Classic. Both let you import from a camera, memory card, or a PC folder, and both support RAW and JPEG files.
In Lightroom (cloud-based), click the Add Photos button, then choose your source. This could be your local drive, an attached device, or your cloud library if you’ve synced images from another device. Imported images are automatically added to your cloud storage, making them accessible on mobile and web.
In Lightroom Classic, you’ll work with a catalogue – a database that tracks your edits and image locations without altering the original files.
Use the Import button at the bottom left to open the import window, select your source, and choose whether to copy photos to a new location or add them where they are. Classic also lets you apply develop presets, keywords, or metadata as part of the import process, which can save time later.
Once your photos are in Lightroom, it’s worth taking a few minutes to organize them, as boring as that might sound.
In Lightroom, create albums to group related shots. In Classic, you can create collections or use folders that mirror your drive’s structure.
Both versions let you rate photos with stars, apply colour labels, and flag or reject images, which are invaluable for quickly filtering a large shoot down.
Basic global adjustments
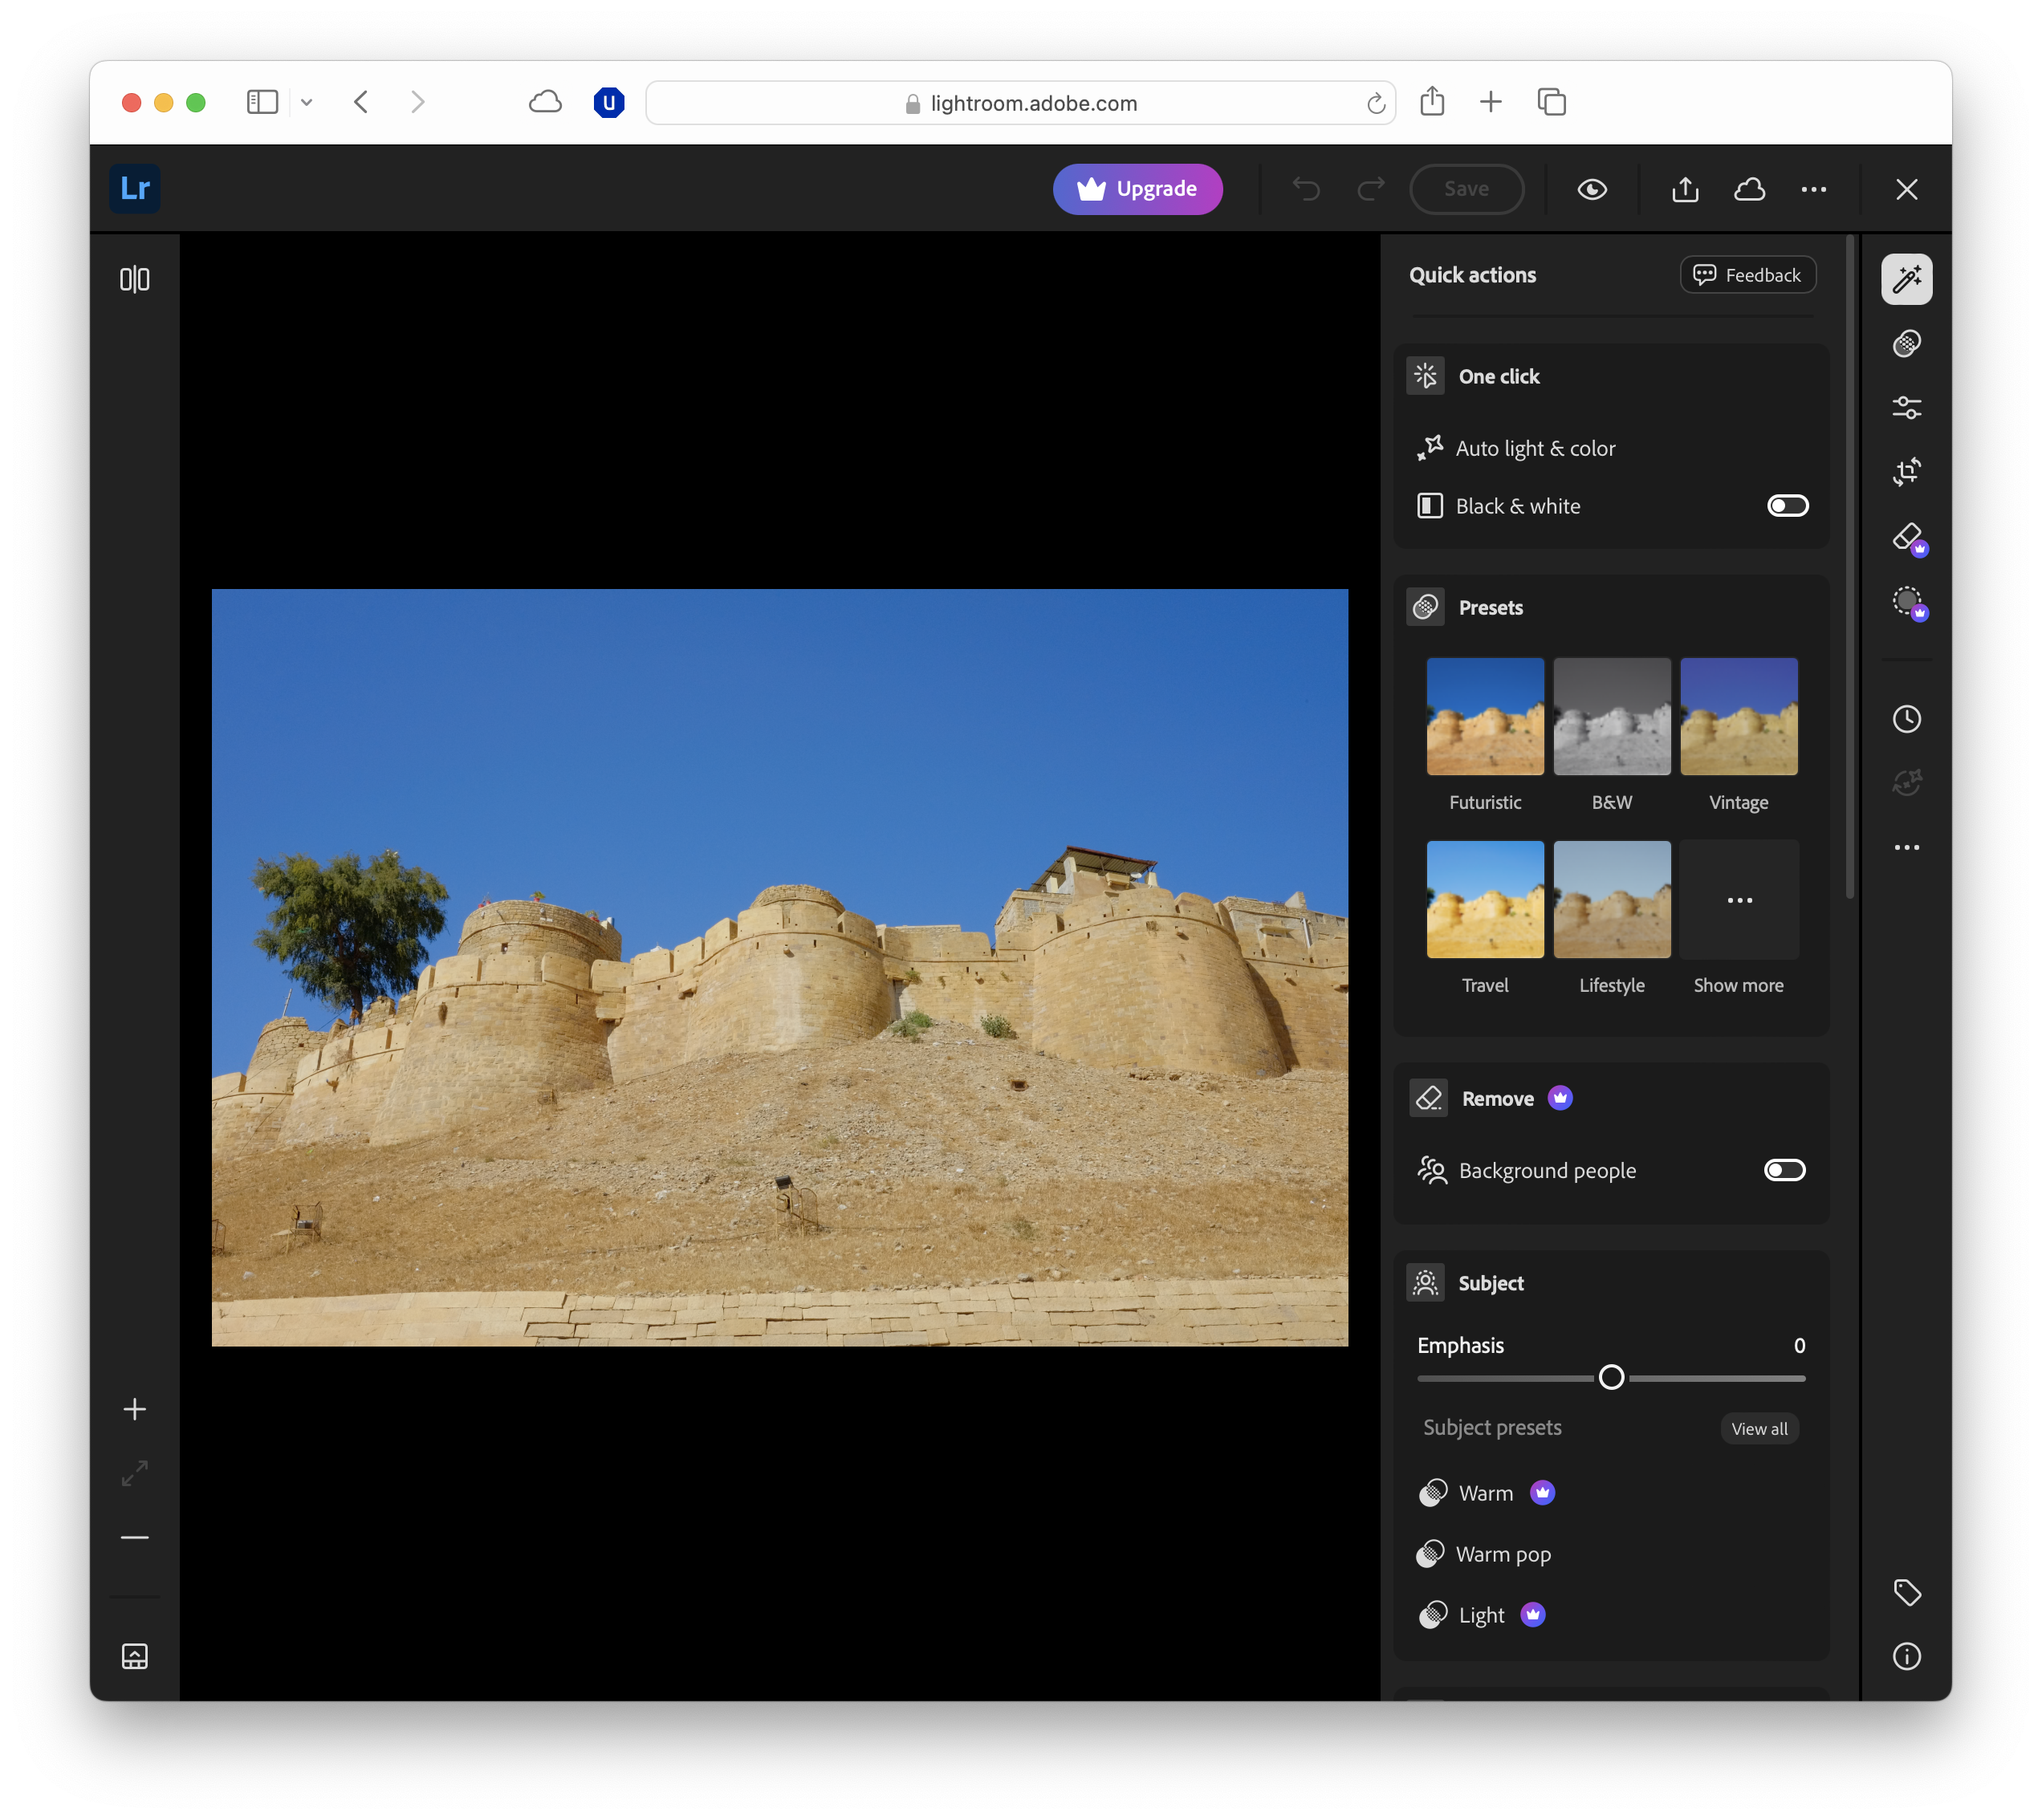
Once your photos are imported and organised, the next step is to make broad, overall changes that set the tone for your edit.
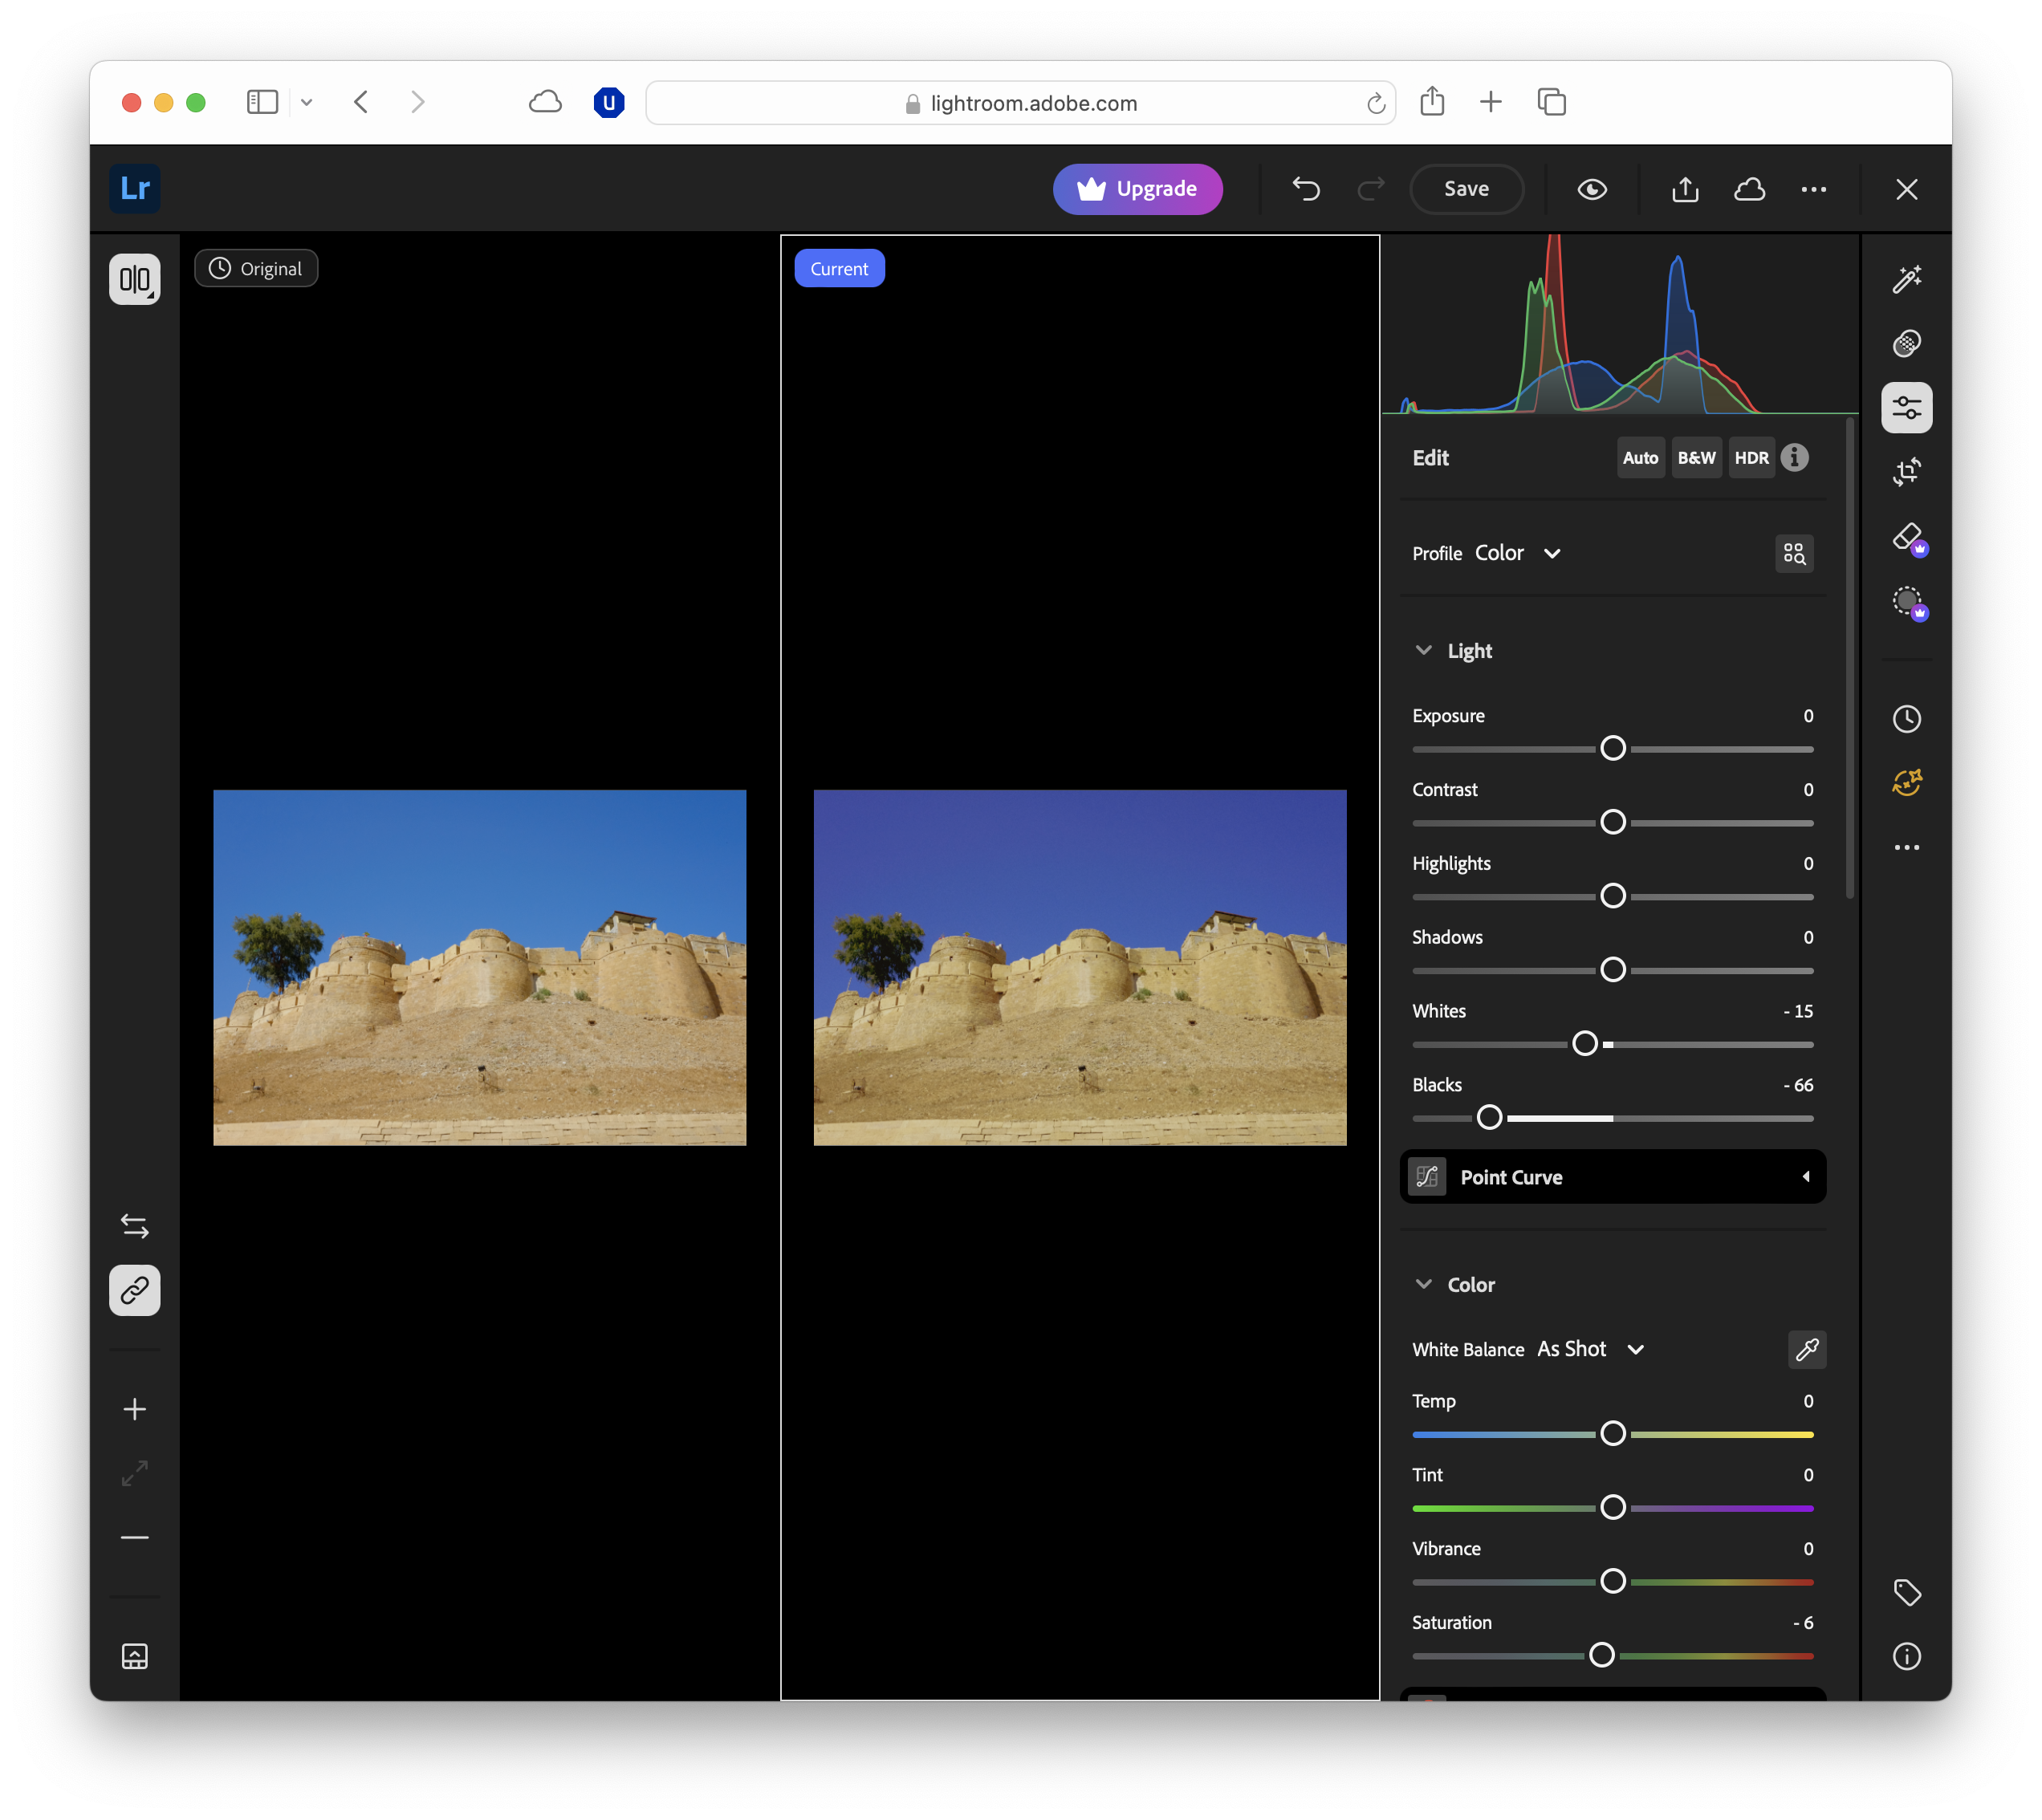
In both versions, most of this happens in the Basic panel, which is a one-stop shop for exposure, contrast, and colour tweaks that affect the whole image.
- Exposure and contrast: Use the Exposure slider to brighten or darken your photo overall. This is different from adjusting brightness on your phone – it works on the RAW image data, so details in shadows and highlights are preserved for further fine-tuning. Contrast increases the difference between light and dark areas, which can make images appear more dramatic, but be careful not to push it too far or you may lose subtle detail.
- Highlights, shadows, whites, and blacks: These sliders let you target specific tonal ranges. Lowering Highlights can recover detail in bright skies, while lifting Shadows brings back information in darker areas. Whites and Blacks set the brightest and darkest points in your image.
- Colour temperature and tint: The Temp slider controls the image’s overall warmth or coolness. If your photo looks too blue (cool), slide towards yellow, and vice versa. The Tint slider balances green and magenta tones, useful for correcting tricky lighting situations such as fluorescent indoor lights.
- Vibrance and saturation: Both sliders boost colour, but in different ways. Saturation increases the intensity of all colours equally, which can quickly become overpowering. Vibrance is more selective and targets less-saturated colours first, helping maintain natural skin tones and avoiding over-saturation in already vivid areas.
Lightroom also has an Auto button in the Basic panel, which applies AI-powered adjustments, to get the ball rolling.
While this won't be on the level of careful manual edits, it can be a useful starting point, but you’ll often want to tweak the results to match your preferences.
Lens correction, perspective fixes, and more
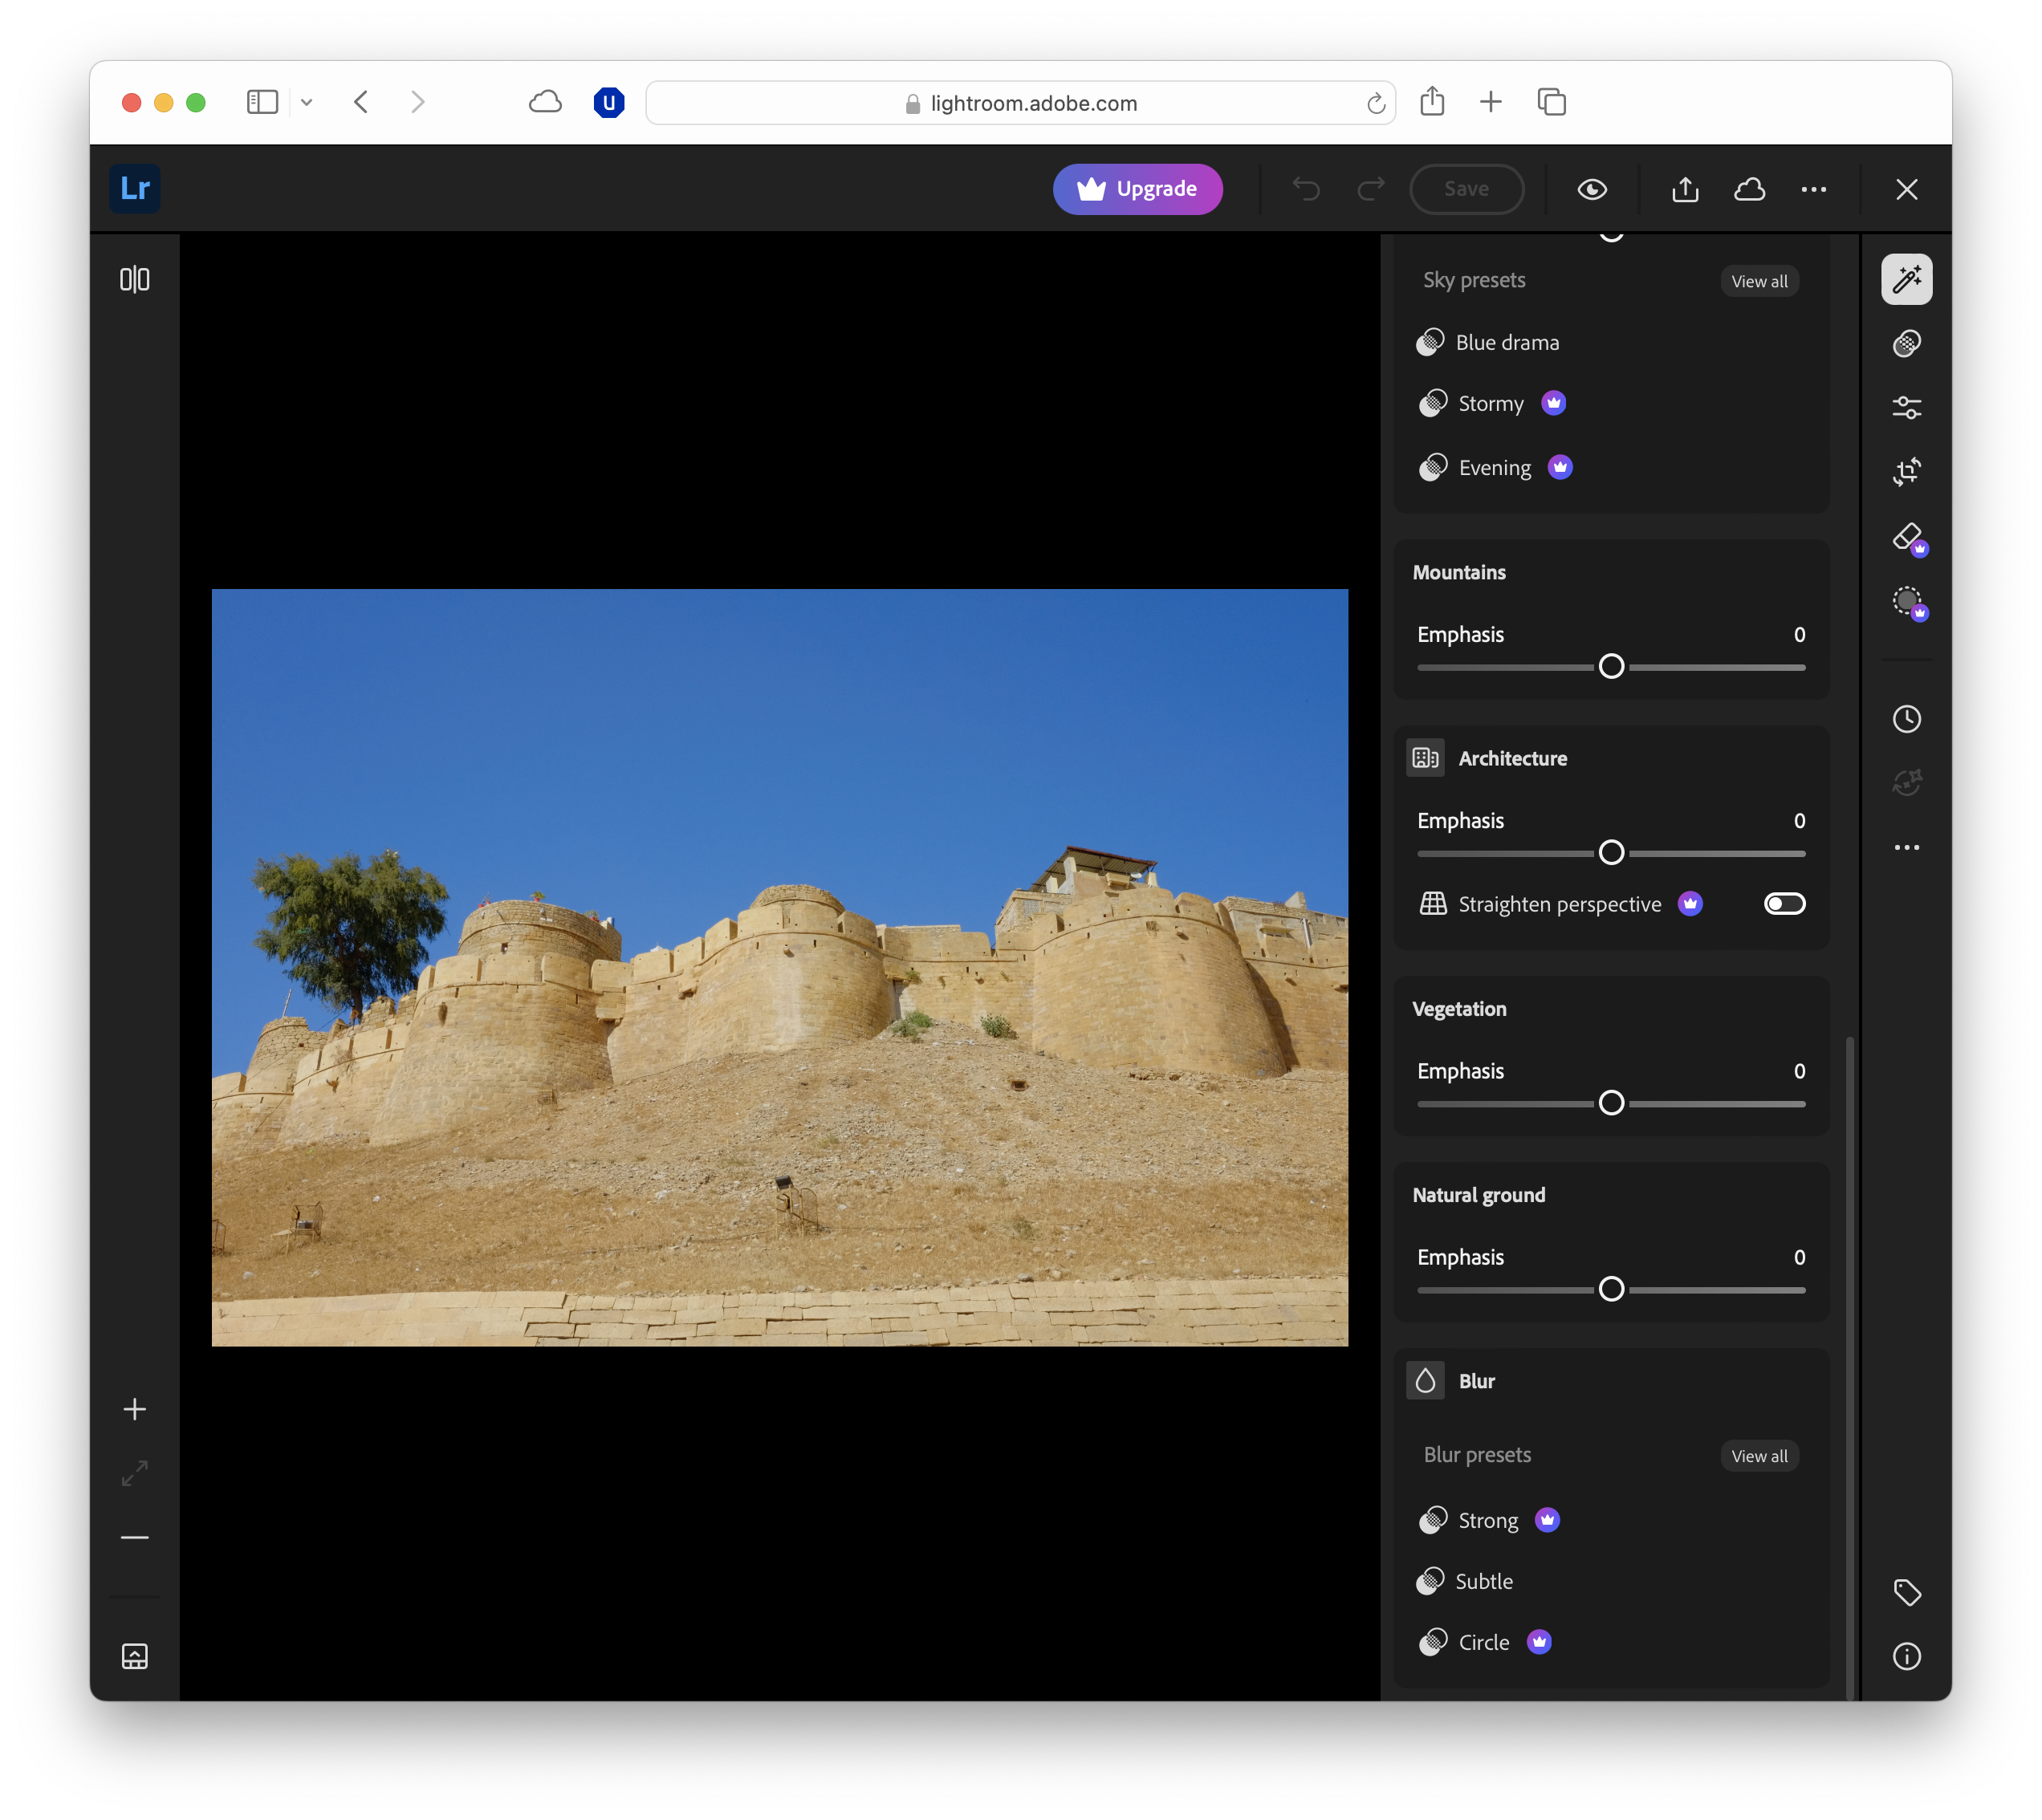
After you’ve set the overall exposure and colour, it’s time to address any optical imperfections from your lens or camera, correct skewed lines, and fine-tune sharpness and clarity.
These adjustments can make a huge difference to the perceived quality of your images, especially for architectural shots, landscapes, and detailed close-ups.
- Lens profile corrections: Both versions can automatically detect your lens model and apply a corresponding profile to fix distortion, vignetting (darkened corners), and chromatic aberration (colour fringing).
- Perspective and transform tools: If you’ve photographed a building or interior, you may notice vertical lines leaning inwards due to perspective distortion. The Transform panel offers several auto-correct options – such as Auto, Vertical, Full, Level, and Guided – as well as manual sliders.
- Sharpening enhances edge contrast to make details pop, but too much can create halos or a crunchy texture. In the Detail panel, start with the Amount slider, then refine using Radius (how wide the sharpening effect spreads) and Detail (how much fine texture is emphasised).
- Sharpening Bonus: Use the Masking slider while holding the Alt/Option key to limit sharpening to the most important edges, reducing noise in flat areas like skies.
- Noise reduction: Low-light photos, high ISO settings, or heavy cropping can introduce digital noise – grainy speckles that reduce image quality. Lightroom’s Noise Reduction sliders in the Detail panel tackle this.
- Luminance controls brightness noise, while Colour reduces coloured speckles. Apply just enough to smooth the image without losing essential detail.
Masking, local adjustments, and colour grading
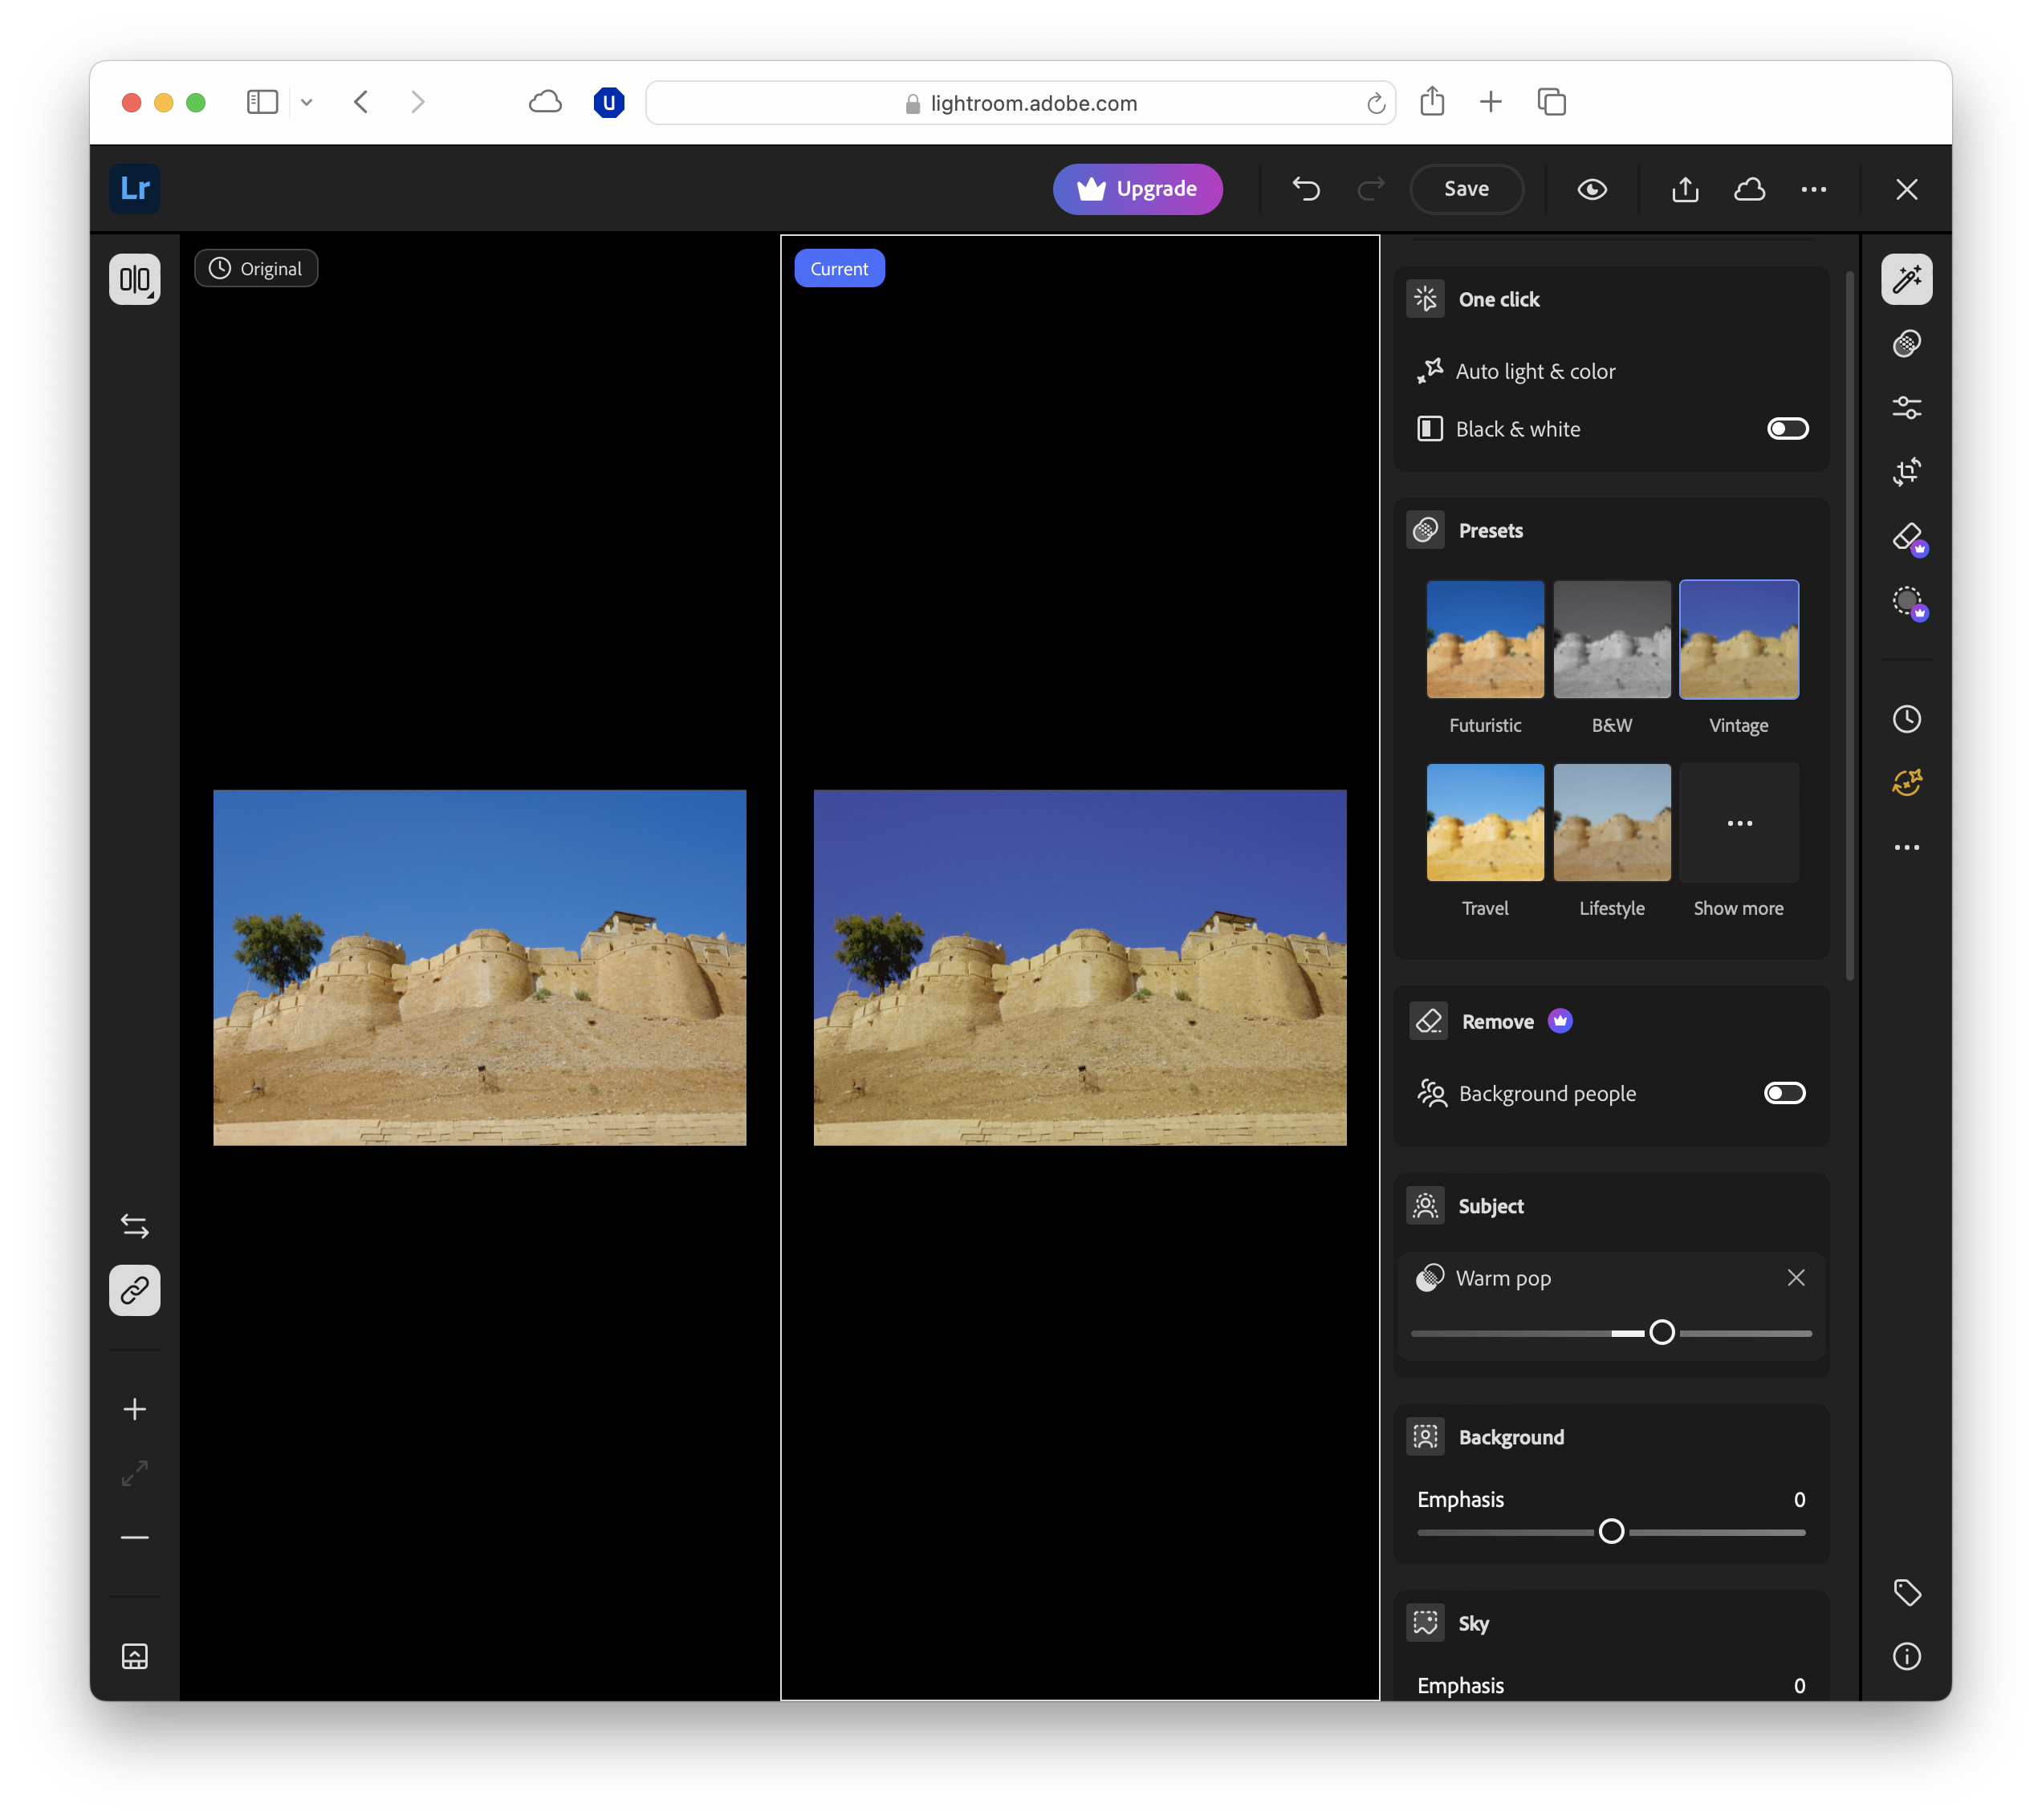
Once your image is technically sound, you can start refining it with targeted edits.
Lightroom’s masking tools let you adjust specific areas without affecting the whole photo, while colour grading gives you the creative freedom to set a mood or style. Basically, this is the fun stuff.
Masking and local adjustments
In Lightroom and Lightroom Classic, the Masking button (a circle with a dotted outline) opens a panel of selection tools. You can choose from brushes, linear gradients, radial gradients, or AI options like Select Subject and Select Sky.
For example, you might darken a bright sky to restore depth, lighten a face in a portrait, or increase texture in a foreground object.
Brushes let you paint adjustments manually, while gradients are perfect for subtle fades in landscapes or architectural shots.
Each mask works independently, so you can apply different settings – exposure, colour, texture, clarity – to each one. You can also invert masks, duplicate them, or combine them for complex selections.
AI-powered masking
Recent Lightroom updates have made masking faster and more accurate. AI can now detect multiple subjects, skies, and even background areas, reducing the need for manual fine-tuning.
AI masking is especially useful on Lightroom's mobile apps, where precision editing can be trickier with touch controls.
Creative colour grading
The Colour Grading panel helps you adjust hues, saturation, and luminance separately for shadows, mid-tones, and highlights.
You can also add subtle tints for mood – cool tones for a winter scene, warm tones for sunset shots.
The Blending slider controls how smoothly these colours transition, while Balance determines whether shadows or highlights dominate the effect.
Presets – and making your own
Lightroom’s built-in presets can give your photo an instant style, from vibrant landscapes to moody monochromes.
Applying a preset isn’t the end of the process – you can tweak the sliders afterwards to suit your image. If you’ve crafted a look you love, save it as a custom preset for future projects or batch edits.
By combining precise masking with thoughtful colour grading, you can move beyond simple corrections into truly creative territory, shaping your images to match your vision.
Exporting and workflow tips
Once you’re happy with your edits, it’s time to share or store the final image.
In both Lightroom and Lightroom Classic, you’ll find export options under the Share or Export commands.
Choose a file format – JPEG for general use, TIFF for high-quality printing, or DNG for preserving RAW edits – and set the resolution, quality, and colour space.
For speed, Lightroom lets you create export presets with your preferred settings, so you can output multiple images in one click. Classic offers batch exporting and can even apply watermarks during the process.
FAQs
- Is Lightroom free to use? Lightroom offers a limited free tier and paid plans, with a free trial. There’s also a mobile app with limited free features.
- What’s the difference between Lightroom and Lightroom Classic? Lightroom is cloud-based and works across devices, while Classic is desktop-focused with deeper organisational tools.
- Can I edit RAW photos in Lightroom? Yes. Both versions fully support RAW files, allowing more detailed edits without quality loss.
- Will my edits overwrite the original image? No. Lightroom uses non-destructive editing, so your original file stays untouched.
- Can I use Lightroom without an internet connection? Yes – Lightroom Classic works fully offline, and Lightroom can edit offline, syncing changes when reconnected.
YOU MIGHT ALSO LIKE
- The 5 biggest new Photoshop, Firefly and Premiere Pro tools that were announced at Adobe Max London 2025
- Adobe Lightroom review: Organize, edit and share your photography
- How to use Adobe Firefly in 30 minutes
- How to focus on an object in Photoshop

TechRadar Pro created this content as part of a paid partnership with Adobe. The company had no editorial input in this article, and it was not sent to Adobe for approval.
Sign up to the TechRadar Pro newsletter to get all the top news, opinion, features and guidance your business needs to succeed!
Max Slater-Robins has been writing about technology for nearly a decade at various outlets, covering the rise of the technology giants, trends in enterprise and SaaS companies, and much more besides. Originally from Suffolk, he currently lives in London and likes a good night out and walks in the countryside.

 Become a TechRadar Insider


