Presented by

How to focus on an object in Photoshop
Adobe Photoshop is an incredibly powerful tool for editing photos, especially with its new AI tools – here's how to focus on an object

Adobe Photoshop is a powerhouse when it comes to image editing, but with so many tools available, knowing how to highlight your subject effectively can make the difference between an average image and a striking one.
One particularly useful skill is learning how to “focus” on a specific object – isolating your subject while subtly blurring the background to mimic a shallow depth-of-field effect.
Knowing how to use this technique is especially helpful in product photography, headshots, marketing visuals, and social media assets, where drawing the viewer’s eye to a single focal point is key.
Thankfully, Photoshop offers more than one way to do this.
The built-in Focus Area tool helps you quickly detect and isolate in-focus subjects, while manual options like Select Subject combined with Lens Blur provide more control for complex edits.
Whether you're using Photoshop on Windows or macOS, we're here to walk you through each method step-by-step, ensuring your photos look polished.
Try Adobe Photoshop free for 7 days
Packed with professional-grade tools and features, Photoshop is our top pick for photographers, designers, and creators. See what you can create by clicking here.
Preferred partner (What does this mean?)
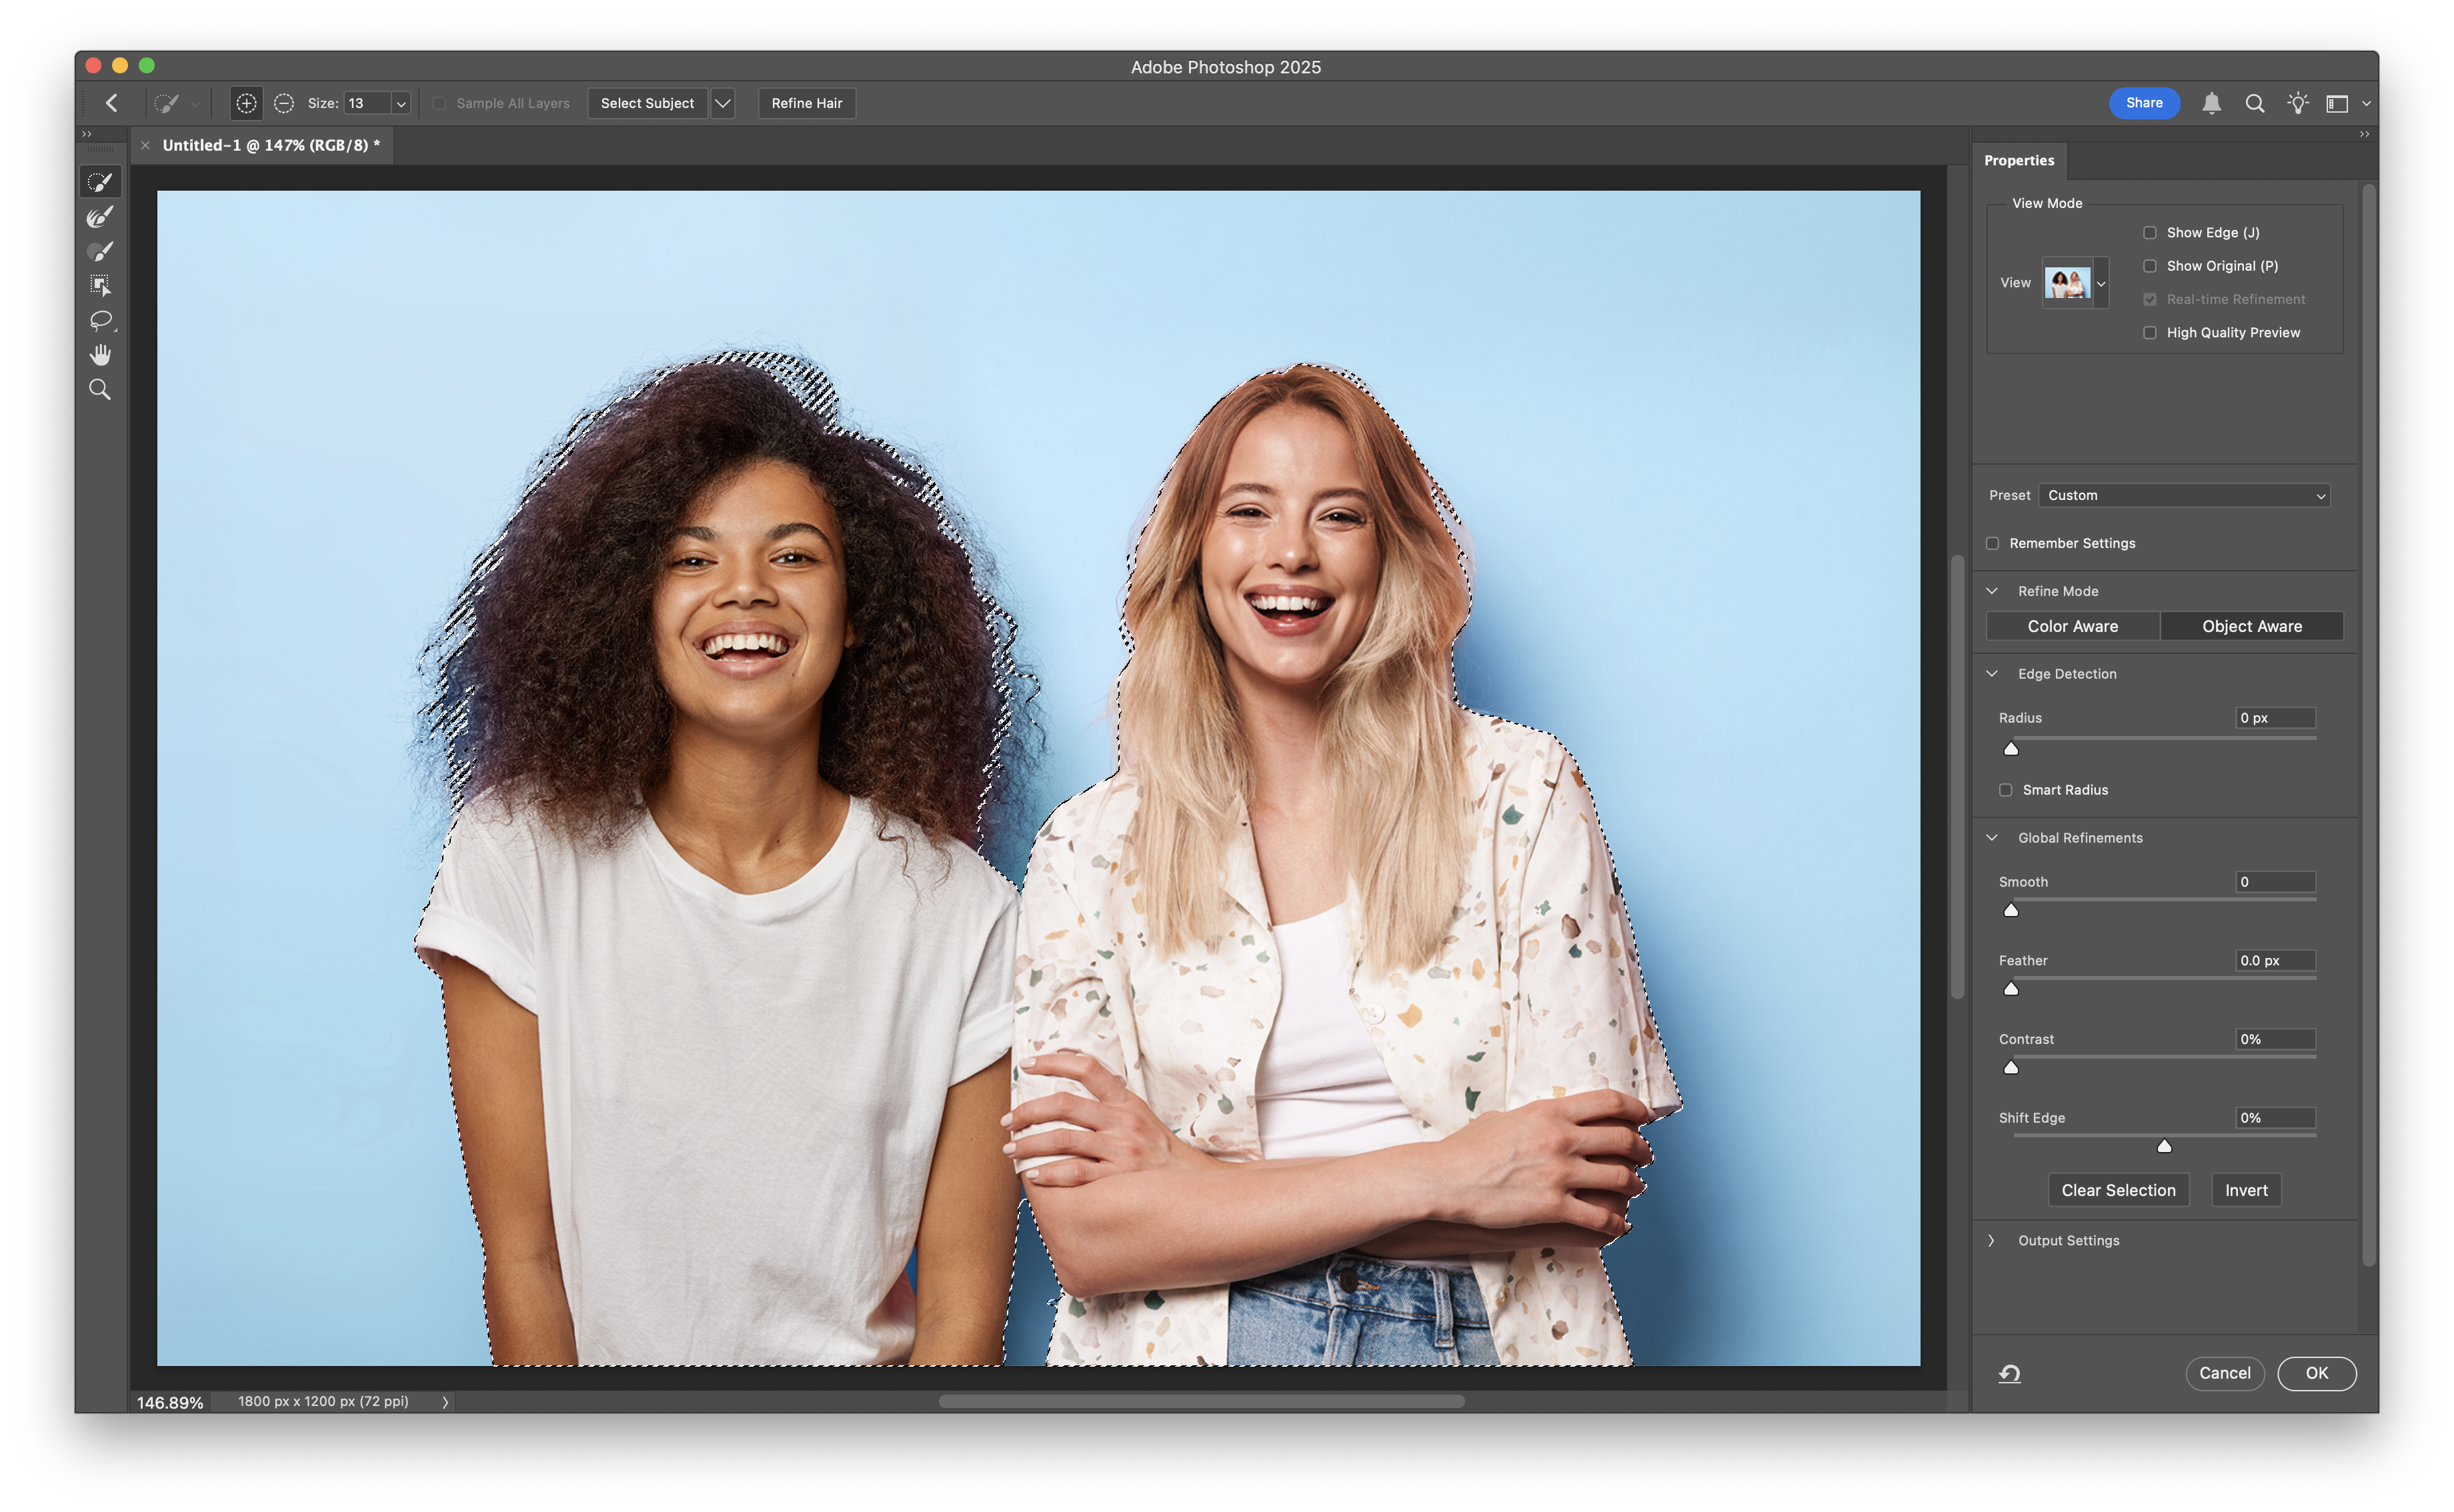
What does "focusing on an object" mean?
In photography, focus refers to the sharpest part of an image – usually the subject – while the background appears softer or blurred.
Photoshop replicates this effect digitally, helping you draw attention to a specific object or person (or even people) by isolating it and subtly blurring the rest.
To focus on an object, Photoshop has two main approaches:
- Automatic detection with the Focus Area tool: Photoshop scans your image to detect and select in-focus regions, which is ideal when your subject already stands out from the background (like headshots).
- Manual selection and background blur: You define the subject using tools like Select Subject or Quick Selection, then apply Lens Blur or Gaussian Blur to everything else.
Both methods can be done non-destructively using layer masks or Smart Filters, letting you adjust the effect at any point.
Let's get into how to actually achieve these effects in Photoshop.
System requirements and setup
Before diving in, make sure you're using a recent version of Photoshop – the Focus Area tool is available in Photoshop CC 2014 and later.
Adobe regularly updates the app through Creative Cloud, so both macOS and Windows users should install the latest version to ensure access to all features.
The steps we’ll cover are nearly identical across operating systems, though some interface elements may vary slightly. If you're working on mobile, the Photoshop iOS app offers a more limited set of tools – we'll cover that separately later on.
Method 1: Using the Focus Area tool
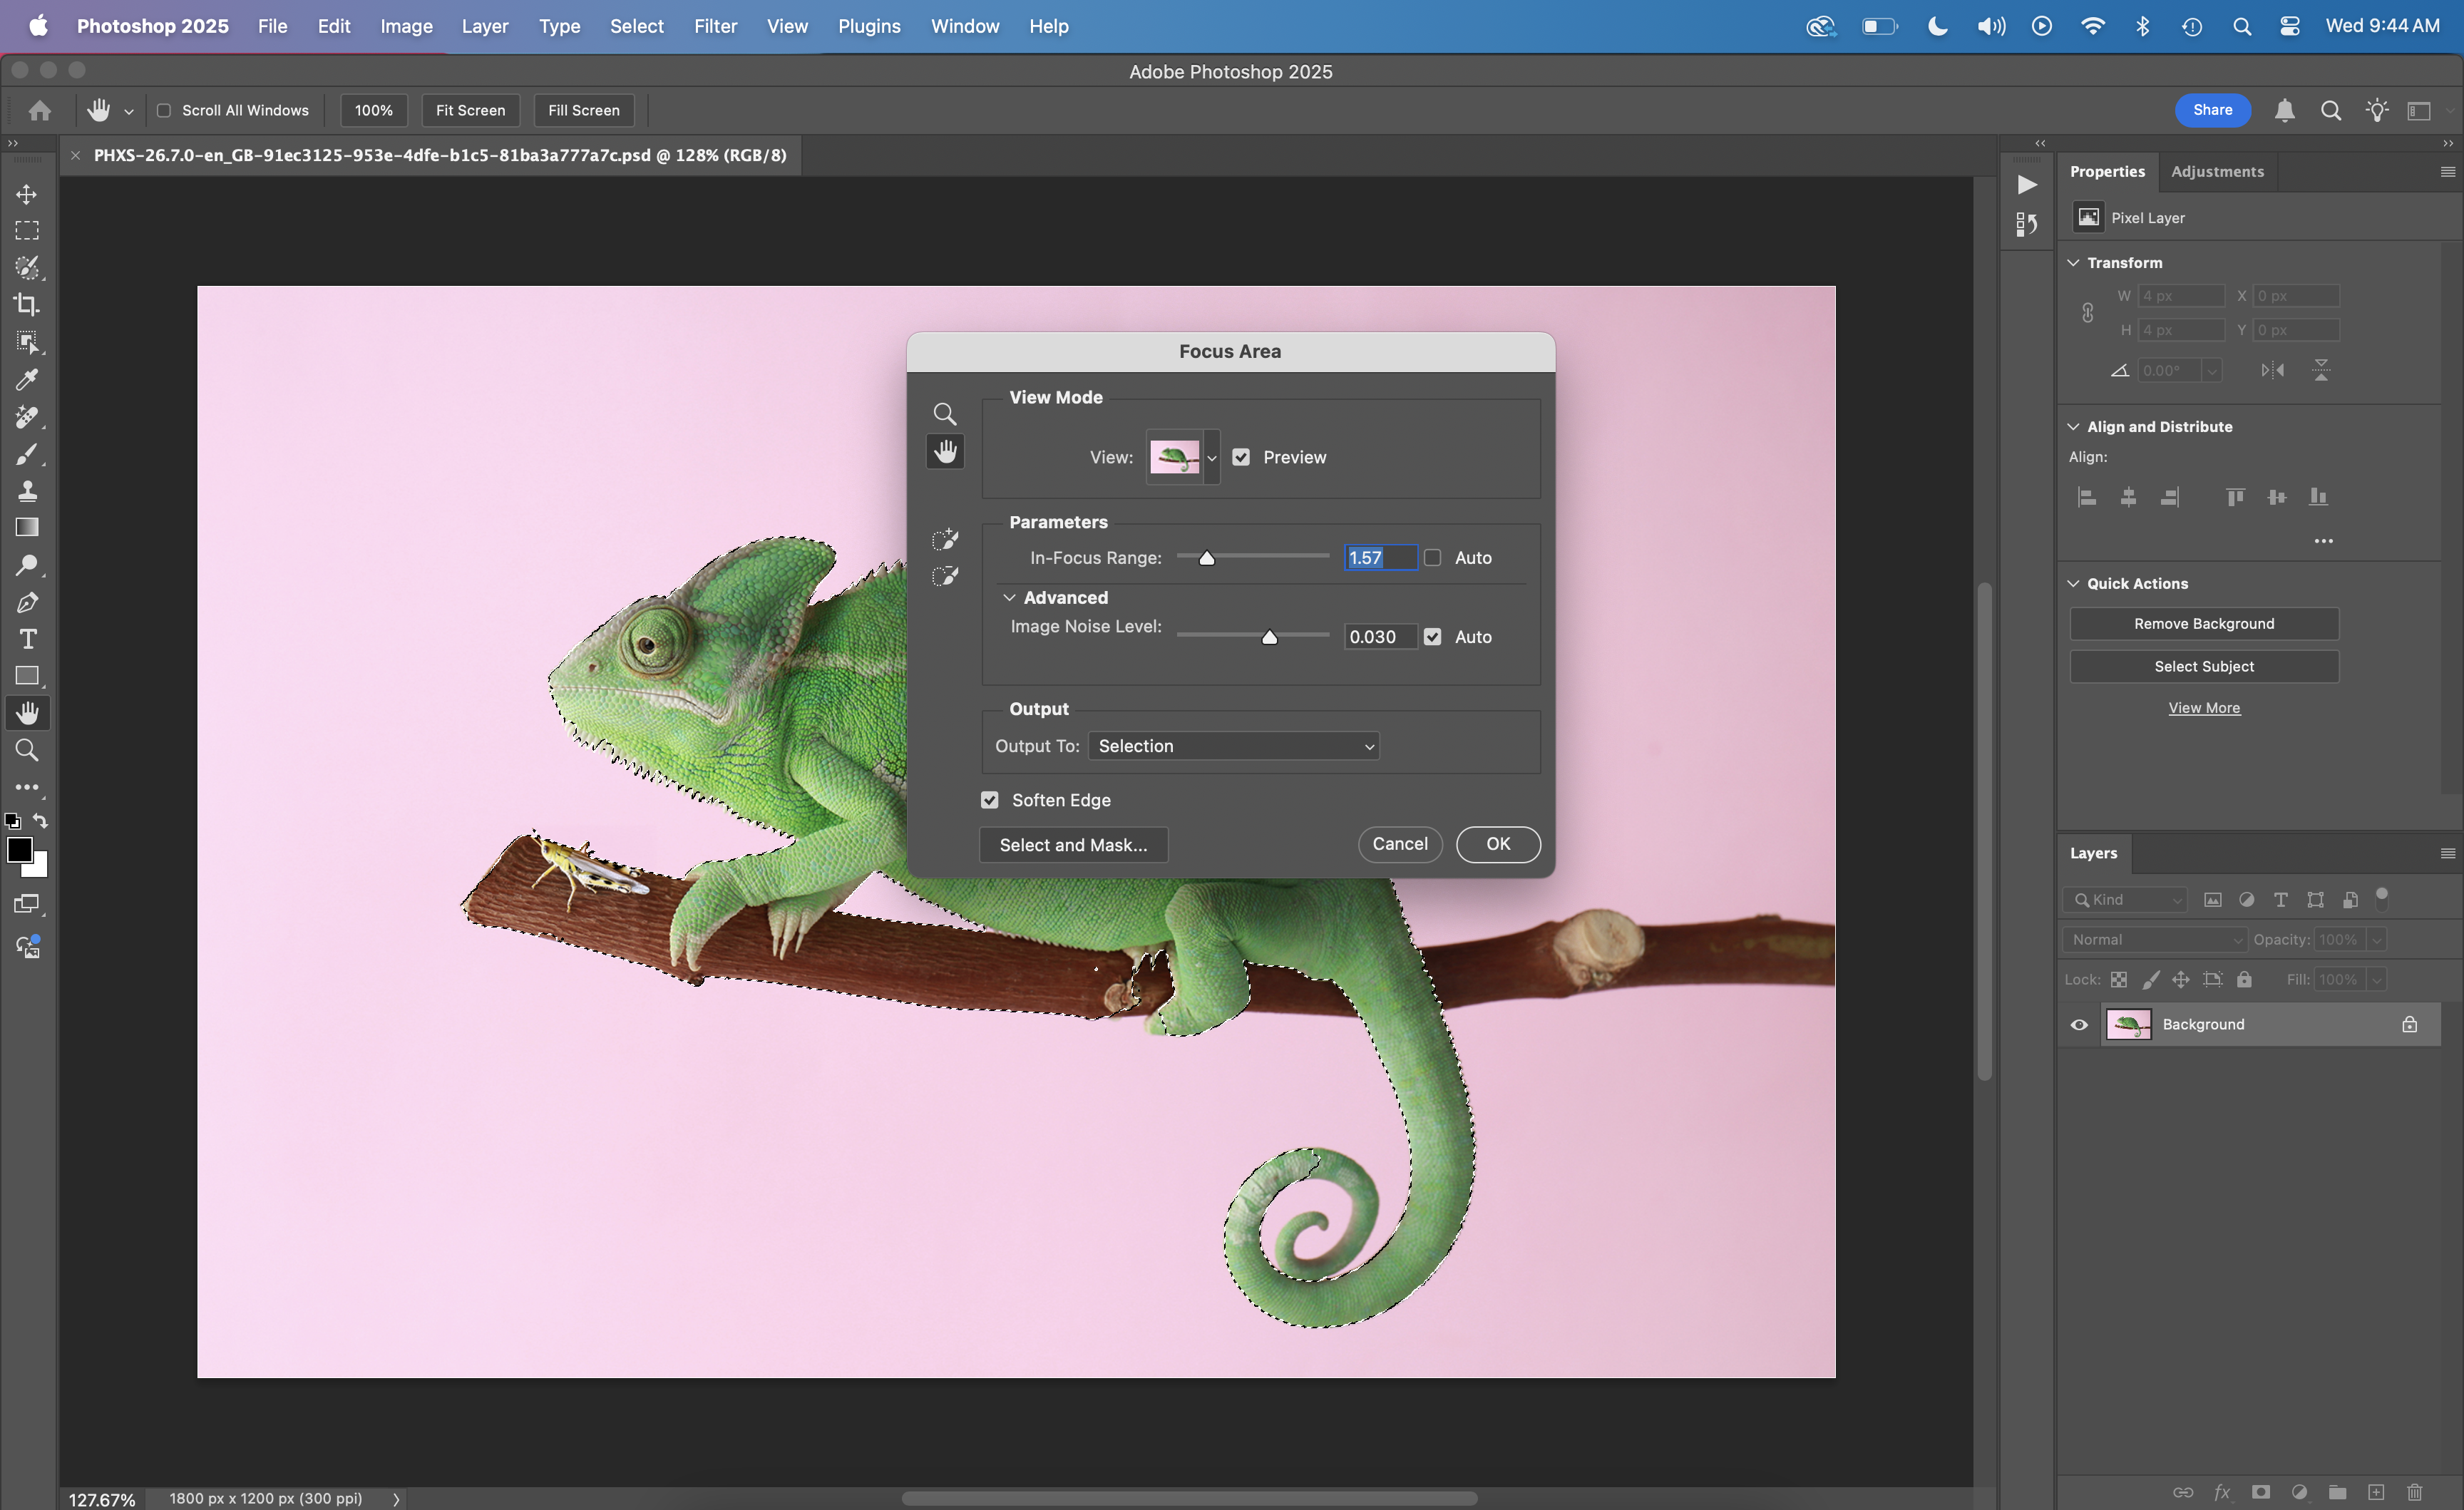
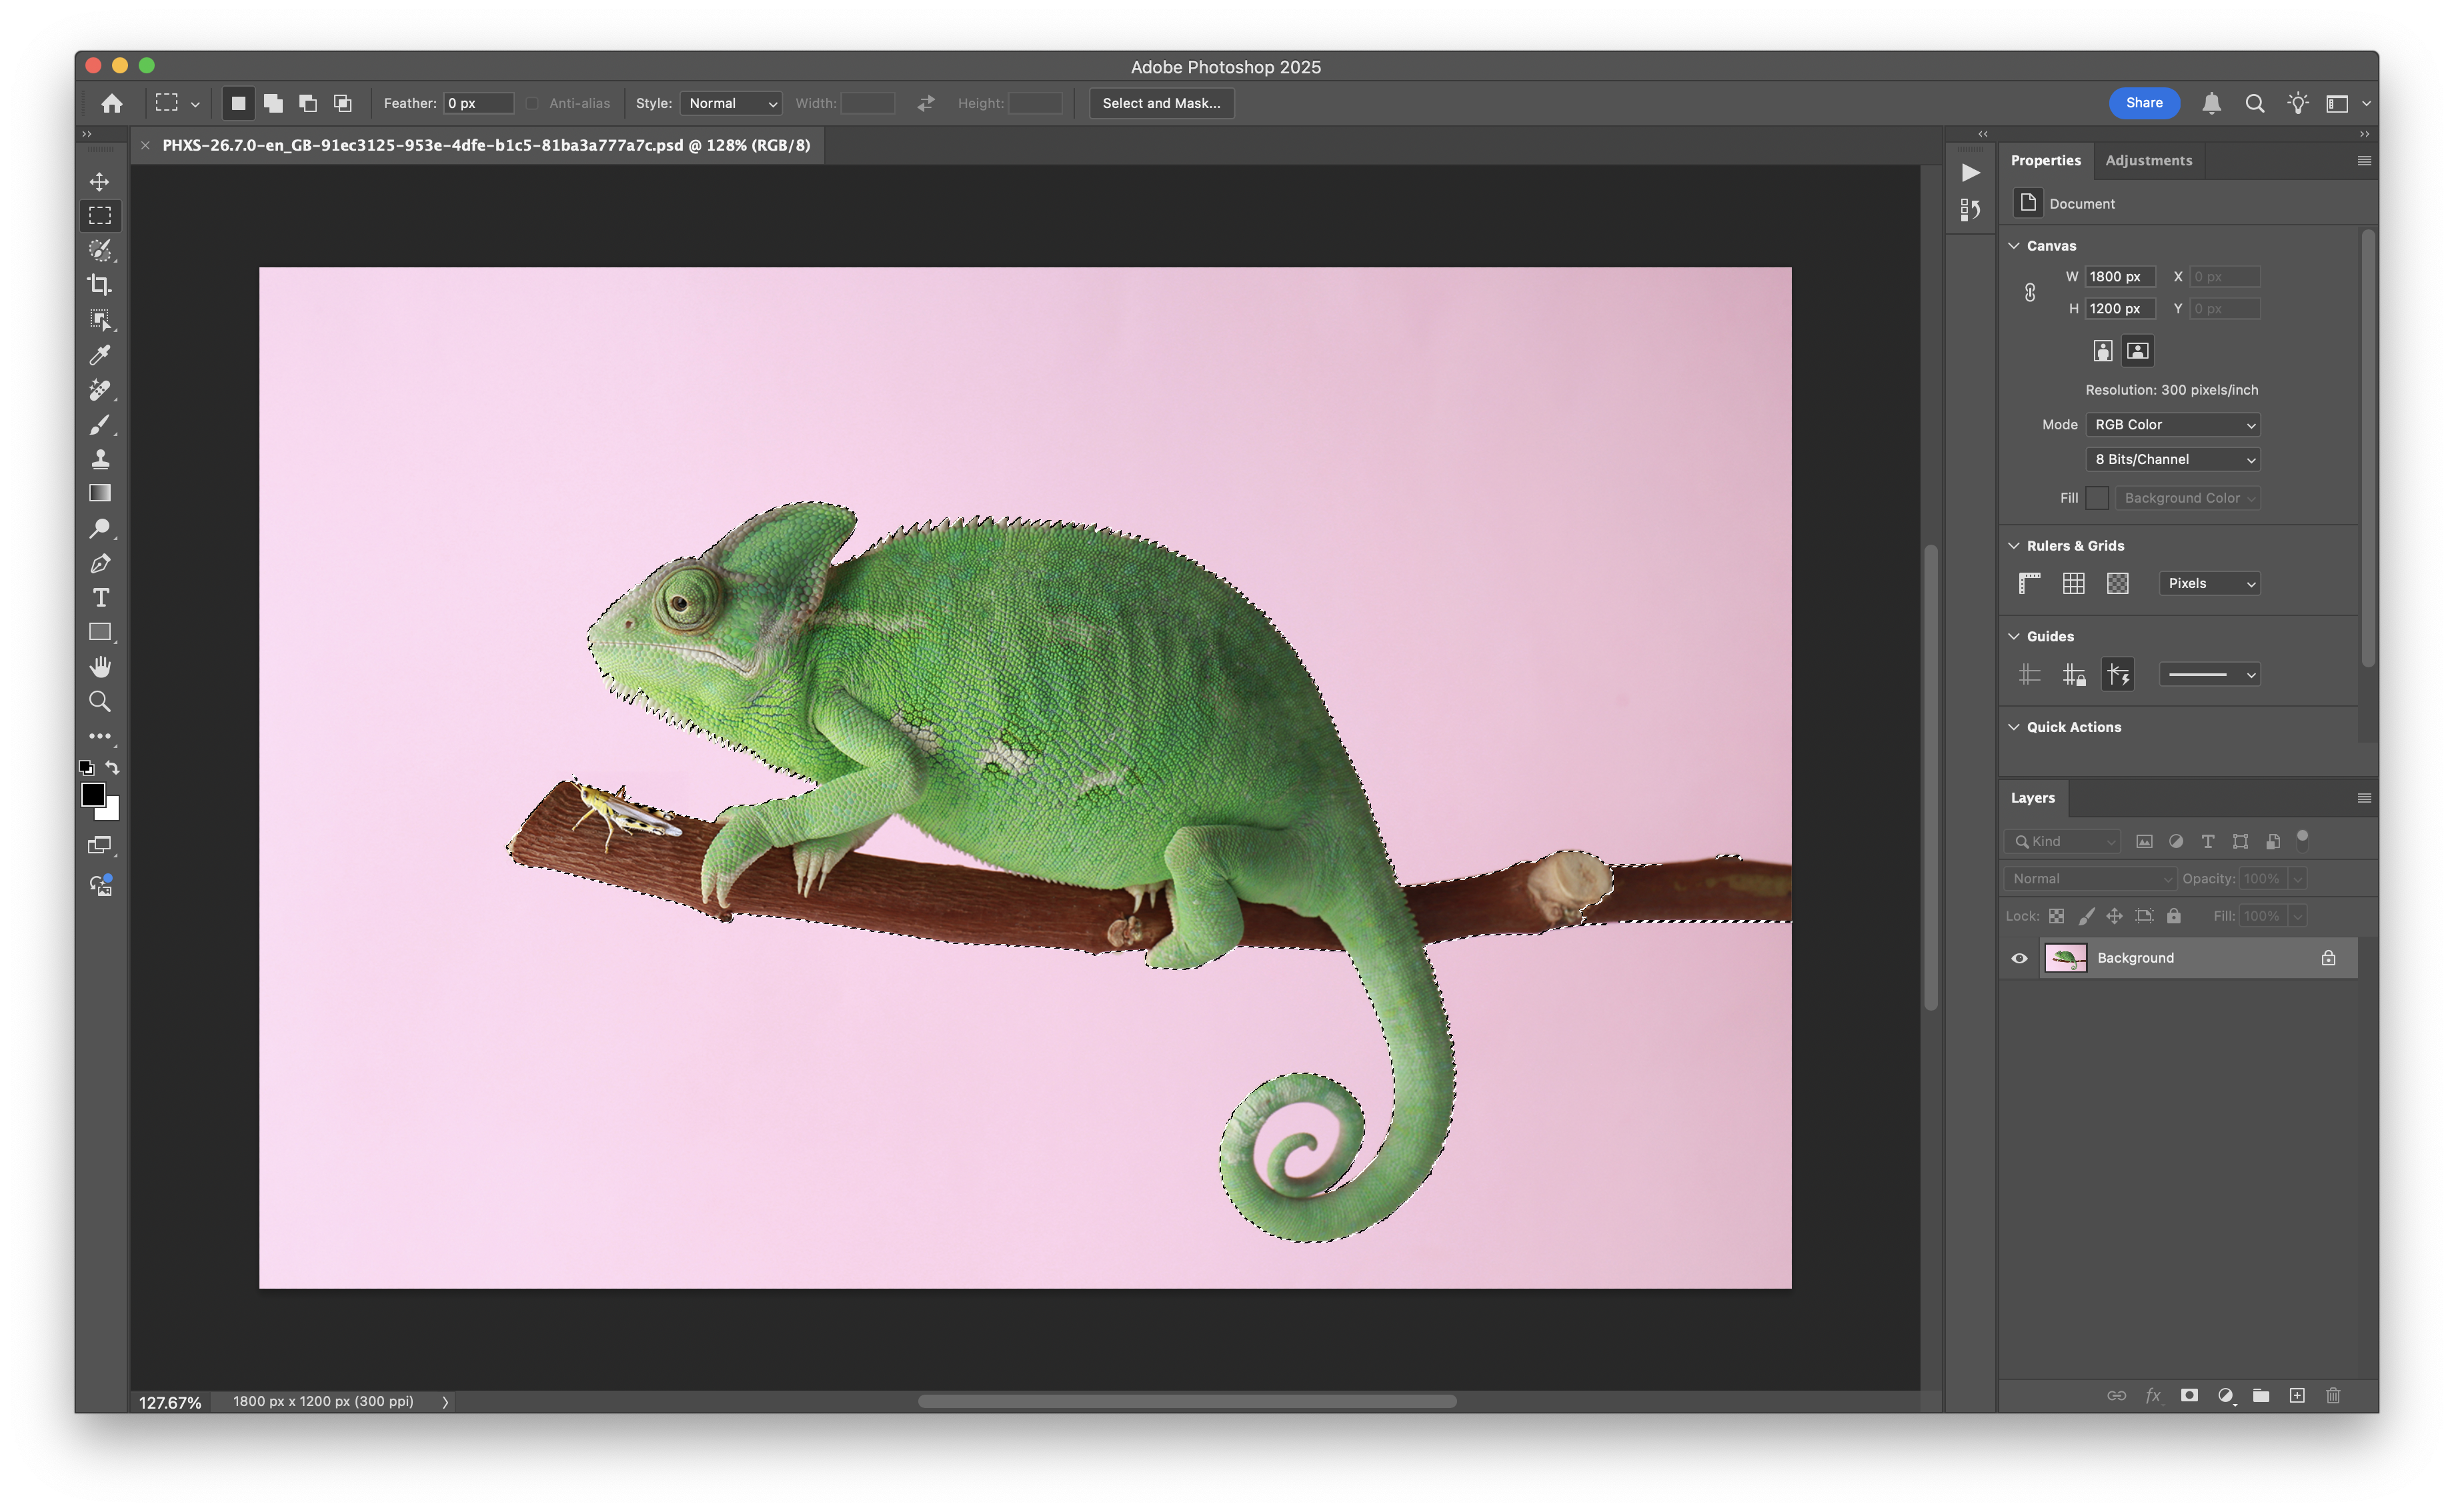
One of the quickest ways to highlight your subject in Photoshop is by using the built-in Focus Area tool, which automatically detects the sharpest areas of your image – usually the subject – and creates a selection based on that.
The tool works best on photos with a shallow depth of field, where the foreground is clearly in focus and the background is soft or blurry, like a headshot of a person.
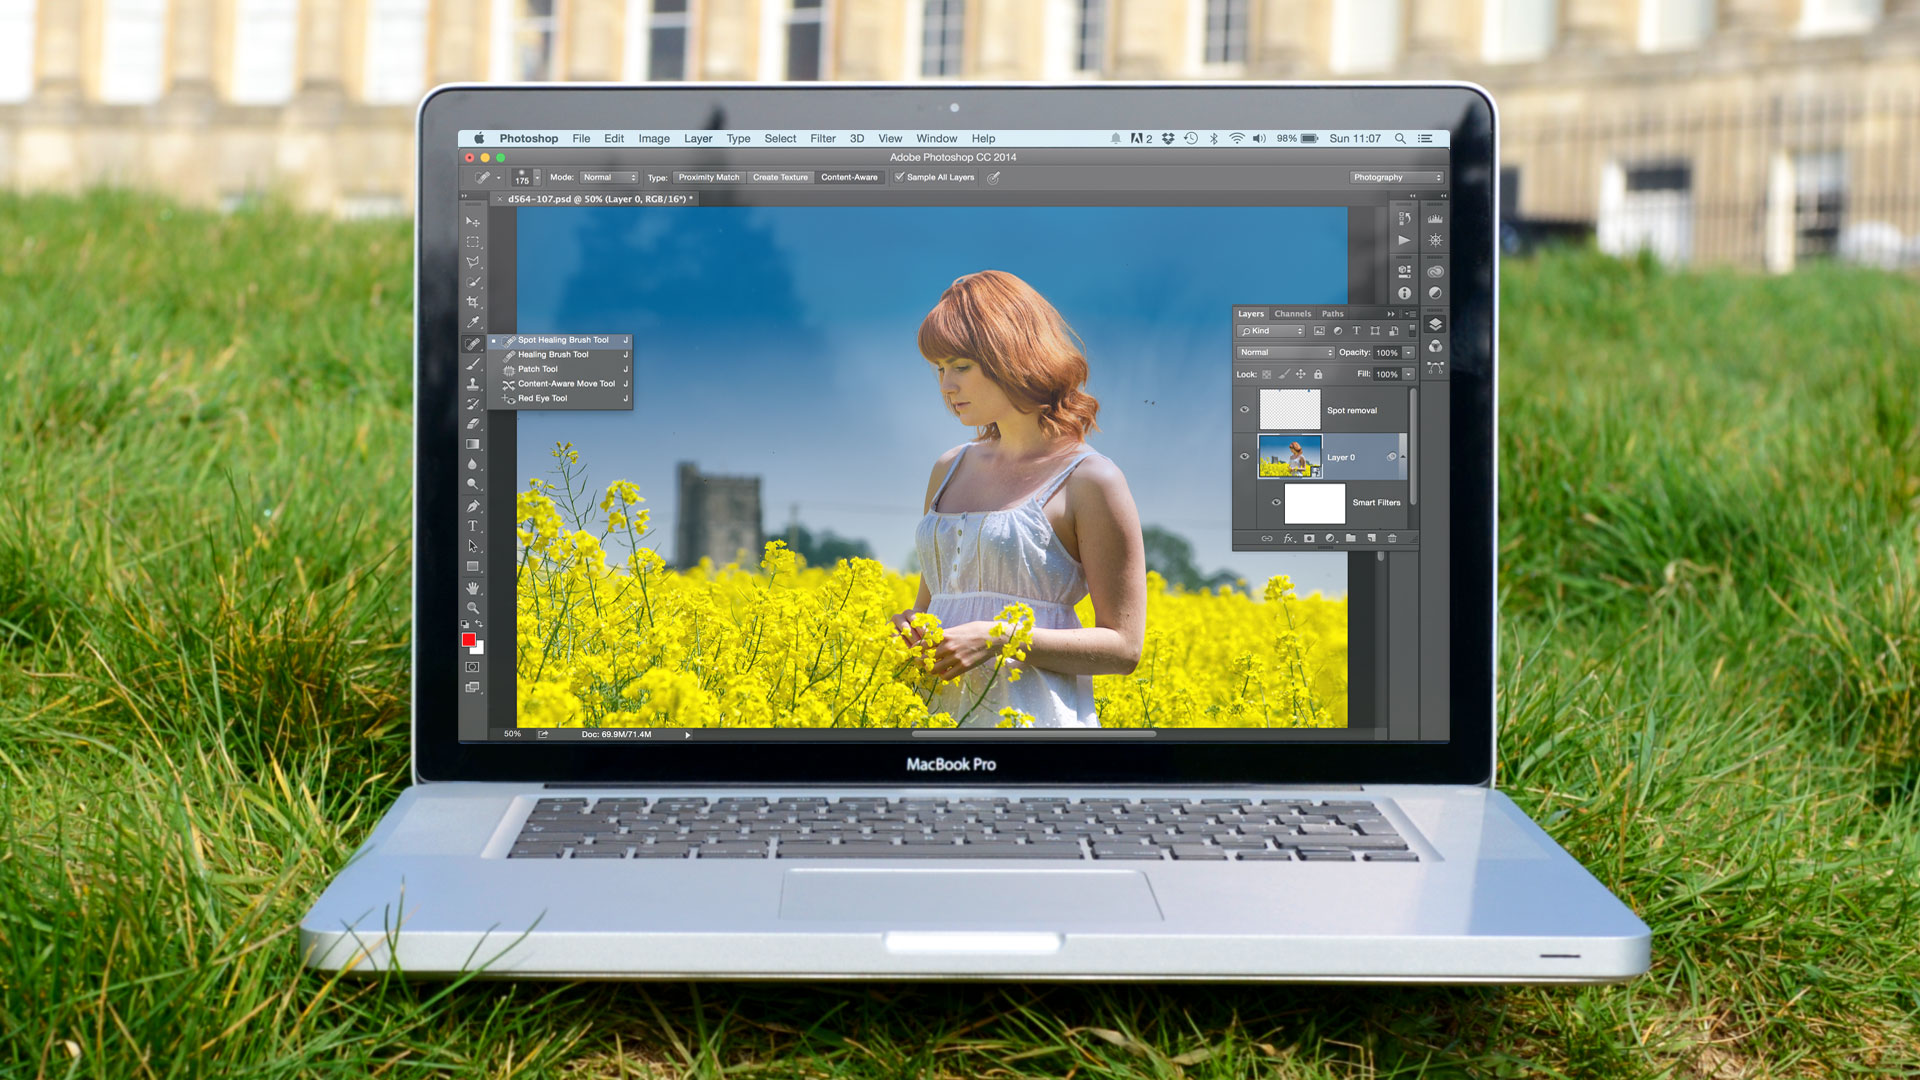
To start, open your image in Photoshop and duplicate the background layer (Cmd + J on Mac or Ctrl + J on Windows) to make sure you're working non-destructively, a useful way to avoid mishaps.
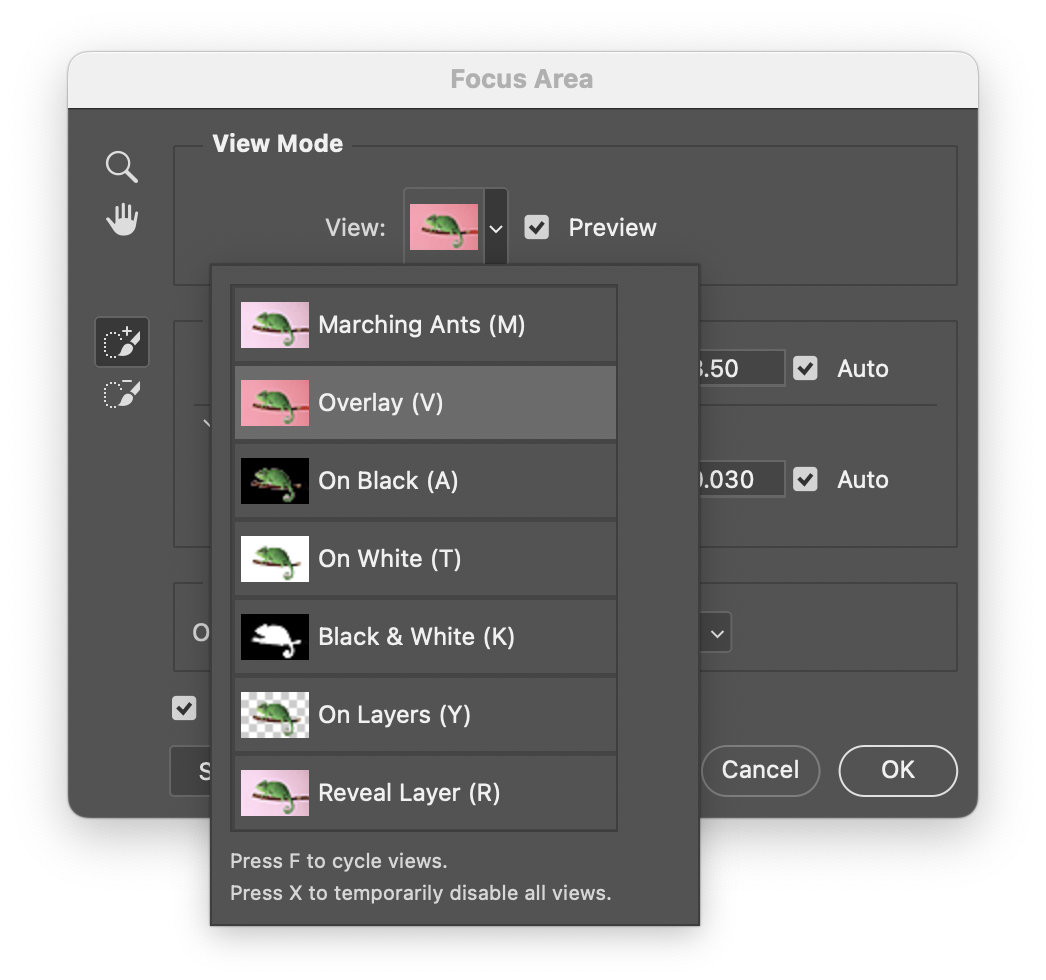
Then, go to the top menu and select Select > Focus Area and a new dialog box will appear. Photoshop can then immediately begin analysing your image.
You’ll see the selected areas highlighted as a live preview. If your subject is fairly well defined, Photoshop often makes a surprisingly accurate first guess, likely due to its AI smarts .
Use the Focus Range slider to fine-tune how much of the image gets included – moving it to the left (towards 0) selects less, while moving it to the right broadens the focus range.
You can also adjust the Image Noise Level if your photo is grainy, helping Photoshop separate the subject from the background more accurately.
If the automatic selection isn’t perfect, you can manually tweak it using the Add and Subtract tools in the preview window.
Once you're happy with the selection, look at the Output To dropdown at the bottom of the dialog. Choose New Layer with Layer Mask – this is the safest option, as it preserves your original image and gives you a masked version.
Adobe has a detailed breakdown of these steps.
Method 2: Manually creating depth of field
If the Focus Area tool doesn’t give you the results you want – especially in images with complex or flat backgrounds – a manual approach can offer more precision.
Start by opening your image and duplicating the background layer. Then use Select Subject (found under Select > Subject) to quickly isolate the main object.
Photoshop’s AI does a good job of identifying people and prominent objects, but you can refine the selection using the Quick Selection Tool.
Once your subject is selected, invert the selection by going to Select > Inverse to flip the selection to target the background instead. Now, go to Filter > Blur and choose either Lens Blur or Gaussian Blur, depending on how natural you want the effect to look.
As a general rule, Lens Blur tends to create a more realistic depth-of-field look, while Gaussian Blur is faster and easier to adjust.
While this manual method takes a bit more time, it works on virtually any image, giving you control over how and where the focus is applied.
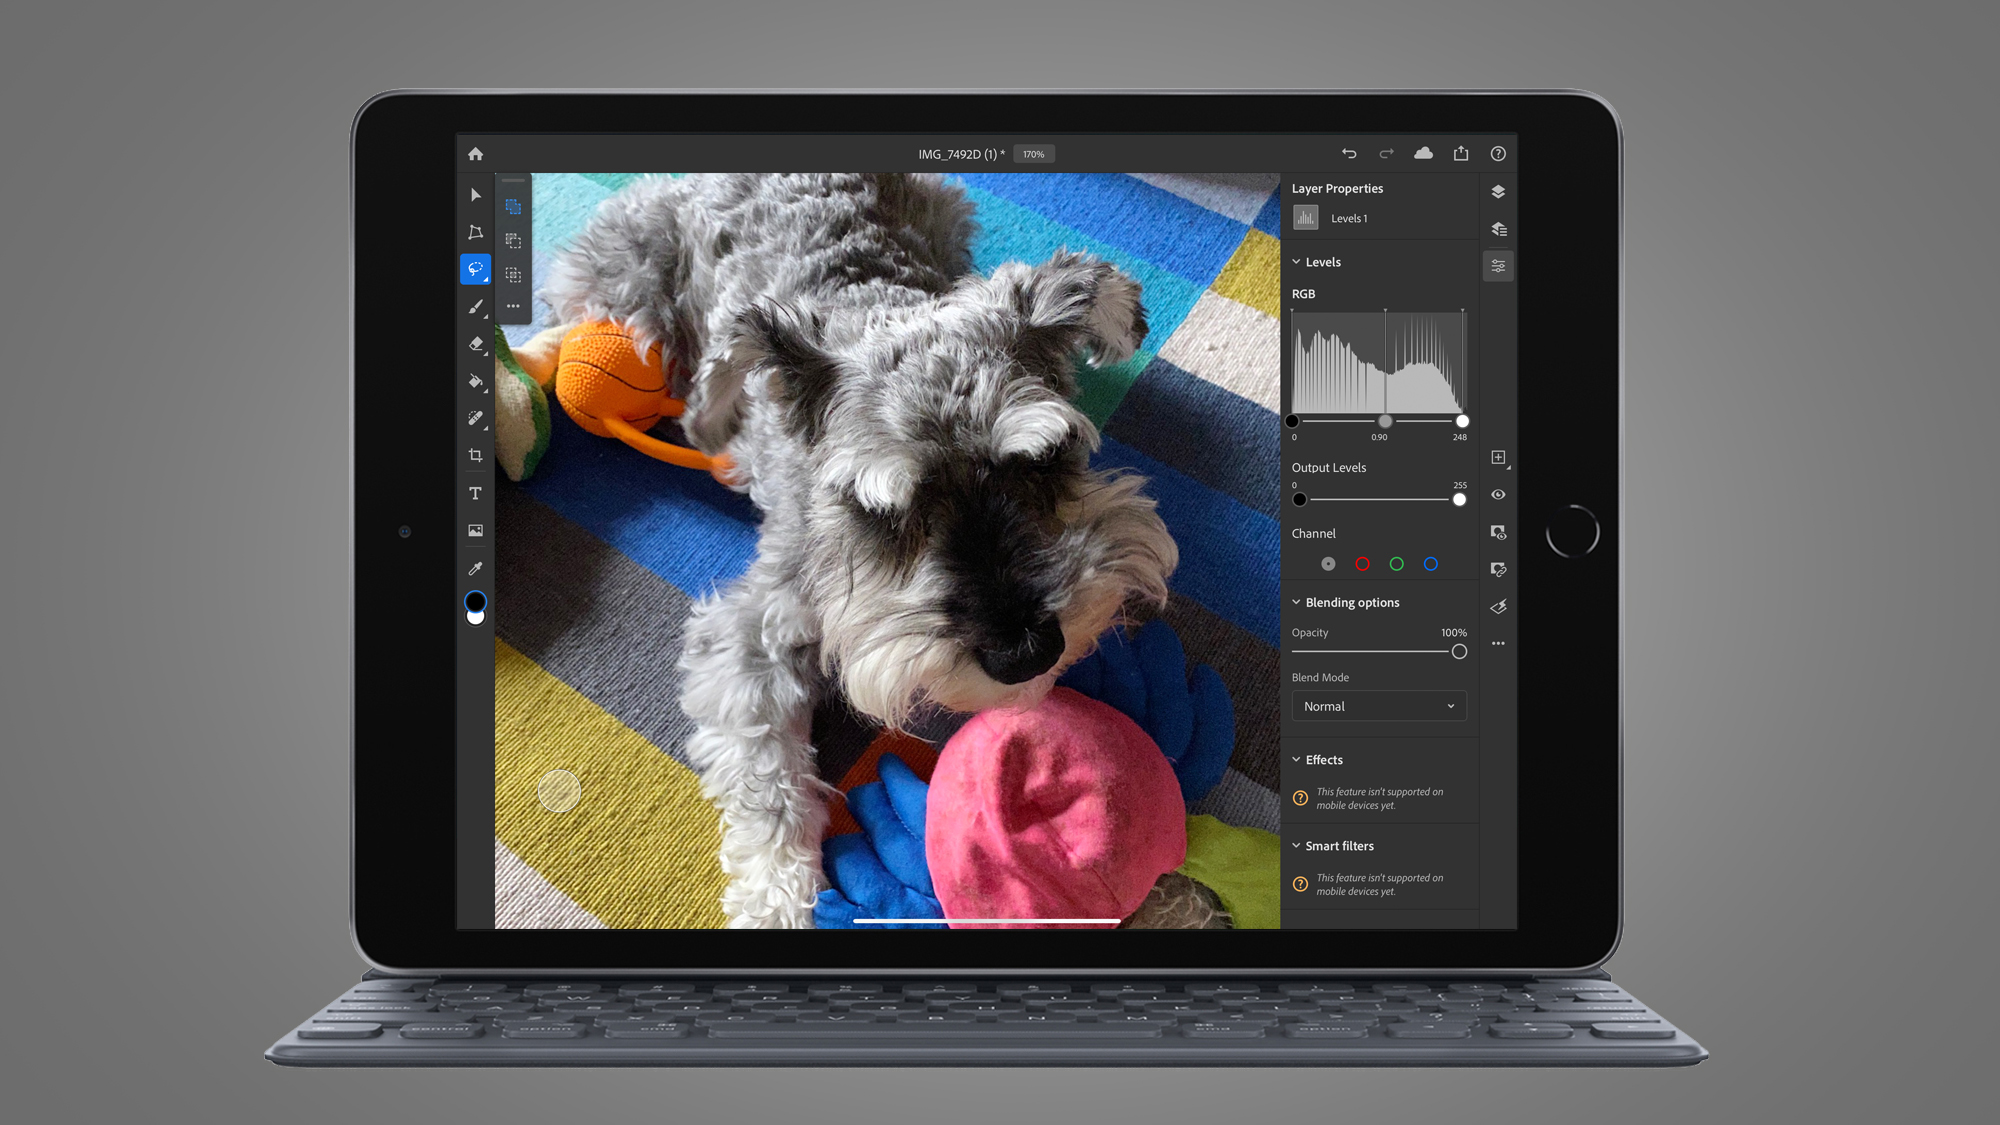
Photoshop for iOS
The Photoshop app for iOS is a streamlined version of the desktop app, and while it’s powerful for basic editing, at the time of writing it doesn’t include the Focus Area tool or advanced blur filters like Lens Blur.
That said, you can still create a similar effect using the tools available.
Start by opening your image and using Select Subject – this one-tap feature works well for isolating people or objects.
Once selected, you can invert the selection and apply a Blur adjustment to the background using the Adjustments > Blur slider.
While the result isn’t as precise as desktop Photoshop, it’s quick and effective for on-the-go edits. Just keep in mind that the iOS app is better suited for light retouching than complex masking or layered effects.
Tips, troubleshooting, and common mistakes
To get the best results when focusing on an object in Photoshop, start with a high-resolution image and make sure your subject stands out clearly from the background.
Strong contrast, good lighting, and shallow depth of field all help Photoshop’s selection tools perform more accurately.
If the Focus Area tool selects the wrong regions, try adjusting the Focus Range slider or manually refining the mask using the Add/Subtract brush options. For manual methods, always feather your selections slightly – a hard edge can make the blur effect look artificial.
One common mistake is over-blurring the background. A subtle effect usually looks more realistic and professional.
Finally, if a tool seems to be missing, check that you're using an up-to-date version of Photoshop – older versions may not include features like Select Subject or Focus Area.
Exporting the image
Once you’re happy with the result, it’s time to export your image.
For most uses, JPEG works well for web and social media, while PNG is ideal if you need transparency to add other layers later. If you plan to make further edits later, save a PSD copy with all your layers intact.
Before exporting, you can resize the image via Image > Image Size or use File > Export > Export As to control format, quality, and resolution in one place.
For the best results on the web, aim for a balance between file size and sharpness — typically 70% to 80% JPEG quality works well.
You may also like
- Best photo editor: Top picks for photographers and creators
- Photoshop finally gets a pro-grade Android app – here are 3 reasons why I'm excited to try the free version
- Best Adobe Lightroom alternative

TechRadar Pro created this content as part of a paid partnership with Adobe. The company had no editorial input in this article, and it was not sent to Adobe for approval.
Sign up to the TechRadar Pro newsletter to get all the top news, opinion, features and guidance your business needs to succeed!
Max Slater-Robins has been writing about technology for nearly a decade at various outlets, covering the rise of the technology giants, trends in enterprise and SaaS companies, and much more besides. Originally from Suffolk, he currently lives in London and likes a good night out and walks in the countryside.

 Become a TechRadar Insider


