


Your 360 camera — or 360 drone — has a new hidden talent: the ability to build eerily accurate 3D models of real places and objects, with almost zero effort from you.
It's all down to a process known as 3D Gaussian Splatting, made more accessible than ever by a cloud platform called Splatica. And I've tried it, using both my Antigravity A1 360 drone and Insta360 X5 360 camera to recreate rooms in my house and landmarks in my hometown. Here's how it works, how easy it is to use, how much it costs – and what I think of it.
How 3D Gaussian Splatting works
At its core, 3D Gaussian Splatting is a method for reconstructing a real-world environment as a fully navigable 3D scene, using nothing more than video footage as its raw material. When you feed footage into the system, it first analyses the frames to work out where the camera was positioned at each moment – a process called structure-from-motion. From that, it builds a rough point cloud: a sparse, skeletal map of the space.
The clever part comes next. Rather than trying to construct traditional polygon meshes and textures the way a game artist would, the algorithm instead populates that point cloud with millions of tiny mathematical shapes called Gaussian ellipsoids. You can think of them as small, semi-transparent blobs, each precisely sized, oriented, and colored to represent a fragment of the scene's geometry and lighting. Stacked together in their millions, these ellipsoids collectively "paint" a photorealistic picture of the environment.
What makes 3DGS stand out from earlier techniques is how efficiently it handles the rendering side. A previous approach called Neural Radiance Fields, or NeRF, could produce stunning results but was notoriously slow to process and render. Gaussian Splatting sidesteps many of NeRF's bottlenecks by using a highly parallelizable architecture, meaning modern GPUs can tear through the calculations at speed.
The result is real-time rendering of scenes that look almost indistinguishable from the original footage – complete with accurate lighting, reflections, and fine surface detail. And crucially for Splatica's workflow, 360-degree cameras are an ideal capture tool for this process: their full-sphere field of view means the algorithm has data from every angle of a space simultaneously, leaving far fewer gaps or blind spots in the final model than a standard camera pass could ever achieve.
What do you need to create your own scenes?
Which brings me neatly to a discussion of the gear you can use to create your own Splatica scenes. Currently, it supports Insta360 cameras and the Antigravity A1 (which uses Insta360 tech). I used the Insta360 X5 camera as well as the A1 to create scenes, but the Insta360 X2, X3, X4 and One RS will also do the job.
Splatica's website gives detailed information on the camera settings you should use for the best results, and on the camera moves you should attempt while capturing the scene. Slow, even movements are recommended for the best results, with the camera recording multiple passes of the same subject at different heights. The idea is to capture your chosen subject from several angles to cover any potential blind spots.
Crucially, each scene must be created from a single, continuous clip – ideally two to four minutes long when using an Insta360 camera, or three to five minutes long while using the Antigravity A1. Longer clips are supported, but aren't described as optimal – perhaps because they'll take longer to process?

For my first Splatica scene, I decided to keep things simple. I grabbed my Insta360 X5, mounted it on its selfie stick, tweaked the camera settings to the tutorial's suggestions and proceeded to record a single 8K 30fps video of my living room, skirting it in an anti-clockwise direction three times at three different heights (chest level, hip level and overhead), as well as walking diagonally across the center of the room, then capturing one final skirt of the room at chest height in a clockwise direction.
The resulting clip was three minutes long, and a chunky 4.29GB in size. I uploaded it to the Splatica website, which took about an hour on my rather sluggish copper wire broadband, then waited. Splatica takes a few hours to create scenes, but it's possible to get a rough idea of how the process is going by viewing your gallery page on the site, which shows a progress bar over the scene. Being that it was late afternoon when I uploaded the video, I decided to return the next morning to check.
The next day, when I clicked on my living room scene, my first feeling was one of disappointment: the Splatica site threw up an error message. But thankfully it seems to be a Chrome browser issue (as no other scenes would load on Chrome, either); when I cut and pasted the link into Safari everything loaded up just fine – and the result was far more impressive than I'd been expecting.
Sadly, there's currently no free trial available for Splatica, so if you want to make your own scenes, you'll need to pay for it via a monthly subscription (which can be cancelled at any time).
The cheapest monthly subscription, the Basic tier, costs $49.95 a month and provides 300 monthly points – enough for around one scene / five-minute video. The Pro tier is $149.95, and comes with 900 points, while the top Studio tier is $299.95 a month for 2100 points. At the time of writing, there's a 30% discount for the first two months of your subscription, which reduces the initial outlay to $34.95 / $104.95 / $209.95 for the three respective tiers. Note that both the Pro and Studio tiers also allow subscribers to embed their scenes on external websites.
Users can also pay for additional points if they need to, but they're pricey at 25c per point on the Basic tier, 23c per point on the Pro tier and 18c on Studio.
Splatica had rendered a crisp and detailed 3D replica of my room, with accurate colors, where text on bookends and magazine covers was easily legible. All trace of me, meanwhile, was removed – the software appears trained to recognise moving people and erase them from the creation process.
You can view the scene here.
Visually, there's certainly an element of patchiness to things rather than true-to-life detail across the whole scene – it's quite painterly, in my eyes – but given how fast and painless the creation process is, I think that's totally acceptable. I can see now why Splatica is such a hit in the real estate community.
In a web browser, Scenes can be "flown" through with your mouse or keyboard, to be viewed from different angles. You can save up to 10 of your favorite angles, or "poses" as Splatica calls them, then fly through these as an animated sequence. It's also possible to download the scenes in PLY file format, for viewing in 3D model software on your computer, where they'll appear as a ghostly apparition displaying every single point of reference captured by the camera.

Up, up and away
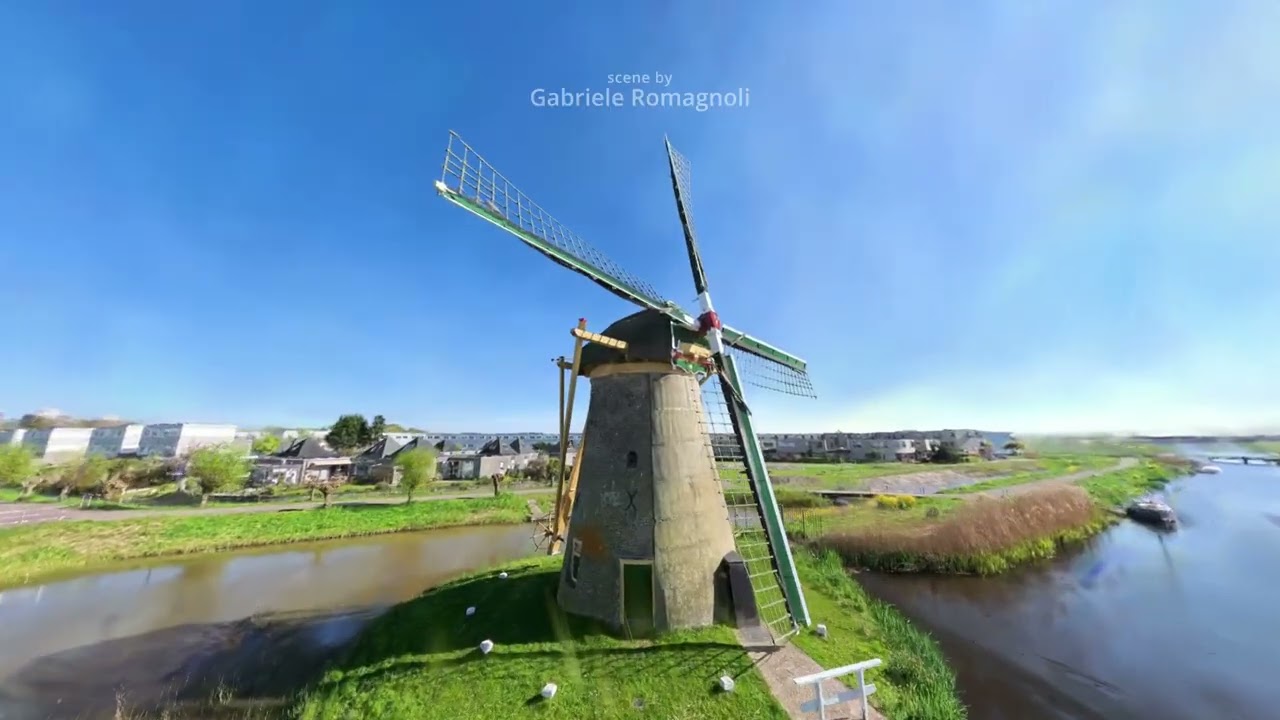
My second test was a little more ambitious – I decided to strap on the FPV goggles and take the Antigravity A1 for a flight around a local landmark: the small lighthouse at the mouth of Ramsgate's Royal Harbour (UK). Because of the goggles (annoyingly, there's no other way to fly the A1 than using them), UK drone laws meant I had to bring along a spotter. So that's one aspect of this process that I don't particularly like – hopefully Splatica adds support for the DJI Avata 360 soon, so that I can create more aerial scenes without the need to bring a companion along.

The recording process is a little more challenging here, due to the increased verticality of the scene and the A1's idiosyncratic motion-based flight controls, which even as a highly experienced drone pilot, I've always found awkward and unintuitive. Now, having to pilot the drone at a steady speed along a relatively narrow flight path, I found them even more of a challenge.
Feeling that the A1's waypoint-based flight mode might come to my rescue, I built my ideal flight path first, dropping key waypoints, then had the drone autopilot along it – the idea being that this would keep things smooth and even while recording the video.
Sadly, this didn't work out: the drone's close proximity to the lighthouse – Splatica advises you to fly as close as safety allows to your subject, in order to capture the most detail – caused the autonomous flight to immediately cancel itself. So in the end I had to fly it manually, spiralling around the lighthouse several times in FPV mode before completing a wider loop of the scene and landing. You can see the results below, or view the scene in your browser here.


So, is Splatica worth it?
Splatica isn't cheap, and unless you really need it for some commercial purpose or have oodles of disposable income to play with, it's going to be hard to justify the cost. Otherwise, it feels like yet another expensive monthly subscription that'll part you from cash which is probably best spent on essentials like food and bills.
Still, I can't deny that the process of creating these scenes has been a lot of fun, as well as opening my eyes to just how powerful our modern day cameras can be. If your 360 camera is gathering dust right now, Splatica is probably the best excuse to pull it off the shelf and get back outside with it.
Follow TechRadar on Google News and add us as a preferred source to get our expert news, reviews, and opinion in your feeds. Make sure to click the Follow button!
And of course you can also follow TechRadar on TikTok for news, reviews, unboxings in video form, and get regular updates from us on WhatsApp too.
