How to water-cool your PC
Water-cooling 101
Sign up for breaking news, reviews, opinion, top tech deals, and more.
You are now subscribed
Your newsletter sign-up was successful
So, at this point, you should be well aware of all the hardware you’ll need to be looking at. Next, you want to research which case is best.
There’s a huge variety out there. In fact, you’ll find there’ll be watercooling cases from Mini-ITX chassis all the way up to full E-ATX super towers.
Once you’ve found your case, check what radiators it can support for water cooling. Then you need to think about your tubing and how you’re going to cool it – a single loop or dual loops.
Once you have all these facts nailed down, your best bet is to sketch out how you want to run your loop, and how many fittings you’ll need for all your hardware. Usually, you’ll need two fittings per water cooling item – an in and an out.
For us, the choice was pretty simple. We’d use the Fractal Define S, a case designed from the ground up for easy water-cooling installation.
A dual radiator at the top and a triple rad at the front. On top of this, we’d be using a single closed loop to cool both of the Nvidia GPUs in our rig and the Intel Core i7-5820K.

Then it was a matter of tallying up how many fittings we needed, taking into account we’d be using soft tubing and a pump/res combo, as well as planning how our build would look.
Sign up for breaking news, reviews, opinion, top tech deals, and more.
We’d be using an Asus X99 Sabertooth TUF motherboard– stunningly gorgeous and covered in black and grey-plated armour. On top of this, we managed to get a hold of a mixture of black water blocks and fittings. We’d use white coolant to add a little contrast.
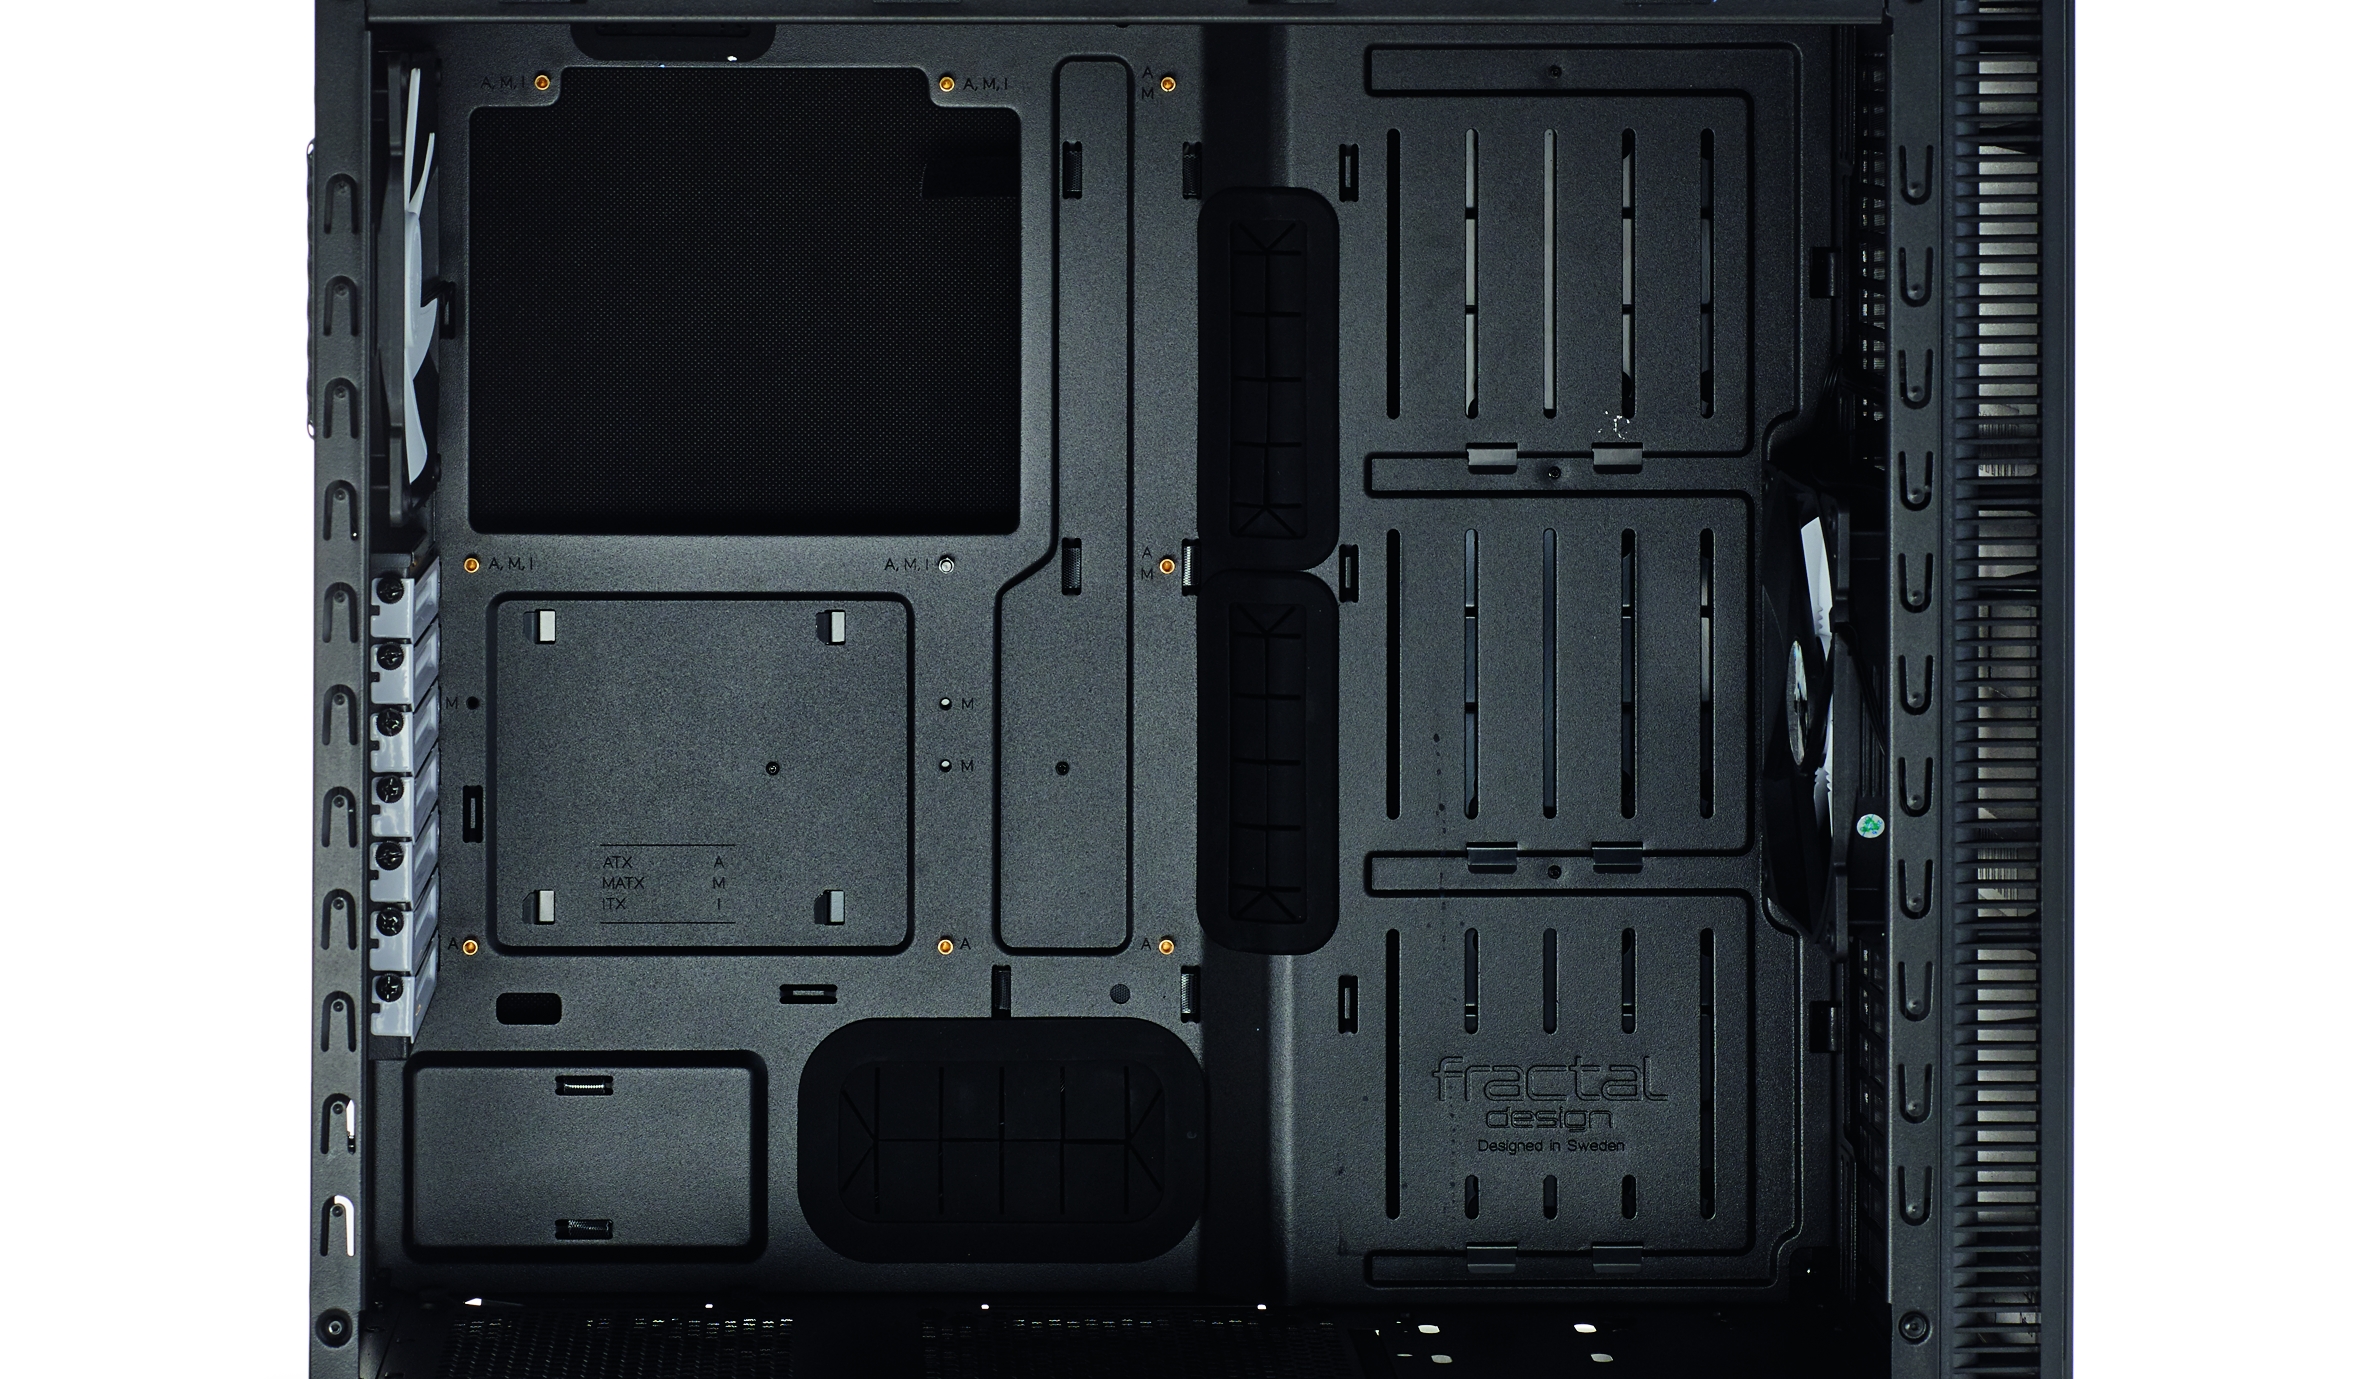
1. Choosing the chassis
Picking the right case can be a tricky business, especially when you’re looking to do a water-cooled mod such as this.
The best way to do this is to look out for cases designed particularly for water cooling, or by companies who revolve around it. Parvum, Phanteks, Corsair, Caselabs and Fractal are all fantastic case firms that provide some excellent rigs to work and build in, making it easy to create a stunning work of art.
Selecting the right case is undoubtedly the biggest consideration you have to make. It will dictate where your reservoir goes, how many radiators fit and what thickness they are, plus how your tubing runs will work.
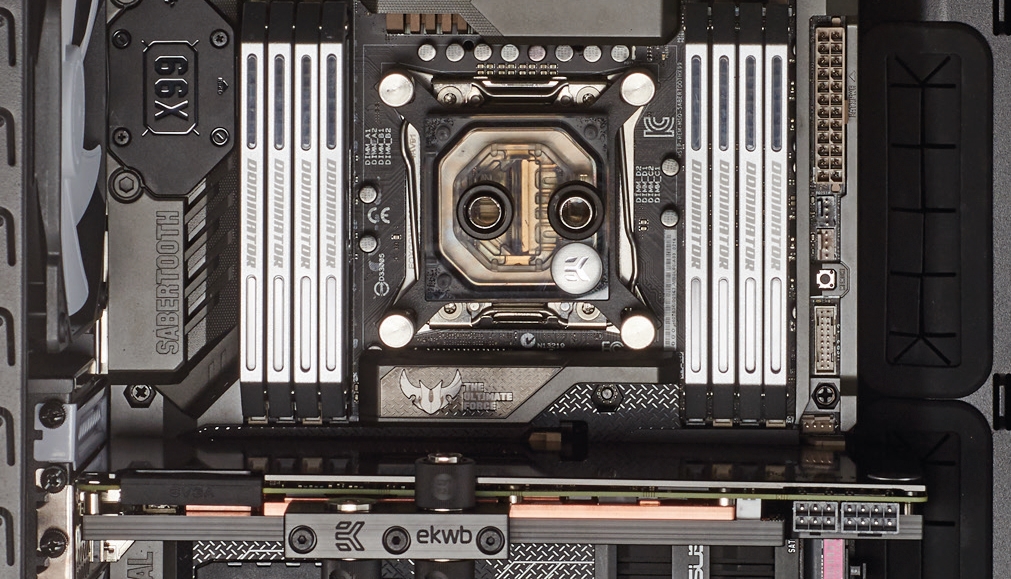
2. Fittings and loops
And so begins the building process. Of course, like with our regular builds, we generally advise that you build all your PCs outside of the case first, just to see if they work at stock.
We individually tested both our GPUs, the memory and the CPU with traditional coolers, before throwing water blocks on any of it.
Then we began the internal build process, stripping the chassis of any unwanted components, such as hard drive bays and cages, and continued to install the motherboard, the memory and the GPUs, securing them firmly to ensure that nothing would fall out or become damaged over the course of our build.
We also took this opportunity to install the radiators and plug in the fans where they were necessary. It’s also time to attach the reservoir, and install all of the fittings.
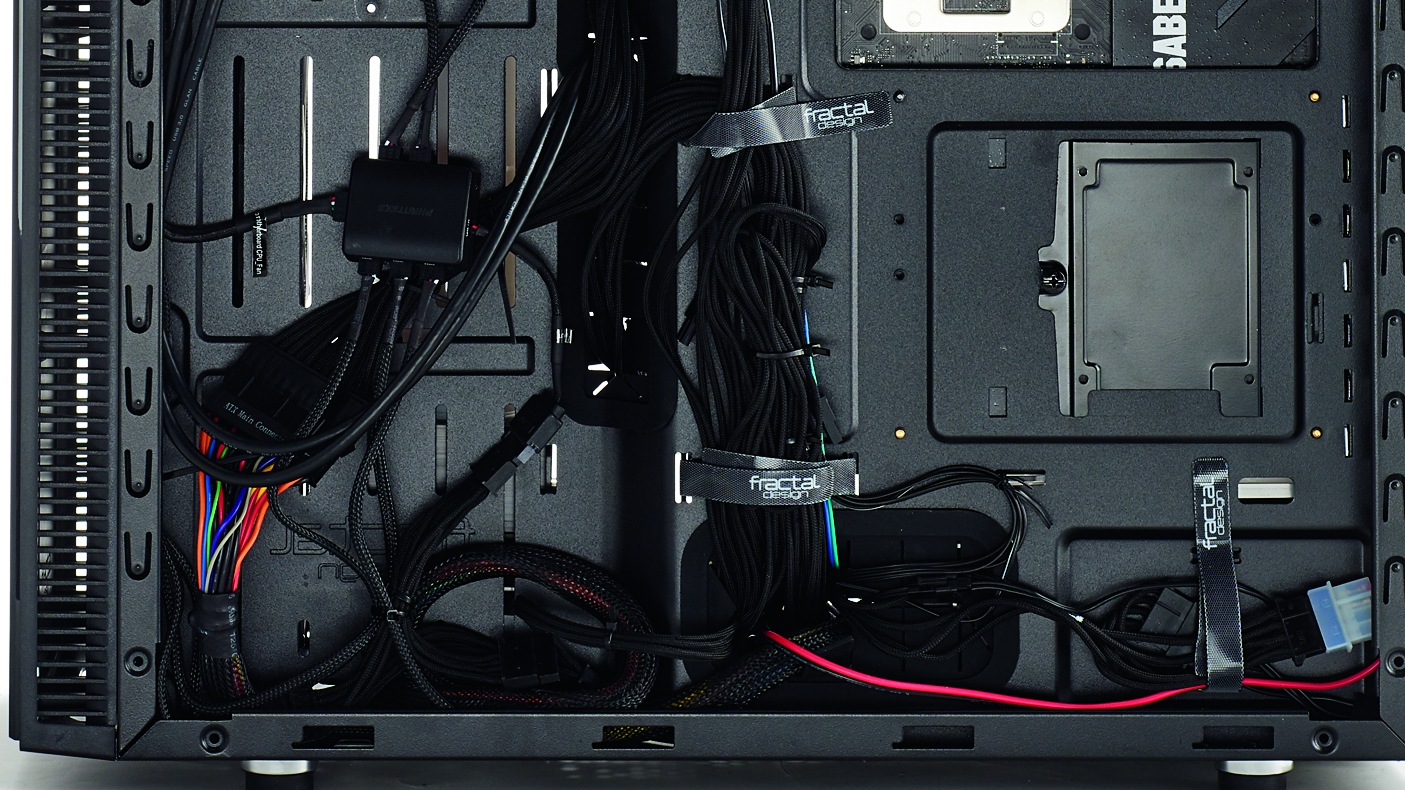
3. Cable management
In a build like this, cable management needs to be flawless. The last thing you want is excess, untidy cables cluttering up your rig.
Not only will they get in the way of the tubing, they’ll also restrict airflow and generally make your tubing routes that little bit more difficult.
Cablemod provides custom-sleeved cables for Be Quiet!, Cooler Master, Corsair, EVGA and Seasonic power supplies.
These should spruce up your build quite nicely. Alternatively, it’s not impossible to sleeve the cables yourself. This takes a lot more time and patience, but you can include cable combs to keep the cables tidy, plus vary your color schemes.
Additionally, we used the Phanteks PWM Fan Hub. Threading all five Noiseblocker fans through one fan controller means we can control how much power they receive directly from the CPU fan header, meaning the system will ramp up or down, dependent on CPU temperature (which admittedly will be quite low for this build).
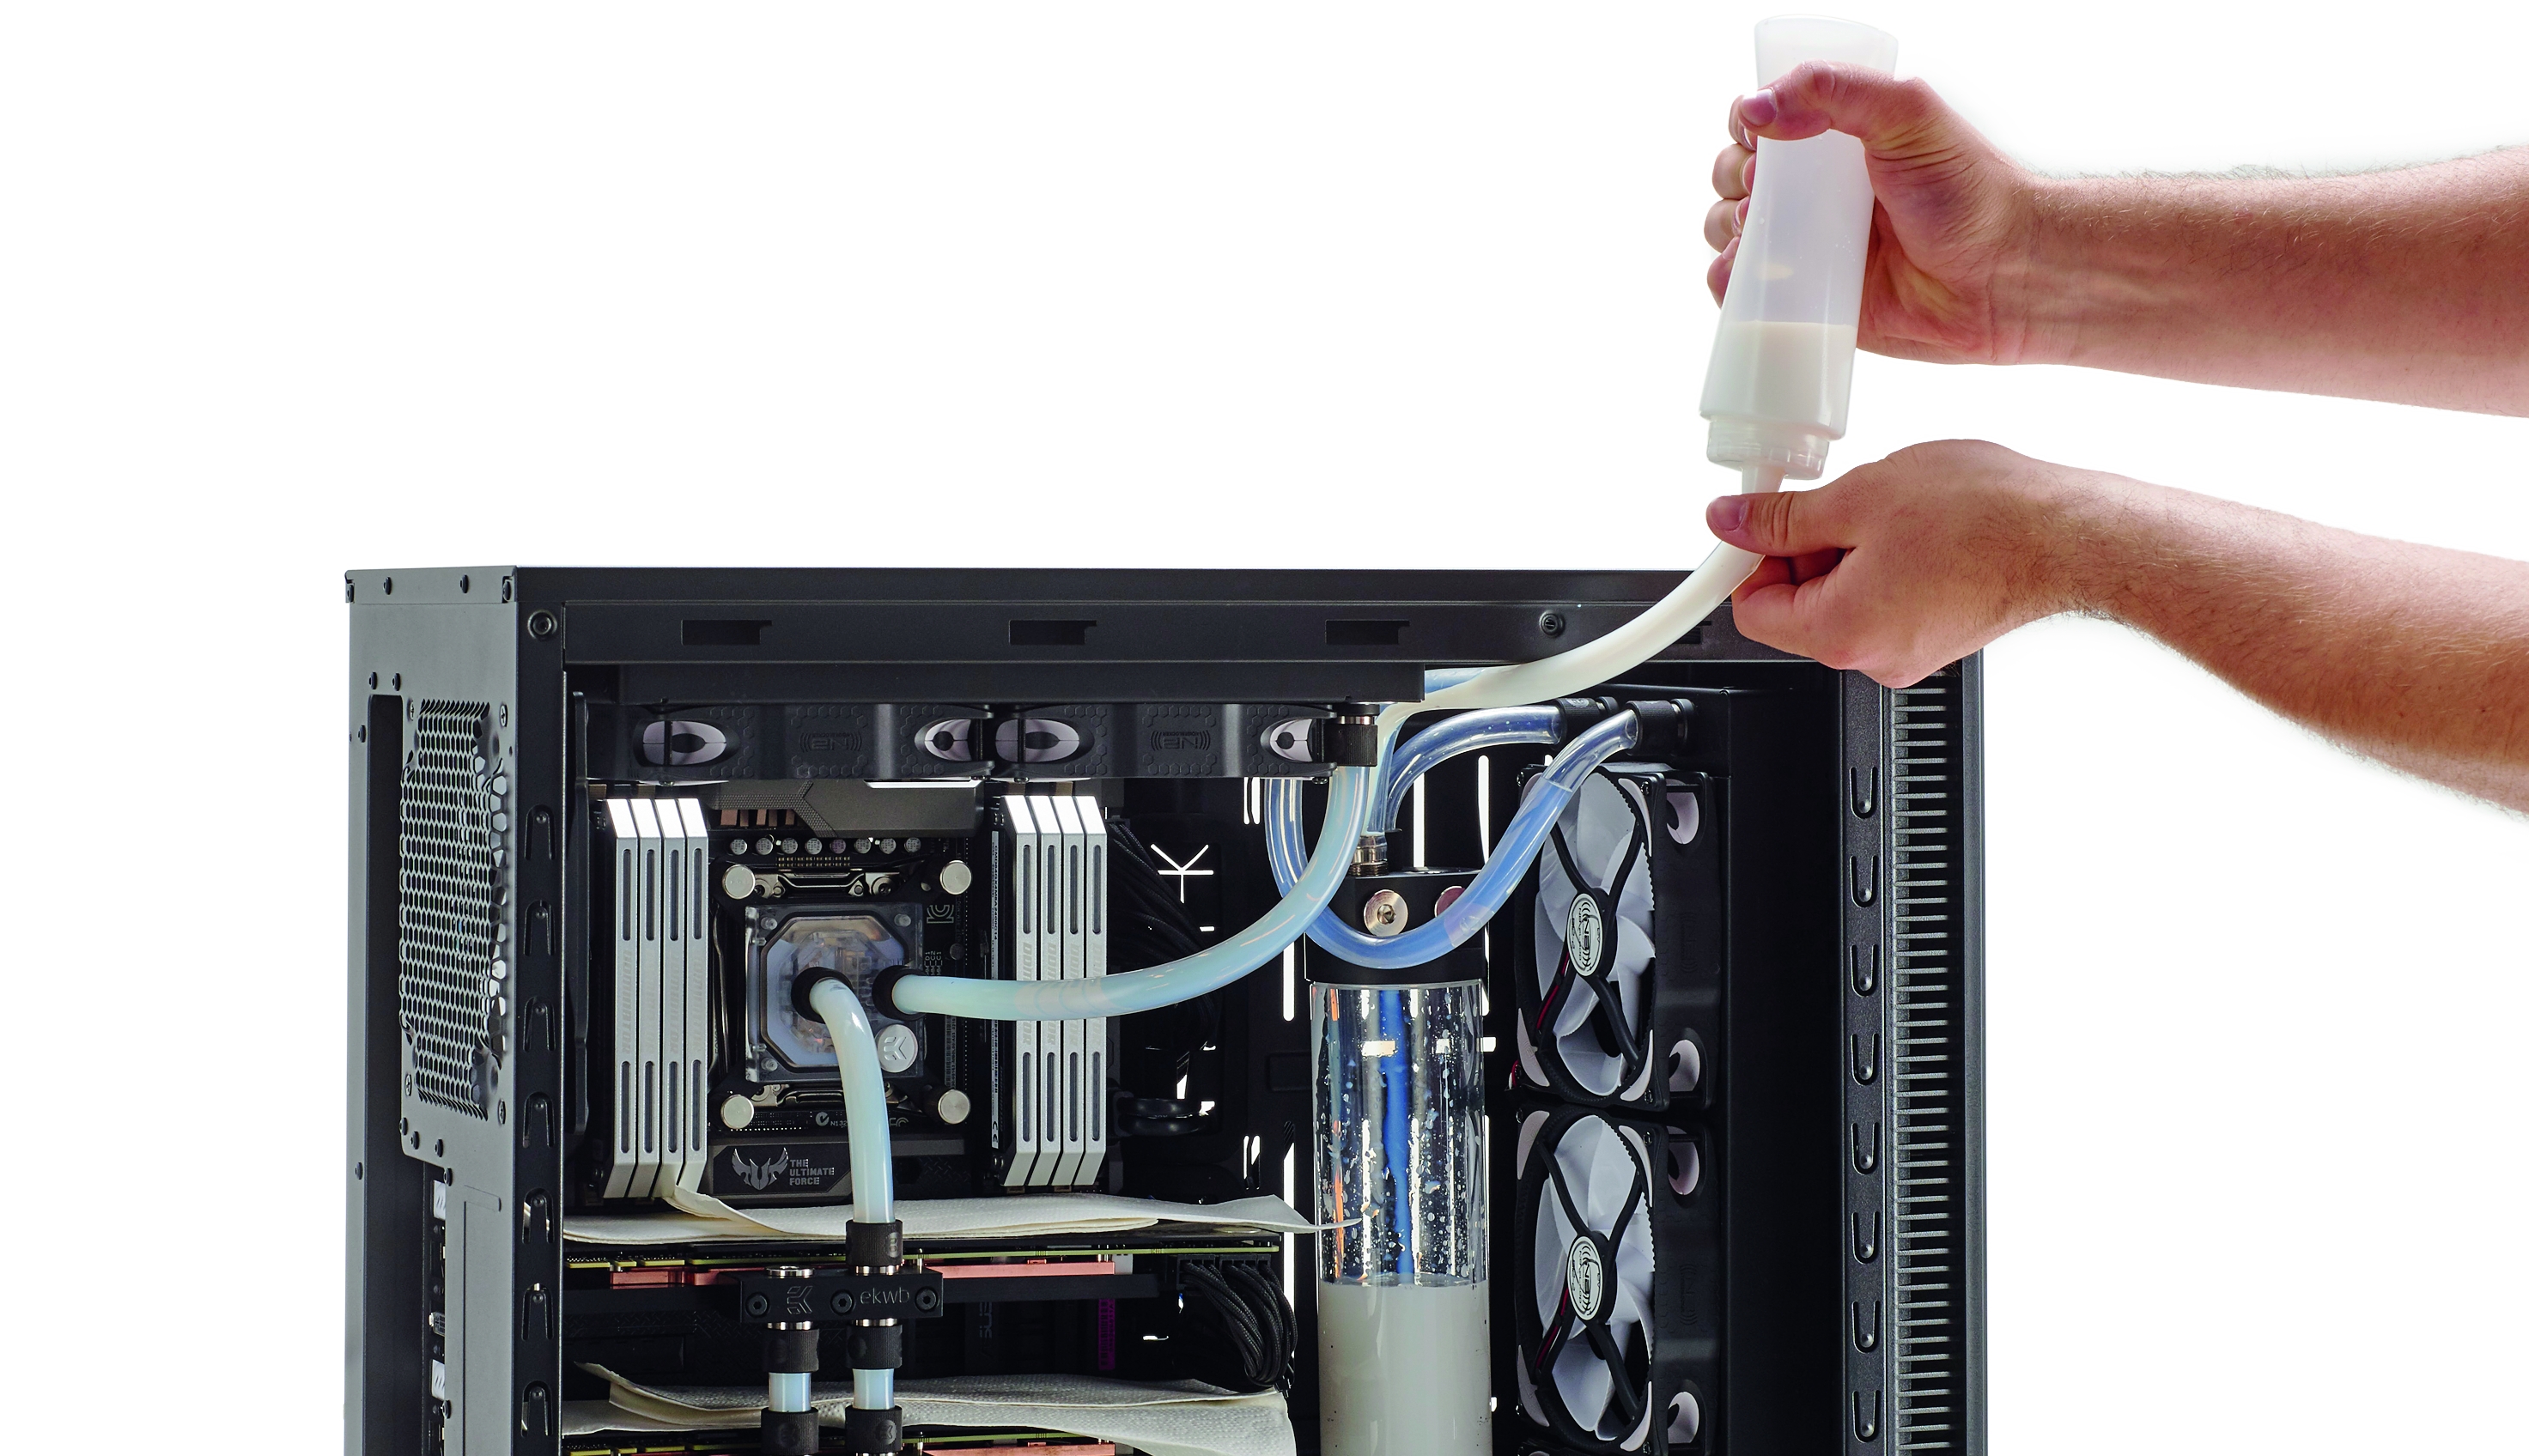
4. Building and priming the loop
At this point, it’s time to start your tubing runs. Line up a stretch of tubing between the two points you wish to connect, then cut a little more off than you think you’ll need.
It’s better to have too much than too little – you can always shorten the runs later. Next, unscrew one of the fittings, wiggle your tubing onto the fitting and thread the other end of the compression fitting onto the unattached end.
Then screw it down, compressing the tubing in place. If you’re struggling to fit the tubing on, use a pair of needle-nose pliers. Gently insert them into the end of the tubing and carefully stretch the tubing slightly, so it’s easier to work.
Then you’ll need to take the sleeve off the other fitting, pre-attach that to your new tube and do the same with the other end. It’s then simply a case of running all of the tubes to their correct lines.
It doesn’t matter which tube goes where, as long as it creates a loop. Once the system is sealed off and pressurised, the temperature of the water will be consistent around the entirety of the loop, regardless of which component goes to which first. Thanks science!
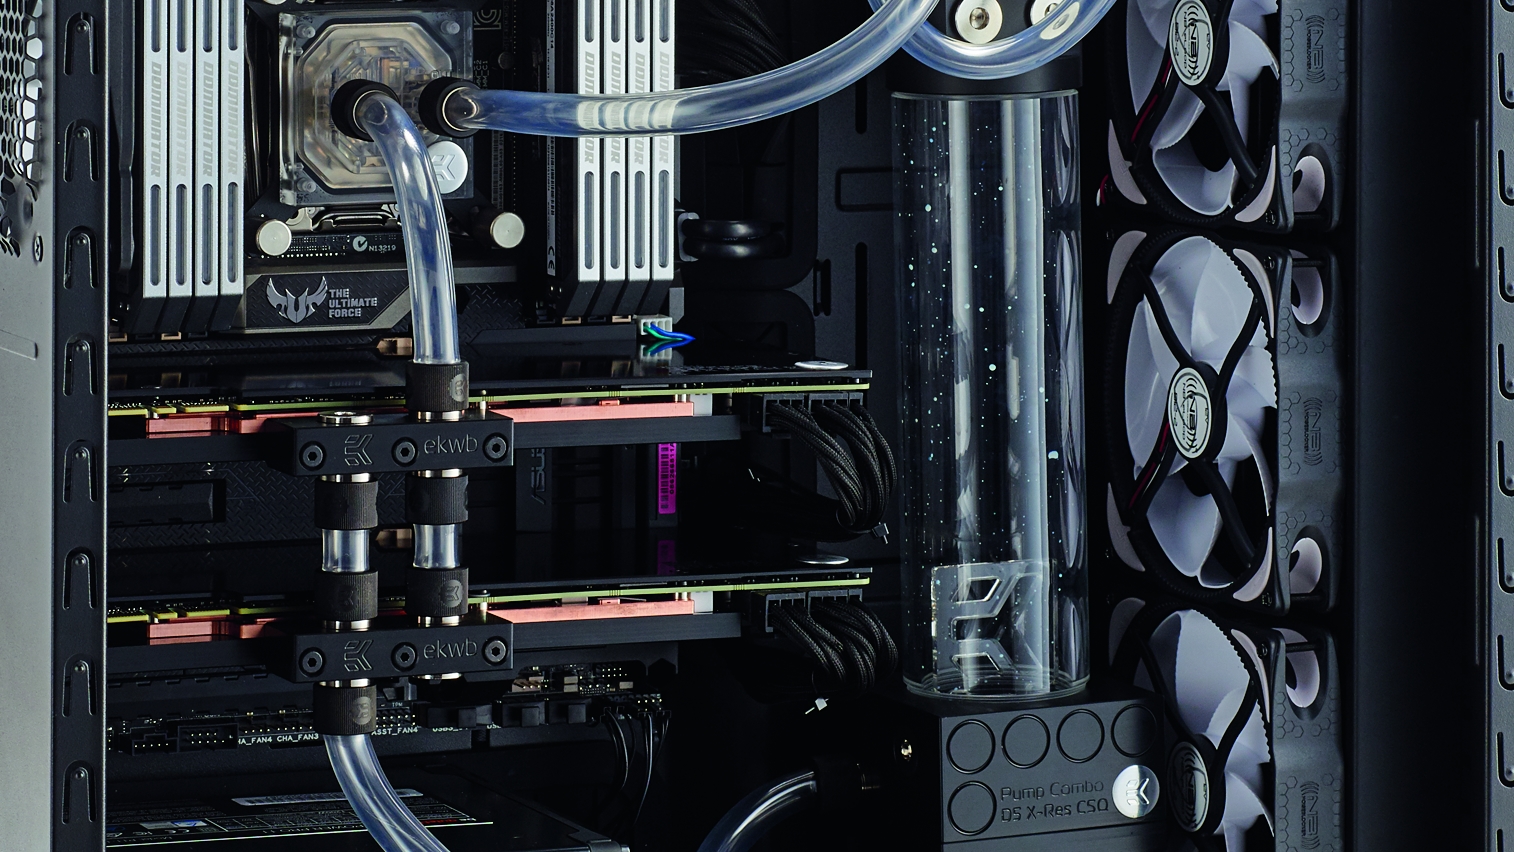
You’re now at the scary part – priming your loop. Ensuring that the reservoir is gravity feeding the pump (in other words, it’s above), attach one last fitting with a length of tubing onto the top of the reservoir (depending on how you have your reservoir set up, it might be advisable to get a multi-port top adaptor).
Then use a funnel to carefully pour your coolant into the loop. In our case, we like to just use a squirty plastic sauce bottle to fill our loop.
Before doing any of this, you want to make sure that everything on your motherboard is unpowered. Ensure that your CPU power, your motherboard ATX power and any power cables heading to your graphics card are all unplugged, either at the power supply end or the hardware’s end.
Then you’ll want to either bridge the two power points on the ATX power with a paper clip, or use a specially designed bridge connector. Then it’s simply a case of switching the power on every time you fill the reservoir, until the entire loop is filled. Just remember not to do this until after your reservoir/pump has fluid inside of it.
5. Finishing up
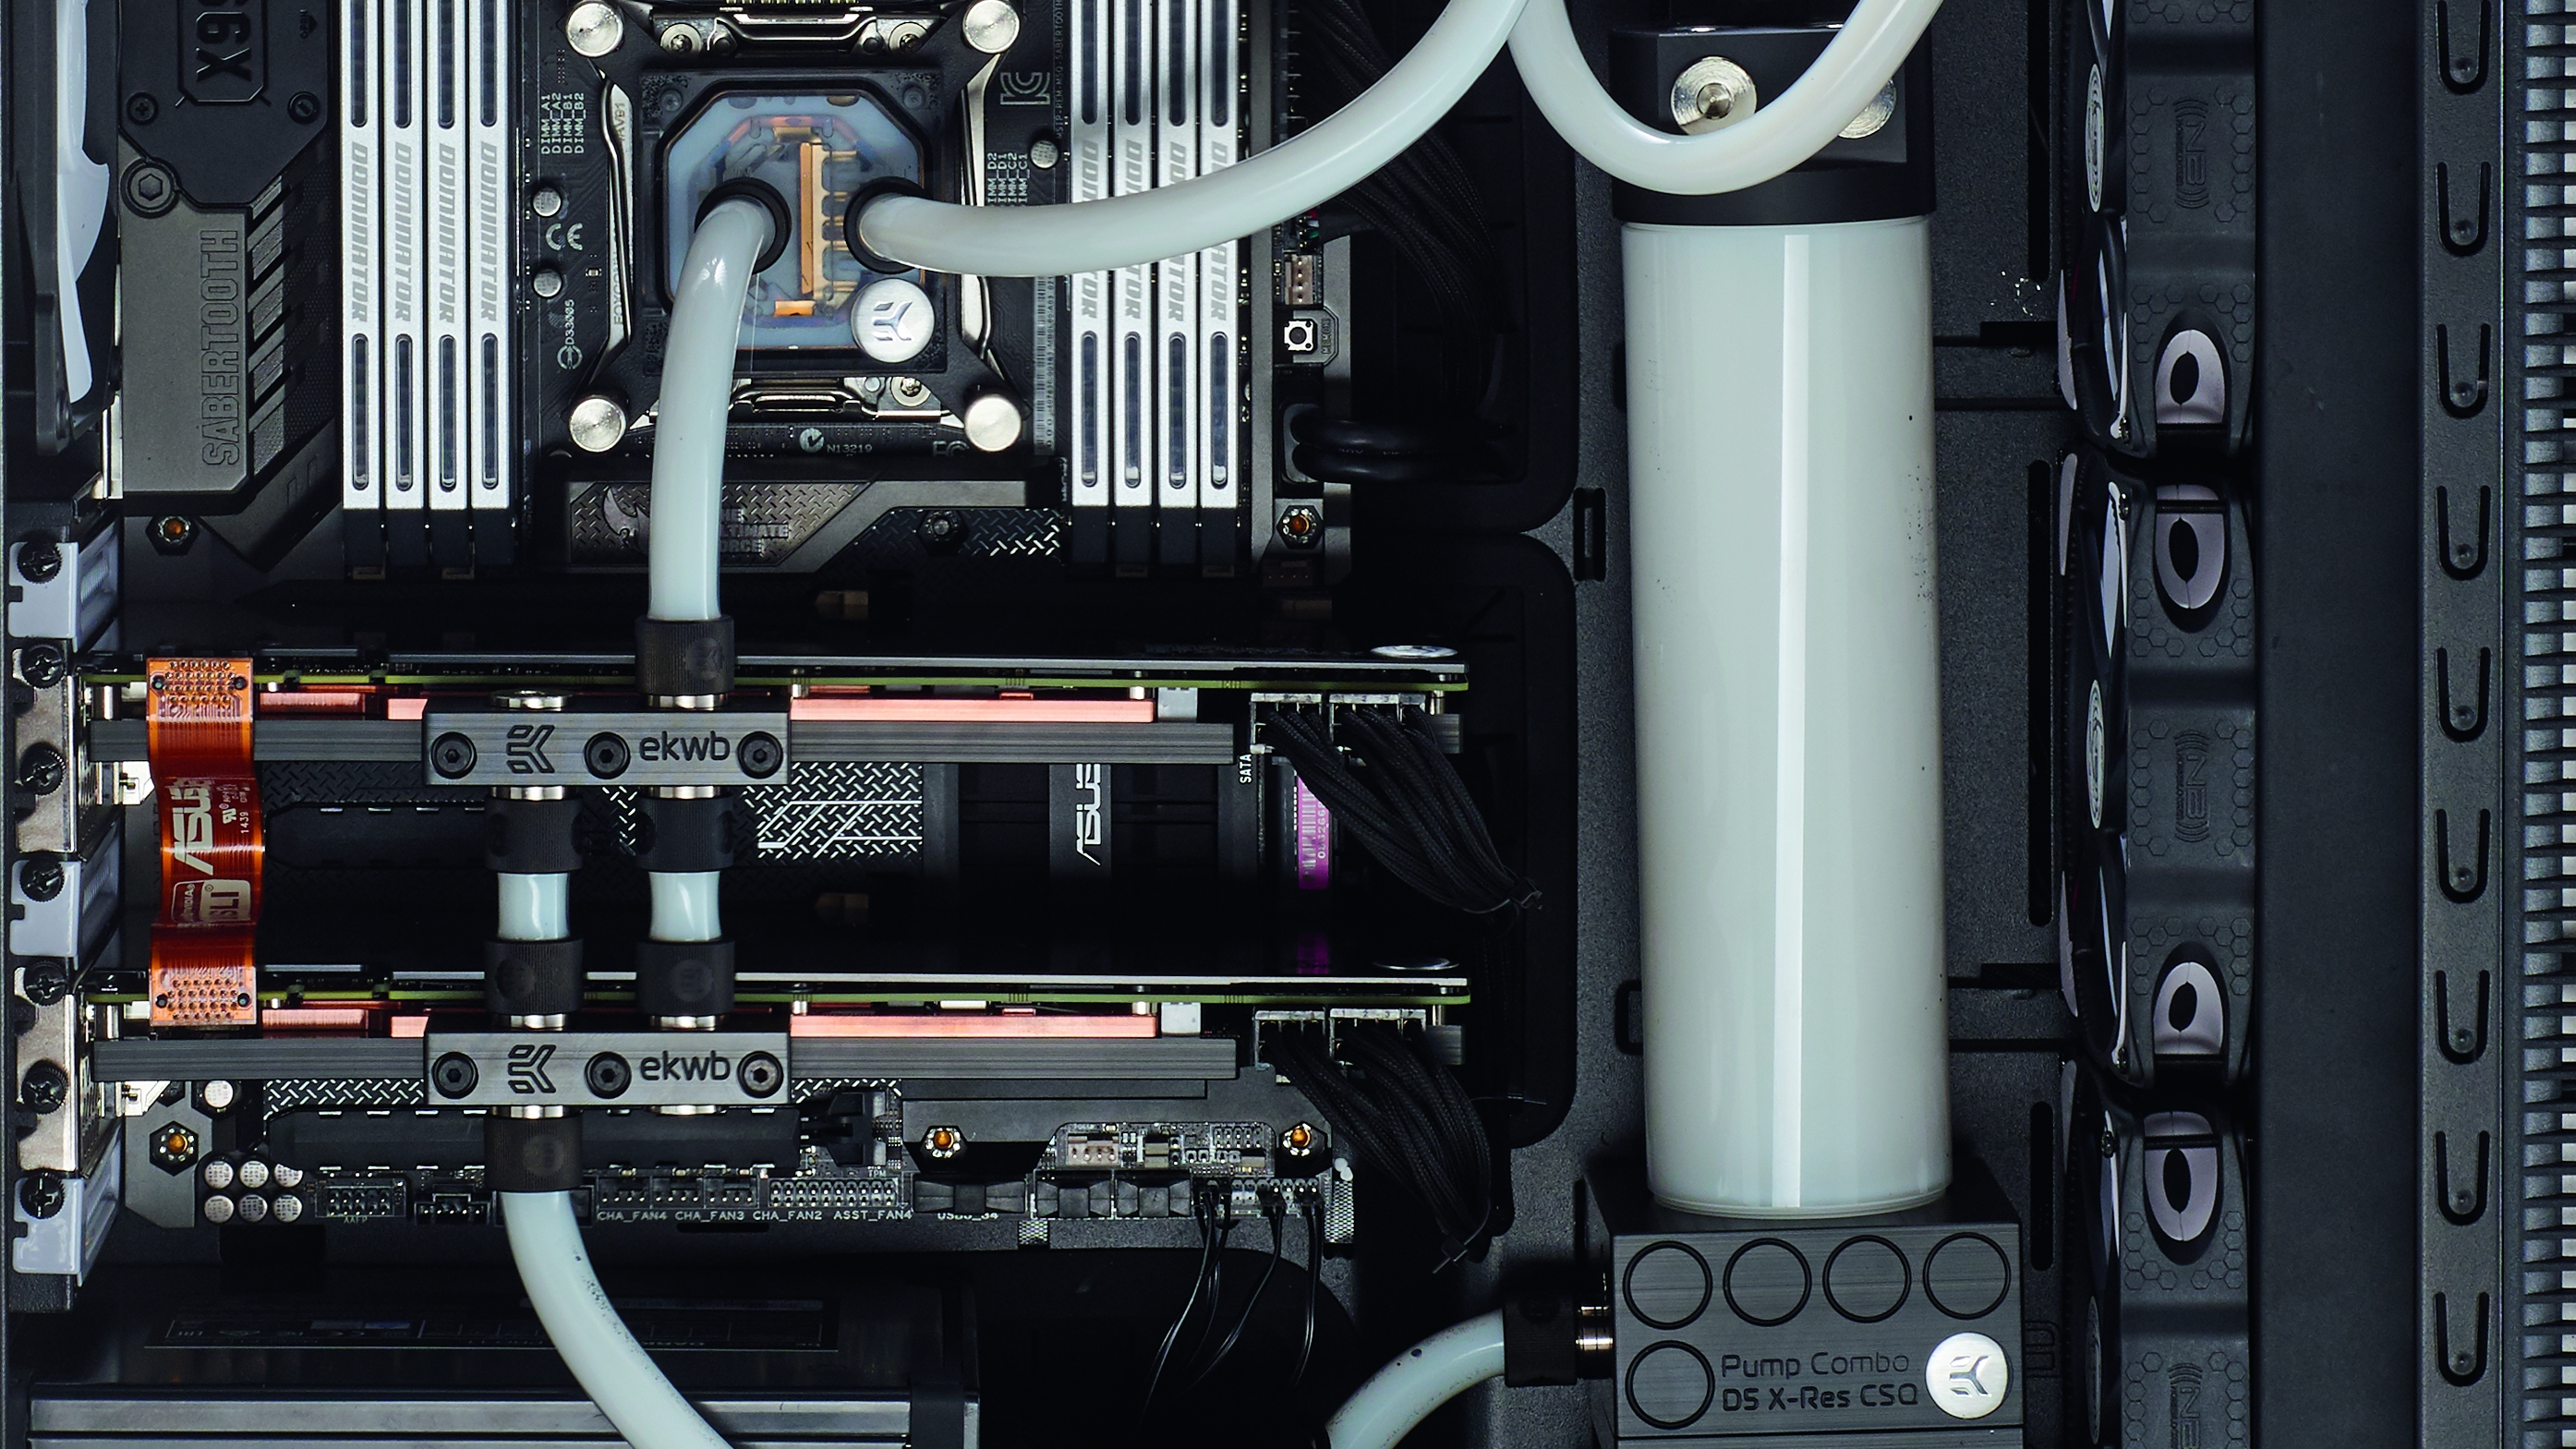
As you’ve probably already spotted, the build looks great. Matching the black EK water blocks with the Asus X99 TUF Sabertooth worked out really well, and the white provides a brilliant contrast to the overall style and look.
The temperatures are where we expected them to be. We clocked the Core i7-5820K up to 4.4GHz and recorded temperatures at 55 degrees Celsius under load.
The GPUs remained at around 60 degrees under full load and we maintained the fans at a constant 20% speed throughout the system.
For performance, we couldn’t really get much more out of either the GPUs or the CPU as they were already at their hardware limits. But either way, the performance was still outstanding, and the fact that it remained so quiet even while under high load is really something else.
A worthy mention here is definitely the coolant. We used EK White Pastel coolant to fill our loop and it looks fantastic, even with a soft tubing loop.
Our leak test went without a hitch. Although we could only test it for around 45 minutes there was absolutely no spillage. The EK compression fittings ensured an incredibly tight seal around all of the components.
That is, as long as you haven’t damaged the tubing in the process (especially if you’re lazy like us and use scissors). Generally speaking, you should always run a leak test for 24 hours minimum before powering any of the components on.
In hindsight, we’d have loved to have gone with hard tubing. It’s all the rage at the moment, and rightly so – it’s some of the nicest-looking water-cooled work you can do.
A larger case would have also been good. One of Caselabs’s Magnum SM8s or Parvum’s ATX chassis would’ve been fab – going up to two 360mm radiators instead of just the one and a dual radiator would have been great for additional cooling.
A different chip would have also been nice, just to see if we could push beyond the silicon limits on ours. Thermally, there’s no issue with our 5820K, it just won’t clock beyond 4.4GHz, but that could have been a different story if we’d gone beyond the 4.7GHz boundary.
Additionally, running two loops would’ve looked stunning. One in black and one in white, separating the GPU and the CPU. Should you be water cooling, though?
That was the original question. It depends on your budget. As with any build, hard cash is ultimately what it always comes down to.
If you’re looking for the best bang for your buck, water cooling with a custom loop just isn’t for you. Even if you do it on the relative cheap, you’ll still be looking at somewhere around the region of £400/$600/AU$800, minimum, on top of everything else.
Water cooling is for those looking to build a beautiful and quiet workstation capable of destroying benchmarks and running any task you can throw at it with absolute silent ease.
It’s not for the faint hearted, and although water cooling has come a long way since the first attempts way back yonder, it’s still filled with danger and possible hardware failure. But then, we don’t know of any aspect of the PC enthusiast’s arsenal that isn’t.
- Now you've water cooled your PC, find out how to overclock your CPU!

Zak is one of TechRadar's multi-faceted freelance tech journalists. He's written for an absolute plethora of tech publications over the years and has worked for Techradar on and off since 2015. Most famously, Zak led Maximum PC as its Editor-in-Chief from 2020 through to the end of 2021, having worked his way up from Staff Writer. Zak currently writes for Maximum PC, TechRadar, PCGamesN, and Trusted Reviews. He also had a stint working as Corsair's Public Relations Specialist in the UK, which has given him a particularly good insight into the inner workings of larger companies in the industry. He left in 2023, coming back to journalism once more. When he's not building PCs, reviewing hardware, or gaming, you can often find Zak working at his local coffee shop as First Barista, or out in the Wye Valley shooting American Flat Bows.