How to install Kodi on a Firestick
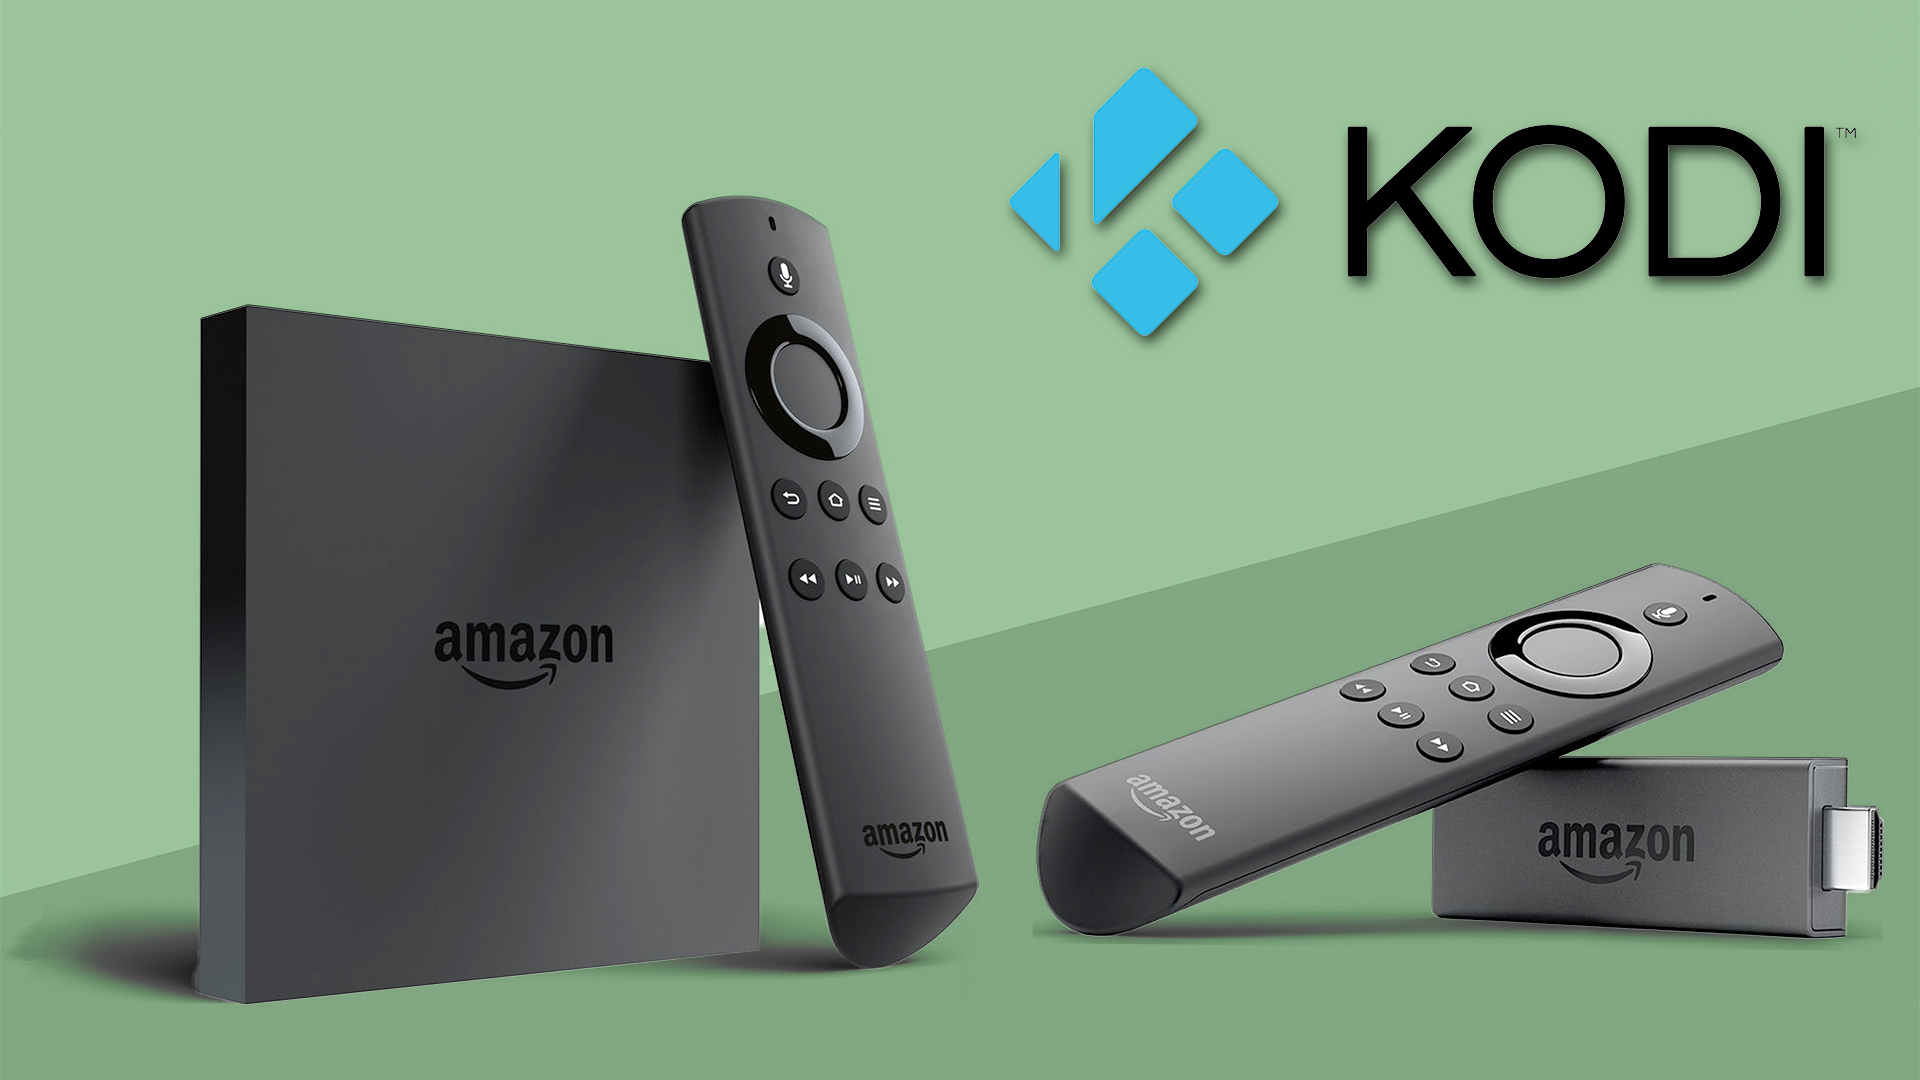
Kodi is one of the most popular media players around (and certainly the most controversial). As well as letting you access your own media files from a number of platforms (including the Xbox One), it’ll stream from hundreds and hundreds of sources across the world. It’s a powerful app and one that has attracted its fair share of erm, condemnation.
You can get Kodi on a wide range of platforms, and one of the best-suited is Amazon's Fire OS, as used by the Fire TV and Fire TV Stick (commonly known as Firesticks). Both devices are sitting proudly at the top of our list of the best Kodi boxes.
However, you can’t simply download Kodi from these devices’ app store. There are several ways to get the app on your device, though. We’re going to take you through the process using the simplest, quickest method, which should only take 10 minutes.

Step 1: Download Downloader
First, we need to get hold of an app that will let us directly download the Kodi app installer file. There are a few of these, but the one we’ll use is simply called Downloader.
It’s free, and it has a bright orange logo if you want to hunt for it manually. The quickest way to find it, if you have a mic-enabled Fire TV Stick, is to just speak into the remote while holding down the microphone button: saying “downloader” will bring it up instantly.
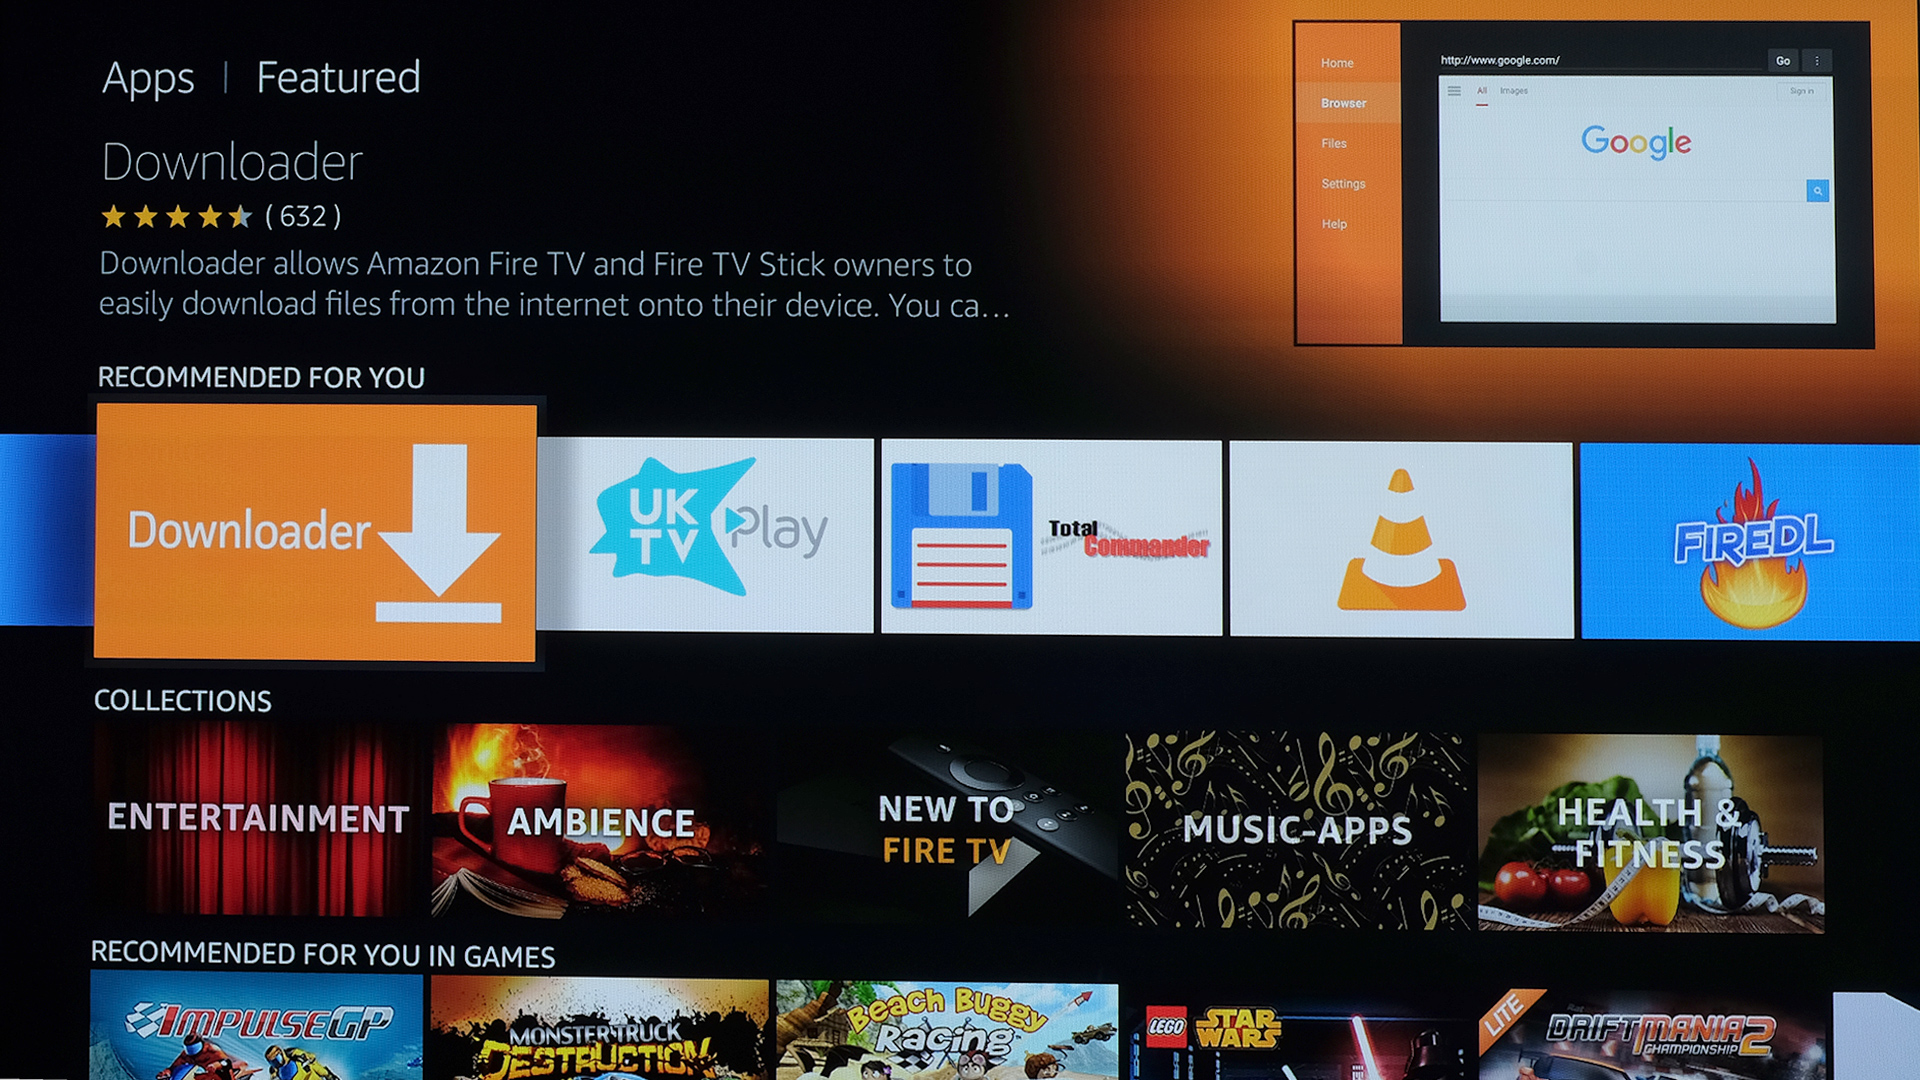
If your Fire TV isn’t voice-enabled it’s quickest to use the text search, as sifting through categories can take an age. Go to the Home screen display, press the up key on the remote so the navigation tabs are selected, then press the left key to get to the universal search area.
Type in 'downloader' and the app will pop-up in the results. Now just click through and install the app.
Sign up for breaking news, reviews, opinion, top tech deals, and more.
Step 2: Enable installing apps from unknown sources
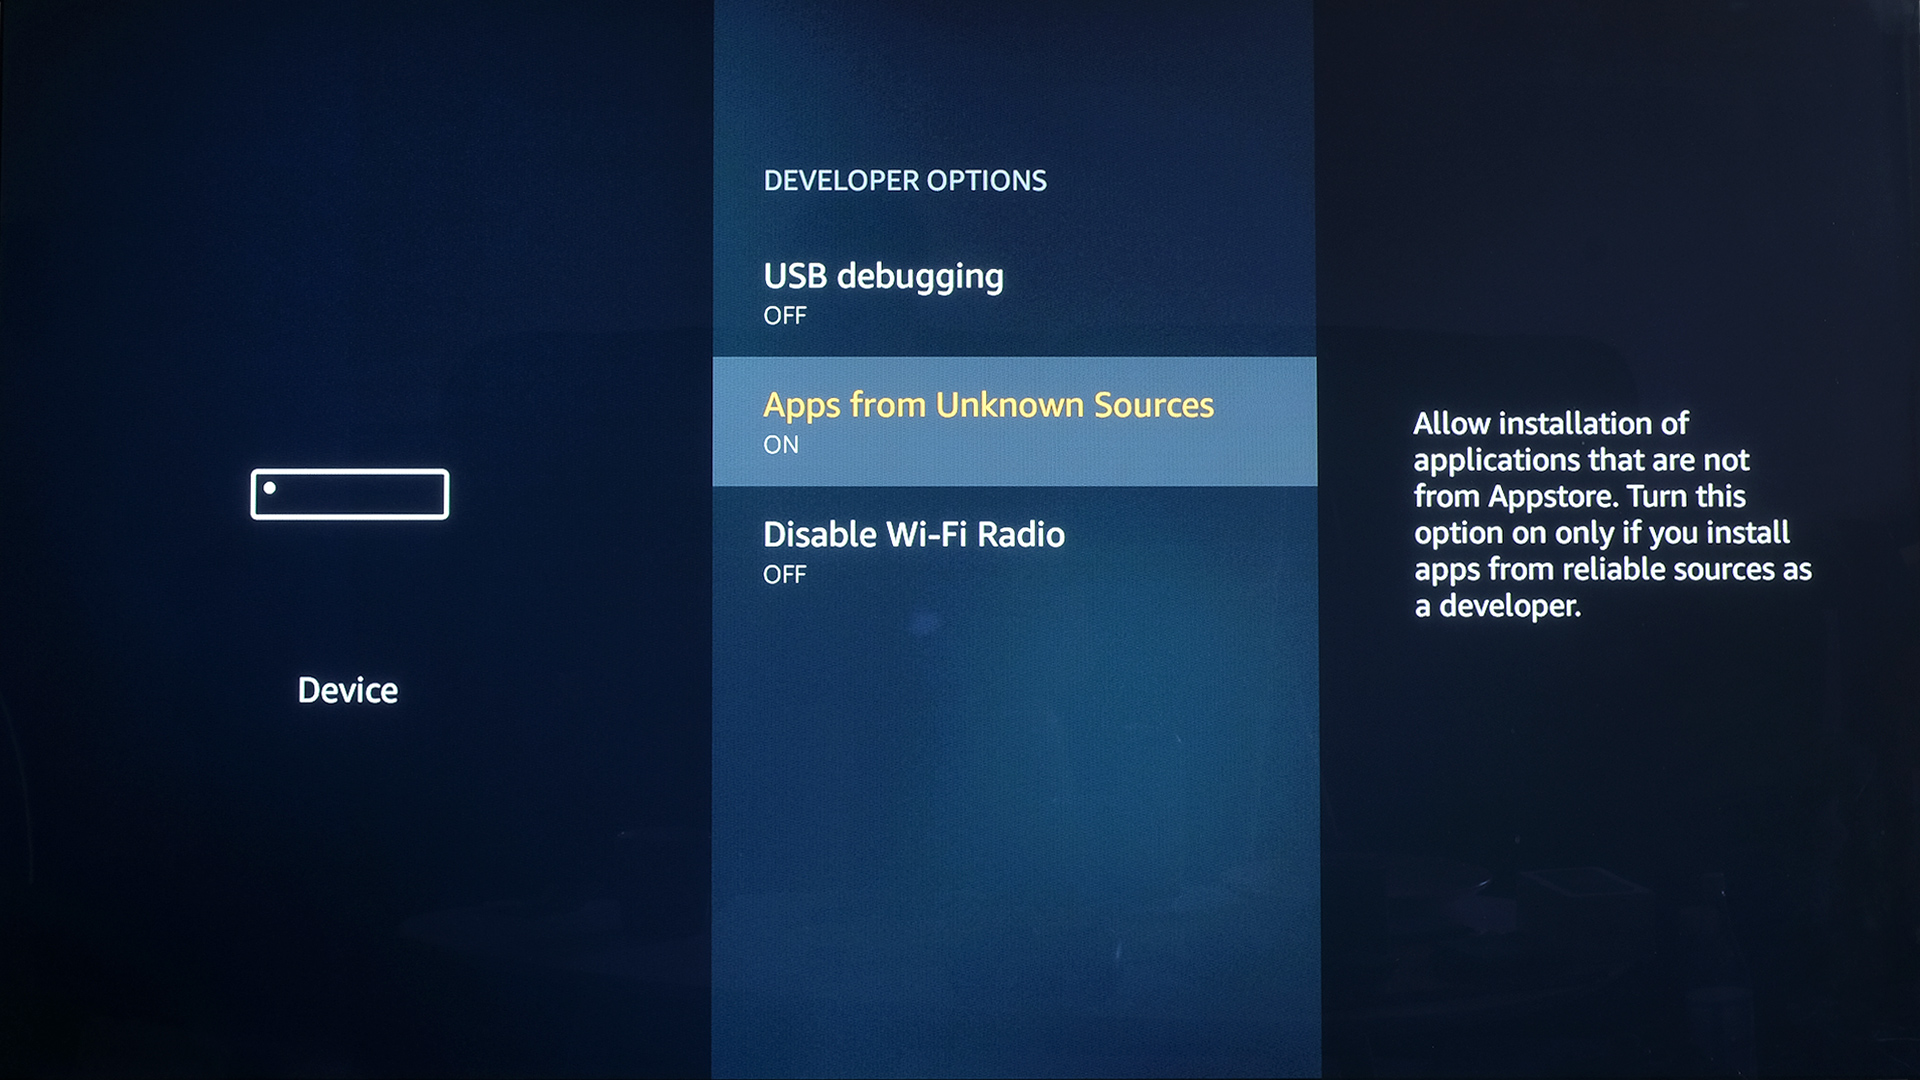
The next part is where we get serious: enabling downloads of apps from unknown sources. By 'unknown sources', the Fire TV simply means any apps that are not from the Amazon Appstore.
This is an important security feature, but it needs to be disabled before you can install Kodi, as it’s not available direct from Amazon.
Select the nav tabs from the home screen by pressing up, and scroll right to reach Settings. From this menu, select Device. Next, pick Developer Options and you should see a sub-menu that includes the entry 'Apps from Unknown Sources'. Select it, making sure it reads ON underneath.
The disclaimer we need to make here is that if you’re going to start downloading apps from outside the Amazon store, make sure you’re not doing so from anywhere dodgy. Android apps can harbour viruses and malware, so download from official developer sites where possible. It’s what we’ll be doing next…
Step 3: Open Downloader
Next up, we just need to boot-up Downloader. This bit barely needs an instruction, as when you install an app you should see it pop up at the top of one of your apps feeds.
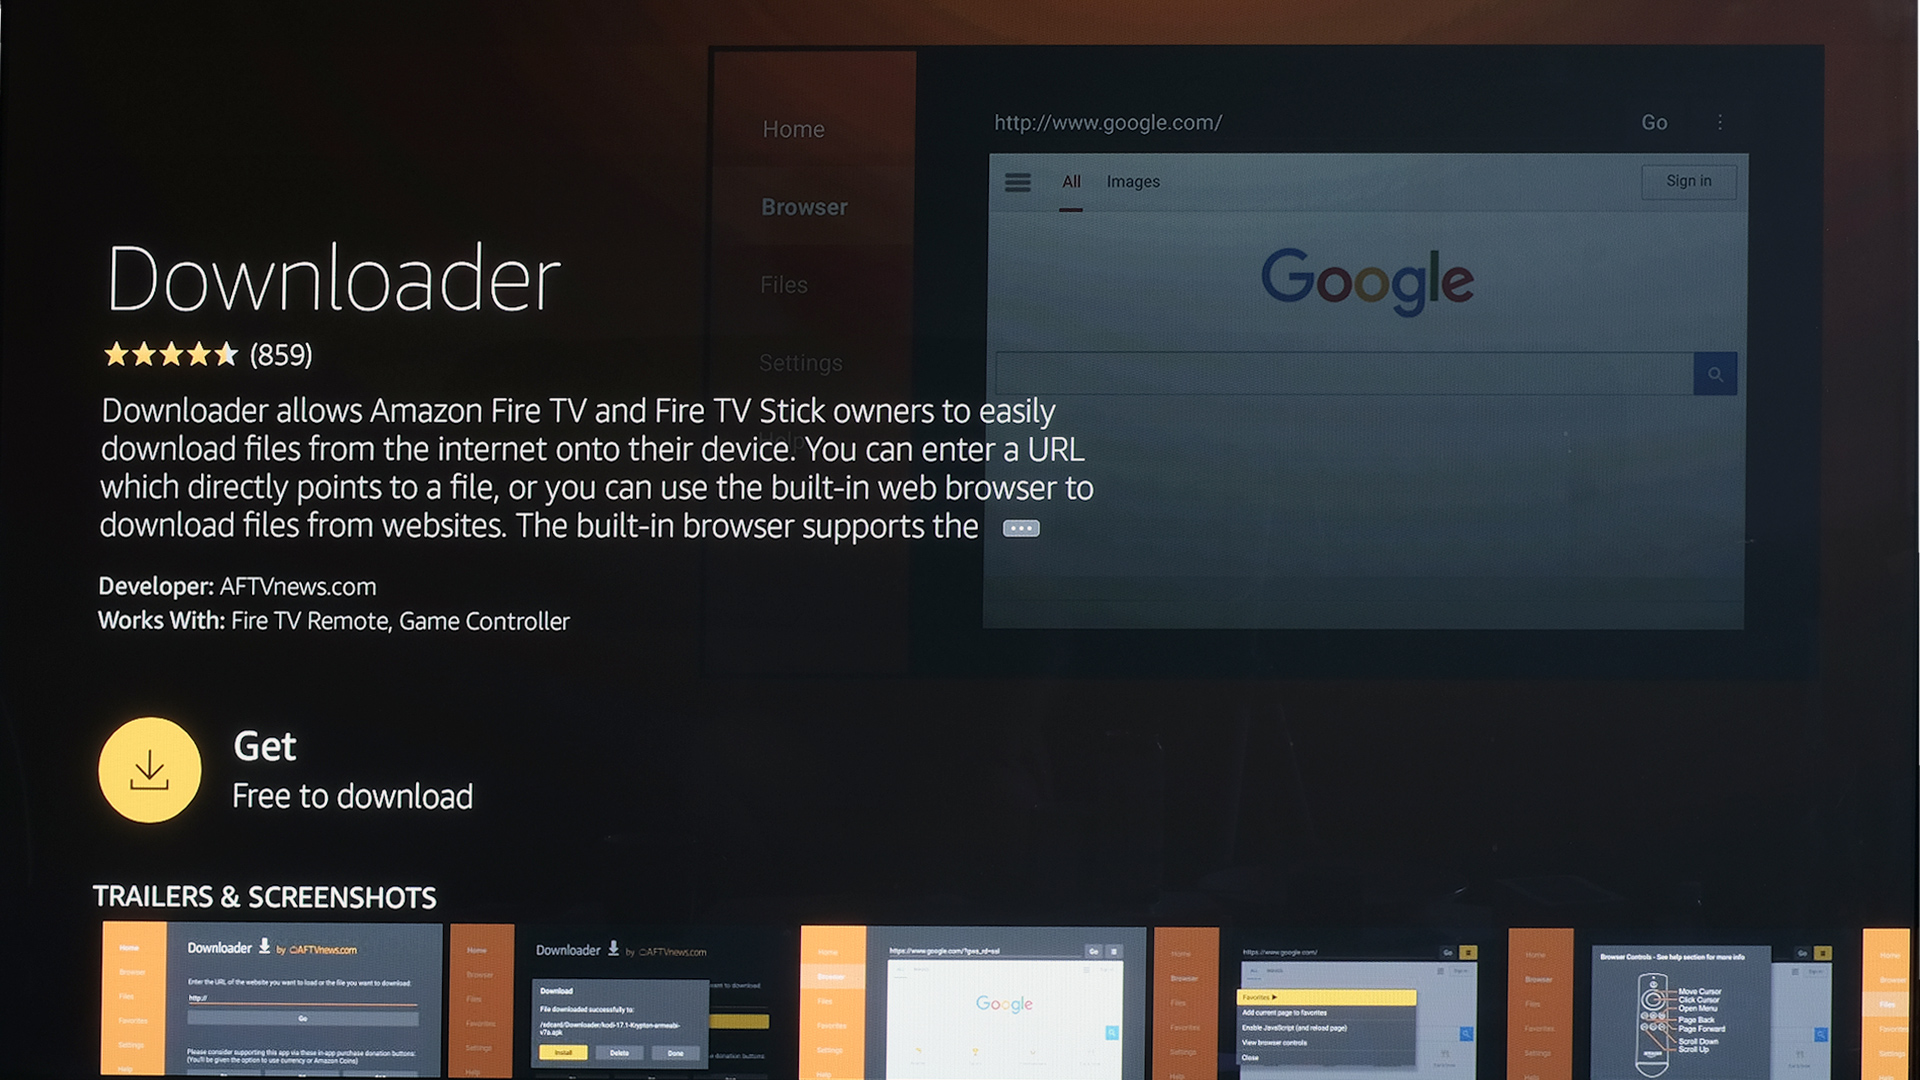
If it doesn’t, just long-press (around two seconds) the home button to get to the system shortcut menu. Select Apps, and you’ll see all the apps you have installed.
This is one thing Amazon Fire OS doesn’t do that well – actually putting your apps at your fingertips.
Step 4: Enter the Kodi URL
Now we’re in Downloader. This is an app that lets you download apps and other files through a browser-like interface, because Fire TV doesn’t actually have its own Chrome/Safari-style internet app.
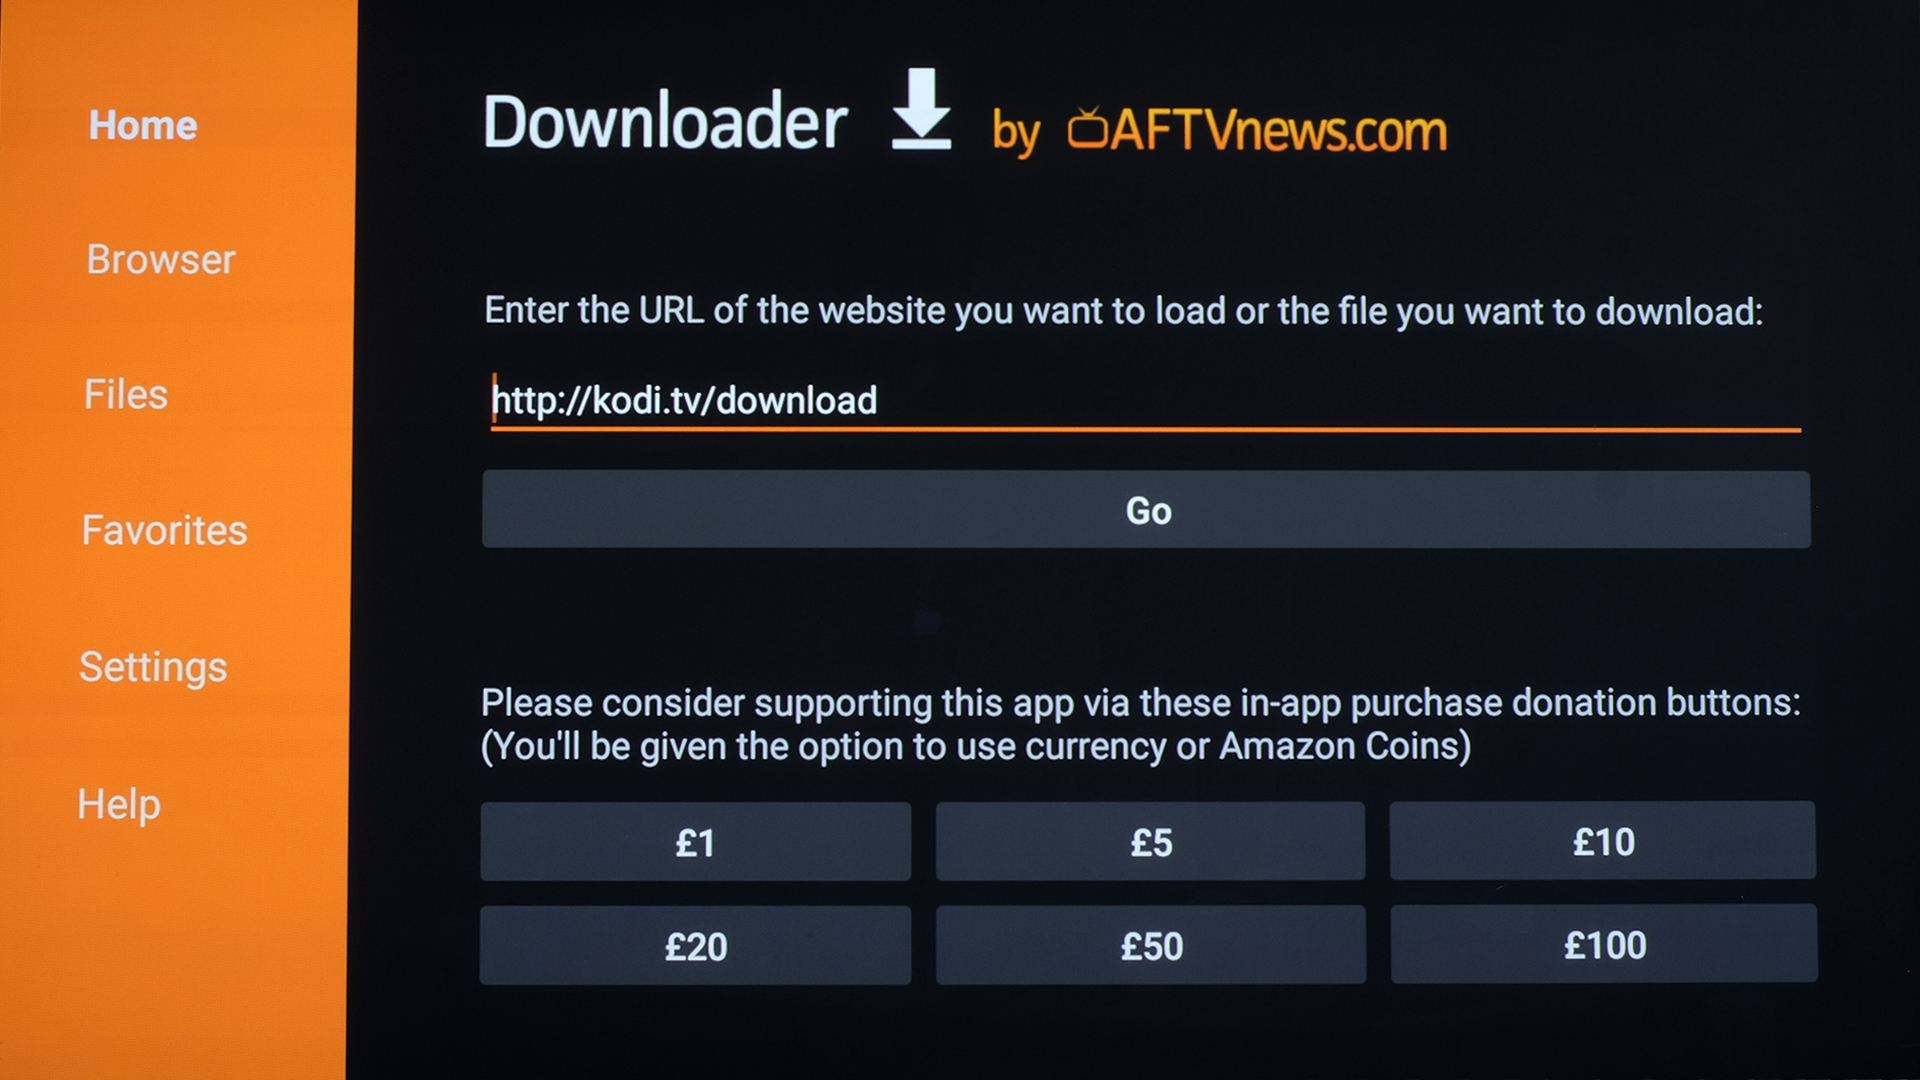
On the app’s initial page you’ll see a white box into which you can type a URL. Select it and type in 'https://kodi.tv/download'.
This is the web page you’d head to on a laptop to install Kodi, and it works for Fire TV too.
Step 5: Select the right Kodi build
If you typed in the URL correctly you should now see a webpage appear in the Downloader app. Scroll down using the remote’s D-pad to find the green Android robot and select it.
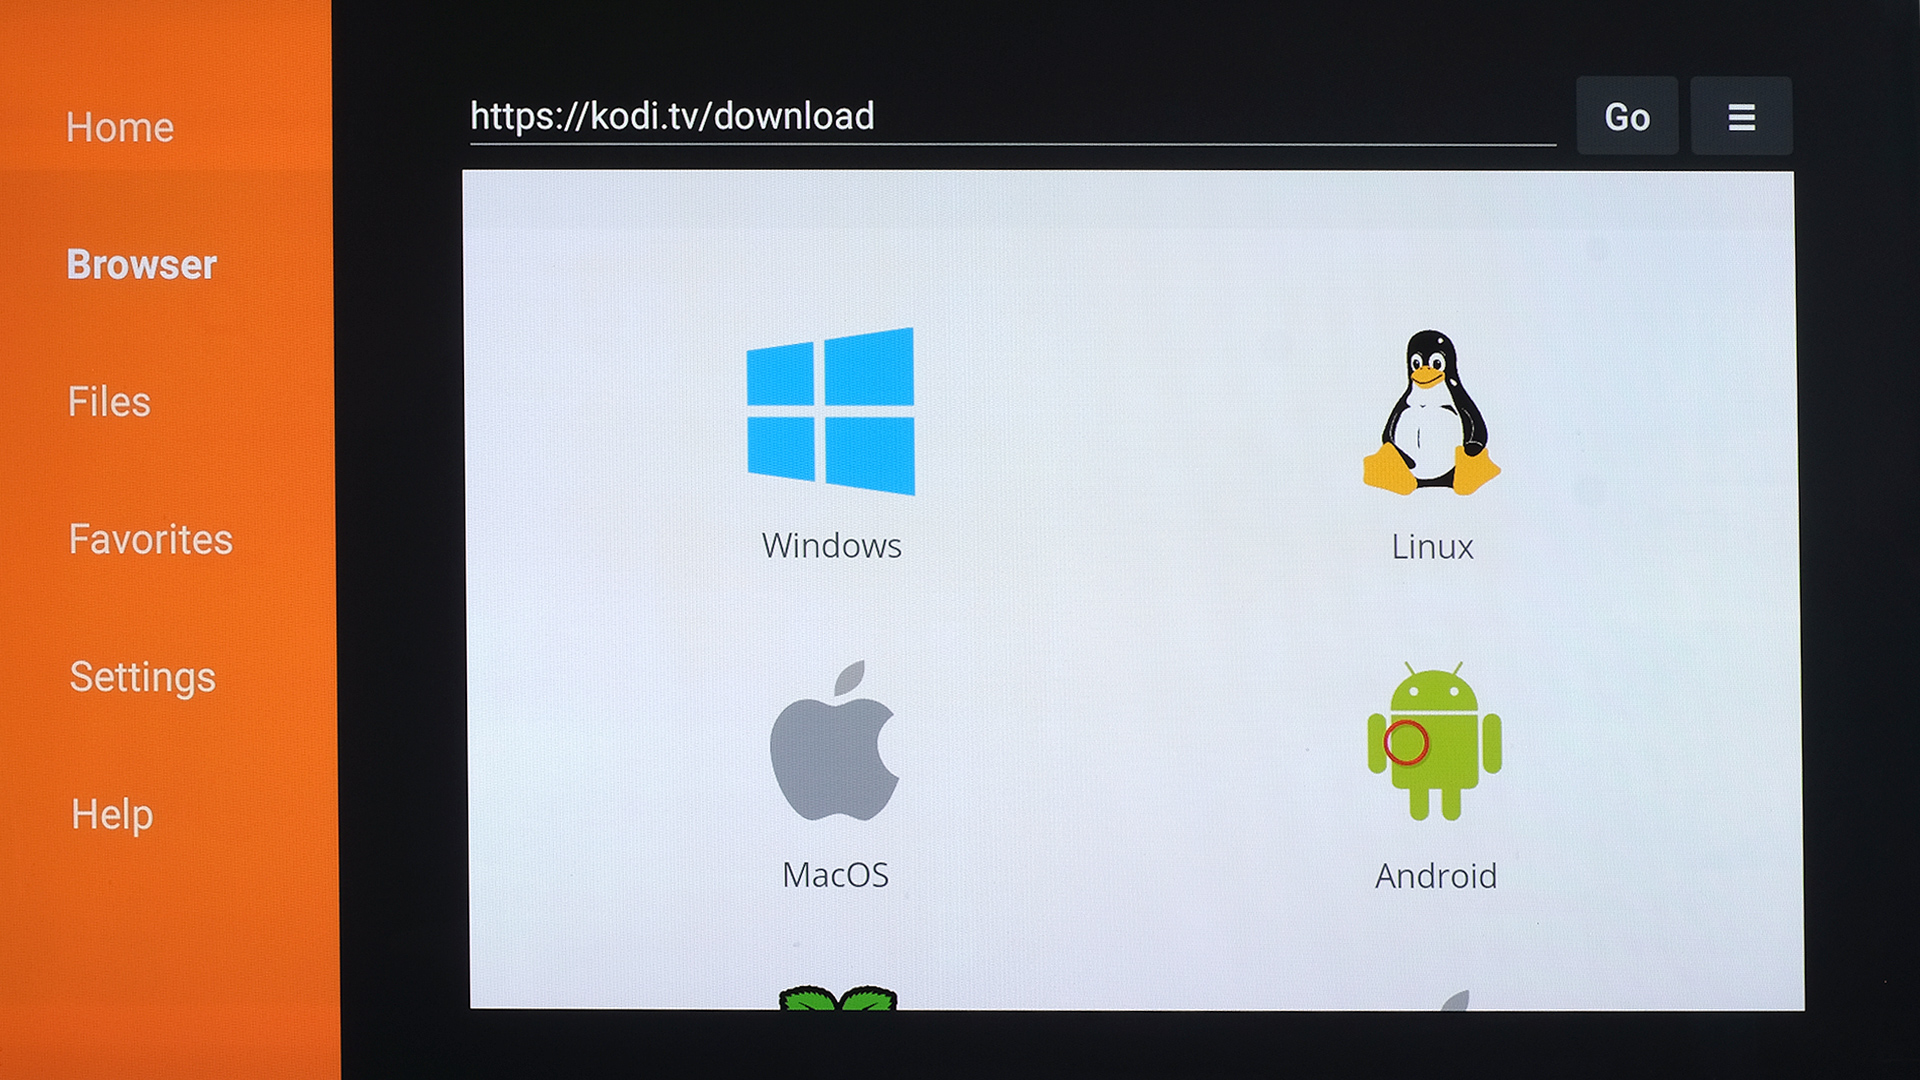
On the next page you’ll see all the available Android install builds. There are quite a few, and the one to pick depends on the version of Fire TV or Fire TV Stick you have.
The very first generation of Fire TV and Stick have 32-bit CPUs, so you’ll want to choose the ARM version labelled 32-bit. If you have a newer version, pick the ARM 64-bit build.
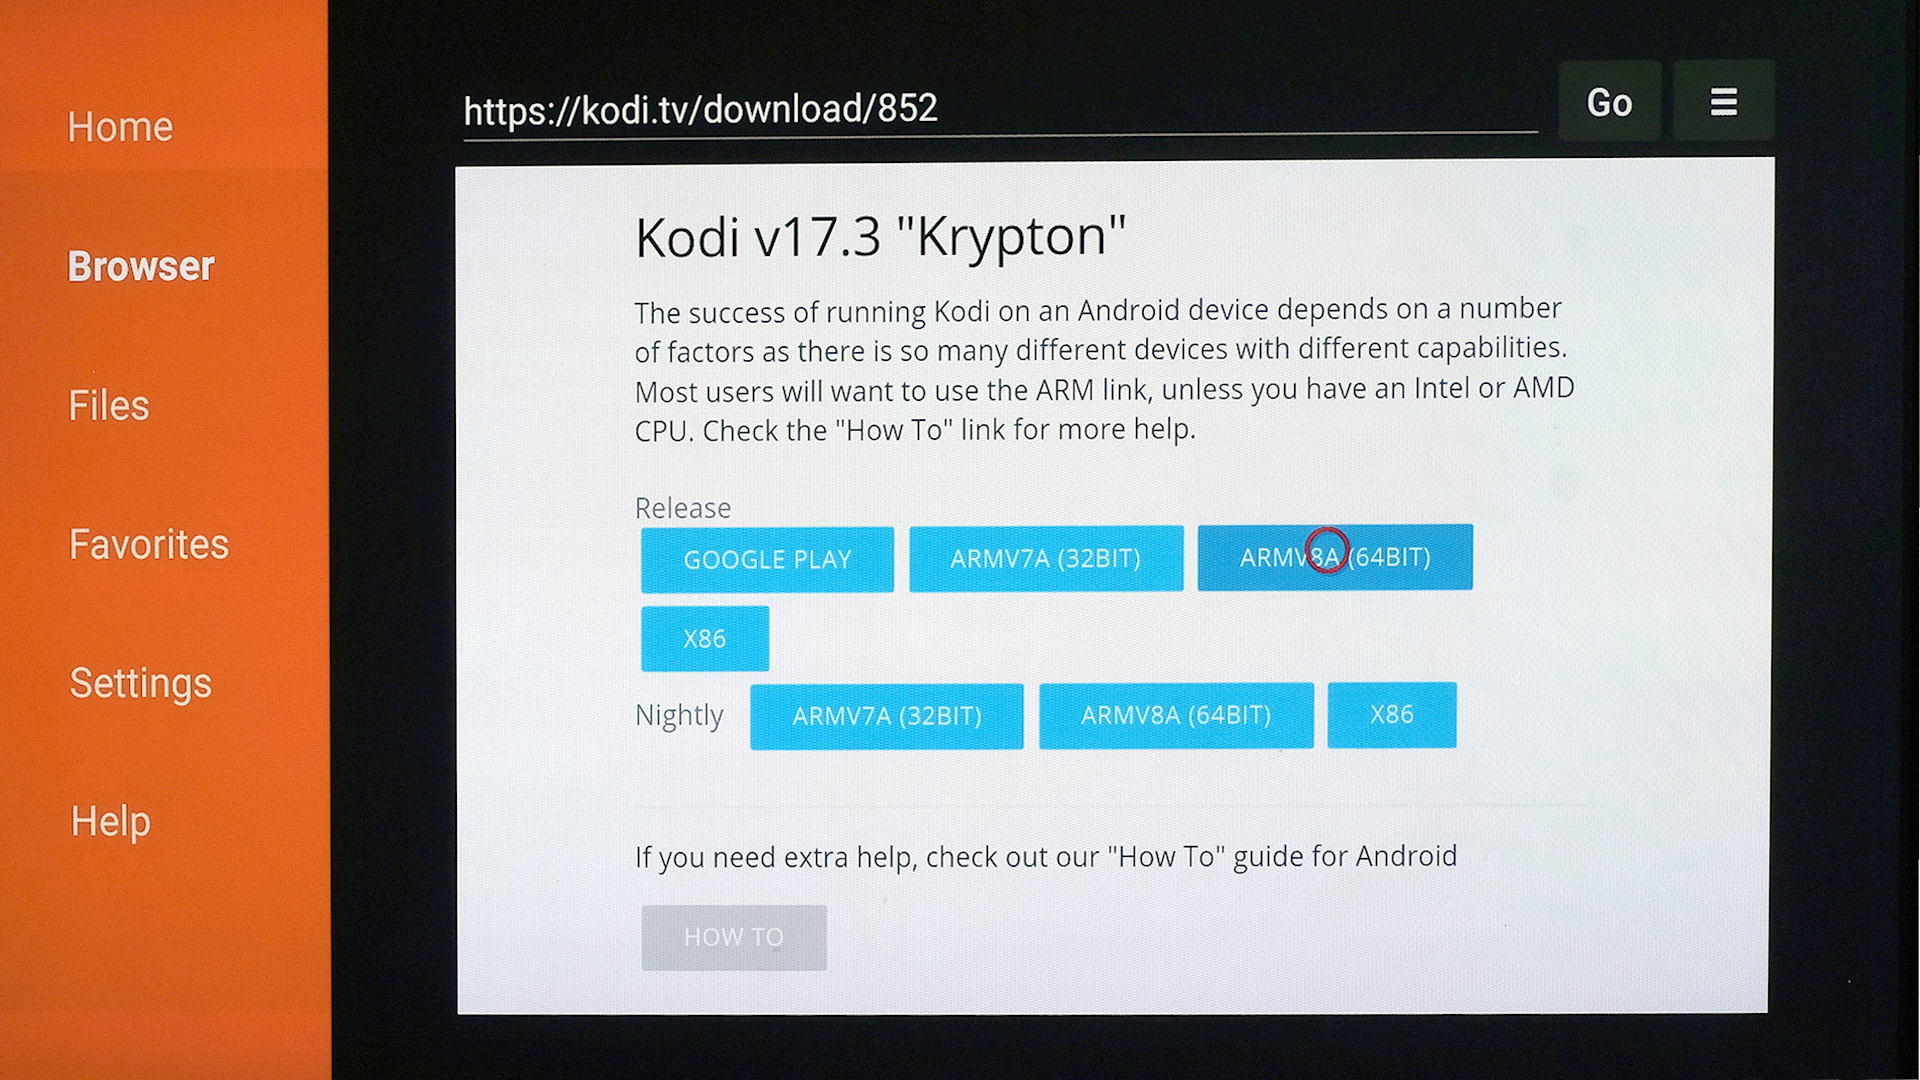
On this page you’ll see 'release' and 'nightly' versions of Kodi, for both 32-bit and 64-bit versions. We recommend going for the 'release' version, which will have fewer bugs. The other. 'nightly' type may be newer but it's a work in progress.
Select the right build and the .apk installer file will start downloading. It’s an 87MB file, with the version we’re using. Once finished Downloader will automatically attempt to install it, making an installer prompt pop-up.
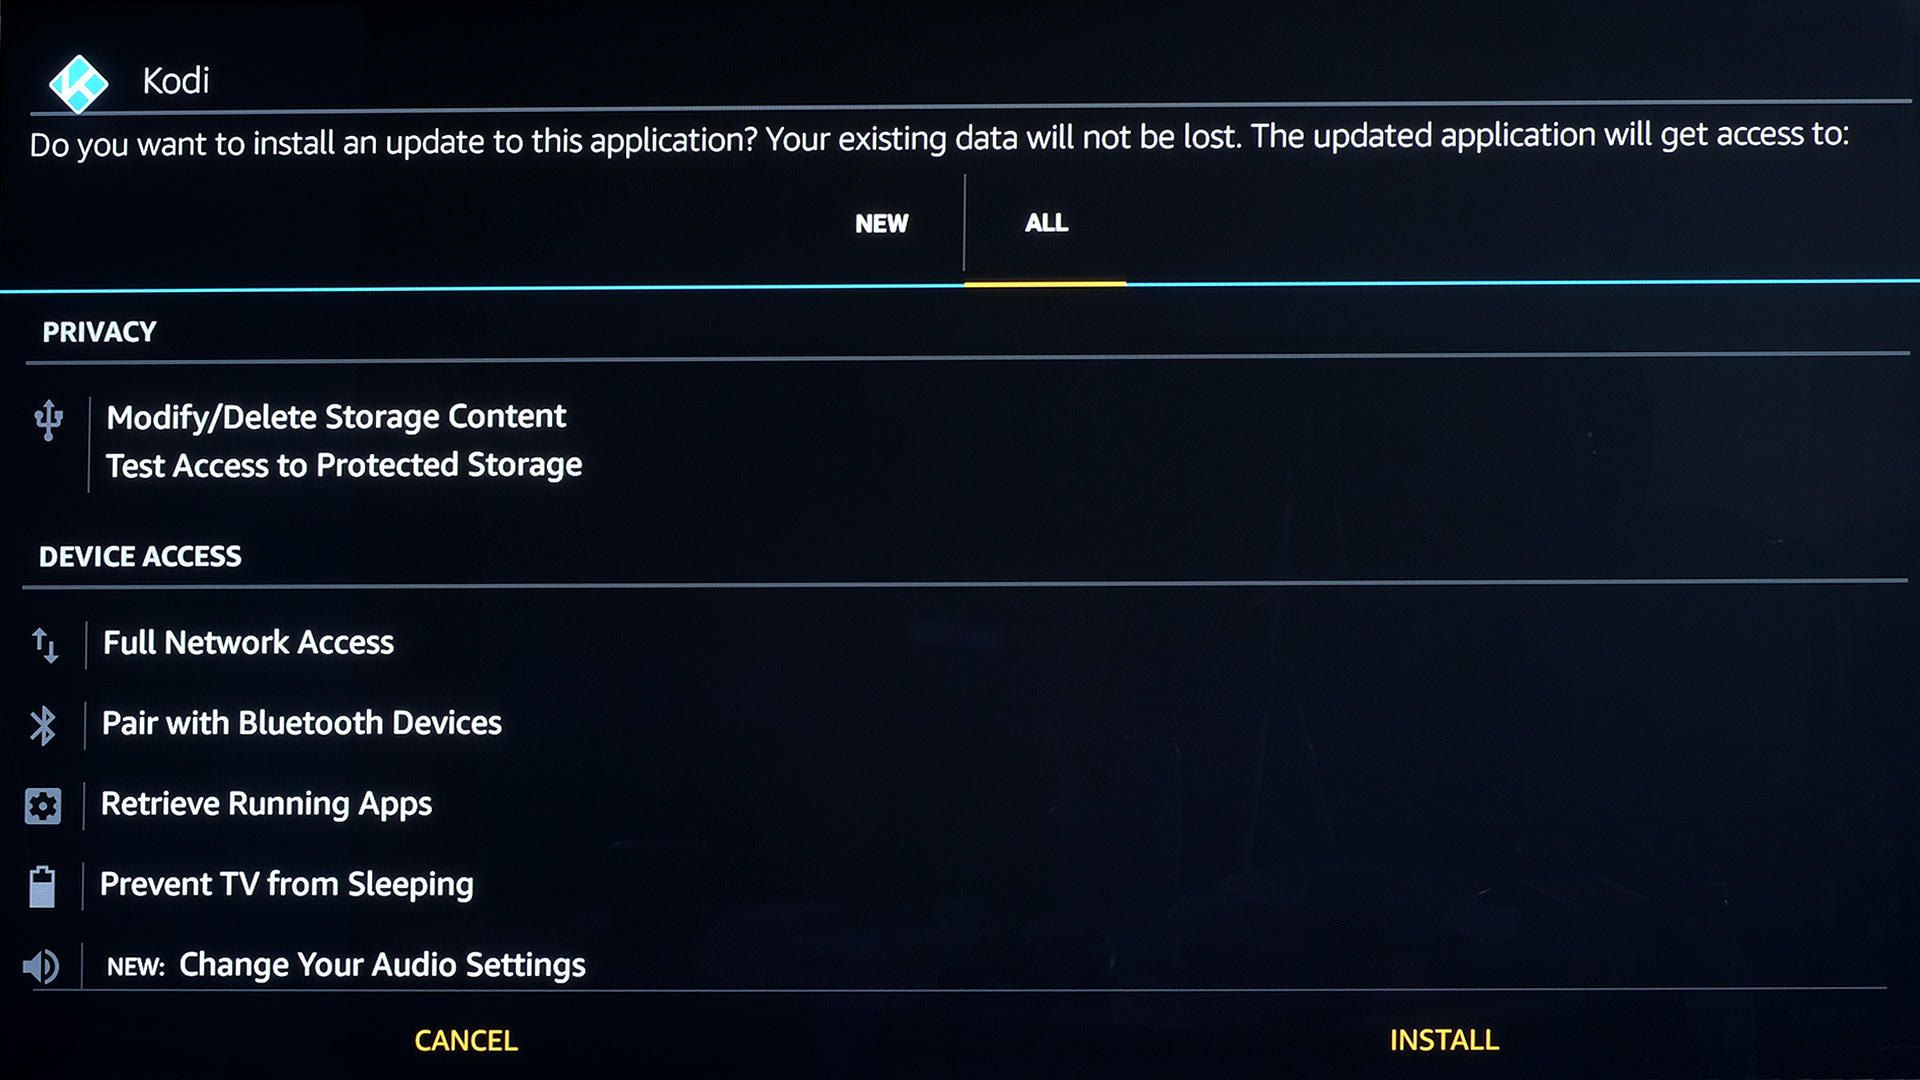
Press down on the D-pad to get to the Install button at the bottom of this page. Once the install is complete, don’t head right back to the Home screen but let the process take you back into the Downloader app. You’ll see an option to delete the install file, which will free up a little space – we don’t need it any more.
Step 6: Get content on your Kodi build
Pat yourself on the back – you just installed Kodi on your Fire TV. It should now appear in the Recent section on the Home page.
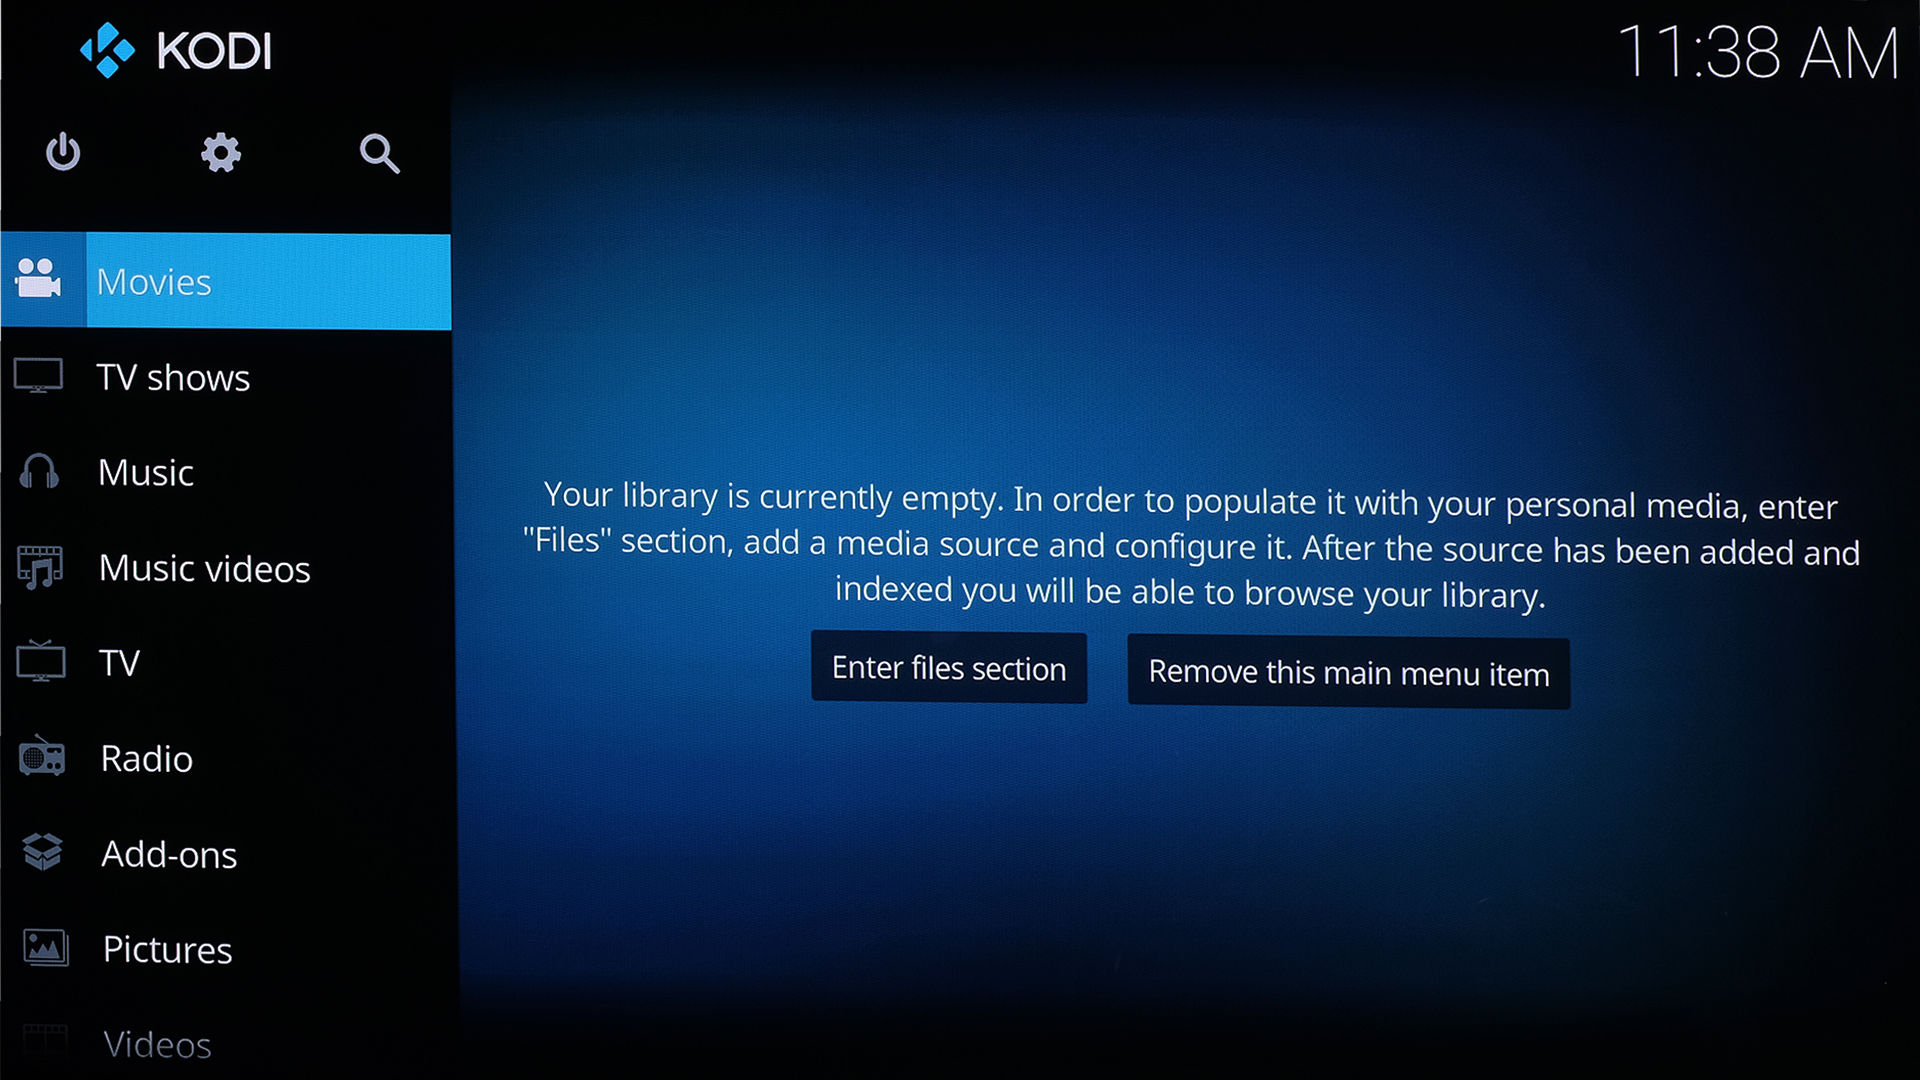
If you can’t find it at some point in the future, don’t forget you can access your app library by long-pressing the home button on the remote.
What you’ll want to do now is install add-ons, which give you access to lots of streamed content – for more on this, be sure to check out our feature on the best Kodi add-ons.