
 Become a TechRadar Insider


MythTV is a little involved to set up, but worth the effort. It's more than a TV recorder - its plug-ins add plenty of extra functions, and the scripting interface means that you can do all sorts of clever things with it.
We'll look at installing and setting up MythTV, as well as how to use the various functions. We'll also deal with a number of the common questions that arise.
Let's start with the hardware. You'll need a computer, a means of receiving TV programmes and some storage. MythTV uses a server/client model. The server is known as the back-end and handles scheduling recordings, transcoding, advert flagging and so forth, while the front-end is the user interface. The front- and back-ends can be the same computer, but they do have different hardware requirements.
The back-end needs plenty of storage (once you get into MythTV, you'll find a terabyte to be a small amount of space), room for one or more TV cards and a reasonably powerful processor. In other words, a typical desktop computer - not the most attractive or silent addition to your living room.
The front-end needs a decent network connection and the ability to output video and sound to the TV. I use an Acer Aspire Revo nettop fixed to the back of my TV as a front-end, while all of the grunt work is handled by the back-end in the loft.
There are other advantages to having separate front- and back-ends. You can have multiple front-ends connected to one back-end, so all of your recorded content is available in each room. You can even start watching a programme downstairs and finish it in bed, because the back-end will remember where you're up to.
The type of TV receiver you need depends on your area. Much of the UK is now 100% digital and I use PCI DVB-T cards. DVB-T is terrestrial digital, known as Freeview in the UK. There are also DVB-S receivers for digital satellite, as well as various analogue cards.
The big advantage of the DVB formats is that they're broadcast as MPEG streams, so no encoding is necessary to record them to the hard drive. This reduces the amount of CPU power needed, which is important if you're running your front- and back-ends on the same machine, or want to make simultaneous recordings.
HD is another matter. While Freeview HD has been available in the UK for well over a year, there are still no DVB-T2 cards - and you can't receive HD on a DVB-T device. There are DVB-S2 cards available, so if you want HD you'll either have to get a dish or be patient. HD places extra loads on everything, so you'll need a lot more storage space, a faster network connection between front- and back-ends and a faster GPU on the front-end.
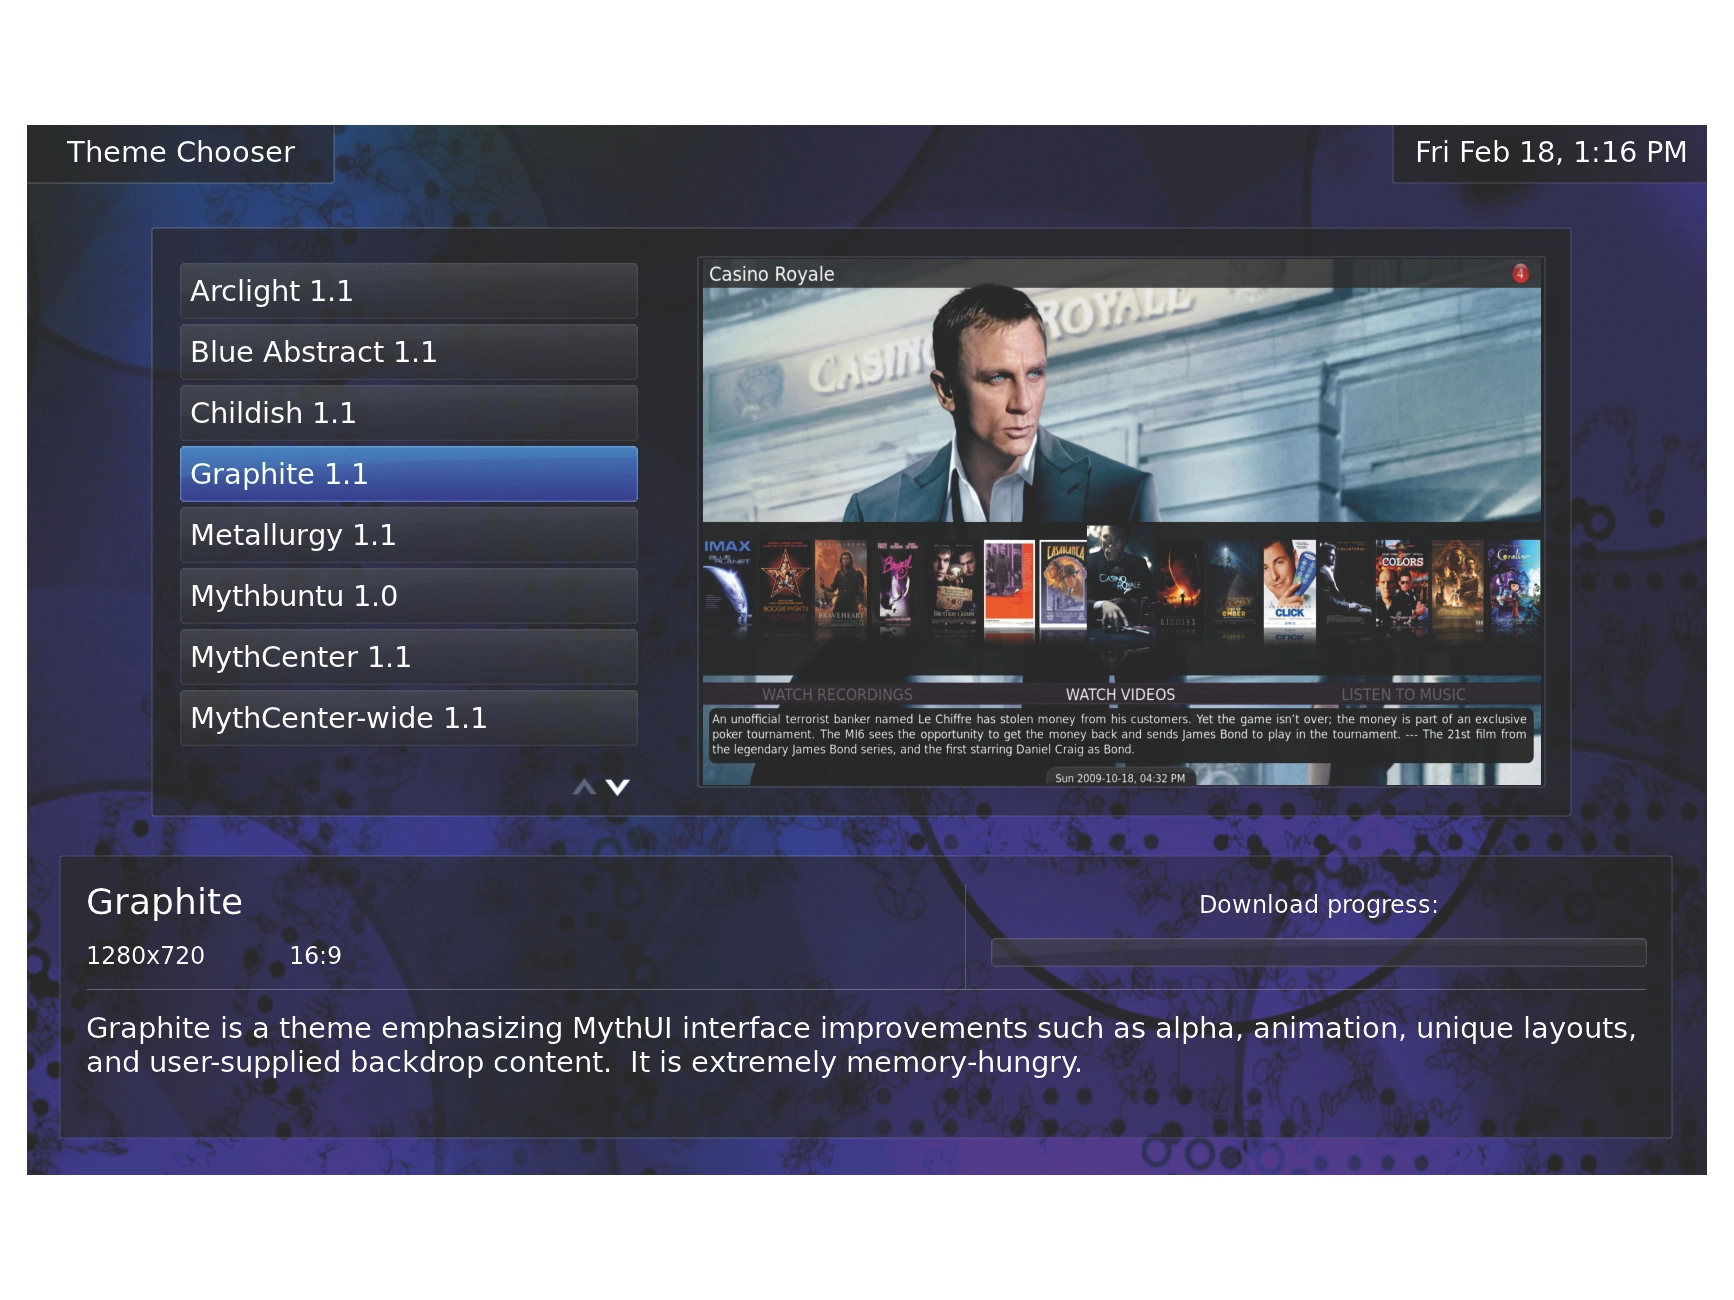
Installation and setup
There are three main ways of installing MythTV: compile from source, install packages from your distro's repository on to an existing Linux system or install a MythTV-enabled distro. We'll be working with the latter option, although you can still follow the rest of this if you go down one of the other routes.

Mythbuntu is basically Xubuntu with MythTV added and much of the other software removed. As such, it can still be used as the basis for a standard desktop, too, simply by installing a few extra packages.
We won't go through the details of installation, because it's just the familiar Ubuntu installer in a different colour. It will, however, ask you the type of installation you want. Normally, you'd choose a combined front-end/back-end, a primary back-end or a front-end - secondary back-ends involve more complexity than we've got space to deal with here.
Mythbuntu 10.10, the latest version at the time of writing, comes with MythTV 0.23, but we'll be using 0.24 for the rest of this feature, so your first step is to upgrade. Once you've booted into Mythbuntu, press Esc to exit MythTV, point your browser at www.mythbuntu.org/auto-builds and install the mythbuntu-repos package. The update manager will then install 0.24.
Once you have MythTV 0.24 installed, you need to set up the back-end by running mythtv-setup on it. In Mythbuntu, you can find this in Applications > System > MythTV Backend Setup. If you're using a separate back-end tucked away out of sight, you can use VNC to connect and run mythtv-setup - which means that the back-end will still need a desktop.
You can also use the following SSH command, which will run the setup program on the back-end, but display its window on your desktop:
ssh -Y user@mythbe mythtv-setup
Step-by-step: setup
1. Configure main options
Work through the seven MythTV sections one by one. The mouse won't be visible, but you can use the Up and Down keys to move between options and the Left and Right keys to change them. The help text for each item will be shown at the bottom of the screen.
2. Set your frequency

The most important items in the General settings are on the Locale page, where you set the TV standard and frequency table. These should be PAL-I and Europe West in the UK. If you don't know your region's settings, check MythTV's wiki.
3. Add capture cards

In the Capture Card Setup section, set the card type at the top - if you have multiple cards, repeat this, picking a different device each time. DVB cards appear under /dev/dvb, whereas most other types appear under /dev/video*.
4. Source video streams

You now need to set up a video source type - if there isn't already a DVB source present, create one. Attach each of your capture cards to a video source. You can also set up listings grabbing here, which may involve setting up an XMLTV file.
5. Scan for channels

The Channel Editor is where you grab the list of available channels. Select Channel Scan, make sure it's set to the correct region and leave it for a couple of minutes to do its stuff. You can edit the channel list later to remove any you don't want.
6. Direct your saves

Finally, you need to tell MythTV where to save your recordings, so specify one or more directories. If you choose multiple locations, it will use them according to available space and load balancing.