What is macro mode on your phone and how do you use it?
Get up close and personal

Macro photography is where you get very close to your subject in order to reveal levels of detail not typically appreciable with the naked eye.
The capillaries of leaves, the martian-looking surface of fungus and the furze of a spider’s abdomen are all subjects you might try to capture. But how do you take such highly detailed photos with your phone?
We’ll cover that for iPhone and Android phone owners, as well as offer tips for getting macro-like results even if your phone doesn't have a macro camera or macro mode.
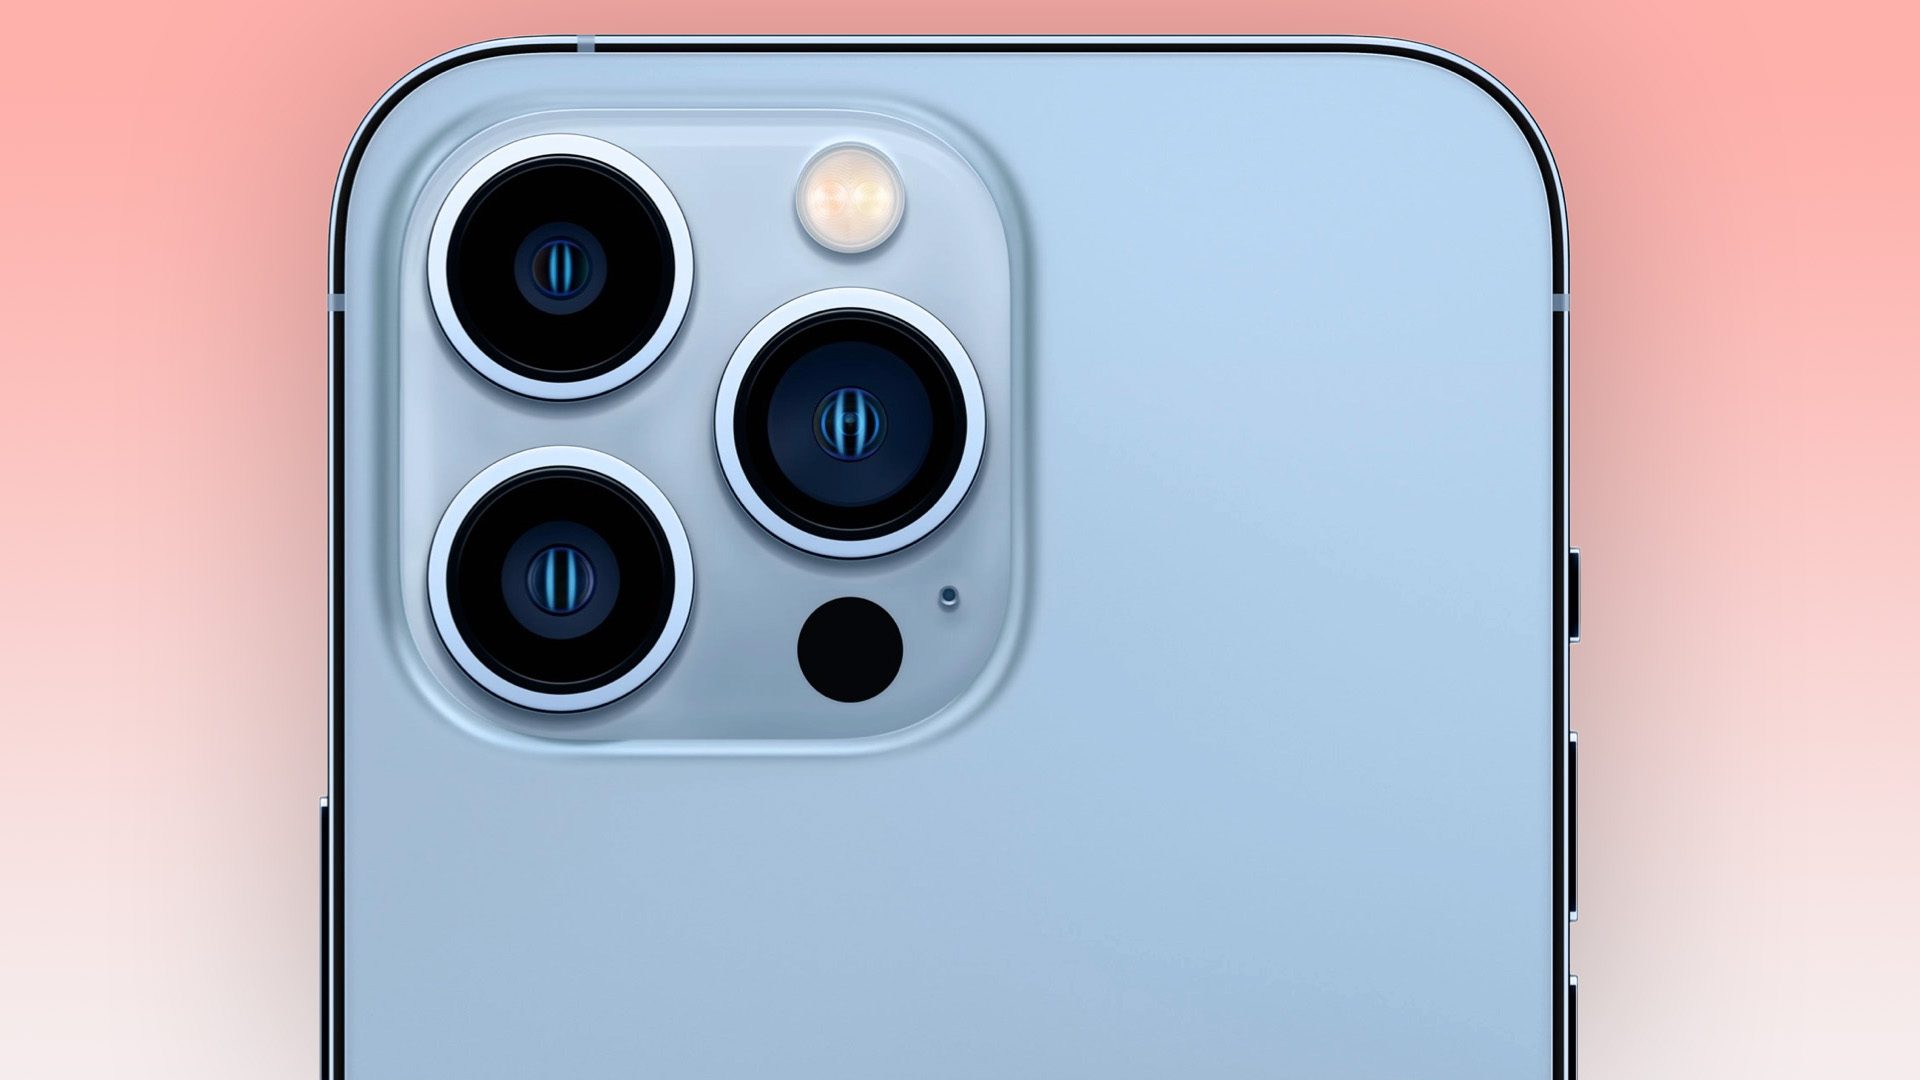
iPhone 13 Pro and 13 Pro Max
The latest iPhone 13 Pro and iPhone 13 Pro Max have a macro mode that automatically engages when you get close enough to a subject. The phone switches to its ultra-wide camera because its lens is able to focus on subjects closer than the main camera can.
Its minimum focus distance is 2cm. For best results, you want to get close to this kind of proximity, although that is naturally going to be easier for static subjects. It takes a bold photographer to get 2cm from a wasp.

As is so often the case, Apple makes things easy. Apple has also added a way to turn this auto-switch feature on and off in the camera's Settings menu.
Other iPhones don’t have a dedicated macro mode but you can still take good macro shots with them. We’ll cover some crucial tips for this later on.
Sign up for breaking news, reviews, opinion, top tech deals, and more.
Android phones
Many Android handsets have dedicated macro cameras. You typically access them in one of two ways. There may be a line of controls next to the shutter button that switches between the lenses. The macro one is typically identified by a flower symbol because that’s one of the classic subjects for macro photography.
If you don't see it there you should find a macro mode in a settings menu. This may be part of the mode selection screen, usually accessed to the right of the shutter button. Or the general settings menu, which typically sits on the left side of the camera app.
All phone makers use their own cameras apps, which is why we can’t be entirely specific about this part.
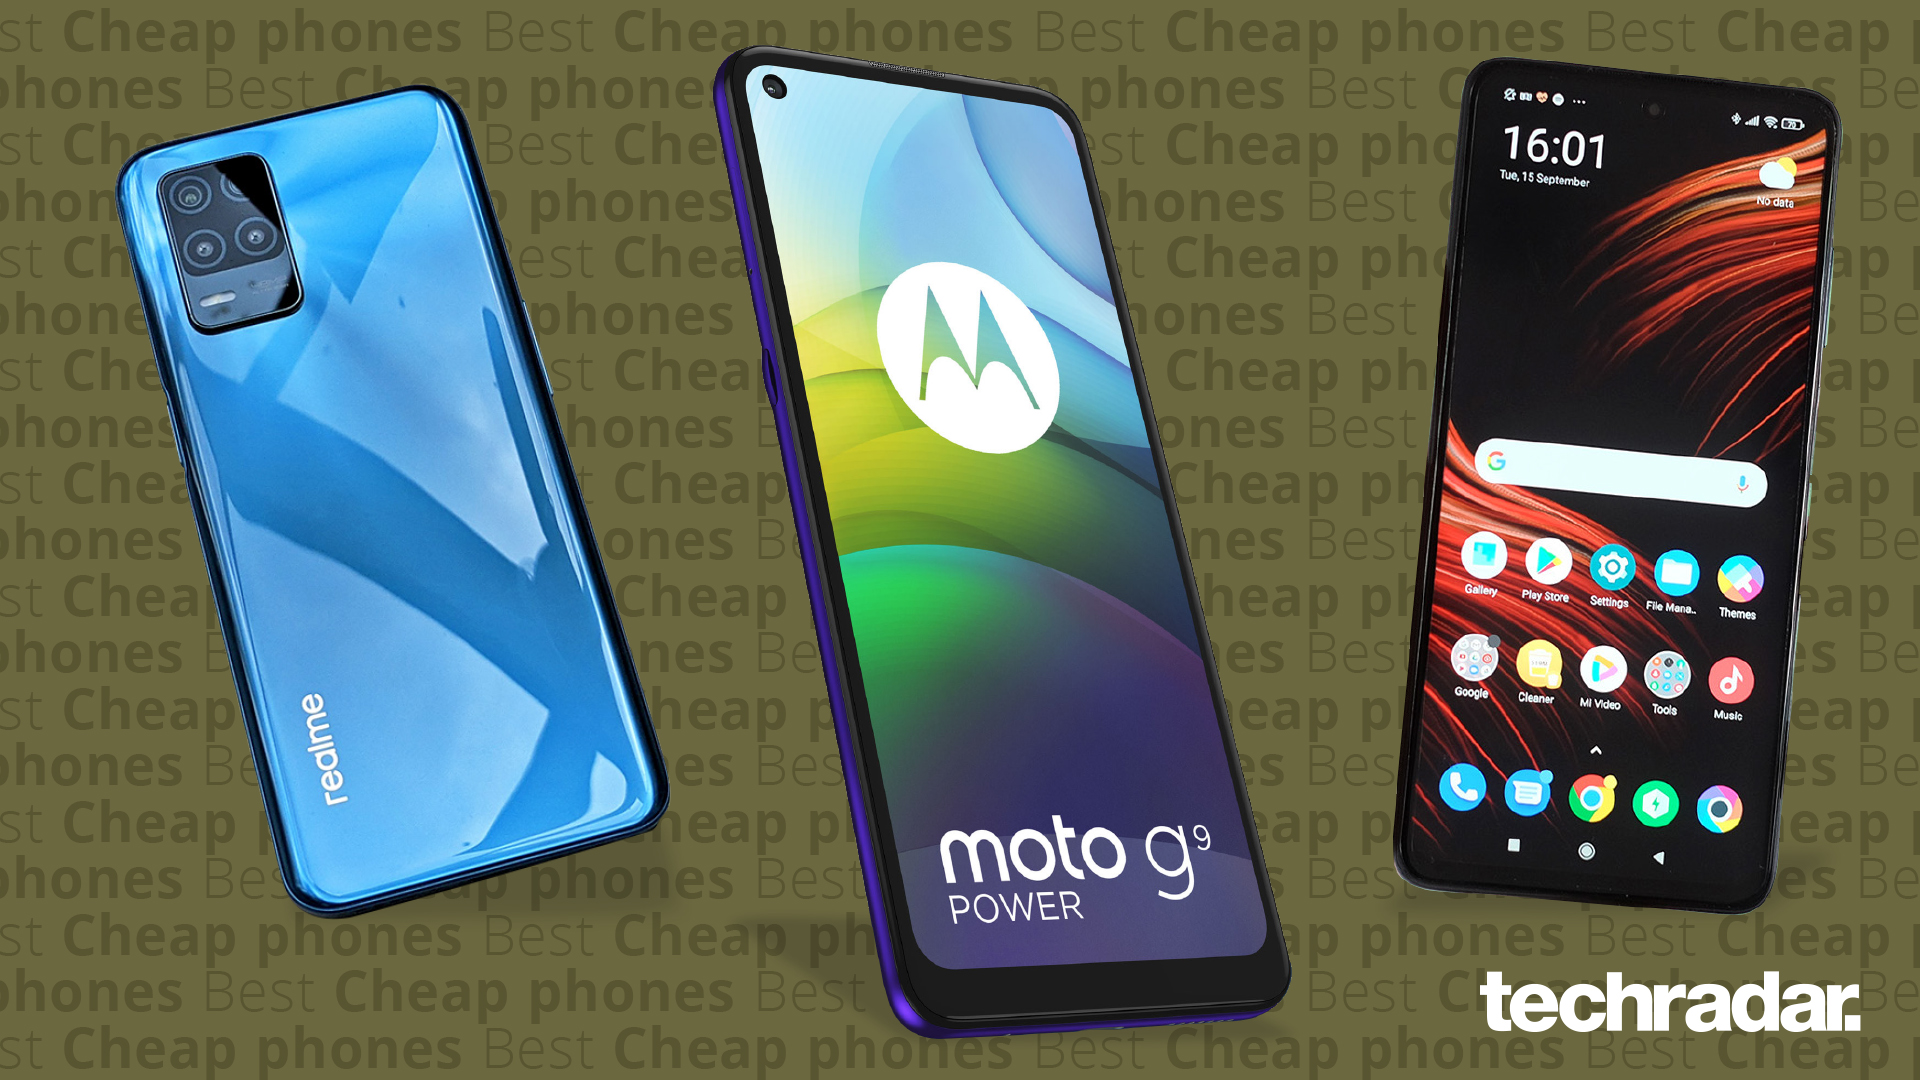
However, you shouldn’t just use the dedicated macro mode and assume it’s the best your phone can do. In the past couple of years, several of the most popular phone manufacturers have taken to including low-quality macro cameras in their phones in order to bulk up the numbers — the premise being that a three or four-camera phone is going to sell better than a two-camera one.
Some of the worst offenders in this area are Motorola and Oppo. If your macro camera has a 2MP sensor, it won’t take good images. We find these phones can often take better close-up images with their primary cameras, so carry on reading to find out how to improve your results.
How to get the best results from non-macro phones
Don’t have a phone with a solid dedicated macro camera? The good news is there’s no magic to a macro lens that means you can’t try out this style of photography with other cameras.
How close you are able to focus on the subject is the key part here. In most cases an ultra-wide camera will be able to focus significantly closer than the primary — this is why lots of top-end phones actually use their ultra-wides to take macro images rather than having a separate lens.
Actually getting the camera to focus super-close can be tricky, though. If your phone has a 'Pro' mode, try using that. This should let you manually alter the lens’s focus, taking temperamental autofocus out of the equation.
What we tend to do is to experiment with all the lenses a camera has, including digital zoom ones, and see which images come out the best. The tricky part with ultra-wide camera macro photography is that the depth of field is likely to be wafer-thin, meaning only a small area of your subject will appear sharp.

You need to take careful notice of which parts on the preview appear the sharpest. We recommend moving slightly — closer and further away – and capturing multiple stills of each scene, so you have a choice of which part of the subject is highlighted best when you come to review the images.
Phone camera apps don’t have the tool often used on dedicated cameras to make sure the part you want is sharp, though. It’s called focus peaking and it's where the sharpest part of the picture is outlined. It looks ugly on the preview window, but takes the guesswork out of focusing. However, some third-party apps do have it, such as Manual Camera DSLR for Androids and ProCamera for iOS. Give them a go.
You may bump into the same issue as us, though. These third-party apps can typically be used with the main camera and the selfie camera, but not secondary ones like ultra-wides and zooms — so not much use if your zoom or ultra-wide lens takes the best close-up pictures.
Notes on practicalities and composition
There are some practicalities to bear in mind, things we’ve learned from years of testing macro cameras in phones.
Wind is your enemy with macro nature photography. Shooting at this scale, slight motion in your subject is amplified and will often lead to blurred results. It can often seem as if the wind actually waits for you to pull out your camera. One tip is to try holding the plant or tree branches, for example, with your hand just out of shot.
As with just about every form of photography, light is your friend. Getting a great-looking macro image is much easier when shooting in broad sunlight than under tree cover. It’s often easy to forget how much lower the light level is in the shade – because our eyes are smarter than our photographer brains sometimes – and any step above base ISO your camera has to make is going to start mushing up those fine macro-style details.
More light also means the camera can use a faster shutter speed, reducing the chance of motion blur in the final image.
Don’t forget about composition, either. A good macro-style photograph isn’t just about bringing out the kind of detail you can’t really appreciate with the naked eye. It's also about the interaction between background and foreground and how the eye is guided around the picture by the elements within it.
How to boost macro with accessories
You may find you’re still not satisfied with your phone’s macro skills, after all, many aren’t exactly world-class close-up nature cameras. You can get much more striking results with the use of clip-on lenses.
These alter the field of view, the magnification, of the camera’s own lens by sticking another lens element in front of it. While they are all optically mediocre from a technical perspective, that doesn’t matter so much in macro photography where we’re not looking for sharpness across the entire frame.
Such lenses, like the Apexel Clip HD, can make your macro images look vastly more dramatic. When these lenses first came out for phones they would support only the most popular phones – often just iPhones. However, today most kits use a universal spring clip, letting you use them with any phone by simply positioning it over the correct lens.
How to edit your macro images

Once you’ve taken your macro images, they'll benefit from an edit, perhaps more so than most other kinds of photos. We’re trying to make something tiny look larger than life here, and as we’re already dealing with compromised camera hardware, it pays to go a little further in the post-shoot edit.
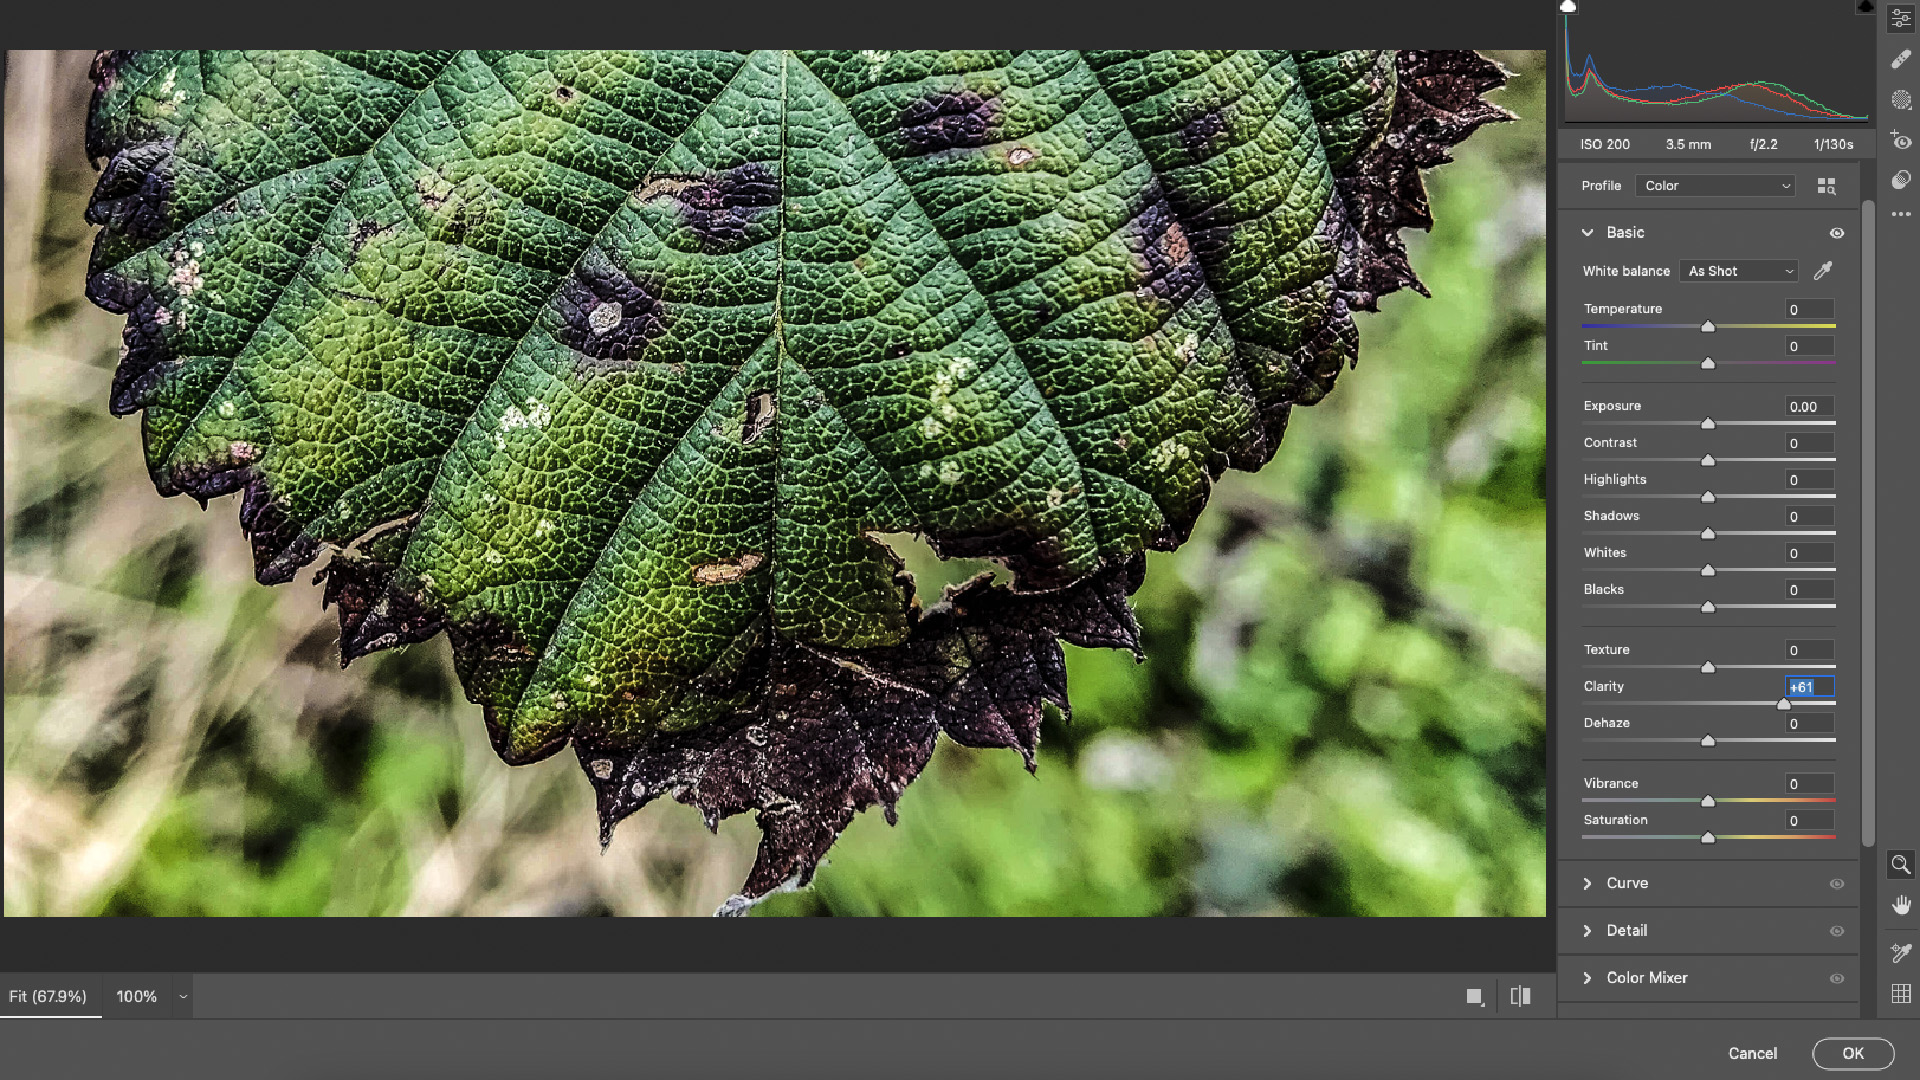
You might want to add sharpening, usually a no-no, to bring out the crispness in the central detail. Increasing contrast can make the picture pop more while adding a vignette effect can bring your subject into sharper relief. If you have Photoshop on your laptop or desktop, be sure to check out the Camera RAW filter mode. Playing around with the Dehaze, Texture, and Clarity sliders can dramatically improve the effectiveness of your macro pics.

Andrew is a freelance journalist and has been writing and editing for some of the UK's top tech and lifestyle publications including TrustedReviews, Stuff, T3, TechRadar, Lifehacker and others.