I turned my Fujifilm X-T3 into an infrared wonder – and it's the best photography decision I've made in years
The fresh pair of eyes I needed
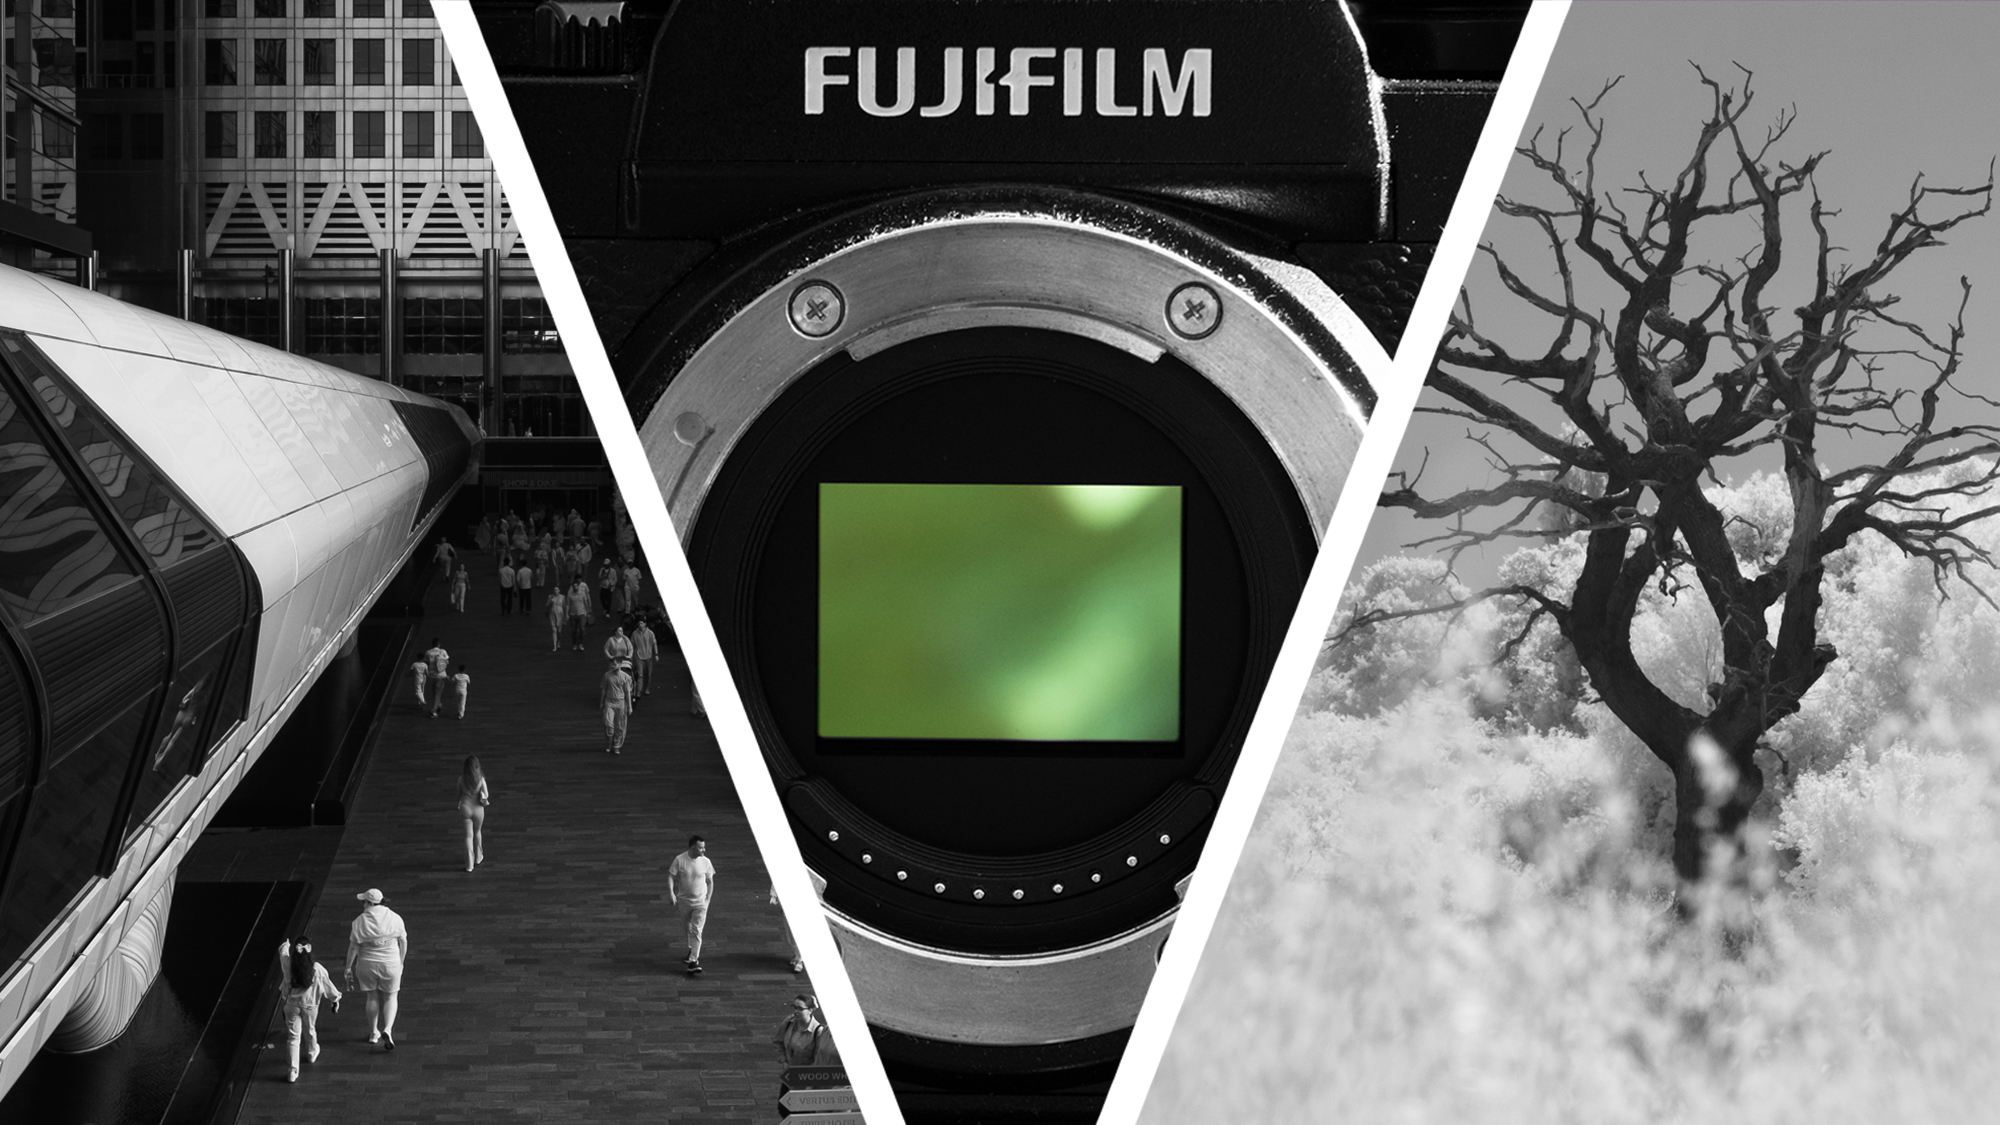
One of the hardest 'skills' in photography is often staying motivated to keep shooting. Once you've learnt the fundamentals, how do you keep that spark of beginner enthusiasm? It can be easy to fall into a rut and stop shooting completely. That's what happened to me, so a few months ago I took the nuclear option and gave my old Fujifilm X-T3 an infrared conversion.
There were definitely simpler, cheaper alternatives, but I justified the decision in a few ways. Firstly, my old X-T3 was gathering dust and I needed to either sell it or give it a new lease of life. Secondly, I have a bad habit of throwing money at creative blocks and couldn't justify buying any more lenses. But most importantly, I live in the UK and was summertime was on the horizon.
Photographers often recoil from the summer like vampires because of the harsh light and ludicrously early sunrises. But this is actually the season where infrared photography shines. Sunlight is bursting with 'near-infrared' light, whose wavelengths are invisible to the human eye. Yet with the right kit, you can capture this light – and see the world in new and strange ways.
It's still early days for my infrared adventure, but I'm very glad I took the plunge – and if you're similarly looking for a refreshing vacation into the surreal, then it could be for you too...
Instant snow mode
Infrared photography is, like astrophotography, a world unto itself. You could spend days learning the theory of 'false color', 'channel swapping' and 'hot spots' without even taking a photo. I wanted to keep things simple, so I took the easiest route.
There are broadly two kinds of infrared photography and two ways to get into it. The psychedelic kind, which was big on 1960s albums covers, is 'false color'. It's called 'false' because the human eye can't see infrared light, so color is added using editing techniques – and the results can be very strange indeed.
For me, pink trees and blue grass is just too big a leap into the strange, so I leaned towards black-and-white infrared photography. This still has the surreal element of glowing leaves and dark skies, but without going full Salvador Dali. Plus, as someone who doesn't typically shoot in monochrome, it gave me a bonus challenge.
Sign up for breaking news, reviews, opinion, top tech deals, and more.
So how do you start an infrared adventure? The cheaper and arguably more sensible option is to use lens filters, which you can buy from the likes of Hoya and Urth. But the downside is that these drastically cut the amount of light coming into your lens, so you usually have to use a tripod and long exposures.
This didn't really work for me, because the big appeal of infrared was the simplicity – heading out at a reasonable hour on a sunny day and shooting black-and-white. So I took the other option of converting an old camera.
Being based in the UK, I found Protech Photographic, who converted my Fujifilm X-T3 for £300 (around $410 / AU$620).
The likes of Kolari offer a similar service in the US, though I can't vouch for the quality. The DIY route is also possible, but definitely not for the faint-hearted (or ham-fisted).
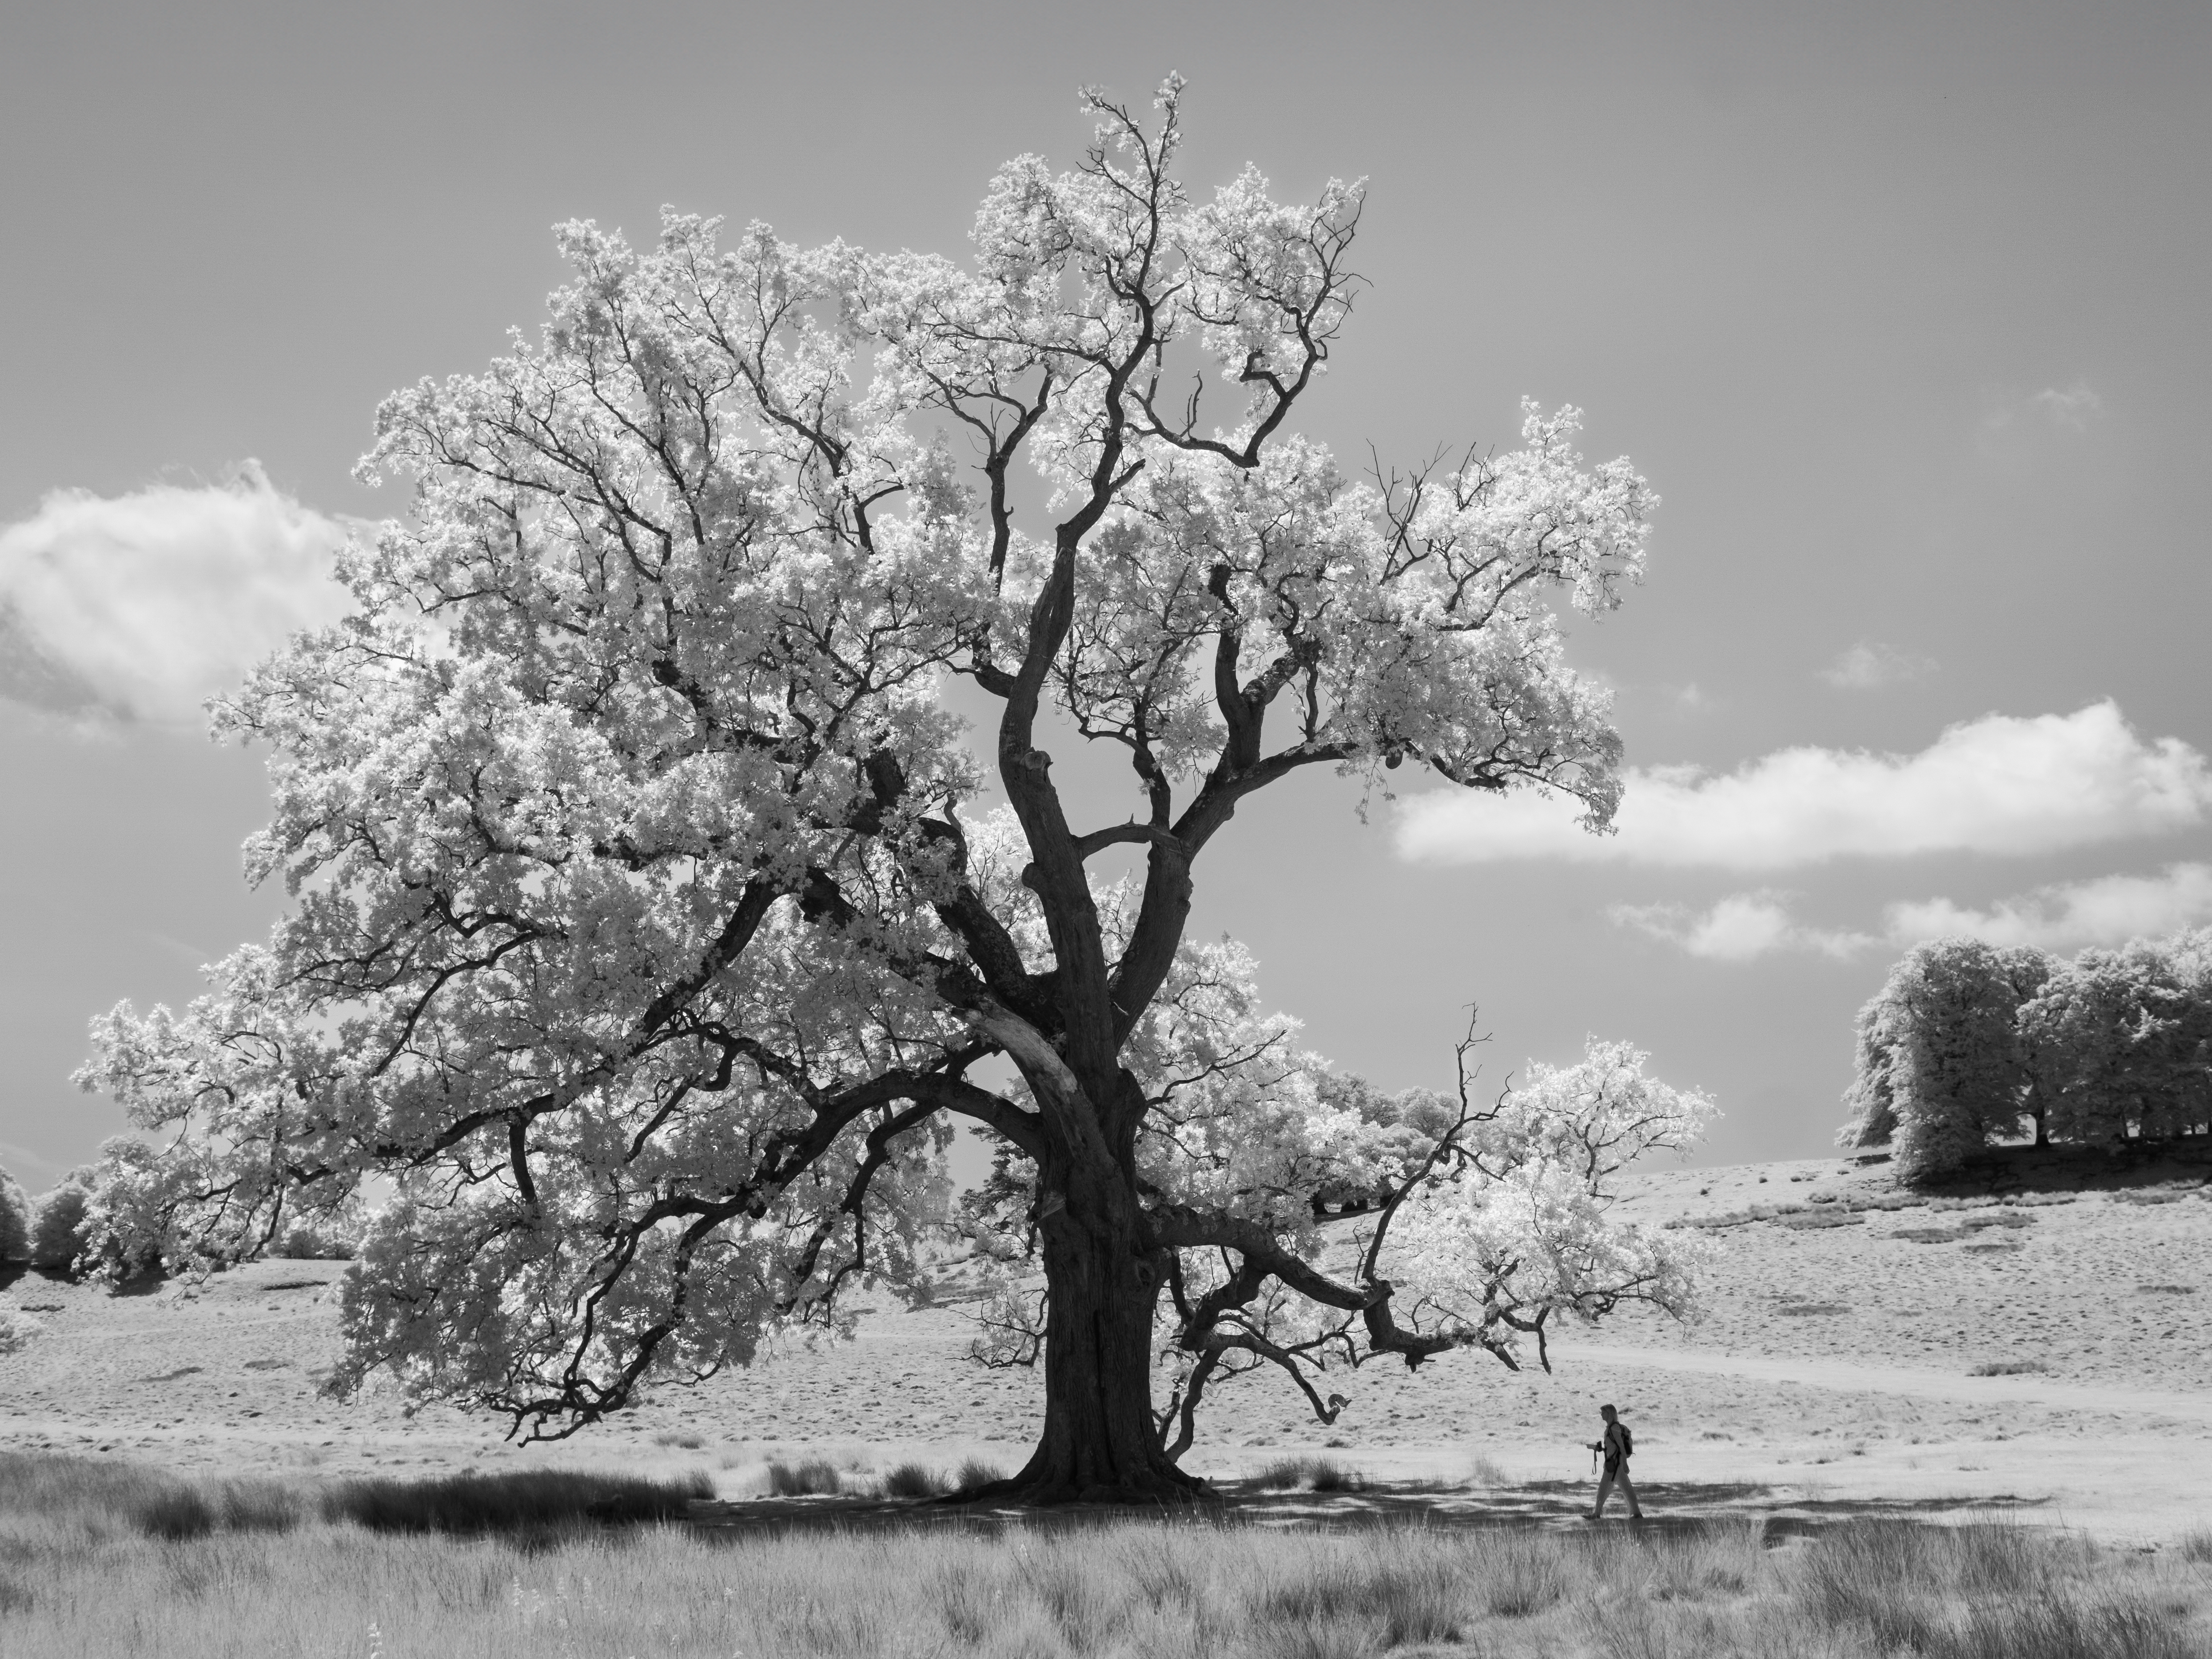
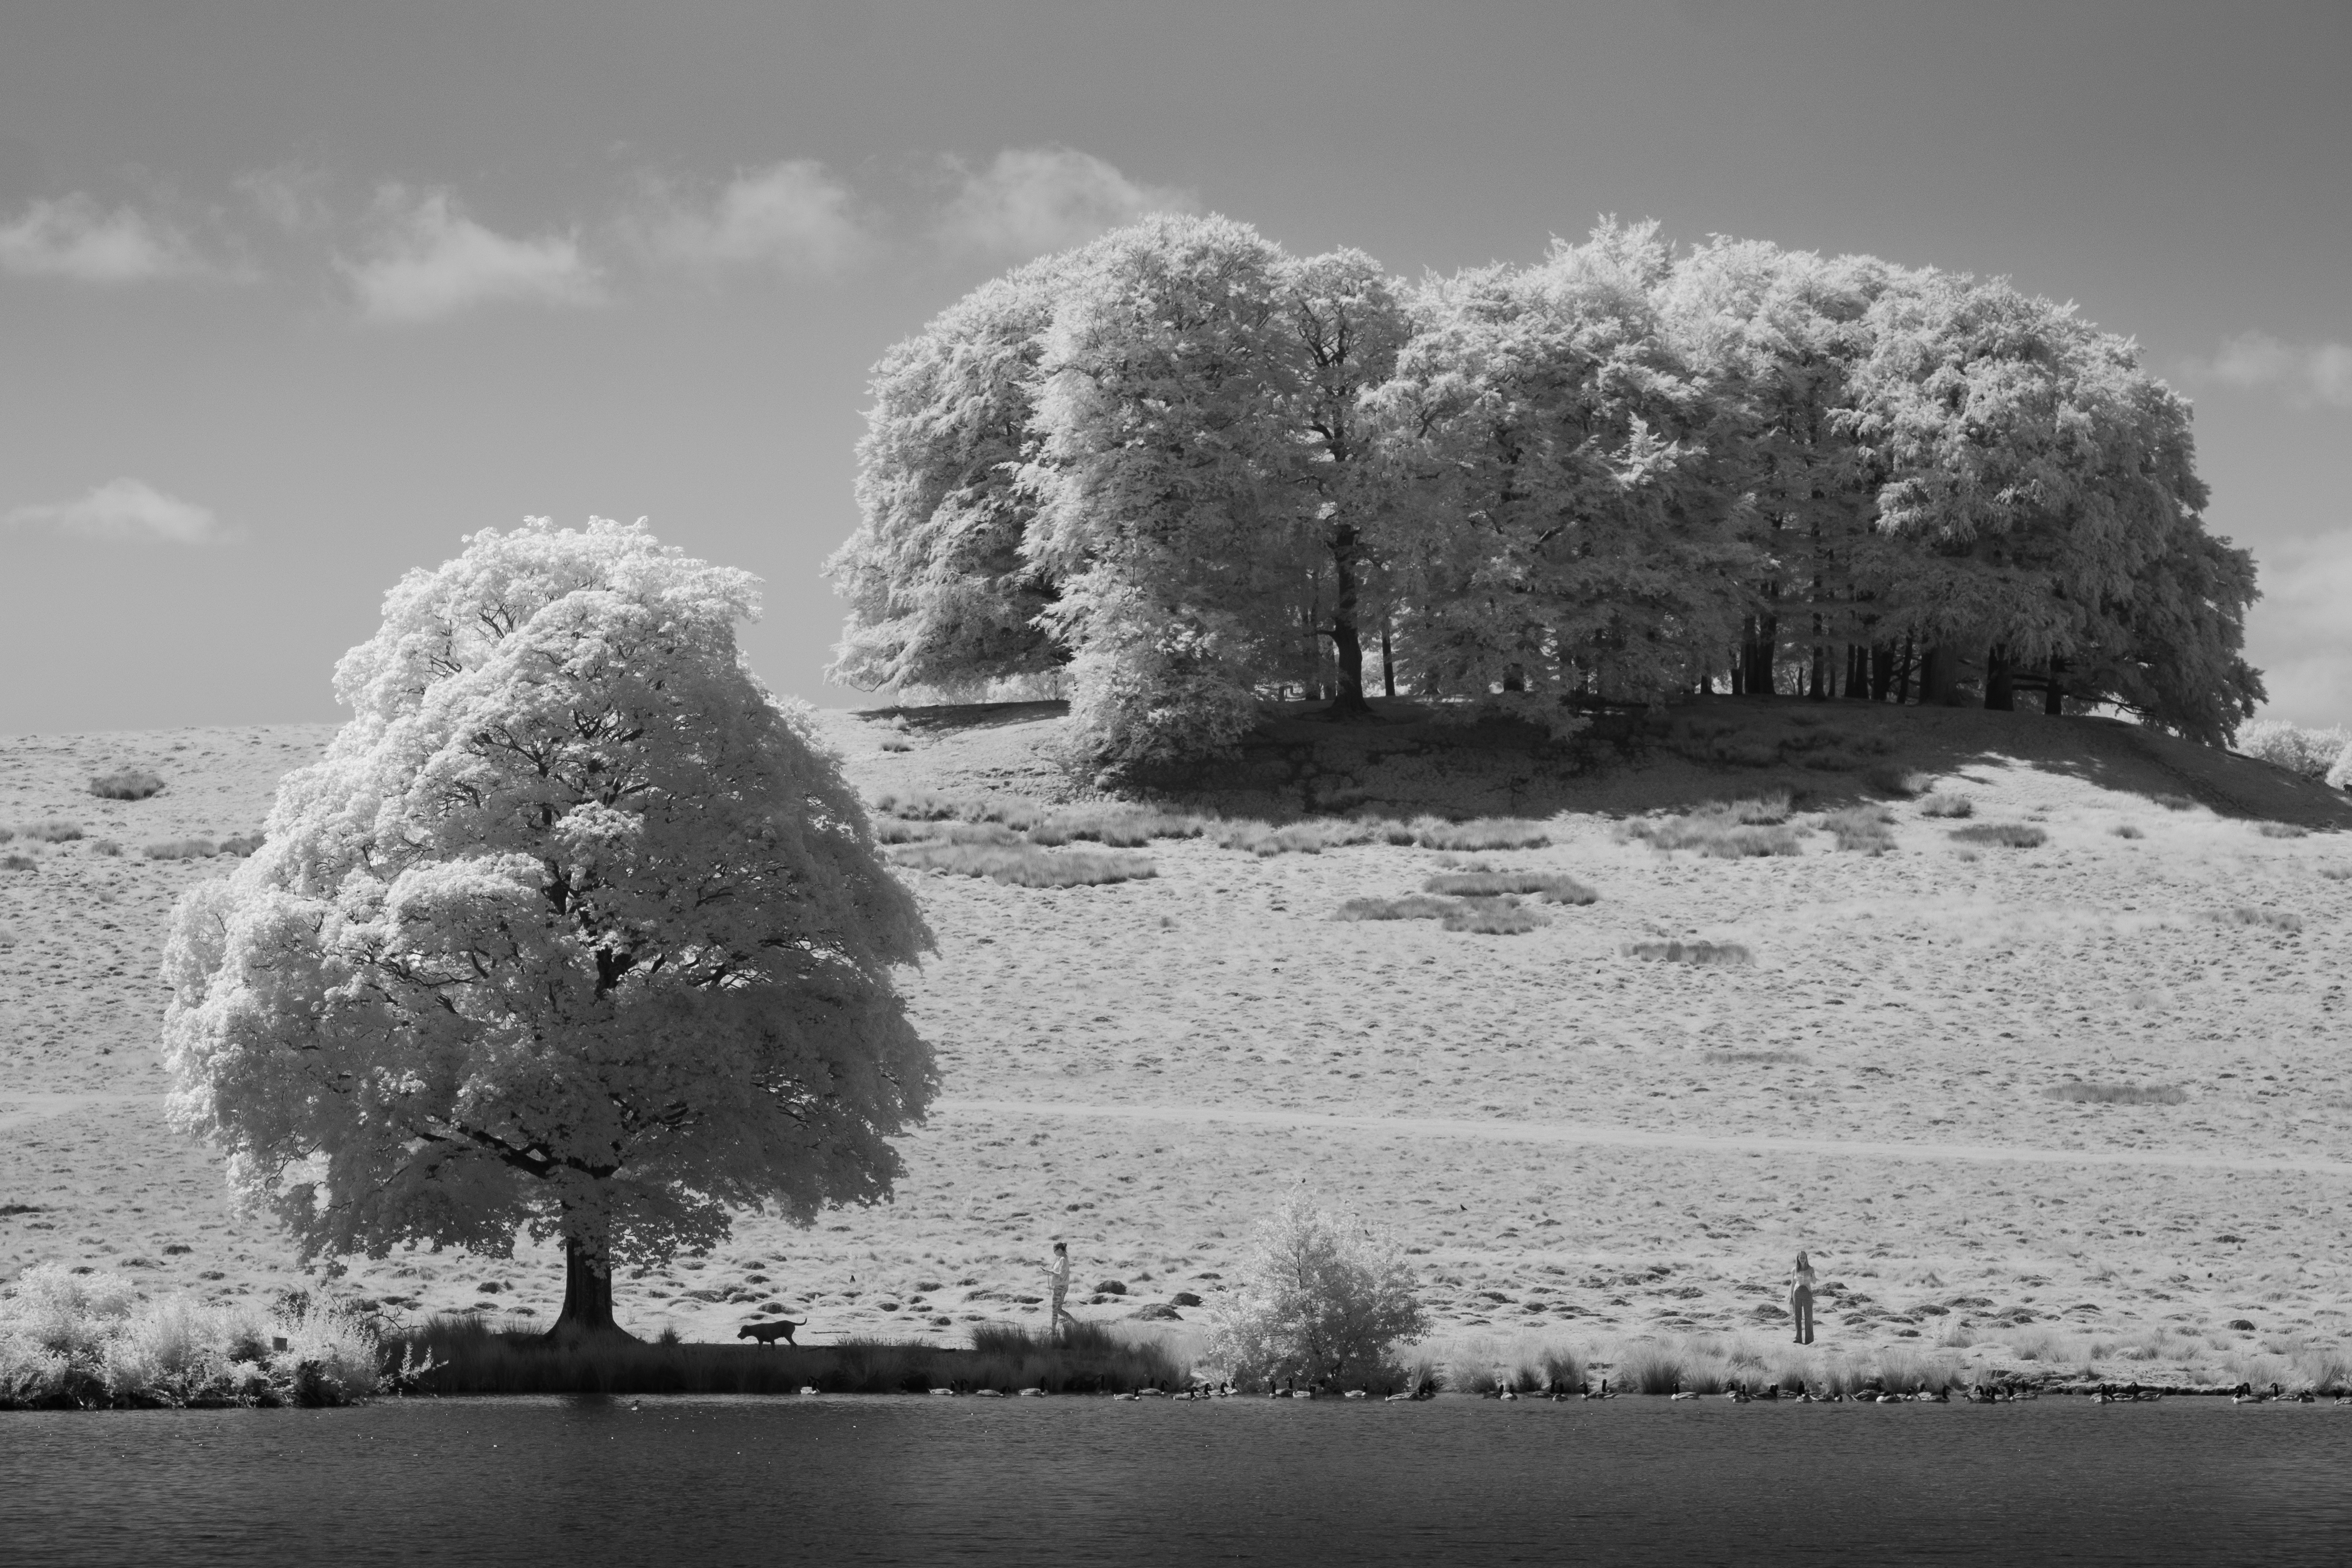
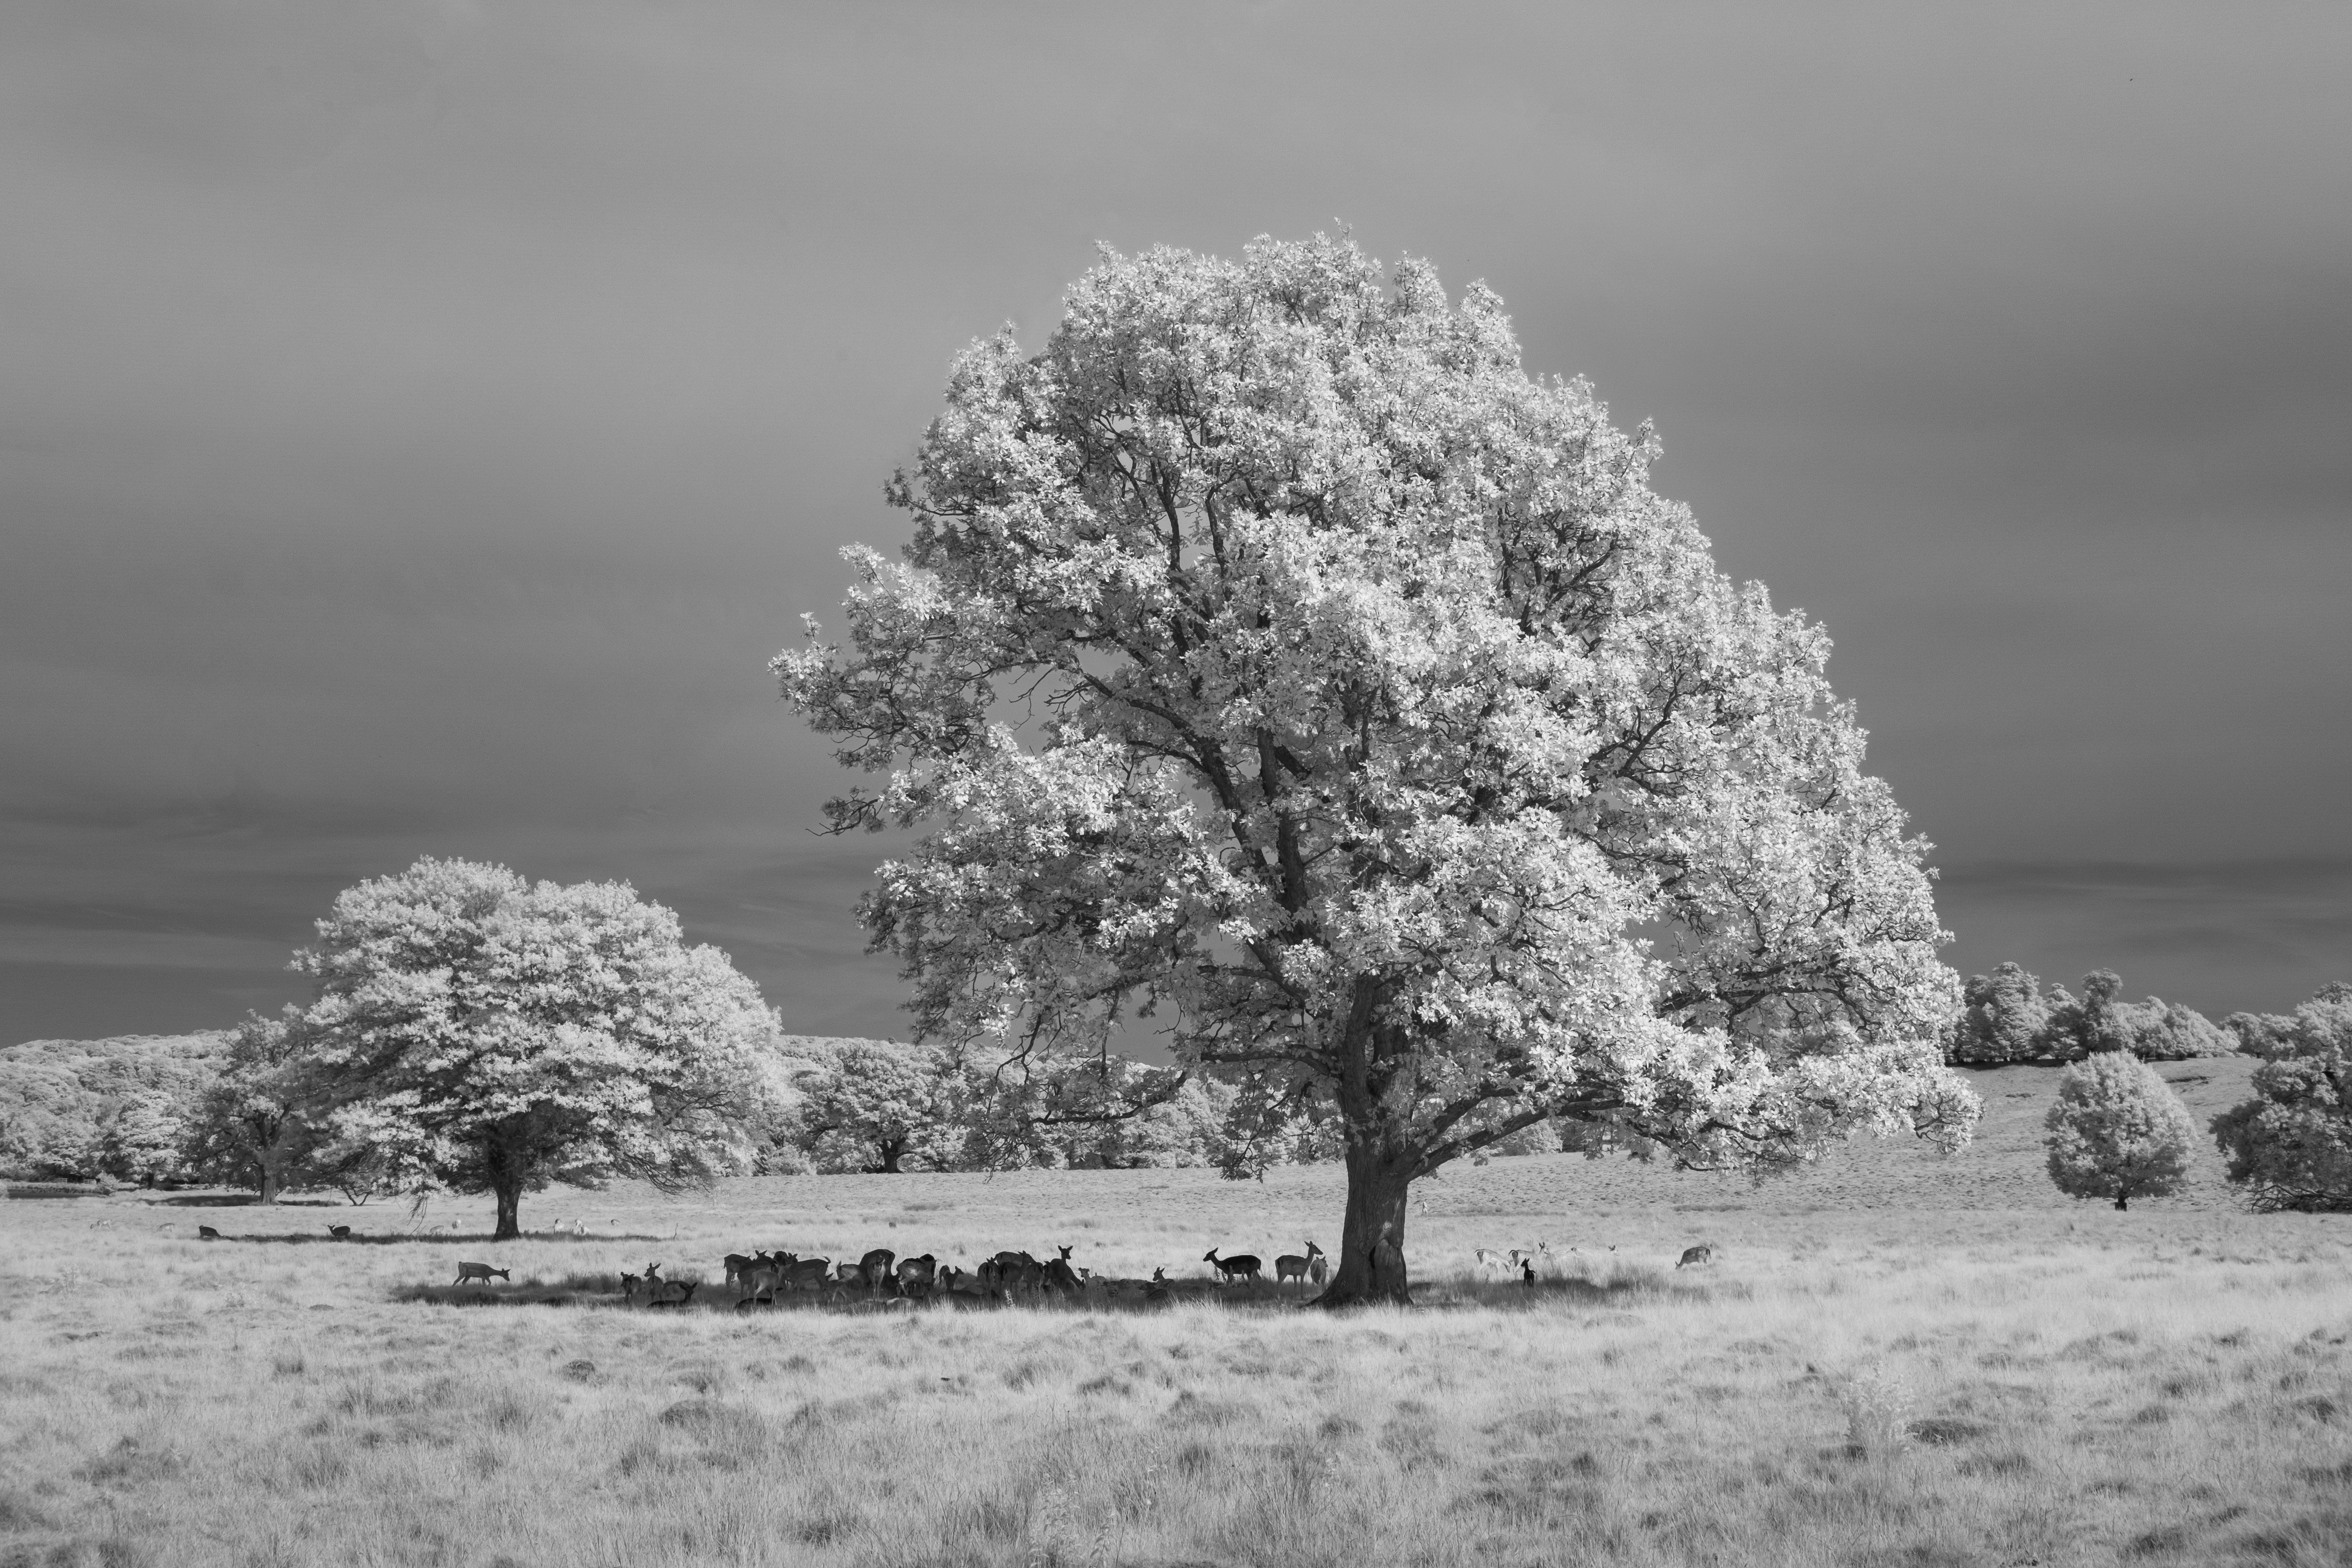
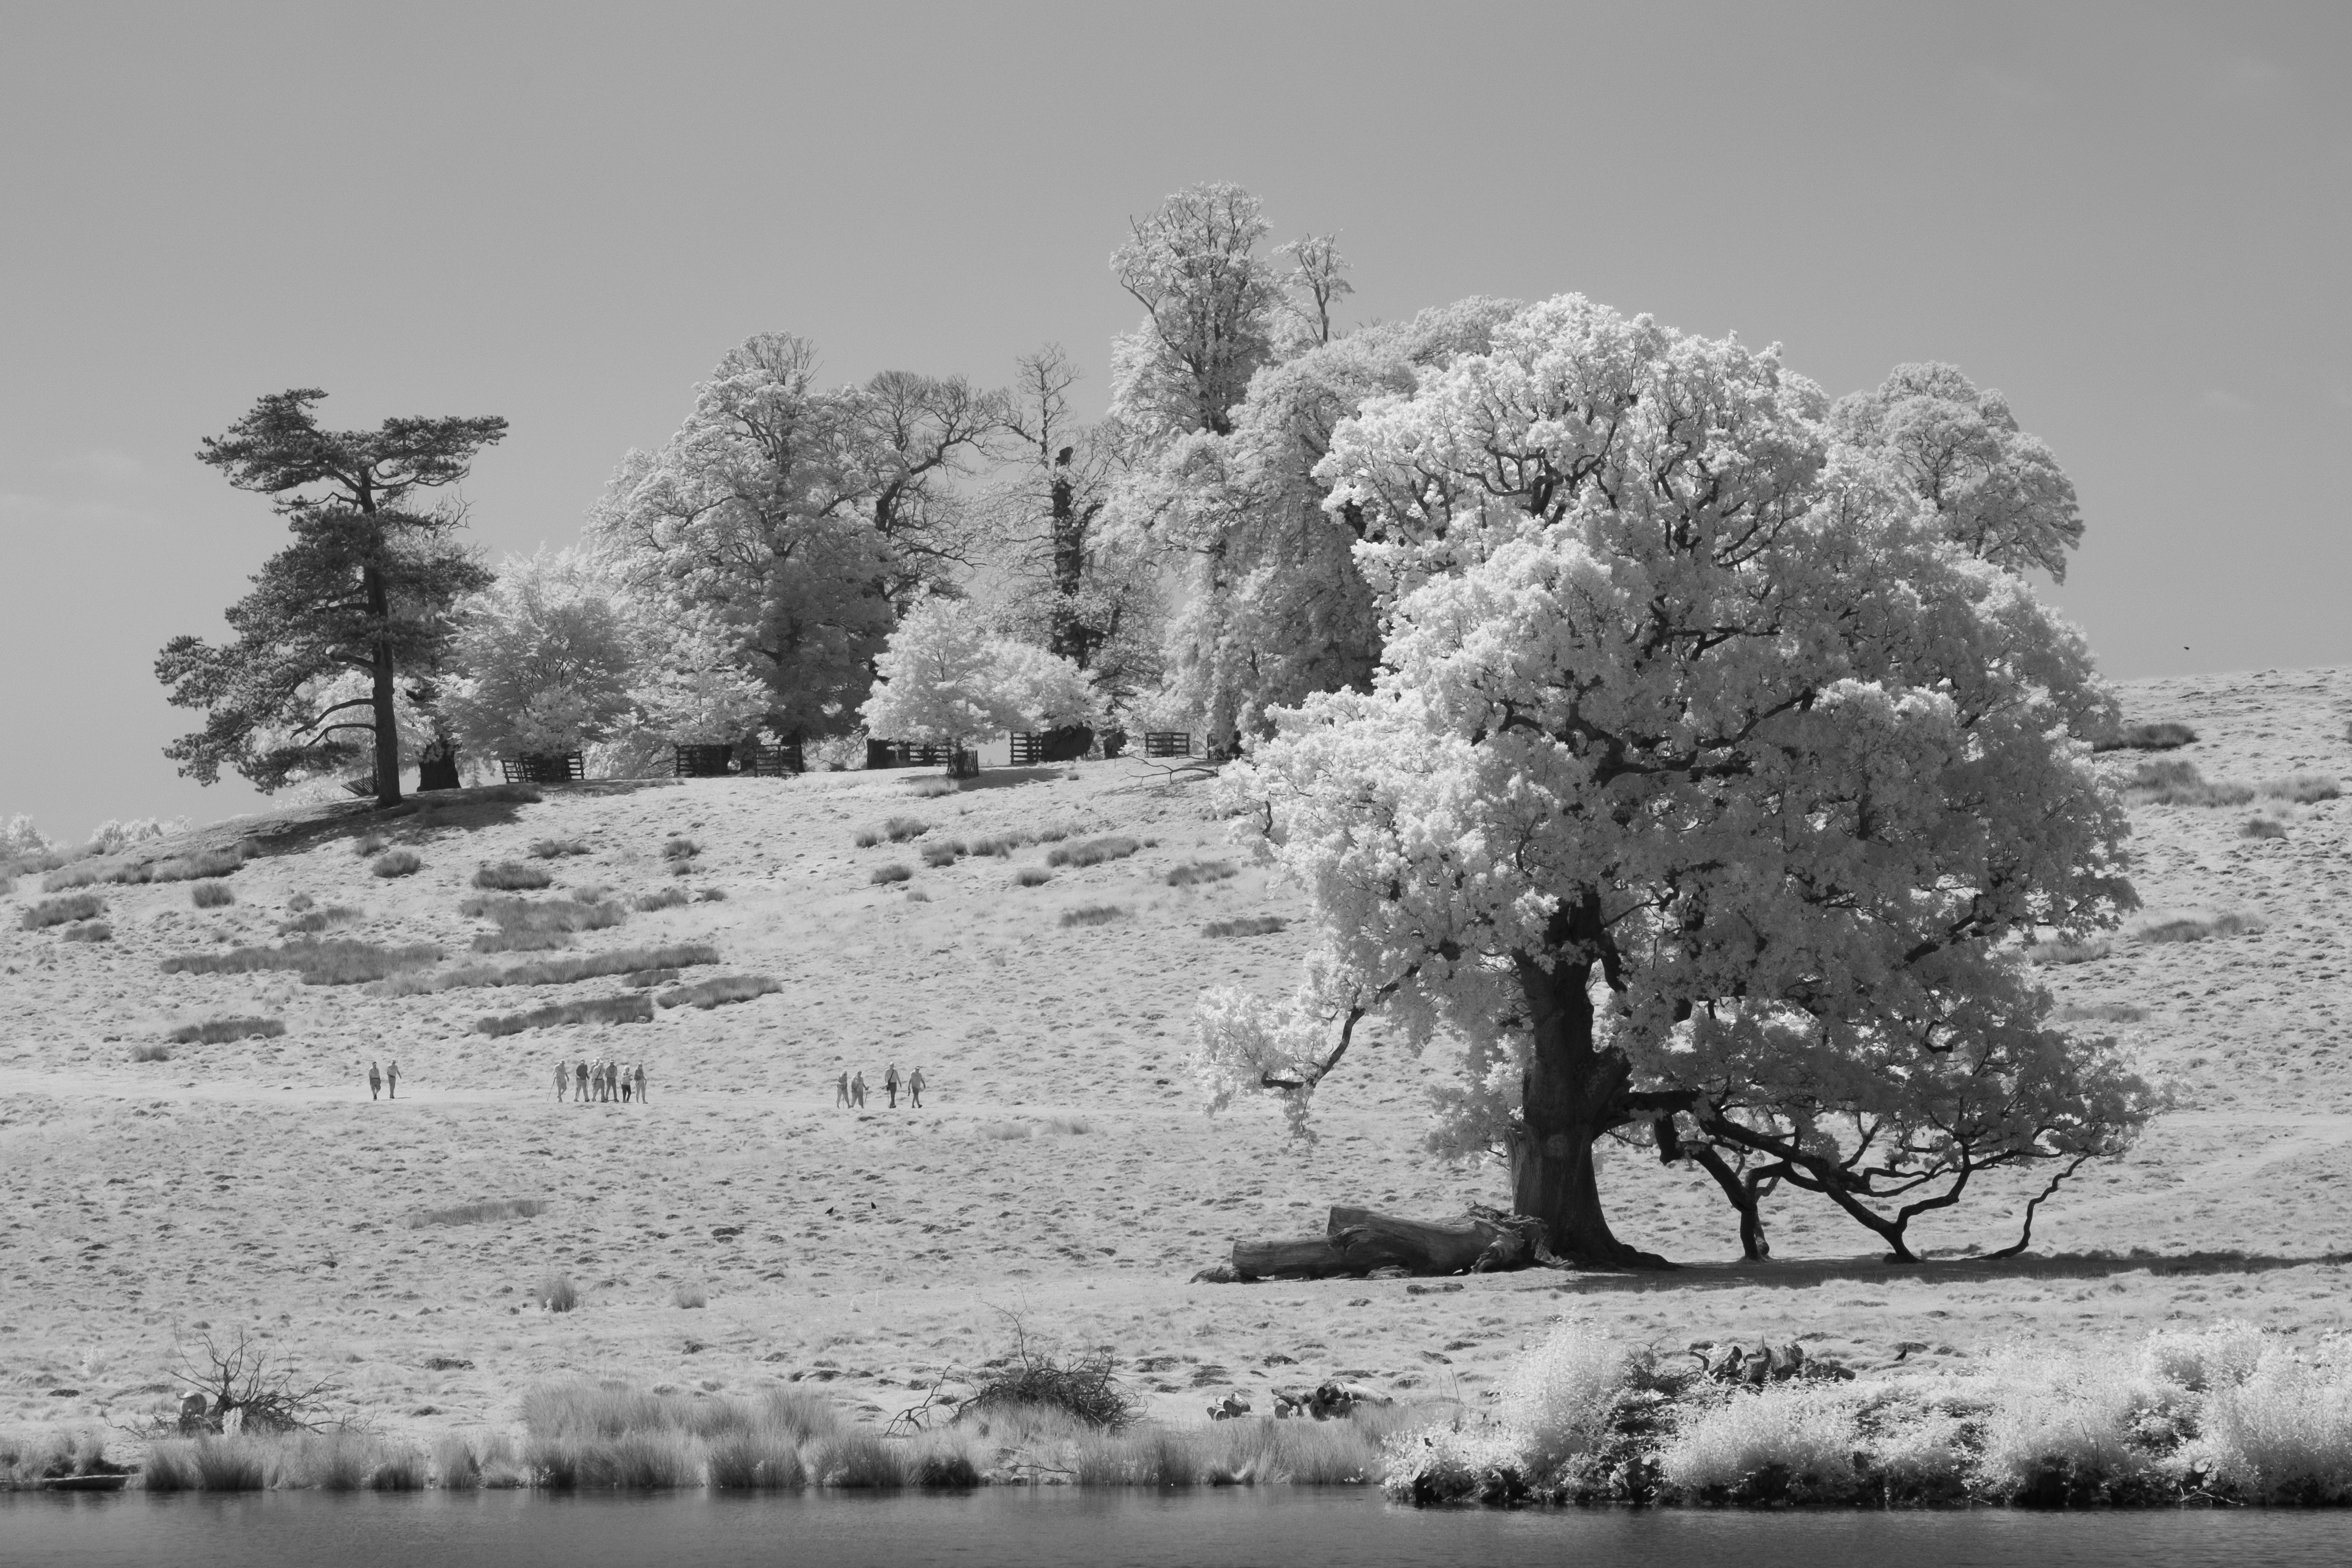
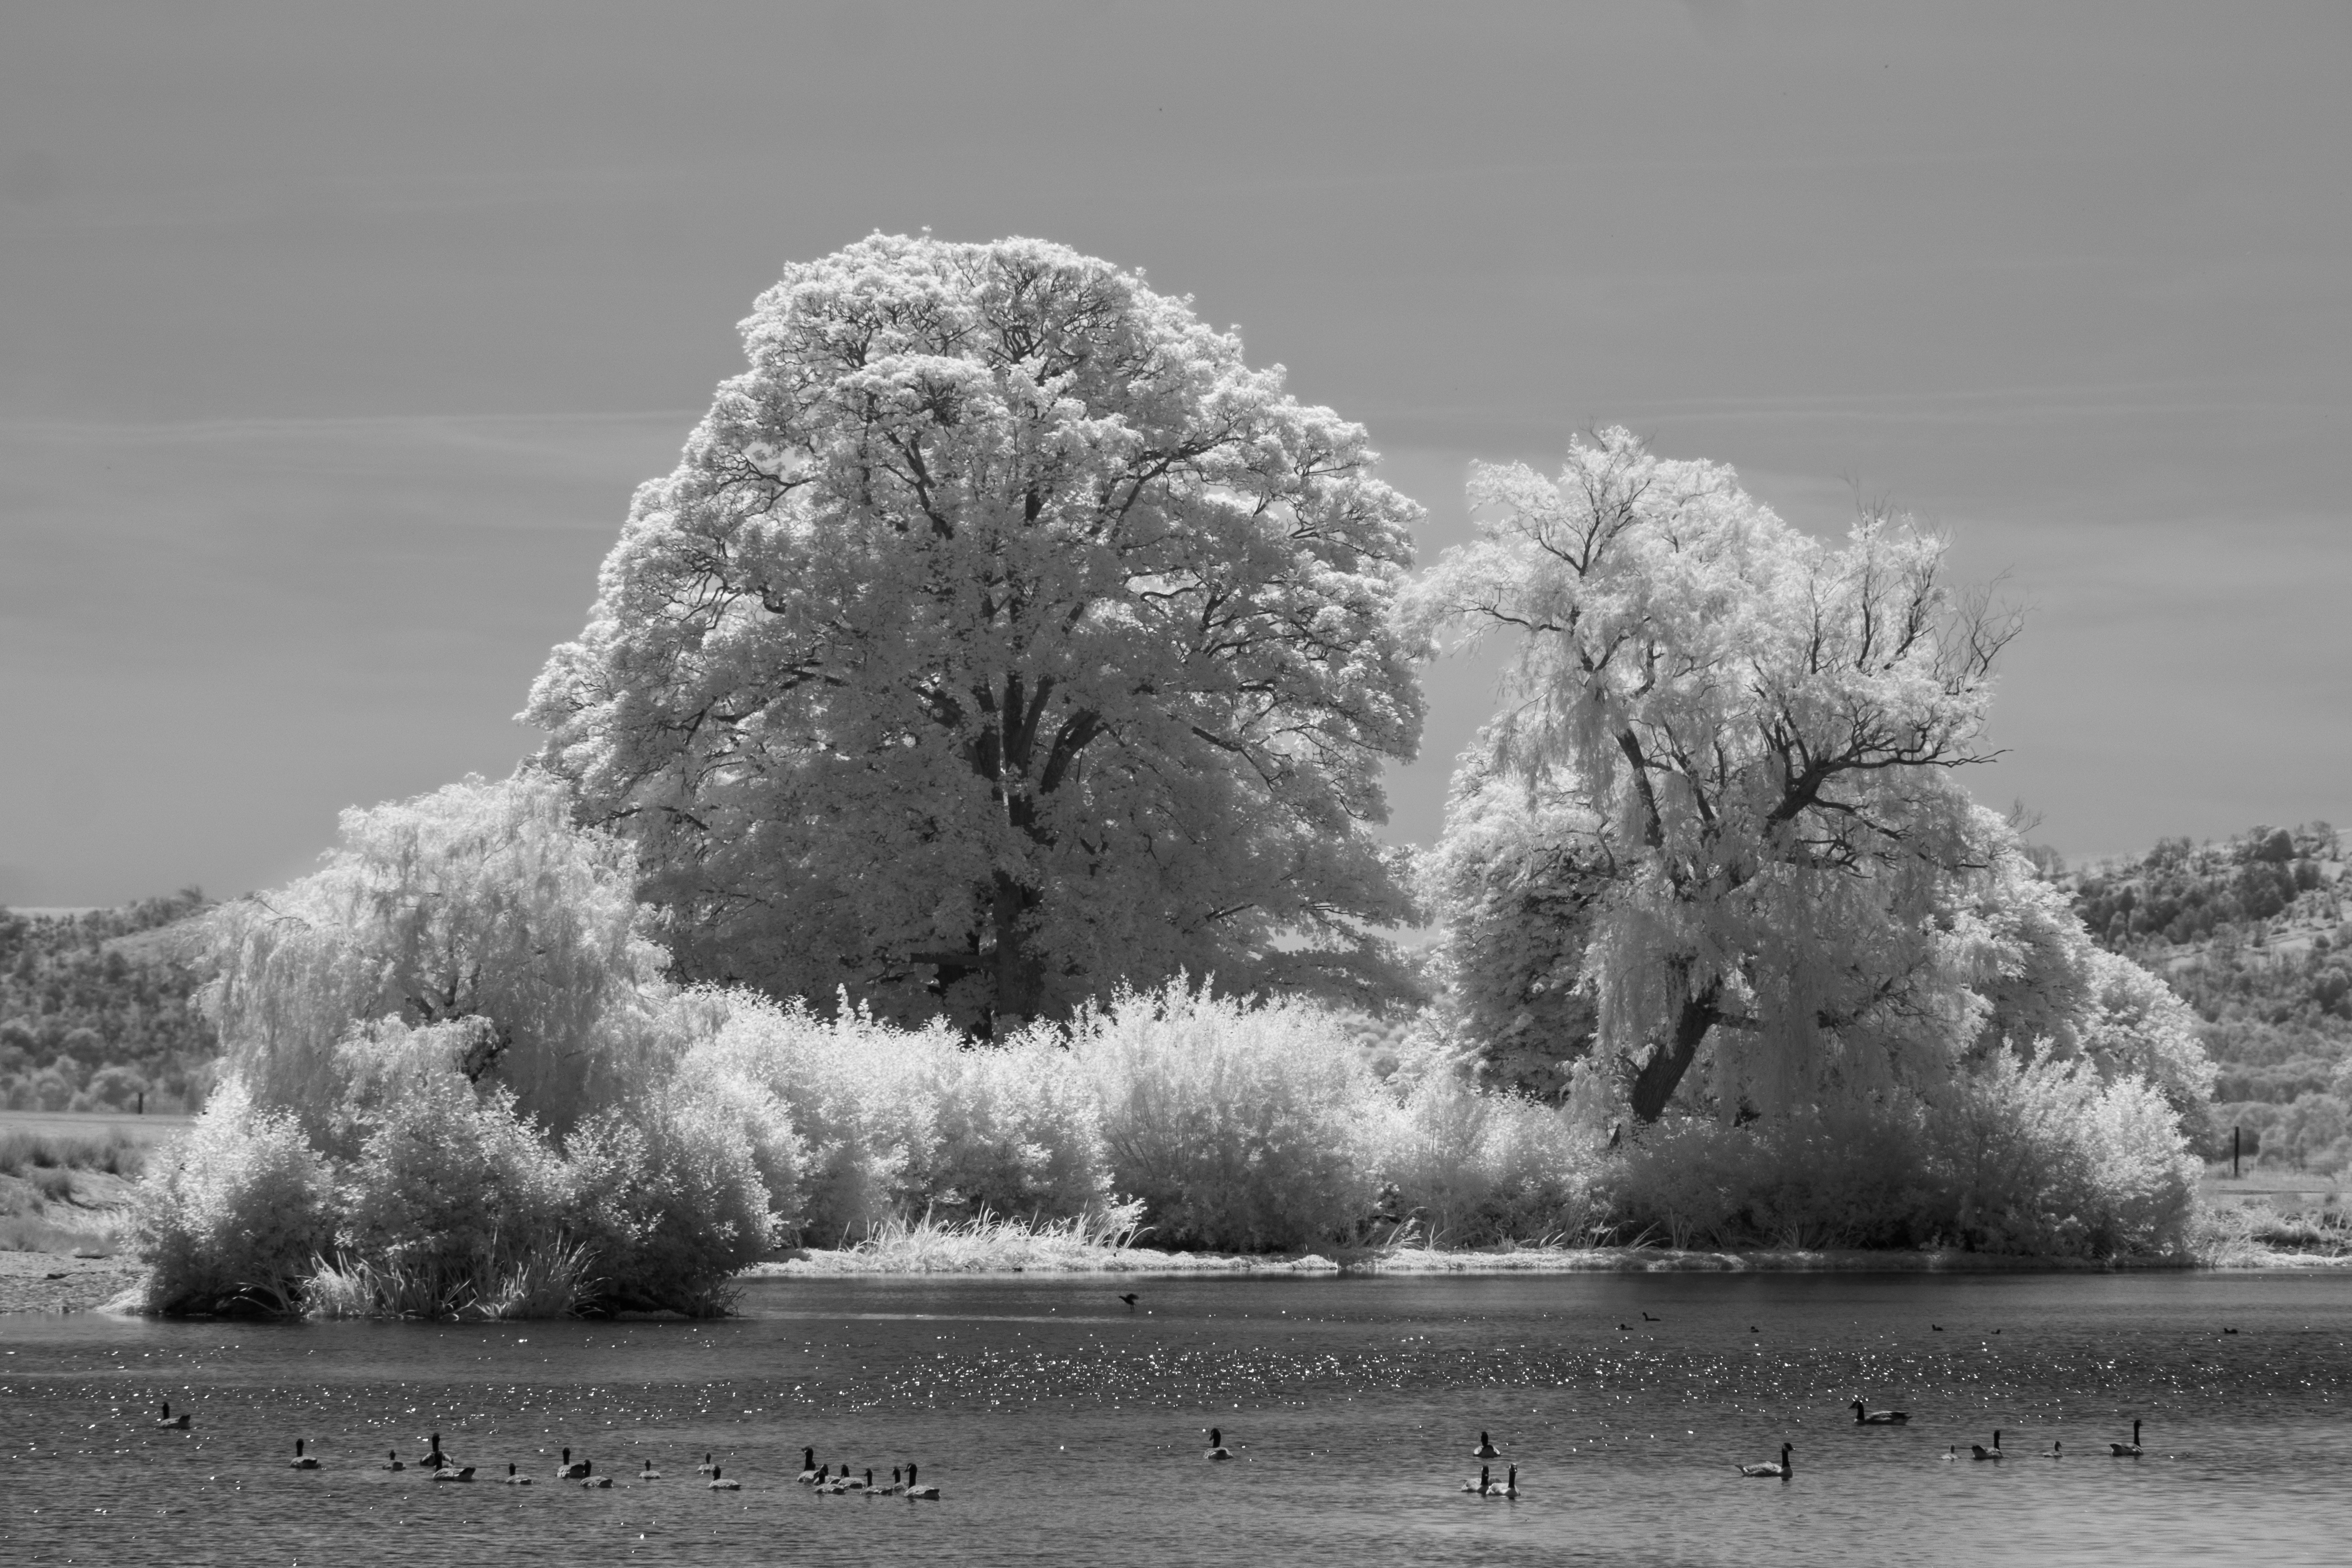

Infrared has a longer wavelength than 'visible light', which is what the human eye can see. The world reflects infrared light differently, which is why trees glow and skies darken. Most IR-converted digital cameras capture 'near infrared' light, rather than the extreme end that's used by thermal cameras or night vision.
Before you get to go out and become obsessed with glowing trees, there is one final decision – what kind of IR conversion you want. These are categorized in wavelengths (measured in nanometers) and you'll need to choose the right one to match your preferred style of photography.
They start at 590nm and go up to 'full spectrum', but 720nm is often the most popular for black-and-white IR snapping because it strikes a good balance between letting through infrared light without going too extreme – so that's what I went for.
Beginner fun
So why bother with all of this? I've found infrared to be the spark I needed to get me shooting again and thinking about snapping in new ways. For me, it’s been like discovering a new guitar tuning – it doesn’t instantly make you ‘better’ in any way, but it does (quite literally) help you see something familiar in a new light.
Infrared naturally comes with its own pitfalls and learning curve. When I first looked through my viewfinder – using Fuji’s monochrome film simulation to preview the final image – everything looked incredible. It was like waking up to fresh snow, except snow rarely looks as good in photos as it does in real life.
I took reams of bad shots of glowing trees (an effect called ‘halation’) before I started to understand infrared’s strengths.
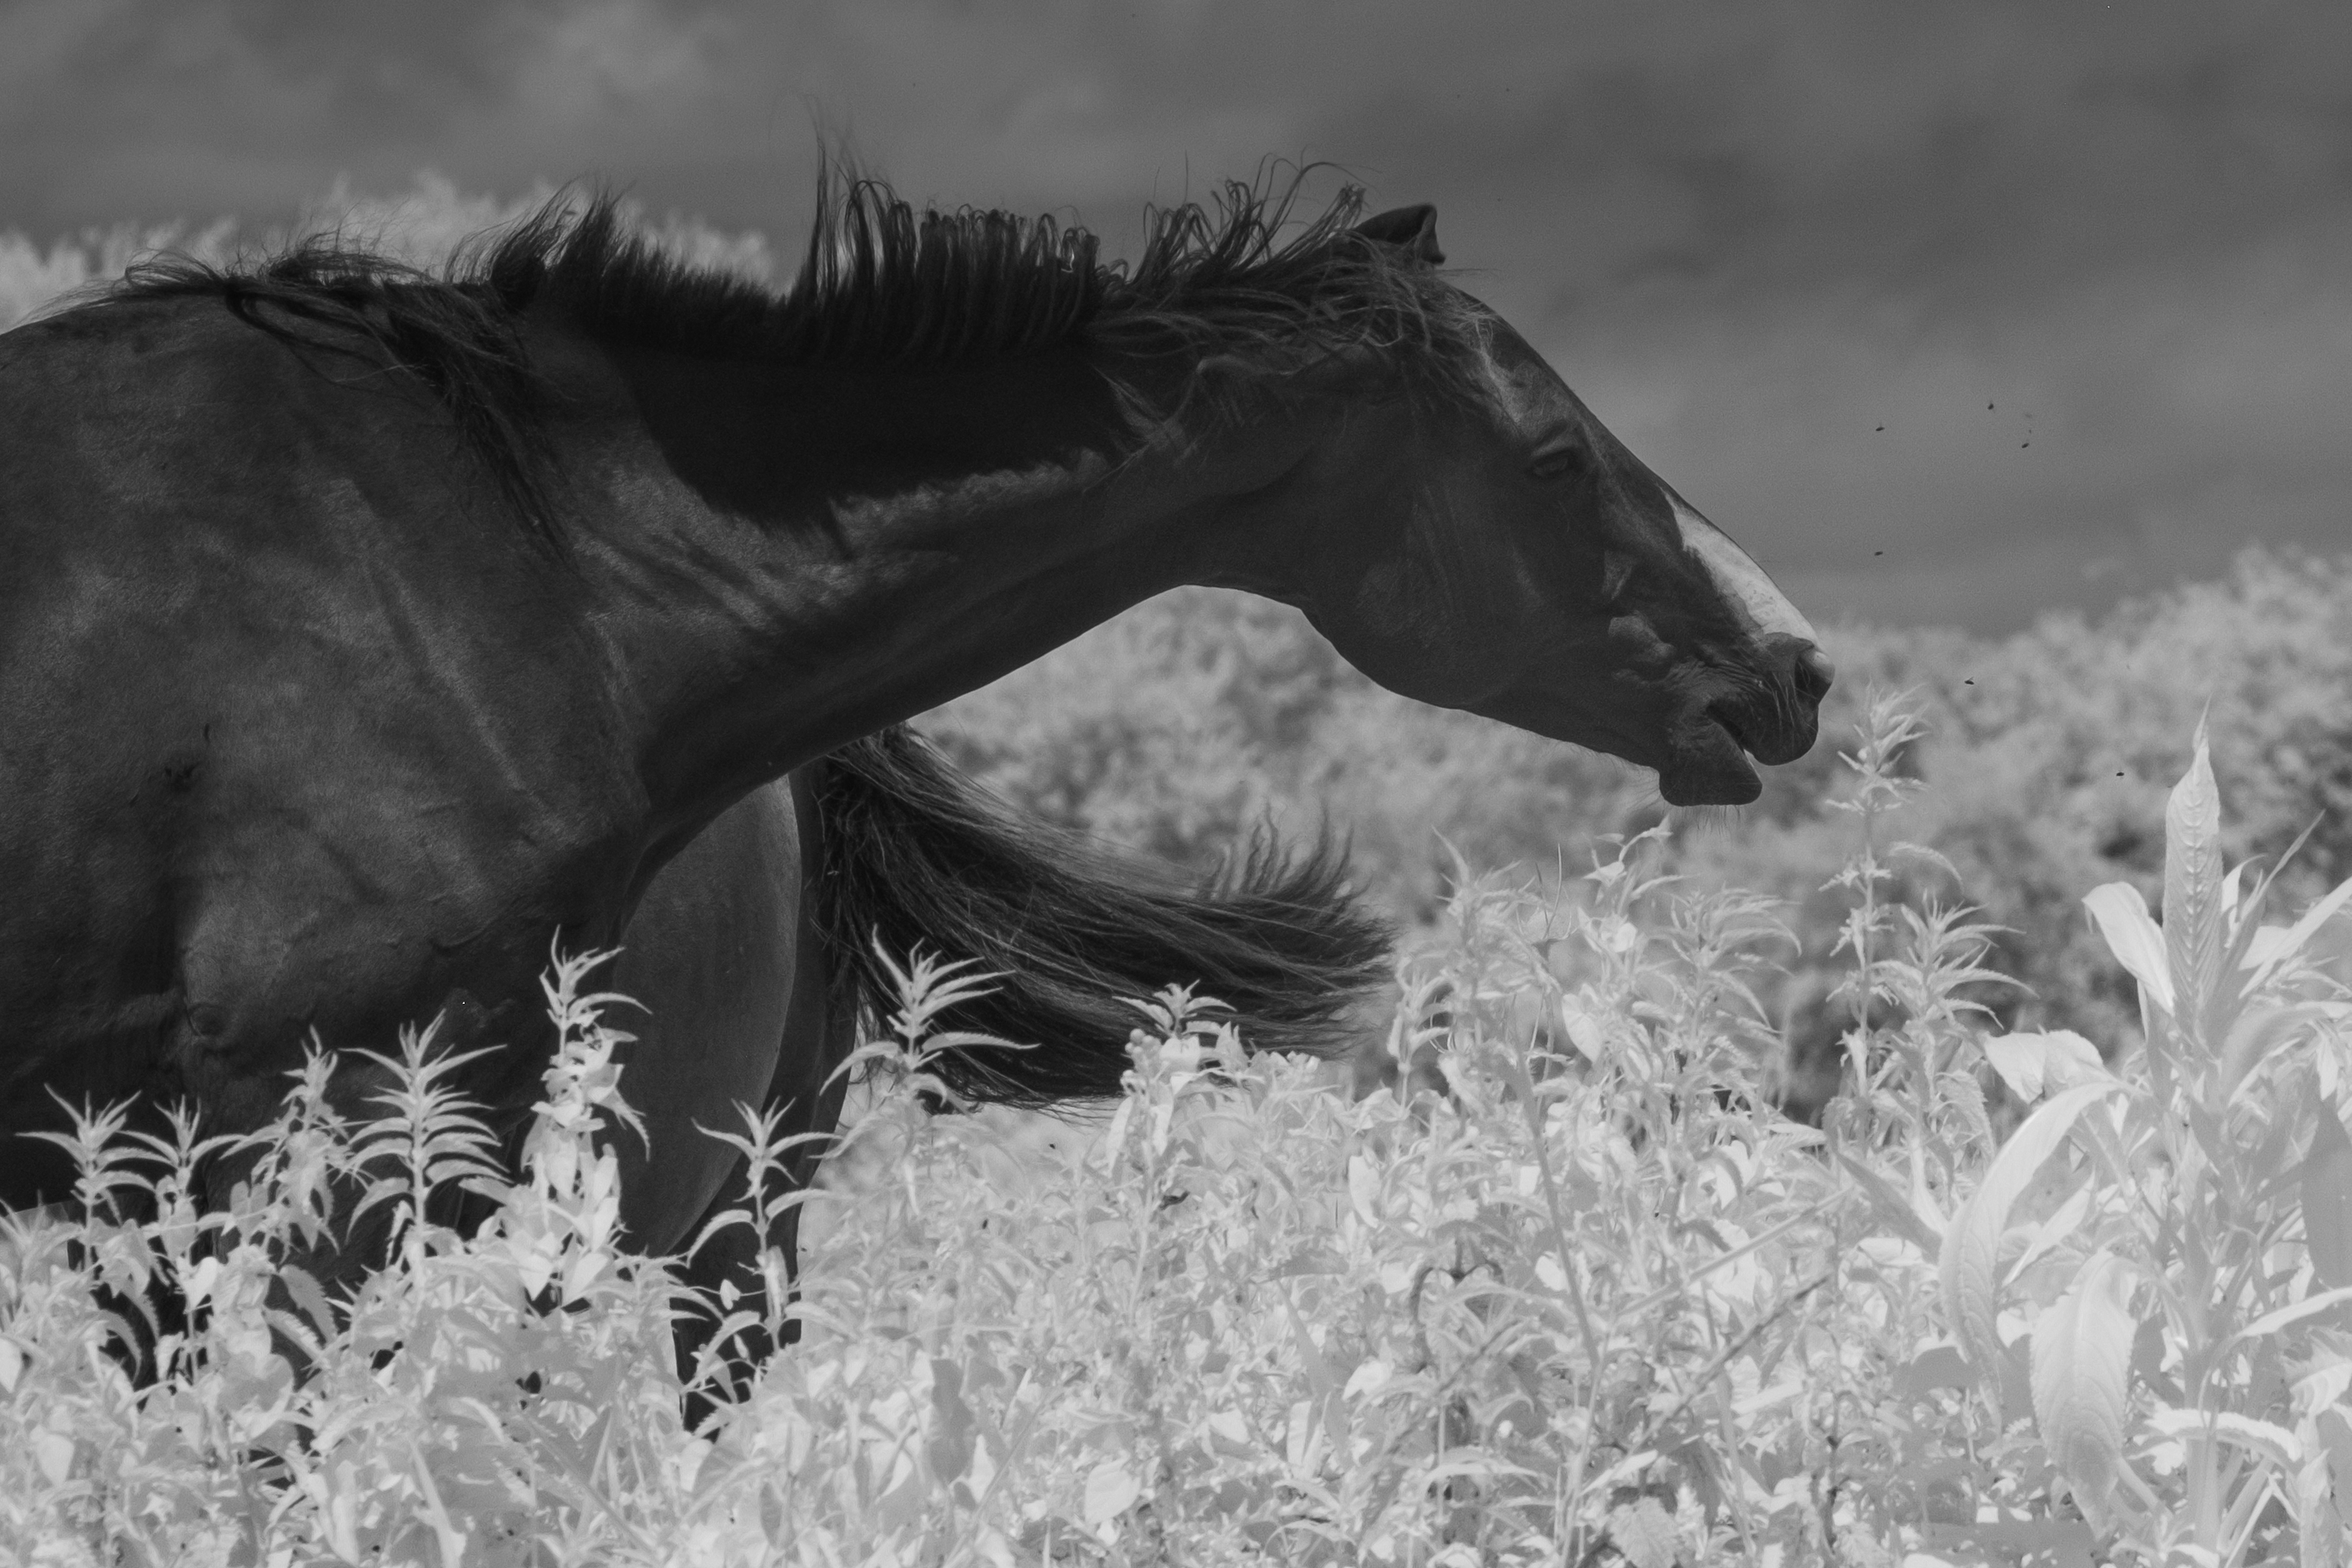
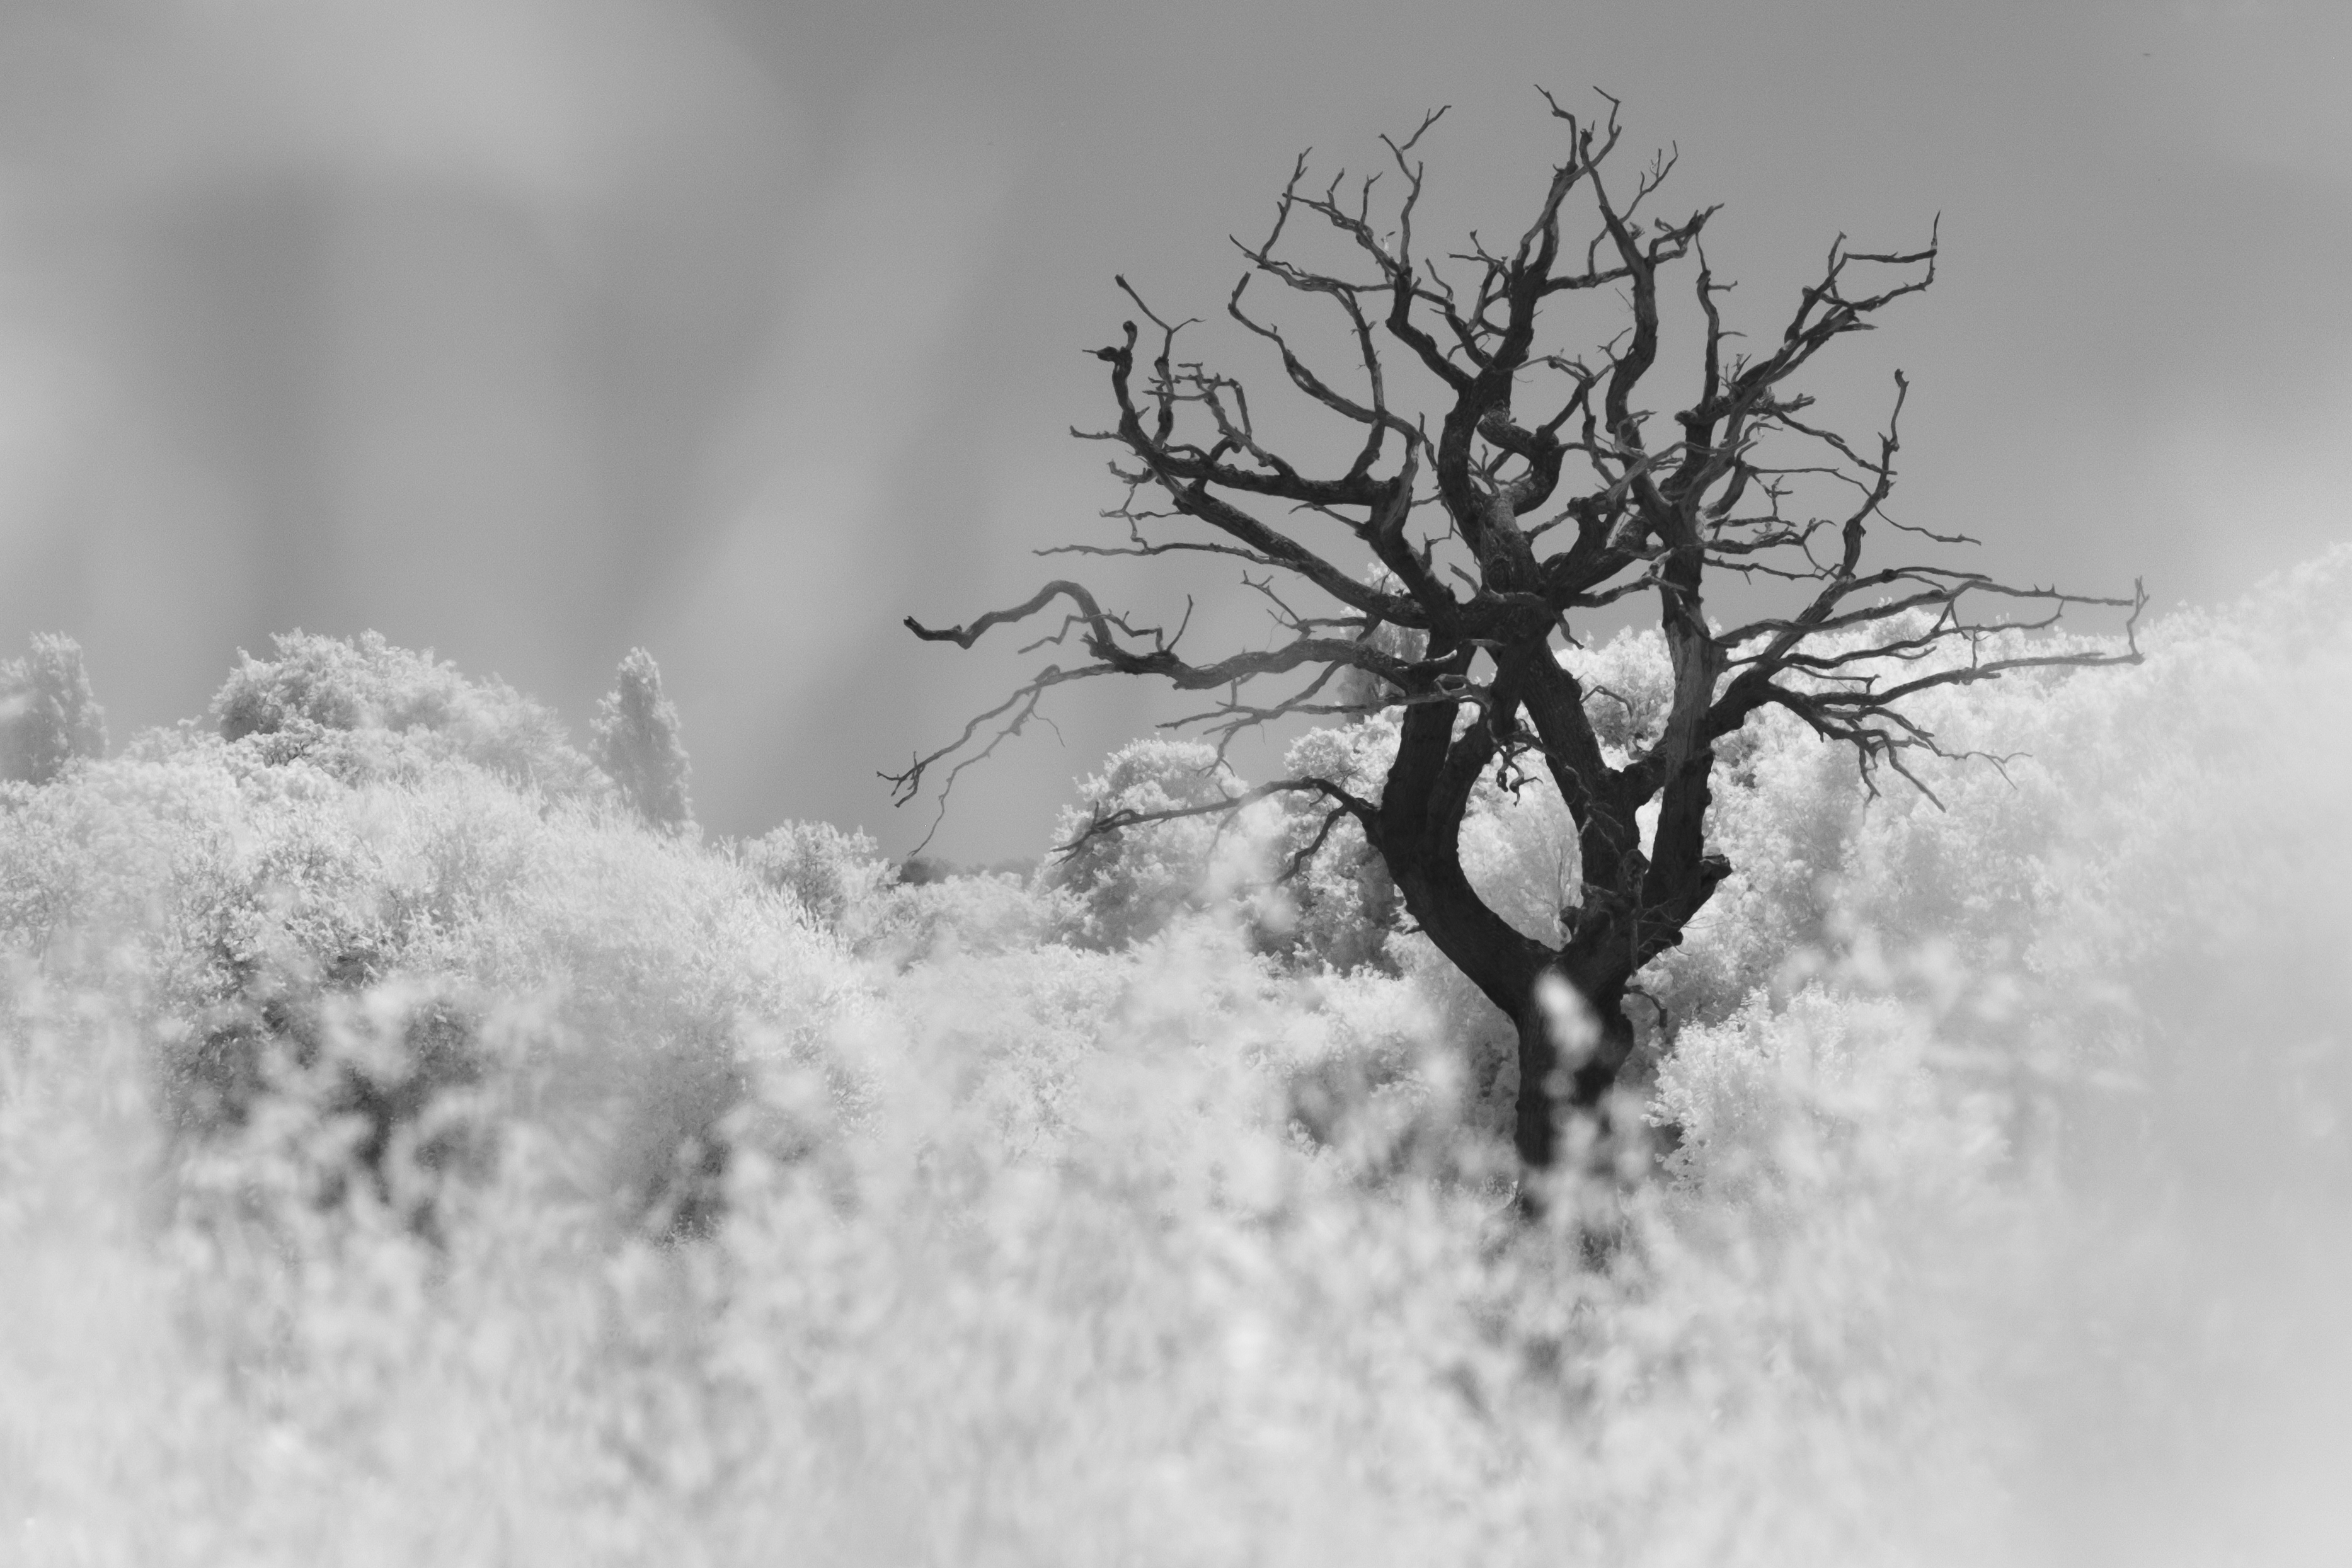
Good black-and-white photography comes from understanding luminosity and contrast, and infrared flips the world upside down. Bright skies turn black, and tree foliage glows. It takes a while to lock your eye in, but that’s part of the fun. It gives you a taste of that beginner joy again.
Once I'd got going, my other question was simply – what is the actual point of infrared photography? That's taken a bit longer to work out. There’s nothing wrong with taking surreal, pretty photos for the sake of it, but my best images came when I started to see scenes that worked with infrared's strengths – and that was helpful in a few particular cases.
Embrace the weirdness
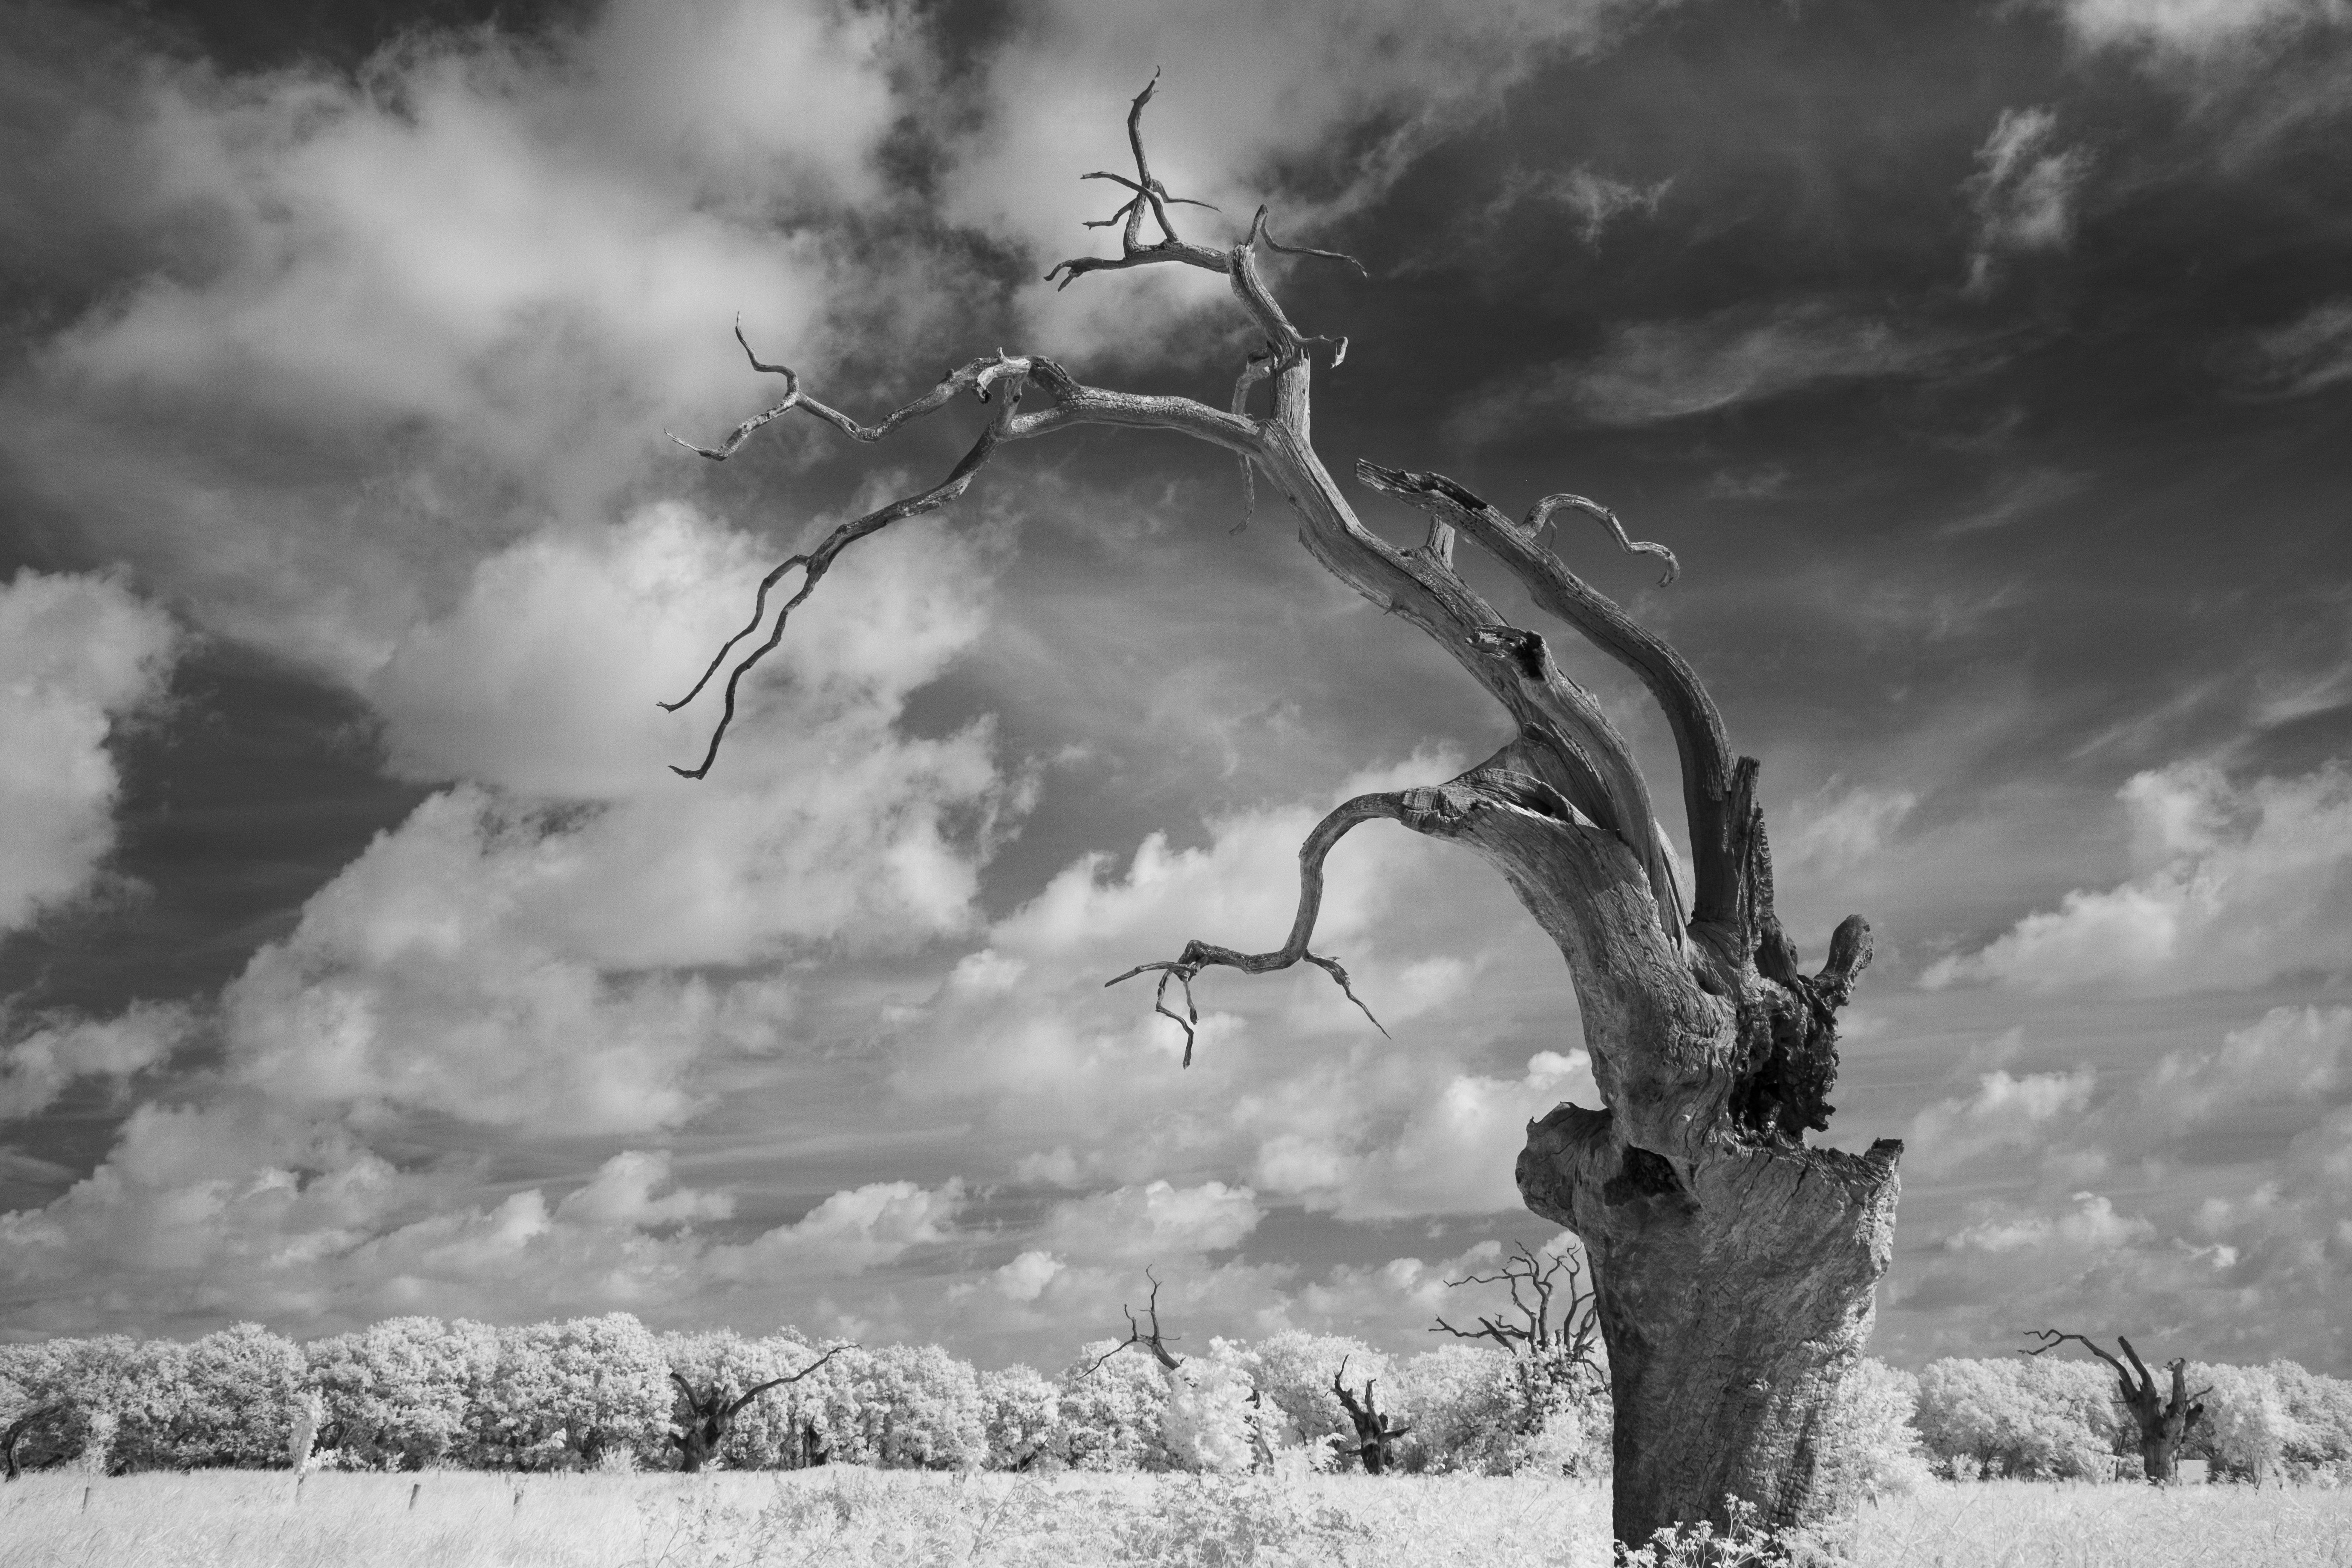
I’d been looking to shoot a photogenic group of petrified oak trees in Essex, England which date back to around the year 900. The place definitely has an eerie atmosphere that apparently inspired the Martian landing scene in The War of the Worlds.
Shooting in early summer wasn't ideal, but this is where infrared can help – and it's also a good match for scenes that already have an otherworldly look. If your subject is dark and striking, then bright foliage can help support it and also bring out the 'personalities' of trees, if that doesn't sound too new age.
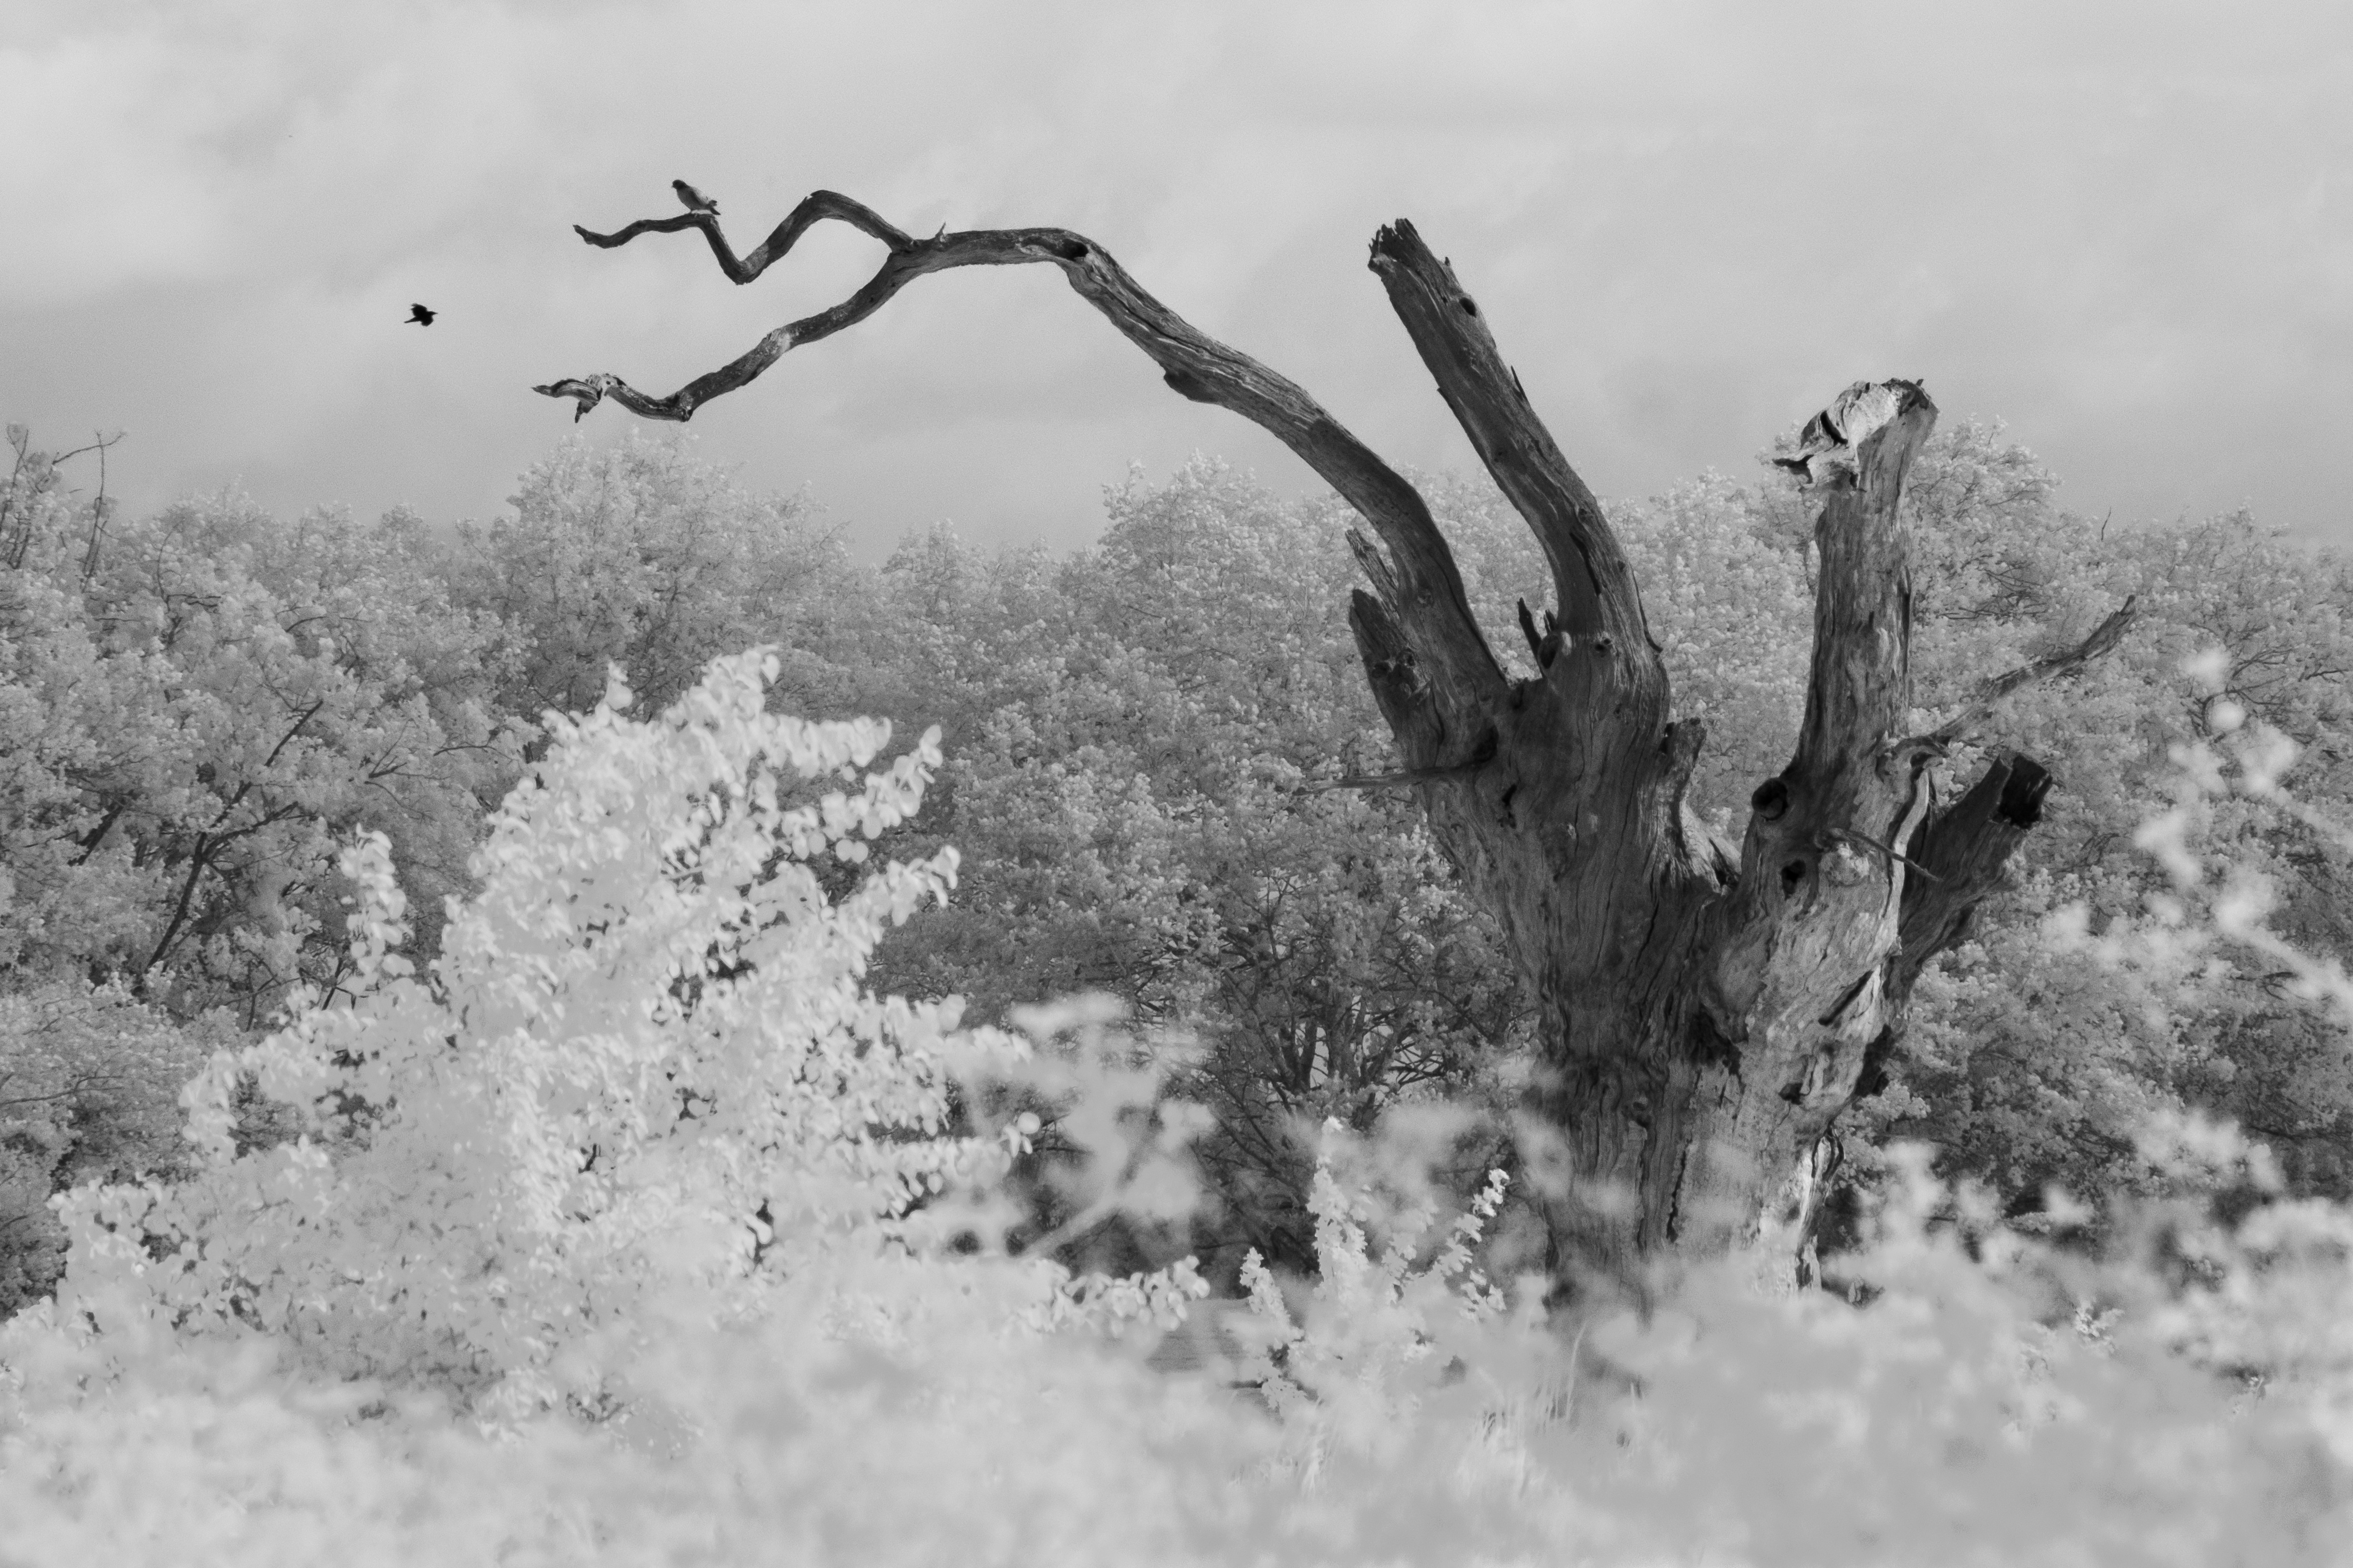
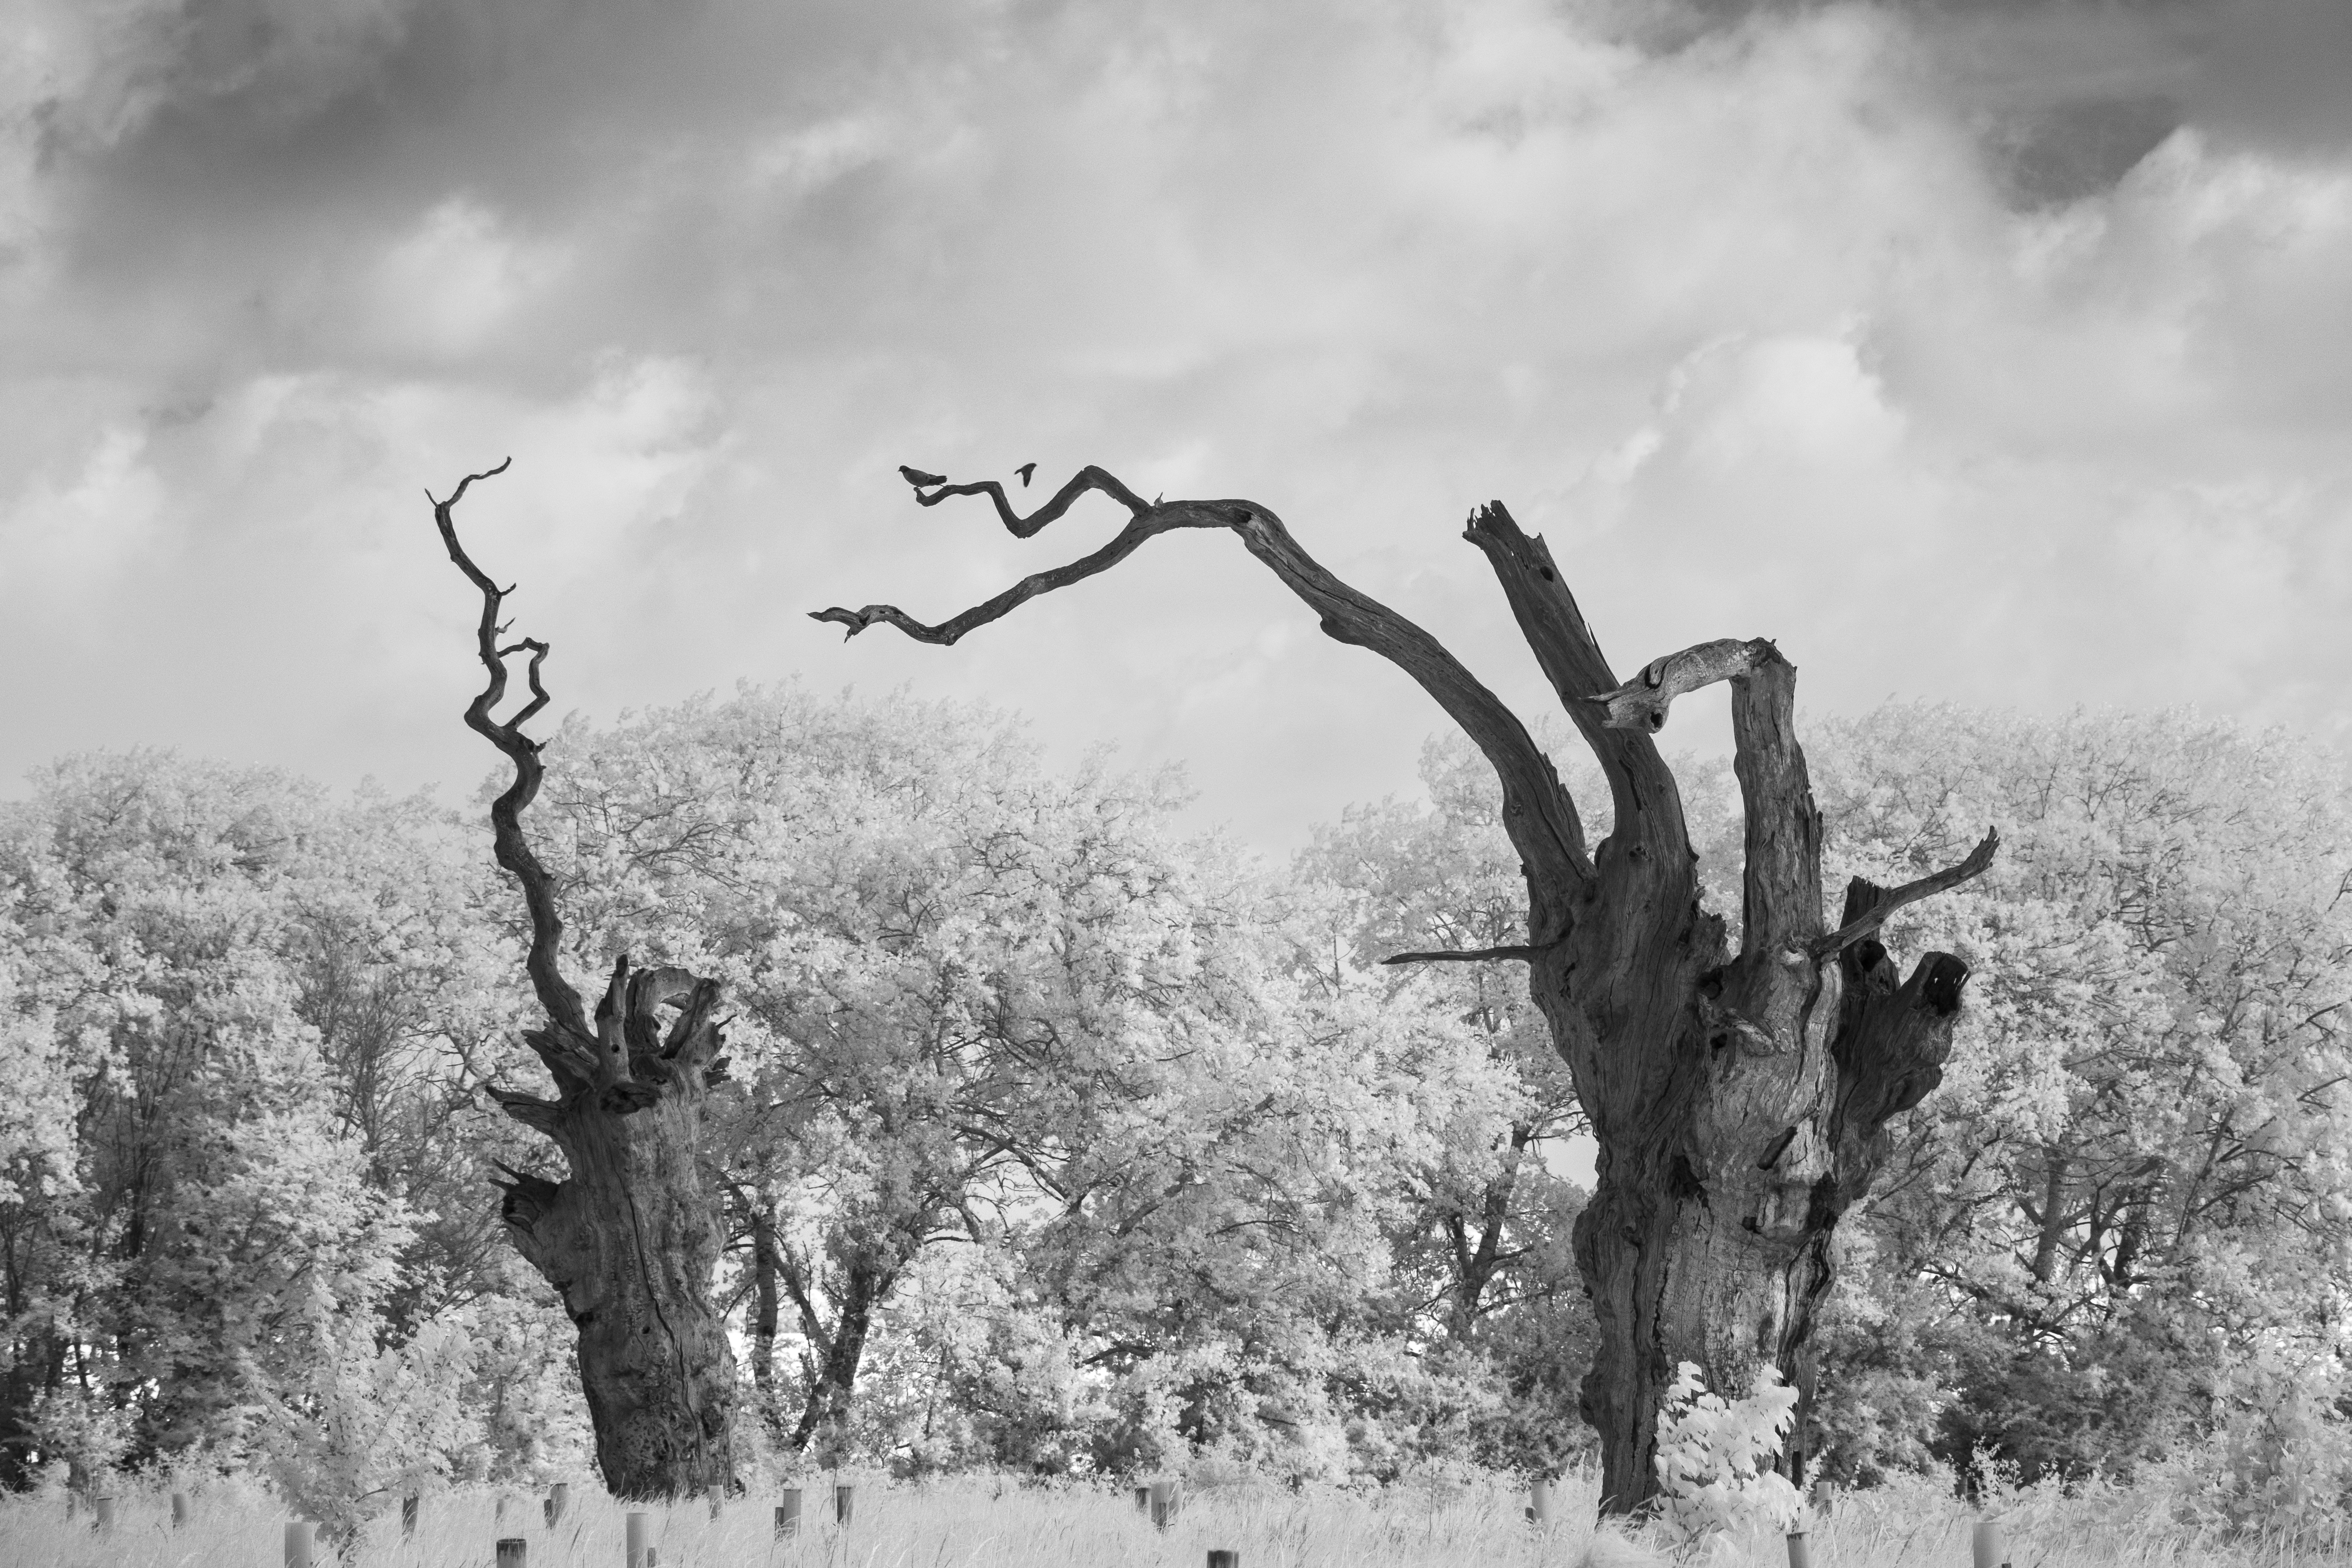
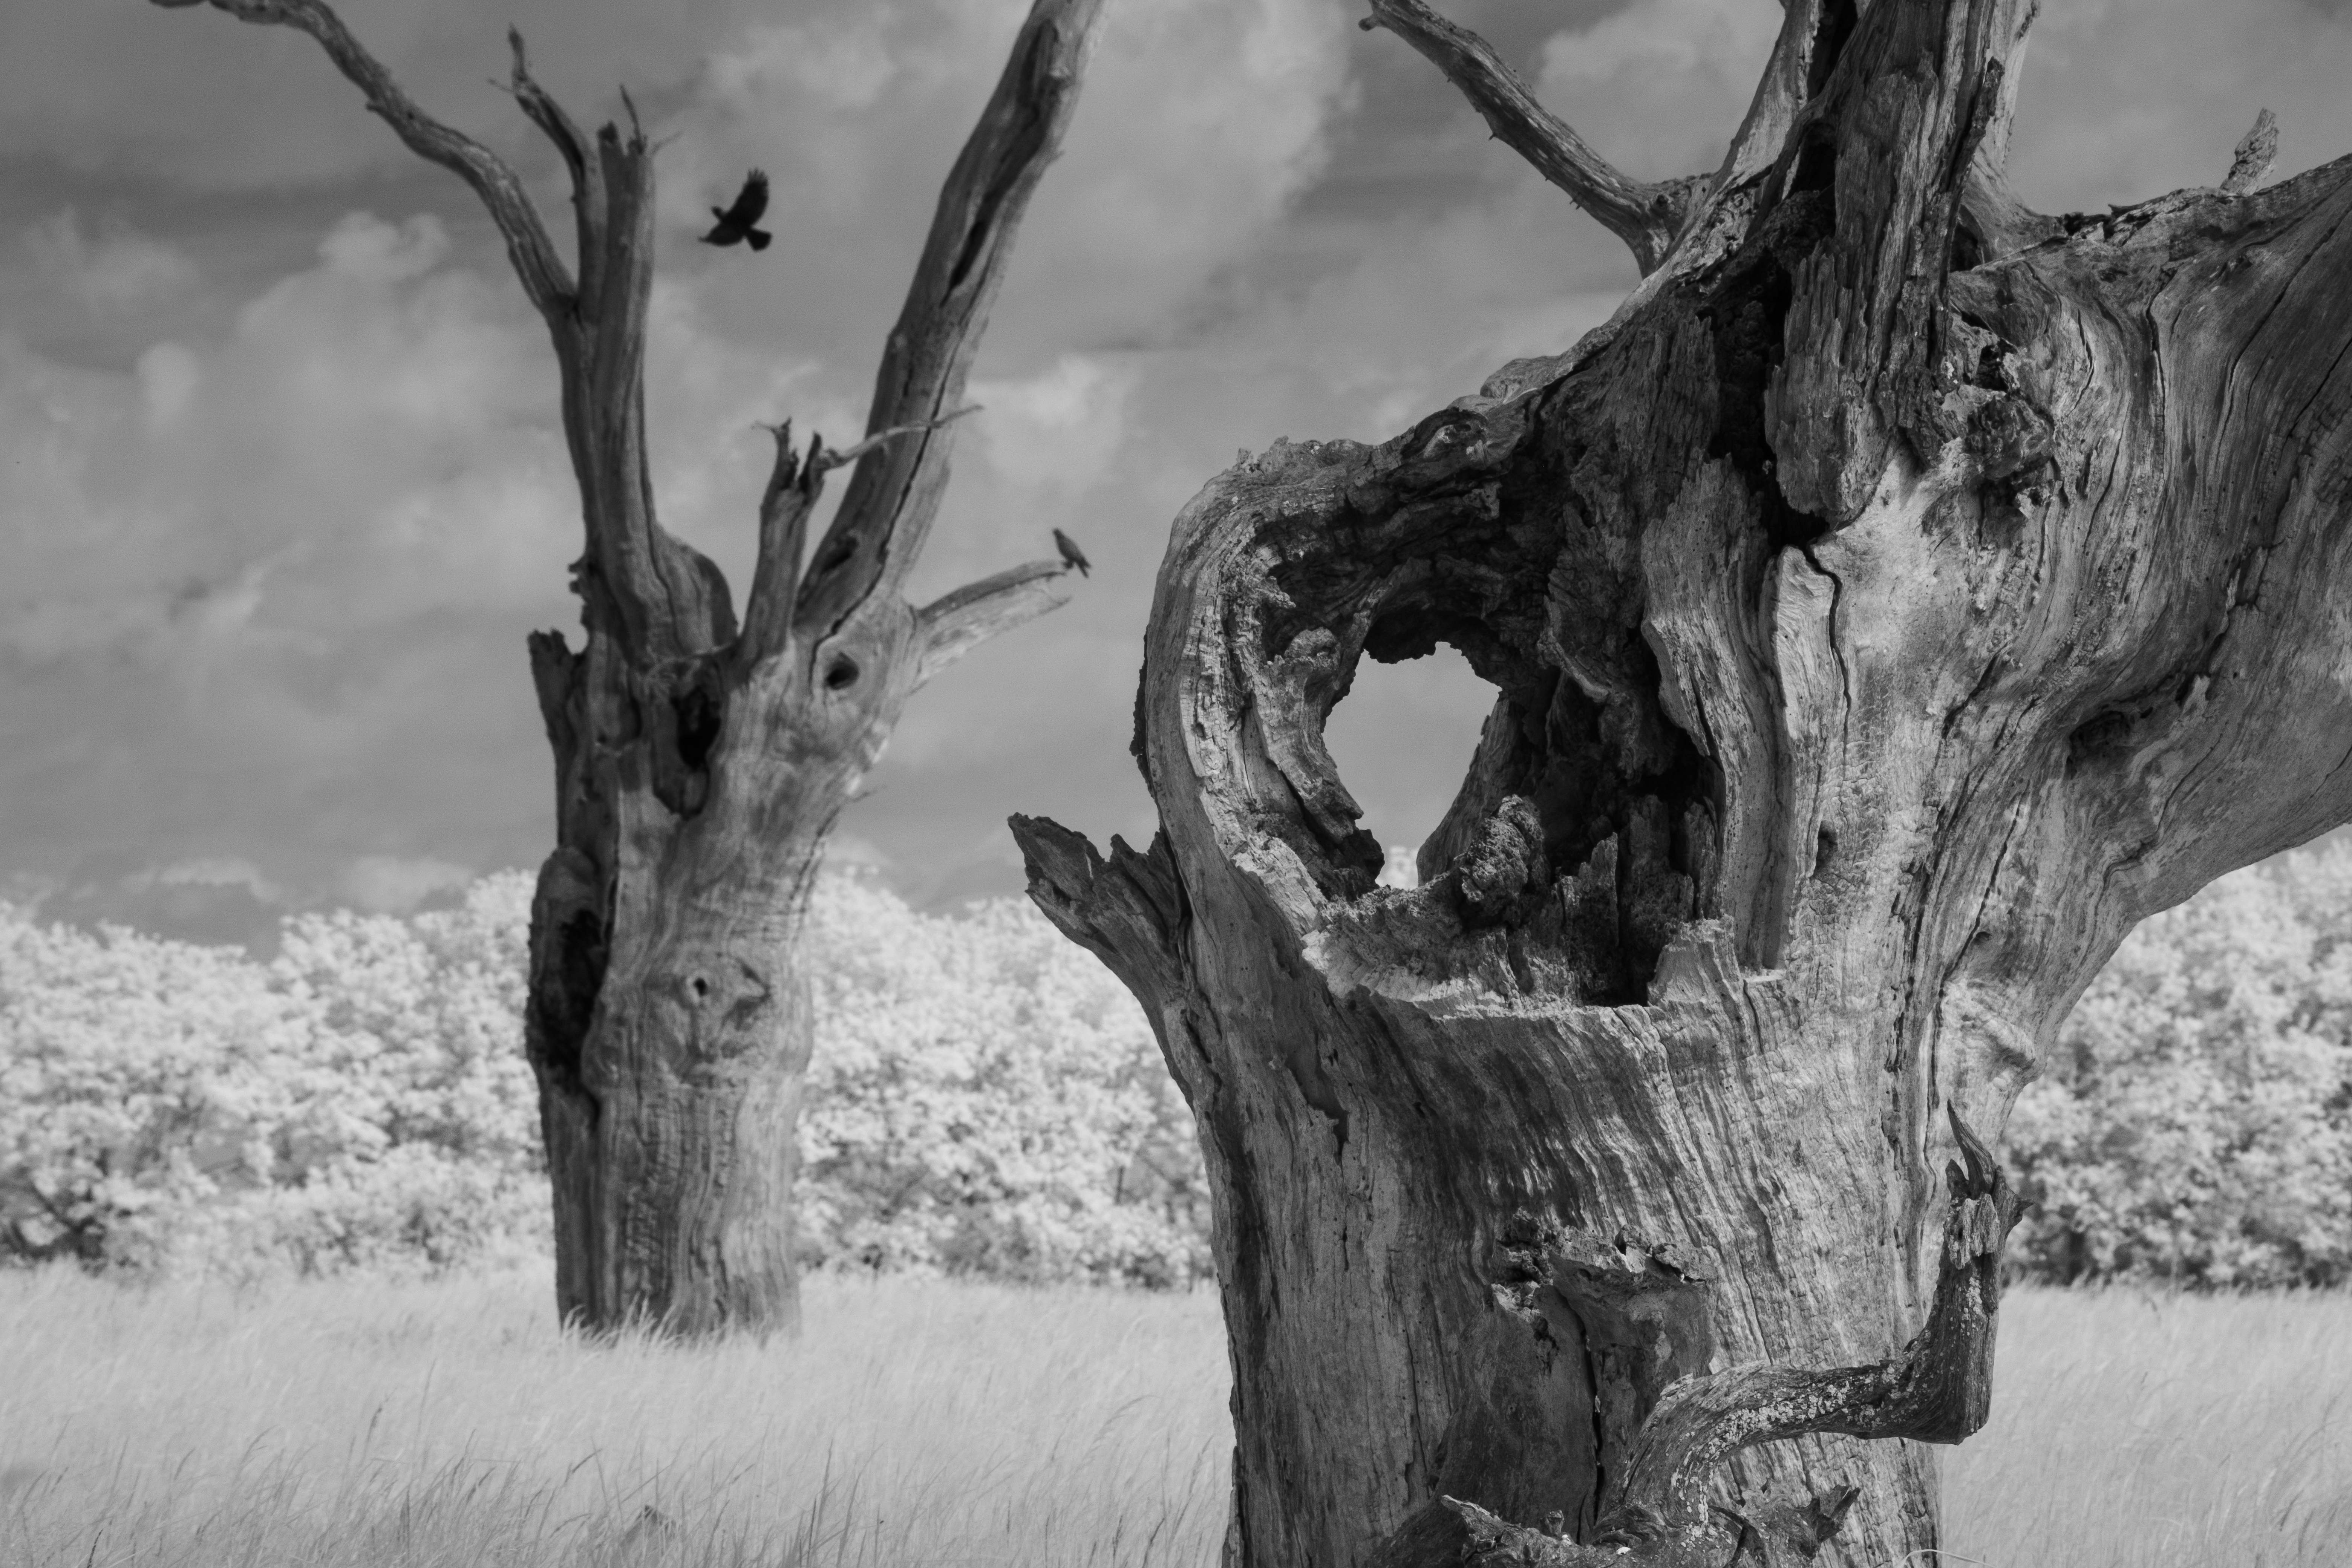
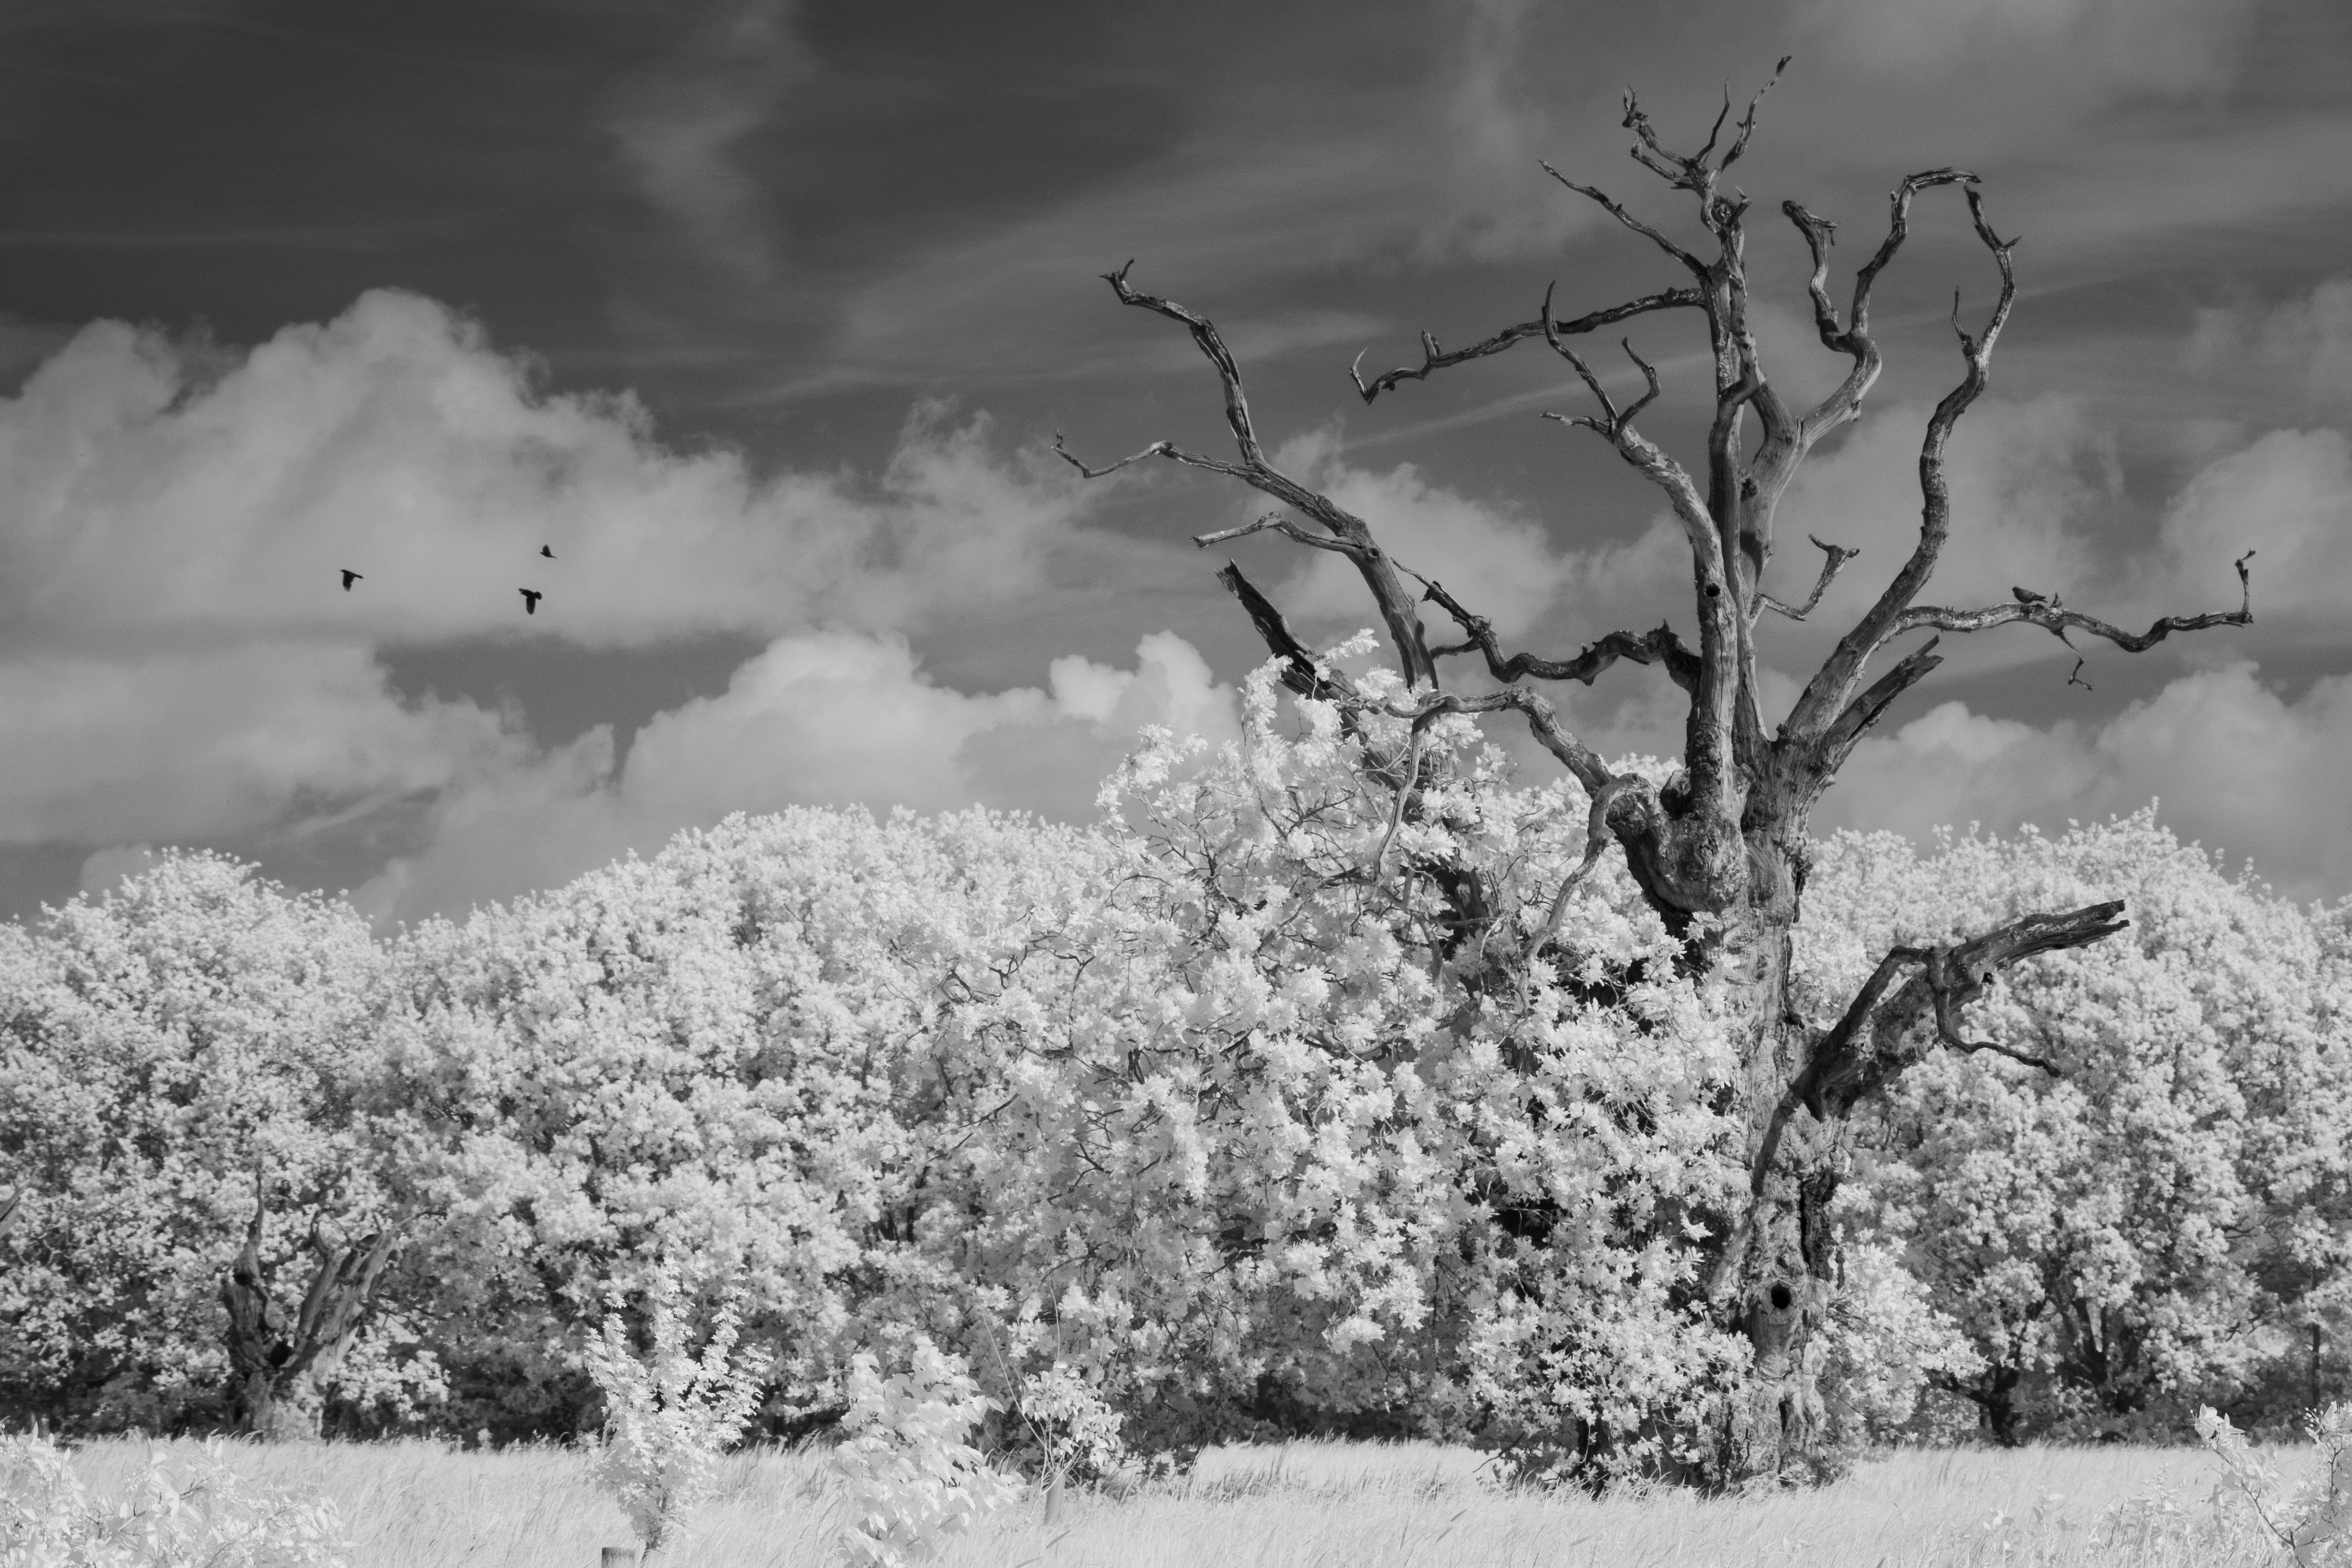
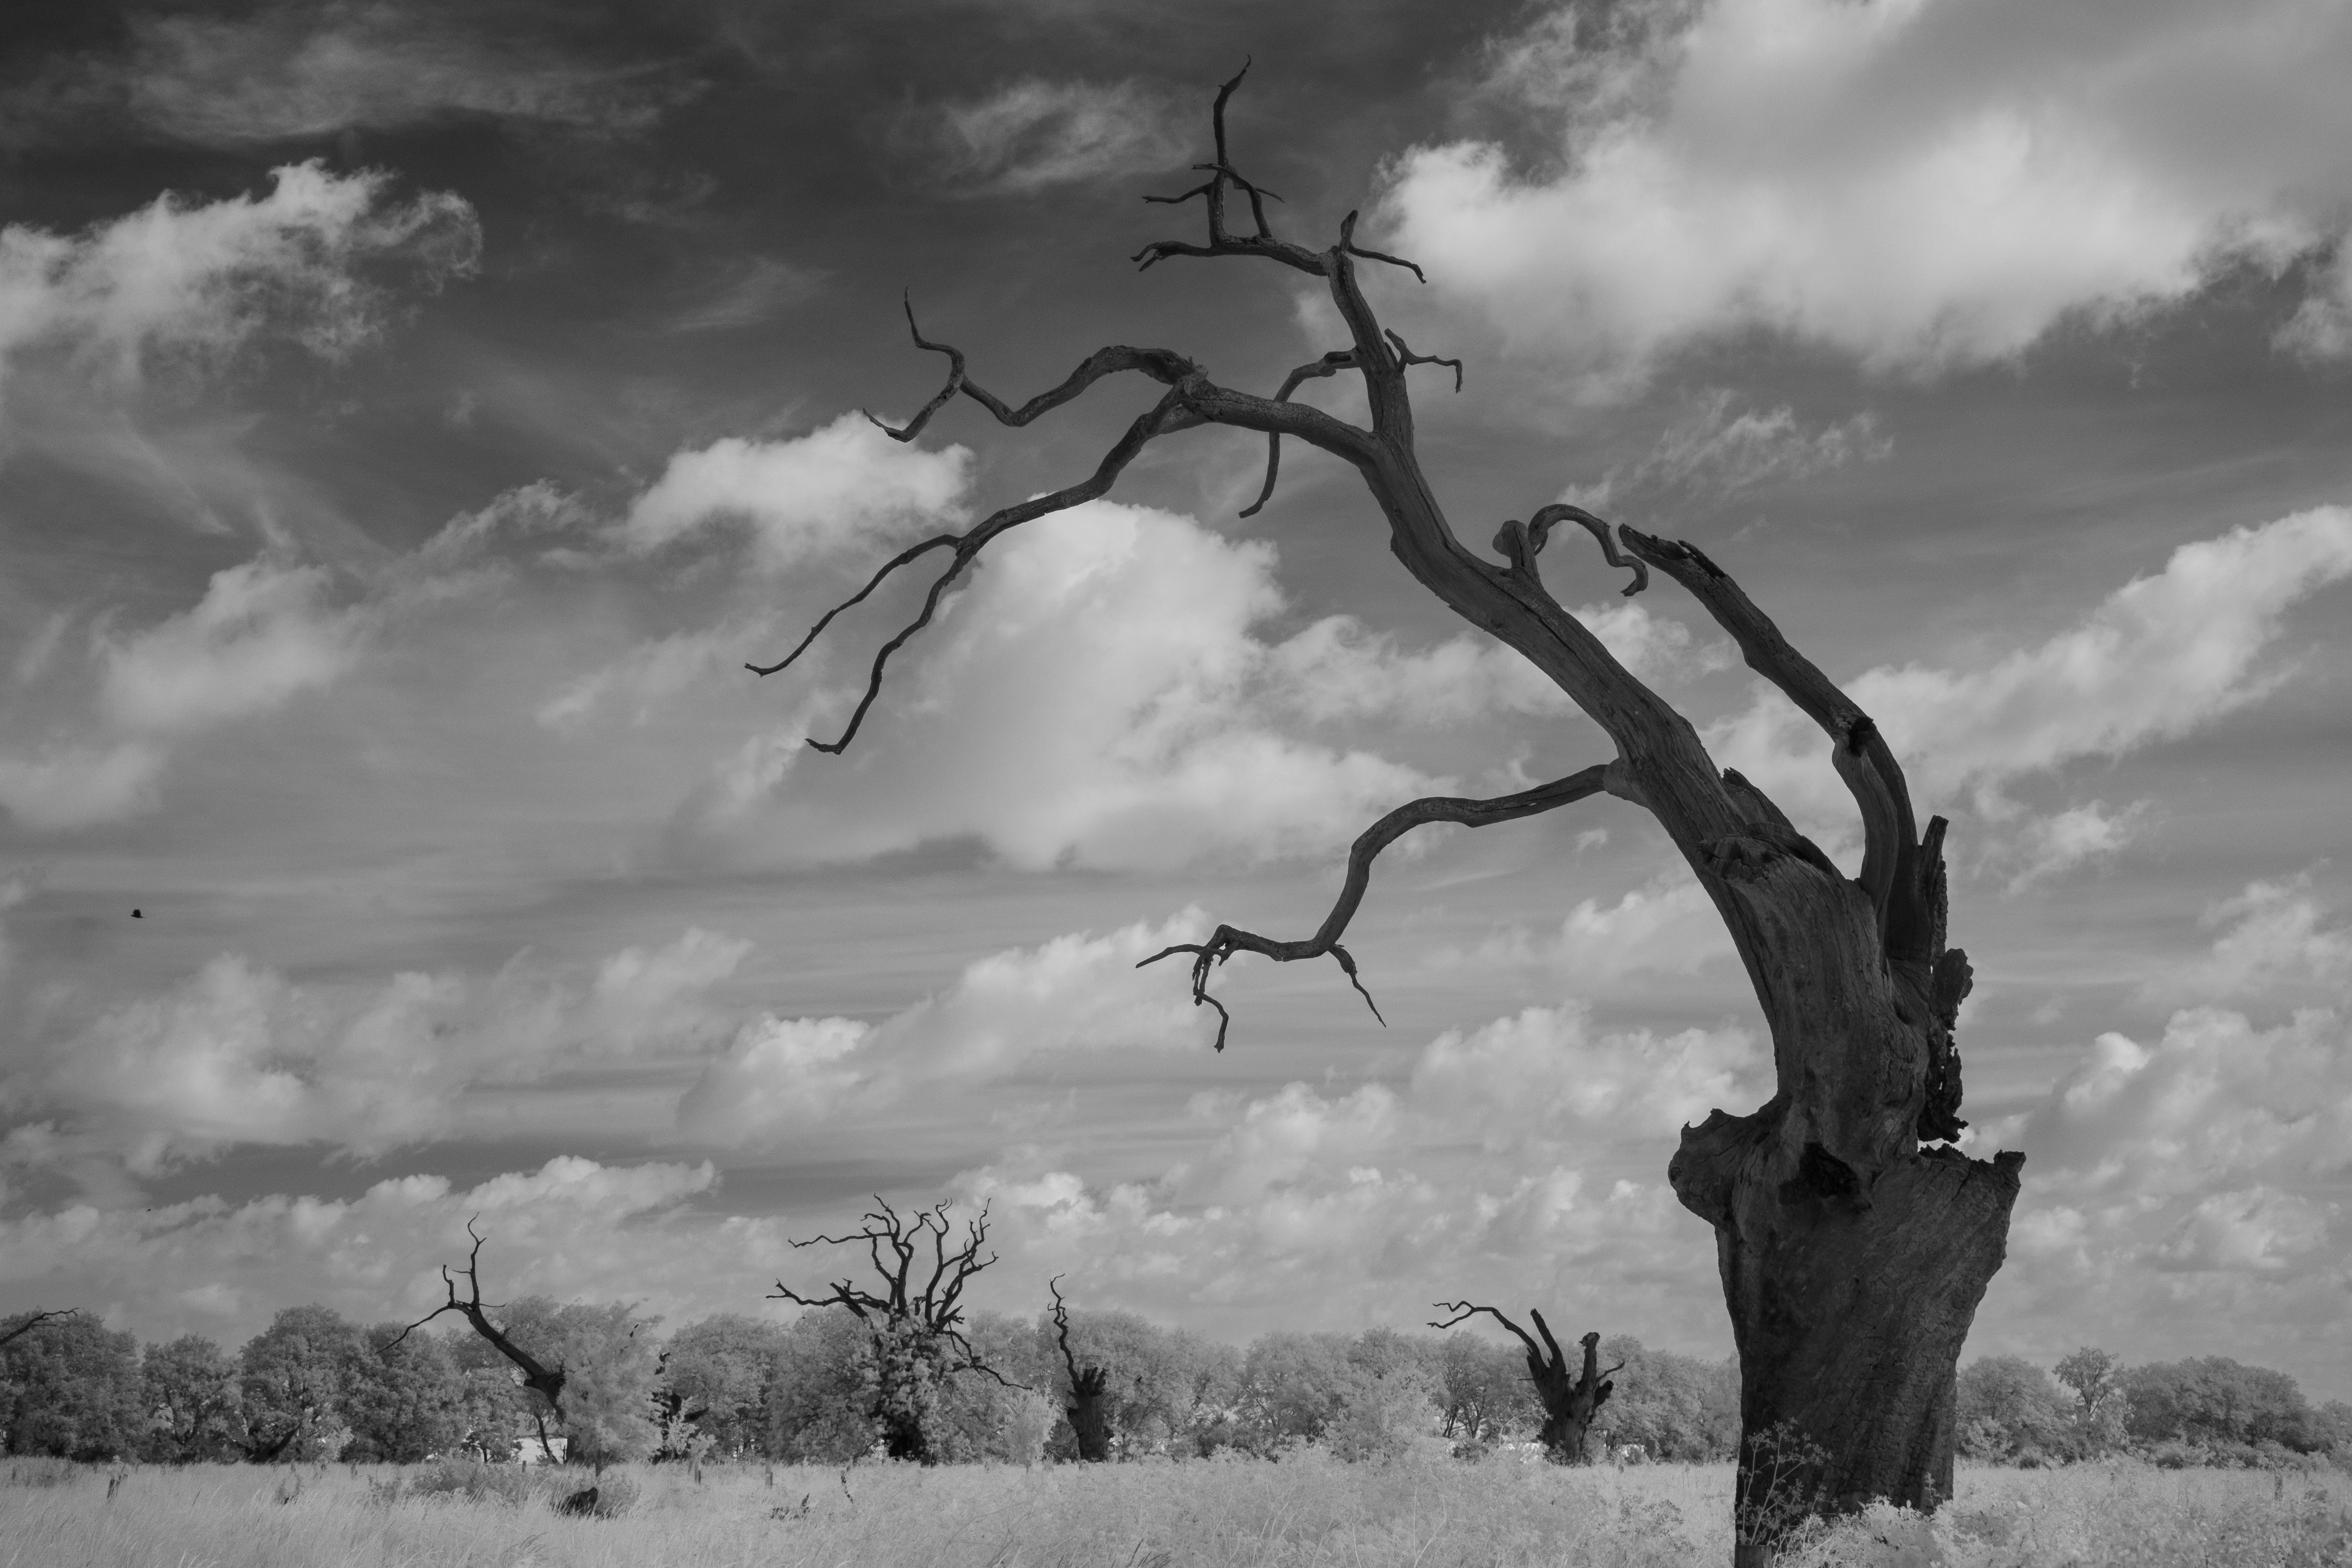
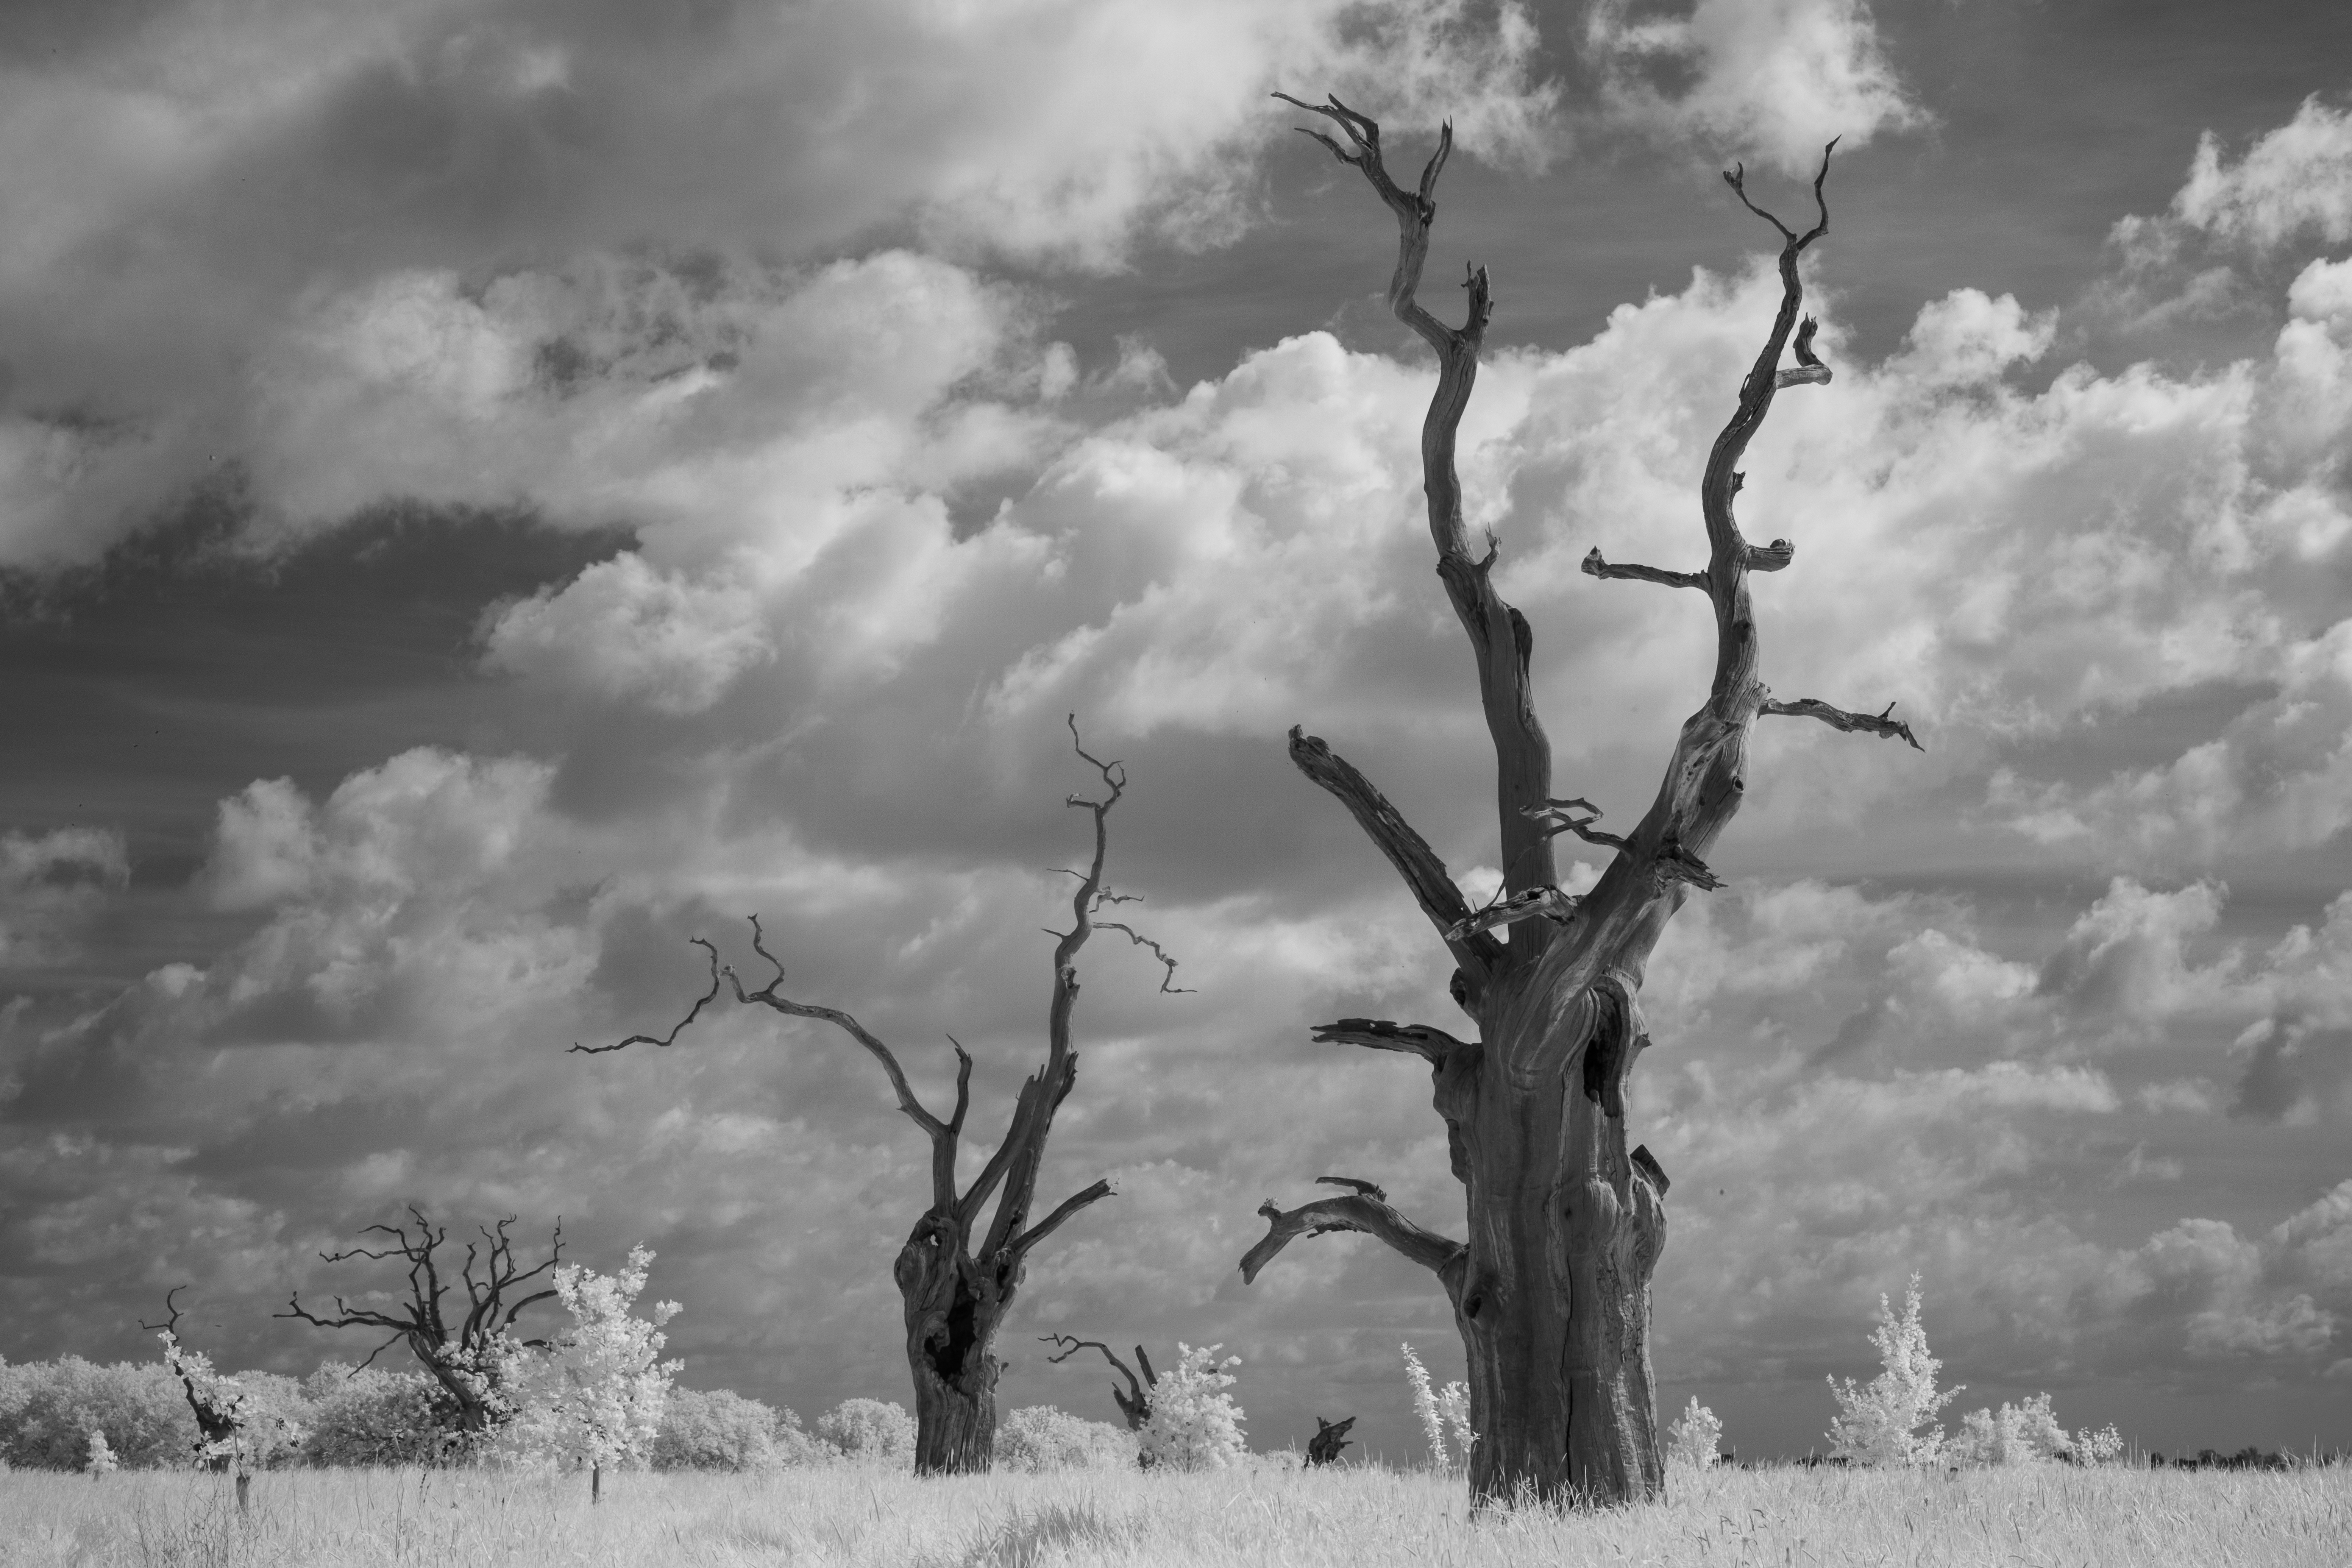
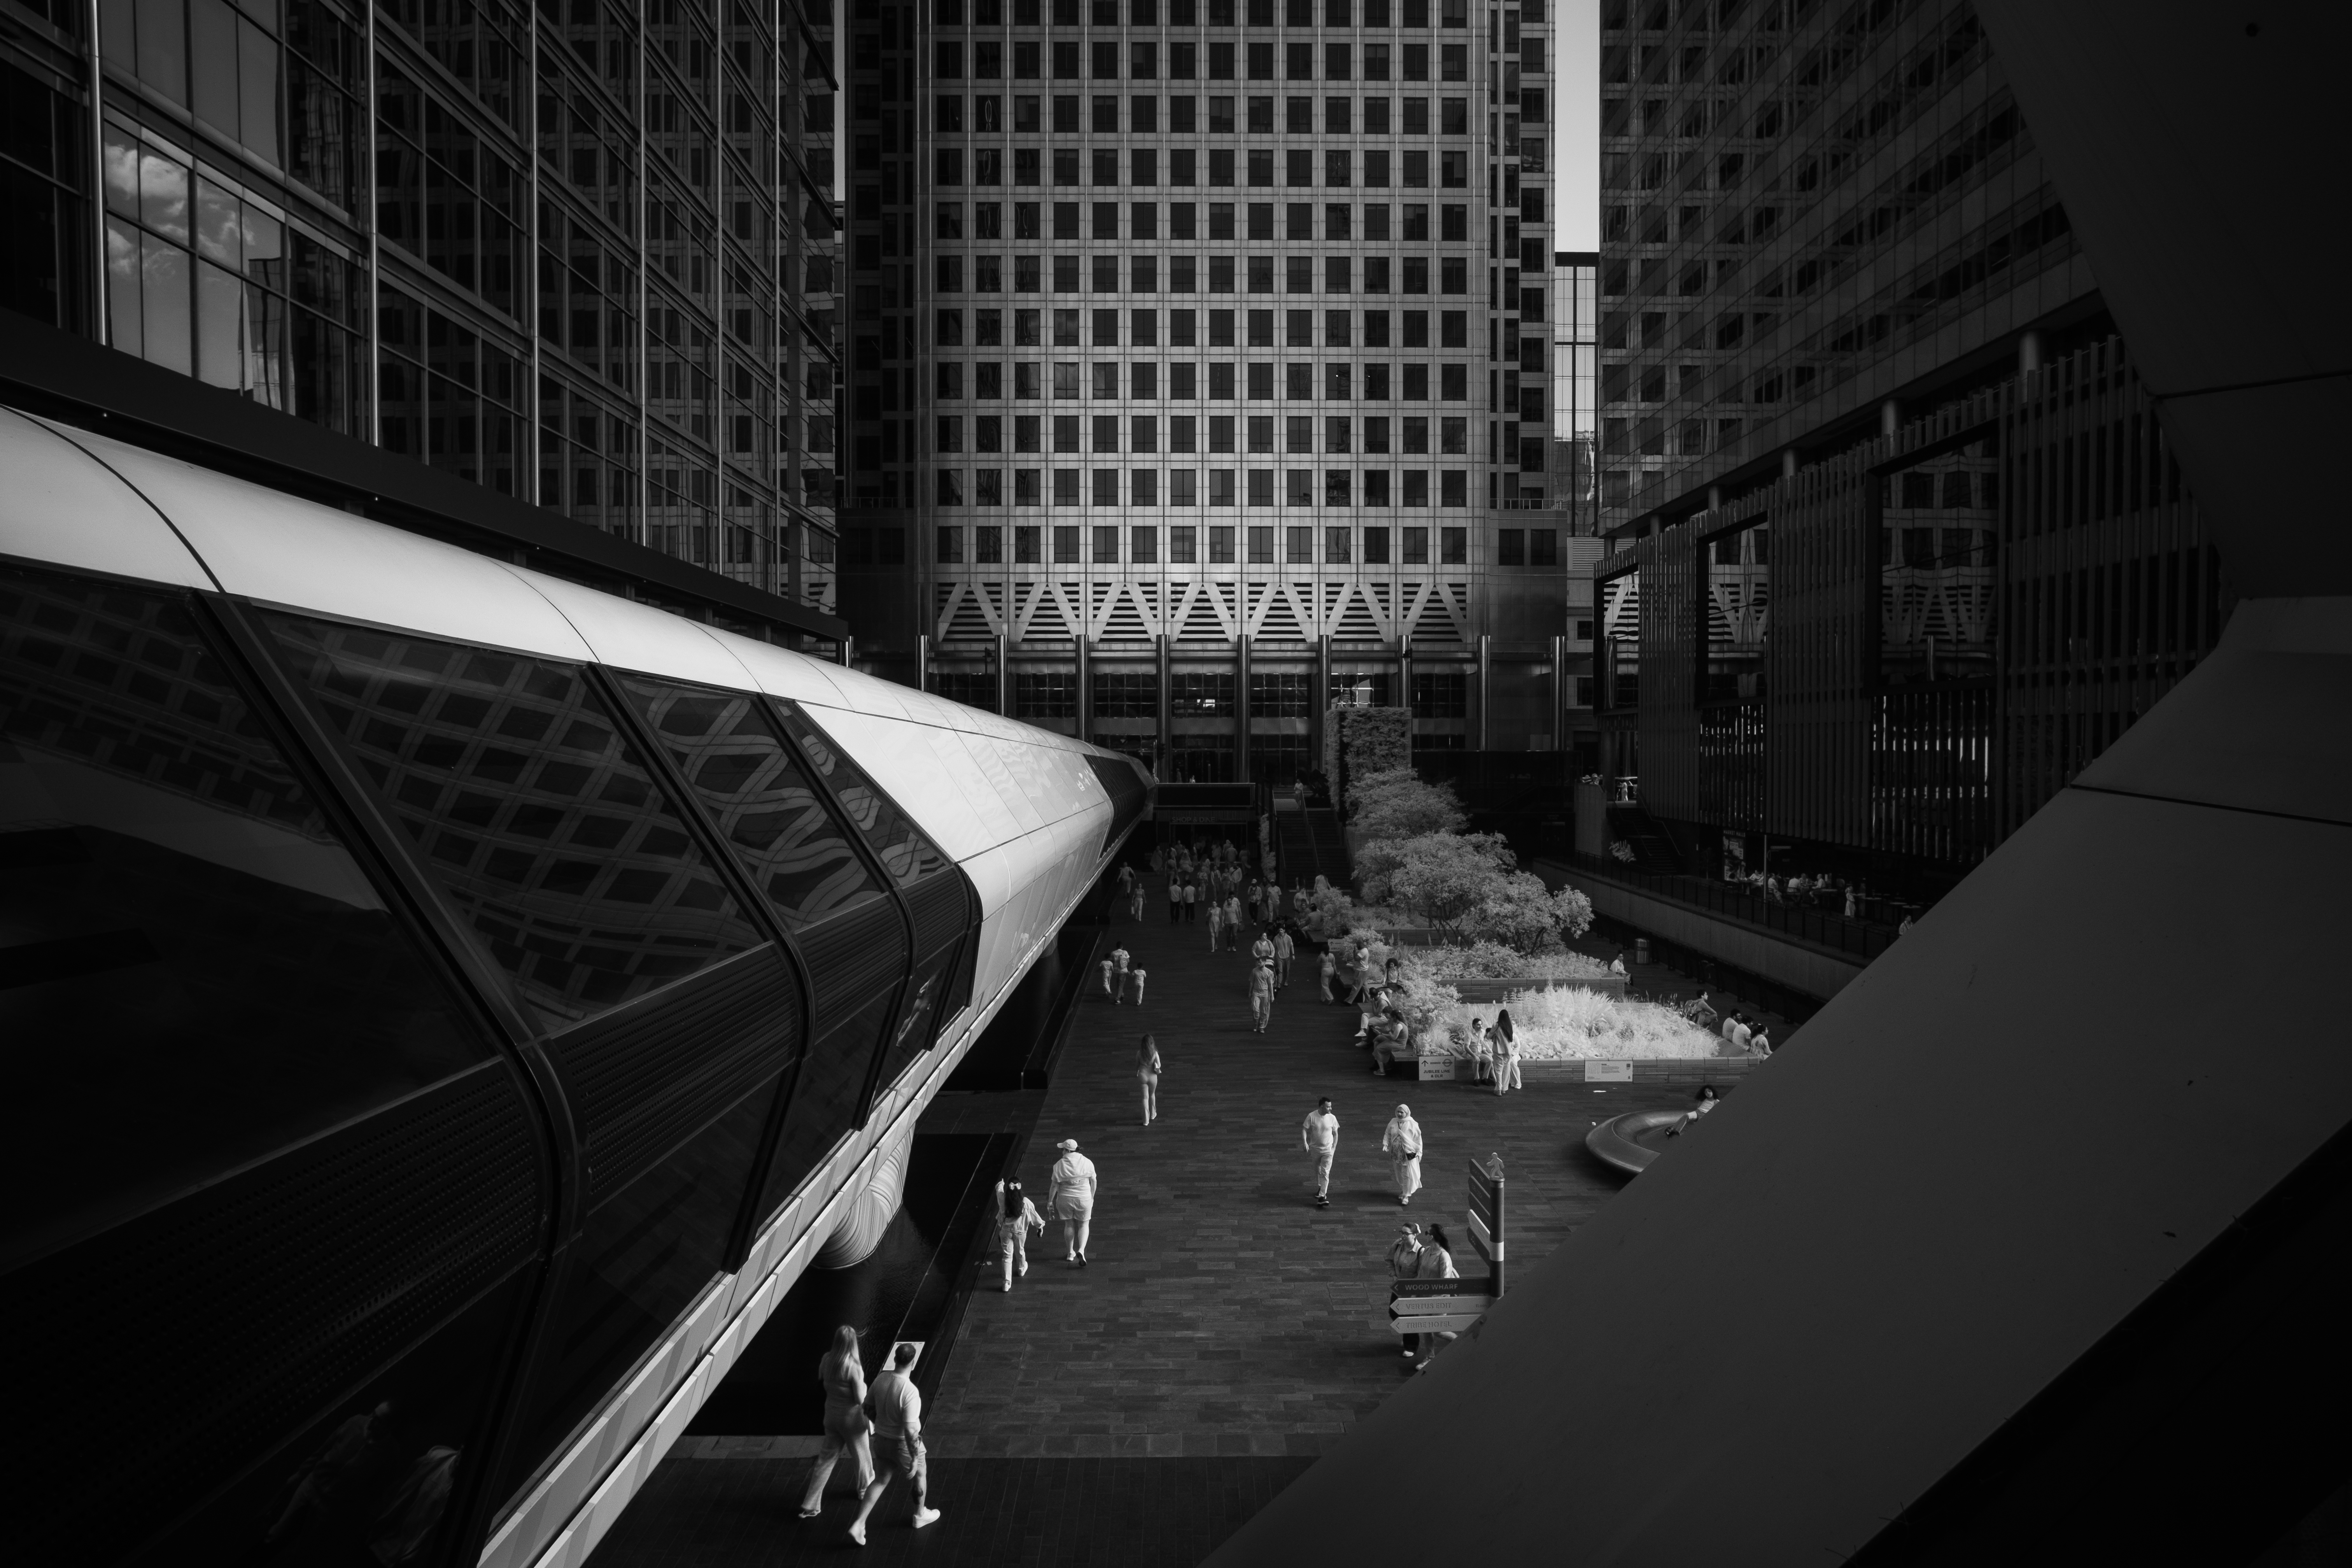
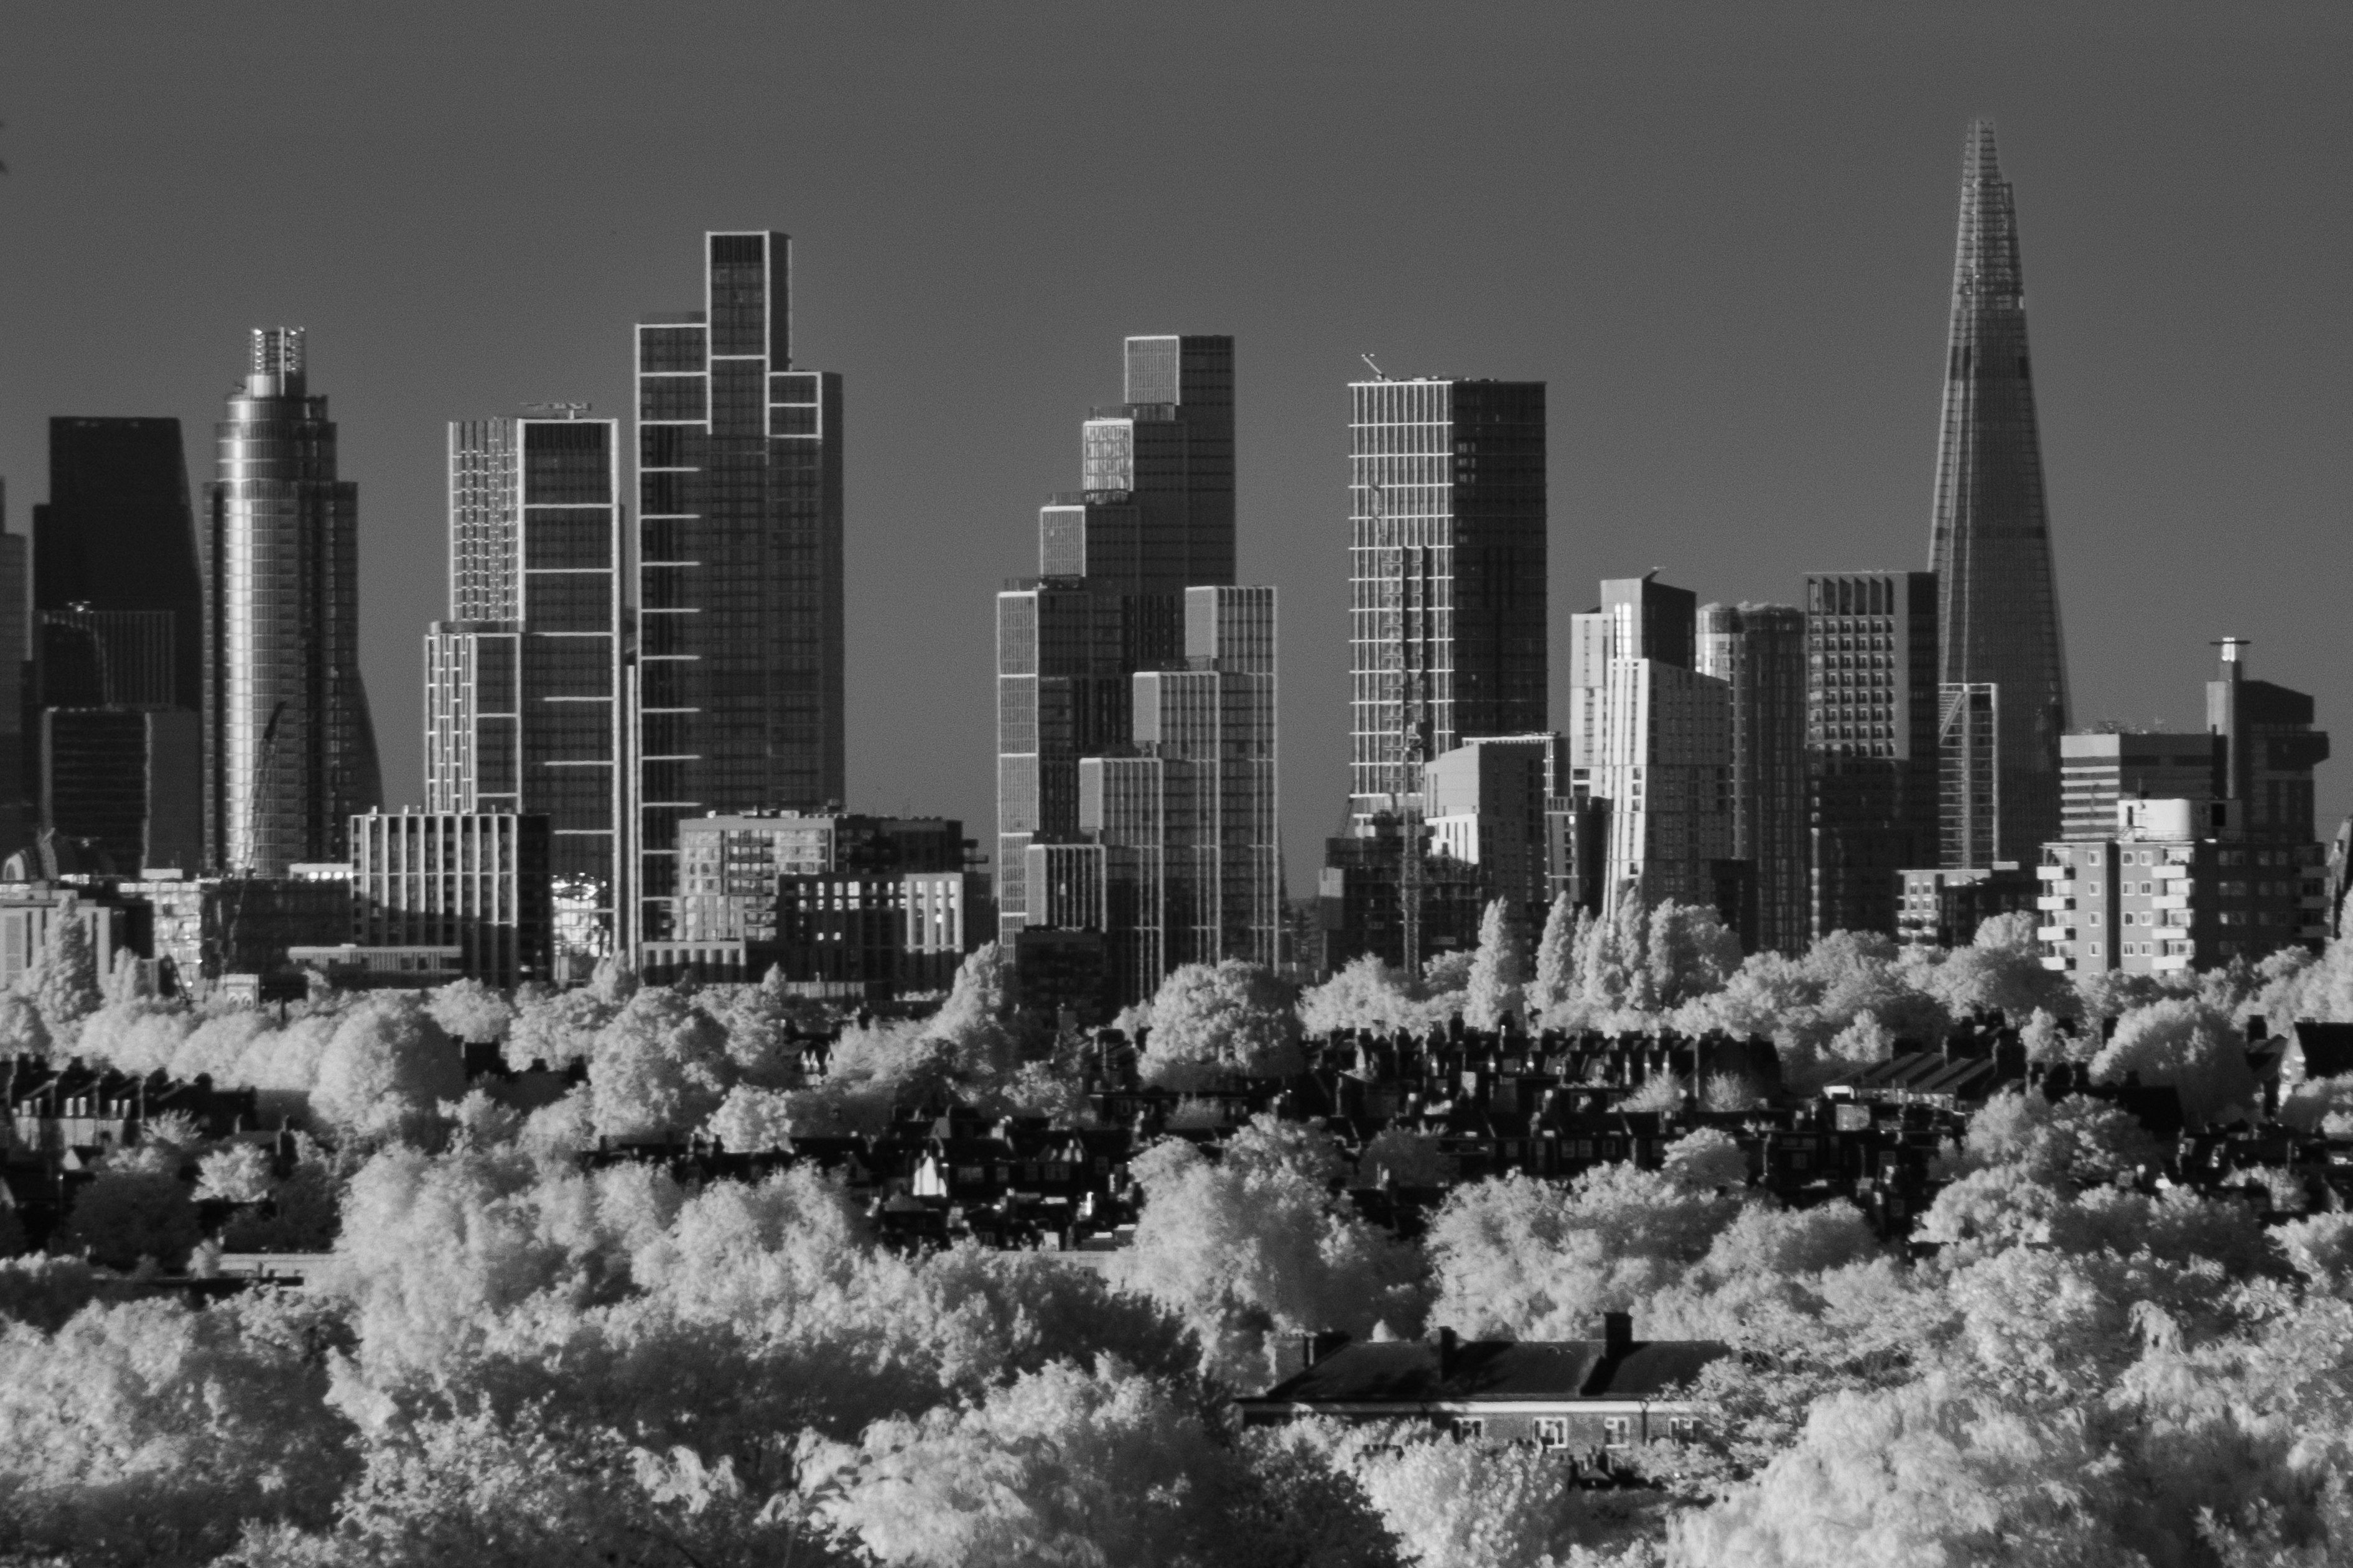
Once I'd photographed almost every tree in south England, I found that infrared can also work in urban scenes too. Two places I wanted to try were London's Canary Wharf (a financial district that feels a bit like The Truman Show) and the Wimbledon tennis championships.
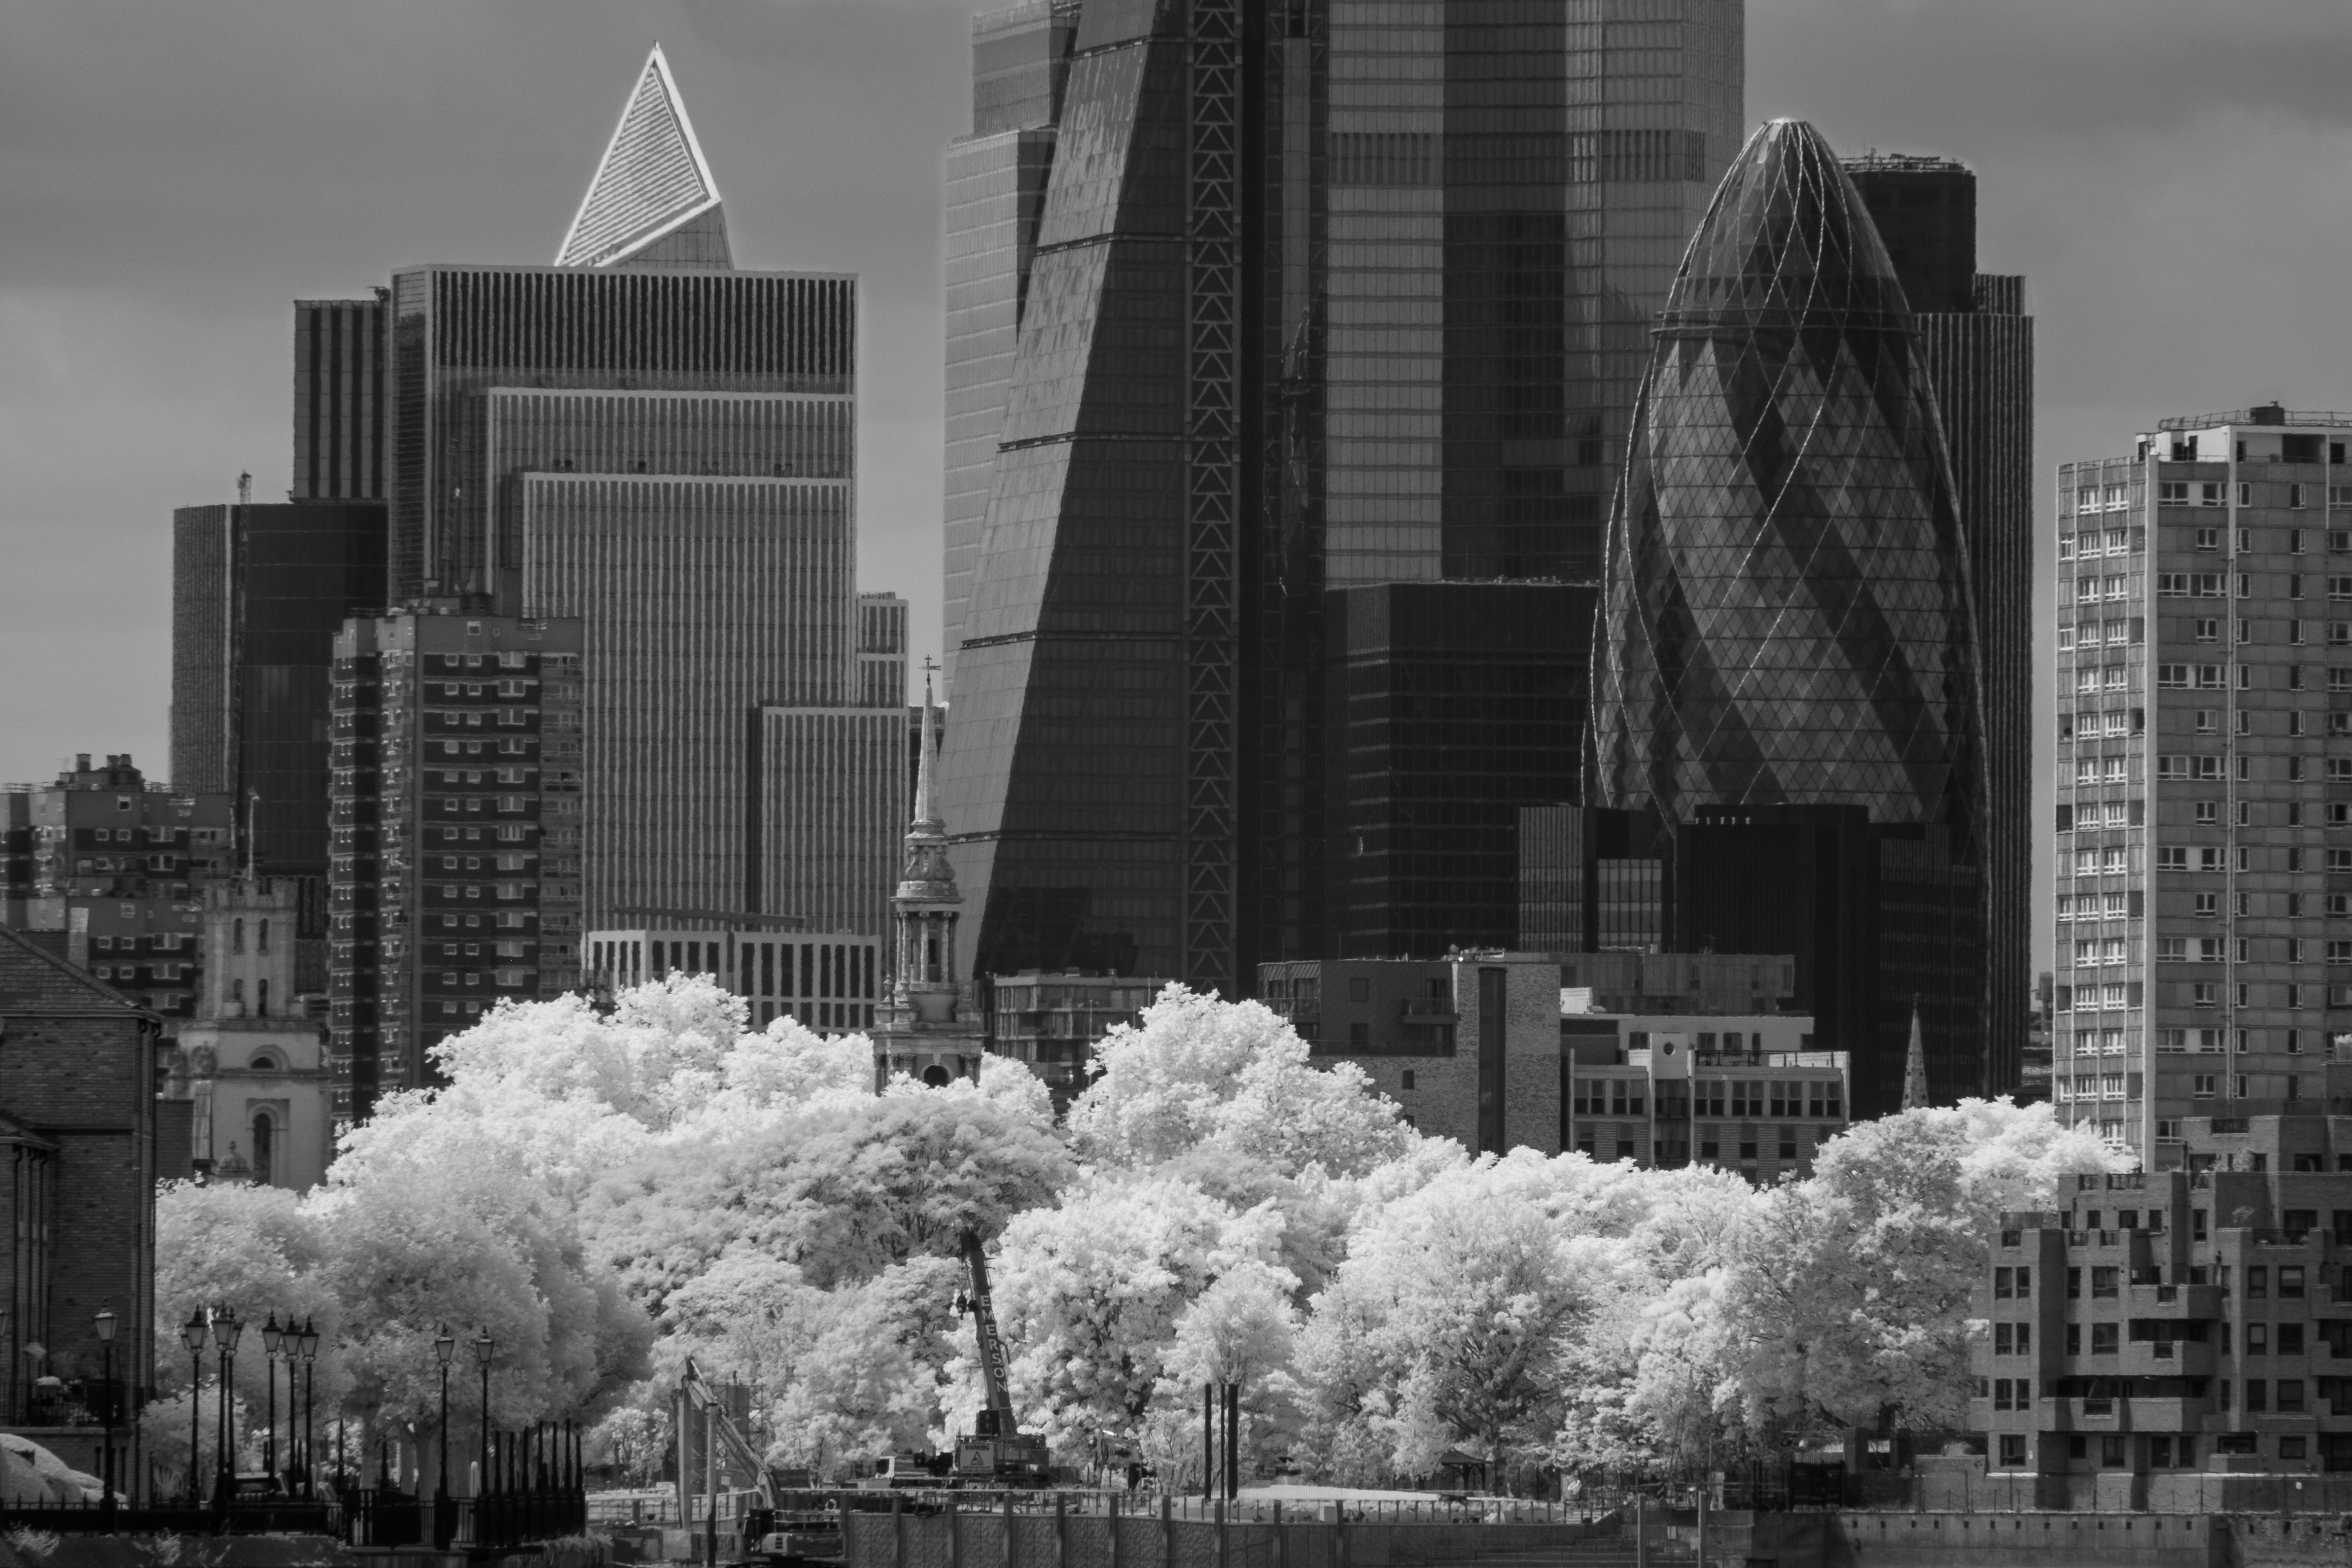
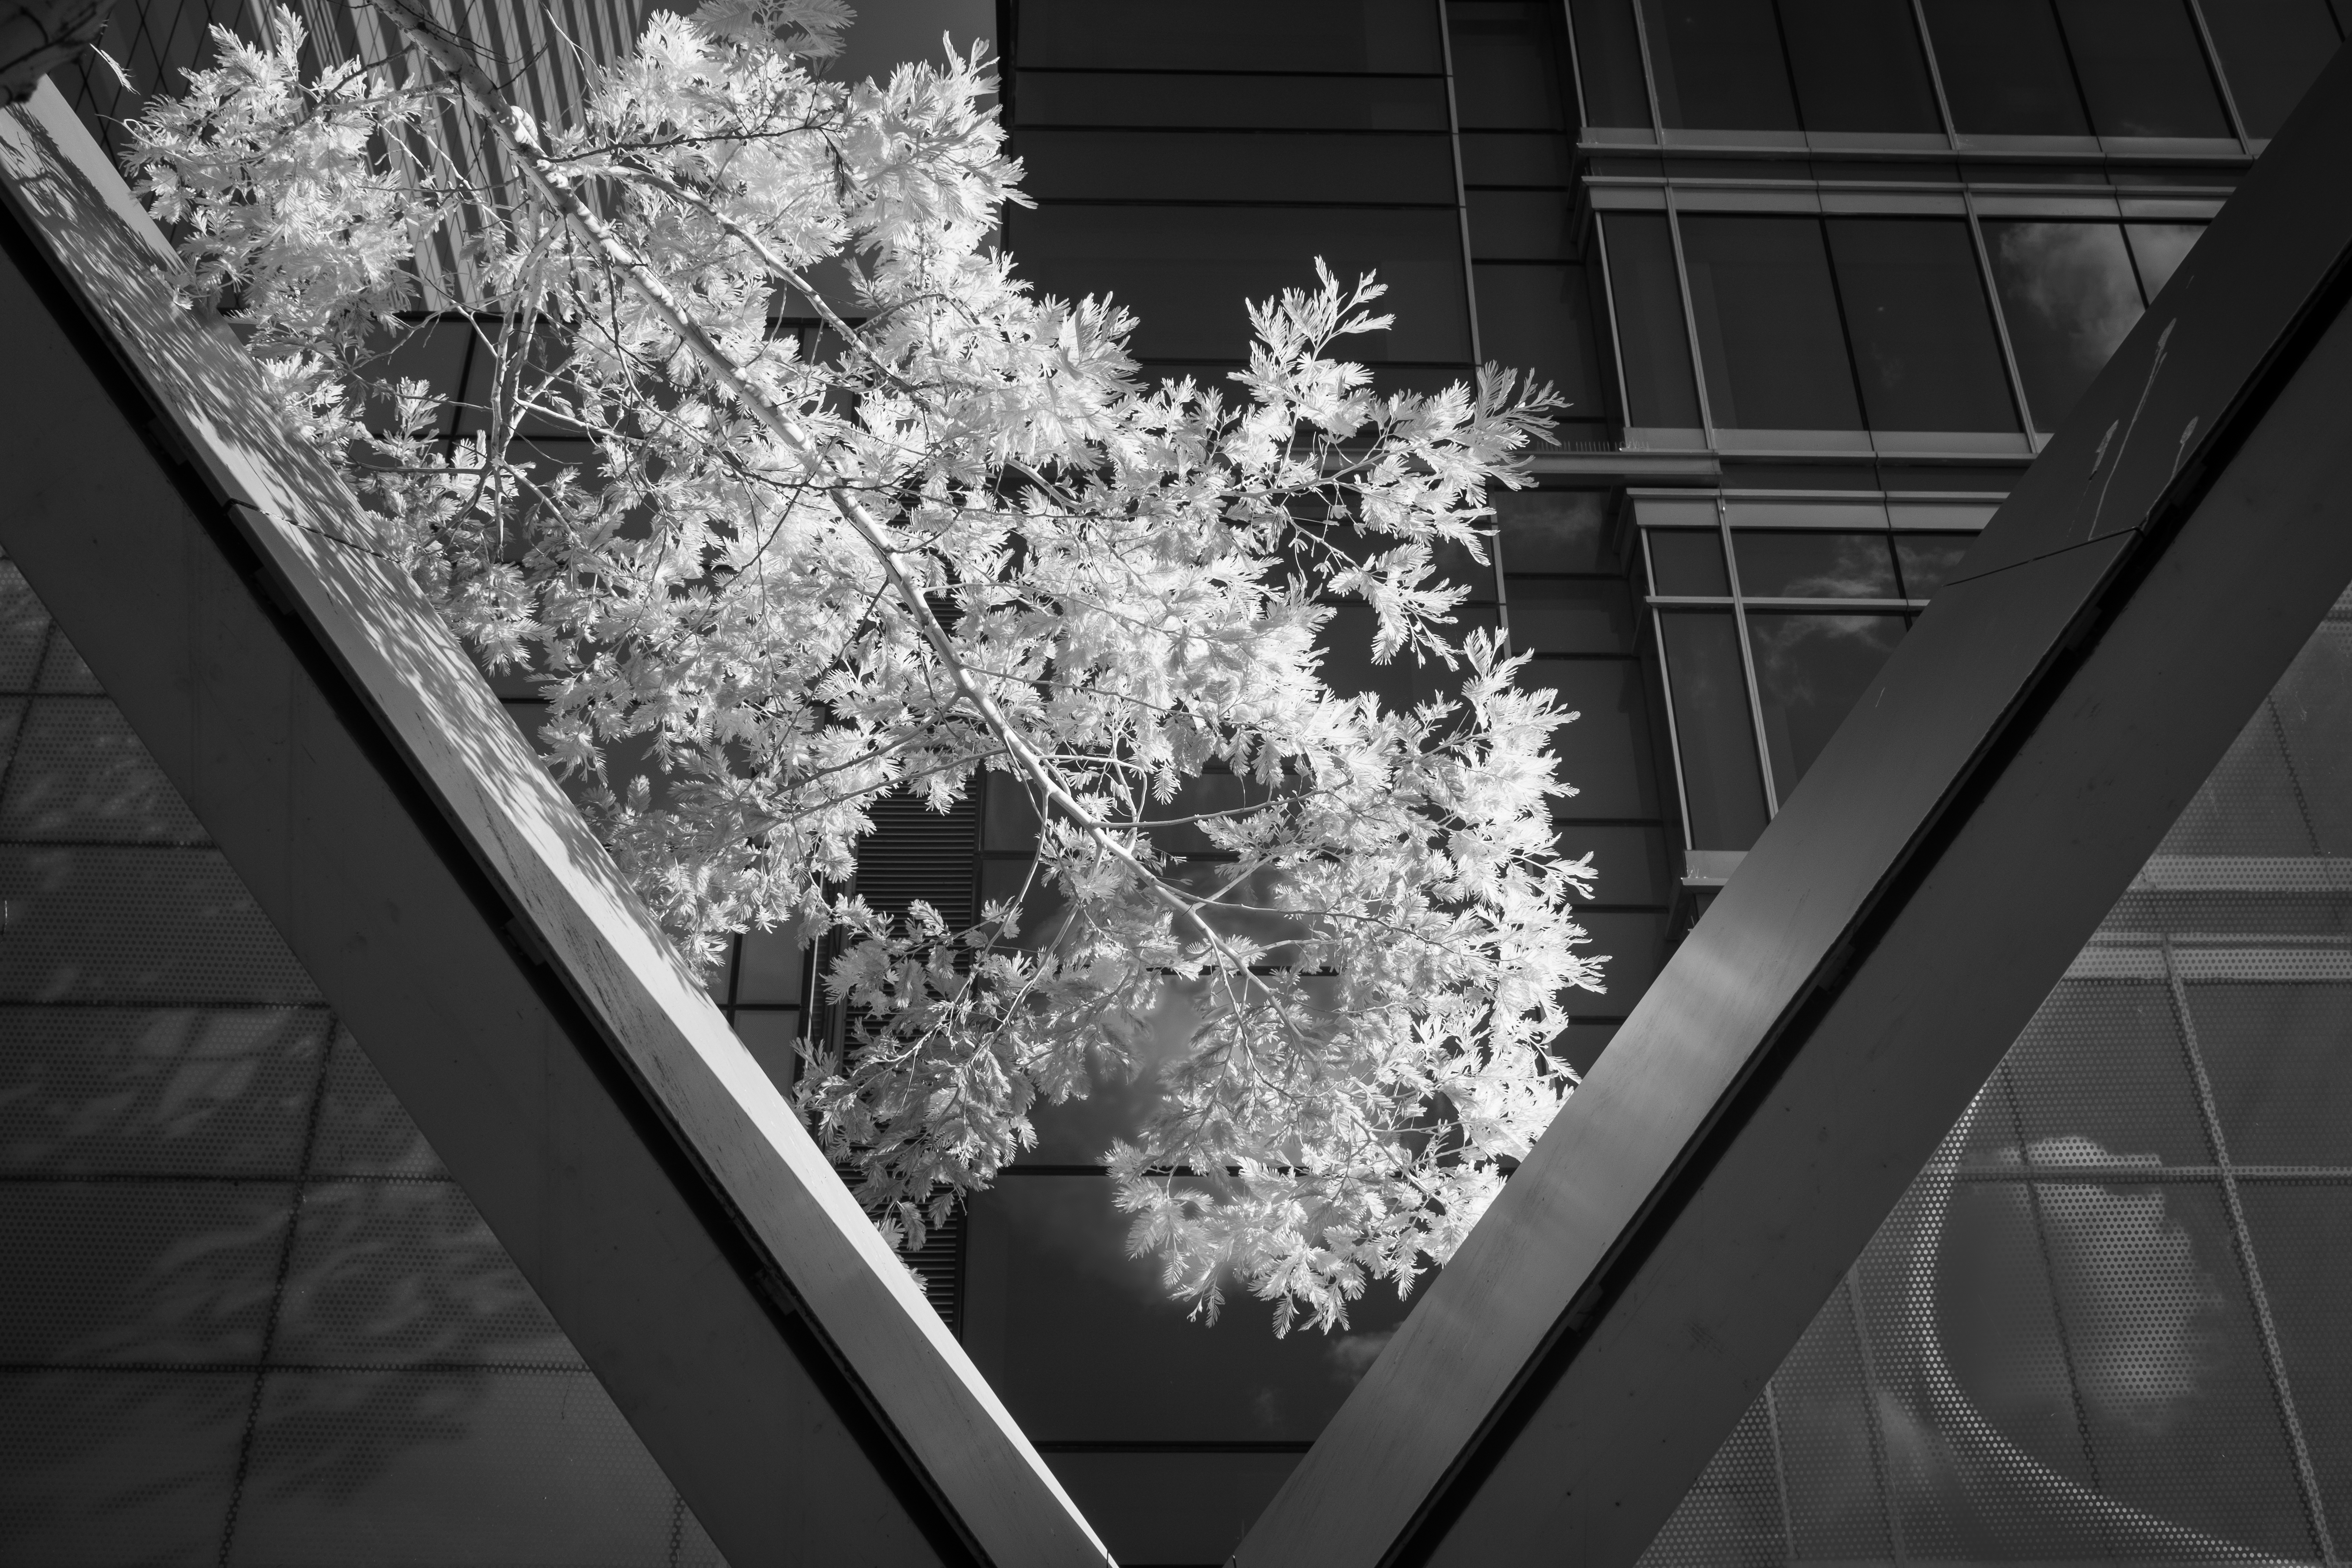
Because glass blocks most near-infrared light, any windows in your infrared scenes tend to go dark or black. That can be helpful if you're trying to capture intimidating skyscrapers in a financial capital, and also helps to strip out clutter and distractions.
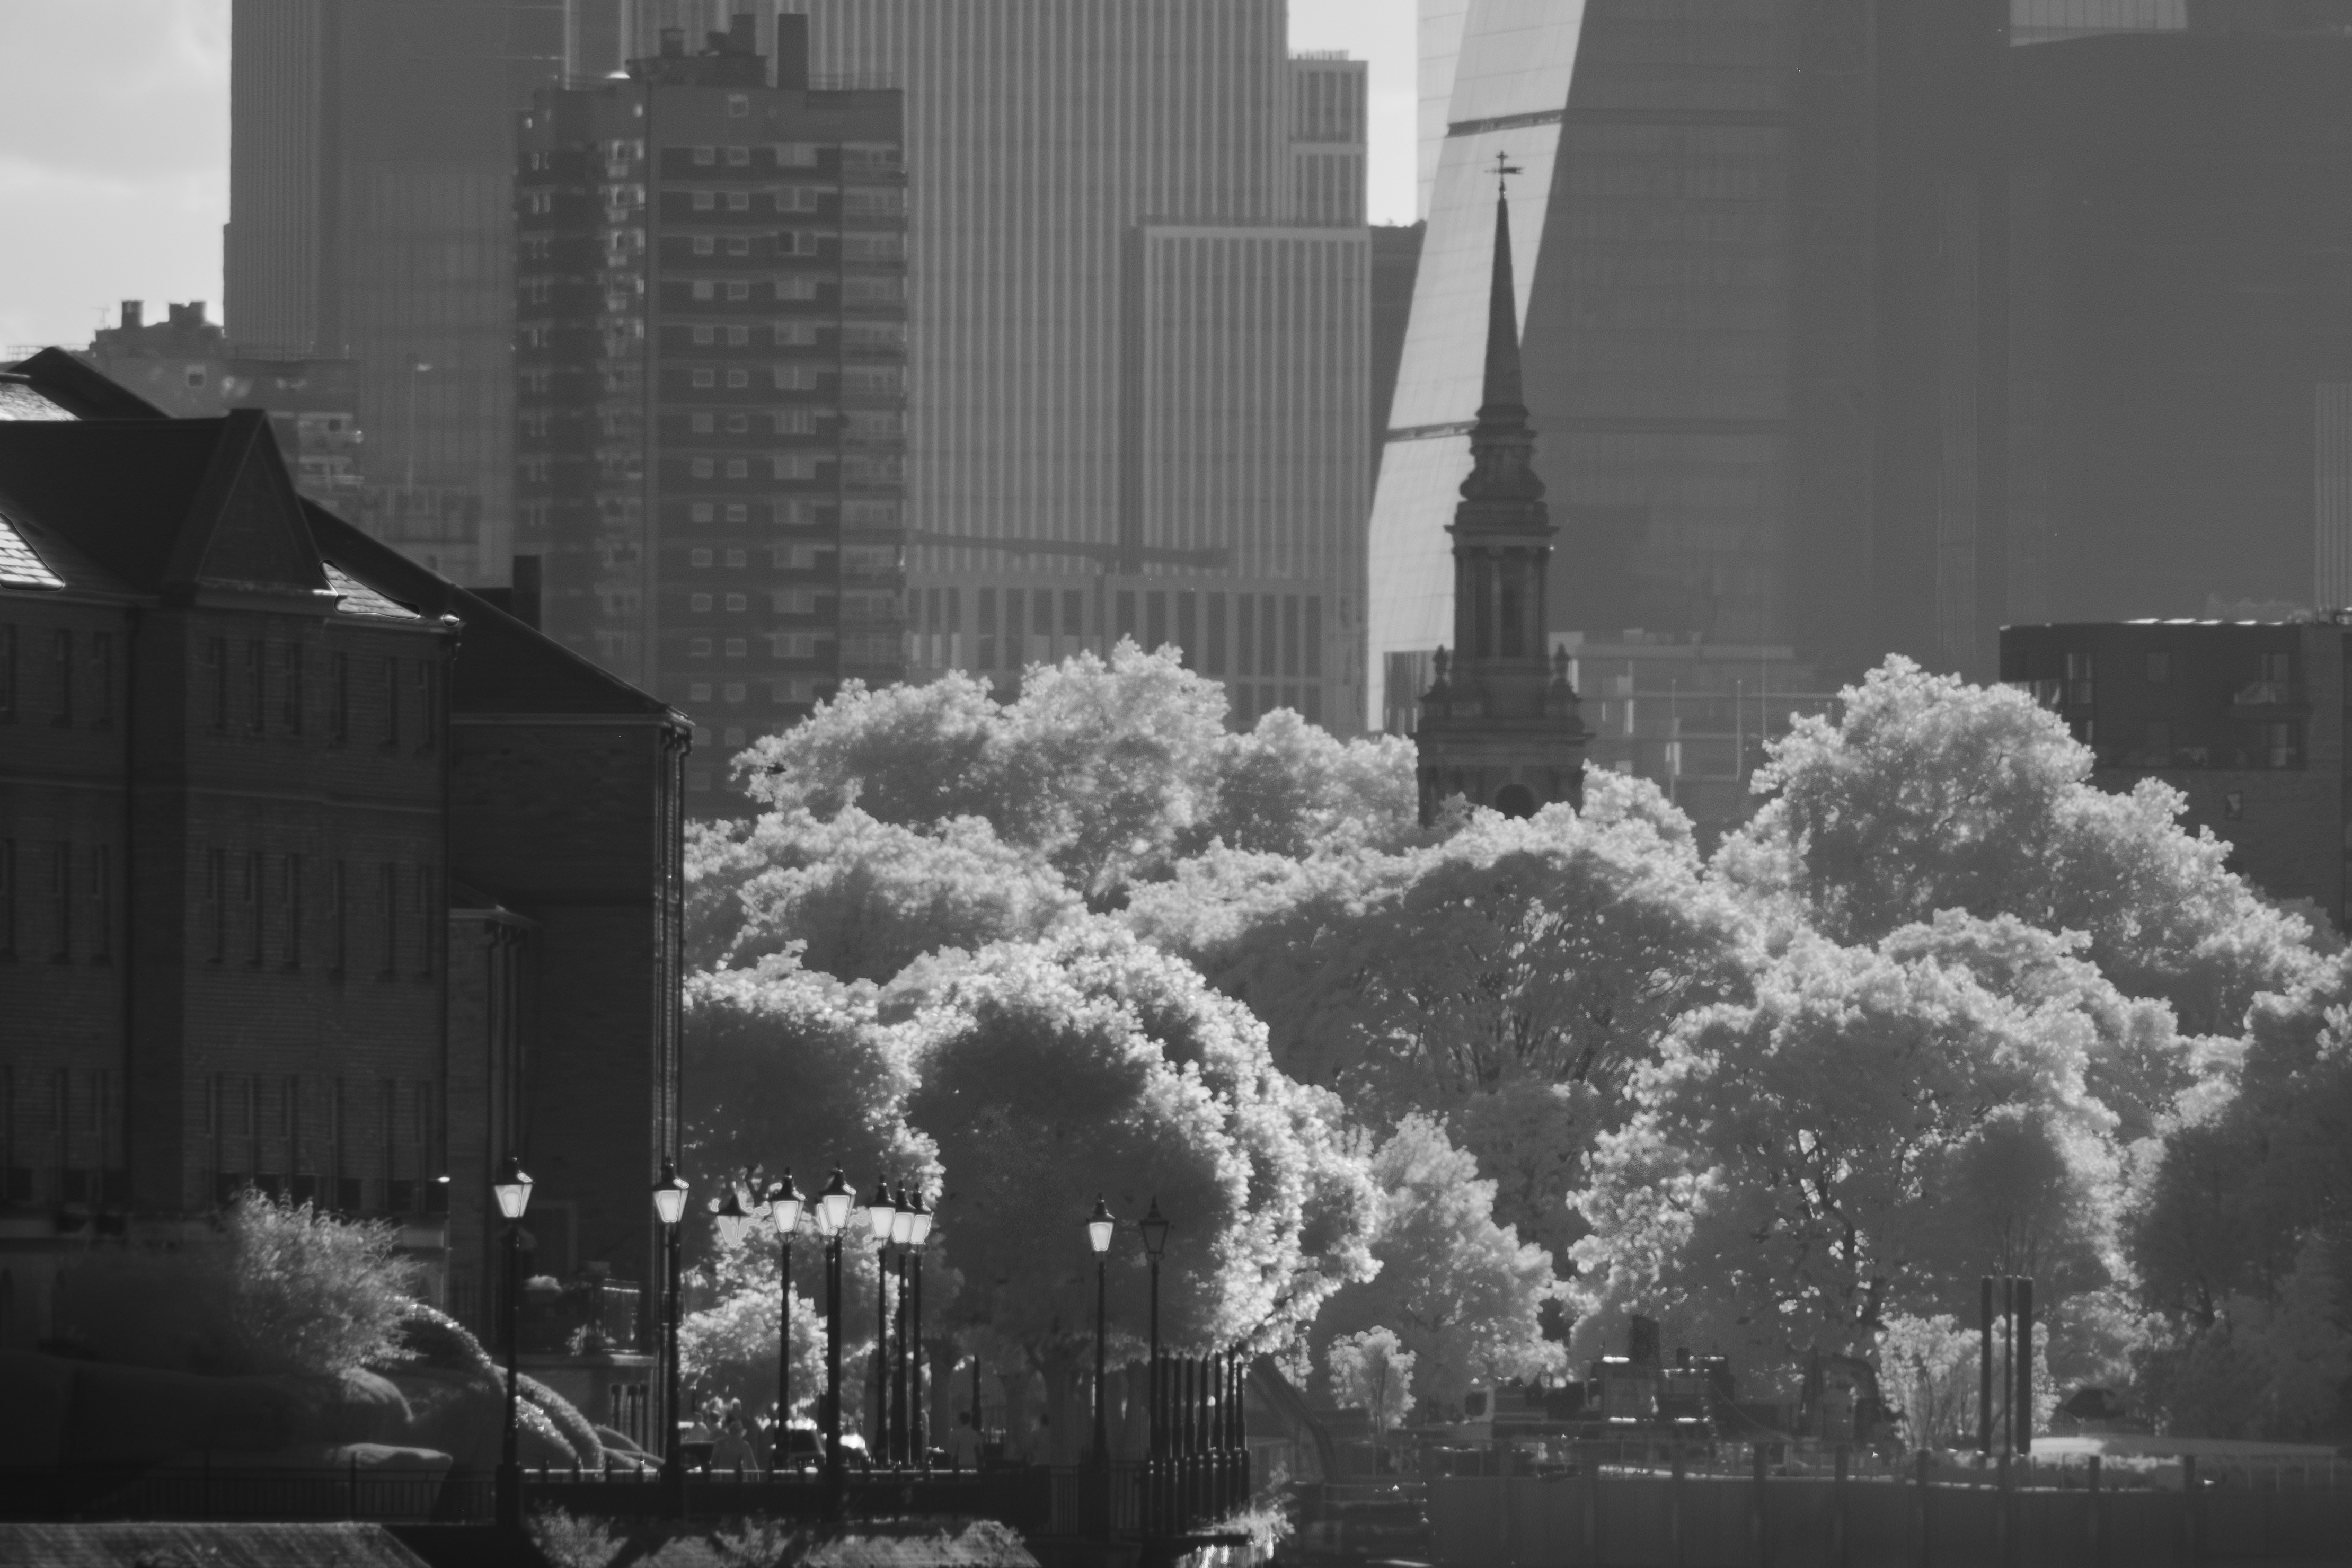
The other benefit of urban IR snapping is that it helps tease out the strangeness of places that are a bit too man-made. The classic combo is bright foliage next to dark windows or water, but some materials reflect infrared light in surprising ways – and that can help add a slightly sci-fi look, if that's what you're going for.
Another fun side quest is finding pops of vegetation to highlight certain parts of a cityscape. I still haven't found my perfect combo of light and skyline, but even a backlit scene can like the one below (not traditionally great for infrared) can benefit from its slightly dreamy feel.
I also saw the Wimbledon tennis championships as a good infrared challenge because I've never been particularly happy with the 'normal' shots I've taken there. It's hard to avoid falling into the strawberries-and-cream clichés, as it's such a bright and cheery place. But does Wimbledon have a dark side?
Okay, 'dark' is a bit strong, but for some players (as this year's women's final showed), the place probably feels pretty intimidating – and as a punter it feels like there are large sections of the grounds that are cordoned off for a special few. Infrared can even make anything look creepy with the right light, but it was fun to tease out a side of Wimbledon I hadn't previously captured.
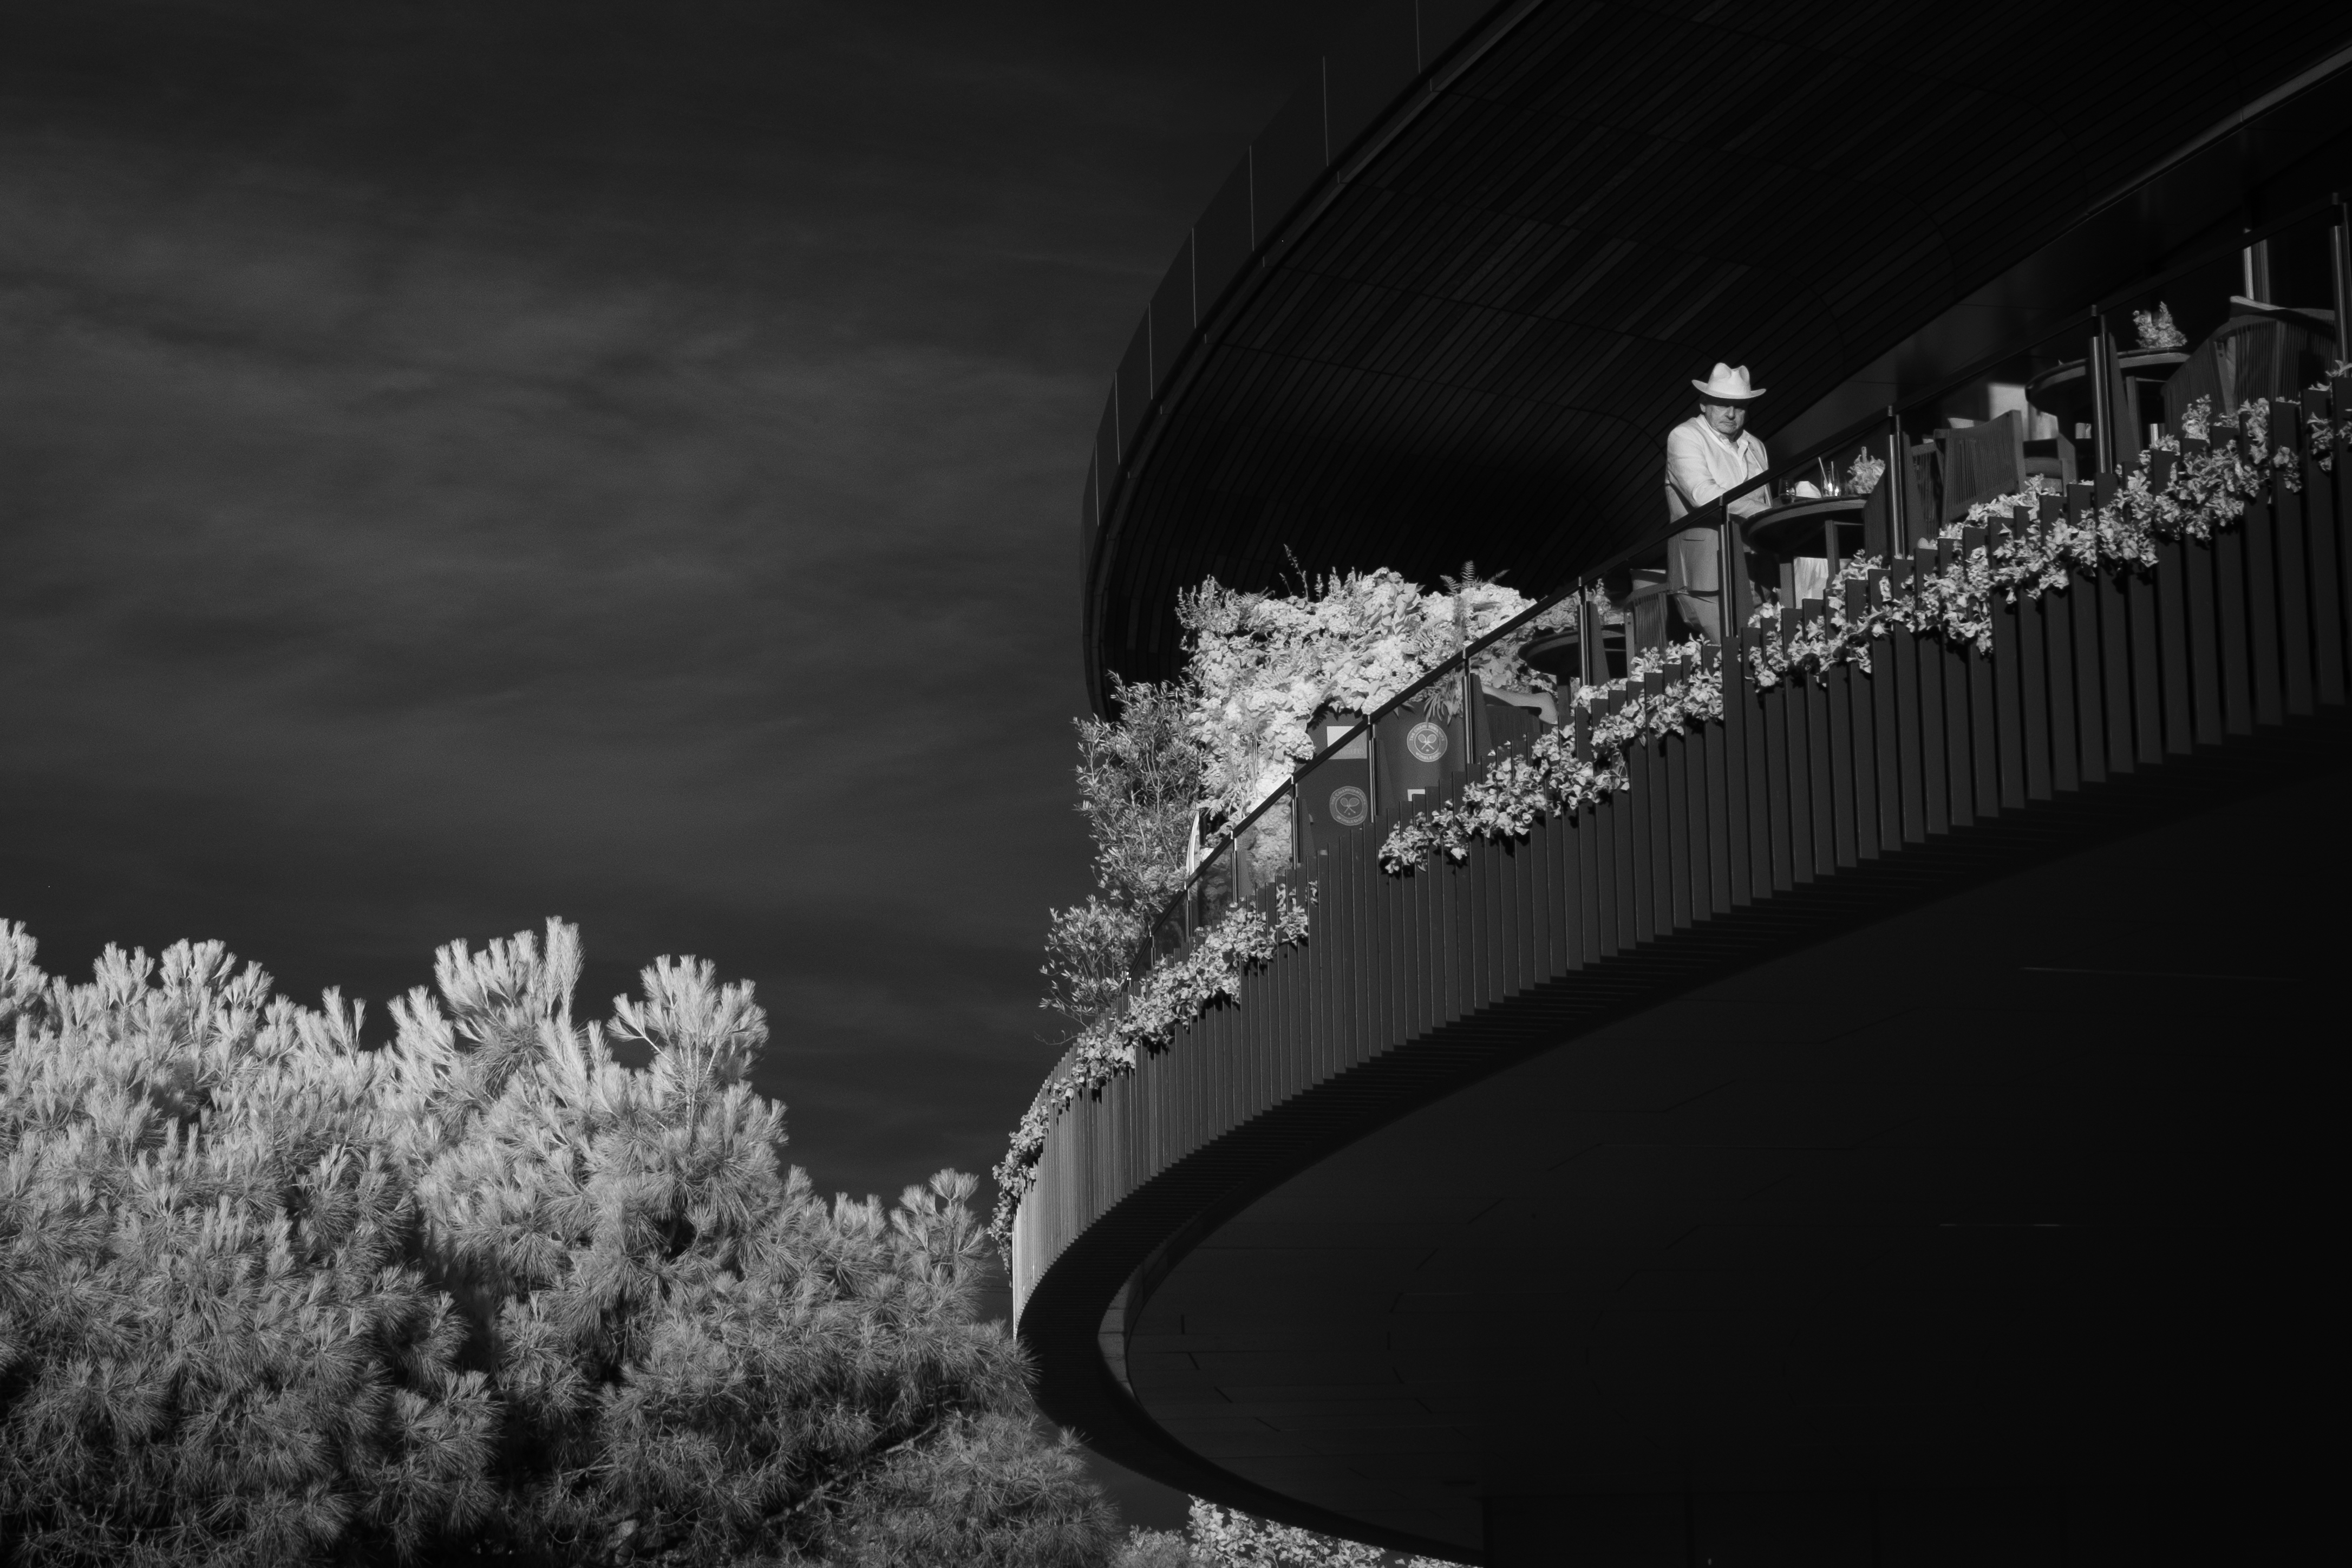
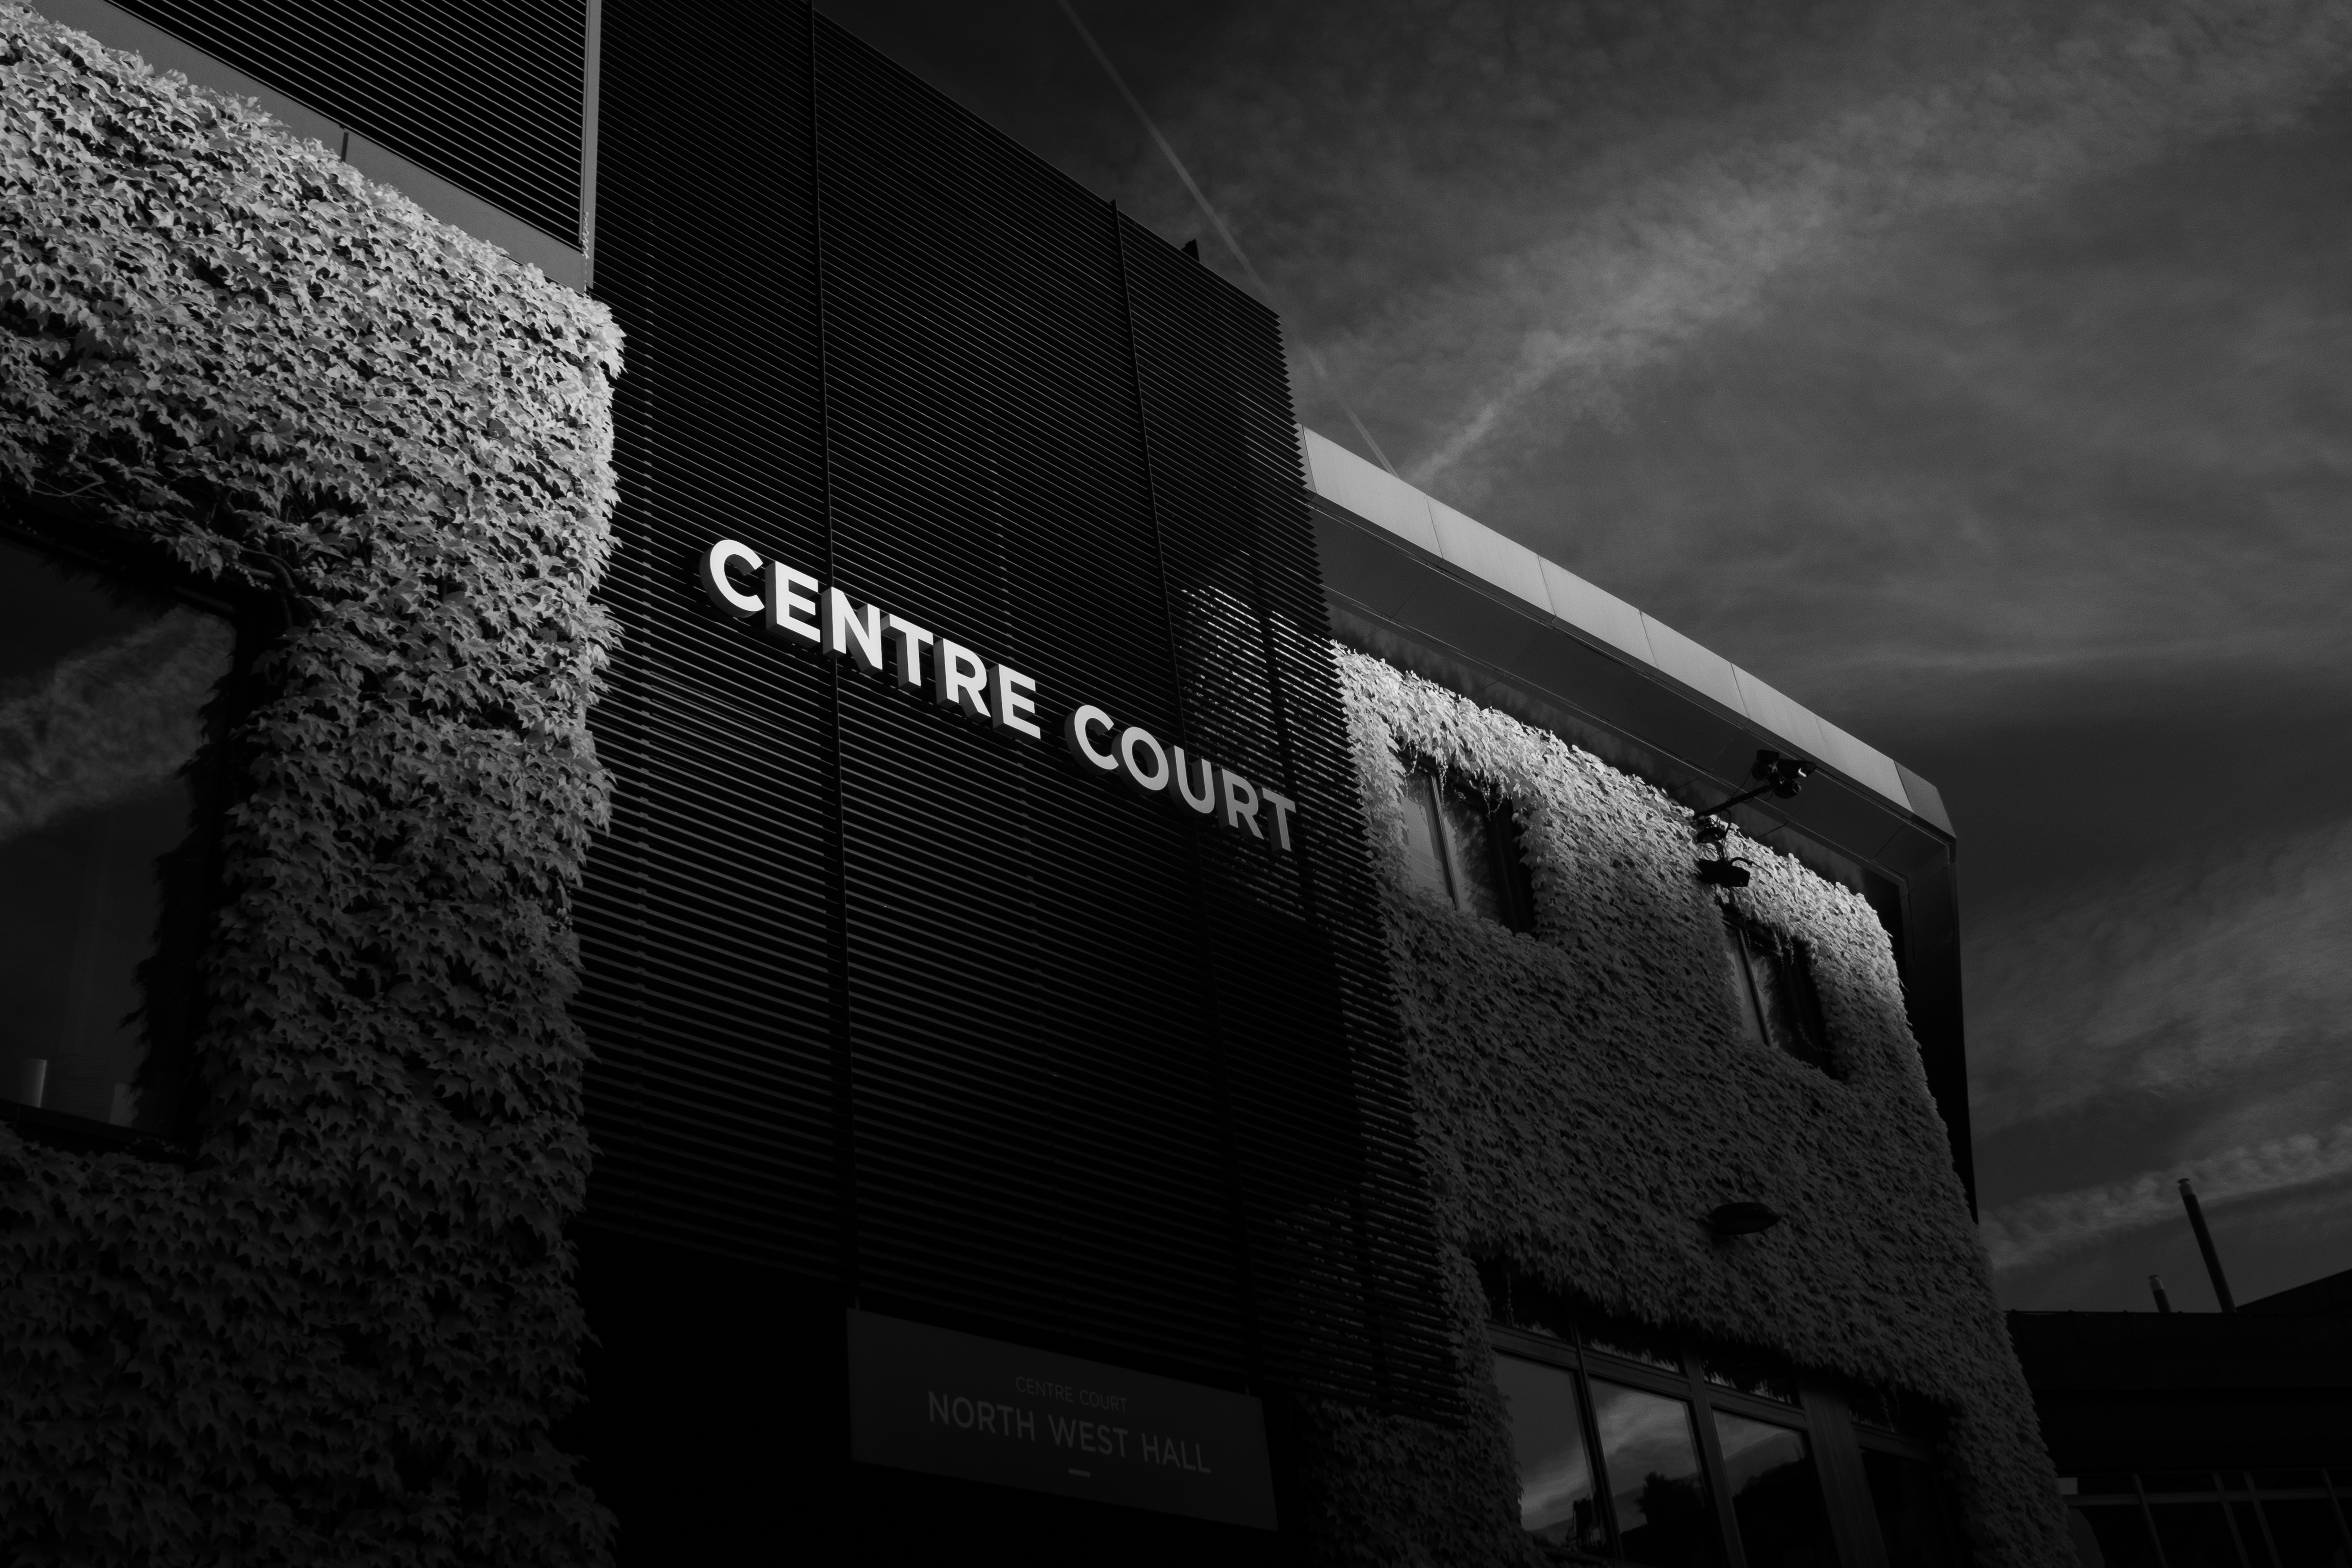
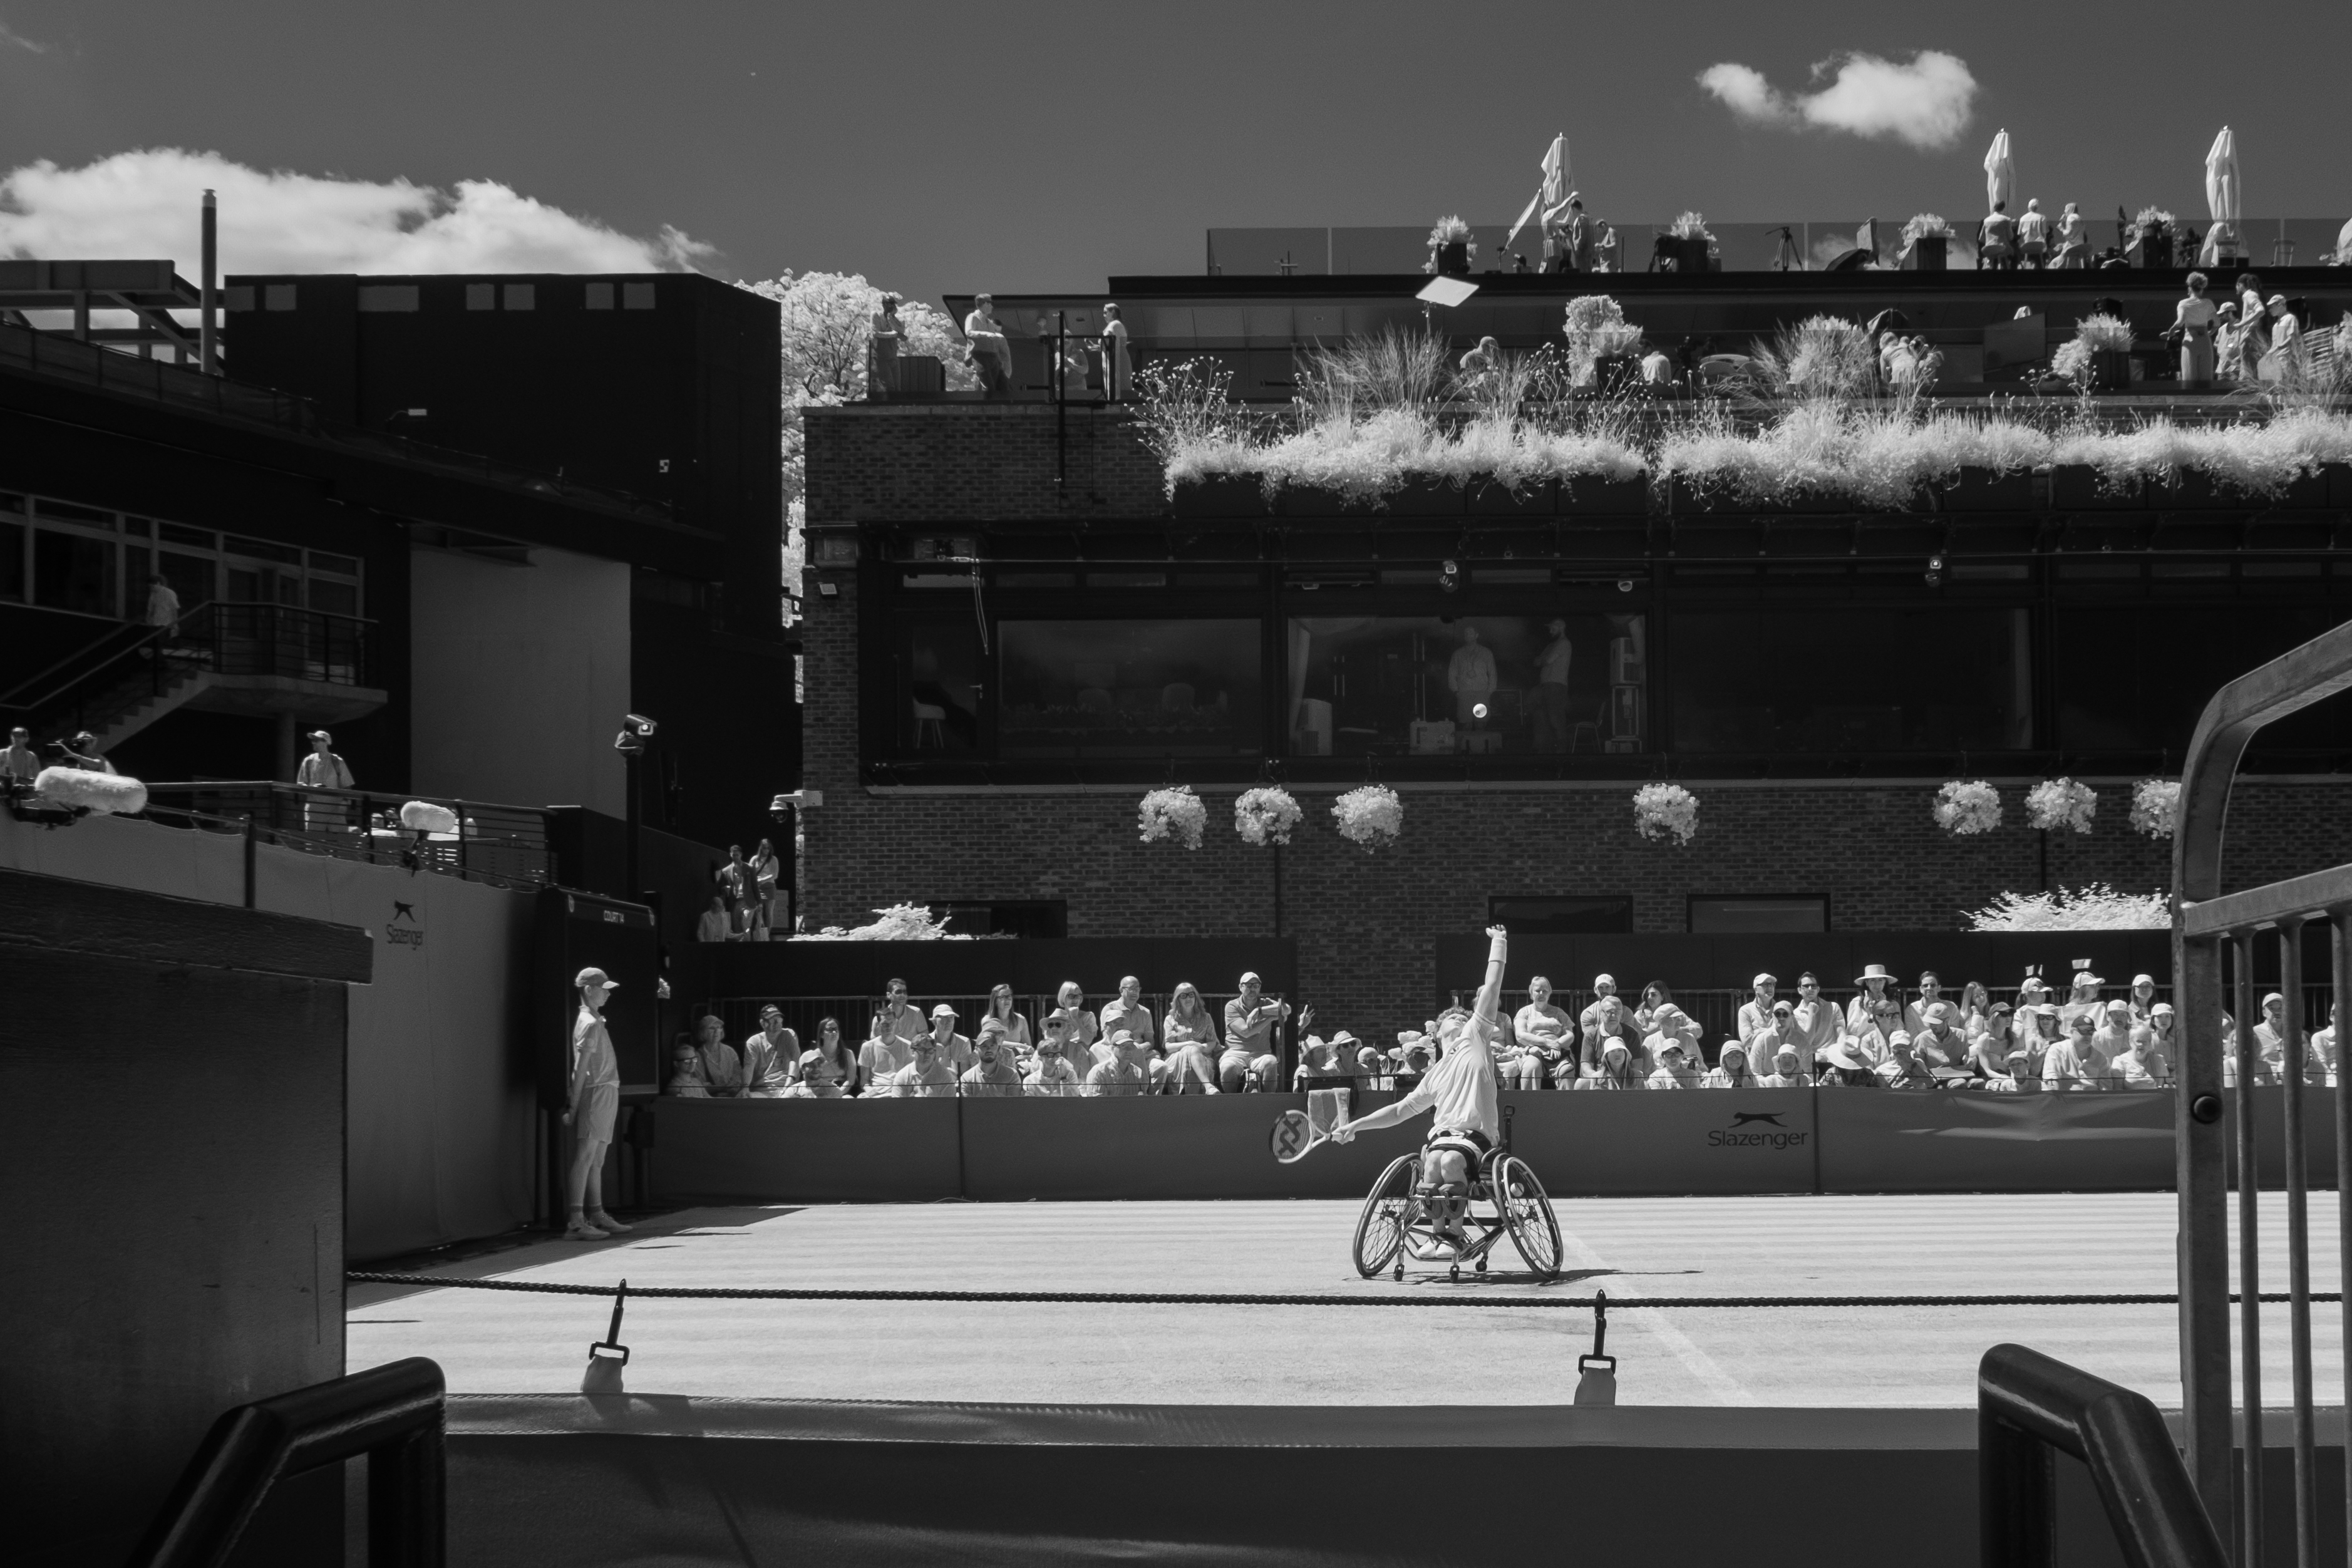
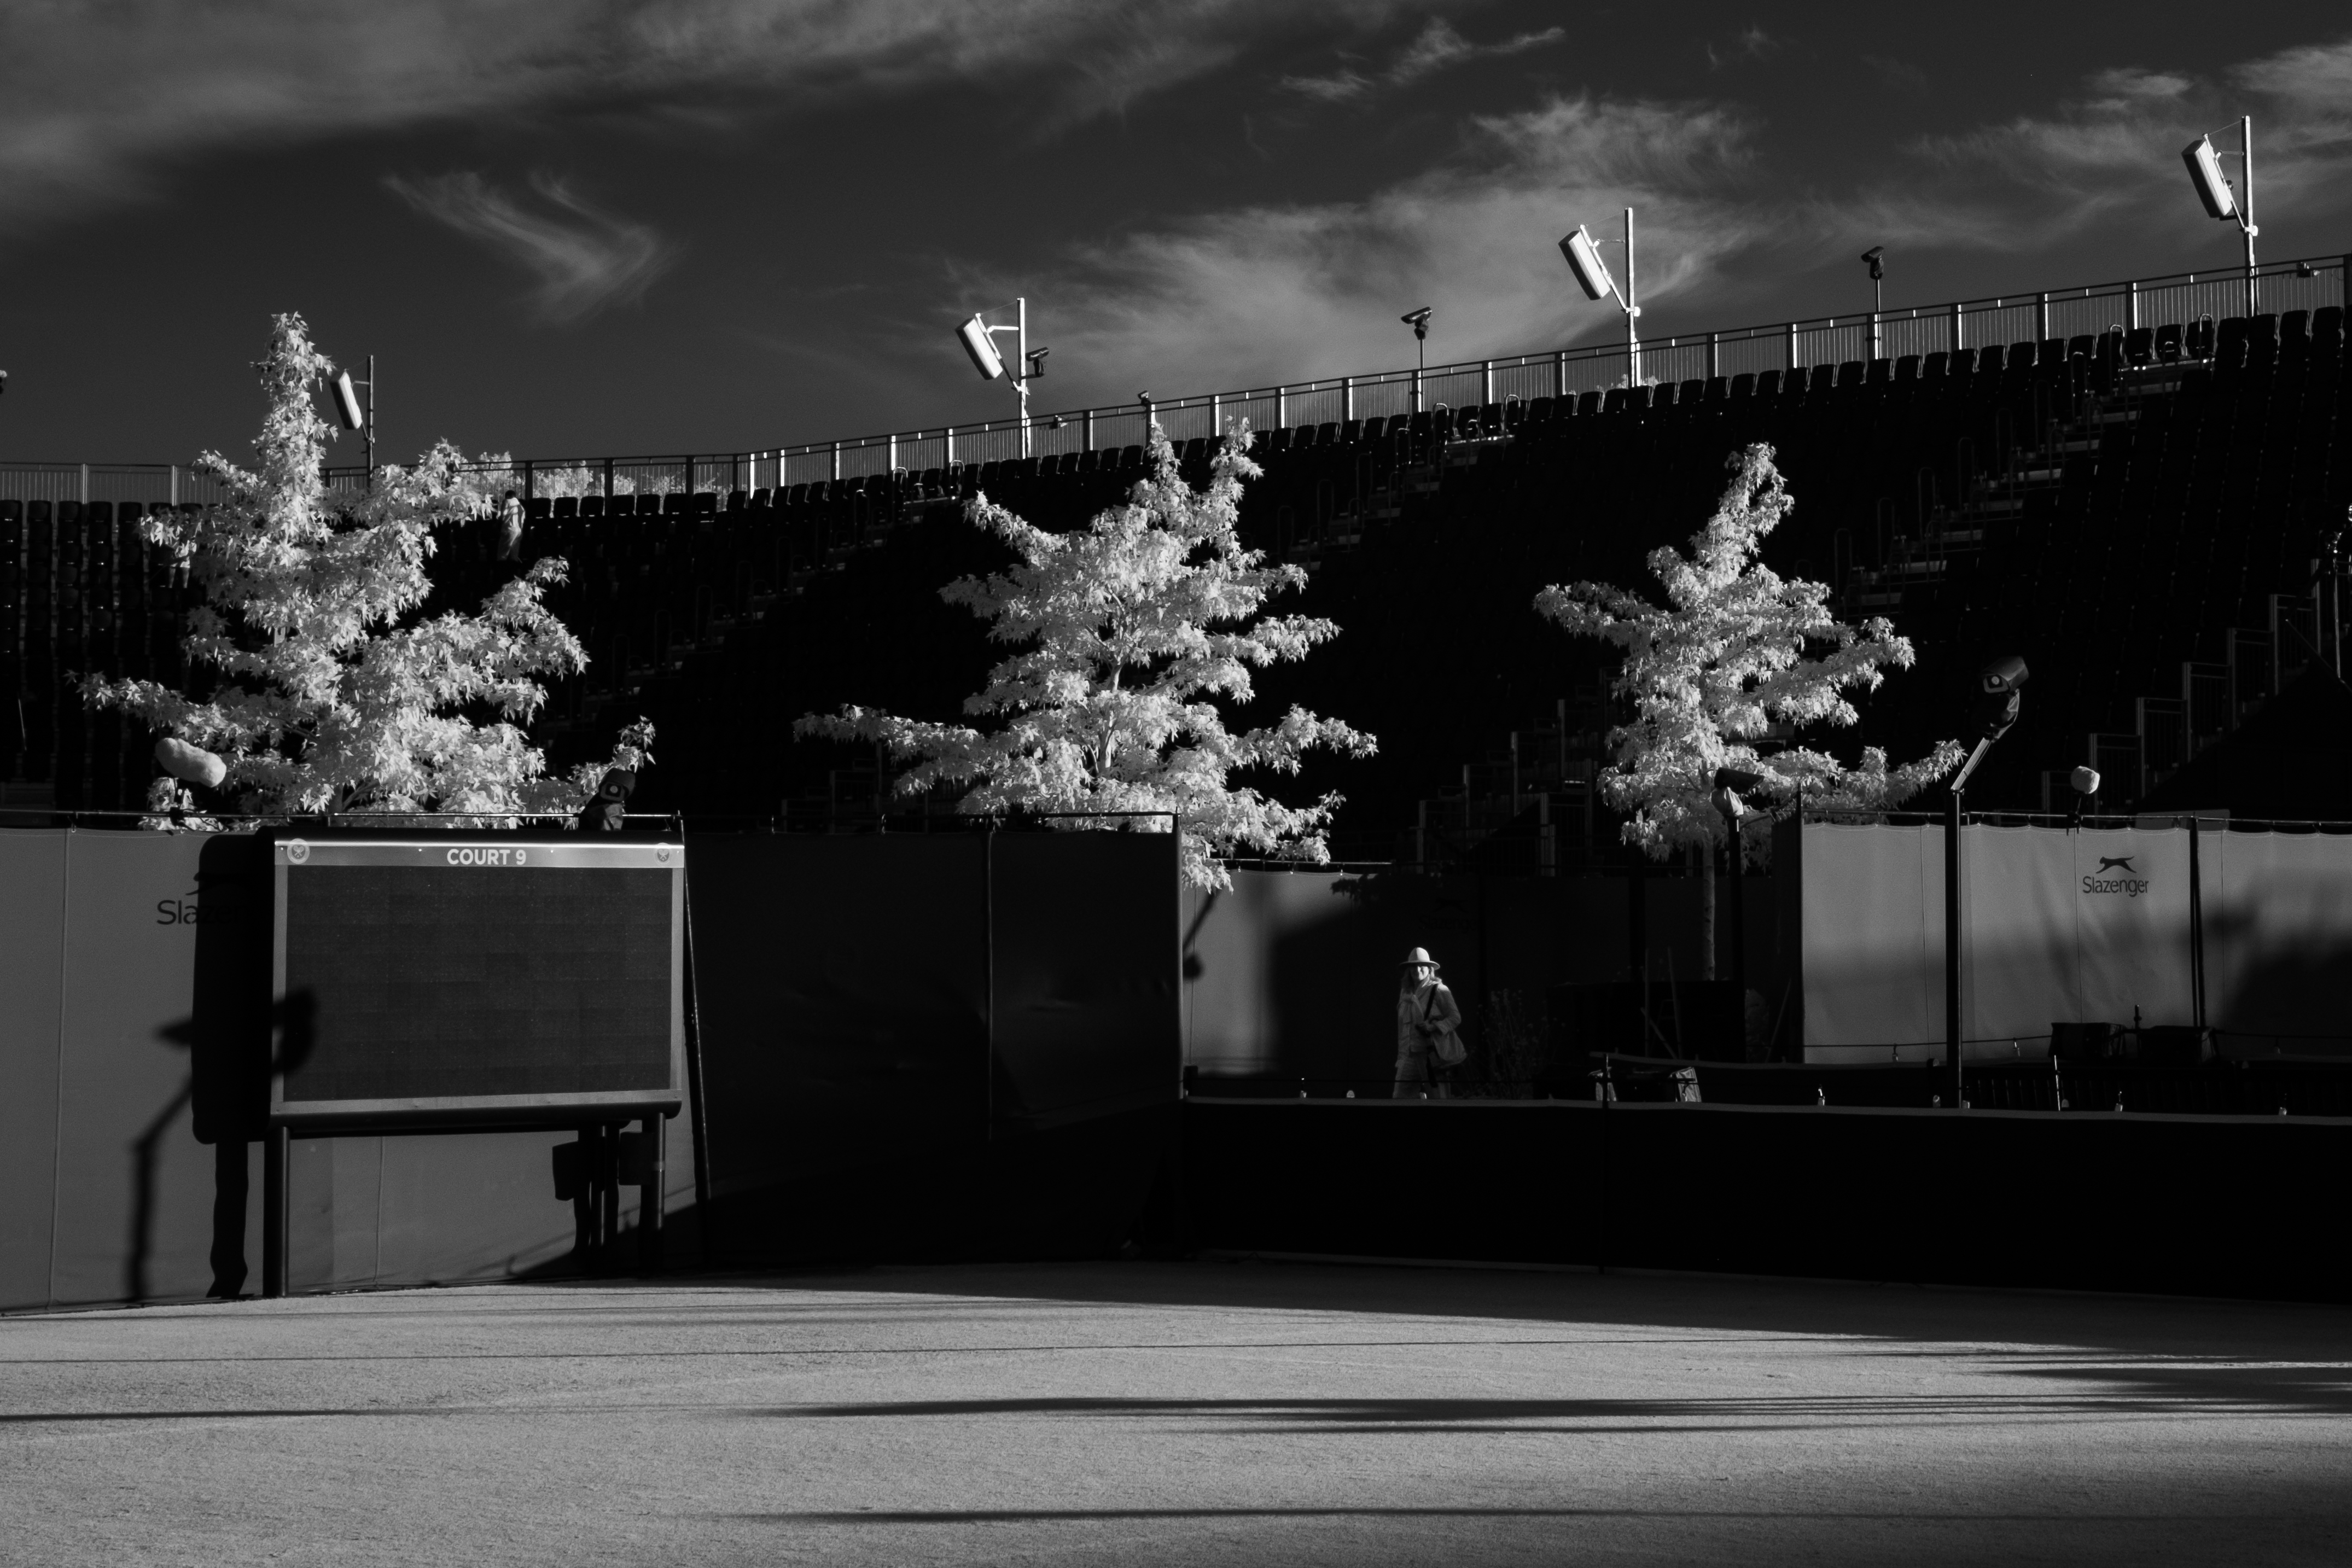
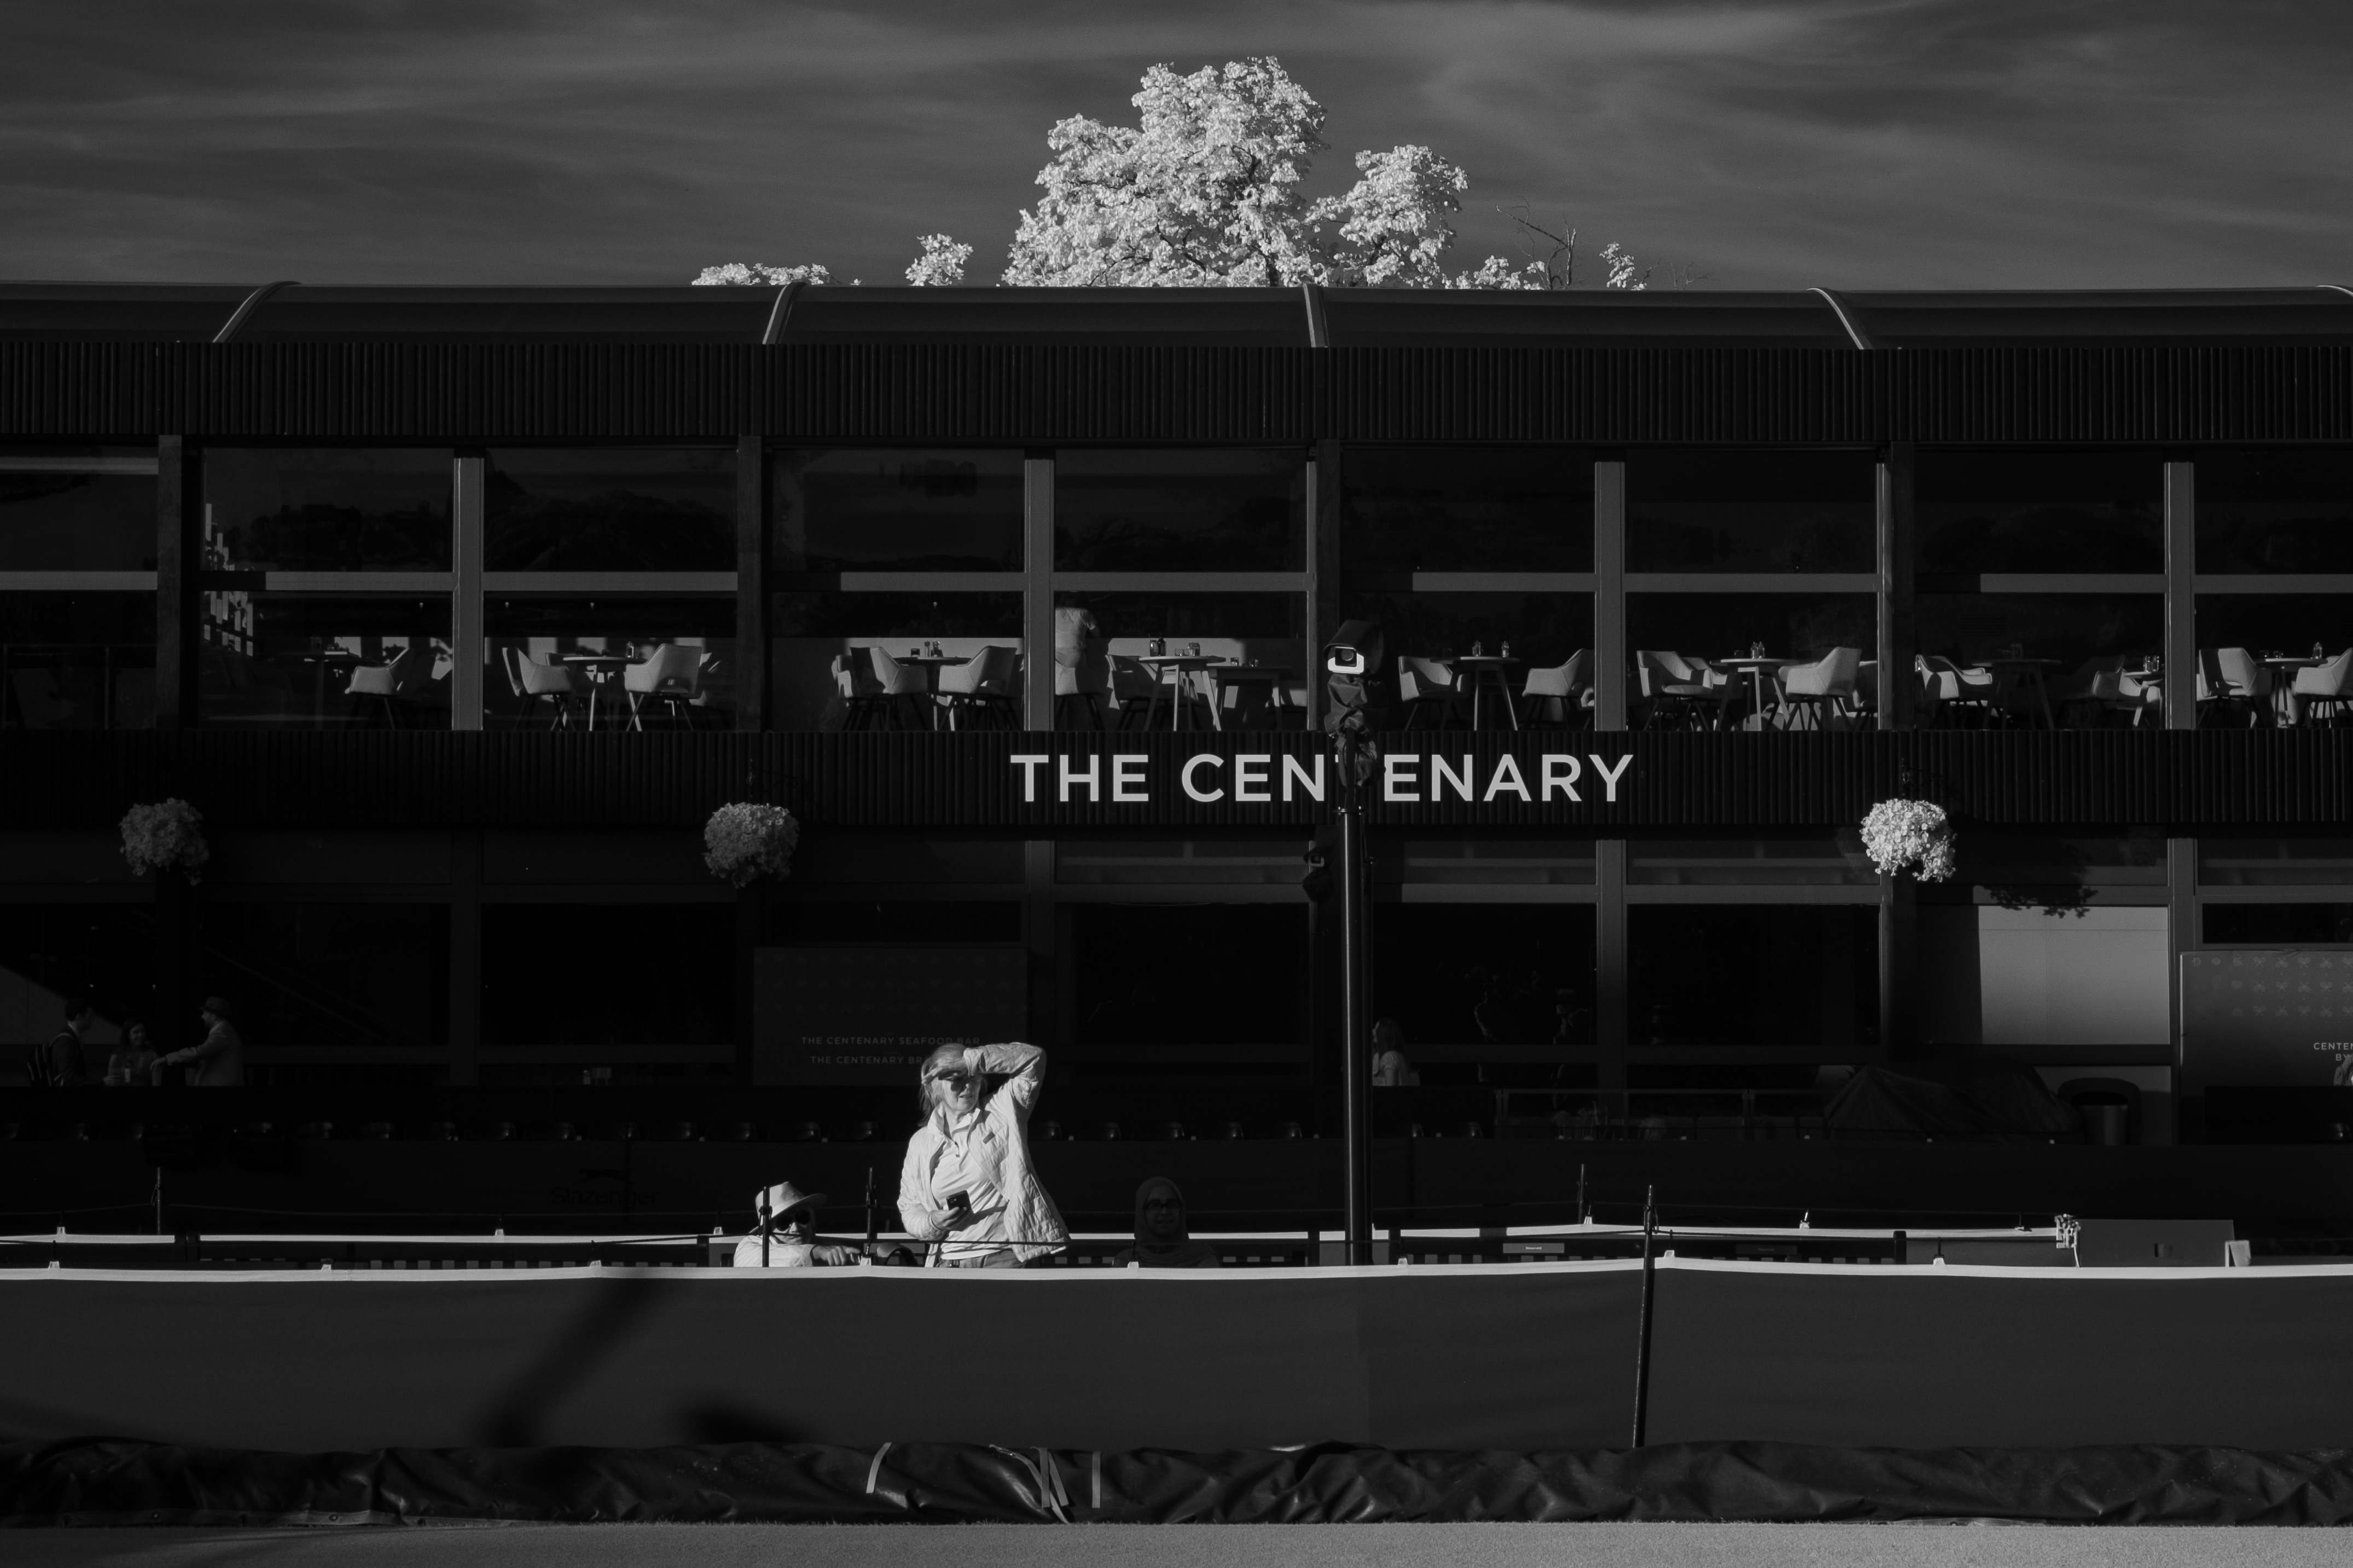
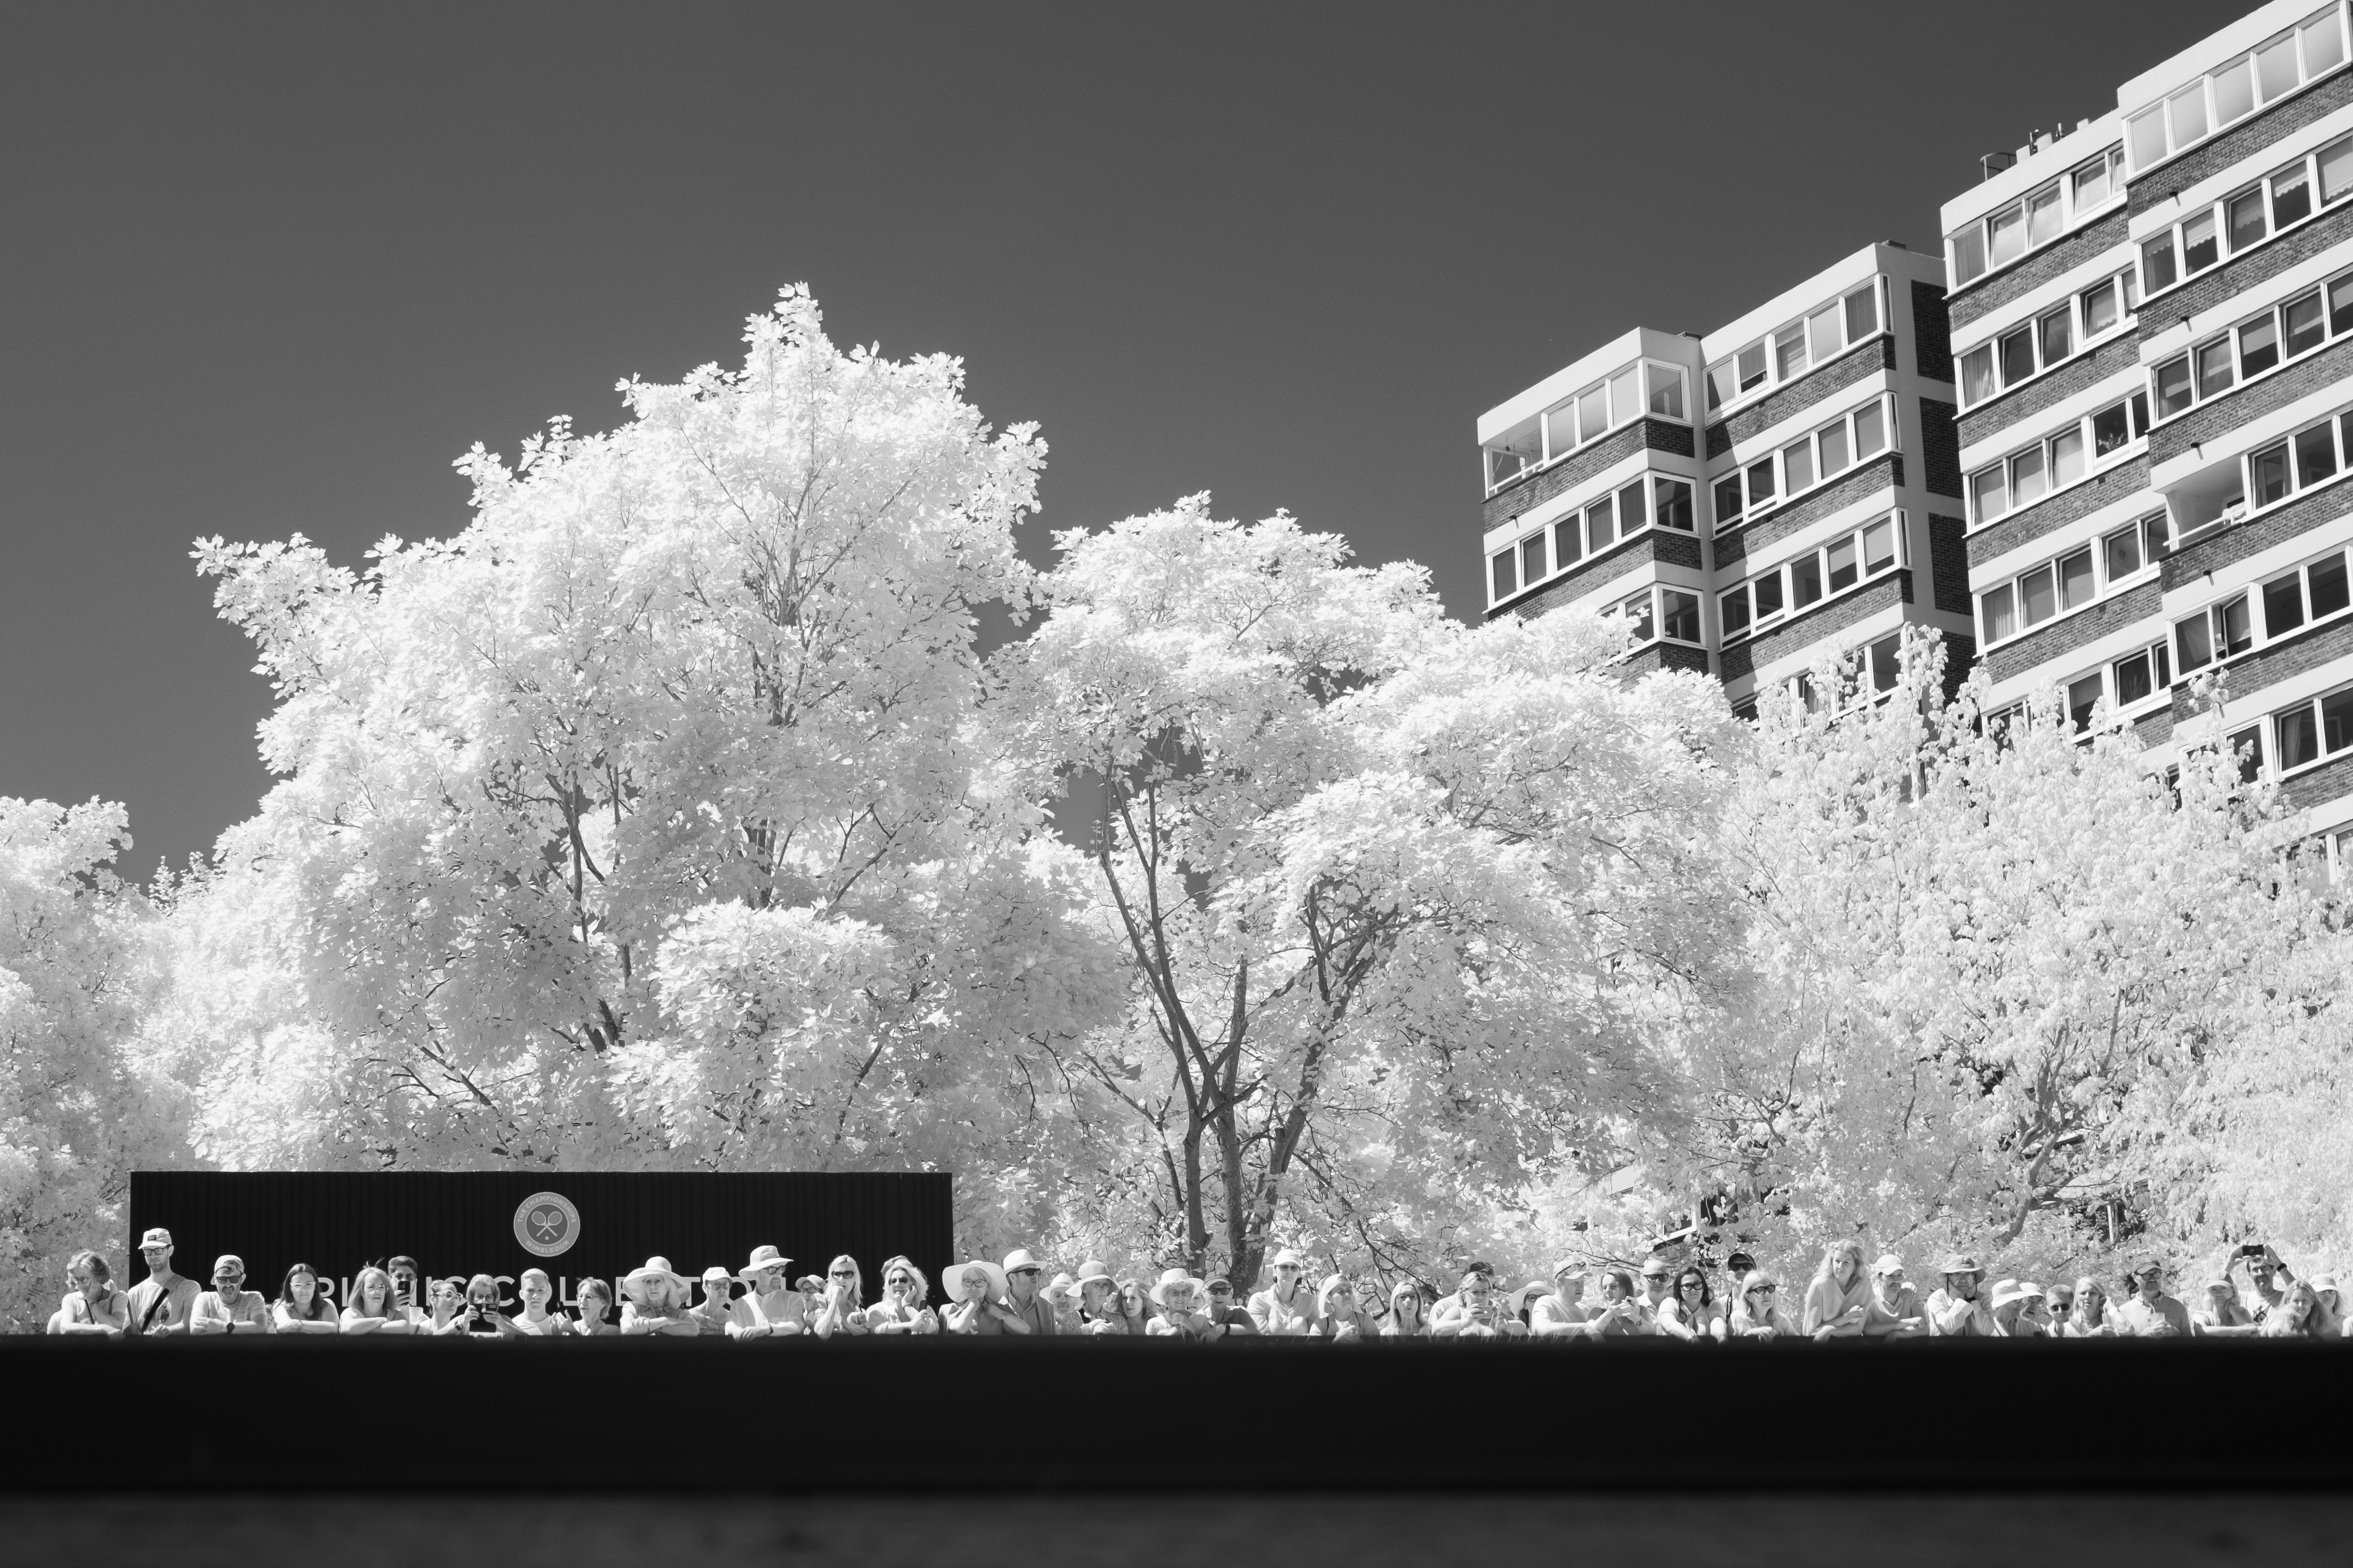
Unfortunately, I realized too late that the end of a day, when most people have stumbled out of Wimbledon in a champagne-induced daze, is ideal for infrared. You don't always have to shoot around midday – a low sun casting deep shadows also creates the contrast that's great for black-and-white, so I'll definitely return to make more of that.
Glass ceiling
I'm still learning the infrared ropes, but if you're looking to try it out there are a few important things I've learned over the past few months.
One is lenses. Not all lenses play nicely with IR-converted cameras, as the coatings, materials and glass can interact differently with infrared light – which can create the dreaded 'hot spots' (bright circles in the middle of your photos). I found Rob Shea's crowd-sourced guide to X-mount lenses to be a helpful starting point, and he also has guides for Canon and Nikon.

I also asked Fujifilm for some guidance. It told me that its internal tests found the XF18-135mm and XF50-140mm to be great performers among its zooms, while for primes the XF30mm macro, XF50mm f/1, XF35mm f/2 and XF50mm f/2 are all highly rated (and I can vouch for the latter two). Older lenses are often best it seems, as the newer XF33mm f/1.4 gave me bright hot spots.
What about editing? The benefit of shooting black-and-white infrared photos is that this is a whole lot simpler than color. My converted Fujifilm camera came with a custom white balance already set, so I just shot in Fuji's monochrome film simulation to give me an idea of the final shot. Because you're often out in the middle of the day, it's very much a fun, point-and-shoot experience – just what I was looking for.

I then just used Lightroom Classic to edit the raw files, though any of the best photo editors will do. Those raw files will look a muddy brown to start with, so it's then just a case of applying a profile to bring out the infrared goodness. I found Adobe's built-in B&W ones (go to Profile > Browse) generally did the trick, with B&W 01-04 usually being a good starting point.
One thing I have struggled with is pushing my edits harder towards infrared's natural sense of drama. I usually go for natural, subtle edits, but infrared raw files are crying out for a strong blast of contrast with deep blacks and bright highlights. If you're too careful, shots can end up with a flat, 'grey soup' look, so that's something I'm looking to improve. I'd also like to embrace infrared's abstract potential a lot more.
What is infrared good for?
After a few months with my IR-converted X-T3, and many mistakes, I've started to get a taste for what works best with infrared photography.
One lesson is that simplicity is everything. Choosing an uncluttered scene with a strong anchor is a good idea for all types of photography, but it's essential for infrared photos – otherwise that glowing scene that looked great in your viewfinder will look like post-snow slush.
I also found that thinking about depth is even more important than usual. Again, using leading lines and layers is nothing new, but many shots that would have typically worked in standard color just fell flat in infrared.
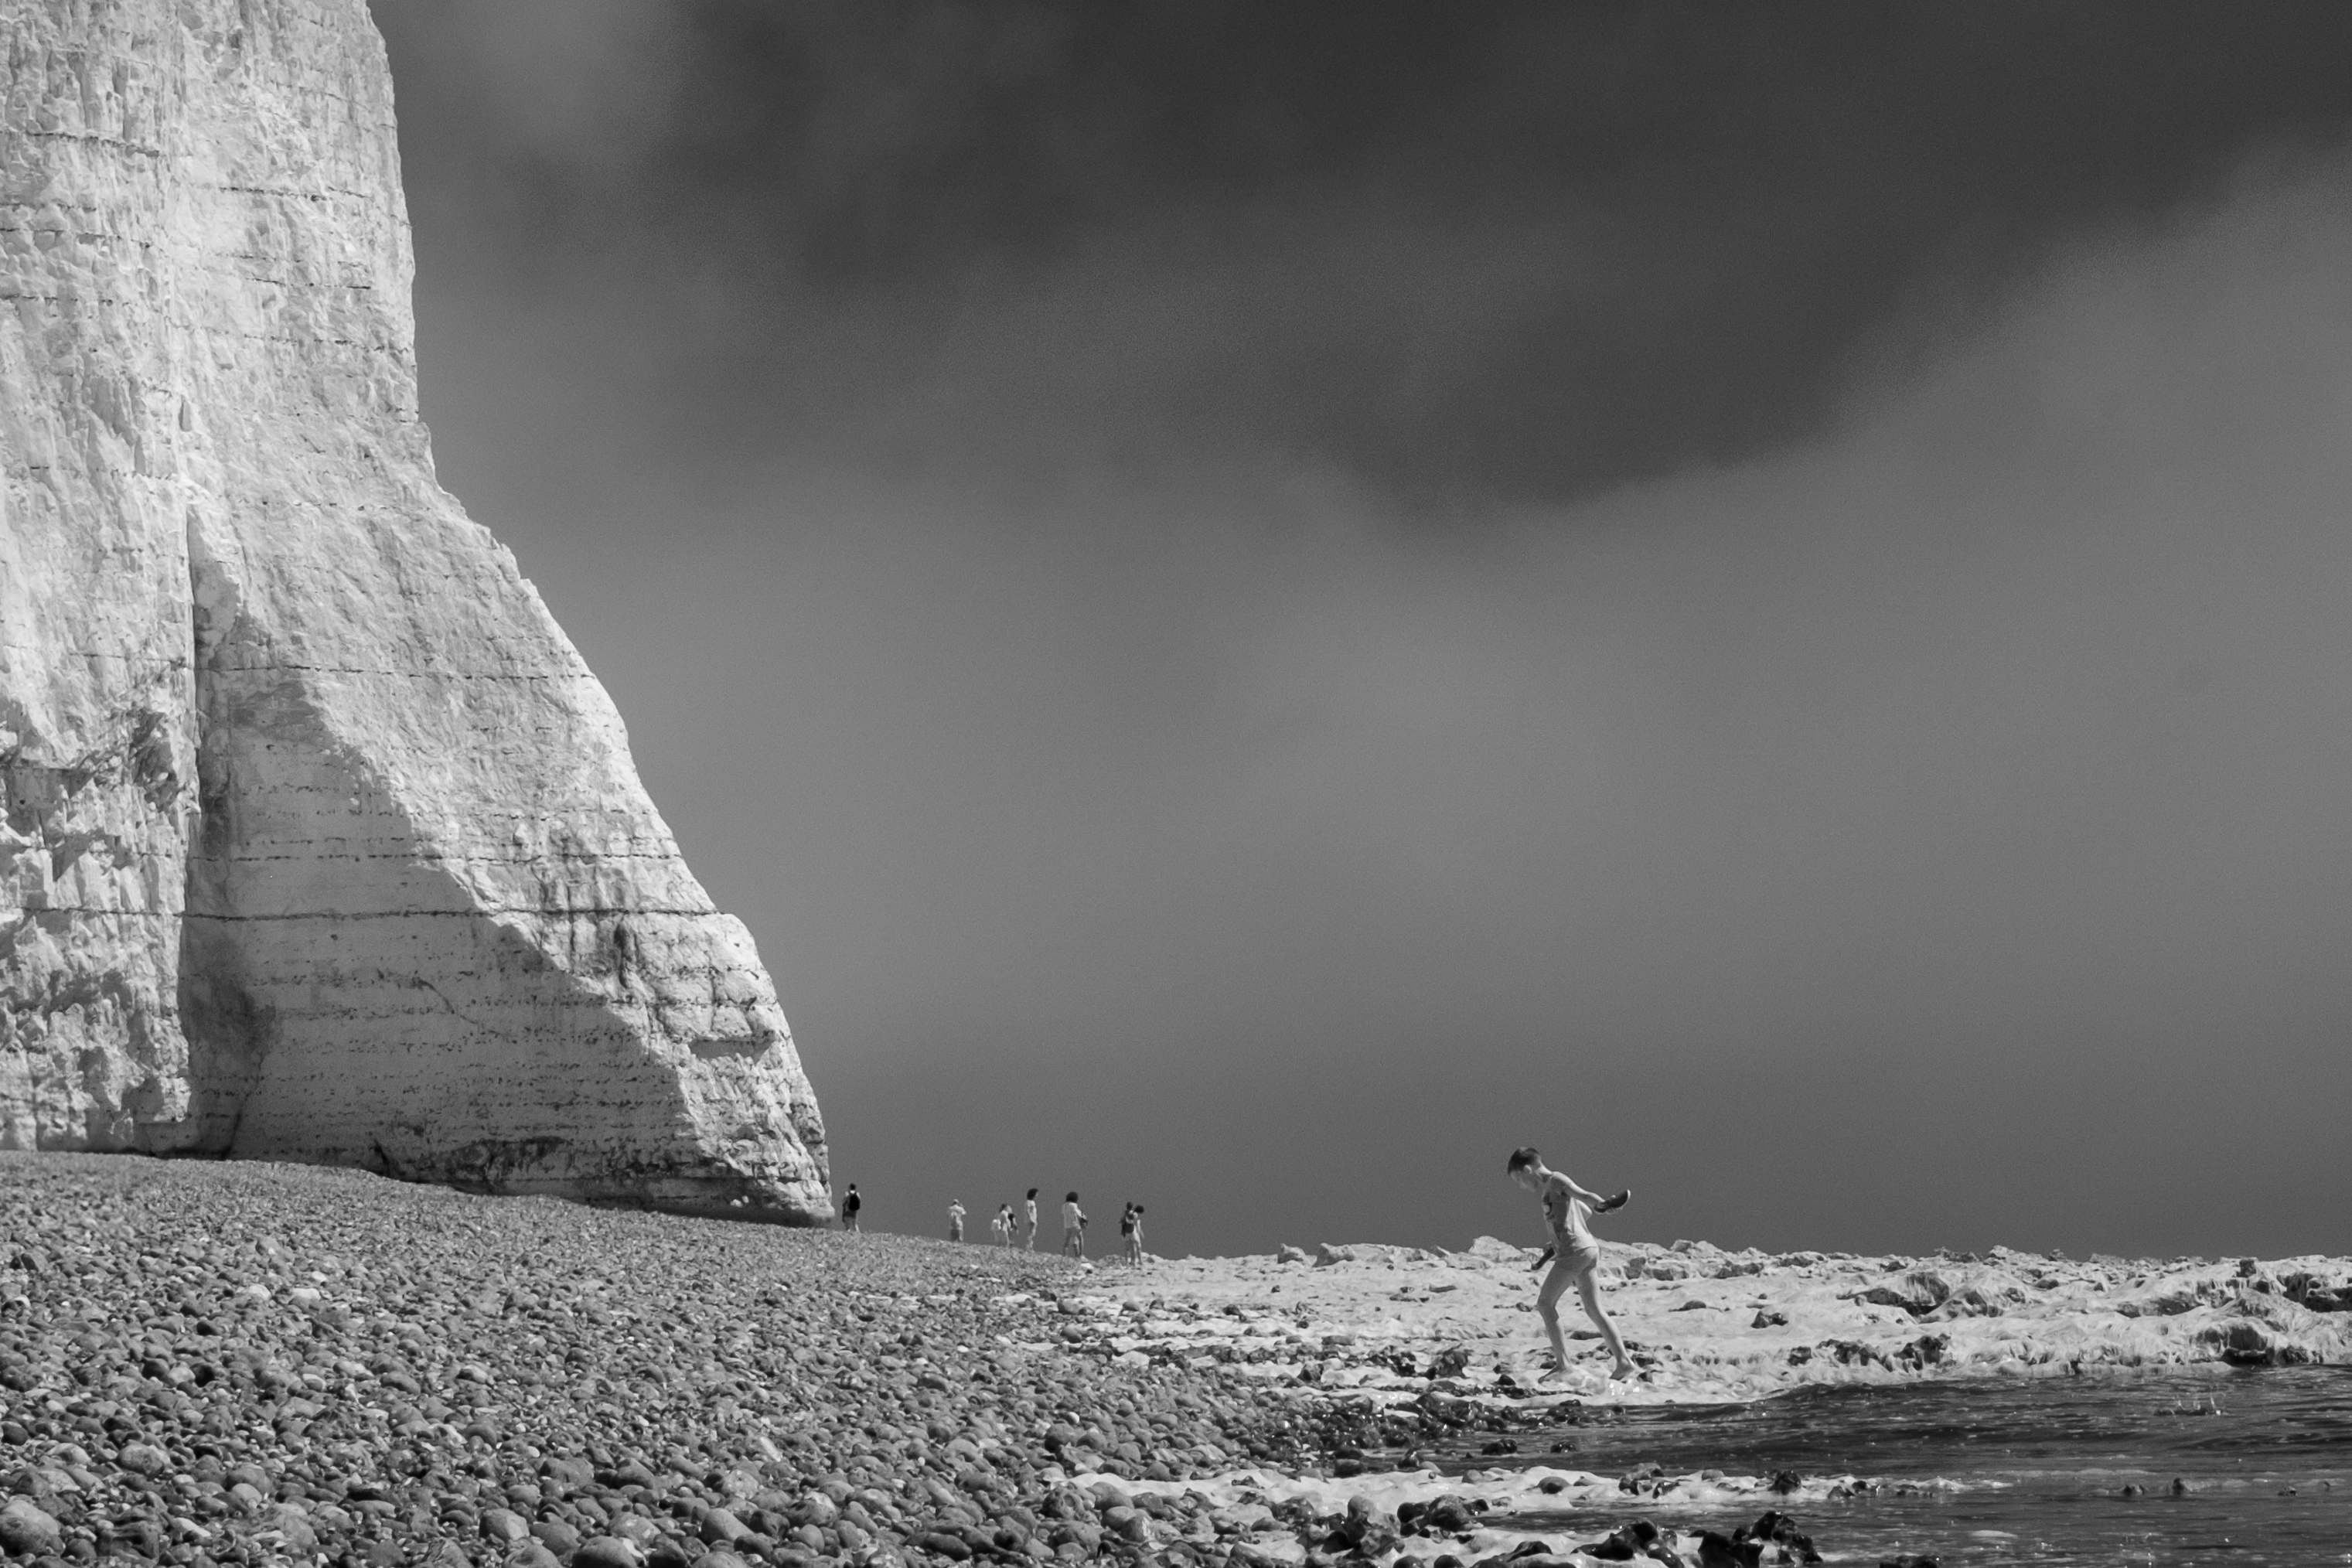
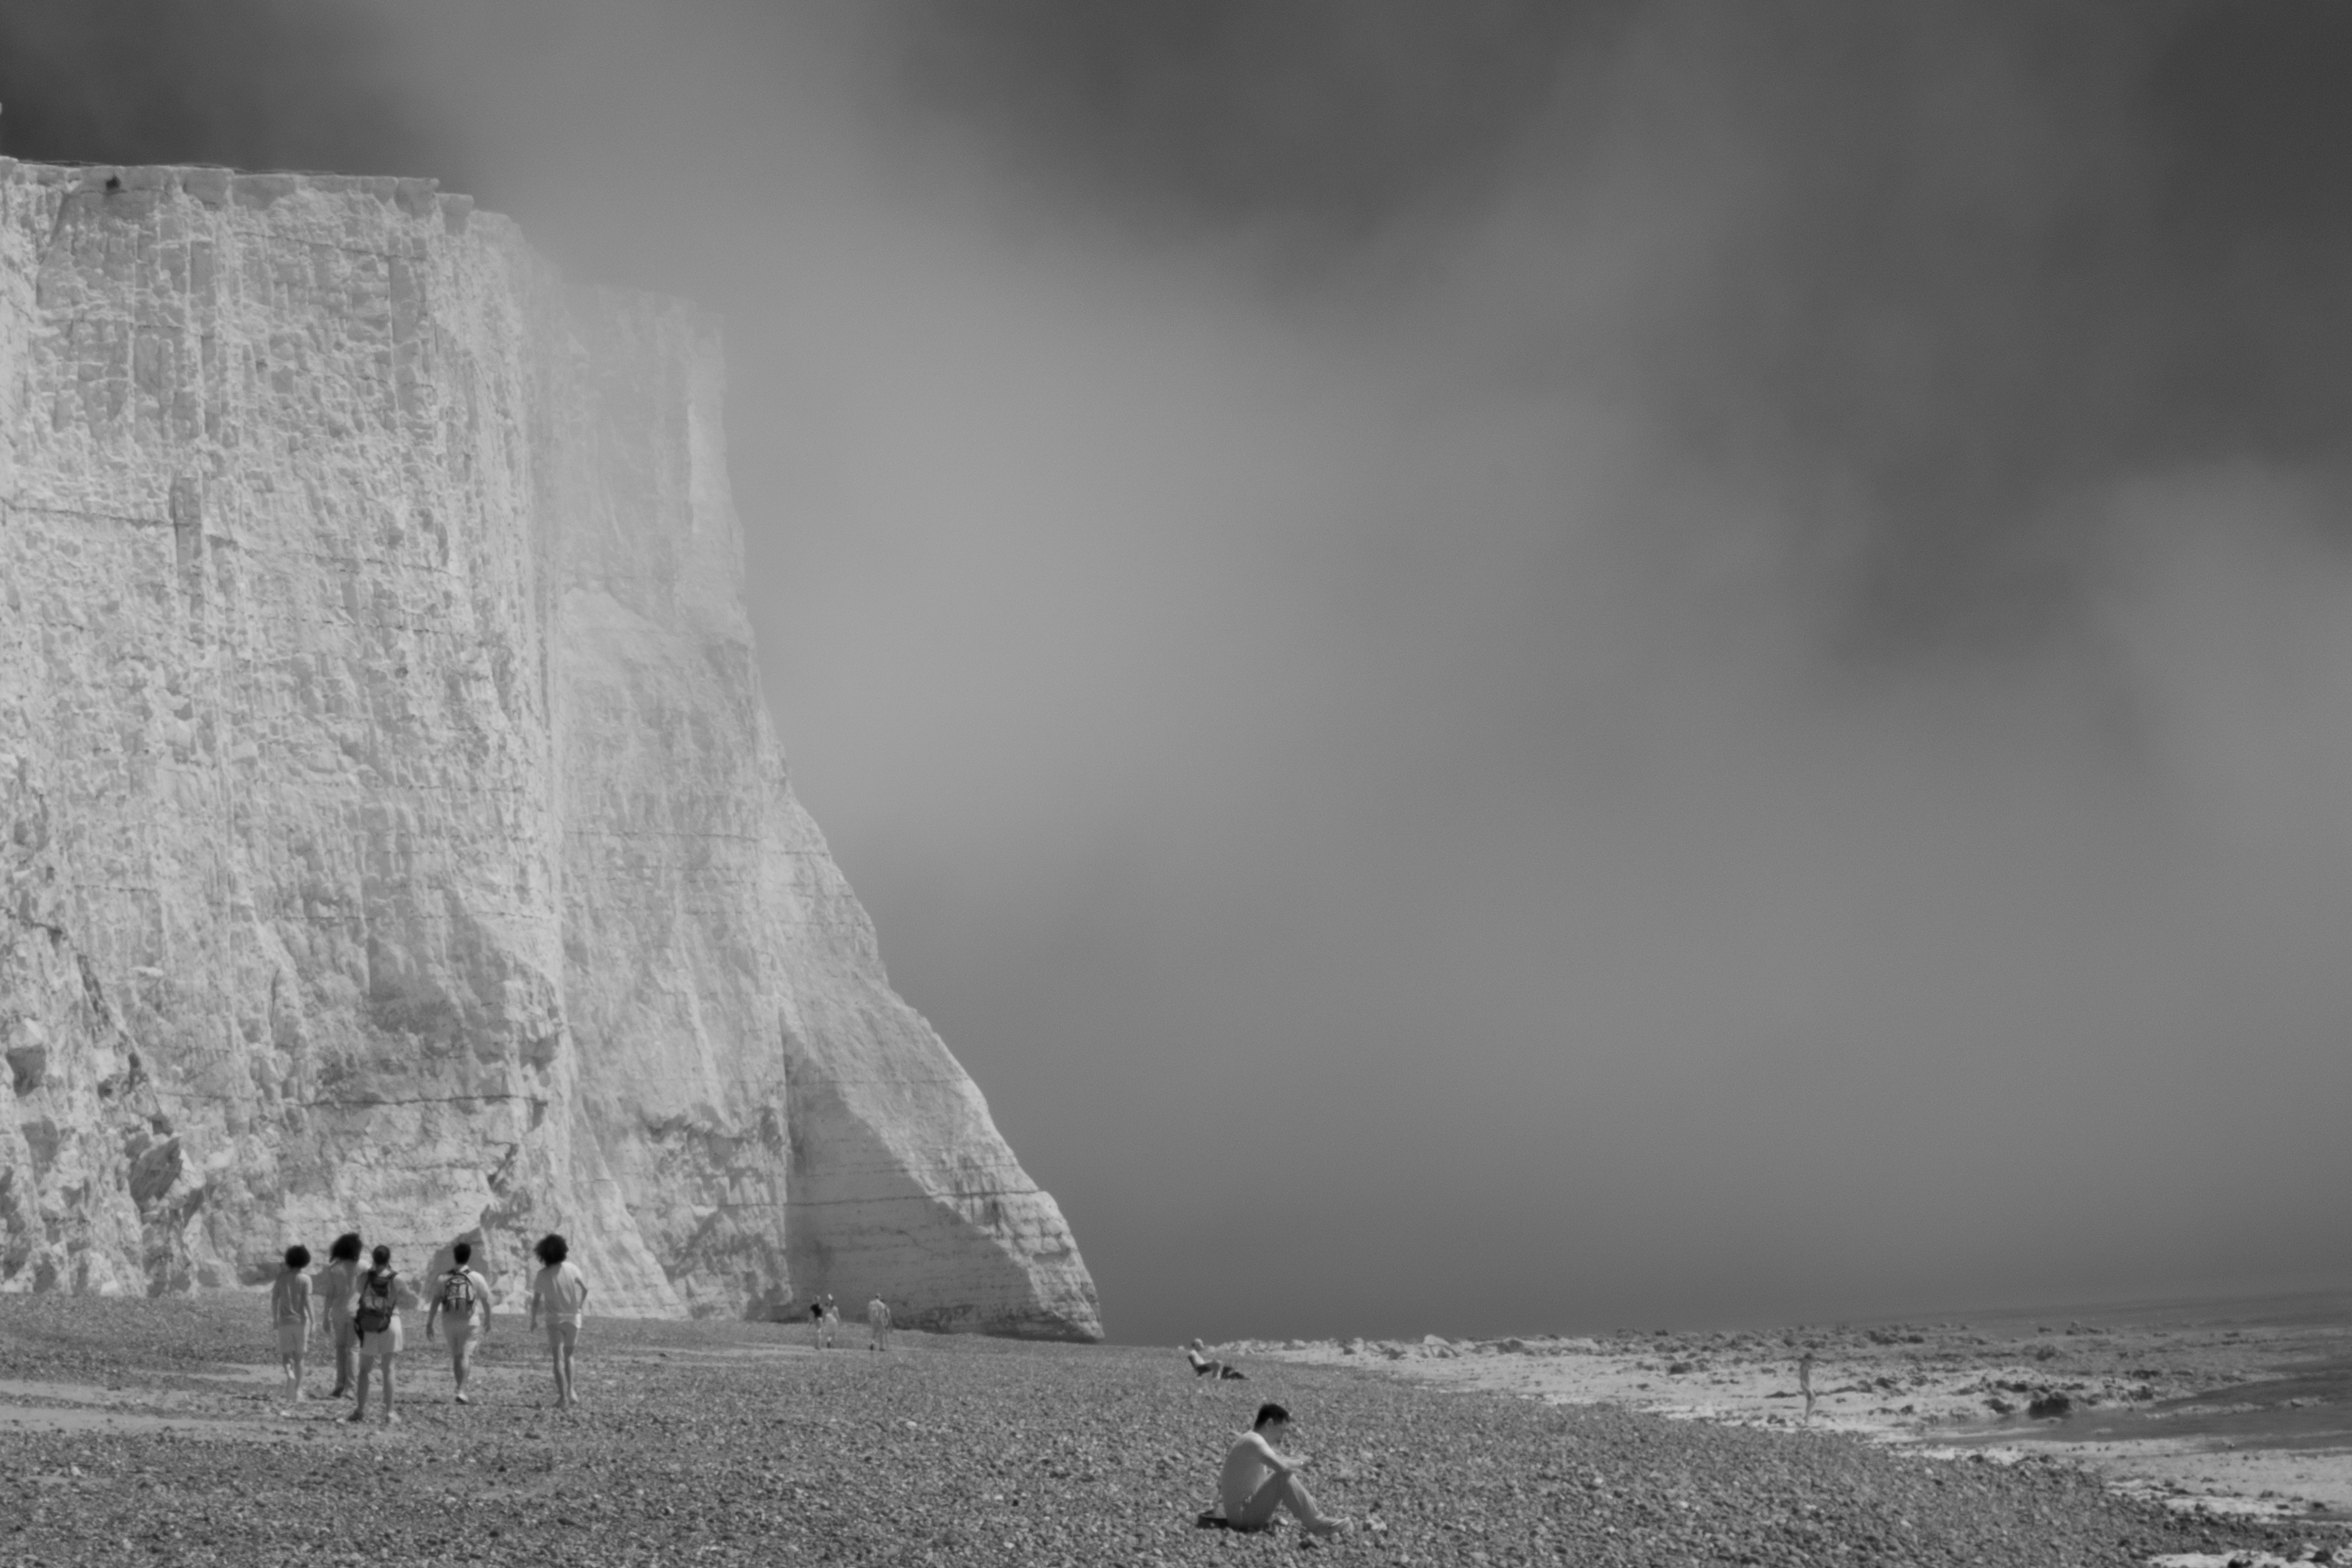
Infrared is also at its most fun when it amplifies a subject or feeling that's already in a scene, rather than just flicking on the 'surreal' switch for the sake of it. In my never-ending quest for scenes that work, I took a trip to the Seven Sisters cliffs on England’s south coast. It ticks a lot of boxes – bright, white cliffs next to a black sea – and while definitely a photographic cliché, was a fun place to shoot.
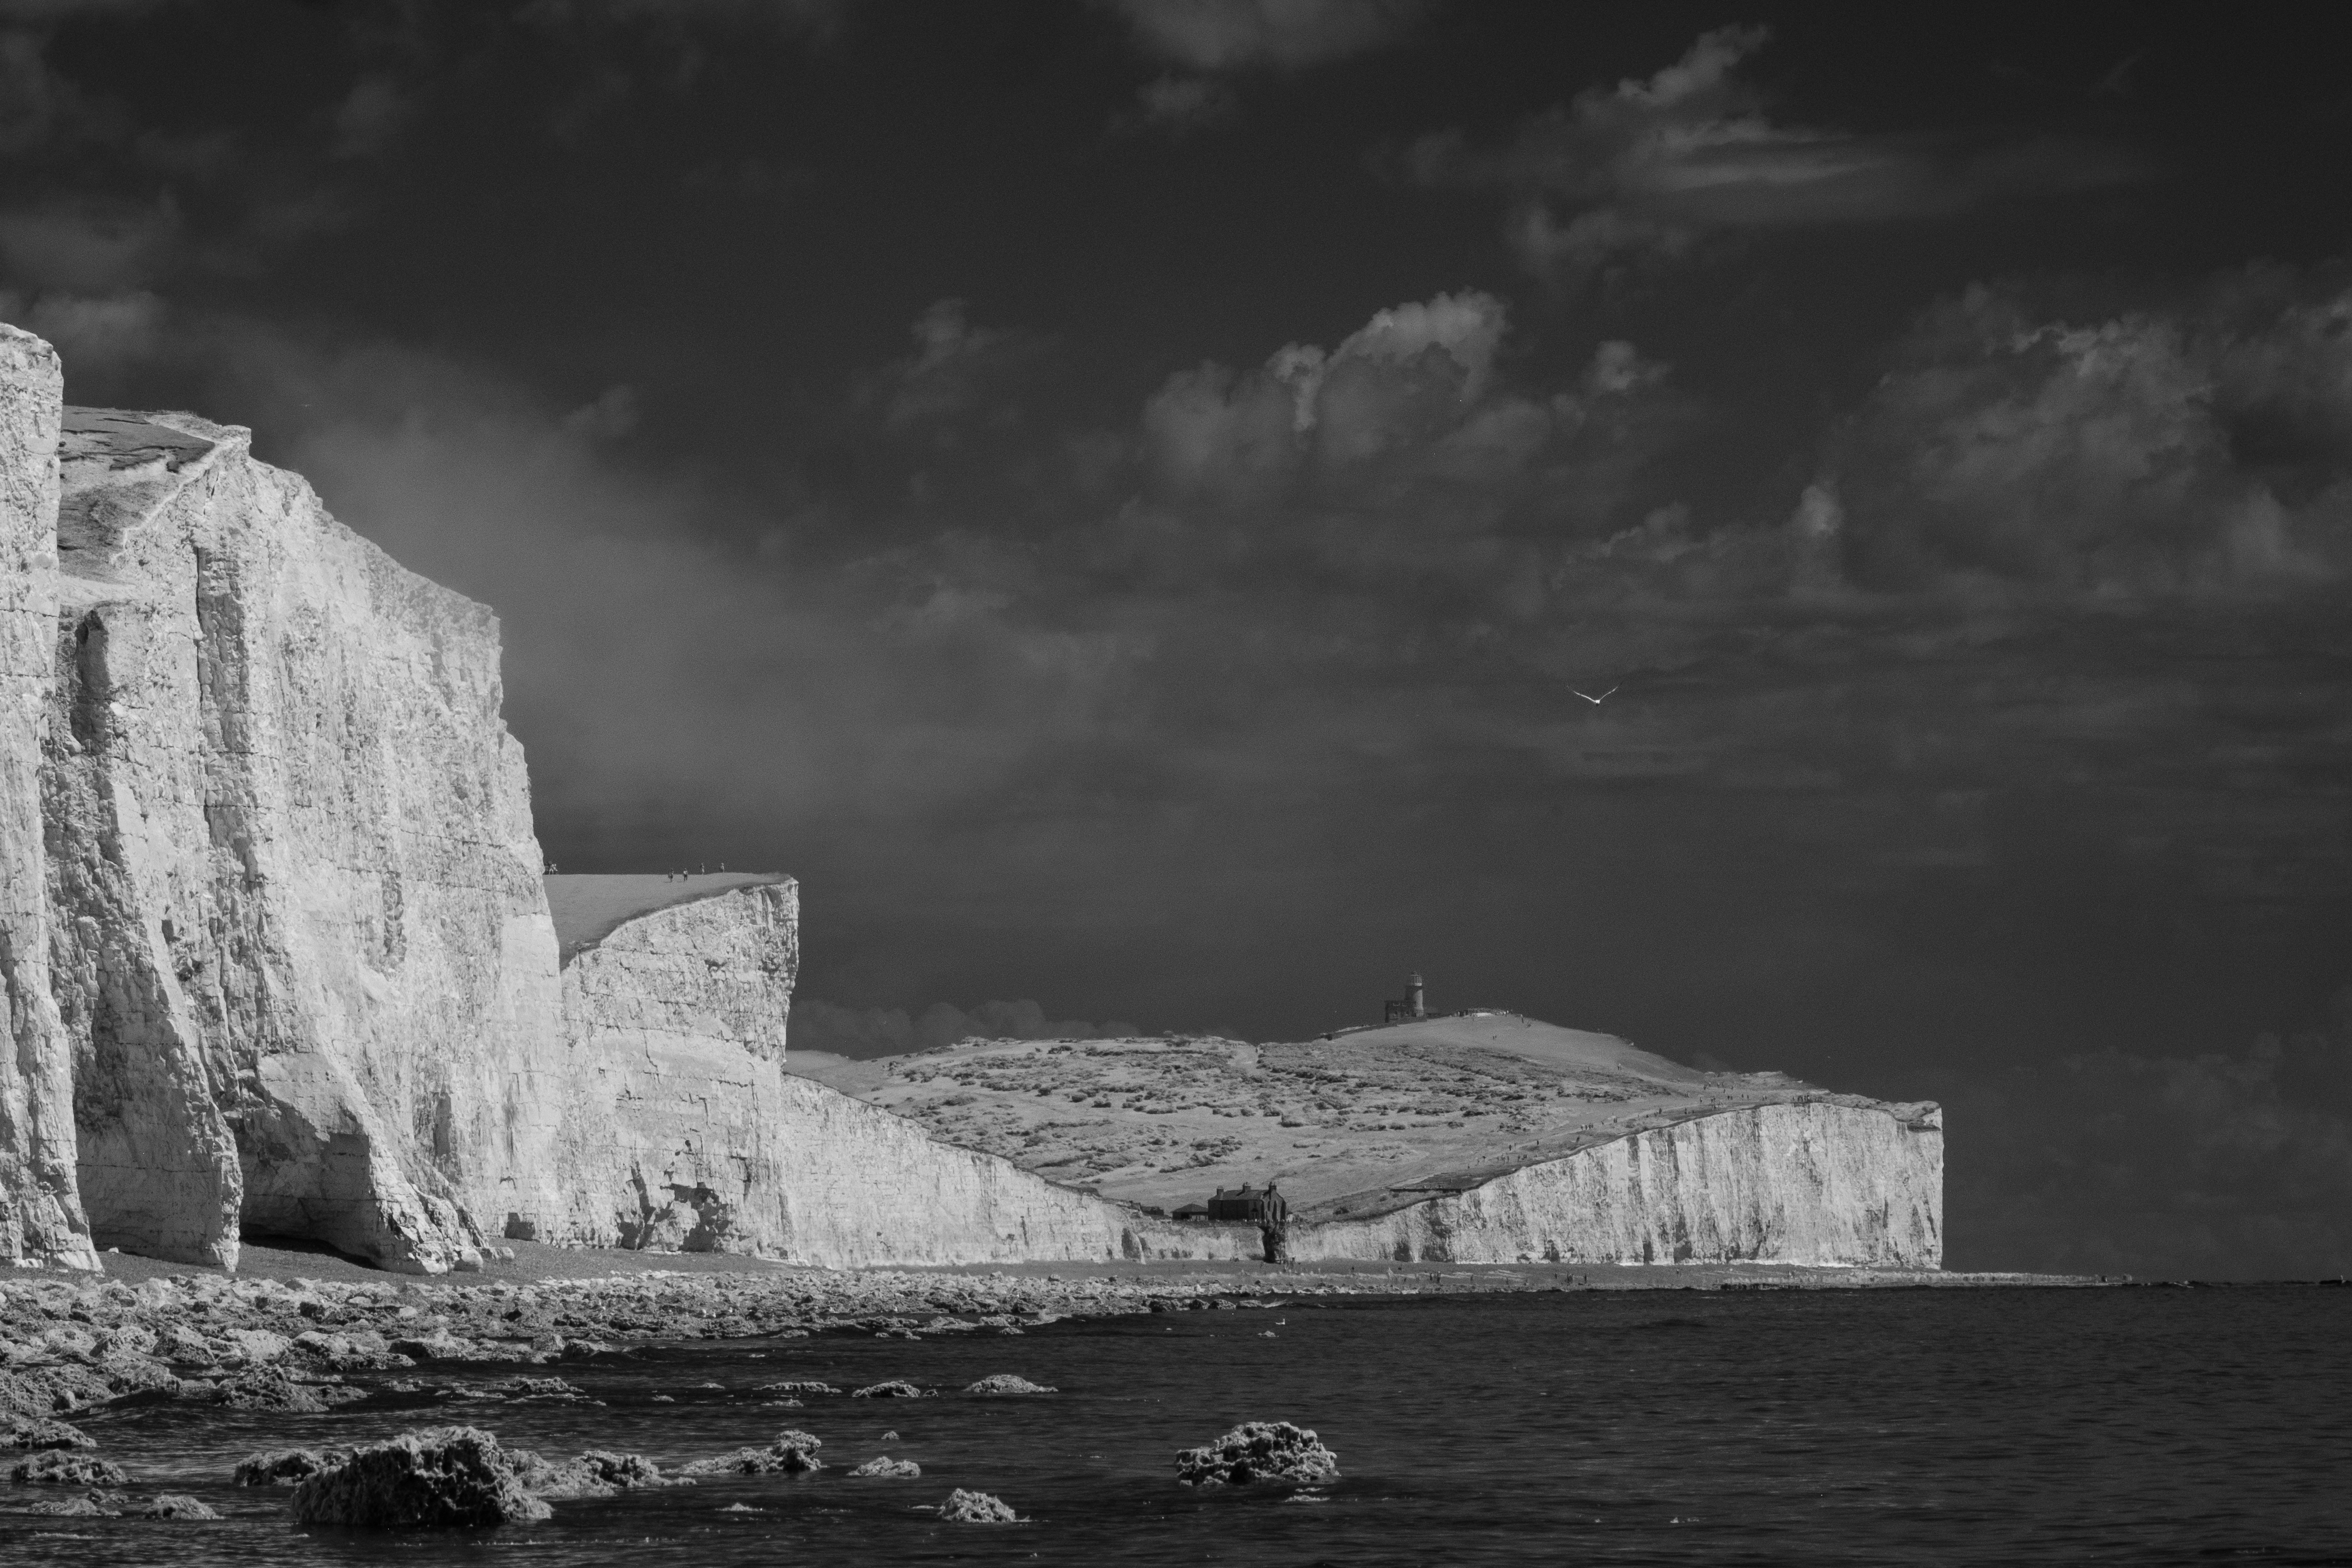
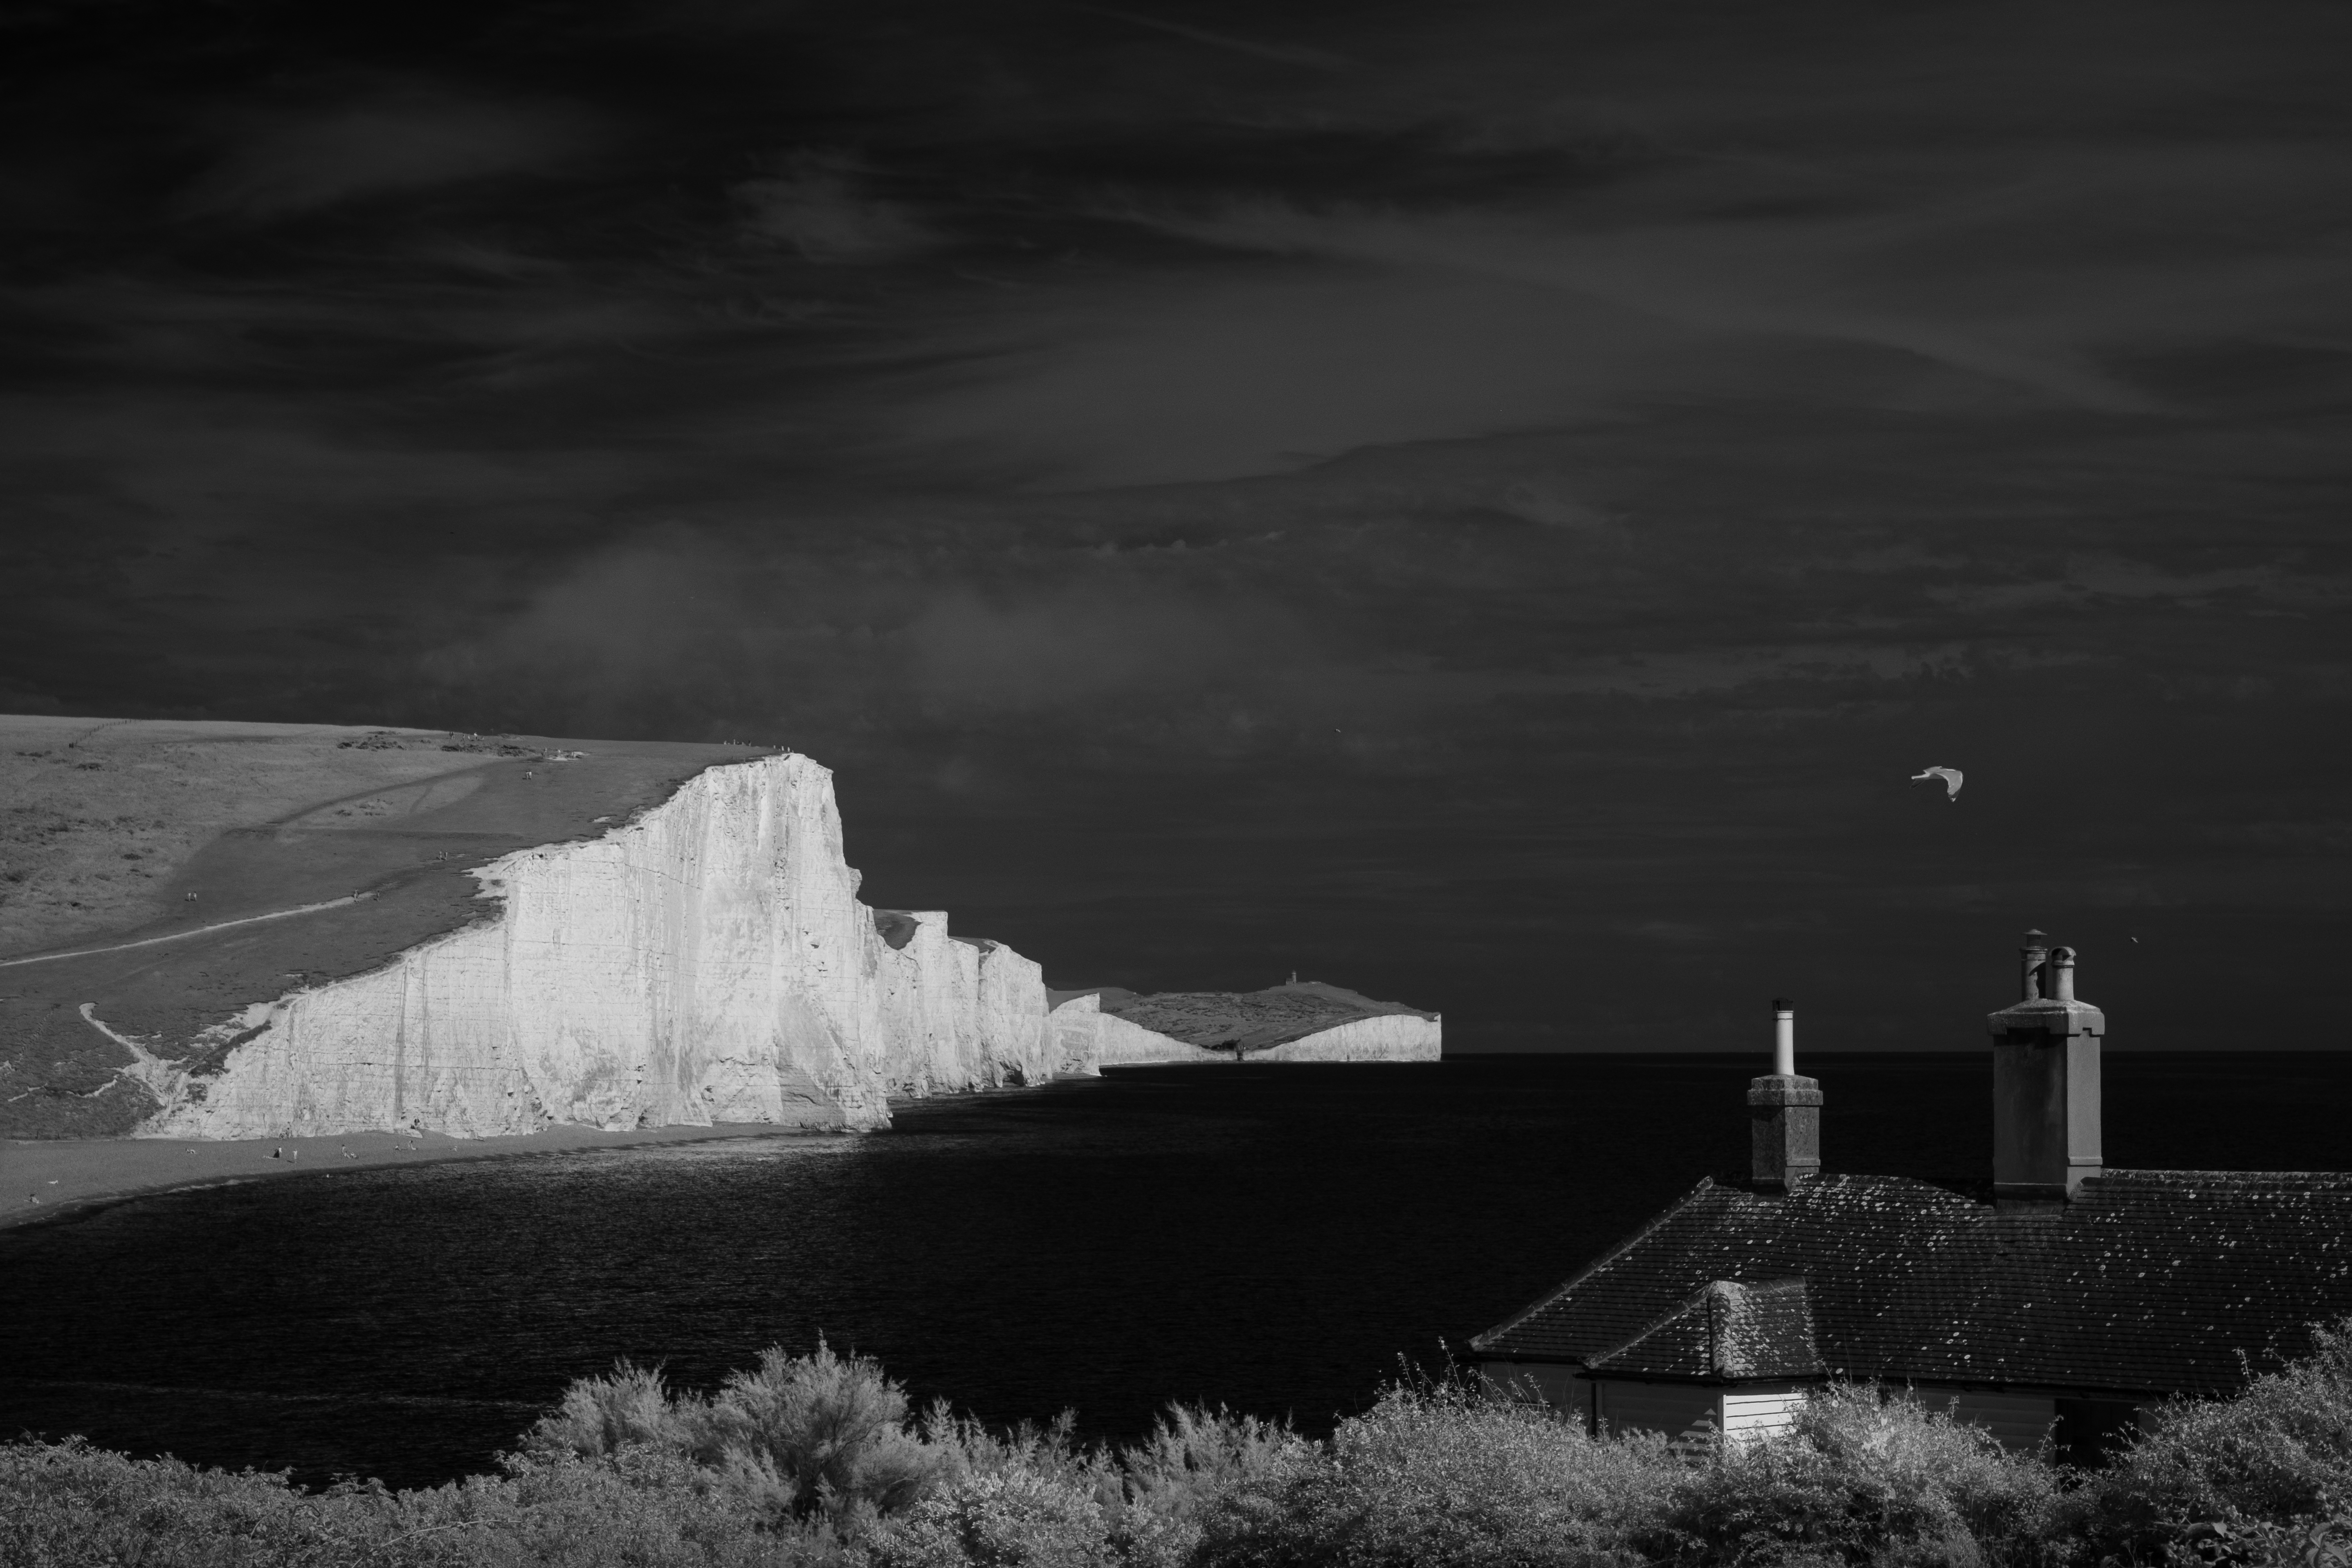
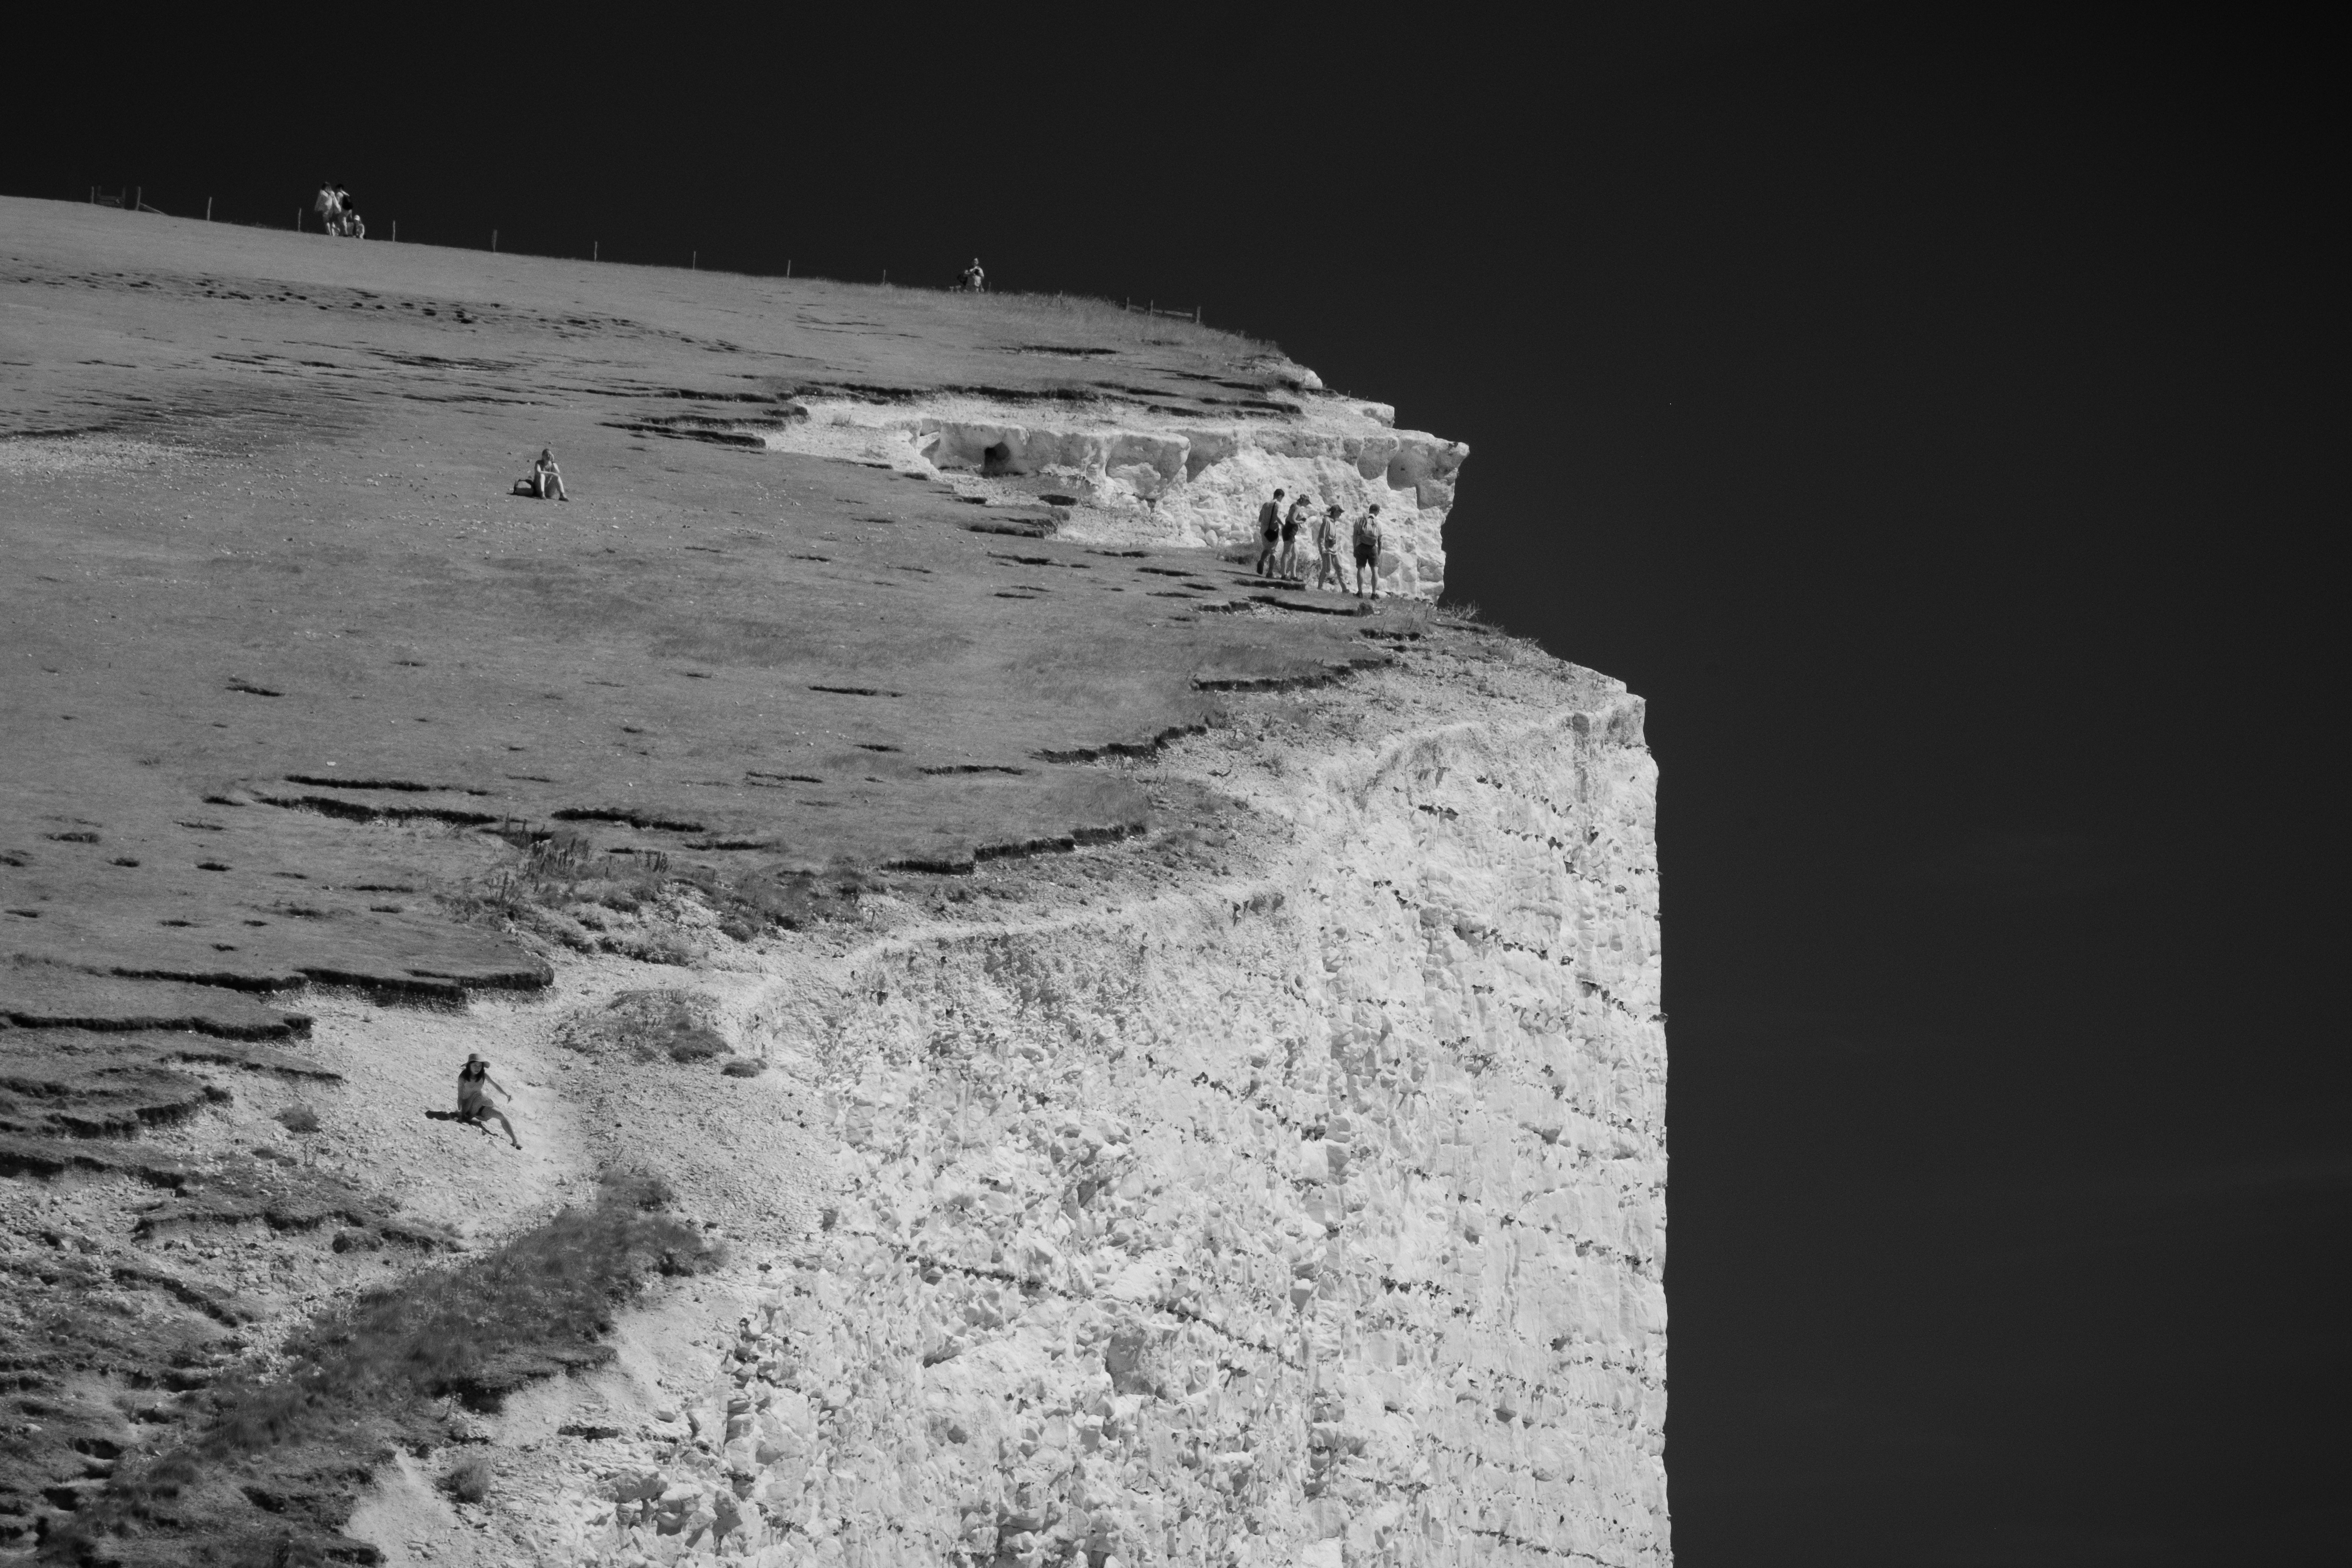
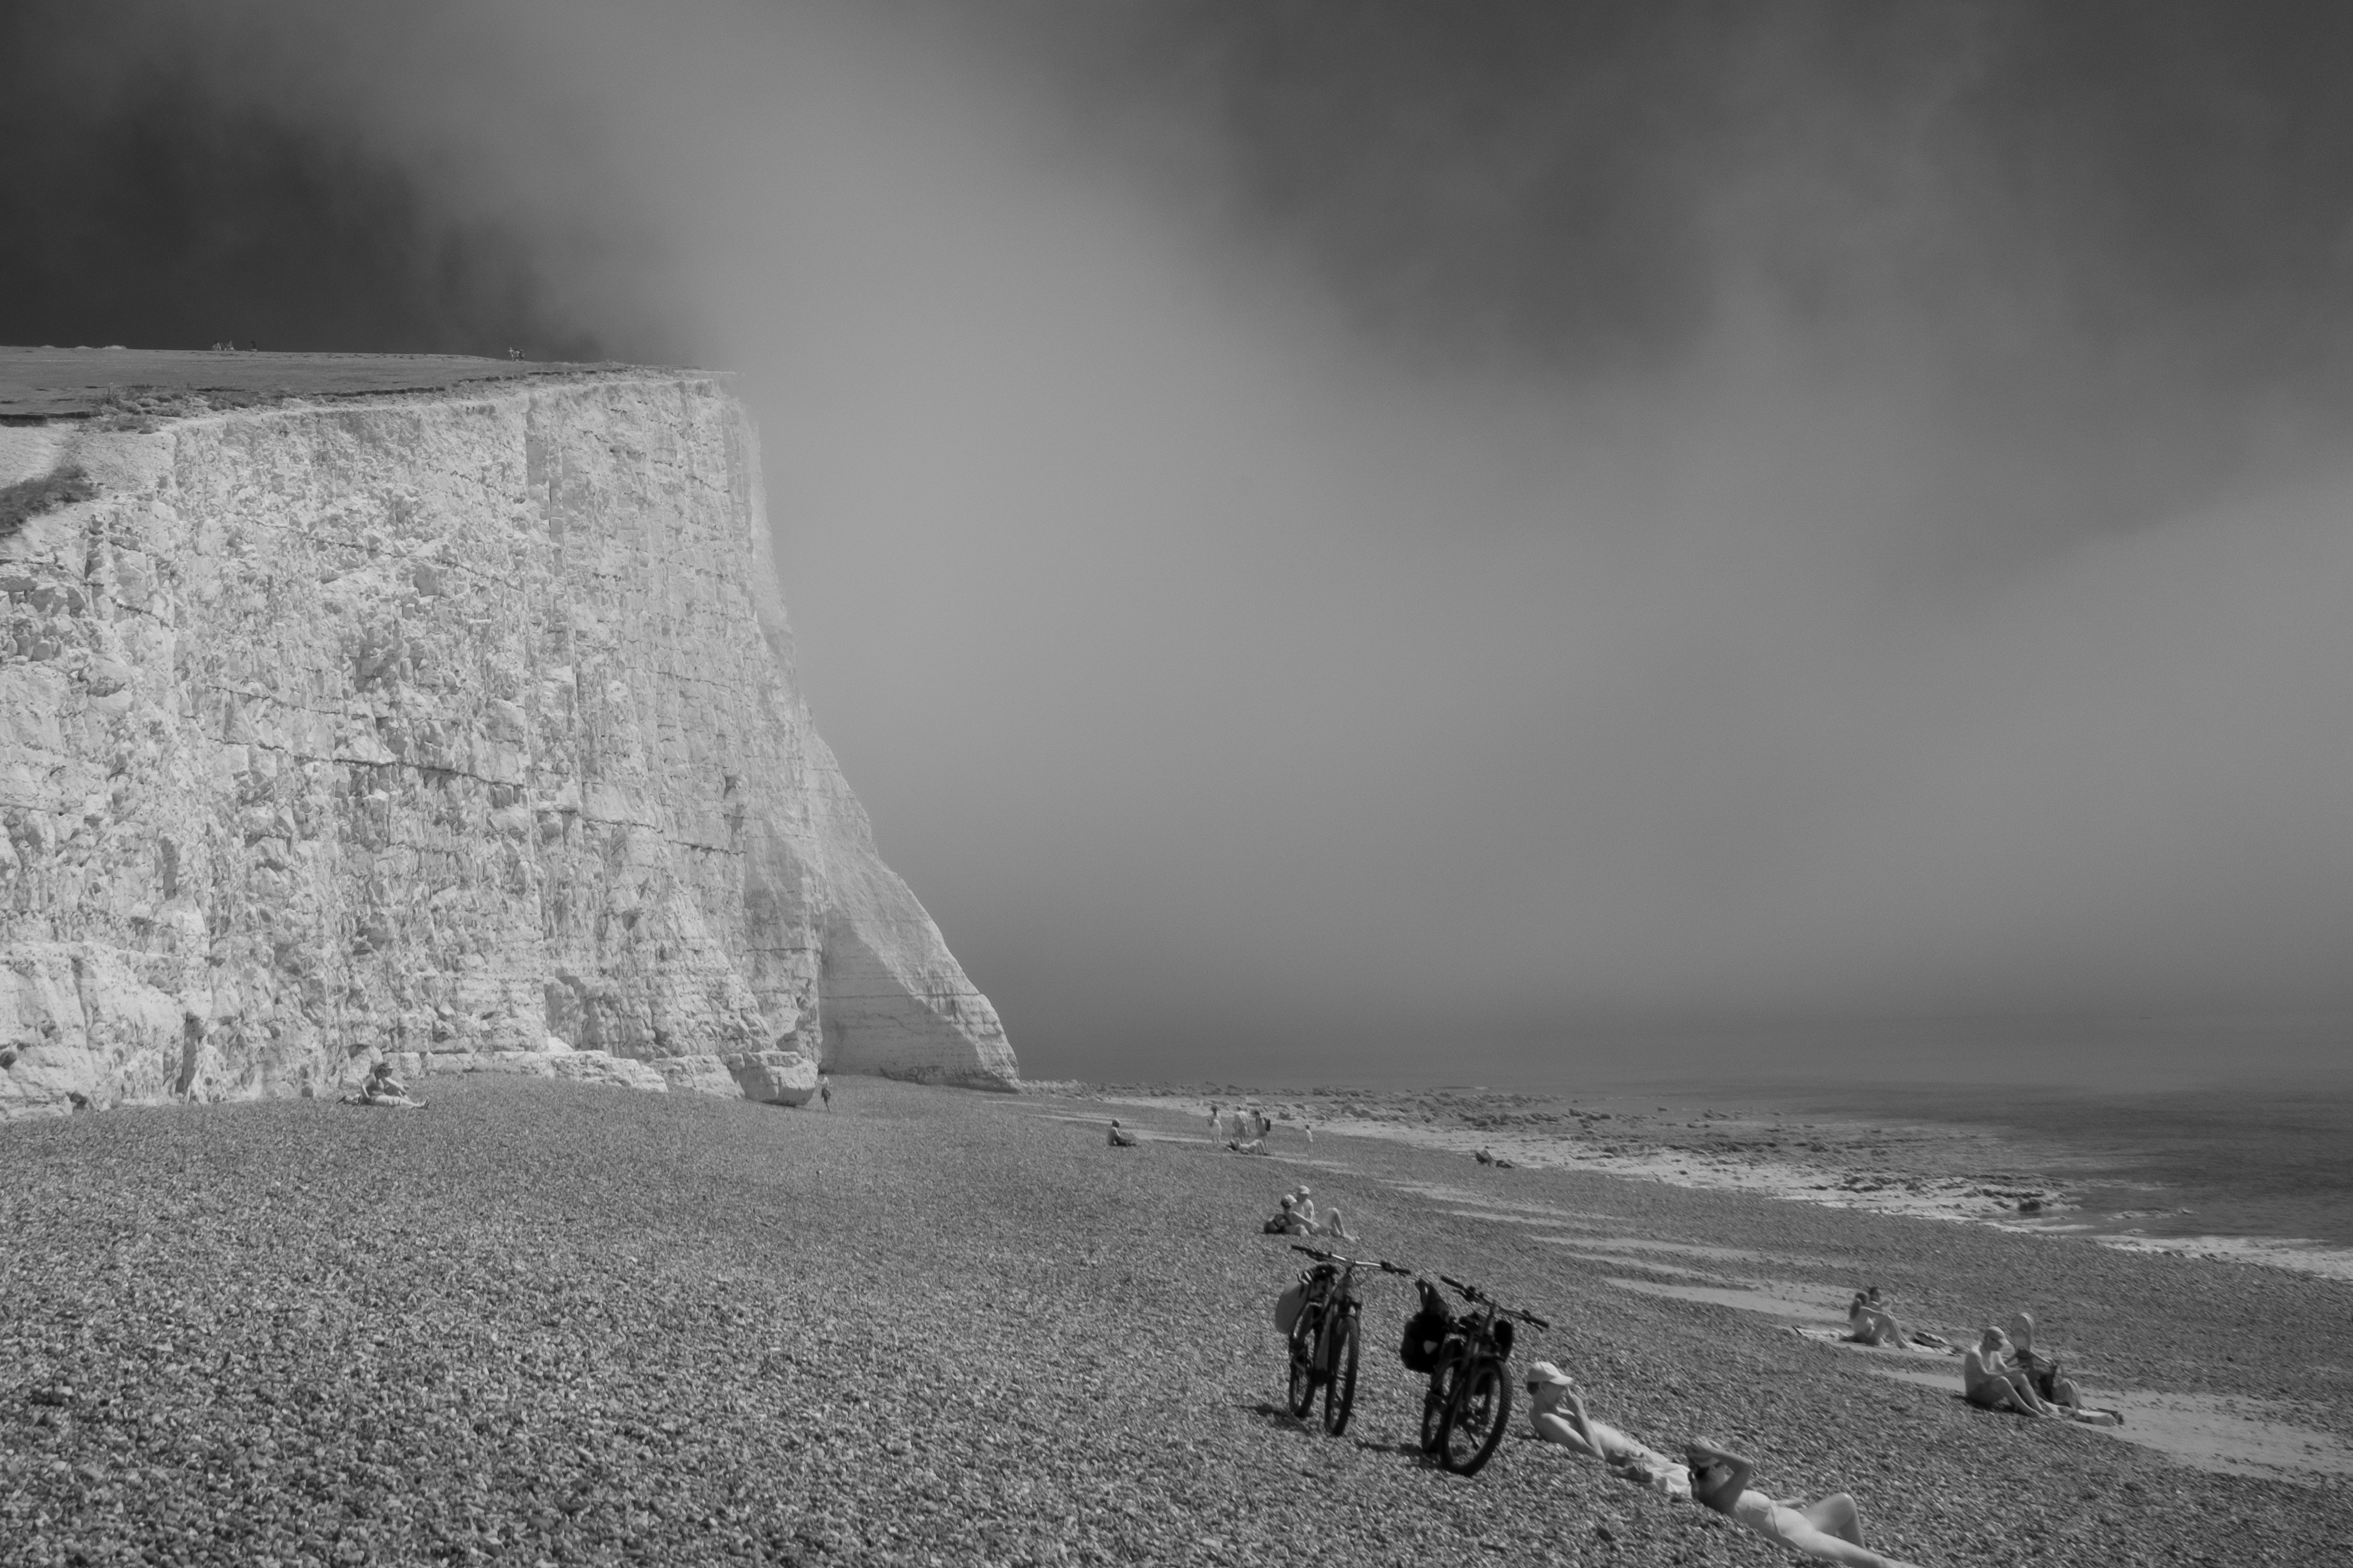
Fortunately, a random patch of mist – not something you typically get in the middle of the day – came in to add some extra drama and I found that ethereal scenes are IR's bread and butter.
Unfortunately, infrared cameras also aren't particularly flexible if you want to also take a traditional street photo, so you may need to rock two cameras on some trips.
But once my initial wave of infrared obsession had subsided – and it does come in waves – my main lesson was to stop looking for big, theatrical scenes and to try to find ones that suit infrared's ability to make the everyday look a bit weird and Hitchcock-like.
For example, I found the phone box in the lavender field above, which I probably wouldn't have shot with a normal camera – yet it felt like it benefited from IR's surreal touch.
A break from the old
There are countless photography projects that can help you rediscover your snapping spark, many of which are less expensive than giving your camera an infrared conversion.
But if, like me, you have an older camera that's been gathering dust and isn't your main body, then an IR conversion can be a good way to breathe new life into it – and your photography.
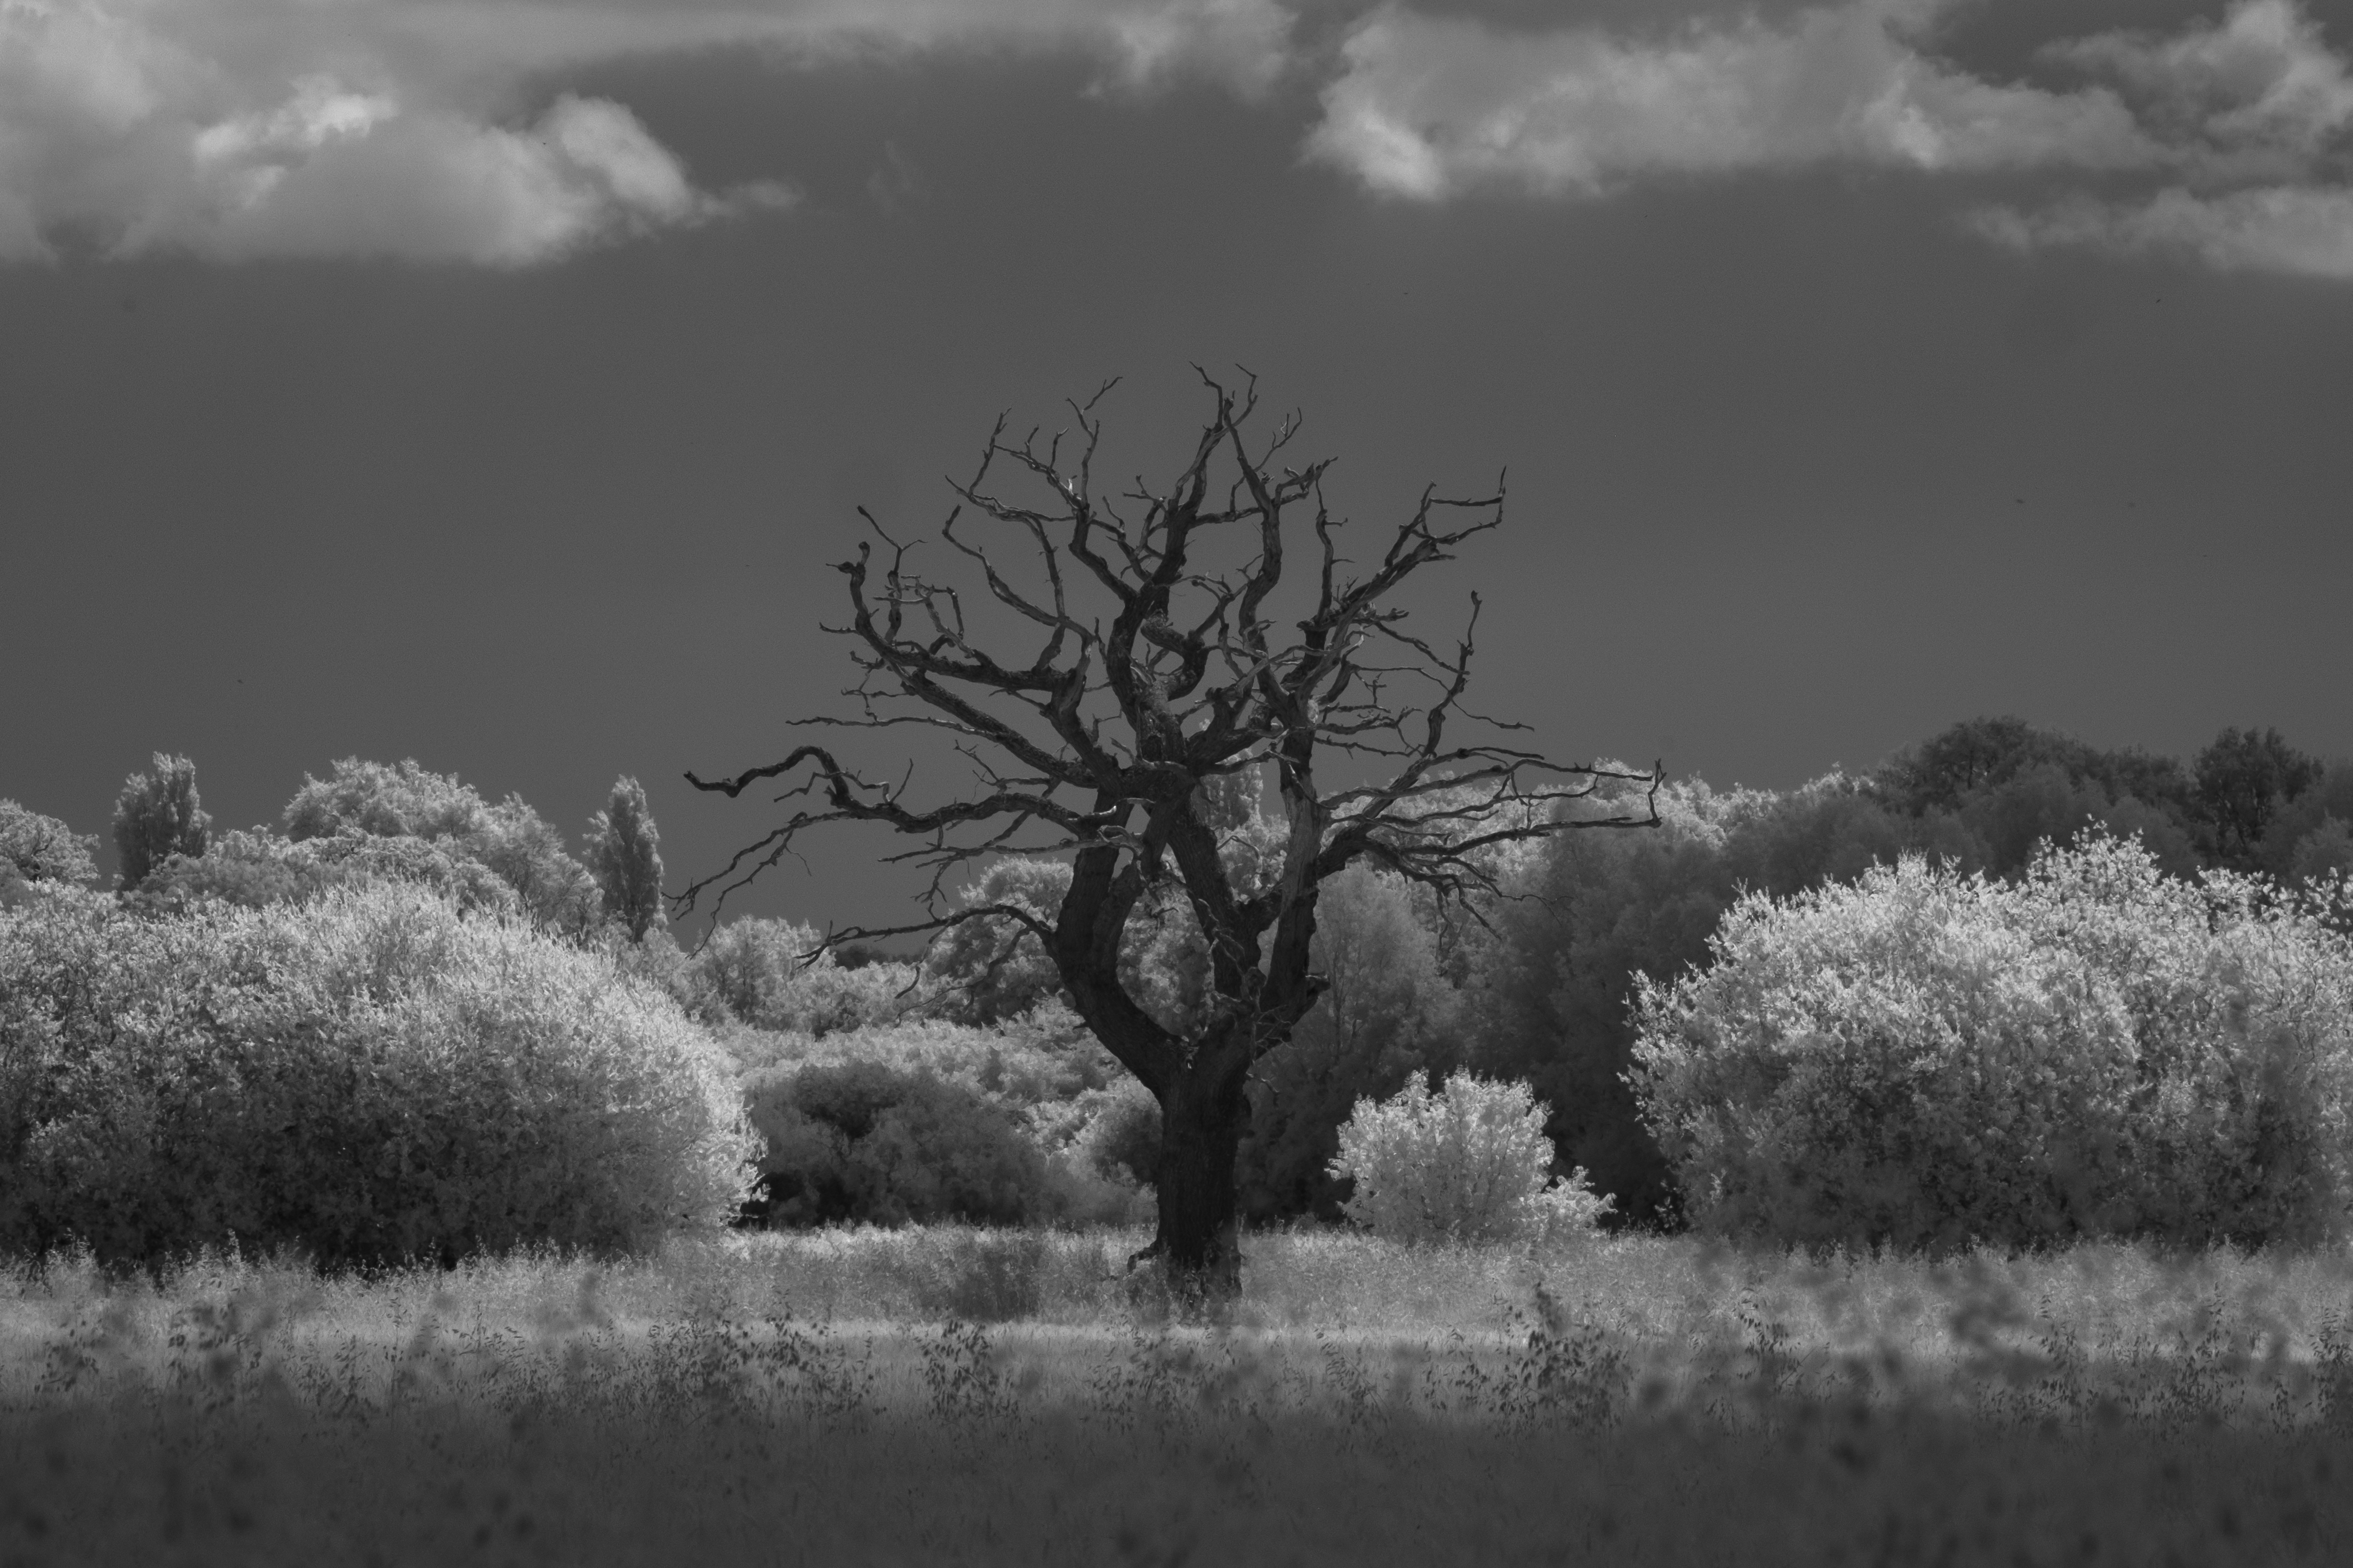
Now that autumn is coming around again in the UK, I can feel the lure of 'normal' photography coming back again. There's also a good chance that, in a few years, I'll look back at my infrared experiments and wonder what I was thinking.
But I also feel rejuvenated by my vacation from the usual worries about 'accuracy', color theory and pesky tripods. A quote I recently saw from Outkast's André 3000 summed it up for me, when he told Rolling Stone about his recent musical experiments: "I'd rather go amateur interesting than master boring".
It's been to fun to hit the reset switch and be a complete beginner again, and that's made the cost of converting my camera feel like something of a bargain.
Do you have an infrared camera or been tempted to give it a go? Let us know in the comments below.
You might also like
- I tested the minimalist Hasselblad X2D II 100C – it's my dream portrait and landscape photography camera that sets the image quality bar
- The Sony RX1R III could have been my total dream camera, instead it's a beautiful nightmare
- I'm a photographer, and after one month with the Oppo Find X8 Ultra, I know exactly why it beats the Galaxy S25 Ultra and iPhone 16 Pro
Mark is TechRadar's Senior news editor. Having worked in tech journalism for a ludicrous 17 years, Mark is now attempting to break the world record for the number of camera bags hoarded by one person. He was previously Cameras Editor at both TechRadar and Trusted Reviews, Acting editor on Stuff.tv, as well as Features editor and Reviews editor on Stuff magazine. As a freelancer, he's contributed to titles including The Sunday Times, FourFourTwo and Arena. And in a former life, he also won The Daily Telegraph's Young Sportswriter of the Year. But that was before he discovered the strange joys of getting up at 4am for a photo shoot in London's Square Mile.
You must confirm your public display name before commenting
Please logout and then login again, you will then be prompted to enter your display name.


