How to get super-fast Wi-Fi in every room
Banish Wi-Fi woes

Not so long ago, configuring a couple of computers so they could talk to each other meant buying expensive hardware, hooking it up to a serial port, or, if you were lucky, Ethernet. But you couldn't just cable them together, oh no.
You needed a router, or was it a hub, or a switch? See what we mean? Those days are long gone, and for that we're all very grateful. That doesn't mean networking is completely free from problems, of course. But at least most of us can set one up and connect to it, and be reasonably confident that it'll still be there in the morning.
While for most of us networking means radio signals rather than cables, there are some occasions when that old Ethernet cable comes in handy; so while the bulk of what we're about to reveal to you will refer to Wi-Fi, we haven't forgotten Ethernet – nor its younger, flashier, sibling, Powerline.
These days you're just as likely to want to connect a smartphone, tablet, games console or TV to your network, so we cover that, too. Who knew networking could be so much fun?
Faster networking
Most of us only ever give a thought to our Wi-Fi network when something goes wrong. That something might be a sudden drop-off in signal strength, a reduction in speed, or an inability to connect to the network altogether.
Each of those problems can either be caused by the device you're using, or by the network itself. You can easily check for the former by testing with different devices. It's worth noting, however, that just because you can connect to your Wi-Fi network with one device and not another, this doesn't mean there's a problem with the device.

It could just be that, say, your iPad is more capable than your Android phone when it comes to hooking up to a Wi-Fi network with a less-than-perfect signal.
Sign up for breaking news, reviews, opinion, top tech deals, and more.
Nevertheless, given that you can't do much about the device's inherent wireless ability, you need to optimise your network.
Set-up
Most modem/routers consist of a box with one port on the back that connects to your cable or phone line – usually labelled 'WAN' – and around four other ports that look the same, but that are labelled 'LAN' and designed to allow you to connect devices to the router using an Ethernet cable.
Some (though not all) routers also have external antennae that give you a bit of flexibility in how they're positioned. The degree to which adjusting the antennae affects the signal's strength depends on the router. If your router has internal antennae, it may use a technology called 'beamforming' that increases the power of the signal in the direction of connected devices.
Setting up the modem/router is as simple as plugging it into a mains power outlet and then connecting the supplied cable to your cable or phone line. In most cases, the SSID (Wi-Fi network name) and default password for the router will be on a sticky label on its underside.
If not it should have been supplied to you separately. Once you have the SSID and password, click on the Wi-Fi symbol in the Windows system tray or a Mac's menu bar and select the SSID from the menu. If it's not there, select Join Other Network and type in the SSID.
Type in the default password, and you should be connected in a few seconds. The procedure on an mobile device is similar; just select Wi-Fi from the Settings app. Unless you have an Apple router (which is configured using AirPort Utility) you'll probably have been supplied with an internal IP address for the router, usually in the form 192.168.x.x, along with a username and password.
Type that into the address bar in your browser and log in. Settings screens for routers vary, but somewhere there will be a W-Fi network menu. Select it and change the default SSID and password to something that's memorable to you.
Also, change the admin username and password for the router settings. It's worth taking time to familiarise yourself with the options available.
Router location
Whether we have cable broadband or DSL, most of us have one box that doubles as a modem and router. Its location will be dictated by the location of your phone or cable point, and so you'll be limited in how far you can move it.
Nevertheless, you should, as far as possible, place it well off the floor – either wall-mounted or on a desk or shelf, and as far from the corner of the room as possible. Wireless routers broadcast omni-directionally, and the closer you place yours to an obstacle like a brick wall, the more you'll restrict its signal.
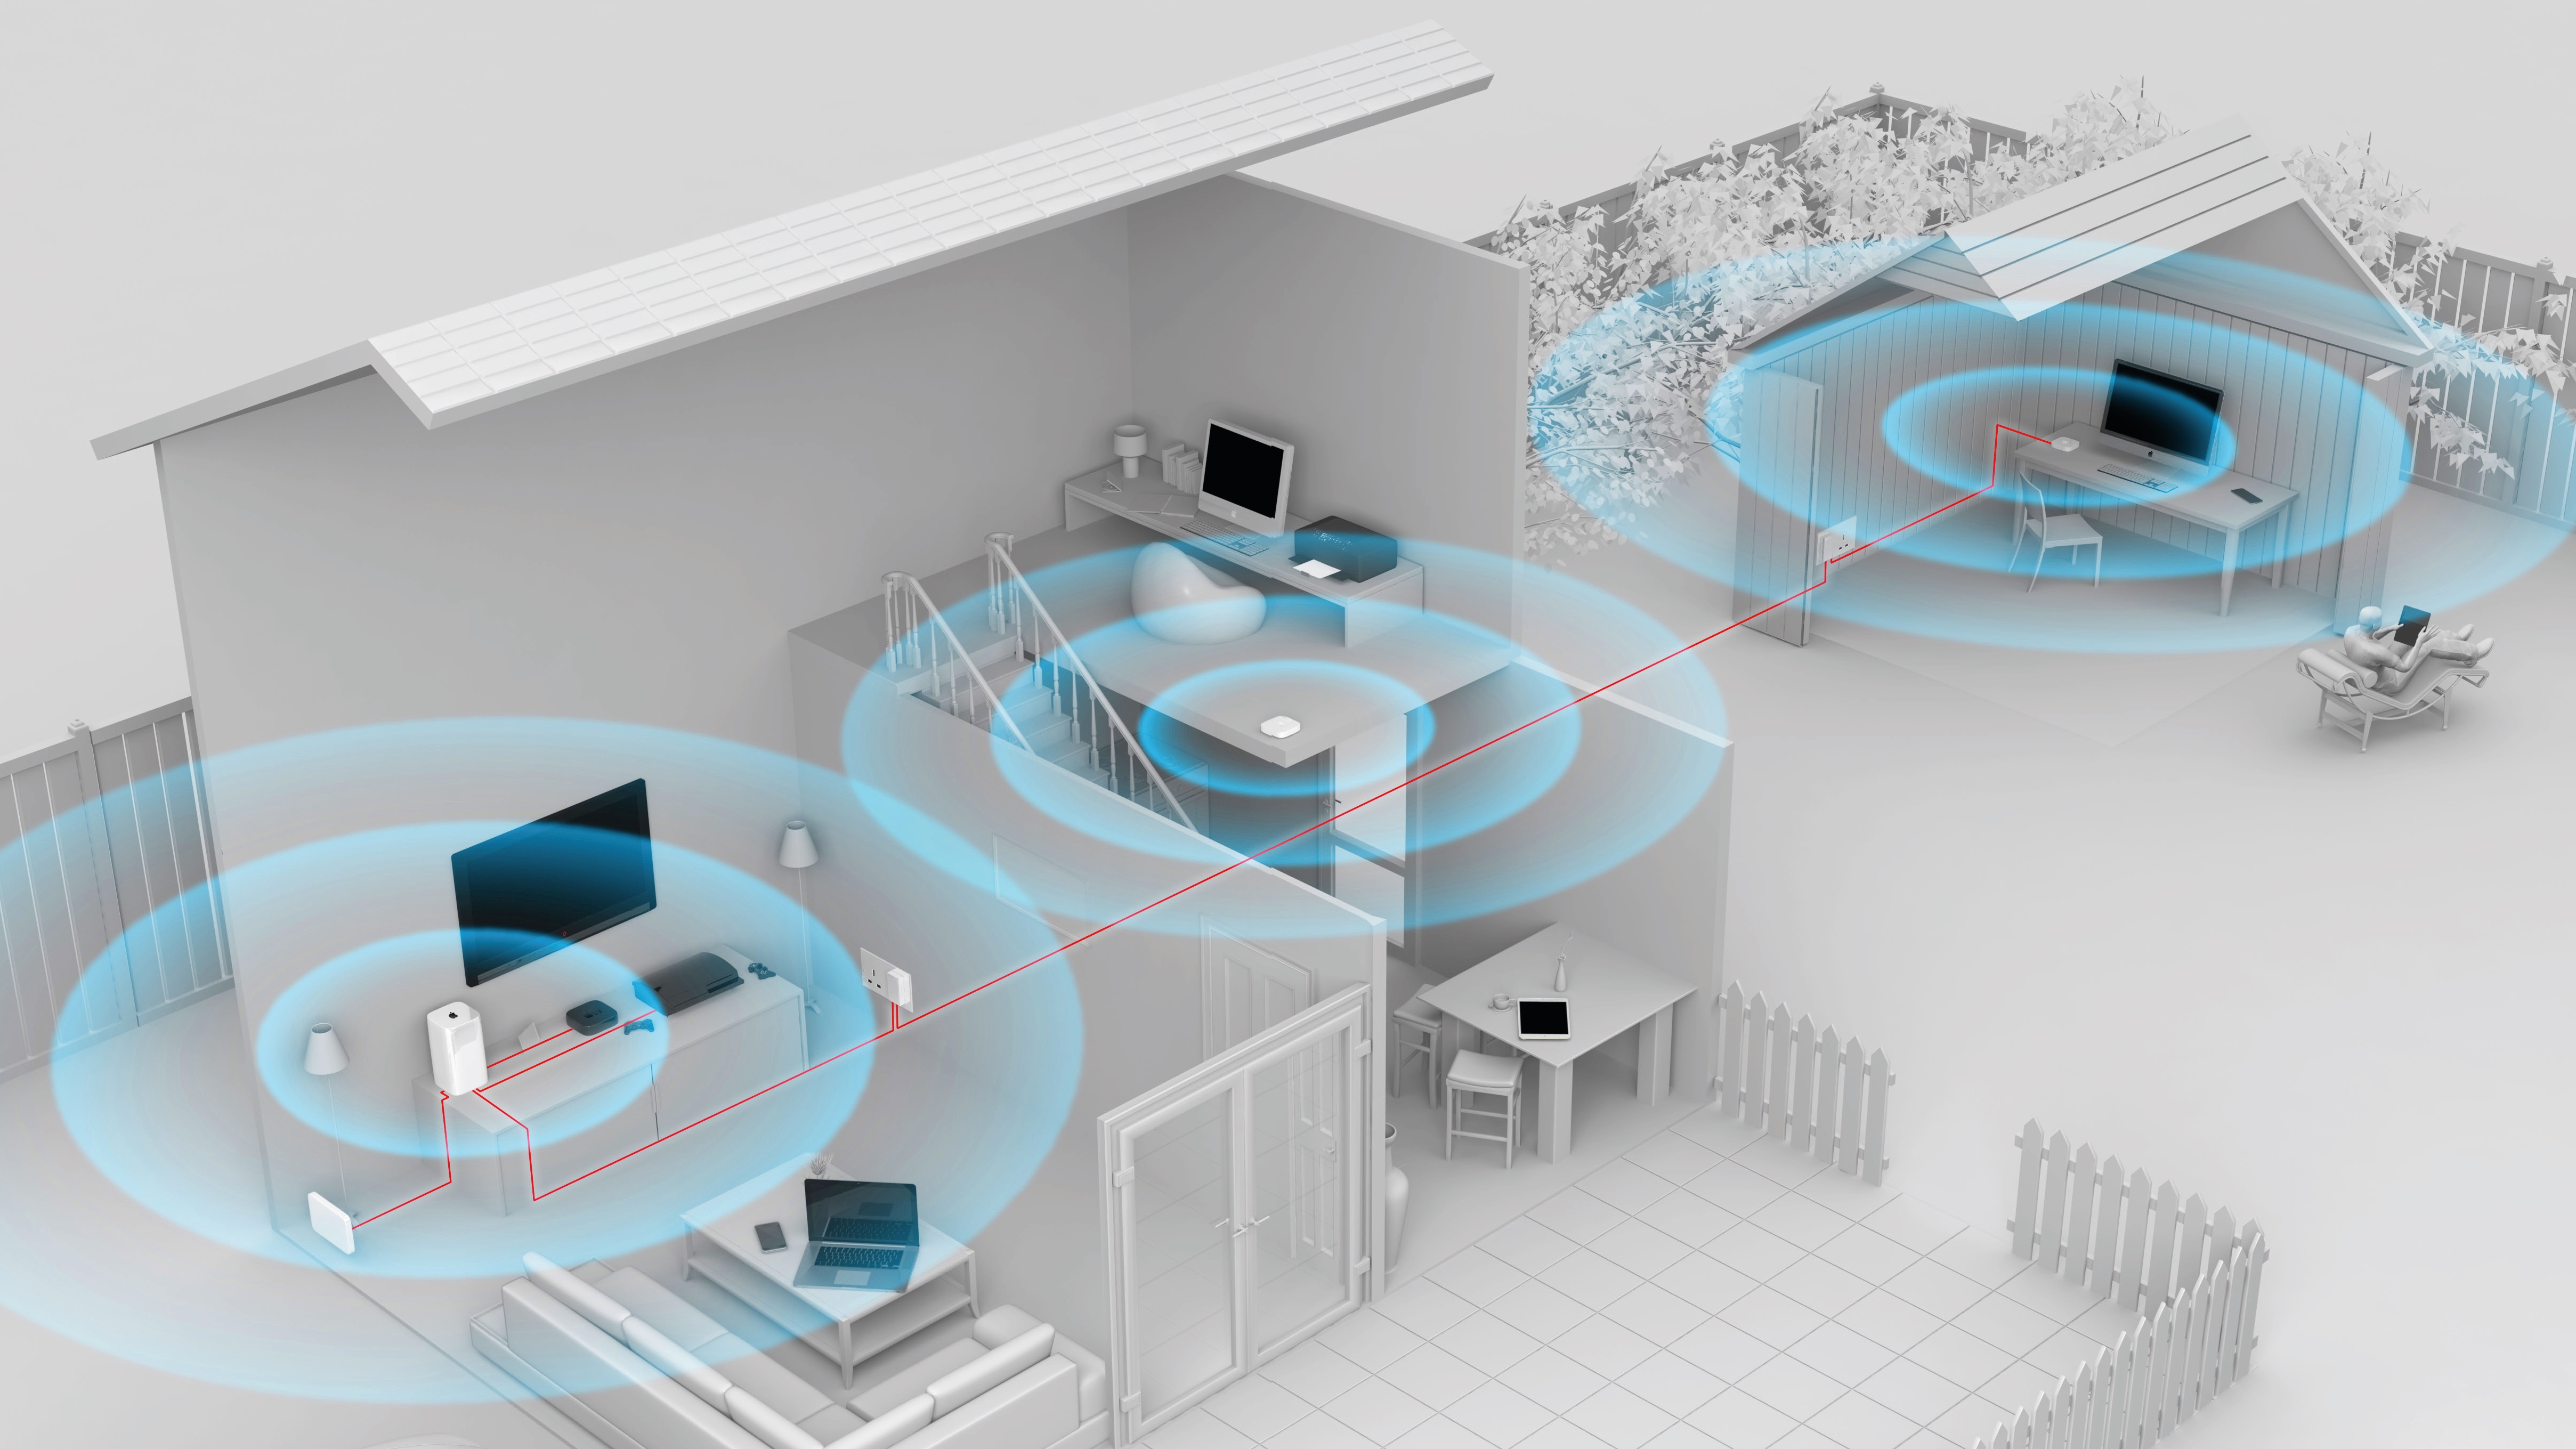
Ideally, you'd have it floating in mid-air just below the ceiling in the room that is closest to the centre of the house! Place it as close to that point as you're able. If your telephone or cable point is in the living room and your study is at the other end of the house, you might have to extend the range of your network or create a new one that has a wired connection to the router – we'll discuss both of these options later.
Surroundings
As we've said, wireless signals are obstructed by walls and other obstacles. Try and keep the area immediately around the router clear of sofas, bookcases, and anything else that might block the signal. If your telephone or cable point is close to the ground in the corner of a room, buy yourself a longer cable and give yourself more flexibility in where you can position the router.
If that's not possible, consider buying a separate wireless router and connecting it to the modem/router with an Ethernet cable. Finally, wireless signals tend to be stronger below the router than above it, so when placing the router, the higher the better.
If you plan to use the same one upstairs and downstairs, consider placing the modem/router upstairs, if possible.
Check the signal
Both Windows and OS X have tools that allow you to monitor wireless performance. In Windows, click the wireless icon in the notification area, bottom right. A list of networks will appear, with a number of bars representing its strength – the more the better.
On the Mac the tool is hidden away in the System/Library/CoreServices directory. You'll need to use Go To Folder (Command+Shift+G) in the Finder's Go menu to access the directory. The tool is called Wireless Diagnostics. When you've found it, launch it, click the Window menu and select Utilities (Command+2). Click the Performance tab.
Depending on which version you're using, you'll see one or two graphs; both display the signal-to-noise ratio of the wireless signal. You can monitor the effect of any changes you make to router location.
Your aim should be to maximise the difference between signal strength and noise, but focusing on reducing noise. Why? Because most of the time, your wireless network is a direct conduit to your internet connection, and it's the internet connection that acts as a bottleneck, not the signal strength of your wireless network.
An unacceptably high level of noise, on the other hand, can lead to dropped packets, poor performance and dropped connections.
Channel hopping: avoiding interference
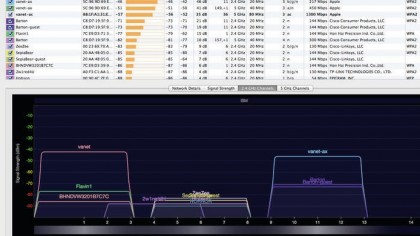
Wireless routers broadcast data on a specific channel. In reality, however, data overlaps five adjacent channels. Lots of devices in close proximity, all using the same channels on the 20MHz spectrum, can cause interference.
With only a dozen channels available, options for switching are limited (you'd need to switch a device on channel 6 to channel 11 to benefit). A 40MHz network has channels that are twice as wide but occupy a huge chunk of the spectrum on a 2.4GHz network, and so don't really solve the problem.
A 5GHz network uses channels much further along the spectrum, well away from the channels used on 2.4GHz, and so by putting those devices that support 5GHz at that end of the spectrum, you keep the 2.4GHz channels free for those devices that need them.
Wi-Fi tinkering tips
1. Switching channels
If having scanned local networks you decide to change the channel on your router, don't just move it to the next seemingly available channel. On a 2.4GHz network, routers operate on five channels on narrow band and seven channels on wide band.
They do a pretty good job of sorting themselves out and using the channels efficiently. Changing your router from, say, channel 5 to 6 may do more harm than good. Instead, jump several channels, to 11, or 14 if your router supports it, to avoid the five channels currently in use altogether.
2. Channel width
Modern routers typically default to 40MHz or wide band – which uses seven channels – rather than the five used by 20MHz. However, if there are lots of routers in your neighbourhood using 40MHz, it can cause congestion.
In this case, according to ISP Zen Internet, switching to the 20MHz band can improve the performance of your network by reducing interference.

3. Wi-Fi Explorer
If, having followed our optimisation suggestions, you're still having trouble with your Wi-Fi signal dropping out, it might be down to congestion or conflicts with other devices nearby using the same channel on a different network. There are several tools that allow you to scan networks close by and see which spectrum and channels they use.
Among the best are Wi-Fi Explorer for the Mac and inSSIDer for Windows. They allow you to identify conflicts and signal overlaps.