Photopea is the work of a ridiculously talented chap called Ivan Kutskir, born in Ukraine but now living in the Czech Republic. His website gives you an idea of what he’s about, being full of references to algorithms, ray tracing, 3D modelling and other programming tasks.
If it’s the image editing you’re here for, however, you’re in luck, as Photopea has a suite of advanced tools. The default dark grey skin makes it look like an Adobe product, as do the icons chosen for the toolbar.
While Photopea runs in your web browser, it is a completely local application, and none of your images are uploaded to a server anywhere – this means that if you close your web browser window you’ll lose your work, so it’s important to export a final image to your PC before you switch off.
Article continues belowStep-by-step: edit images online with Photopea

1. Start a project
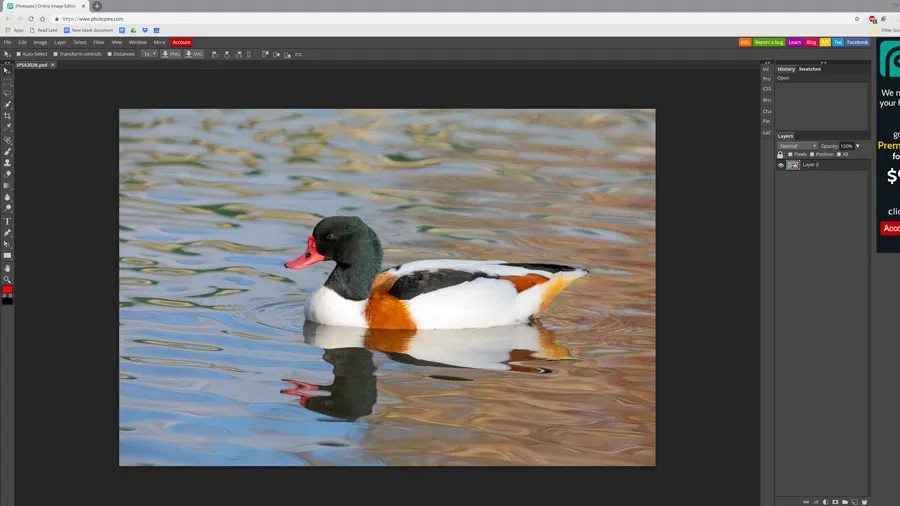
You can start a fresh project in Photopea, or upload an image file from your PC. The app is compatible with Photoshop’s PSD as well as JPEGs, PNGs and other image file formats. Click ‘Open From Computer’ to work on a file you already have, or New Project. There are two demo files if you want to have a play – a photo and a drawing that’s optimized for different screen sizes.

JPEG / PNG
Popular image file formats you’ll find all over the web. JPEG is older, and uses lossy compression that throws away data to make a smaller file. The newer PNG format doesn’t do this, so can look better, but the trade-off is that PNG file sizes are larger.
2. Make a selection
Being able to work on one part of an image without affecting the rest is a powerful feature, and Photopea enables you to make selections with a variety of tools, including a magic wand that selects continuous areas of colour, a quick selection brush that sticks to edges while you paint your selection on, plus freehand lasso and rectangular marquee tools.

3. Refine edges
Once you’ve made a selection, click the 'Refine edge' button. This opens a window showing your original on one side and your selection separated from the background on the other. Brushing over the edges of your selected object (left) modifies the selection outline (right). You can change the size of your brush, and choose whether to paint with white (add), black (remove) or gray (soften).

4. Understanding layers
Once refined, your selection is copied and appears as a new layer with a transparent background in the Layers palette. Layers enable you to do tricks like replacing backgrounds, and changing the colours of parts of an image. To insert a new background behind a cutout subject, use 'File > Open and place' to open a new image and place it on its own layer.

5. Sharpen your images
If you’d rather have a nice-looking photo than an exploding duck, there are tools to improve an image without slicing it up. Sharpening is handled by filters with names like Sharpen and Sharpen More, but for more control use 'Filter > Sharpen > Unsharp mask', which enables you to control the amount of sharpening using sliders, among other options.

Layers
Imagine your image is divided up into slices, which are stacked so you see the top one. You can see those below it too, if there’s a hole, or if they are set to blend together.
6. Brighten your images
The brightness of your image is handled by several tools under 'Image > Adjustments', but the best of these is levels. This enables you to change the overall brightness of your image with the central (grey) slider below the histogram, as well as moving the white and black points to increase contrast. Experiment to see what happens – you can always undo any changes you make

7. Use Adjustment layers
Adjustment layers change the colours and brightness of the layers below them. To add one, use the button at the bottom of the layers palette and choose from the pop-up menu. Vibrance is good for brightening the colours of your image, while levels has a similar effect to the one in Step 6. You can drag adjustment layers up and down the Layers stack to change the effect.

Filter
An effect that’s either applied to a whole image, or just inside a selection. You’ll see the effect of a filter right away, but some come with an options window to tweak their settings first.
8. Use blend modes
Blending alters the way layers below the one you’re working on show through. The default is ‘Normal 100%’, which lets nothing through. Change this to Multiply using the drop-down menu at the top of the Layers palette, and you’ll see a darkening of colours as they merge. Screen has the opposite effect, while some of those nearer the bottom of the list can have very strange effects.

9. More filters
If you need to blur, distort, pixelate or otherwise mess up your image, there are options from the Filter menu. Filters apply to the whole image, unless you have an area selected, when they only affect the inside of the selection outline. The 'Liquify' filter enables you to stretch, mold and otherwise distort your image. The 'Last filter' option reapplies the last-used filter and its settings.

10. Export your image
There are buttons to export your currently selected layer as a PNG or SVG, but to export the whole image go to the File menu. From here you have the choice of saving your work as a PSD file, layers intact, or to export as a JPEG, PNG or many other popular formats. Doing this flattens your layers into one, however, so make sure you’re finished before choosing this option.
If you'd like more Windows tutorials...
