Creating images with ChatGPT is fun, but these simple tips will make them look way better
How to create images in ChatGPT
Sign up for breaking news, reviews, opinion, top tech deals, and more.
You are now subscribed
Your newsletter sign-up was successful
One of the most enjoyable parts of using AI is generating images. You are limited only by your imagination – whatever you want to create, just type it into a chatbot like ChatGPT, and it will create it for you, but that's only half the battle. There's an art to getting images that look good.
Here, we'll show you some tips for using ChatGPT to create images that look great, too. Most people simply type in what they want to see and don't think much more about it.
There are actually a lot of image-specific options in ChatGPT that aren't obvious until you've found them. So, let's get started and show you what they are.
1. Creating an image

This article is part of TechRadar's AI Week 2025. Covering the basics of artificial intelligence, we'll show you how to get the most from the likes of ChatGPT, Gemini, or Claude, alongside in-depth features, news, and the main talking points in the world of AI.
Even free users can create images in ChatGPT, although you need to be a Plus user if you want to create more than a couple a day. To start creating images in ChatGPT, click the + menu button on the left of the prompt bar.
From here, select ‘Create image’. The text inside the prompt window changes to say, “Describe an image”, and from here you simply type in the sort of image you’d like to see. Before you tap the blue arrow or press Enter on your keyboard, notice that a new Styles option menu appears.
2. Using Styles
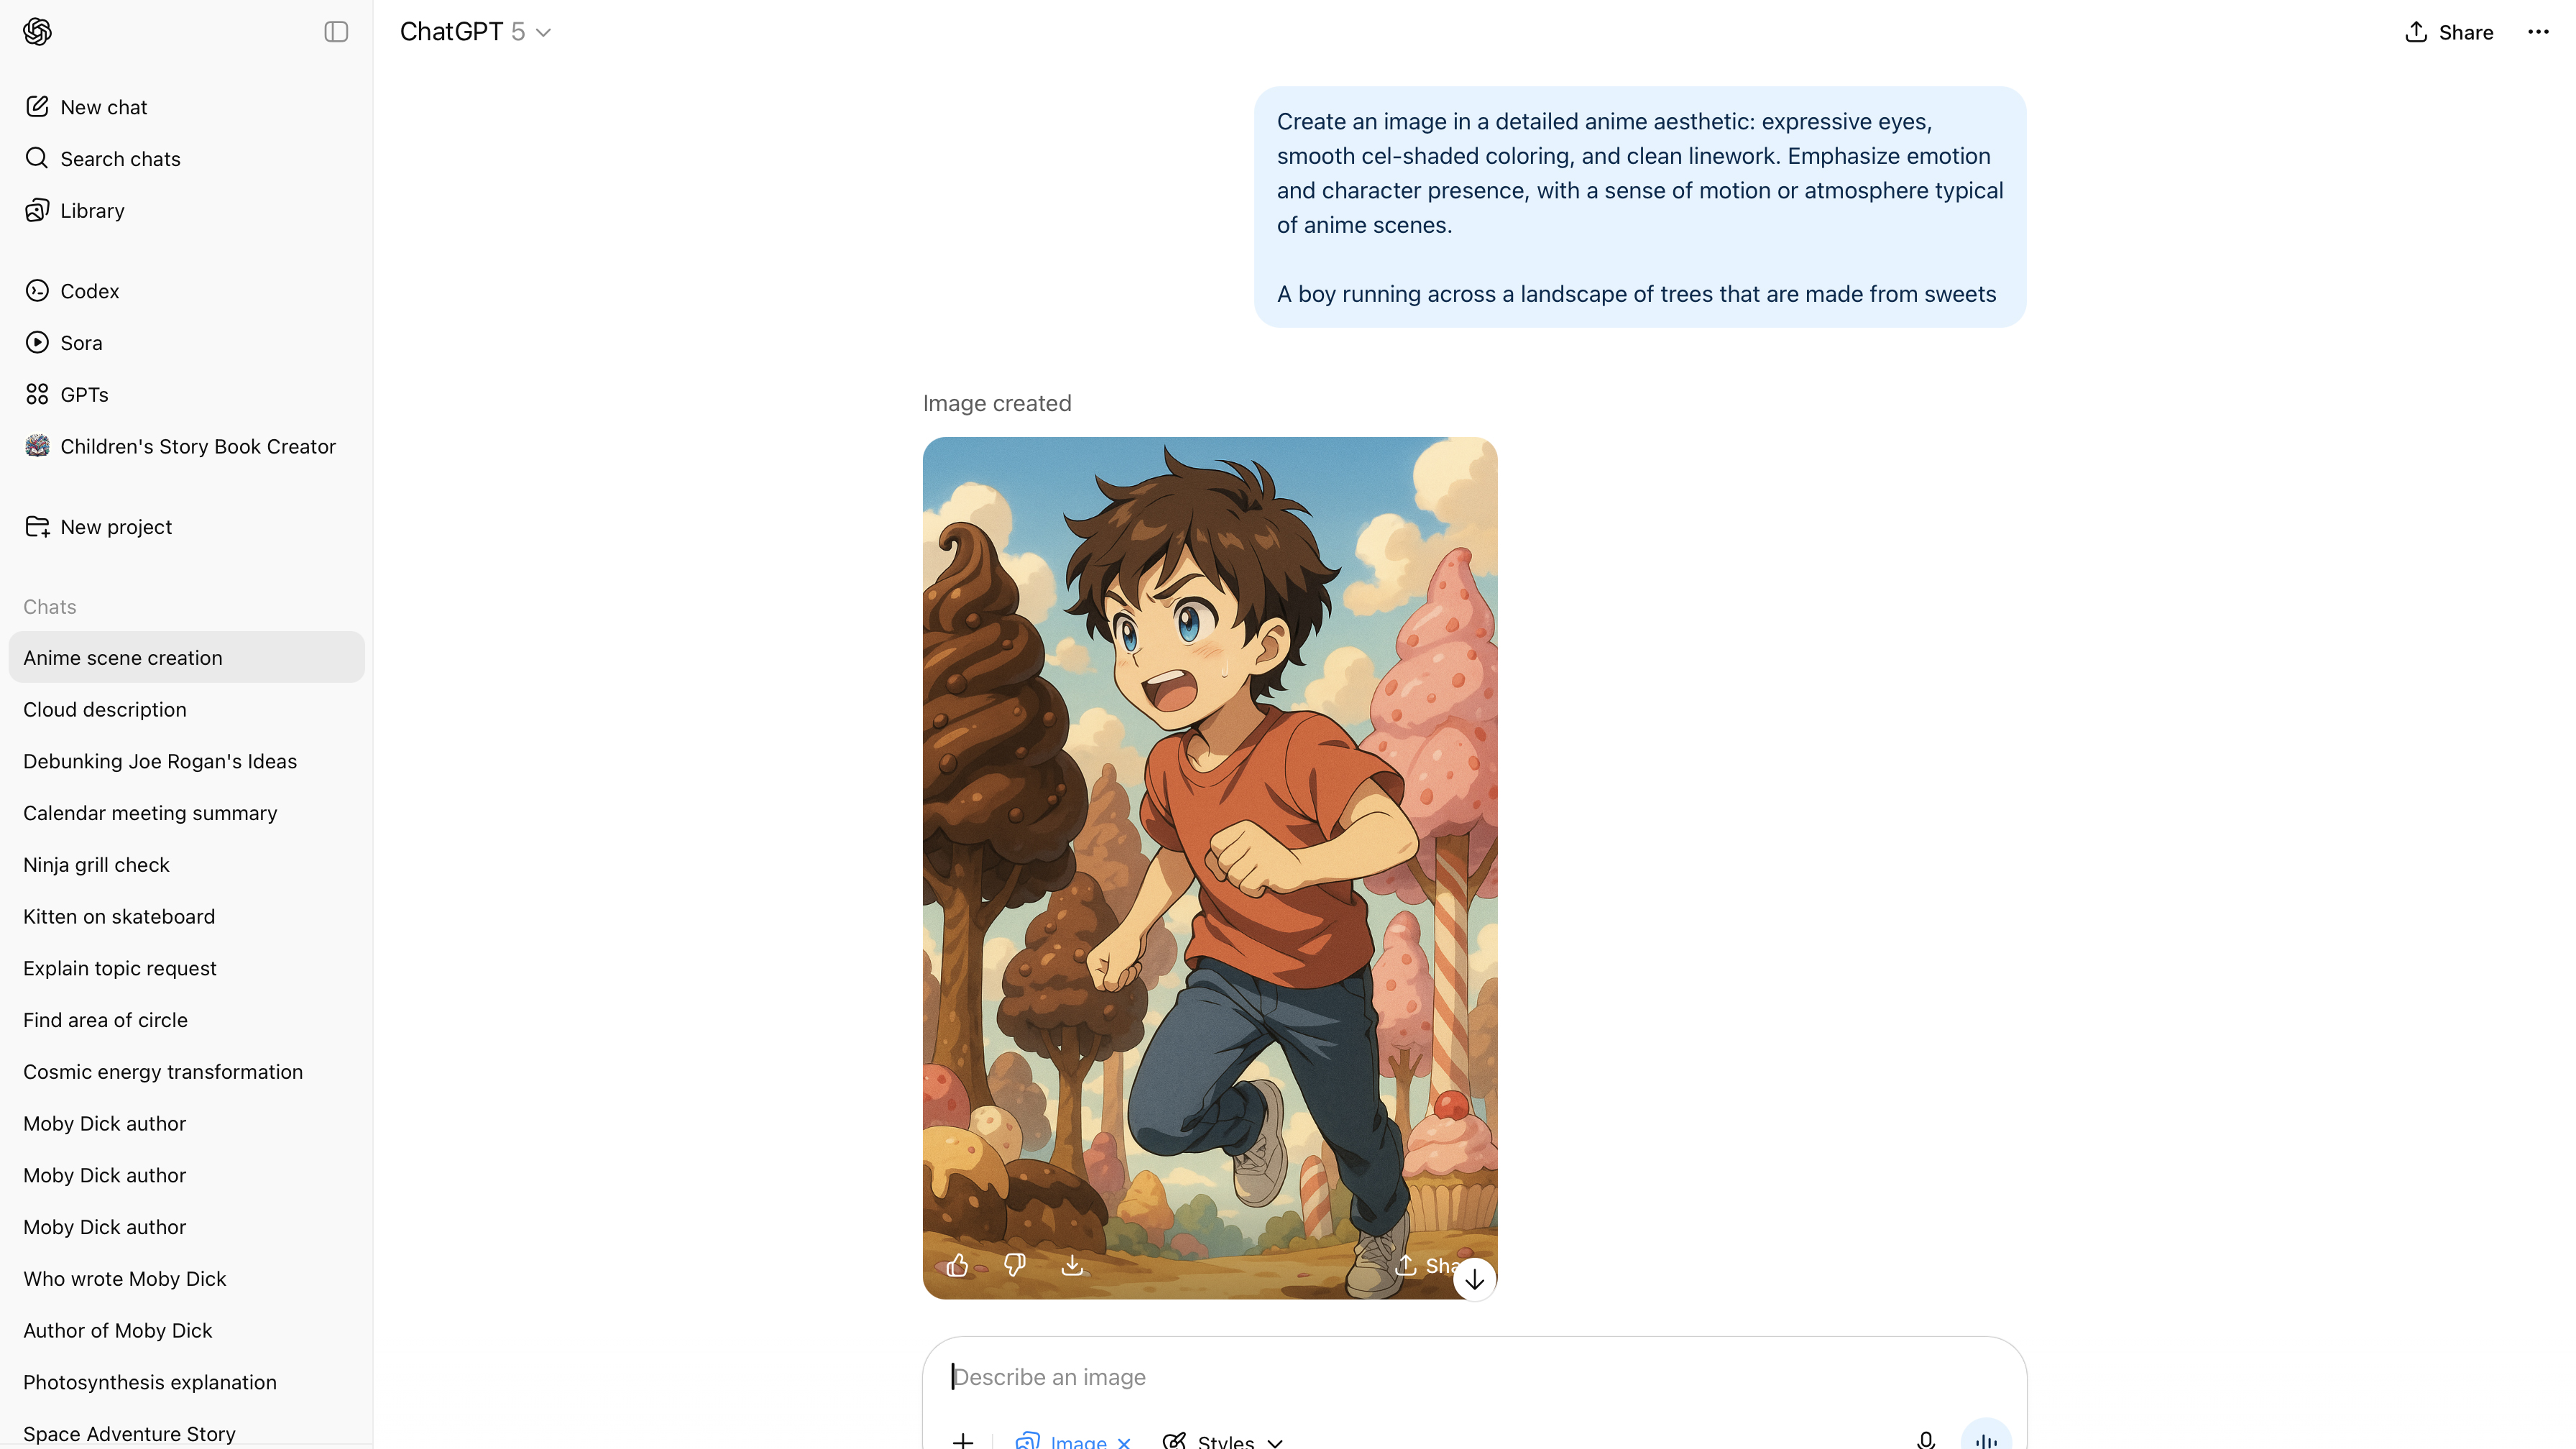
Using the Styles menu is a really easy way to select between various image styles, like Coloring Book, Cyberpunk or Anime. Selecting one of these adds a pre-written prompt into the prompt window that will make the resulting image appear in that particular style.
Don’t hit enter yet! You then type in the sort of image you want to see below the prompt in the same prompt window.
Sign up for breaking news, reviews, opinion, top tech deals, and more.
Here we’ve gone for “A boy running across a landscape of trees that are made from sweets”, and selected the Anime style, but use your imagination and come up with an image you’d love to see.
3. Change the style

You can change the style of an image you’ve already created by simply selecting a new style from the Styles menu, which puts the new prompt in the prompt window, and clicking the blue arrow. Because it keeps the context, ChatGPT will know that this new style request refers to the previous image it created.
So, here we’ve simply selected Coloring Book from the Styles menu and hit the blue arrow to make a coloring book version of the previous image. You could now print this out, and it would be great for your kids to play with and colour in. You can do the same thing with all the other styles that the Styles menu has to offer.
4. Make an edit
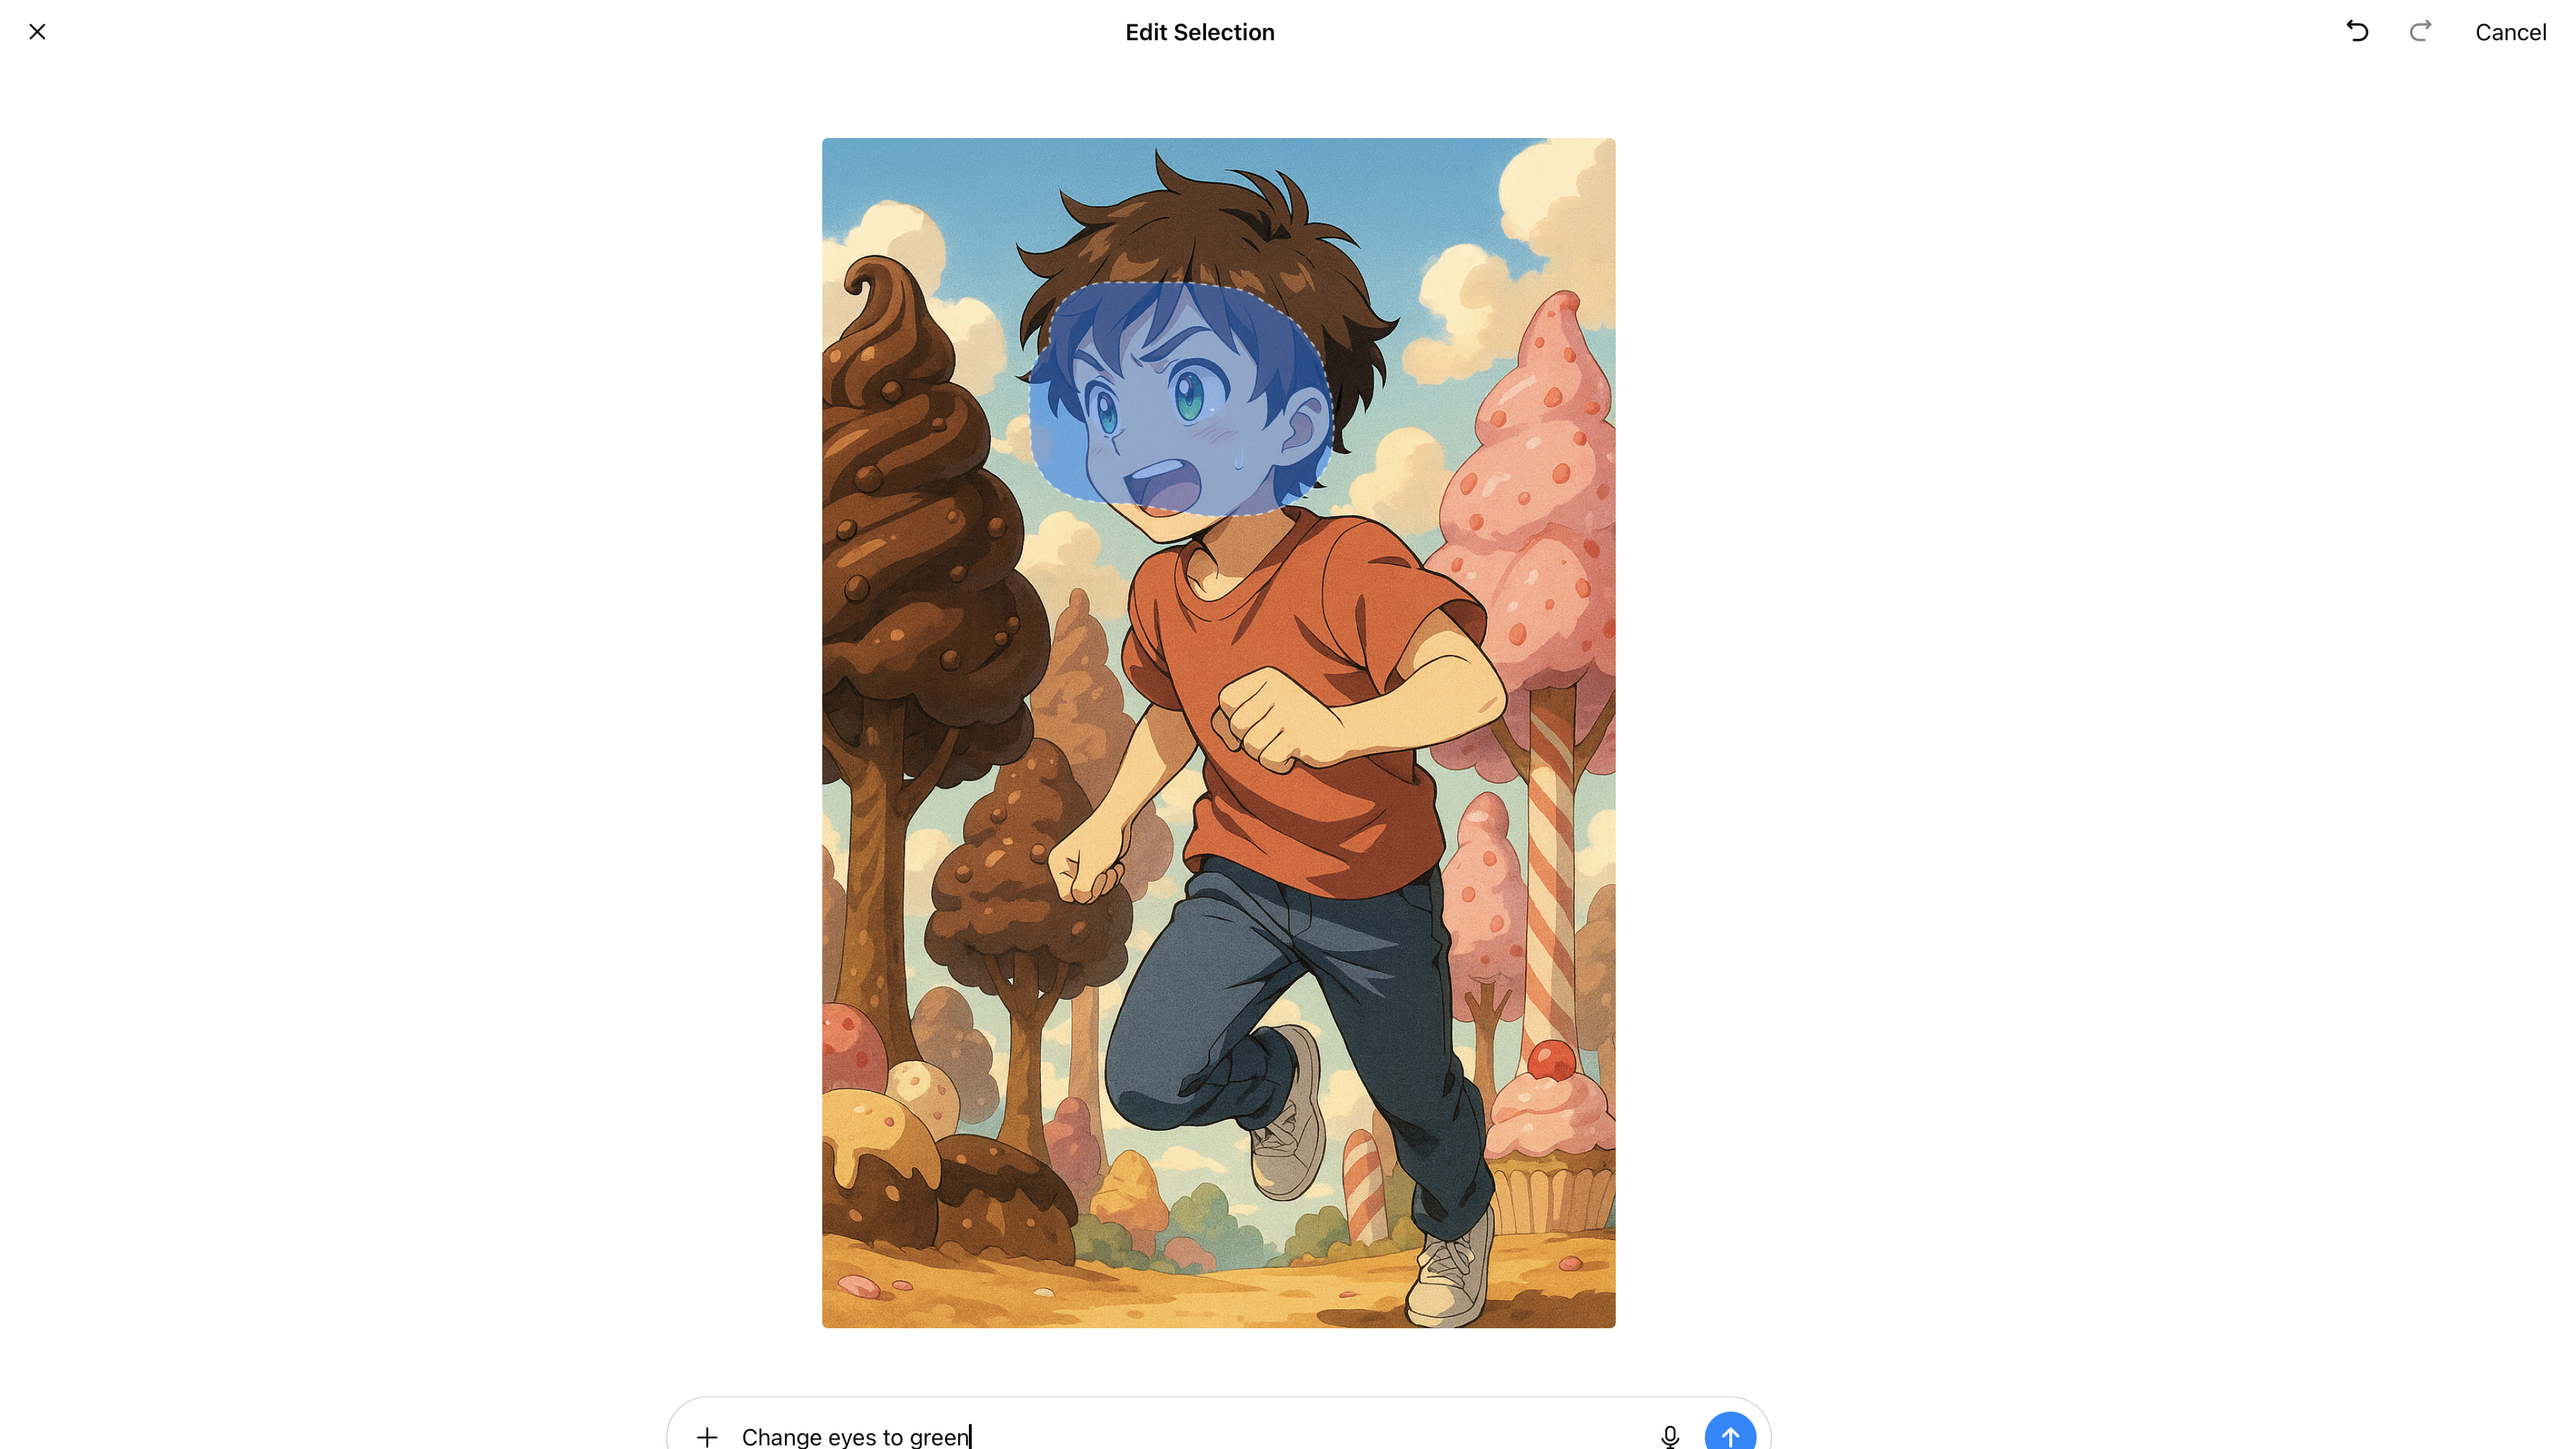
But what happens if you want to make a small change to an image you’ve already created? ChatGPT actually comes with an image editor. Just click (or tap on mobile) on the image to enter a full-screen editing mode.
You’ll now see a few new icons at the top right of the screen. Click on the icon with a dotted circle and a brush. This enables you to select the parts of the image you want to change by drawing over the offending parts of the image with this brush. Now type what you want to change into the prompt bar. There are buttons to undo and redo any changes you’ve made.
5. Using the mobile app
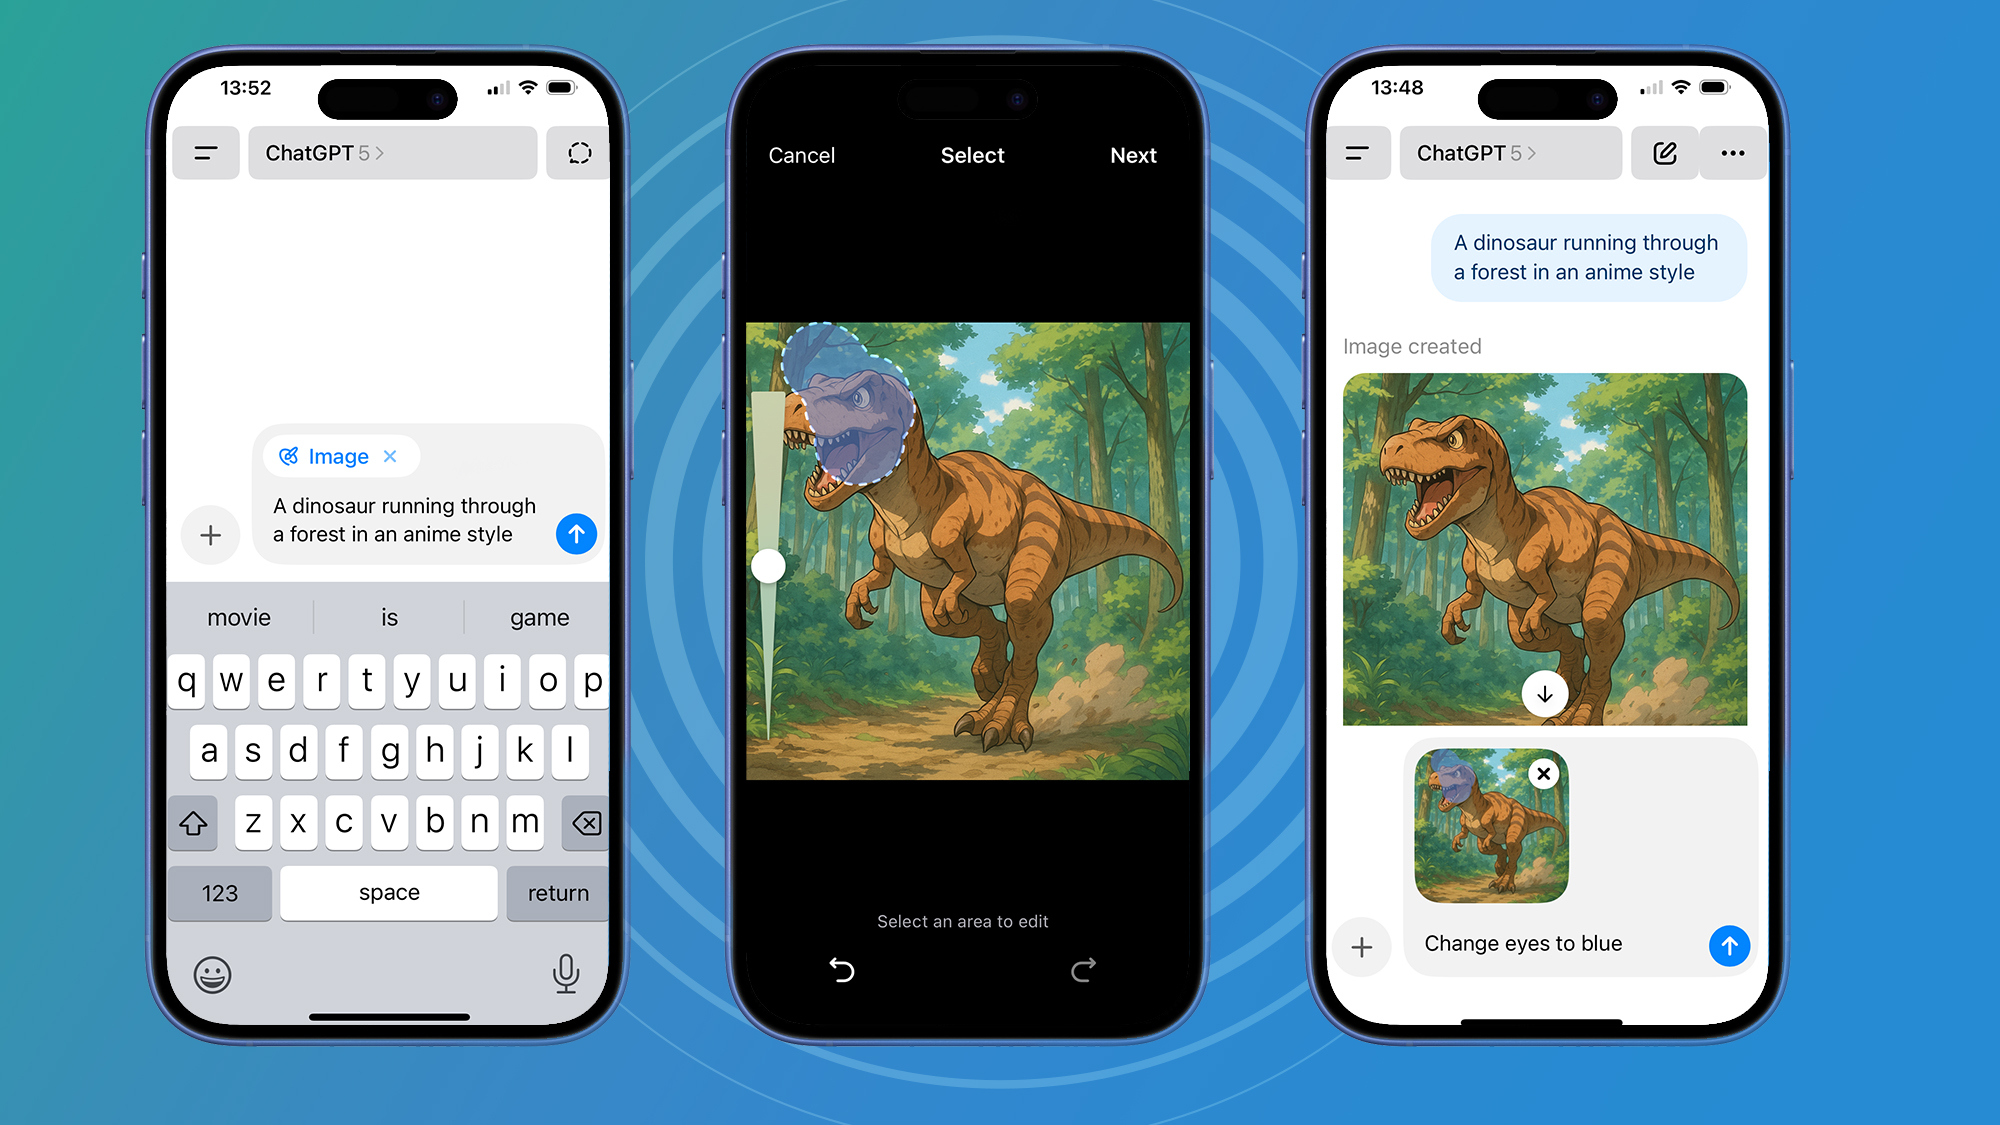
On mobile, image creation works in pretty much the same way. You select ‘Create images’ from the + menu, then type in what sort of image you’d like to create, just as you do on a desktop.
The only difference is that you don’t get the same Styles drop-down menu, so you’ll have to be more descriptive and type in text describing the style of image you want. However, you do get a handy slider in the Selection screen that enables you to change the size of the area you are editing when it comes to editing the image.
6. Working with text

One of the strengths of image generation in ChatGPT is that it can handle text very well. It’s still not perfect, but you can generally expect it to produce text that looks correct on, say, a party invitation.
You can specify what text the invite should contain in your prompt and the theme of the party, and ChatGPT will generally do a good job at creating the invitation. Just be aware that ChatGPT remembers context from images created previously in the chat, so start a new chat if you want to start with a, creatively, blank slate.
7. Editing existing images
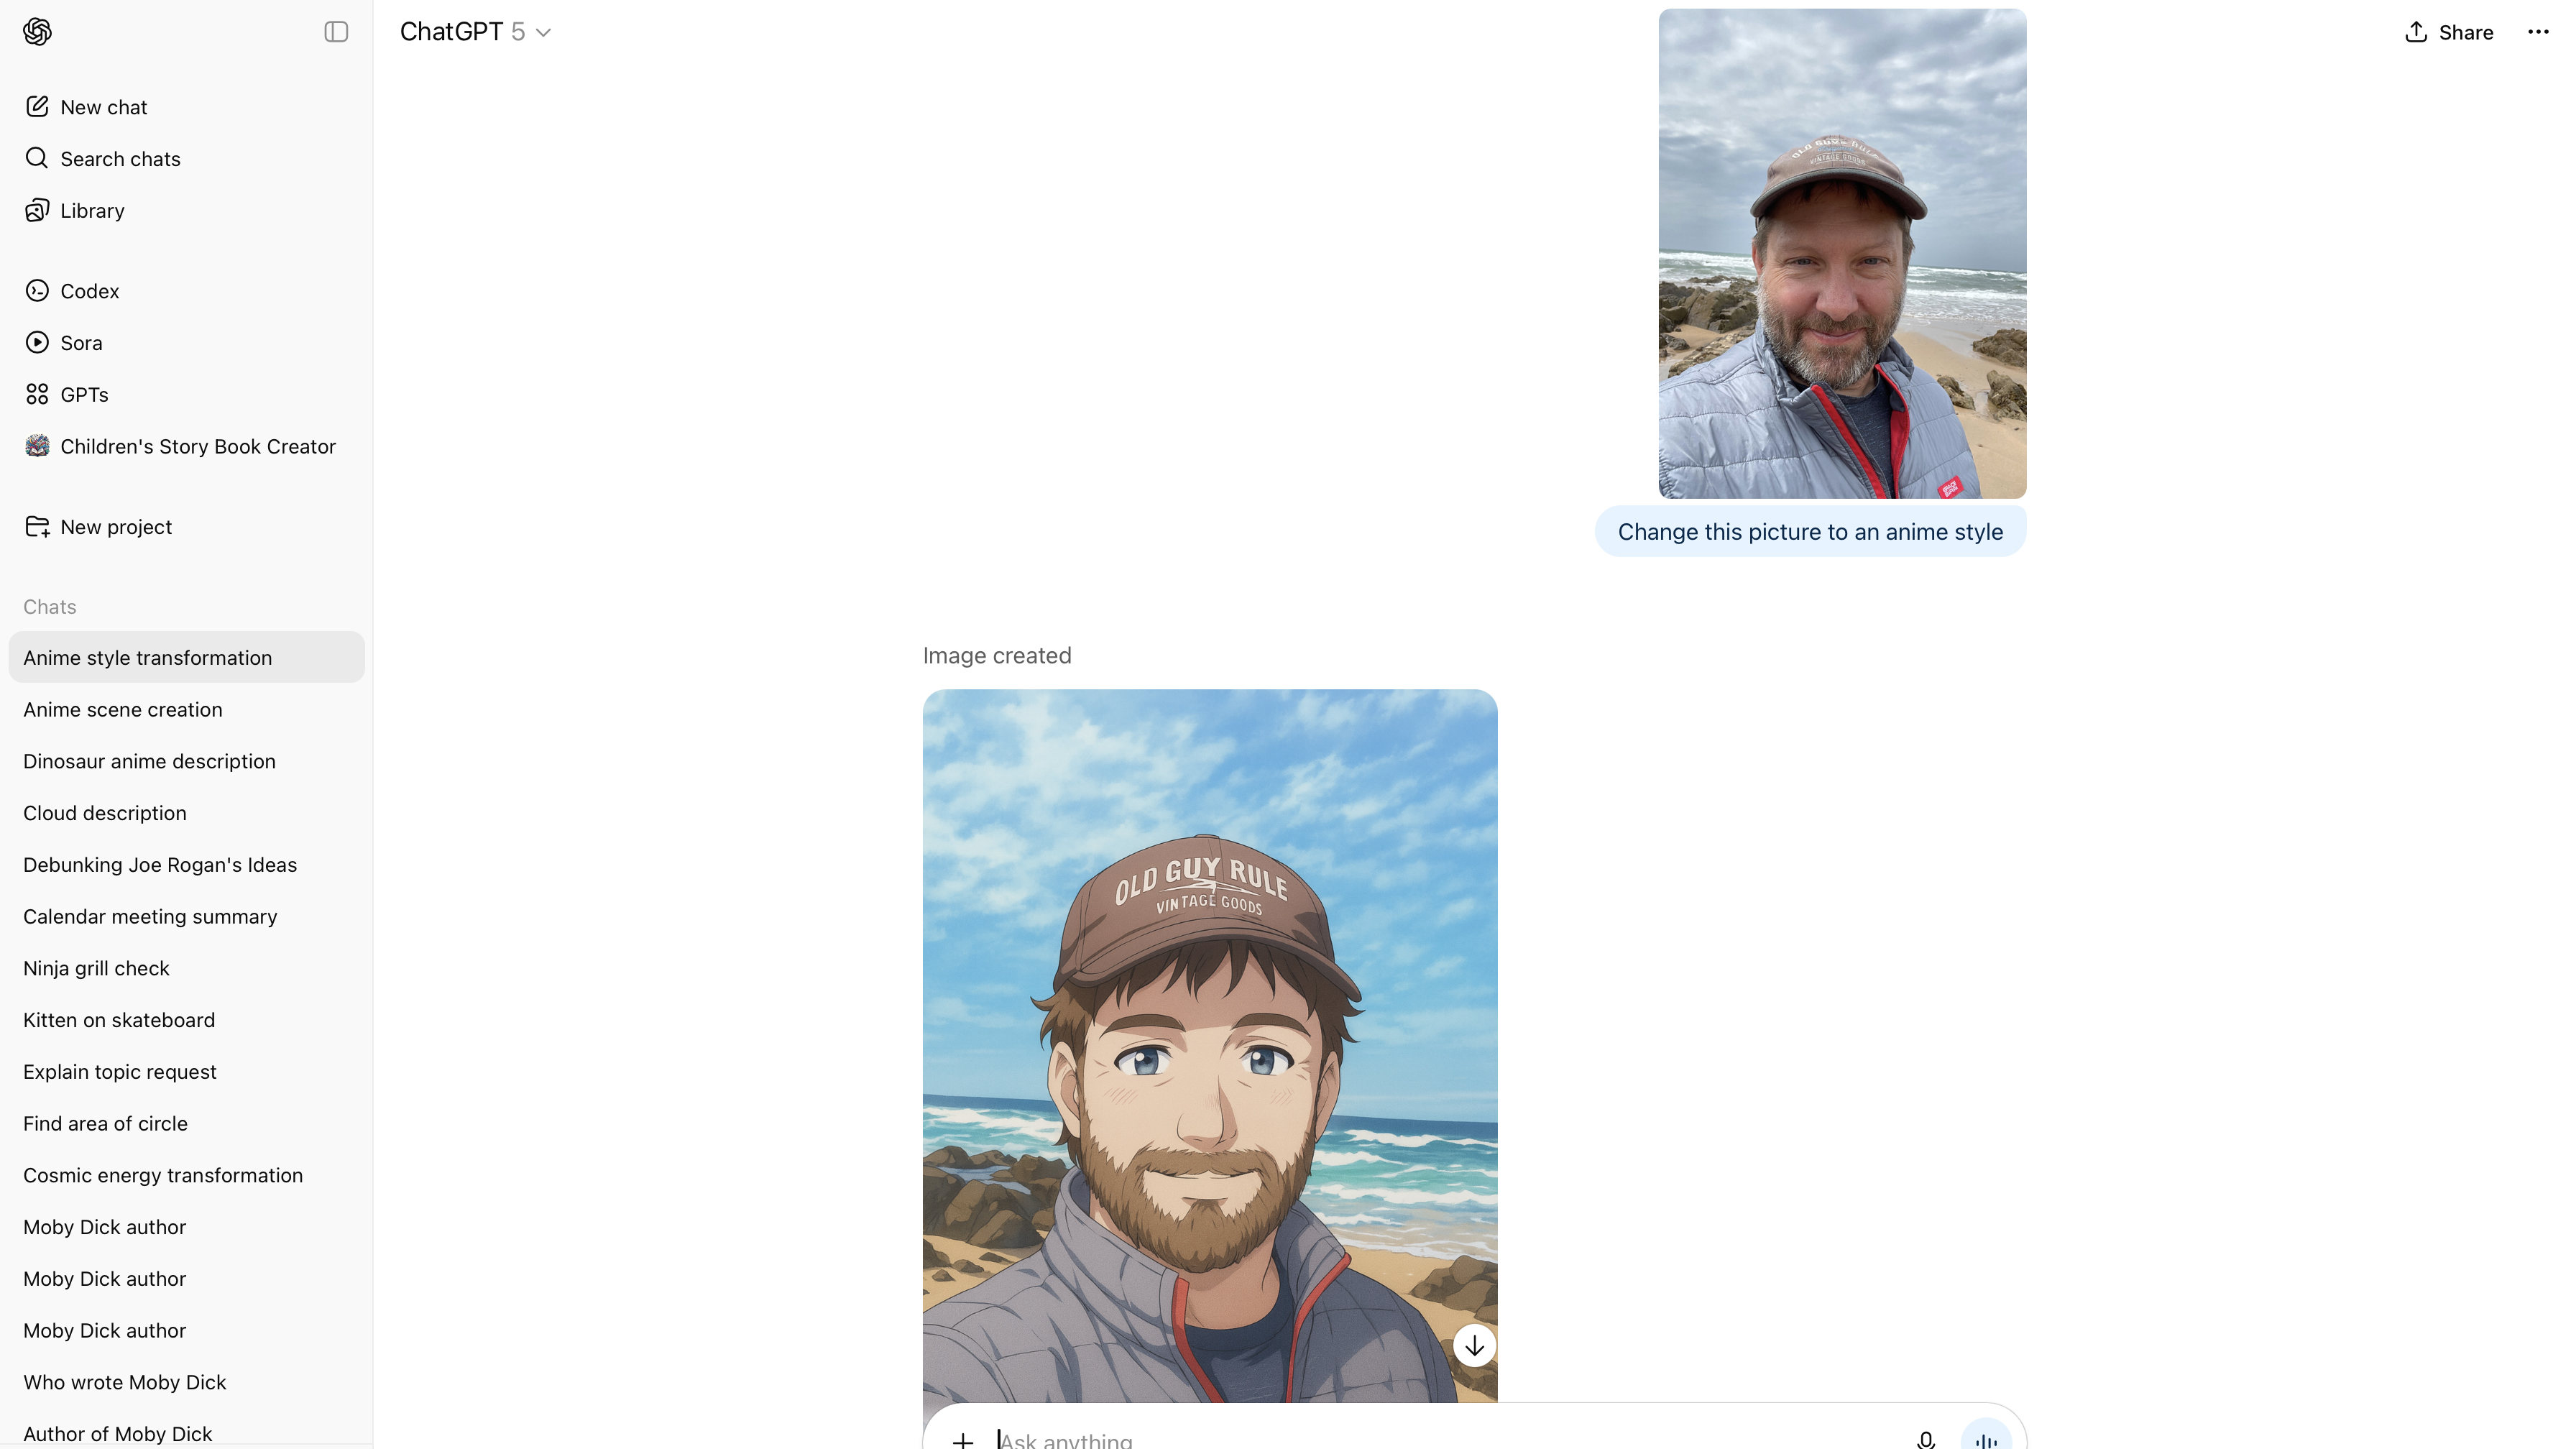
One of the most powerful features of editing images in ChatGPT is what it can do to photos you’ve already taken. You can upload them to ChatGPT and request changes. So, you can upload a photo and then type something like “make the background a waterfall” into the prompt window, or you could write something more creative like “make me look anime style” or “make me float in space”.
The possibilities really are endless. Just hit the + menu and choose “Upload photos & files” to upload your existing photo, then type your prompt.
8. Download your images
This article originally appeared as part of Essential Guide to ChatGPT, available now at MyFavoriteMagazines. Essential Guide to ChatGPT is full of top tips and expert advice, covering everything you need to know about the world’s most popular AI – from the basics to some of its latest features and functions.
The last step is to get your image out of ChatGPT, once you are happy with it. Hover your cursor over the image on the desktop (or simply tap on it on mobile) and you’ll see options appear. On mobile, you get Save, which puts the image into your Photos app, but on both systems, you also get Share.
Click or tap this, and on the desktop, you get a new window with sharing options. You’ll see links to posting it on Reddit, X, and LinkedIn are included, but there are also Download and Copy buttons. On mobile, you’ll get all your familiar sharing options that are built into the operating system, whether that’s Android or iOS.
Follow TechRadar on Google News and add us as a preferred source to get our expert news, reviews, and opinion in your feeds. Make sure to click the Follow button!
And of course you can also follow TechRadar on TikTok for news, reviews, unboxings in video form, and get regular updates from us on WhatsApp too.
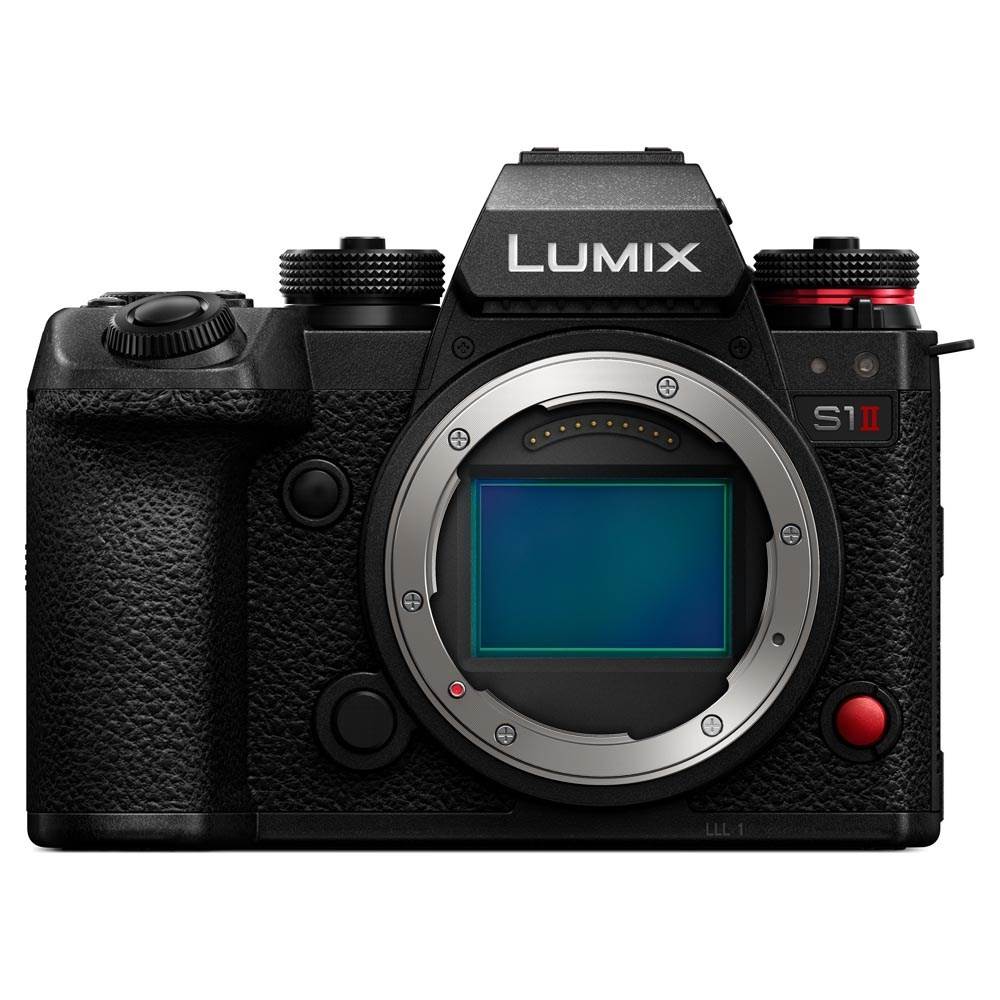
➡️ Read our full best video cameras guide
1. Best overall
Panasonic Lumix S1 II
2. Best budget
Fujifilm X-M5
3. Best vlogging
DJI Pocket 3
4. Best filmmaking
Blackmagic Cinema Camera 6K

Graham is the Senior Editor for AI at TechRadar. With over 25 years of experience in both online and print journalism, Graham has worked for various market-leading tech brands including Computeractive, PC Pro, iMore, MacFormat, Mac|Life, Maximum PC, and more. He specializes in reporting on everything to do with AI and has appeared on BBC TV shows like BBC One Breakfast and on Radio 4 commenting on the latest trends in tech. Graham has an honors degree in Computer Science and spends his spare time podcasting and blogging.
You must confirm your public display name before commenting
Please logout and then login again, you will then be prompted to enter your display name.