


We're kind of in the middle of a thing globally, and while we're fighting it by social distancing, it's kind of hard to not completely lose it when you can't socialize with friends and loved ones. That's why apps like Discord are a saving grace in these trying times.
Now, Discord has a bit of a reputation as being a chat app for PC games, and while it definitely is that, it's incredibly useful for any group of people to communicate. Whether your group of friends likes to play D&D online, listen to music together or even just want to have a nice little group chat, Discord will let you do that. You can even have a group video call with up to 10 people!
However, because Discord was created with gaming in mind, the most robust experience is going to be found on PC and Mac. There is a mobile app (which we'll dive into in more detail below), but most of the features work best on a computer.

How to install Discord
If you just want to use Discord on your iPhone or Android device, you can simply download it from the App Store or the Google Play Store. If you want to install Discord on your PC, however, simply head to discord.gg and you'll see an option to download it for Windows or open it in your browser.
For the most part, running it in your browser will be fine. There are some restrictions, of course: you can't have a system-wide push to talk and you won't be able to stream video to your channels. Plus, we simply like having the dedicated app, so that we can easily switch to it when we have a bazillion Chrome tabs open like we usually do.

Creating an account
Whether you downloaded the app or are just using the web app, you'll need to create an account. The method is similar between both but not exactly the same.
Once you open the web app, for instance, you'll be greeted by a prompt to choose a username. Type in whatever name you want – you won't even need to worry about it being taken elsewhere.
When that's done there will be a prompt that pops up asking you to "claim your account" by entering in an email address and a password. This will let you keep your place in any servers you join and to store all of your chats. If you're just getting into Discord as a one-off thing, you don't need to do this at all. But, we recommend it.
In the app, when you open it you'll be greeted with a login prompt asking for an email and a password. Now, if you already have an account and the mobile app, you can scan the little QR code to instantly log in.
If you don't have an account, you can click the 'Register' link underneath the 'Login' button to create an account. Click that link and it'll ask for your email and you'll have to choose a username and password. Once you do that, you'll have to pass a captcha – which is always annoying. And, then it'll take you to the home screen on Discord.
If you're setting up on mobile, the same process applies: pick a username and password, type them out and you’re in. You can set up two-factor authentication later, if you wish.

Join a server, or create one
Once you create an account and you're sitting in Discord, you'll probably notice that its a bit like a ghost town. You're going to need to join a server. If you already know someone with a server, ask them to send you an invite link. Once they do, all you have to do to join their server is to click the link, and it'll automatically send you to their server. No extra work on your end.
If you don't have a friend inviting you to a server, and you're just trying to like, see what all the Discord hype is about, you can hit the little looking-glass icon on the left-hand side of the screen to open up a server browser. Here, you'll see a bunch of hyper-popular servers listed out, with a search bar up top where you can search for individual games, esports teams, or whatever else may have a community built around it.

If you want to open your own server for you and your friends, hit the plus-sign button to open your own server. Once you hit that, you'll see a dialog pop up on the screen asking you to either create a server or join a server. You can click "join a server" and it'll ask you to enter a invite code, though it's easier to just, uh, click the link instead.
When you click "create a server", it'll transition into a screen where you'll be able to choose a name for your server, along with upload a picture to represent it. Just keep in mind that the size of the picture is limited to 128 x 128 pixels.
Once that's done, you'll be placed into an empty server. You can create new text channels by pressing the plus sign next to "Text Channels" or new voice channels by pressing the plus sign next to "Voice channels" If you want to add new people to your server, you can right click the icon for your server on the left-hand side of the screen and select "invite people". From there, you'll be able to invite specific friends or generate an invite link that you can send to anyone to have them join.
Play around with your settings
Once you're inside Discord and you're ready to hop in a voice server and chat with friends, you should take a second to make sure all your settings are on point. Assuming you're on Windows or Mac, you can click the little cog wheel next to your name on the bottom-left corner of the screen to enter the settings panel.
From here, you'll find settings that will let you change account information, authorized apps, overlay and more. However, you probably won't have to mess around with any of this to start, and where we would focus attention at first would be in Voice & Video.
In our time with Discord, we've had to deal with so many people with audio issues that it's not even funny. So before you even think about jumping into a voice chat, click on the Voice and Video section. Under Input and Output Device, make sure the devices you want to use are selected.
This isn't a hard and fast rule, but in our experience, if you join a voice server with the wrong stuff selected, it's possible you'll have to completely quit out of the program and launch it again in order to get it working right.
There's also an option to select your input mode, from Voice Activity to Push to Talk. If you're just chilling with your friends in the server, having Voice Activity enabled is probably fine: the background noise kind of adds to the experience. However, if you're gaming with friends, we'd advise selecting Push to Talk, to minimize the amount of distracting noises coming in.

Customize your server and more
Discord is an incredibly powerful and customizable platform, which means you can create as advanced a community as your imagination allows. You can add bots that will let your friends level up in the server as they talk more, bots that will play music from YouTube in the voice channels so everyone can listen together and so much more.
Frankly, the possibilities are kind of endless, and we recommend getting a bit of experience with the software before you really dive into this.
For advanced users, Discord doesn't place any real restrictions on what you can do. Our goal here is to get people started with the software, but if you really want to go all-out and create the server of your dreams, that option is definitely open to you. There are servers out there with thousands and thousands of users – giant communities with all the bells and whistles you could hope for. But, if you're just looking to virtually hang out with your friends, you don't have to worry about any of that.
Discord mobile app: streamlined, but full-featured
Like many chat apps, Discord can be used on the go via its respective iOS and Android apps. As expected with mobile apps, it doesn’t provide the exact same experience as on desktop - but it’s got the features you need most.
If you're just relying on username and password, enter those and log in, easy as that. If you’ve opted for 2-factor authentication (2FA), this can get a little trickier. You’ll need to satisfy your conditions – whether it’s using Google Authenticator, Authy, or SMS over your phone. Don’t worry if you can’t remember, that’s what the backup codes are for – though keep in mind those will change every time you reset 2FA.
You can use your phone for two-factor authentication itself via the Google Authenticator or Authy apps themselves, of course. On either version, head to User Settings > Account and click Enable Two-Factor Auth. You’ll have to run through either of the aforementioned apps to initially set up 2FA. You can also set up SMS authentication instead directly from the mobile app (in case you lose access to either of the former methods).
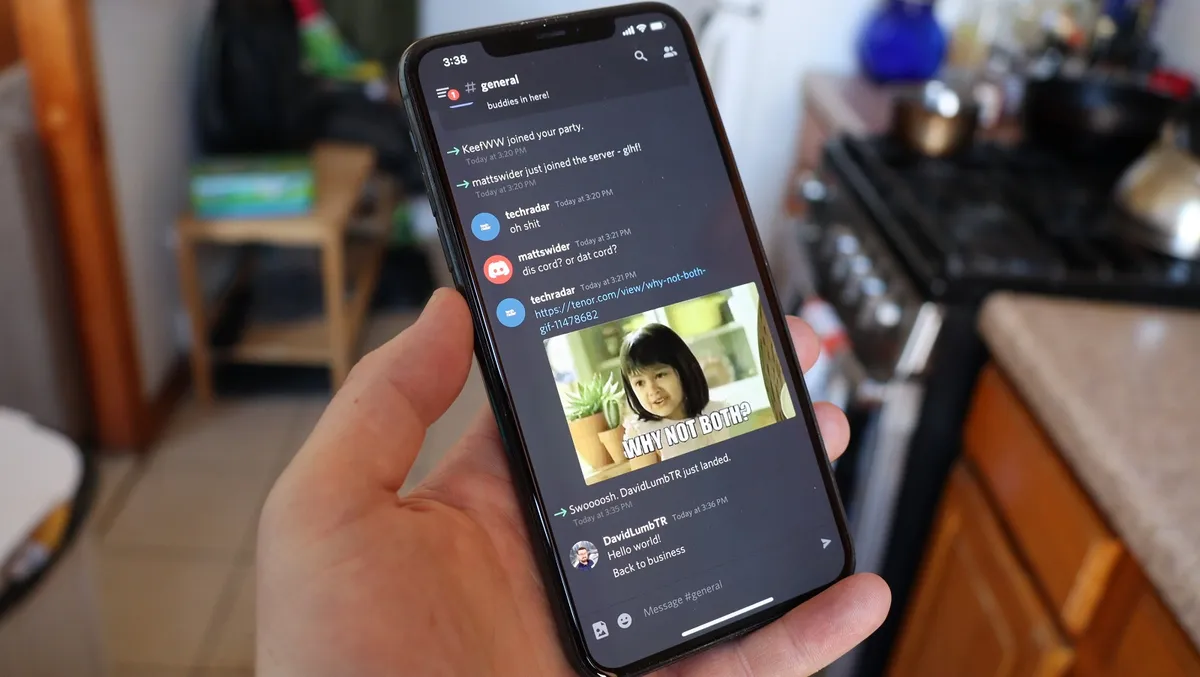
Once signed in to the Discord mobile app, the interface works much like the desktop app: the center is your current chat channel, swipe right to get to the members list, or swipe left from the center to see a list of channels and servers. Instead of a ‘Home’ button, the top left option is for direct messages. Instead, the app’s bottom button row has most of the ‘Home’ functions – left to right, the buttons bring you to the ‘Home’ of channels and servers, friends list, search, mentions, and account.
The mobile app keeps most of the functionality of the desktop version, though it might be shuffled around. Some features, like changing your name, aren’t present in mobile.
- Here are the best gaming laptops if you want to play with a friend
