How to back up your photos while traveling
Top tips to keep your camera snaps safe while you’re traveling

Sign up for breaking news, reviews, opinion, top tech deals, and more.
You are now subscribed
Your newsletter sign-up was successful
Holiday shots or location shoot, your treasured travel snaps are worth protecting. Anything can happen when you’re roaming, which is why it pays to take precautions. After all, travel insurance might cover your camera and gear, but it can’t replace the memories stored on a missing SD card.
We’ve outlined a range of backup options in our guide below, with several solutions to suit different types of travel photographer. Which approach suits you best will depend on how you’re traveling and what’s in your kit bag: if you’ve packed a laptop, for example, you might find it easiest to copy files from your camera and upload them to one of the best photo cloud storage services. If not, multiple SD cards might work better.
Whichever method – or methods – you choose, keeping your photos backed up while traveling requires some effort. To ensure the security of your snaps, you’ll need to regularly back up the images kept on your camera. This is especially true if you’re on a longer trip, where you can quickly amass hundreds of photos on your memory card. But it’s worth every second for the peace of mind that comes from knowing your precious pics are protected.
- Google Photos vs iCloud: which cloud photo storage giant is best for you?
How to back up your photos while traveling
How to back up using memory cards
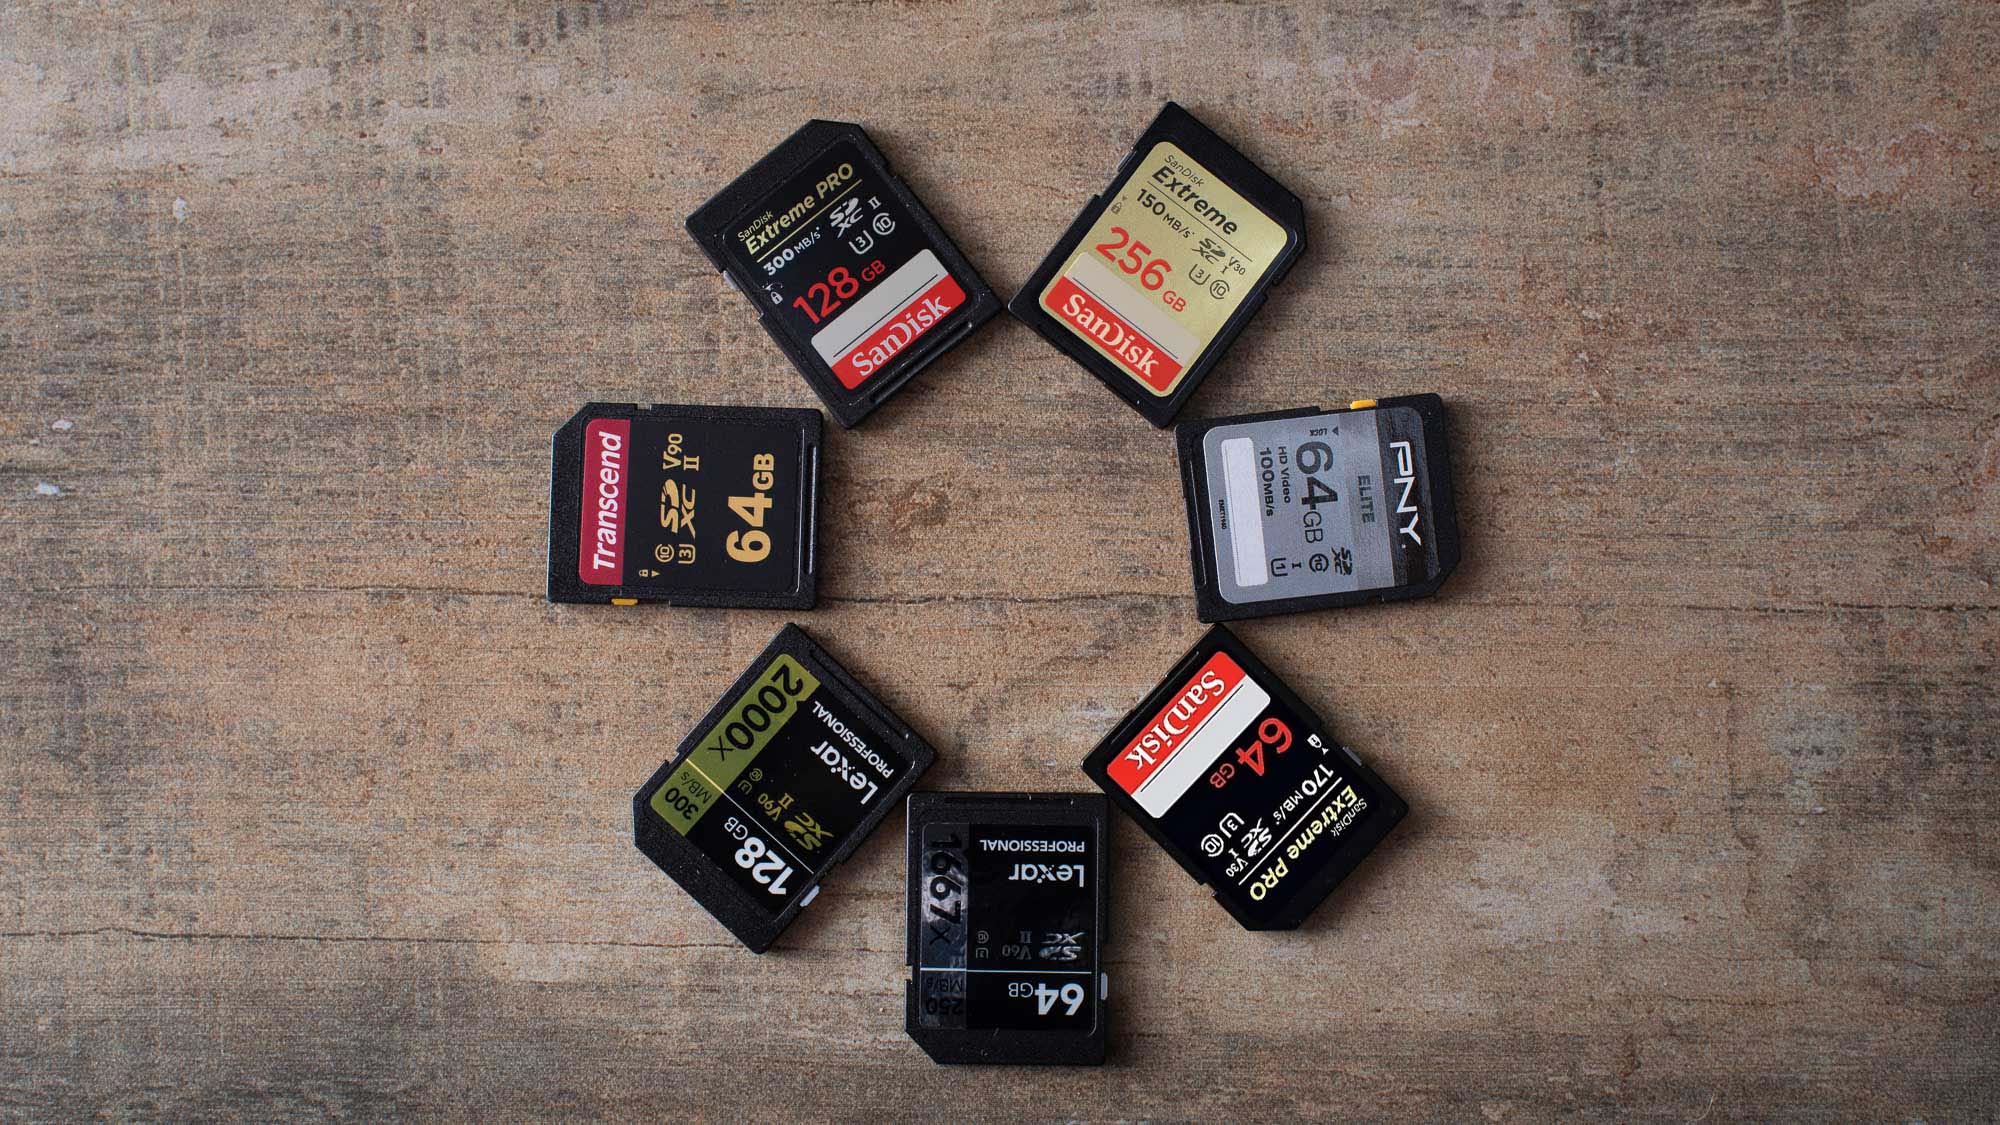
One of the easiest ways to back up your photos while traveling is to use multiple memory cards. While many of the best SD cards offer high storage capacities at affordable prices, it’s often sensible to travel with several smaller memory cards. By swapping these cards regularly, you can limit how many precious images are kept in your camera at any one time. So, should the worst happen and your camera somehow get lost or stolen, you won’t lose your entire library of travel photos.
To protect your backup cards, it’s best to invest in a foam-lined carry case. You’ll find plenty of options online, ranging from soft-shell wallets to rugged, hard-shell cases. For extra security, try to store this separately from your camera bag.
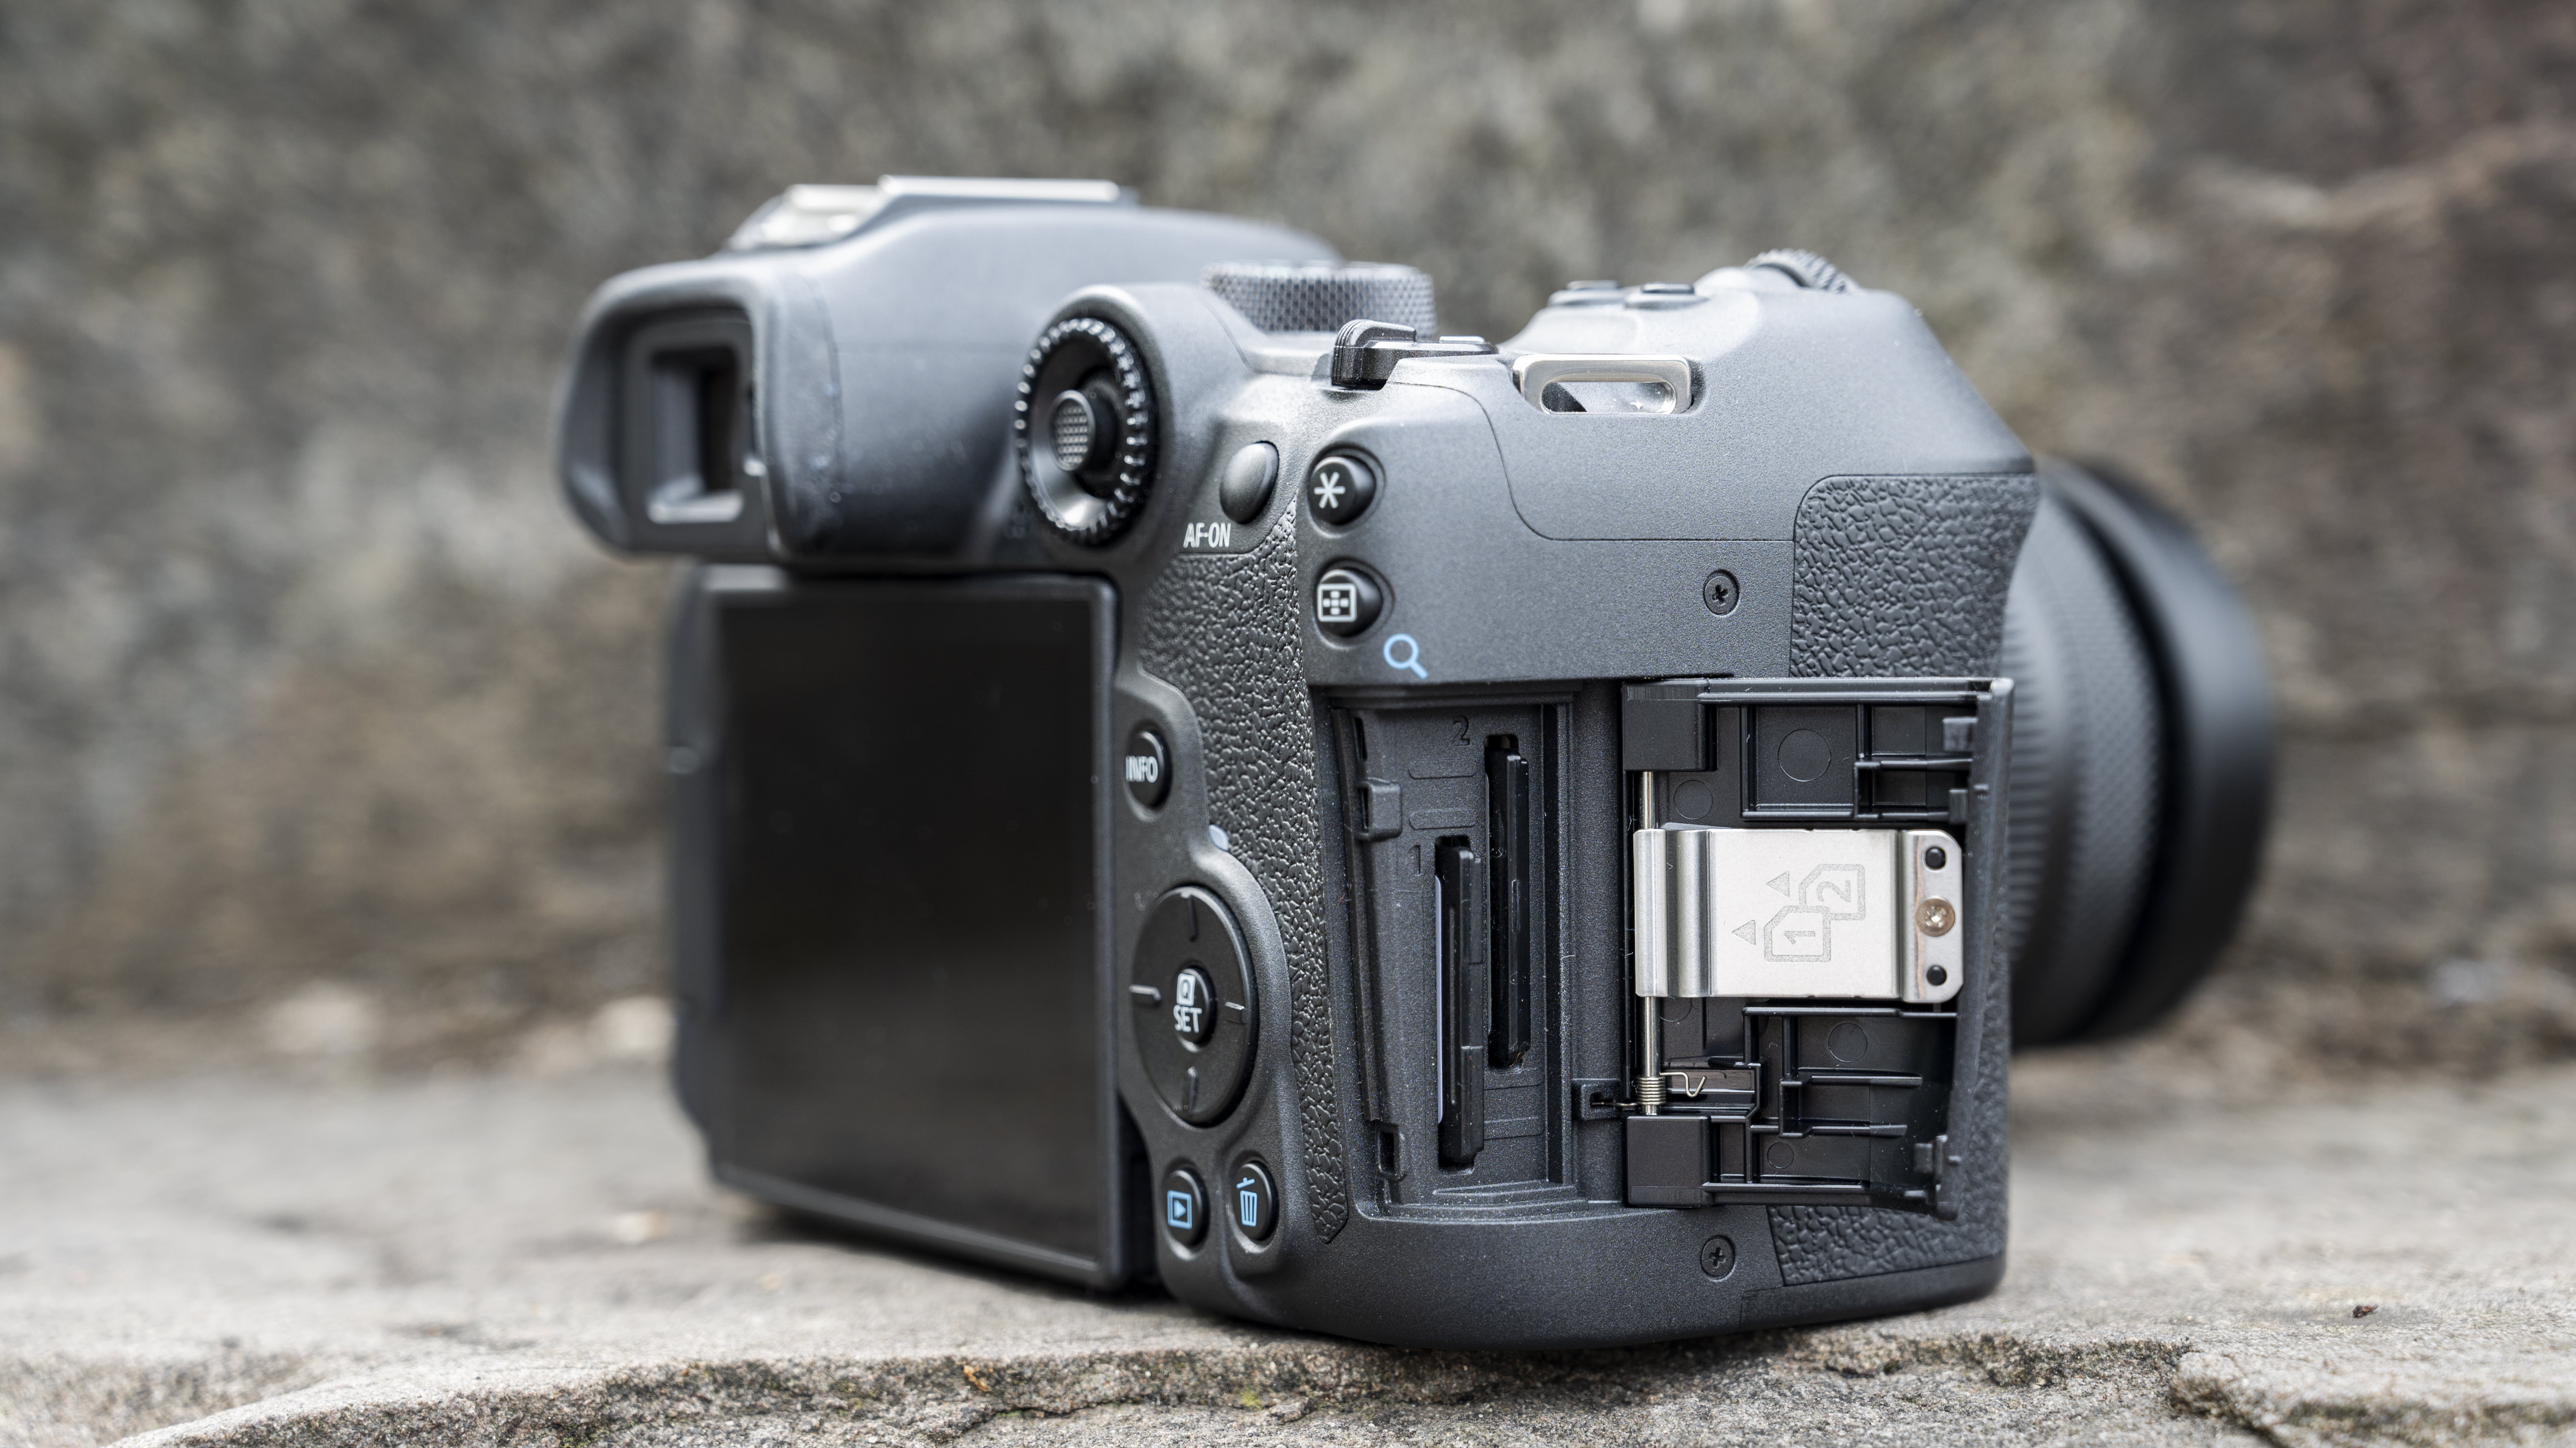
Many of the best travel cameras have multiple memory card slots. If your camera has this option, it’s a good idea to configure one slot to act as a backup for the other. While it’s rare for memory cards to fail, this will give you the added reassurance that all of your shots are being saved in duplicate. It also means you can recover accidentally deleted snaps from the backup card if you need to.
How to back up using a card reader
If you’re traveling with your laptop, the easiest way to back up your photos is to make a copy of your image files onto its hard drive. Best practice when it comes to backing up is to keep multiple copies – so while you’re still on the road, don’t delete the originals from your SD card(s) unless you have to.
Sign up for breaking news, reviews, opinion, top tech deals, and more.
If your laptop has a built-in memory card reader, backing up is as easy as inserting the card and copying the files over to your laptop’s hard drive. If it doesn’t, you can easily pick up an affordable card reader online. There are simple options for SD cards alone, as well as plug-in readers for a range of card types, including CFexpress. You’ll also find options with USB-A and USB-C connectivity, depending on your device.
If you’re not carrying a laptop but do have a tablet in your backpack, you might be able to use that to back up your photos while traveling. You can find SD card adapters that work with most of the best tablets, including Lightning and USB-C card readers. Connect these to your tablet and you should be able to download photos to your device’s built-in storage.
How to back up using Wi-Fi
If your laptop doesn’t have a built-in card reader or the right peripheral, you’ll likely be able to link it to your camera using a USB cable and proprietary software. But if you don’t have the correct cable – or simply prefer to work wirelessly – you might be able to back up photos using your camera’s wireless connectivity instead. Most modern camera models, including many of those in our round-up of the best cameras, feature built-in Wi-Fi, which you can use to connect directly to your laptop, tablet or smartphone.
The process of transferring photos wirelessly varies by make and model. You’ll often need to download a specific app or software in order to access your camera’s storage and copy files across from it. Depending on your camera, the connection process can also require a deep-dive into its settings menus to enable wireless connectivity and pair it with your device.
While the initial setup can involve several steps, once you’ve established the connection, it should be easier to repeat the process later in your travels. You can then use this wireless pairing to periodically back up your travel snaps by downloading copies of your photos to your device’s built-in storage.
How to back up to an external drive
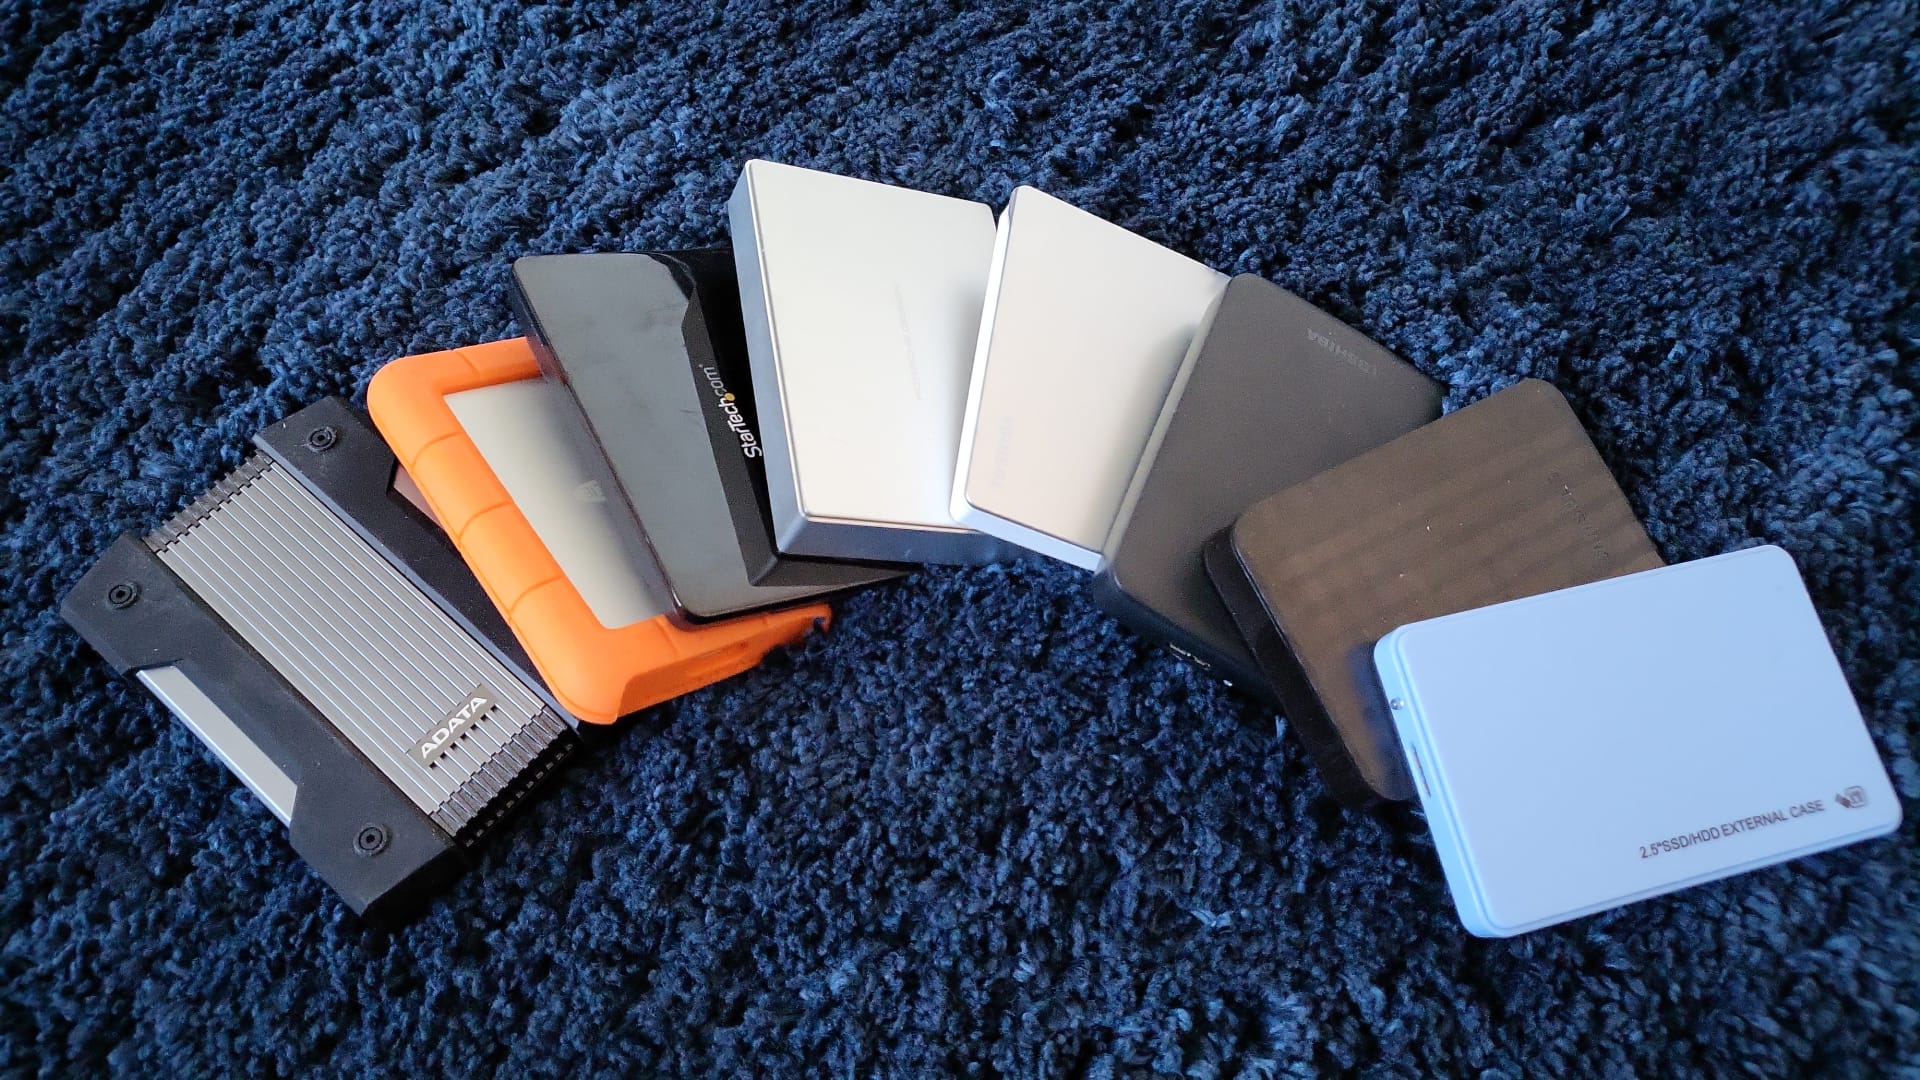
As above, the more places in which you store copies of your photo files while traveling, the safer they are. One of the easiest ways to create a backup of your travel snaps is to keep copies on flash drives or an external hard drive.
USB drives today offer rapid transfer speeds and a wide range of capacities, with some of the best flash drives weighing in at 1TB. That means you can stash a whole cache of travel snaps on a single, lightweight drive. The downside is that such a small drive is easy to misplace. If you’re serious about going the extra mile to protect your photos, you might consider using multiple flash drives to divide or duplicate your library.
The alternative is an external hard drive. These are small enough to easily fit in a backpack, yet offer sufficient storage space to comfortably accommodate an entire trip’s worth of travel snaps. If your travel plans are more adventurous, you’ll also find several rugged hard drive options in our round-up of the best external hard drives, which promise to protect your files against dust, drops and water.
If you’re traveling with a laptop, backing up photos to an external drive is as easy as connecting your camera (or its memory card), inserting the drive and copying the files. If you don’t have a laptop, you’ll need to be more imaginative. One option is to seek out a hostel or co-working space with computers you can use to execute the file transfer.
If you can’t find access to a PC, all is not lost. Certain specialist external hard drives feature built-in SD card readers for backing up images directly. One example is the now-discontinued LaCie Rugged RAID Pro, which you can still find online if you look hard enough.
How to back up using a wireless drive

If you’re willing to invest in an all-in-one solution to streamline your photo backups while traveling, we recommend looking at a wireless drive. More than just a place to store your travel snaps, these work as a complete hub for your files, offering many of the benefits of the options outlined above.
One of the best options is Western Digital’s My Passport Wireless SSD. Available in several capacities, this shock-resistant external hard drive works as a standalone storage system, with a built-in battery that runs for up to 10 hours. A built-in SD card reader means you can copy photo files directly to the drive. If your camera uses a different type of card, you can also connect a compatible card reader to its USB 2.0 port.
Once your files are copied to the drive, you can access them using your smartphone or tablet via the drive’s own Wi-Fi connection. This way, you can create additional backups of your travel photos by saving the photos to your device and, to go a step further, uploading them to the cloud (see below). Western Digital’s isn’t the only wireless drive, but it is one of the few with an SD card reader.
How to back up to the cloud
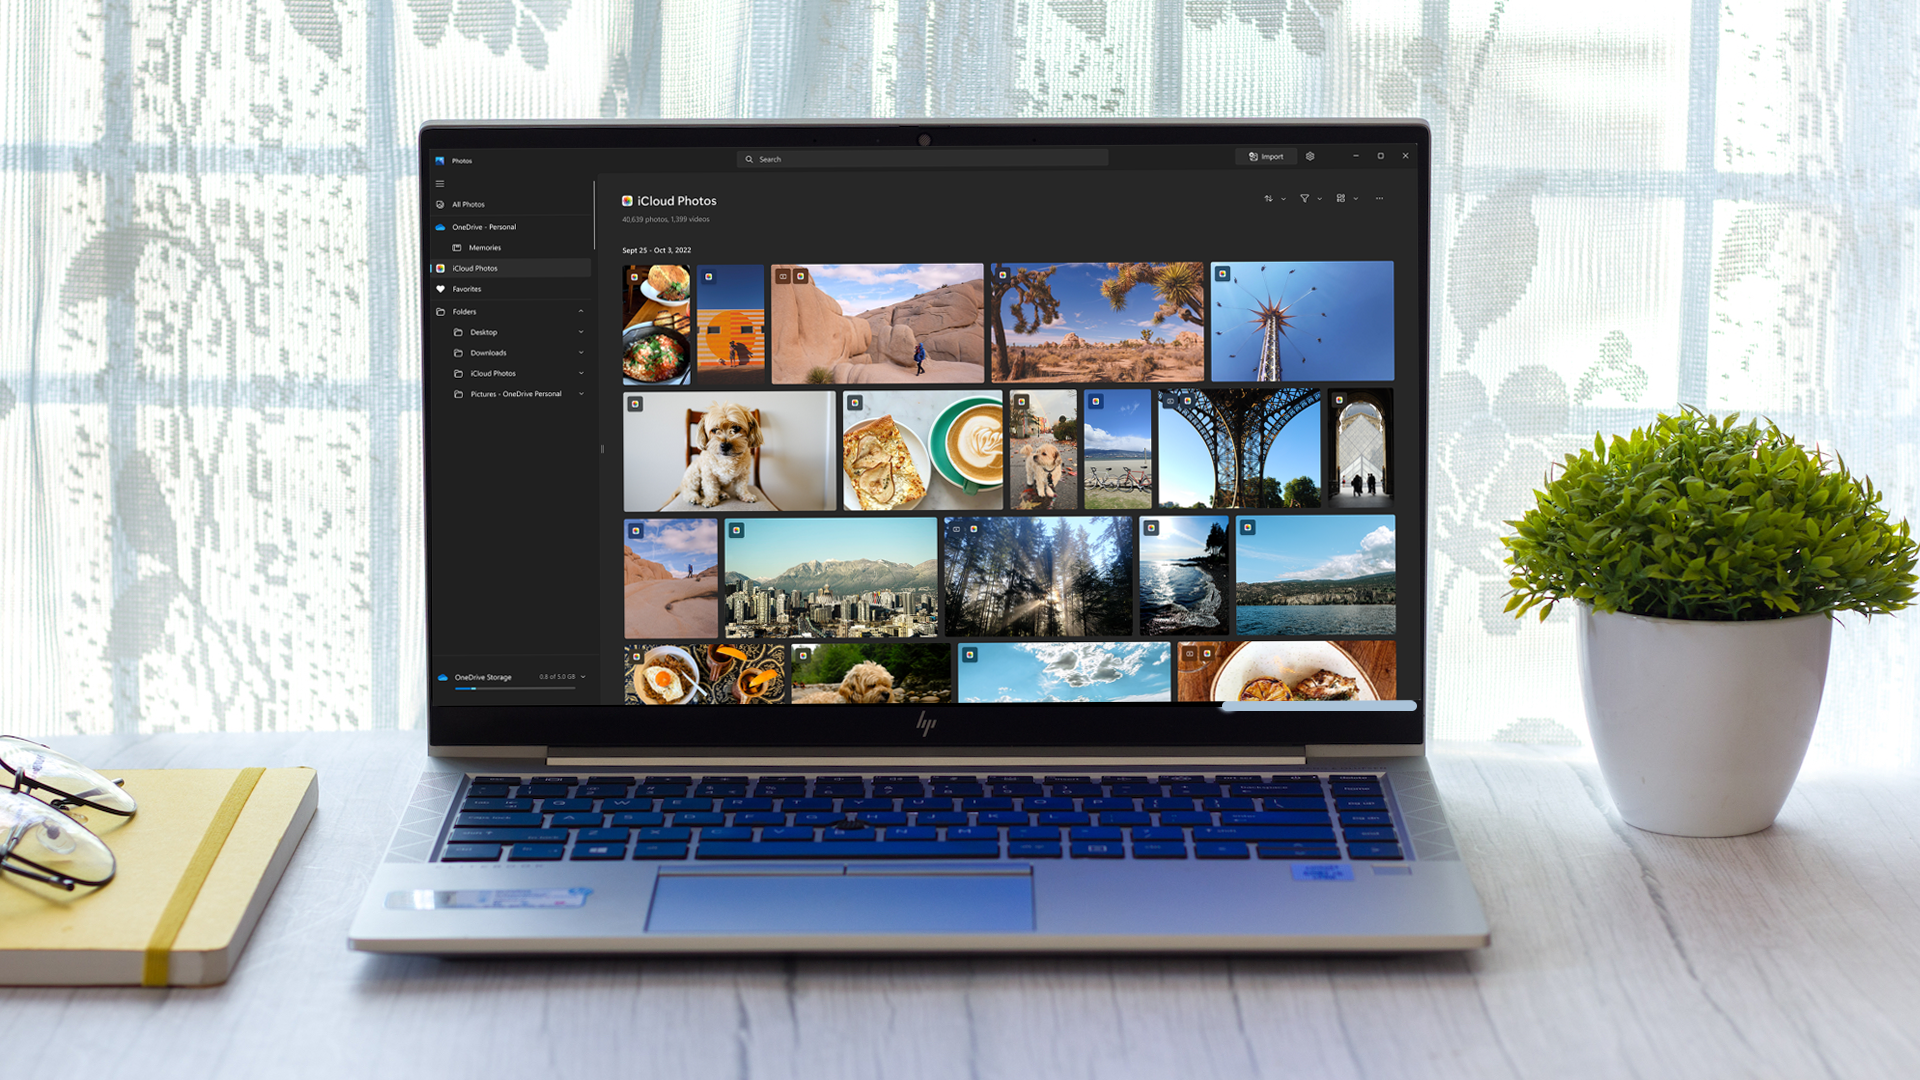
While physical photo backups are the easiest to create while traveling, a cloud backup service is objectively the most secure. Once copies of your images are uploaded to the cloud, they can’t be lost or stolen on your journey. The only drawback? Uploading to the cloud requires a strong Wi-Fi or data connection, and the file sizes associated with photos mean the process can take a while.
We’ve compiled a comprehensive round-up of the best cloud storage for photos options for every type of photographer, which is designed to help you decide which one best suits your needs. Most of these offer apps for both desktop and mobile devices, including Google Photos, iCloud and Dropbox – which means you’ll be able to access the cloud even if you leave your laptop at home.
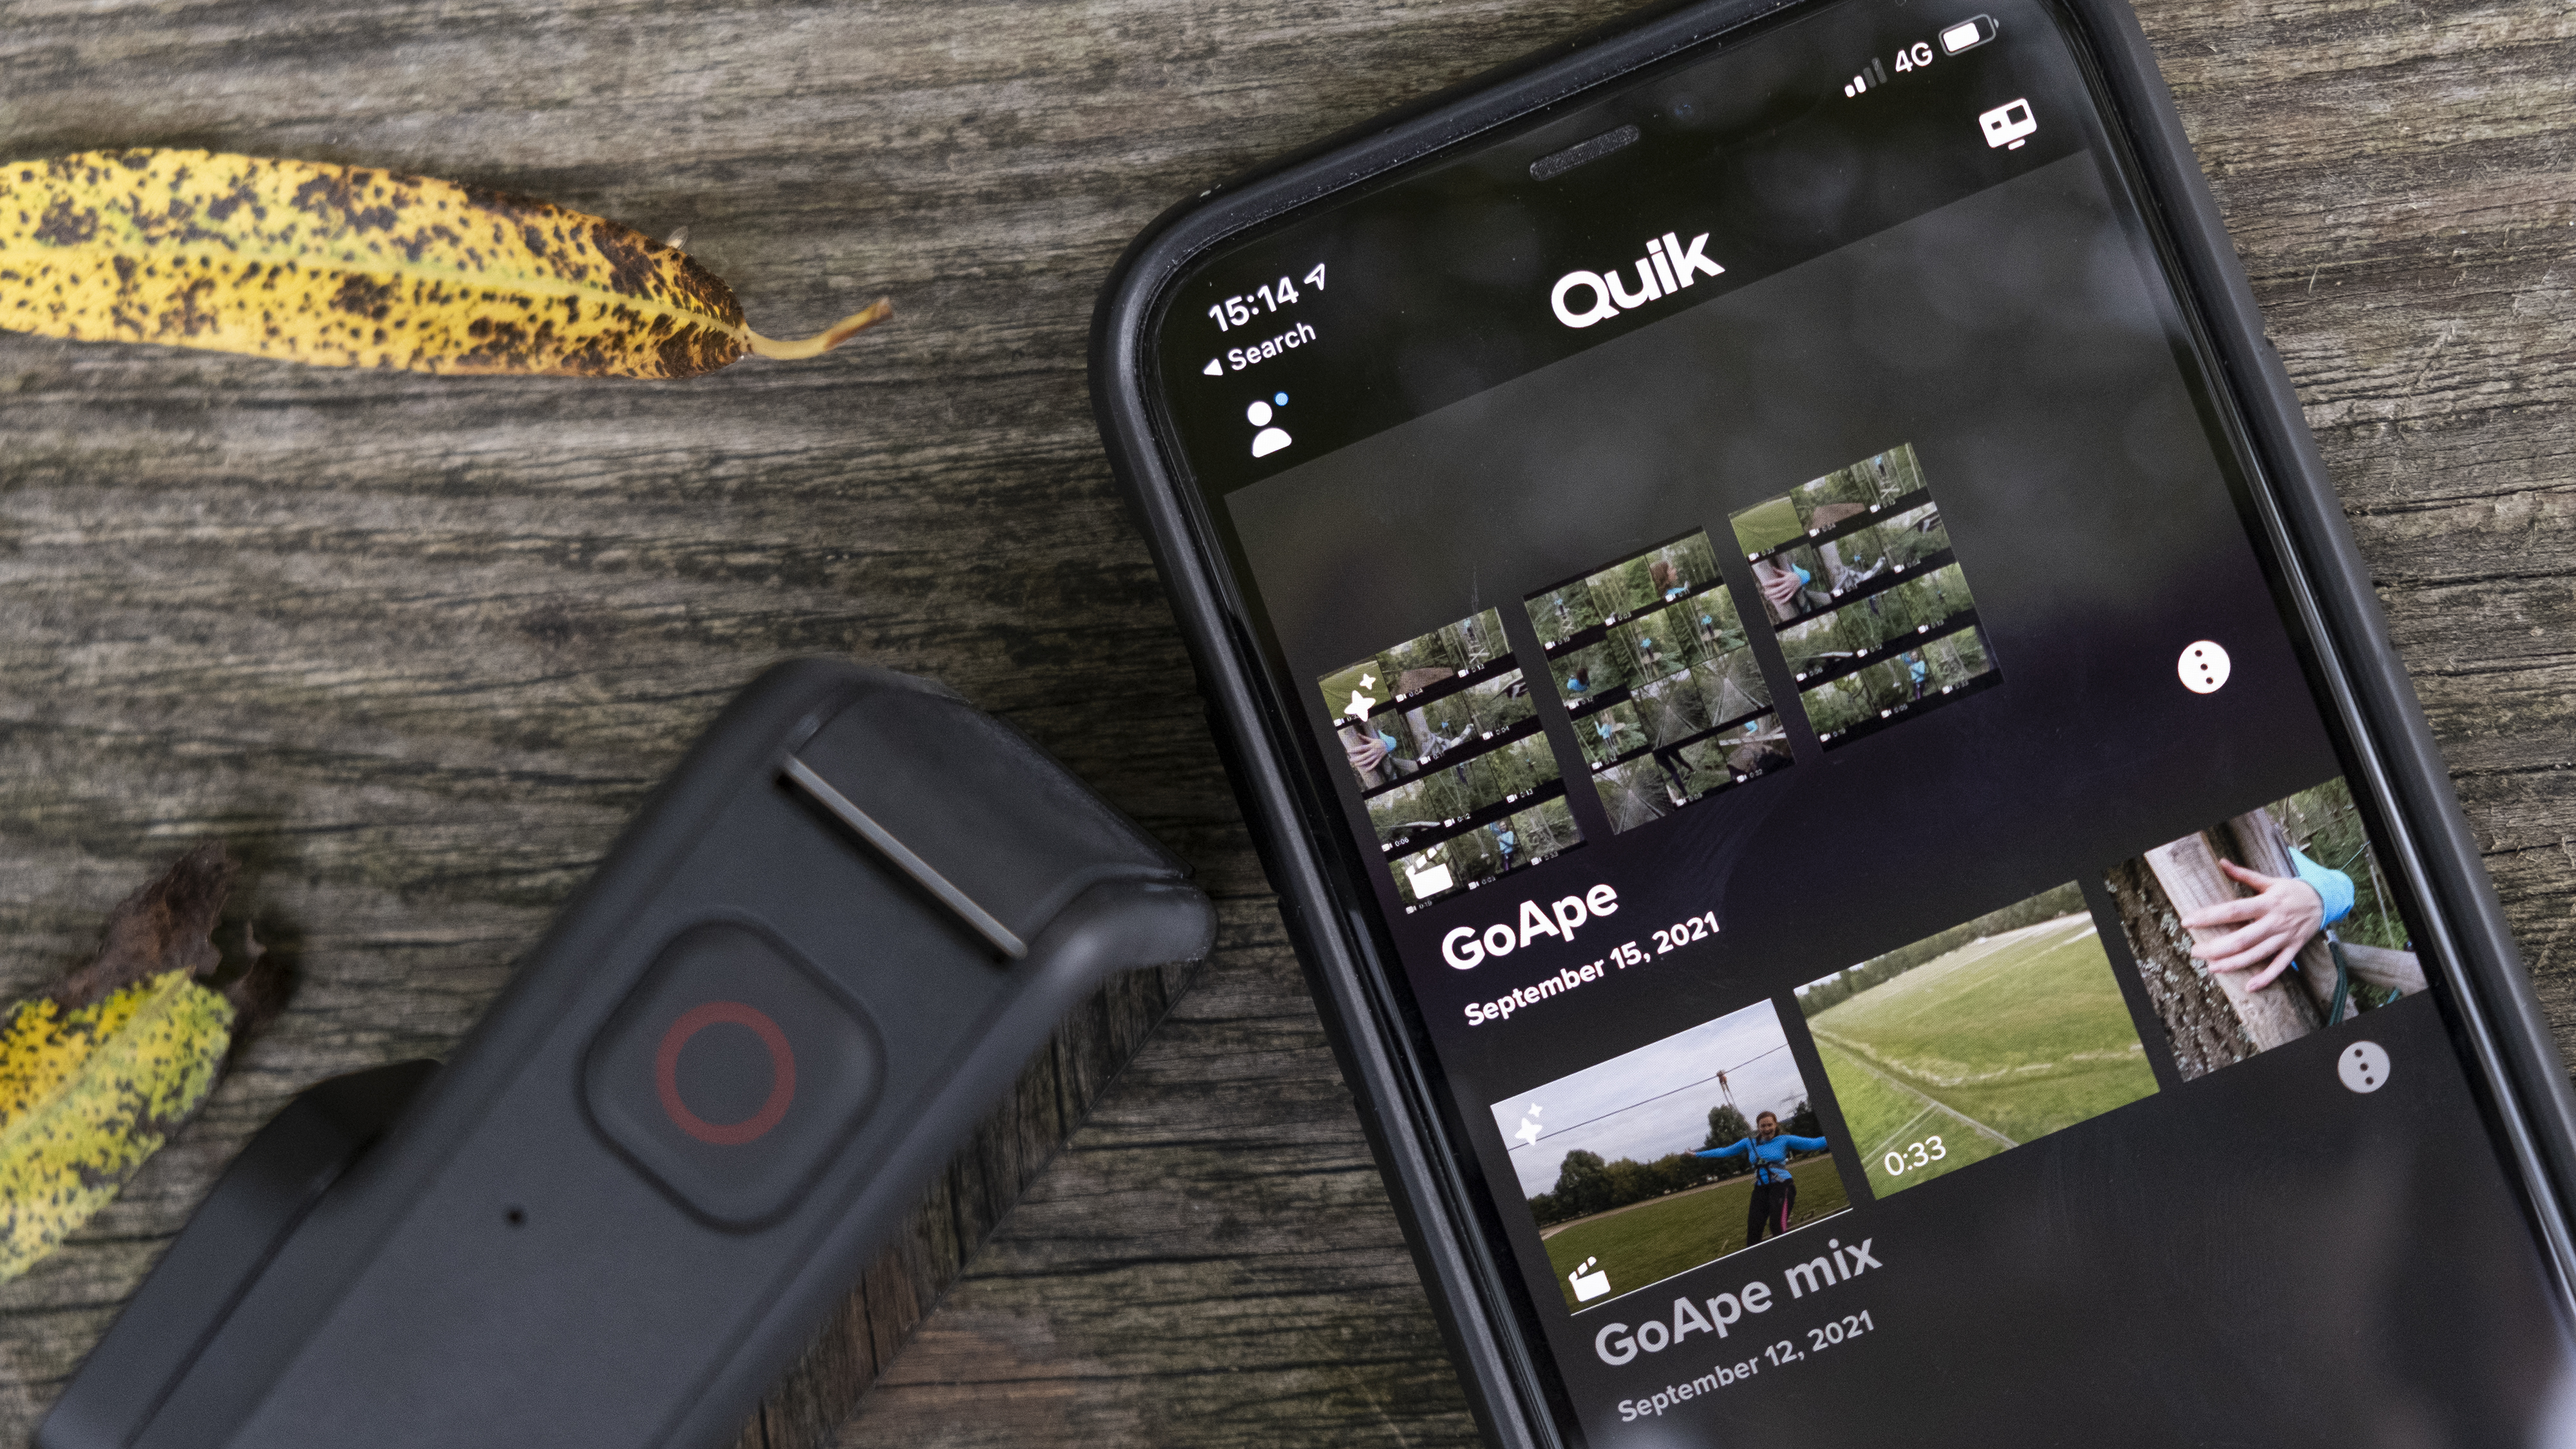
What’s important to consider when traveling is how you’ll actually upload your photos. Assuming you have some kind of data connection, you still need to get the photo files from your camera to the cloud. To date, GoPro is one of the only manufacturers to offer direct camera-to-cloud backups: if you have a GoPro Subscription and one of the best GoPro cameras, it will automatically save your photos and video clips to the cloud when your camera is charging and connected to Wi-Fi.
For most other cameras, you’ll need to use one of the methods outlined above to first transfer your photos to the library on your laptop, tablet or smartphone, then upload them to the cloud from there. Canon’s smartphone app streamlines this process, allowing Google One members to back up photos from some of the best Canon cameras directly to Google Photos.
Final thoughts
What is the best way to back up photos while traveling?
When it comes to saving your travel snaps, the best method for you will come down to what gear you’re travelling with, the type of trip you’re taking, and how securely you want to back up your photos. Each of the methods above has its merits, but the key point to remember is that they are not mutually exclusive: the most important rule when backing up travel photos is that more backups are better. Where possible, you should always create several copies of your images on different forms of storage.
While this might sound like overkill when you’re on the road, the idea is that it’s better to have an unnecessary failsafe than to end up losing your holiday photos because something went wrong with your only backup. For example, say you keep your camera and your backup hard drive in the same backpack while traveling. If that backpack goes missing, you’ve still lost all of your precious photos, even though you backed them up.
That’s why it’s better to have several photo storage solutions, and to keep them separate. The cloud is a fantastic option, because you don’t need to carry it with you – but depending on your trip, you might not have ready access to a laptop or a Wi-Fi connection. In this case, do what you can to create multiple backups. For example, if you copy files to your laptop and to a flash drive, consider also keeping the originals on memory cards – at least until you’re able to copy them to the cloud. In short, the best way to back up photos while traveling is to play it safe, not sorry.

For more than a decade, Chris has been finding and featuring the best kit you can carry. When he's not writing about his favourite things for Stuff, you'll find Chris field-testing the latest gear for TechRadar. From cameras to classic cars, he appreciates anything that gets better with age.