Want to photograph the northern lights tonight? Here’s how to plan your trip and the best settings to use
First... pray for clear skies
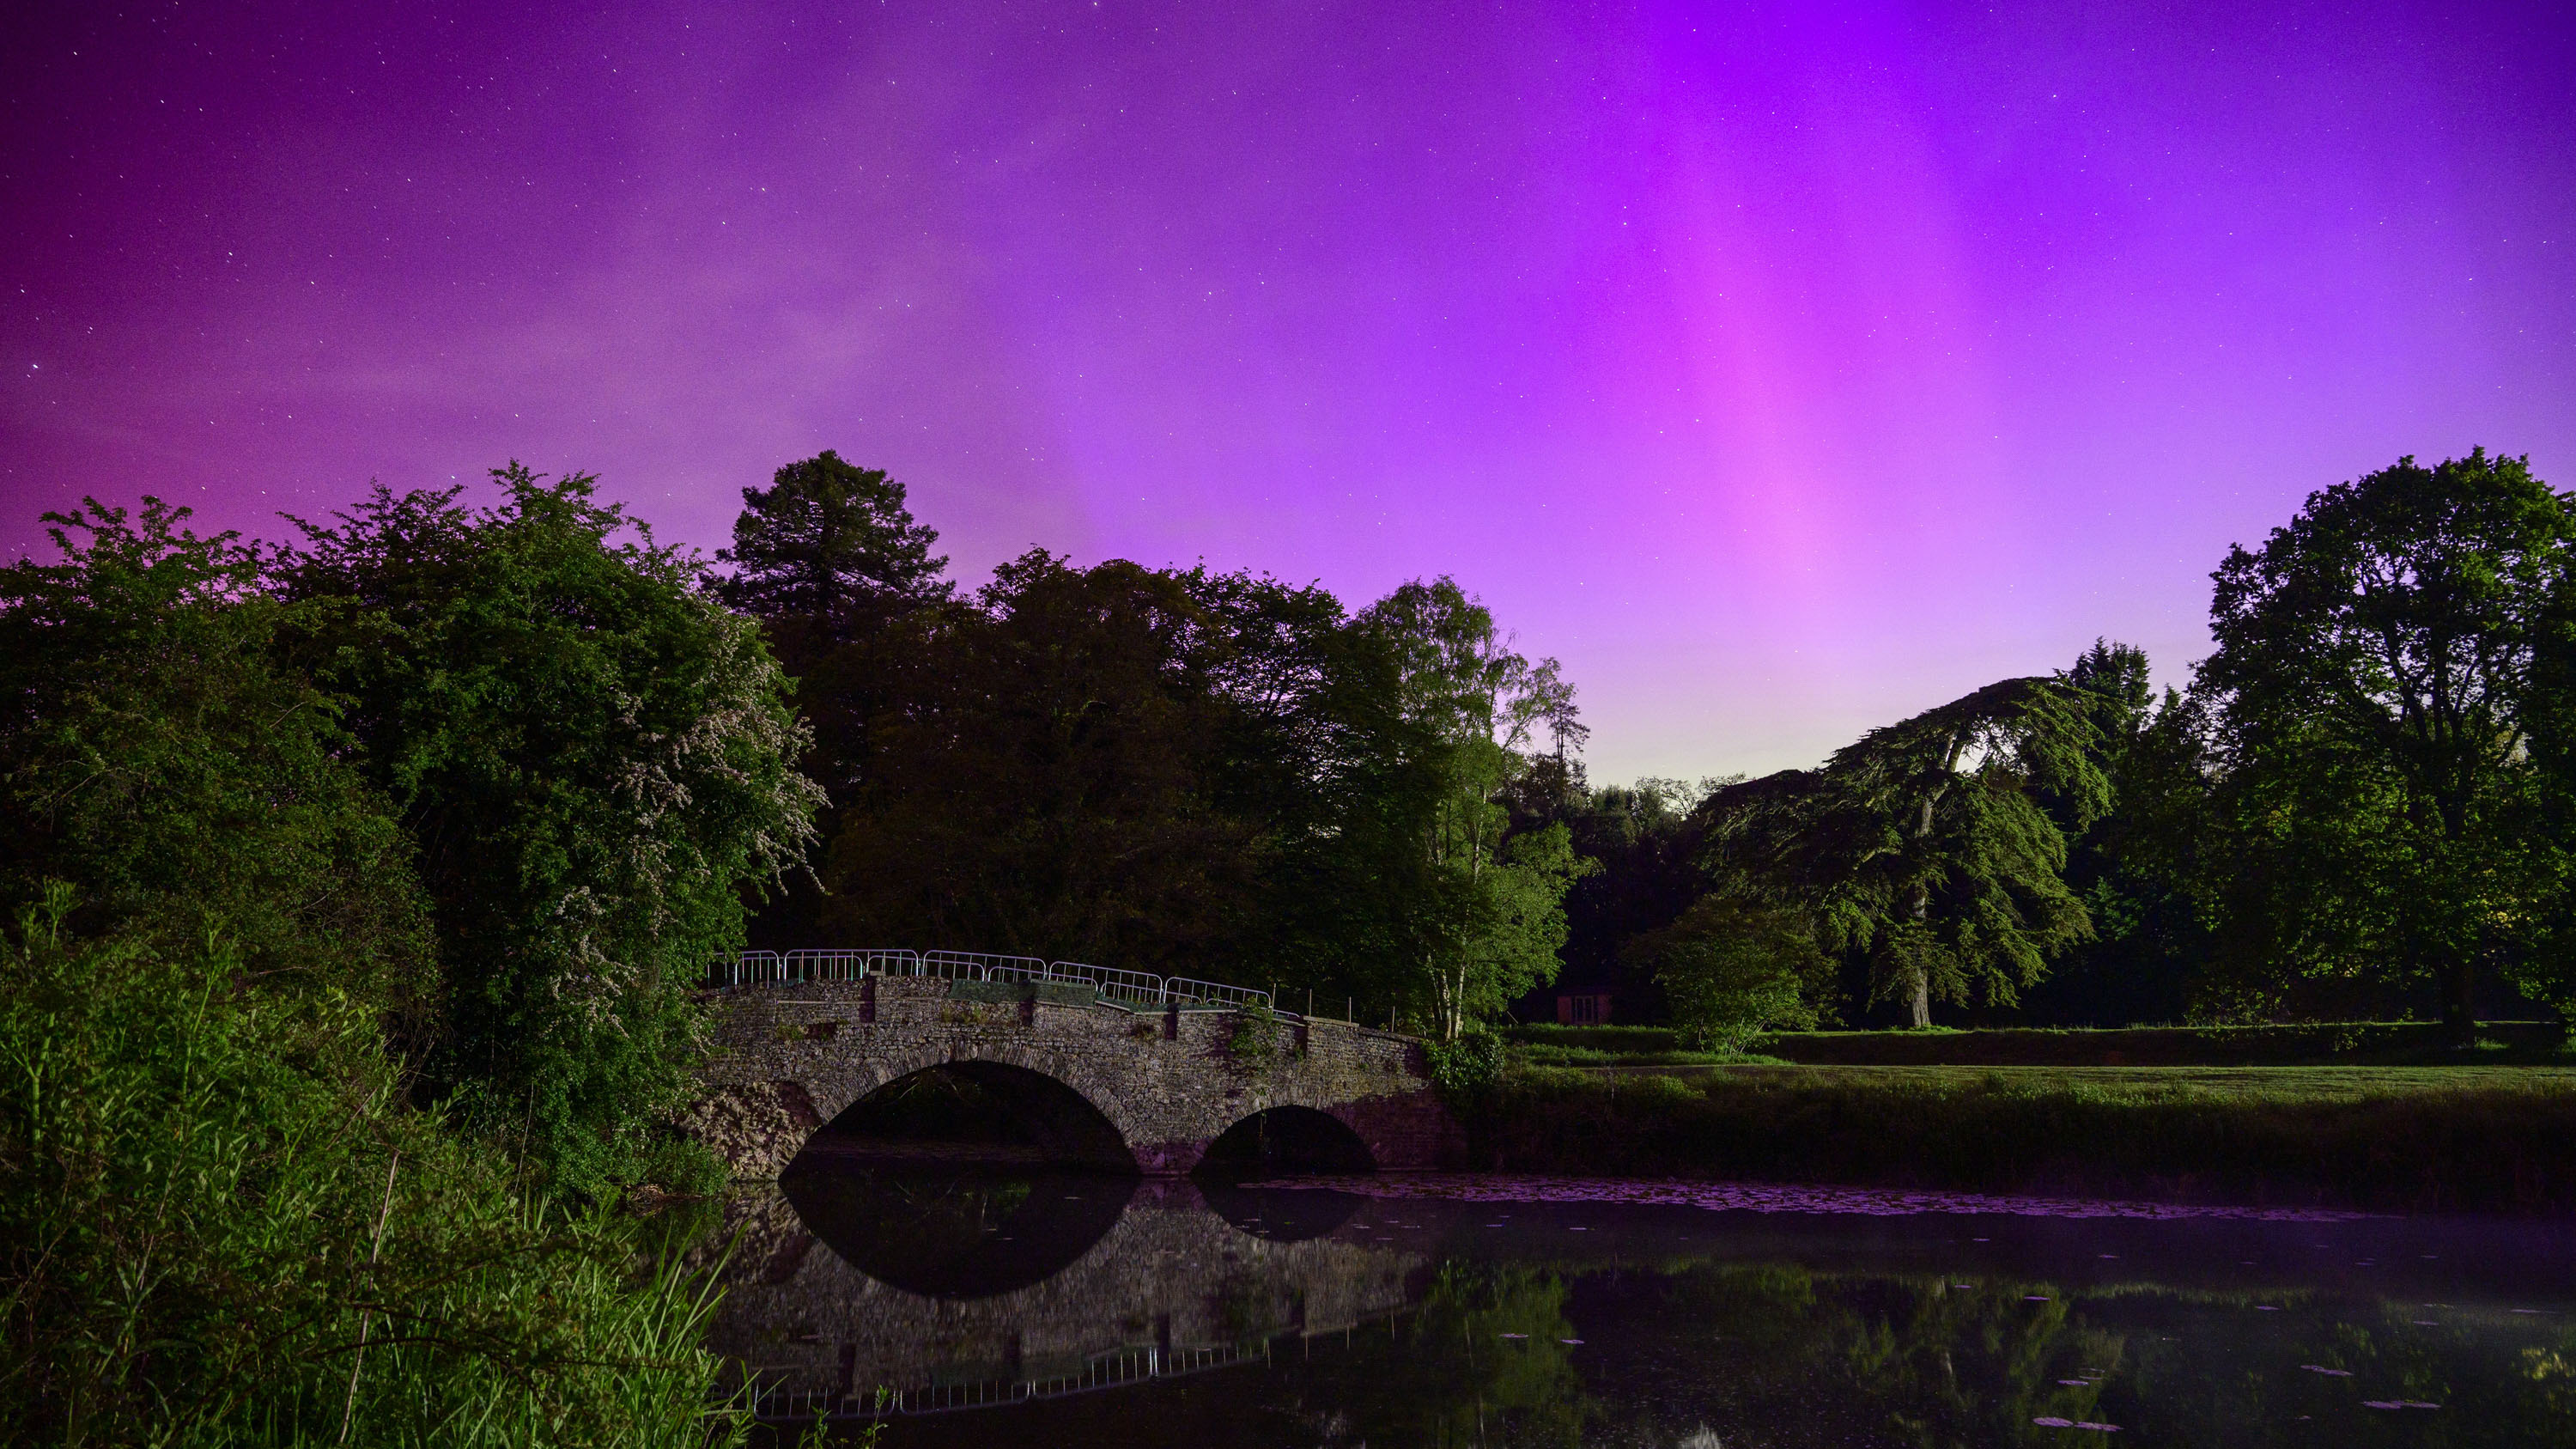
Back in June, we heard that the sun is at the peak of its 11-year magnetic activity cycle, meaning more chances of seeing the northern lights across mid-latitude regions in the US and Europe. Well, good news – tonight specifically is another opportunity to bask in those dancing magenta and green hues.
I can tell you, the northern lights are an awe-inspiring natural wonder, having witnessed a display for the first time where I live in the south of the UK in May 2024. And if you live in a region which where the northern lights could be on display tonight, you should follow my 5 tips below for planning your photos.
In the UK, the prediction is that only Scotland and northern England will see the northern lights tonight, according to the BBC, while USA today suggests two dozen states have a chance.
Not going to make it out tonight? Fear not – scientists delivered further good news for night sky lovers earlier this year, suggesting that the sun is entering a long-term phase of heightened activity that could span several decades.
I'll write again when the next intense geomagnetic storm gets underway and the northern lights could be particularly visible. But for now, here's how to take advantage of tonight's northern lights opportunities...
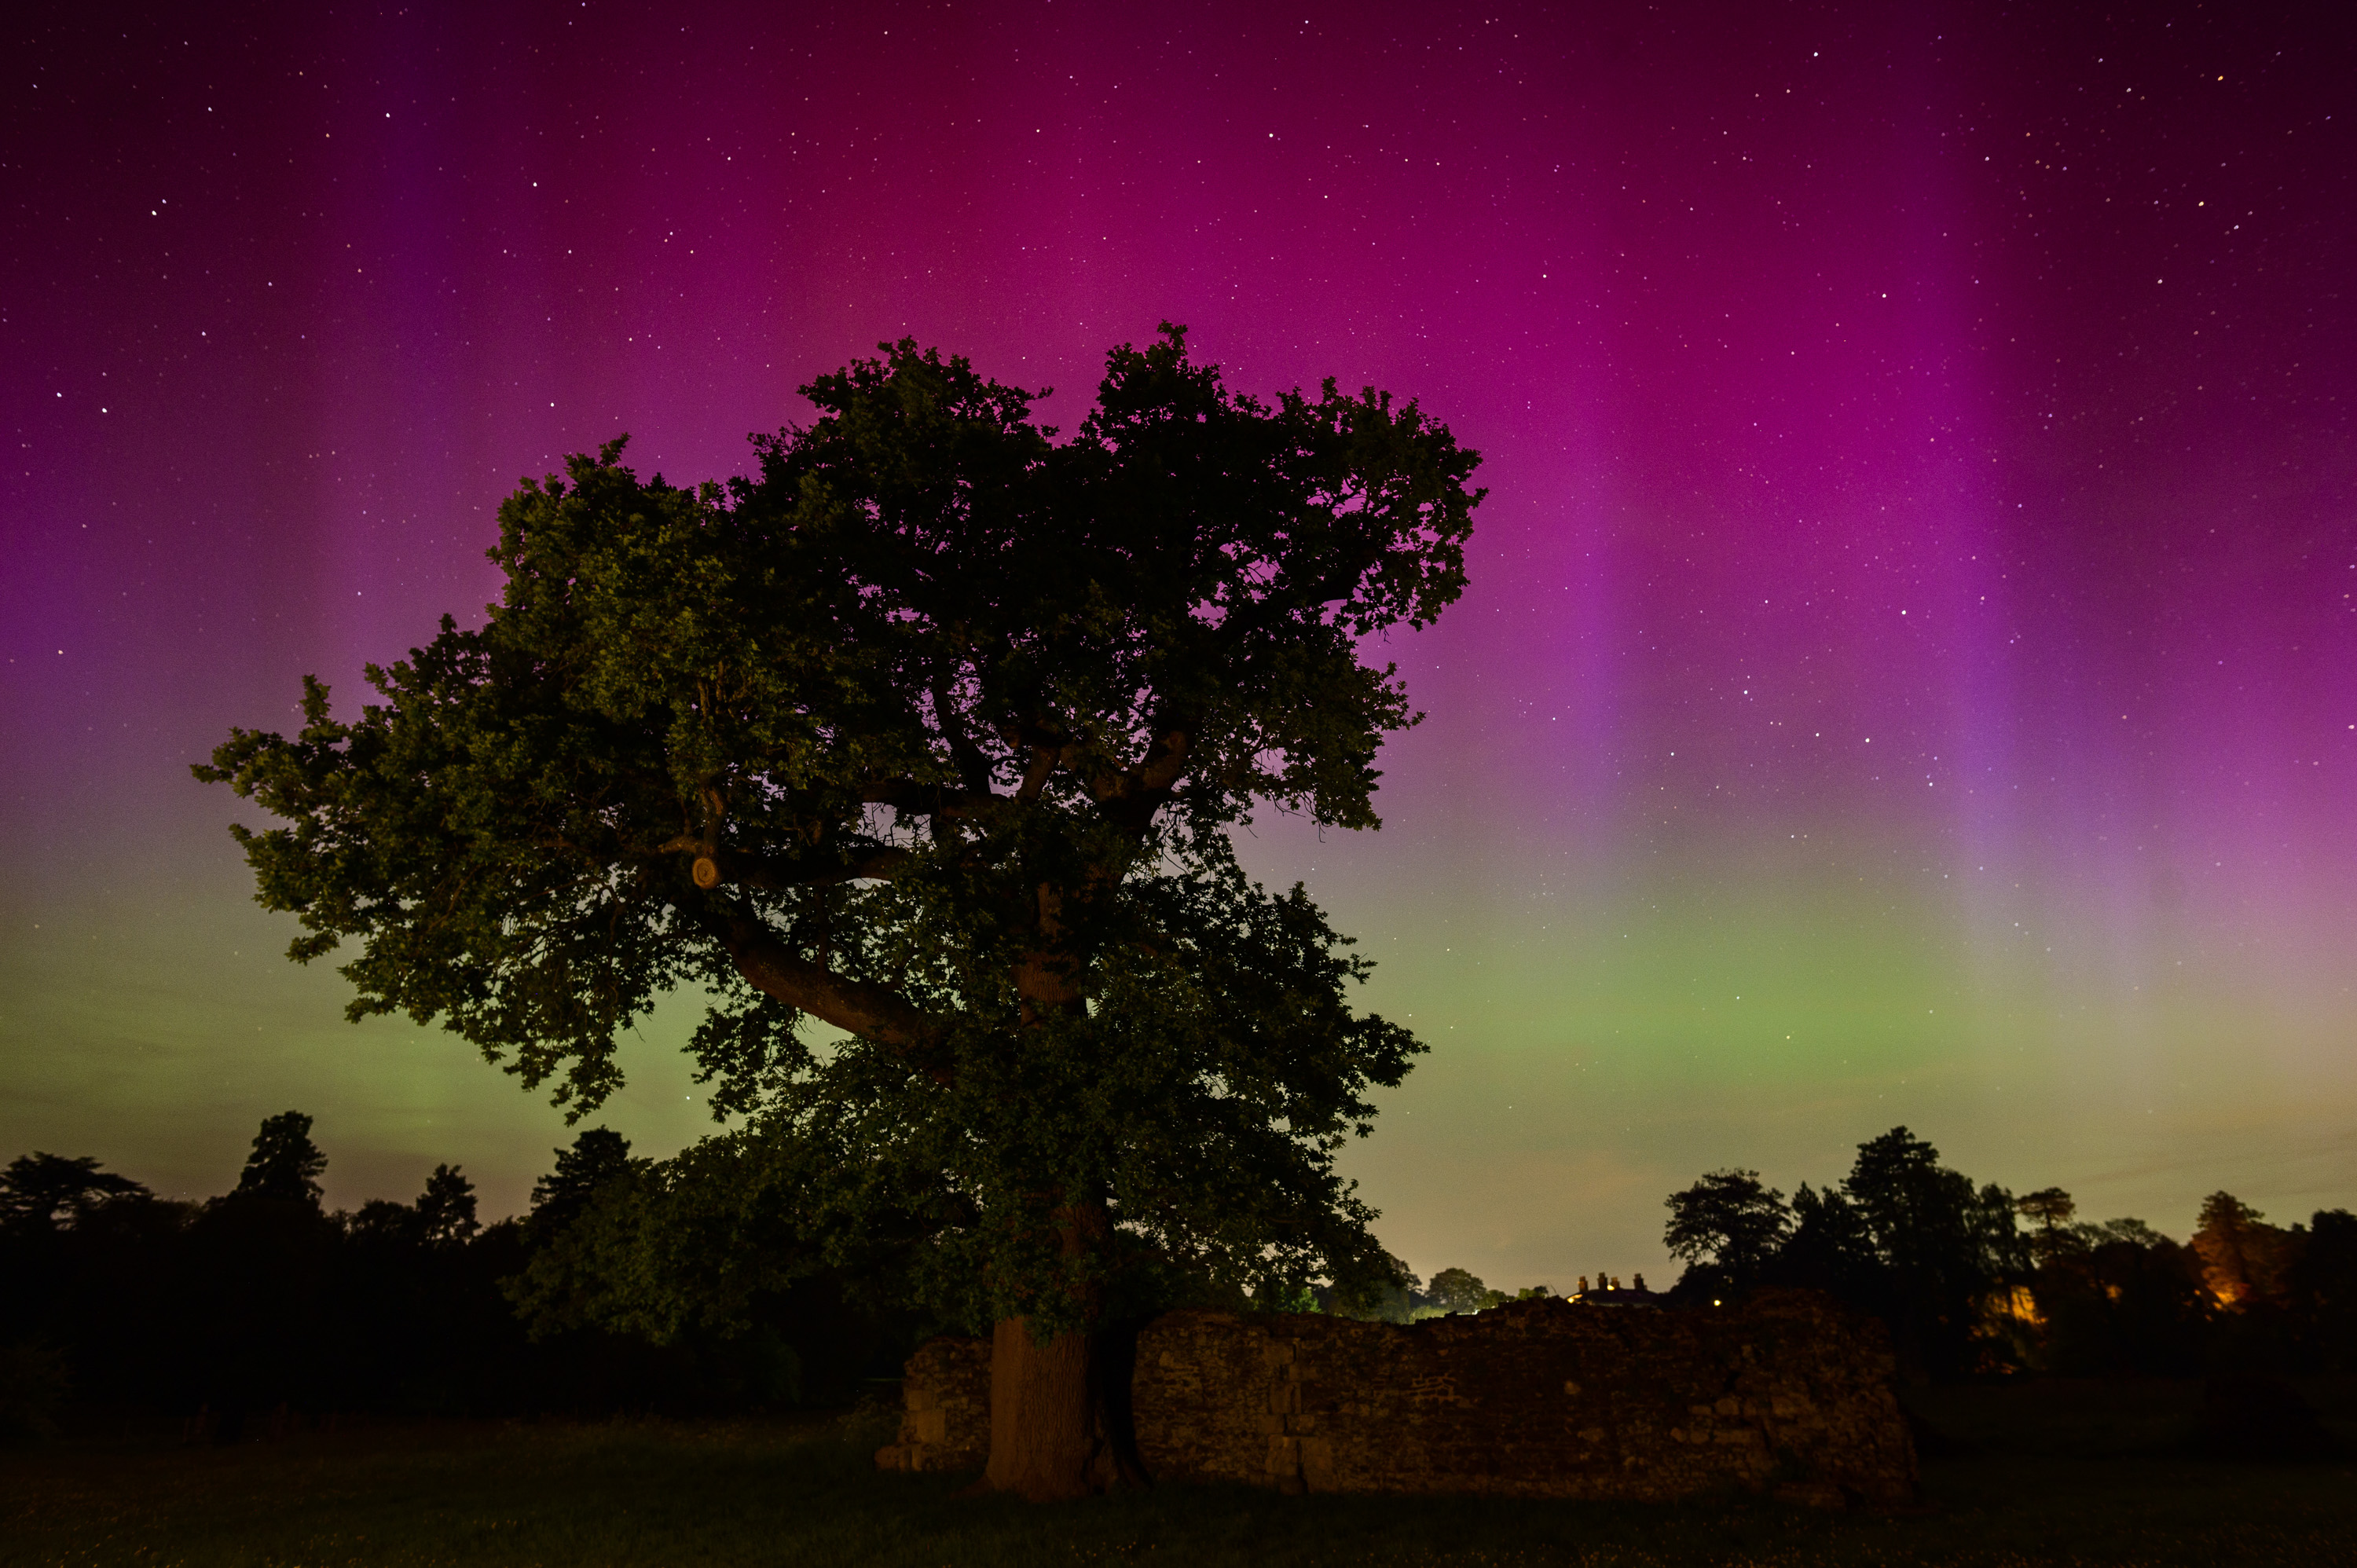
5 steps for planning Northern Lights photos
TL;DR: Check the conditions, find the right location, plan the shot, gather the right equipment, prepare the best camera settings.
If you'd like a deep dive for the best chance of taking stunning northern lights photos, check out our in-depth 5 ways to plan your shoot article.
Sign up for breaking news, reviews, opinion, top tech deals, and more.
Check the conditions
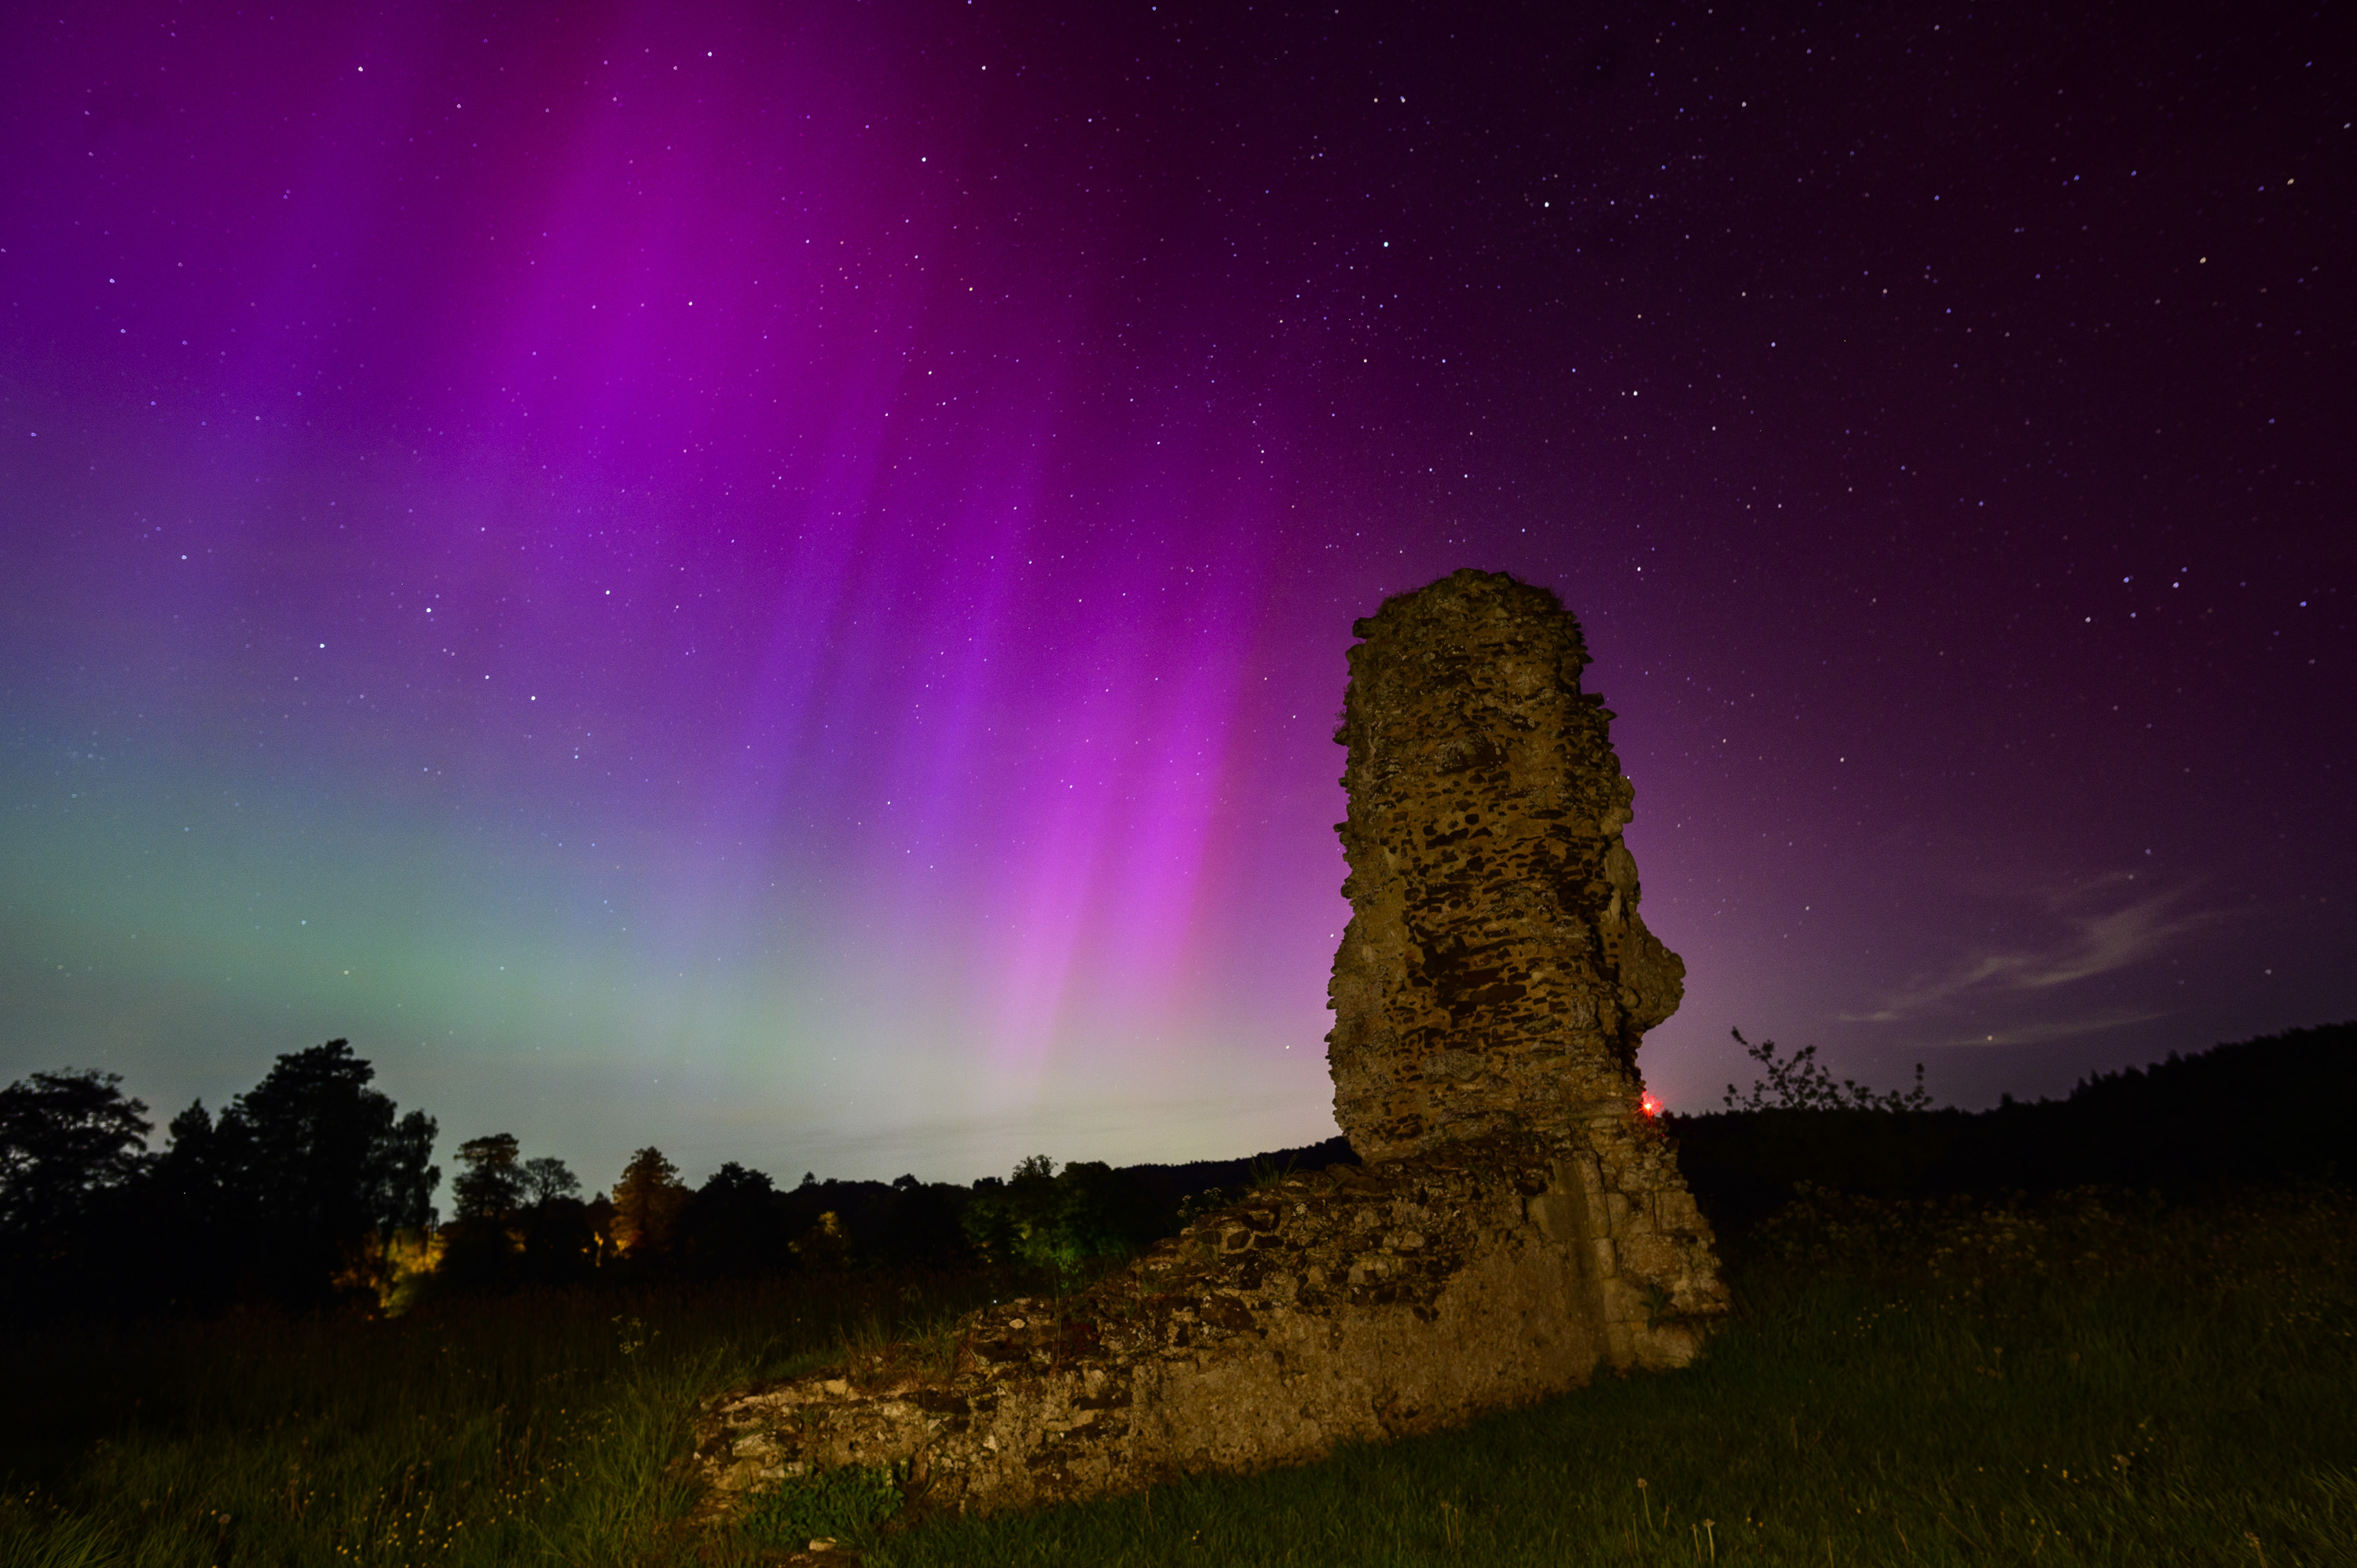
First things first, check out NOAA Space Weather Prediction Center (@NWSSWPC), or AuroraWatch UK to see where the northern lights are likely to be visible. The prediction for tonight is two dozen states / Scotland & northern England. Next, check the weather forecast and pray for clear skies! There's a mix of social media accounts likely bringing regular updates and push alerts.
Find the right location and plan your shot
Wherever you are, head away from light pollution and to dark-sky areas for the clearest possible sightings.
With that, you'll want to plan your shot with local knowledge and an app like PhotoPills, remembering you need to face north for the aurora borealis!
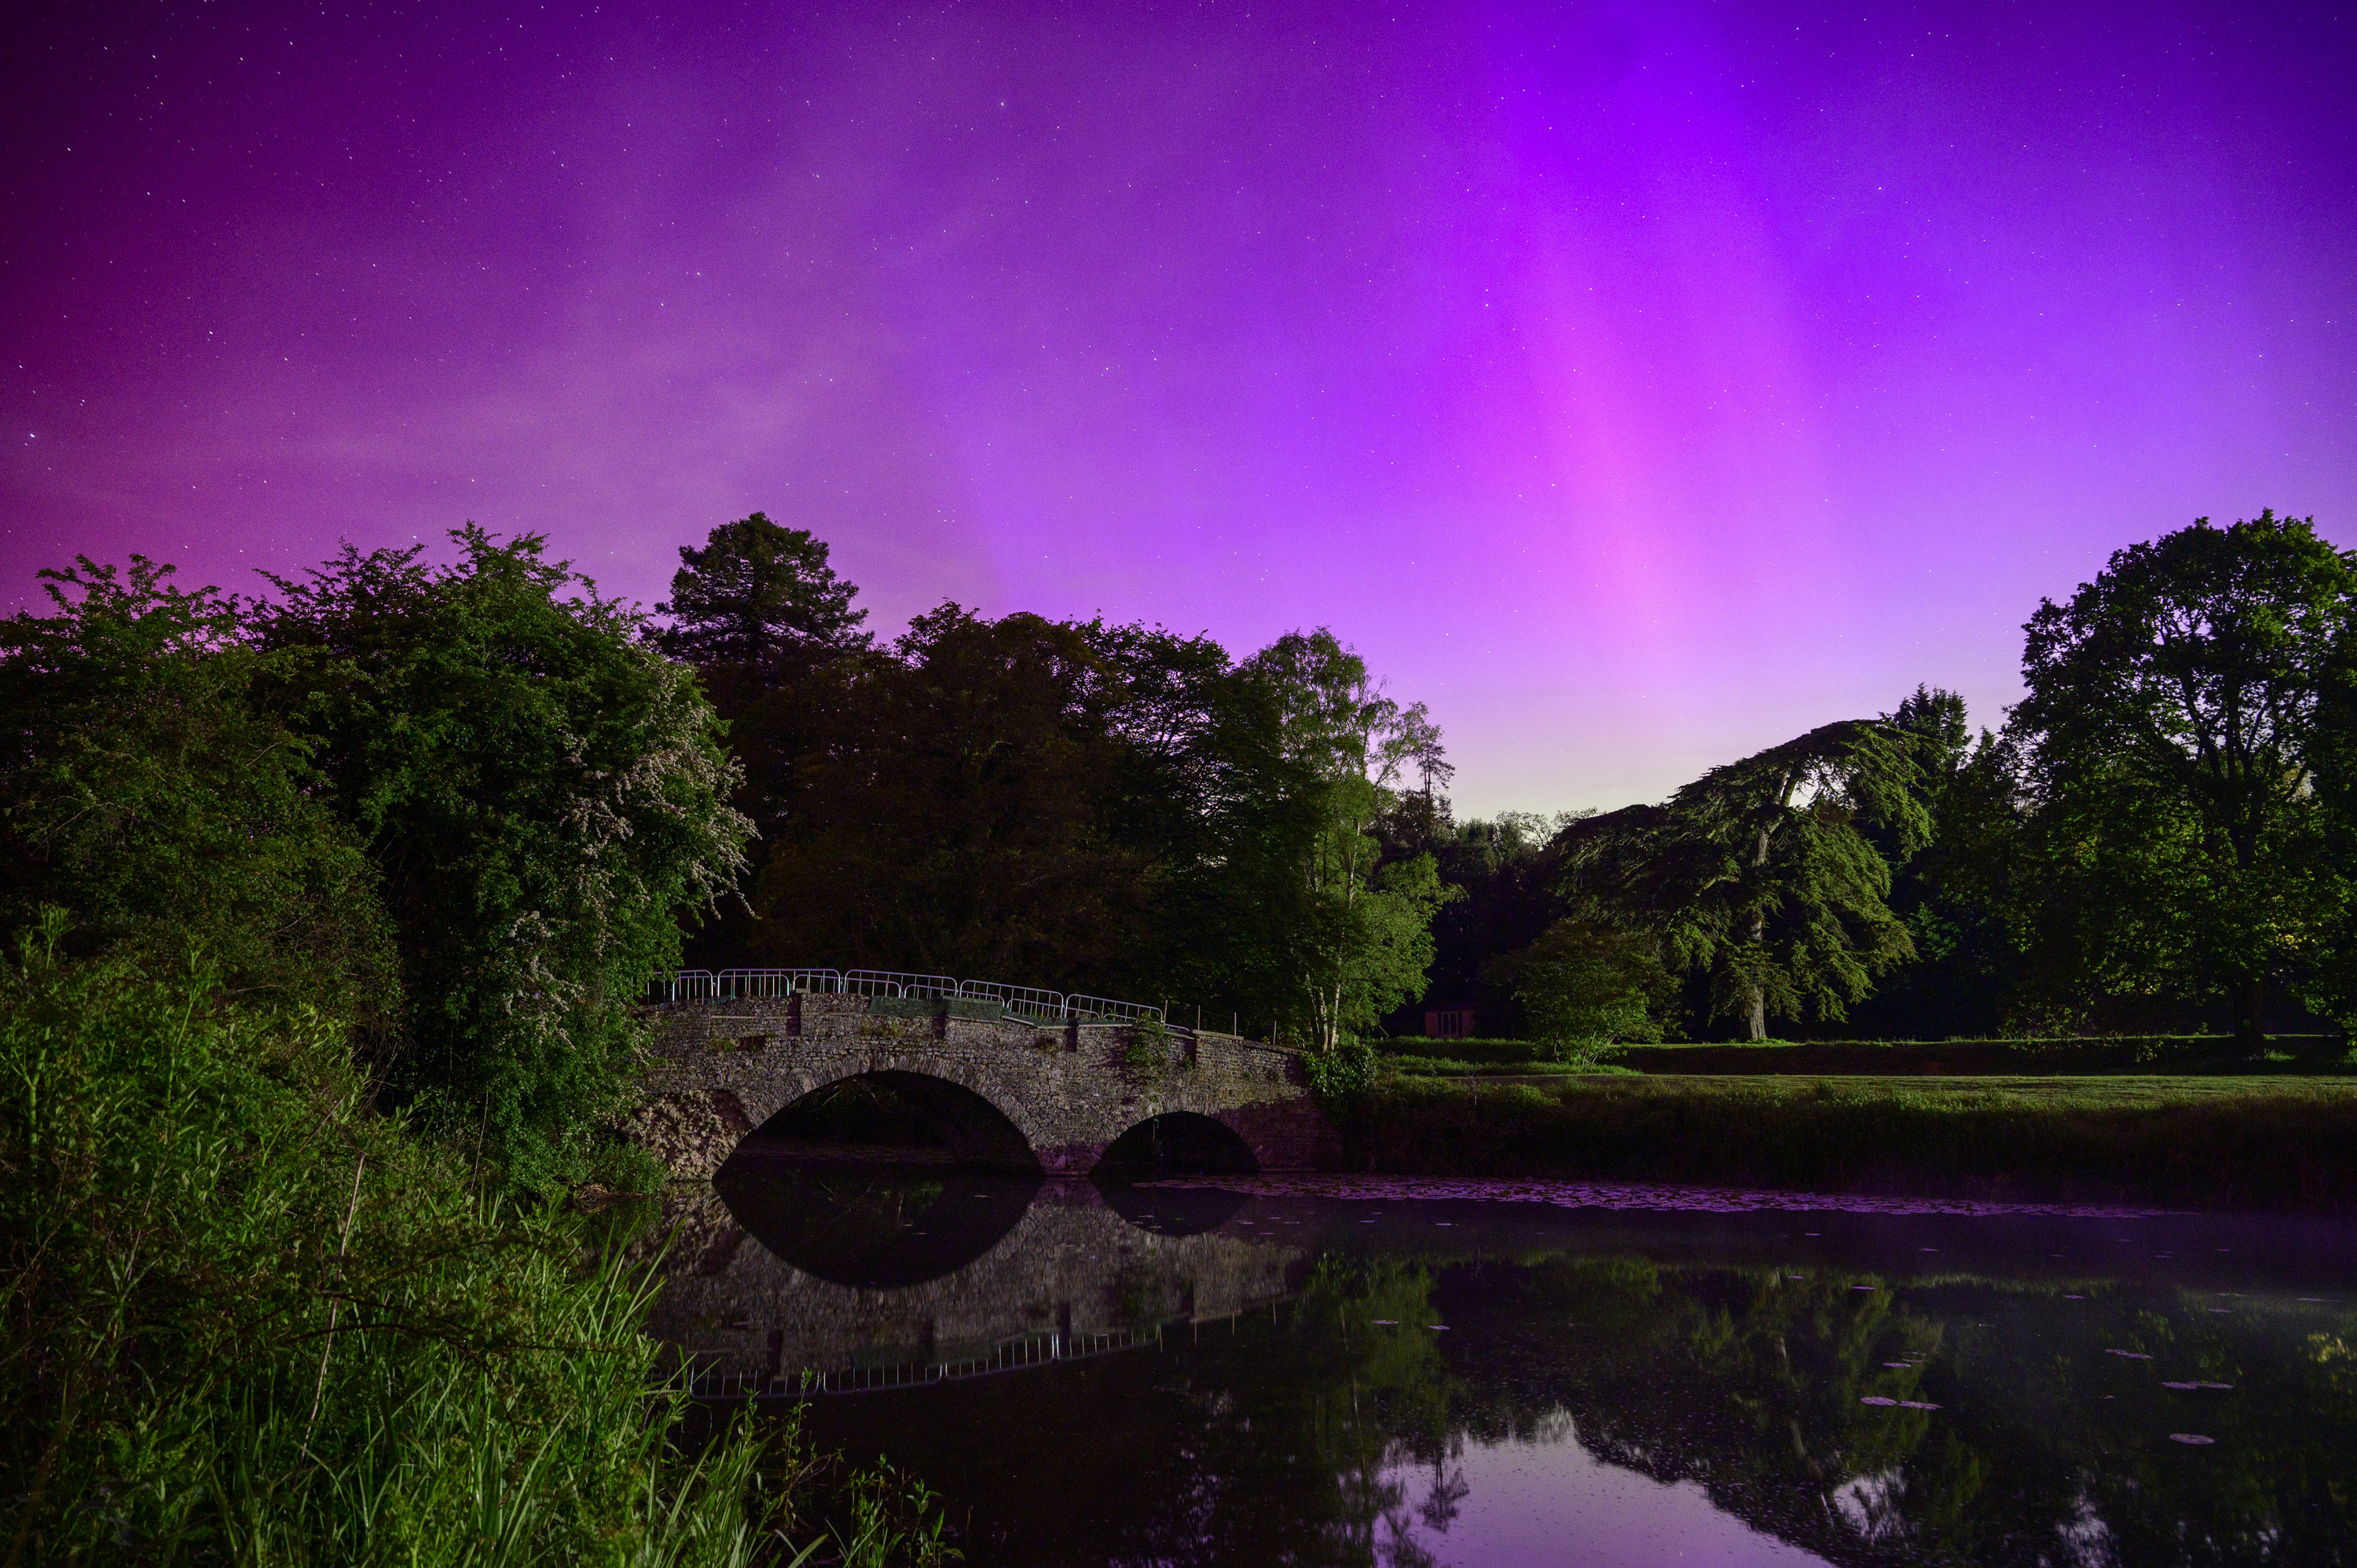
I like to include a point of interest in the foreground of my northern lights photos, as you can see from the images I took back in May 2024. You could frame an isolated tree or building, or seek a body of water for reflections which is a particularly effective technique.
Check your gear
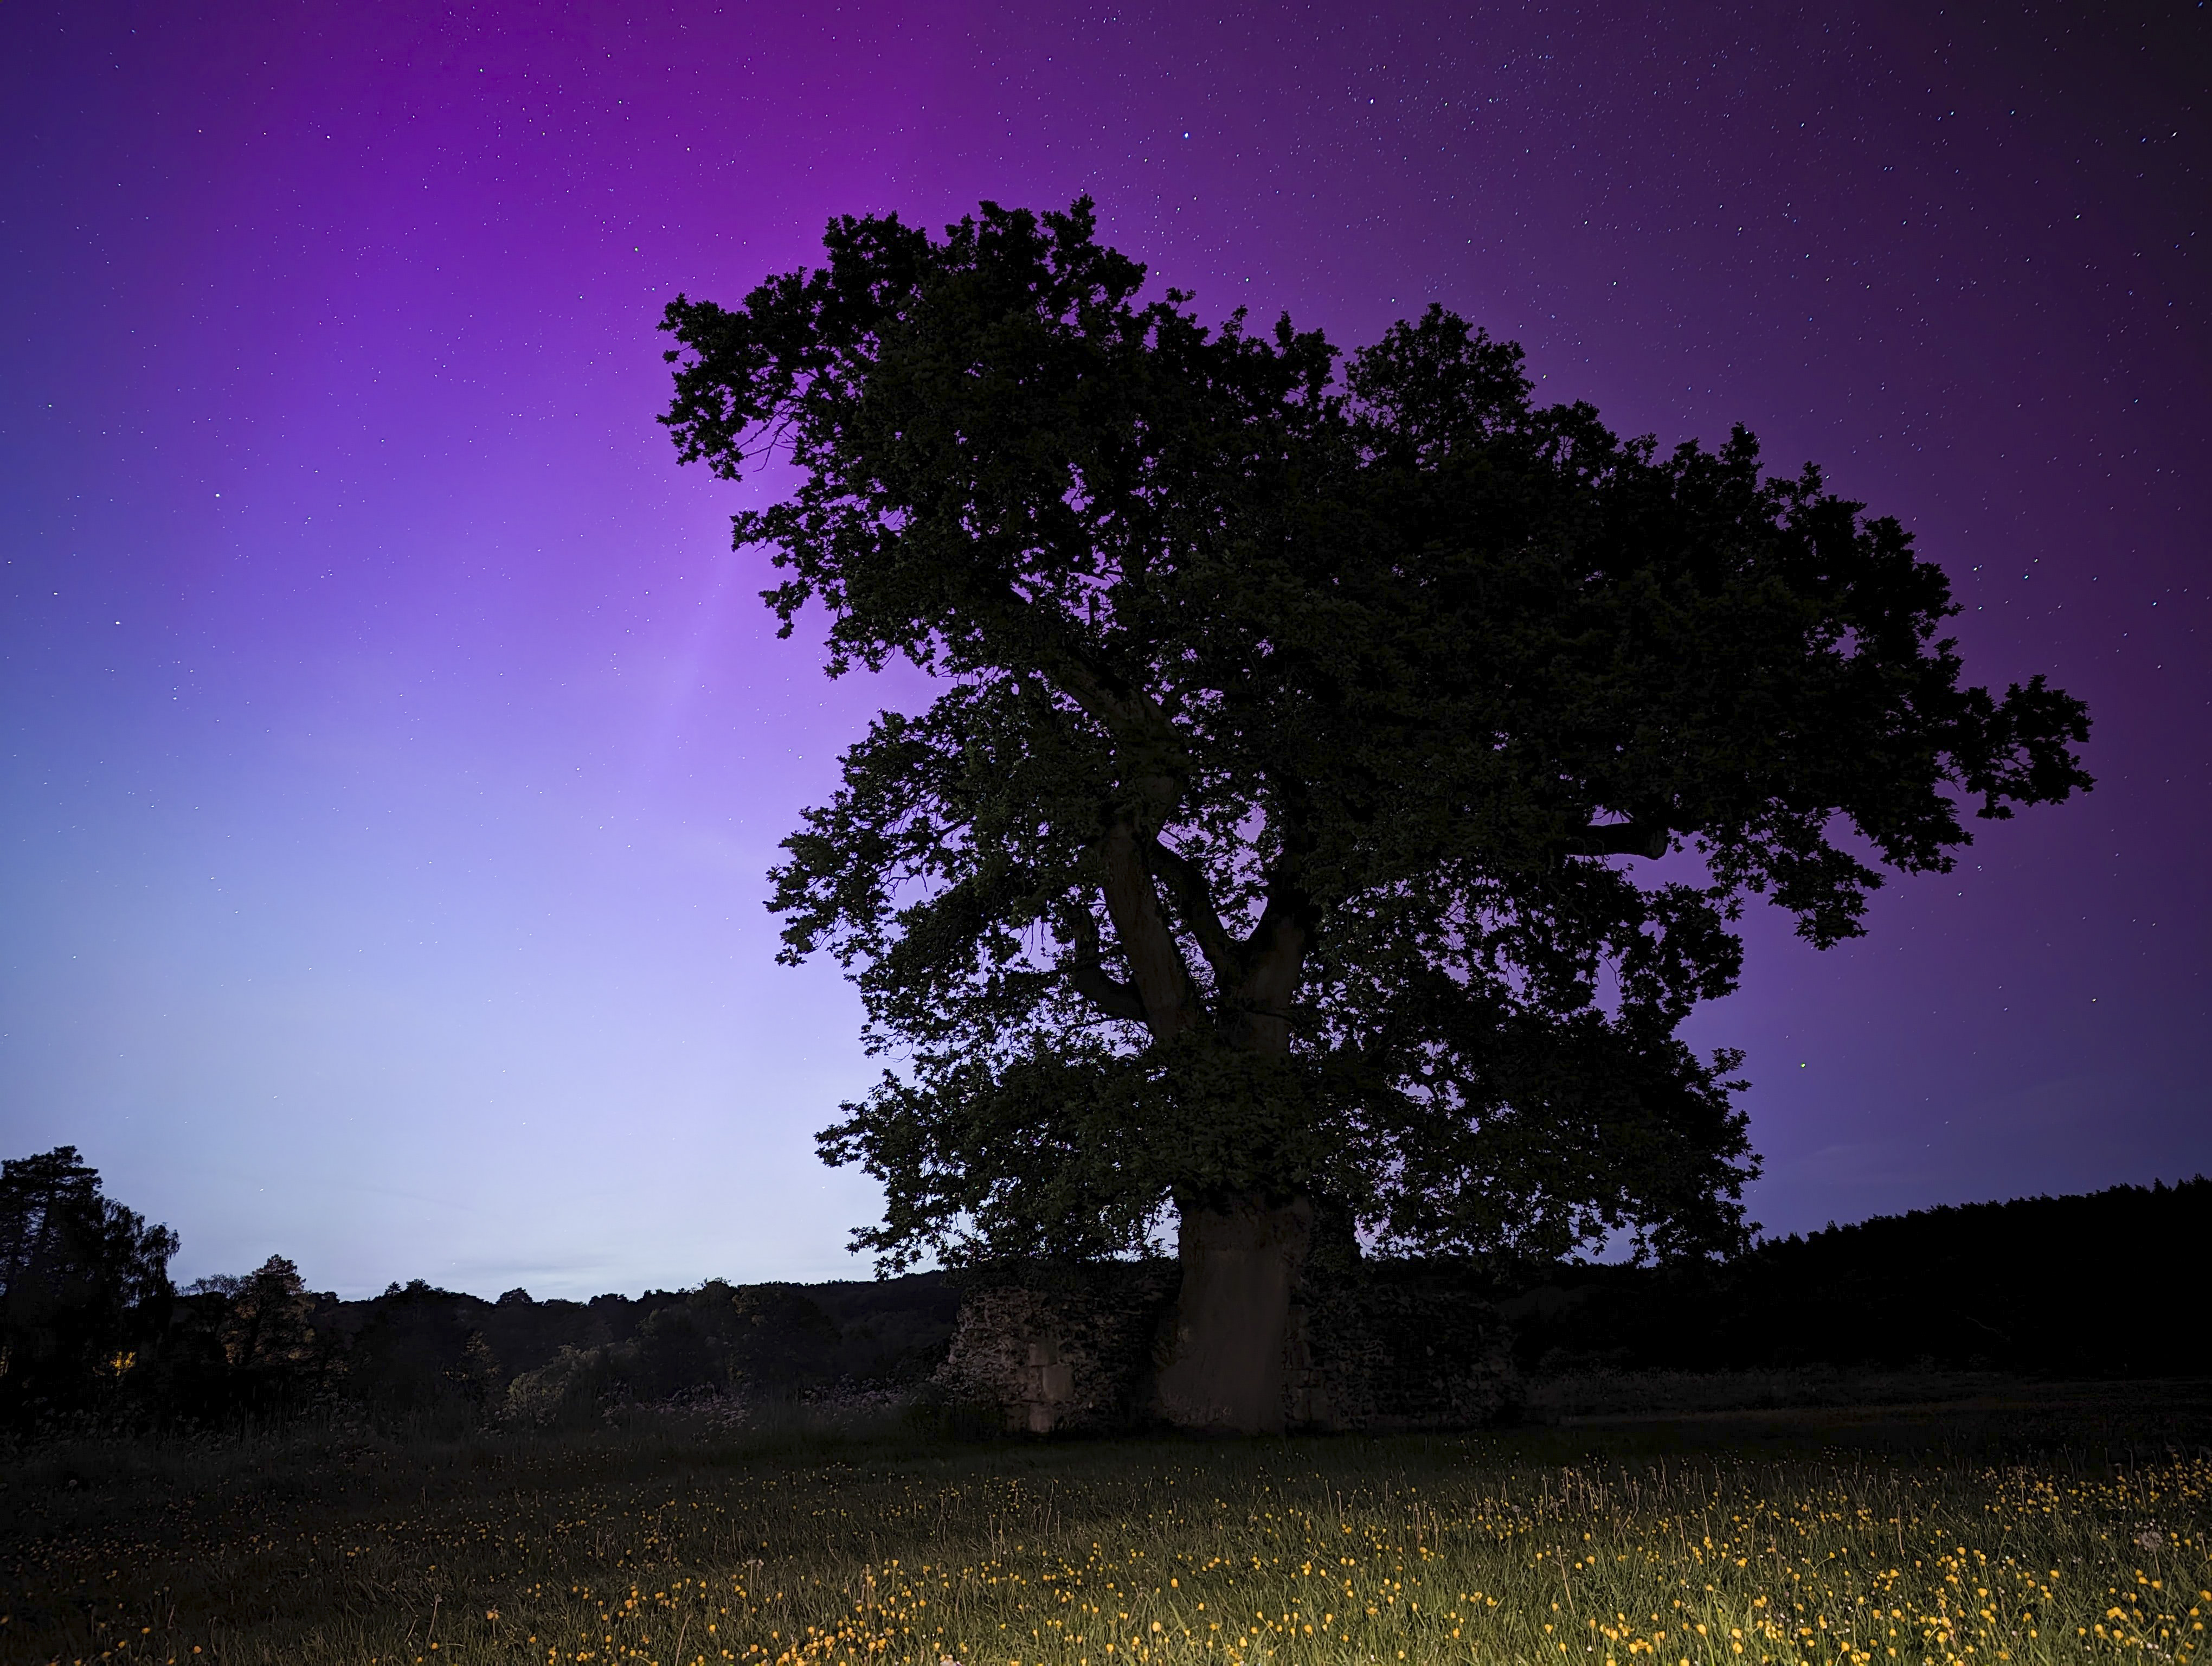
Just about any camera can take northern lights photos – the image above was shot with an old Google Pixel 6! Personally I prefer using a 'proper' camera, opting for my mirrorless camera with wide-angle zoom lens. For either option, a tripod support is needed for sharp, shake-free shots.
Choose the best camera settings
Most of today's phones include a night setting which boosts low light image quality, while select models like Google Pixel phones feature a dedicated Astrophotography mode. If the shutter speed is too long, those lovely northern lights details will blur into one solid mass of color and you'll lose the detail (like in the photo above) – so I suggest experimenting with various settings.
For camera gear with manual exposure control, select a shutter speed somewhere between 1-5 seconds and crank up ISO to get the right brightness, rather than too long an exposure and cleaner low ISO. Your priority is detail over noise-free images.
Good luck, and here's to clear skies!
Follow TechRadar on Google News and add us as a preferred source to get our expert news, reviews, and opinion in your feeds. Make sure to click the Follow button!
And of course you can also follow TechRadar on TikTok for news, reviews, unboxings in video form, and get regular updates from us on WhatsApp too.

Tim is the Cameras editor at TechRadar. He has enjoyed more than 15 years in the photo video industry with most of those in the world of tech journalism. During his time as Deputy Technical Editor with Amateur Photographer, as a freelancer and consequently editor at Tech Radar, Tim has developed a deeply technical knowledge and practical experience with cameras, educating others through news, reviews and features. He’s also worked in video production for Studio 44 with clients including Canon, and volunteers his spare time to consult a non-profit, diverse stories team based in Nairobi. Tim is curious, a keen creative, avid footballer and runner, and moderate flat white drinker who has lived in Kenya and believes we have much to enjoy and learn from each other.
You must confirm your public display name before commenting
Please logout and then login again, you will then be prompted to enter your display name.