
 Become a TechRadar Insider


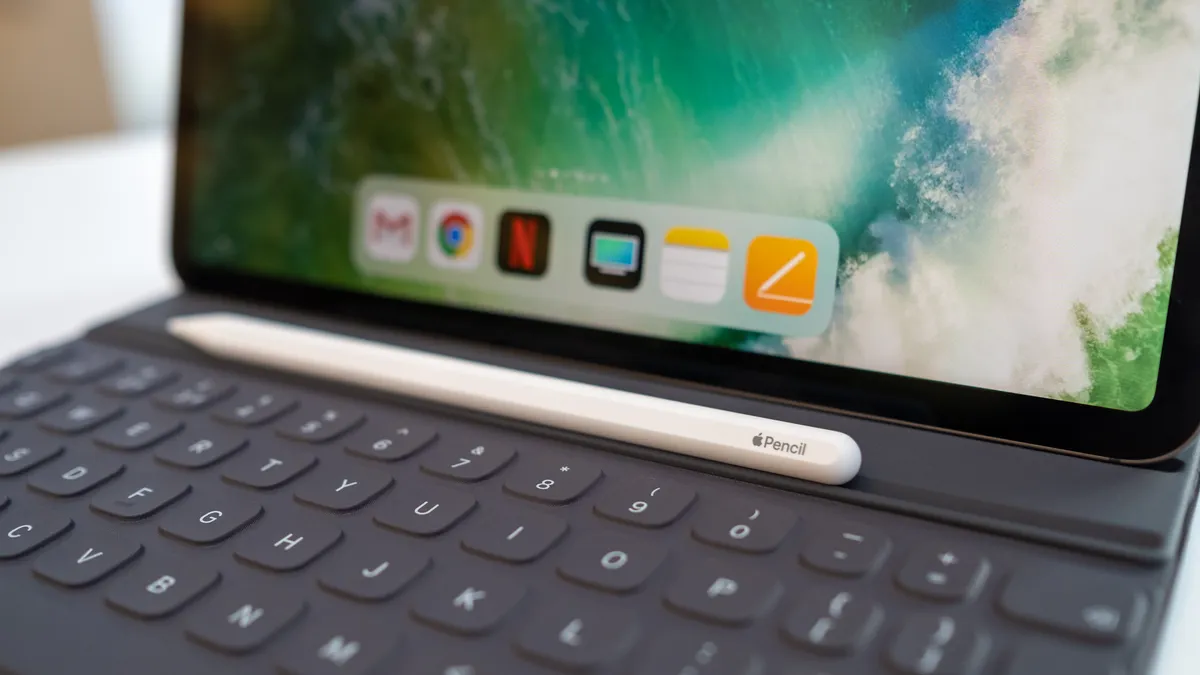
If you've just bought an Apple tablet for creativity or productivity purposes, you'll want to know how to connect and use an Apple Pencil on your iPad, so you can get scribbling without wasting time in settings menus.
Setting up your iPad with an Apple Pencil lets you enjoy many features: you can sketch, doodle, take notes, and more using various native or downloaded apps.
However, Apple has released several different versions of the Apple Pencil over the years (and a huge list of different iPads, too), so you'd be forgiven for needing some assistance in connecting your Apple Pencil to your iPad. Don't worry, we've all been there, and I'll help you figure out how to do so.
More than that, though; I've been covering iPads for years and I'll give you some pointers on Apple Pencil tips and tricks, as well as the best apps you can use it with.
This guide specifically looks at Apple's own styli, but if you don't think you need to pay for the company's top-priced peripheral, I recently tested five cheap Apple Pencil knock-offs, and some were worth buying.
Tools and requirements
You'll need two main things to connect your Apple Pencil to an iPad, and you'll probably be able to guess what they are:
- Apple Pencil
- iPad
There are a few different versions of the Apple Pencil and it can be a little confusing working out which goes with which iPad. No stress, here’s how to work out which ones you can buy.
Quick steps to connect your Apple Pencil to an iPad
There are four Apple Pencil models, two of which are currently supported with updates: the Apple Pencil Pro and Apple Pencil (USB-C), and two older versions: the original Apple Pencil and the Apple Pencil 2.
For all of them to work, you'll need Bluetooth turned on for your iPad. And here's how to pair the stylus with your tablet:
- Apple Pencil (original): remove the stylus' end cap and plug it into your iPad's Lightning port.
- Apple Pencil 2: attach it to the iPad's magnetic connector and it'll pair automatically.
- Apple Pencil (USB-C): remove the stylus' end cap and plug it into your iPad's USB-C port.
- Apple Pencil Pro: attach it to the iPad's magnetic connector and it'll pair automatically.
If you don't know which stylus you have, we'll help you figure it out in the corresponding section.
Step-by-step guide for how to connect your Apple Pencil to an iPad
Now, let's run through those aforementioned methods in greater detail. First, I'll walk you through turning on Bluetooth on your iPad, and then walk you through the steps for each stylus type.
Turning on your iPad's Bluetooth

Firstly, to use an Apple Pencil, you'll need to turn on Bluetooth on your iPad. Now, there's a good chance that it's on already, especially if you use other accessories for your slate, but in case it's not, here's how to turn it on (or check).
From any screen on your iPad, swipe down from the top-right. This will bring up your quick settings menu.
Next, press the Bluetooth button, which you can see marked by the red arrow in the picture above. Depending on your software version, the Bluetooth icon will be here or, as on mine, an extra menu, and pressing there will bring up several more options, one of which is Bluetooth.
If the Bluetooth icon (the 'B' drawn with straight lines) is blue, that means it's turned on. If it's gray, it's turned off, but pressing it will turn it on. You need to press the icon itself, not the larger box which says 'Bluetooth', as doing so will bring up a list of paired devices.
Pairing original & USB-C Apple Pencil

The original Apple Pencil and the Apple Pencil (USB-C) can be identified easily: they both have caps on the end that can be removed to reveal a jack. The original Apple Pencil has a Lightning one, and it connects to iPads with a Lightning port; the Pencil (USB-C) has a USB-C plug and works alongside newer iPads.
To connect one of these Apple Pencils to your iPad, you need to remove the end cap to reveal the plug, and then put it into the port on your iPad.
A prompt will appear, and you need to accept it. Now, your Apple Pencil is paired to your iPad! To charge the Apple Pencil, plug it into your iPad in this same way, and it'll power up.
Pairing second-gen and Pro Apple Pencil

If your Apple Pencil doesn't have a connector, then it's either the second-gen or Pro version of the Apple Pencil. Both connect in the same way.
To connect these Apple Pencils to an iPad, simply attach them to the magnetic strip on your iPad. This can be found along one of the length edges of the tablet, generally on the opposite side of the keyboard connectors. The easy way to find it is simply to put your Apple Pencil against the iPad and see if the magnets keep it secured!
Once you've attached your Apple Pencil to the iPad physically, it'll automatically pair so you can use your stylus. And this is also how you charge up your stylus.
Troubleshooting
How do I know which Apple Pencil I have?
I've addressed above how to know which Apple Pencil you have.
If it has a physical Lightning connector, it's the original, while if it has a USB-C connector, it's the Apple Pencil (USB-C).
If it has no connector, it's either the second-gen one or the Pro. These look similar, except that the latter says "Pencil Pro" on it, which is a bit of a giveaway!
How do I know which iPad I have?
Good question.
First go into the Settings app and press General on the left panel. Now, select About and you'll find your iPad model listed under Model Name.
What if I have a third-party Apple Pencil?
Not got a stylus made by Apple? You can connect it to the slate by pairing it via Bluetooth, like you would a pair of headphones.
Apple Pencil tips and tricks
Here's a few handy tips and tricks that I'd recommend after six years of using an Apple Pencil and iPad Pro:
1. Protect the Apple Pencil!
These things may feel sturdy, but they're not immune to damage from drops or being crushed by heavy objects, whether left on a desk or in your bag. They also fall off easily when your iPad is in a bag, so get a case that keeps the stylus secure or use a bag with a special pen section (not a bespoke iPad-themed bag, but many backpacks, handbags, and briefcases have special sections for old-school writing pens, and they can keep a stylus protected too!).
2. Be gentle
The Apple Pencil isn't an actual pencil, and you don't have to push it into the page (or screen) to have an effect; gently does it, and pushing too hard could damage your stylus or iPad screen. The styli are pressure sensitive too, so you can experiment with pressing harder or softer when sketching.
3. Charge intelligently
This tip applies to the original and USB-C Apple Pencils. Charging them can be a risky business due to the way they connect to your iPad. So, make sure they're safe and secure when you do so.
4. Don't just use it for sketching and note-taking
It's easy to think that a stylus should be used like a pen: for sketching, doodling, and note-taking. While that's true, these devices can achieve a lot more. I like using my Apple Pencil to navigate around menus with easy flicks, and for gaming, so I feel like an armchair general. In fact, it's useful in any situation where precision is useful, as the tip is better for precise pressing than a finger.
5. Test out the Pro features
If you own the advanced Apple Pencil Pro, you should make the most of its unique features. These include haptic feedback for taps, squeezing on art apps to bring up your palette, barrel rolls to change brush orientation, double-taping near the tip to switch between tools, and the ability to find your lost Apple Pencil with the Find My app. It's really useful for artists (or people who lose their stylus loads, like me).
Best Apple Pencil apps to download
If you’ve bought an Apple Pencil and want to know the best apps to use with it, we’ve got a few suggestions beyond the built-in Notes app. The following apps will let you explore its functions fully.
Scriptation
Scriptation is primarily an app that lets you mark up scripts (hence the name), but it’s actually a really useful app for annotating all kinds of files, whether they’re documents to sign or scrutinize, or articles to analyze. There’s a wide range of tools to use, and it’s easy to import and export PDFs too.
Download Scriptation here.
Procreate
The serious creative powerhouse app that all artists will want is Procreate, a paid app that will really help you appreciate all your Apple Pencil's features. It gives you access to loads of different brushes, pens, and pencils with plenty of customization with color tools, layers, and more. It even supports 3D art!
Download Procreate here.

Cardflow
You won’t need sticky notes if you’ve got Cardflow, as it does the same thing but digitally. You can create a wall of plain or colored pads, and scribble all the notes and information you need on them. It’s a super quick and easy way of organizing ideas, made even easier with the Apple Pencil.
Download Cardflow here.
Autodesk SketchBook
It’s always useful to have a great art app, for if you’re feeling creative or just want a vibrant way of taking notes, and Autodesk SketchBook is one of the best. It's got a huge range of art tools, and also has a user interface that feels specially built for Apple Pencil use, with functions in all the right places.
Download Autodesk SketchBook here.
tint.
Loads of apps are extra fun with the Apple Pencil, and one such example is tint, a paid app which is also available through Apple Arcade. It involves mixing colors to find a perfect shade in various levels, and the Apple Pencil makes drawing the required lines feel extra immersive, like you're a true artist.
Download tint here.
You might also like
