How to use Things 3 for short or long tasks in 2022
Organize your tasks in one go

One of the great benefits of using a task manager is that it allows you to offload some of the things in your brain so you don’t have to worry about them as much. Just like a calendar helps you get to where you need to go at the right time, a task manager can help you do the tasks in your life that you need to do without them slipping through the cracks.
If you’re an iPhone, iPad, or Mac user, then you have a ton of options for keeping track of all those little (and not so little) tasks you need to do in your life. The Reminders app is built by Apple and pre-installed on every device they sell. It’s a good app, but if you feel like it’s a bit too basic for you, then there are other apps that are happy to help out.
With this in mind, we’re going to focus on Things 3, a very useful task manager that’s available on the iPhone for $9.99 / £9.99 / AU$ 11.99, iPad for $19.99 / £19.99 / AU$24.99, and Mac that’s priced at $49.99 / £29.99 / AU$ 59.99.
First Things First
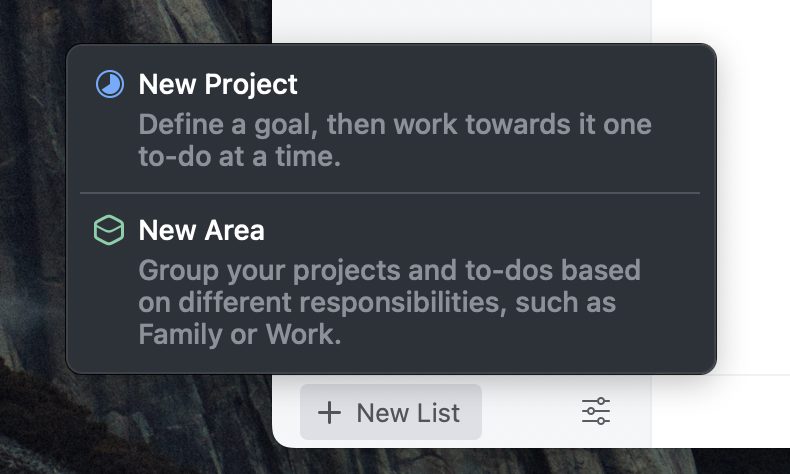
Before you do anything else in Things, it would be good to create a few areas in the app that align with the areas of your life you want to track. You can add one by clicking or tapping on the ‘New List’ button at the bottom of the app.
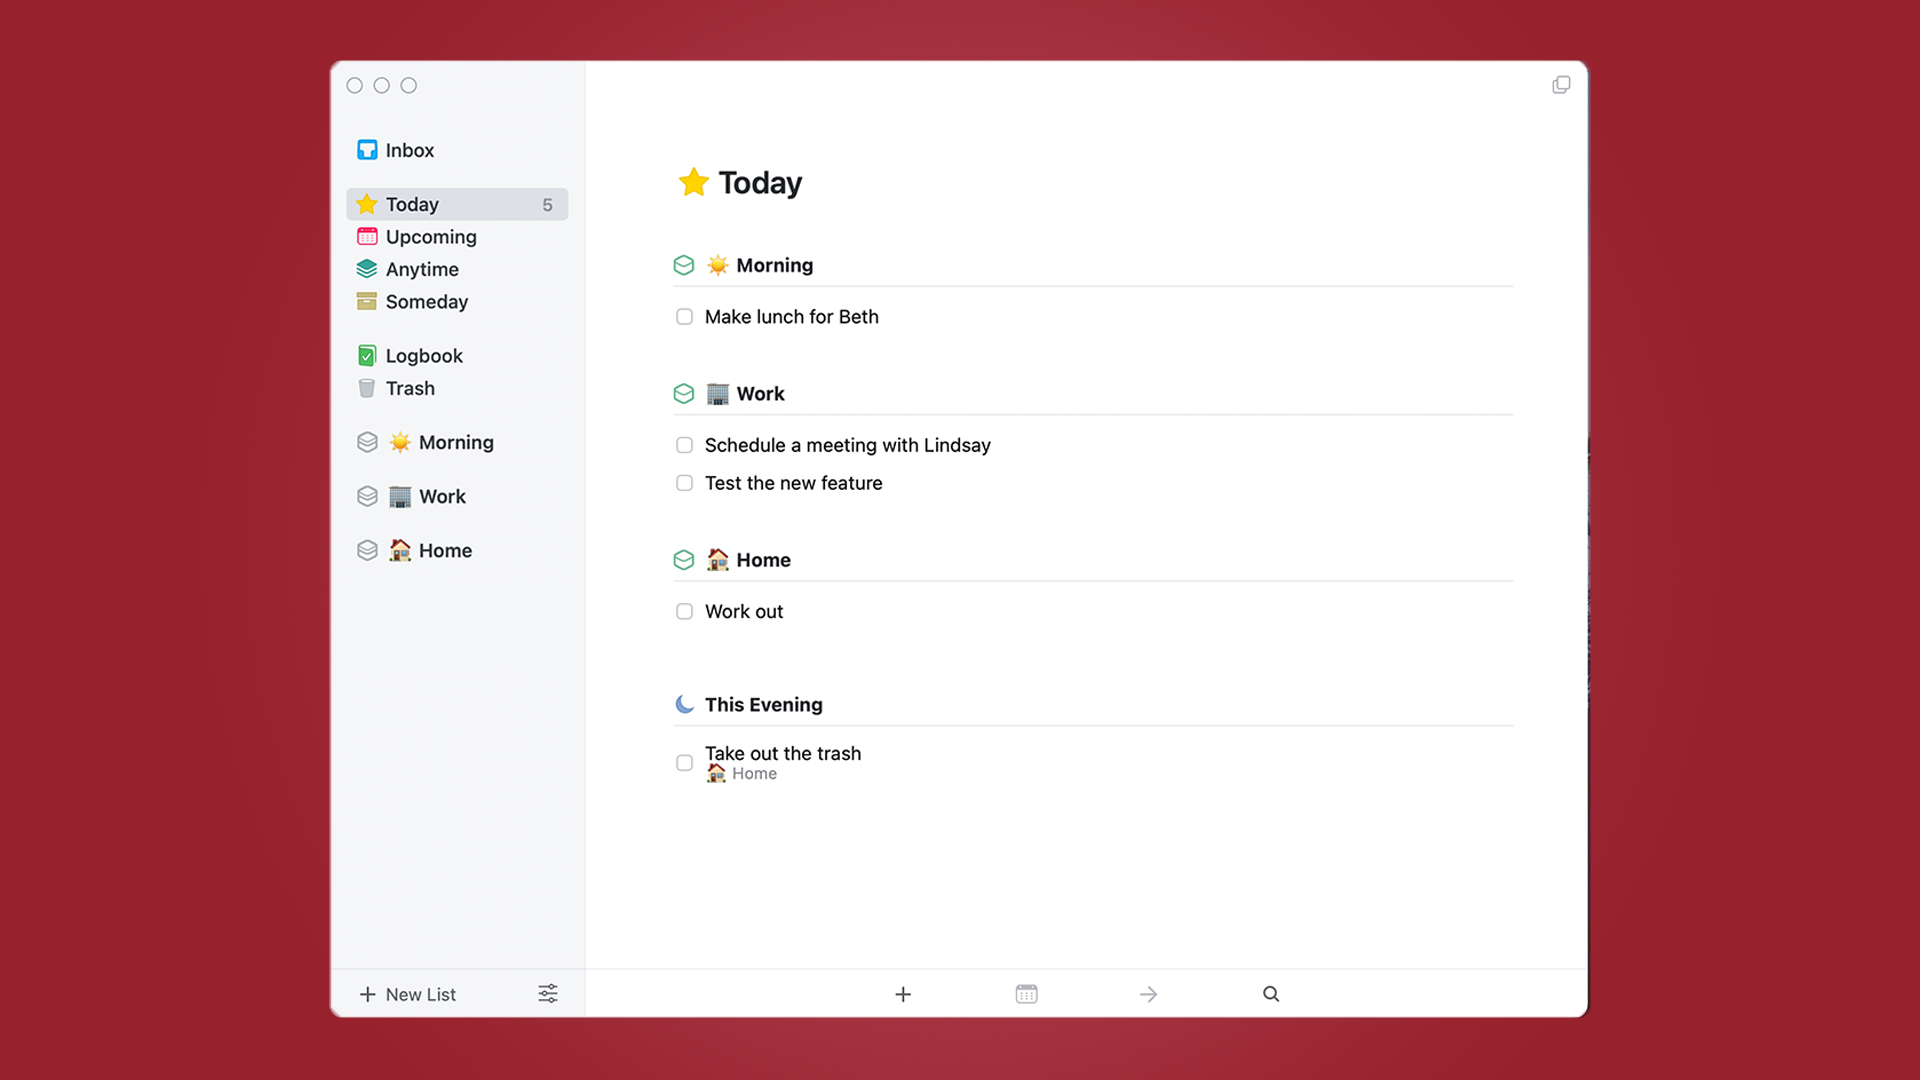
Start out very basic here, and just create one called 'Home' and another called ‘Work’. You can even put an emoji in front of the names so that you can more quickly tell them apart at a glance. Here’s an example of what you’ll see, including one more area called ‘Morning’.

Once you’ve done these, you have a few areas that you can separate your tasks into when you create them in Things, resulting in making everything easier going forward.

Creating Bite-Size, Actionable Tasks
A great tip for anyone dipping their toe into task management (no matter the tool you’re using) is to make small tasks. Seriously, however big your tasks were before, make them smaller.
Sign up for breaking news, reviews, opinion, top tech deals, and more.
For example, if you want to sell something on eBay, you might think to make a single task called, ‘Sell old phone on eBay’, and then throw that in the ‘Home' area of Things. This is too large of a task and you should deconstruct that project into a few smaller tasks.
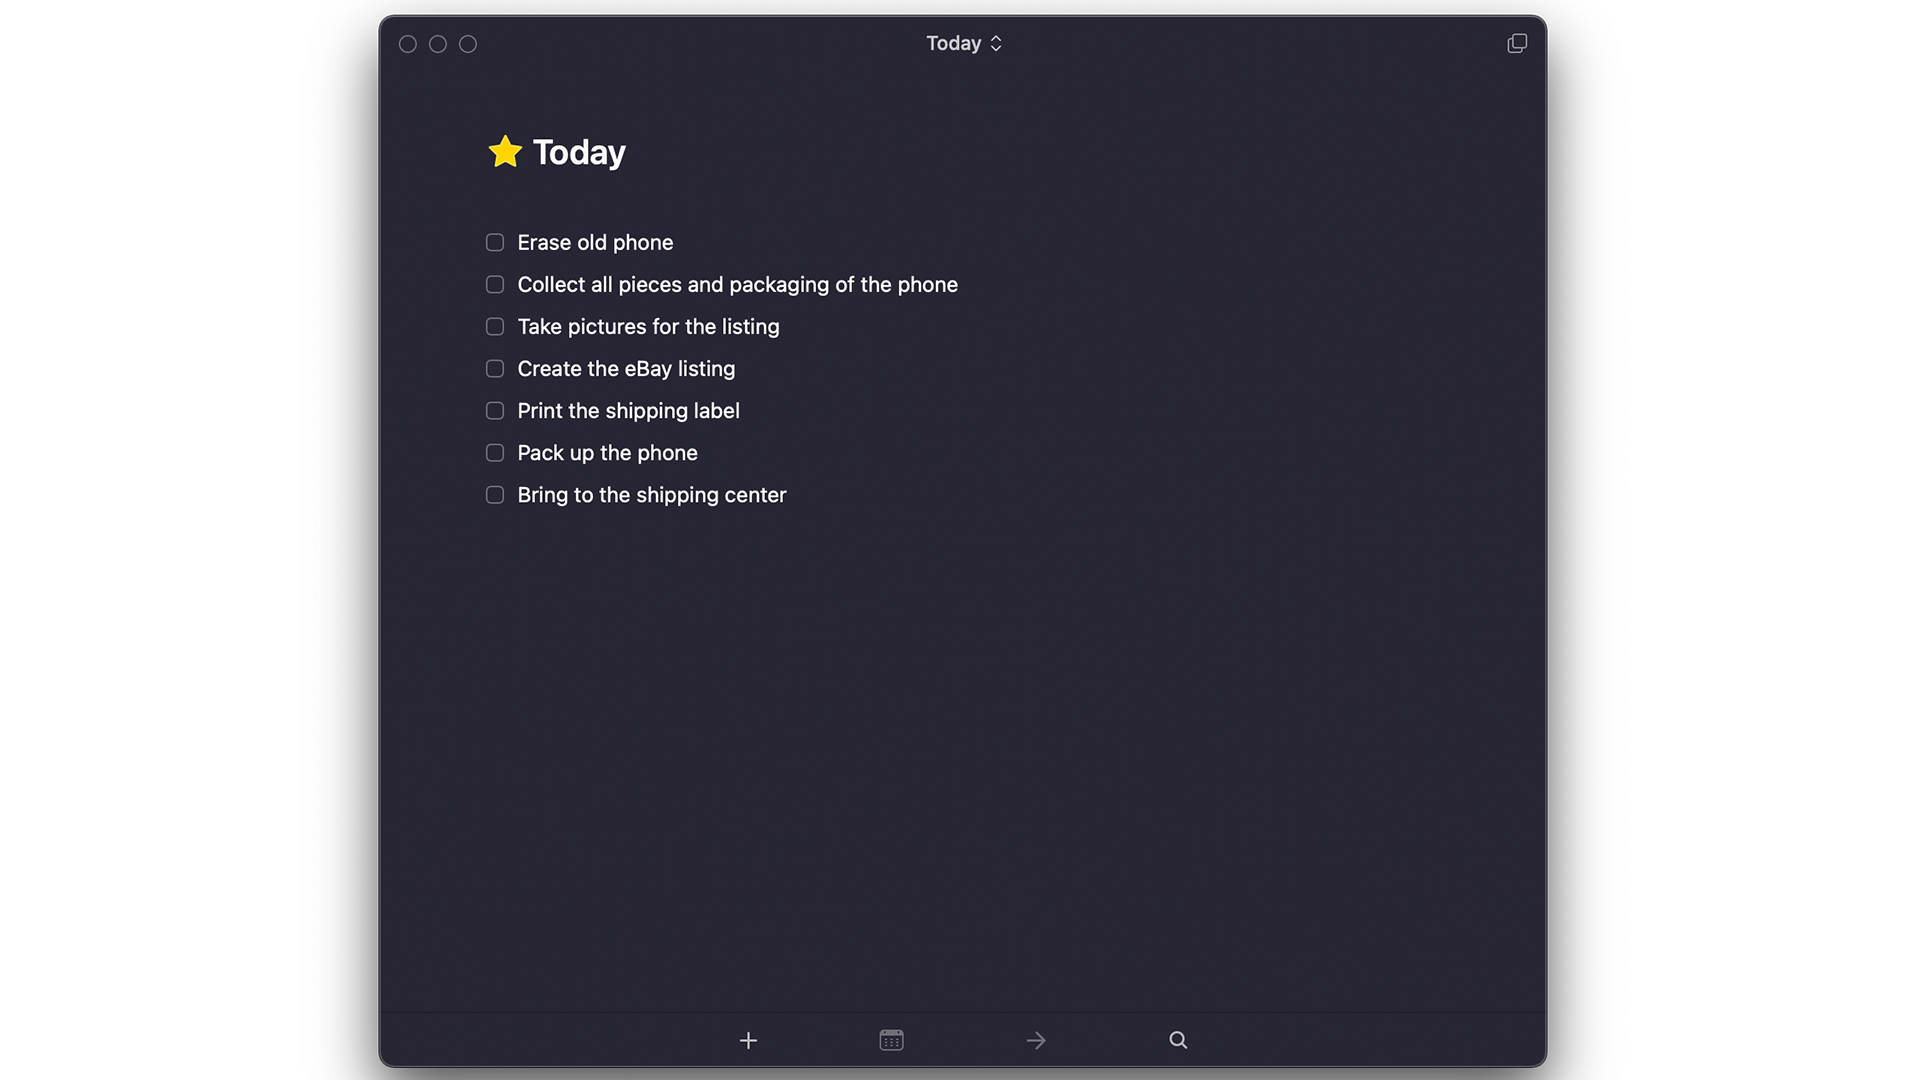
A good rule of thumb is that if you can spend 30 minutes working on something on your to-do list but not mark it as complete, then you’ve made too large of a task. So instead of, 'Sell the old phone on eBay,' try creating the following tasks:
- Erase old phone
- Collect all pieces and packaging of the phone
- Take pictures for the listing
- Create the eBay listing
- Print the shipping label
- Pack up the phone
- Bring to the shipping center

You may want to break it into fewer tasks than that, and that’s fine, but err on the side of making tasks that are too small over too large. The old saying goes, 'How do you eat an elephant? One bite at a time.' Your tasks should be the bites, not the elephant.
Creating Those Tasks in Things
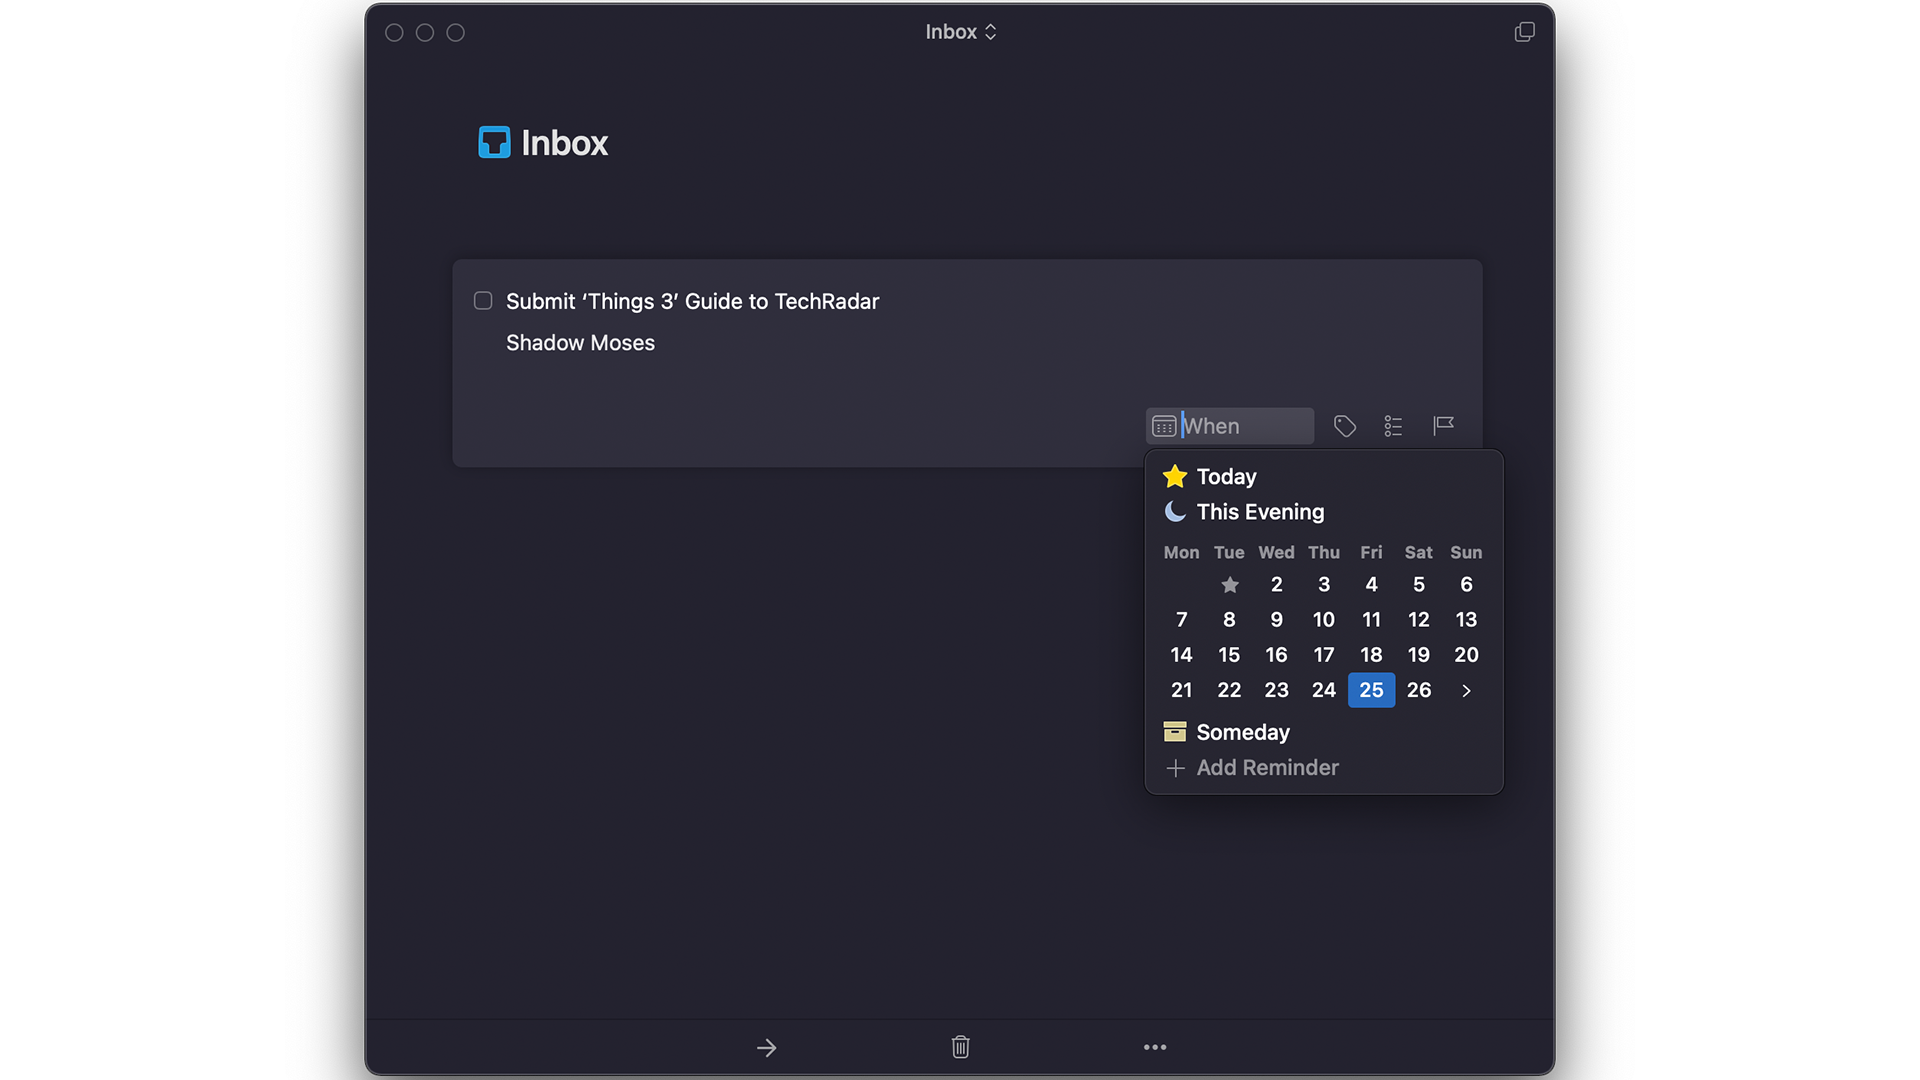
Now that you’re creating small, actionable tasks, you want to add them to Things so that you can actually see them and check them off as you do them. By default, you’ll be adding tasks to the 'Inbox' and then you can sort them however you’d like.

There is a whole world of tags, flags, checklists, and recurring rules that we can get into, but today we’re just focusing on getting started, and complexity is the enemy right now, so here’s what you can add to every task with minimal effort:
- An area (i.e. work, home, etc.)
- A due date
That’s it, just add each task to the relevant area of your life and then assign it a date that you want to get it done. One of the nice things about Things is that you can drag and drop basically anything in the app, so if you want to assign a task to your 'Work' area, just drag the task over there and it will be assigned to work. Drag a task to the 'Today' item in the sidebar to make it due today. Boom, easy!
The Today View
Once you’ve got tasks in Things 3, you’ll likely spend most of your time in the app on the Today view. This predictably shows all your tasks that are due today and sorts them into your areas for you. This makes it super simple to focus on your work tasks at work, and then your home tasks later in the day.

Above is a screenshot of the today view, where you can see everything is sorted neatly. There’s a task that needs to get done in the morning at the top, and one that needs to get done at night set to 'this evening.' Task management can get very complicated, and sometimes that’s what people need, but it doesn’t have to be for most people, and a little work goes a long way to help you get going.
