The ultimate guide to backing up your Mac
Protect your files forever
The built-in backup tools in macOS, like Time Machine, absolve you of all responsibility for securing your files because once they've been set up, they'll keep running in the background whenever your Mac is on.
Time Machine creates external backups of your data on an attached drive or a Network Attached Storage drive, keeping the failsafe outside the drive on which the masters were created. It requires a Mac-formatted drive.
Connect the drive to your machine, and use Disk Utility to format it as Mac OS Extended (Journaled) if it isn't already. Then, open System Preferences. Click Time Machine, tick the Back Up Automatically option to enable it, and select your drive as the backup destination. If you want to work with a NAS device, check the packaging for compatibility, as manufacturers routinely use this as a selling point.
Time Machine will now run permanently in the background, initially copying your system drive in its entirety and then creating hourly backups of any file that has changed in the previous 60 minutes.
App backup
Time Machine also works natively with many macOS applications, such as iPhoto/Photos for macOS and Contacts, allowing you to reinstate individual records within their libraries without rolling back the whole database. Just make sure the application is running and has focus before stepping into the Time Machine archive.
How to duplicate a drive using Carbon Copy Cloner

1. Select your backups
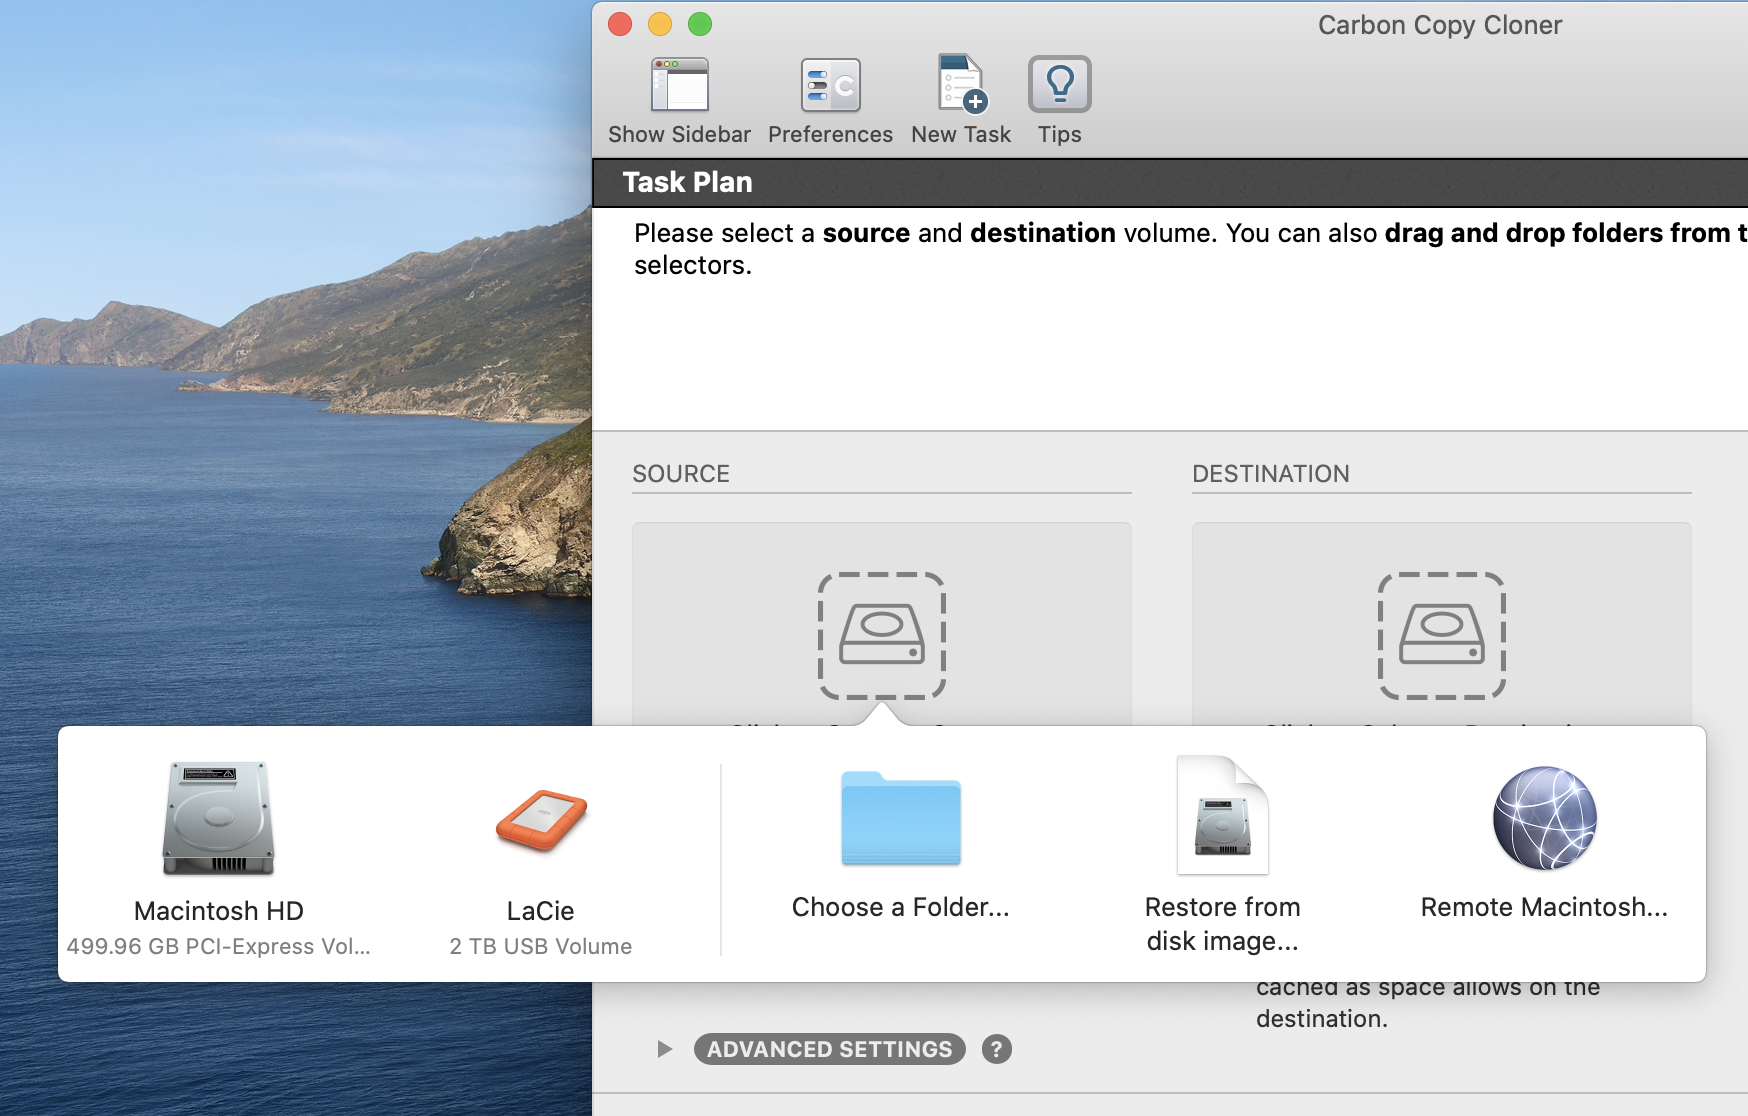
Download Carbon Copy Cloner, unpack and launch it, then work your way from left to right across the opening screen. Start by clicking the Source box and selecting the drive (or folder) you want to copy. Ideally, this would be your internal hard drive (ours is Macintosh HD).

2. Set the destination
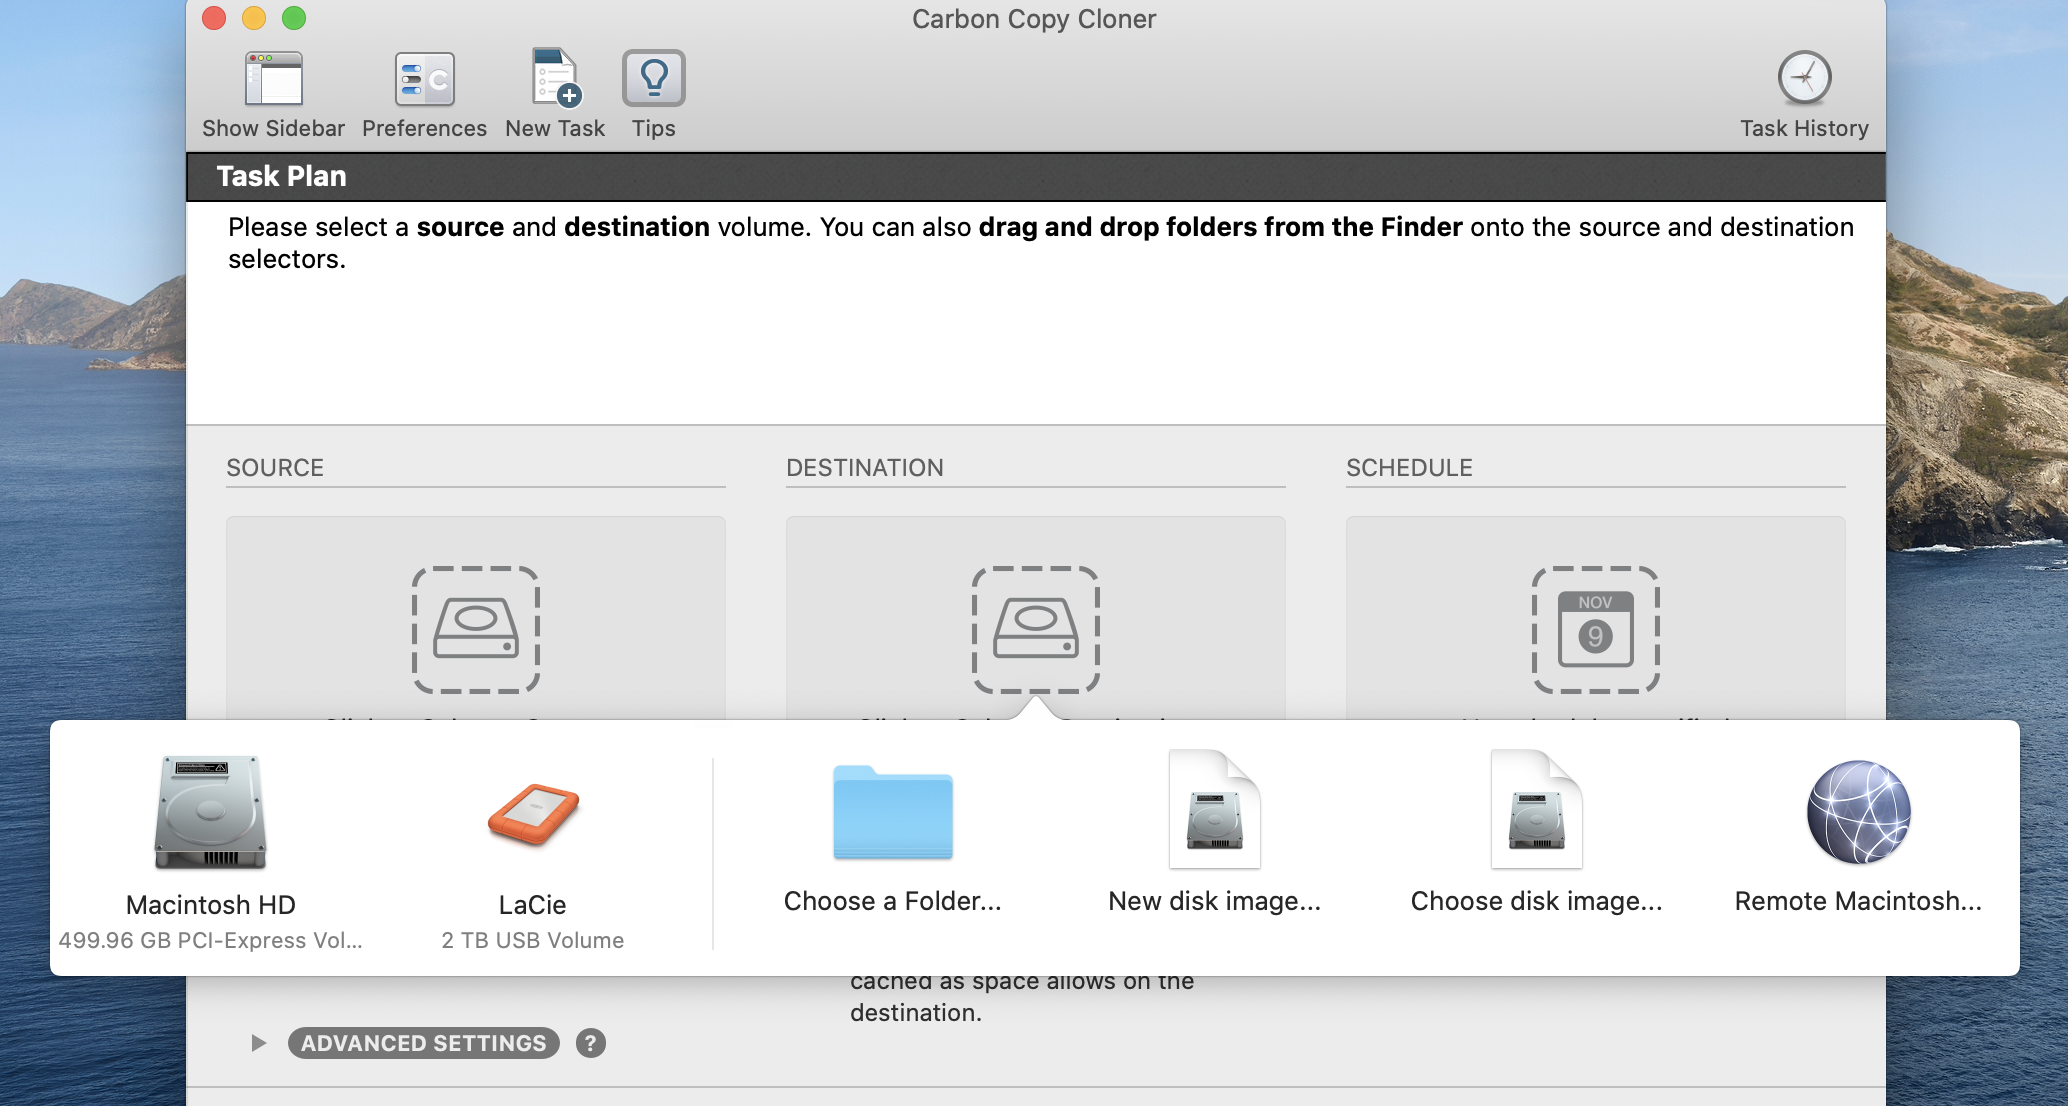
Click the Destination box and pick the backup destination. This should be an external drive attached to your Mac that you can move offsite when complete.
Sign up for breaking news, reviews, opinion, top tech deals, and more.
But you can use another folder, or if you select New Disk Image, a NAS drive attached to your network.

3. Get automated
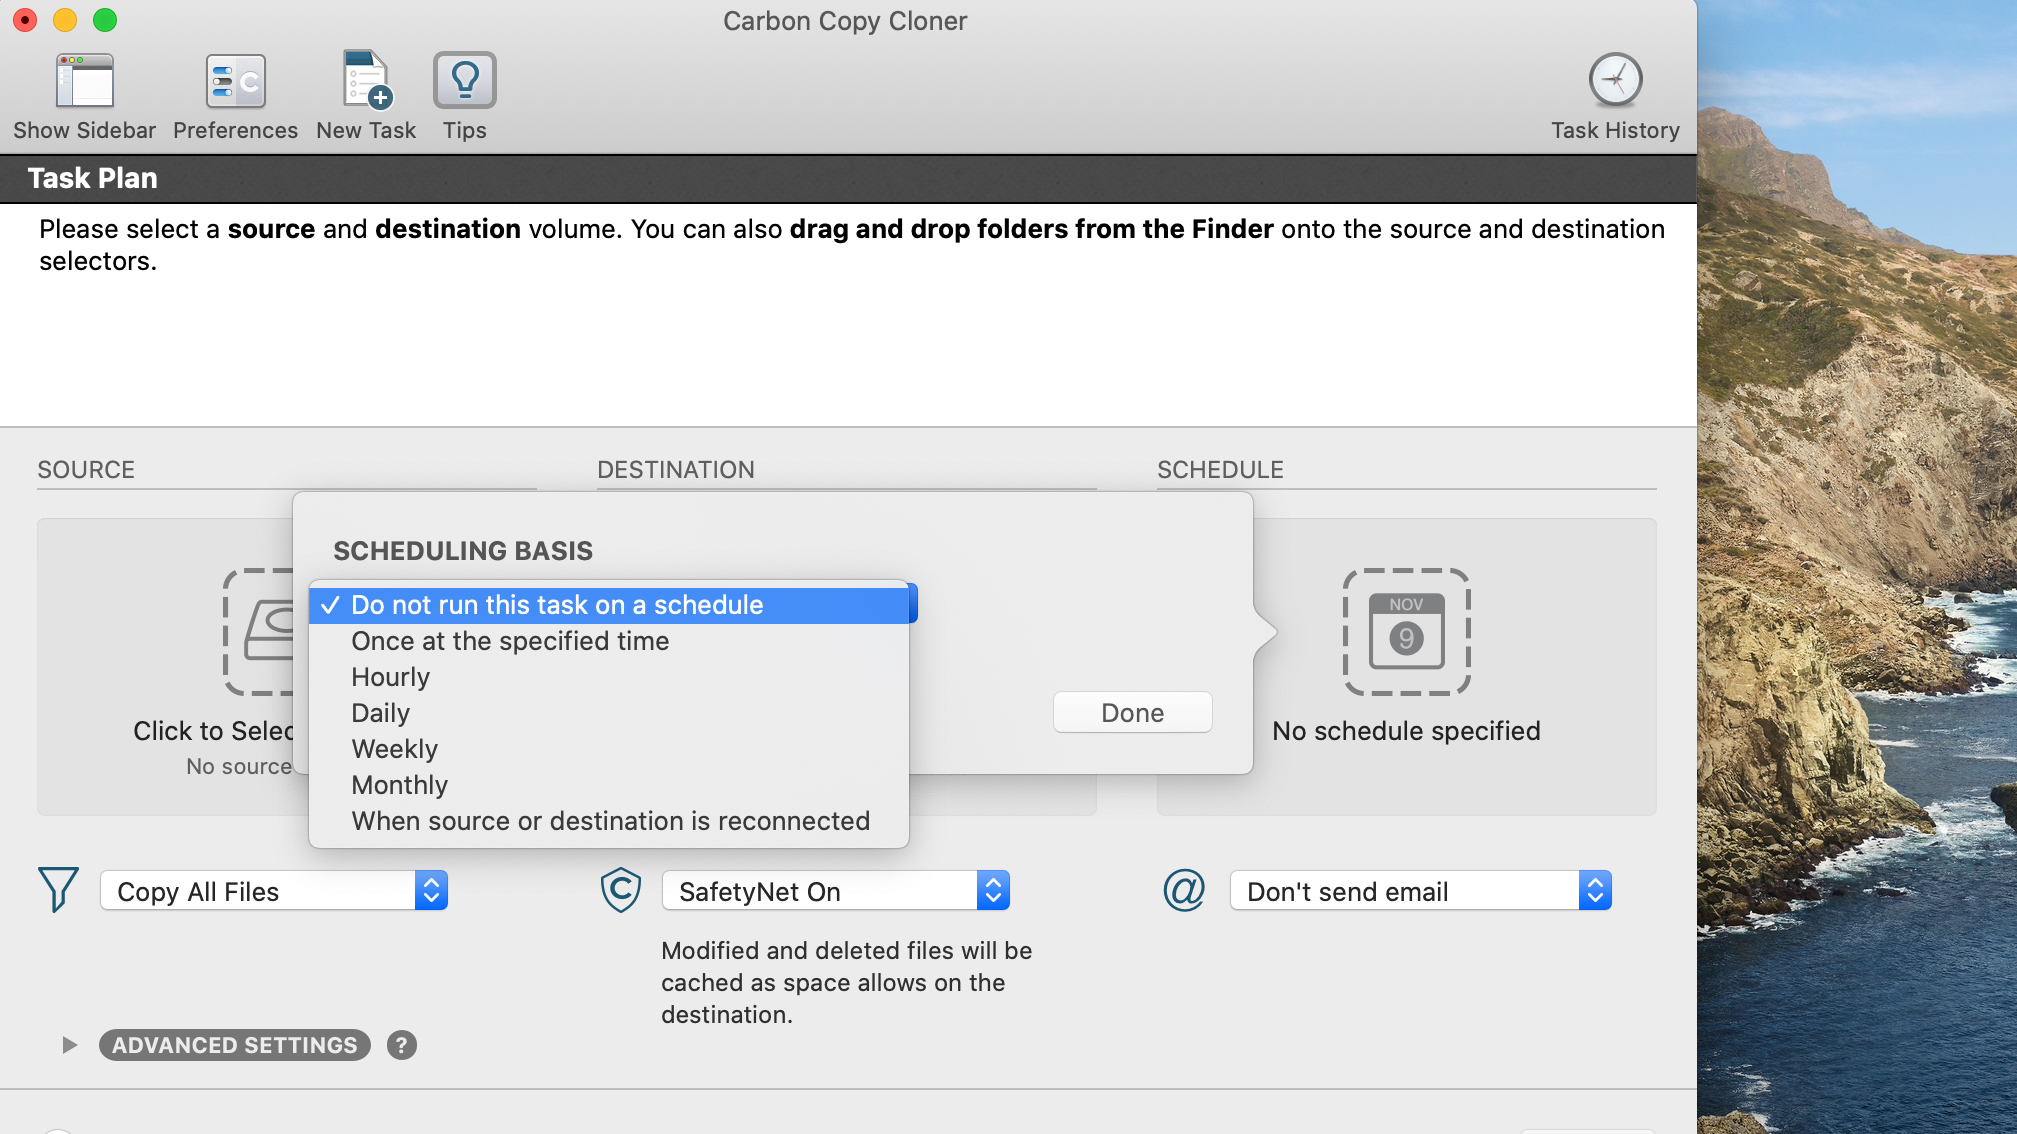
Click in the Schedule box and decide when you want to run the backup. Scheduling makes it easier to remember, but if you're happy to take responsibility for this yourself, leave it set to 'Do not run this task on a schedule' and click Clone to perform the backup.
Nik is an Esperanto-speaking, pencil-bothering, manual typewriter fan who also happens to have a soft spot for tech after sufficient years in the business to know what that disk icon on the save button actually means. Never happier than when out in his campervan, coffee in one hand, ebook in the other, listening to the rain on the roof.