9 tips for taking sports photos like a pro
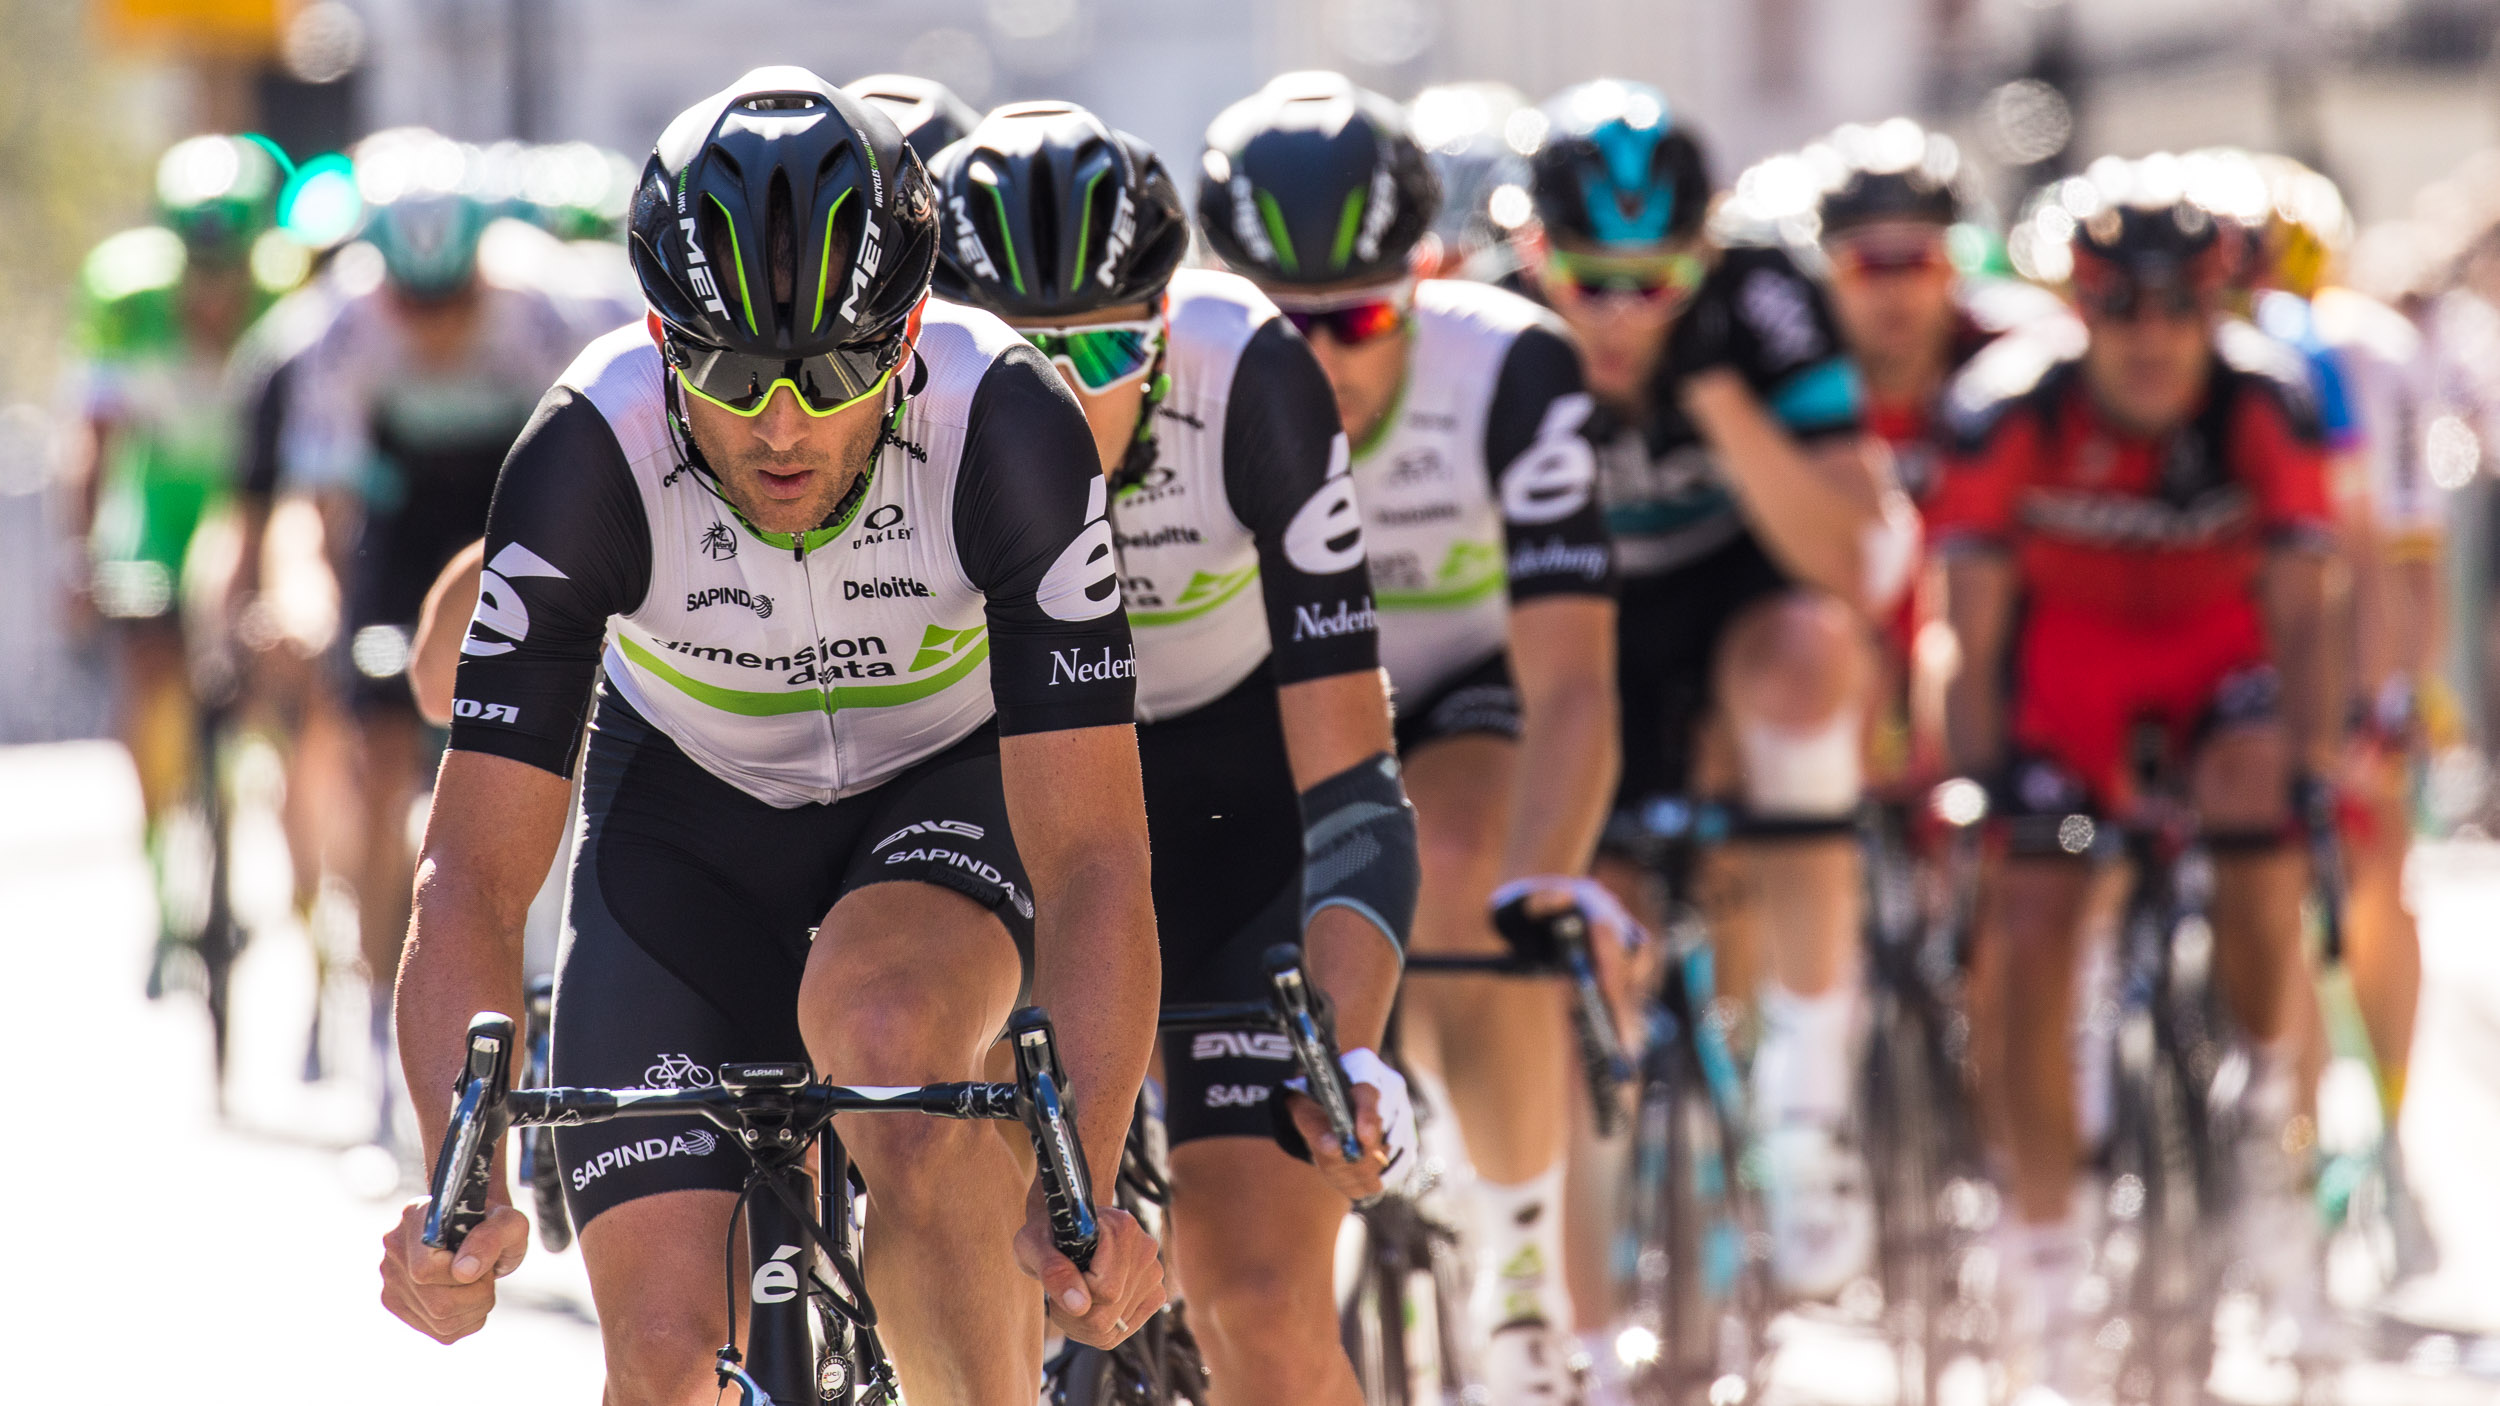
Sports photography can be one of the most challenging genres. The action is often over in a blink of an eye, so you need to be on top of your game when it comes to both camera settings and technique.
Get it right though and sports photography can be incredibly rewarding, with the potential to capture some really dramatic imagery.
To help get you started, we've put together this collection of essential tips and tricks. From basic camera settings to more practical advice, we'll show you how to capture brilliant sports photos.
- Catch up on the rest of TechRadar’s Fitness Week where we're highlighting the tech-based tools you can be using to improve and monitor your physical health
1. Know and understand your sport
Knowledge is power! If you understand the sport or activity you’re shooting, things will be much easier for you. You’ll be able to anticipate what’s likely to happen and where, meaning you’ll be able to know where best to position yourself, and how to set up your camera.
If you’re new to a sport that you're photographing, try to do some research beforehand, so that when you start shooting you’ll have a better chance of success.
2. Be prepared
This is something that can be easily overlooked, but try and be prepared, not just from a photographic point of view, but physically as well. Chances are you could be in one spot for a while, and if you’re shooting from the sidelines for example, a small collapsible chair is an essential piece of kit. You may not be allowed to stand, and believe us, kneeling gets very uncomfortable very quickly. Shooting at lower angles tends to produce more dramatic shots as well.
Don't forget to dress for the conditions – if there’s a chance of rain, bring a waterproof jacket. If you’re warm, dry and comfortable, you’ll be better able to focus on the action in front of you.
Sign up for breaking news, reviews, opinion, top tech deals, and more.
3. Basic camera setup
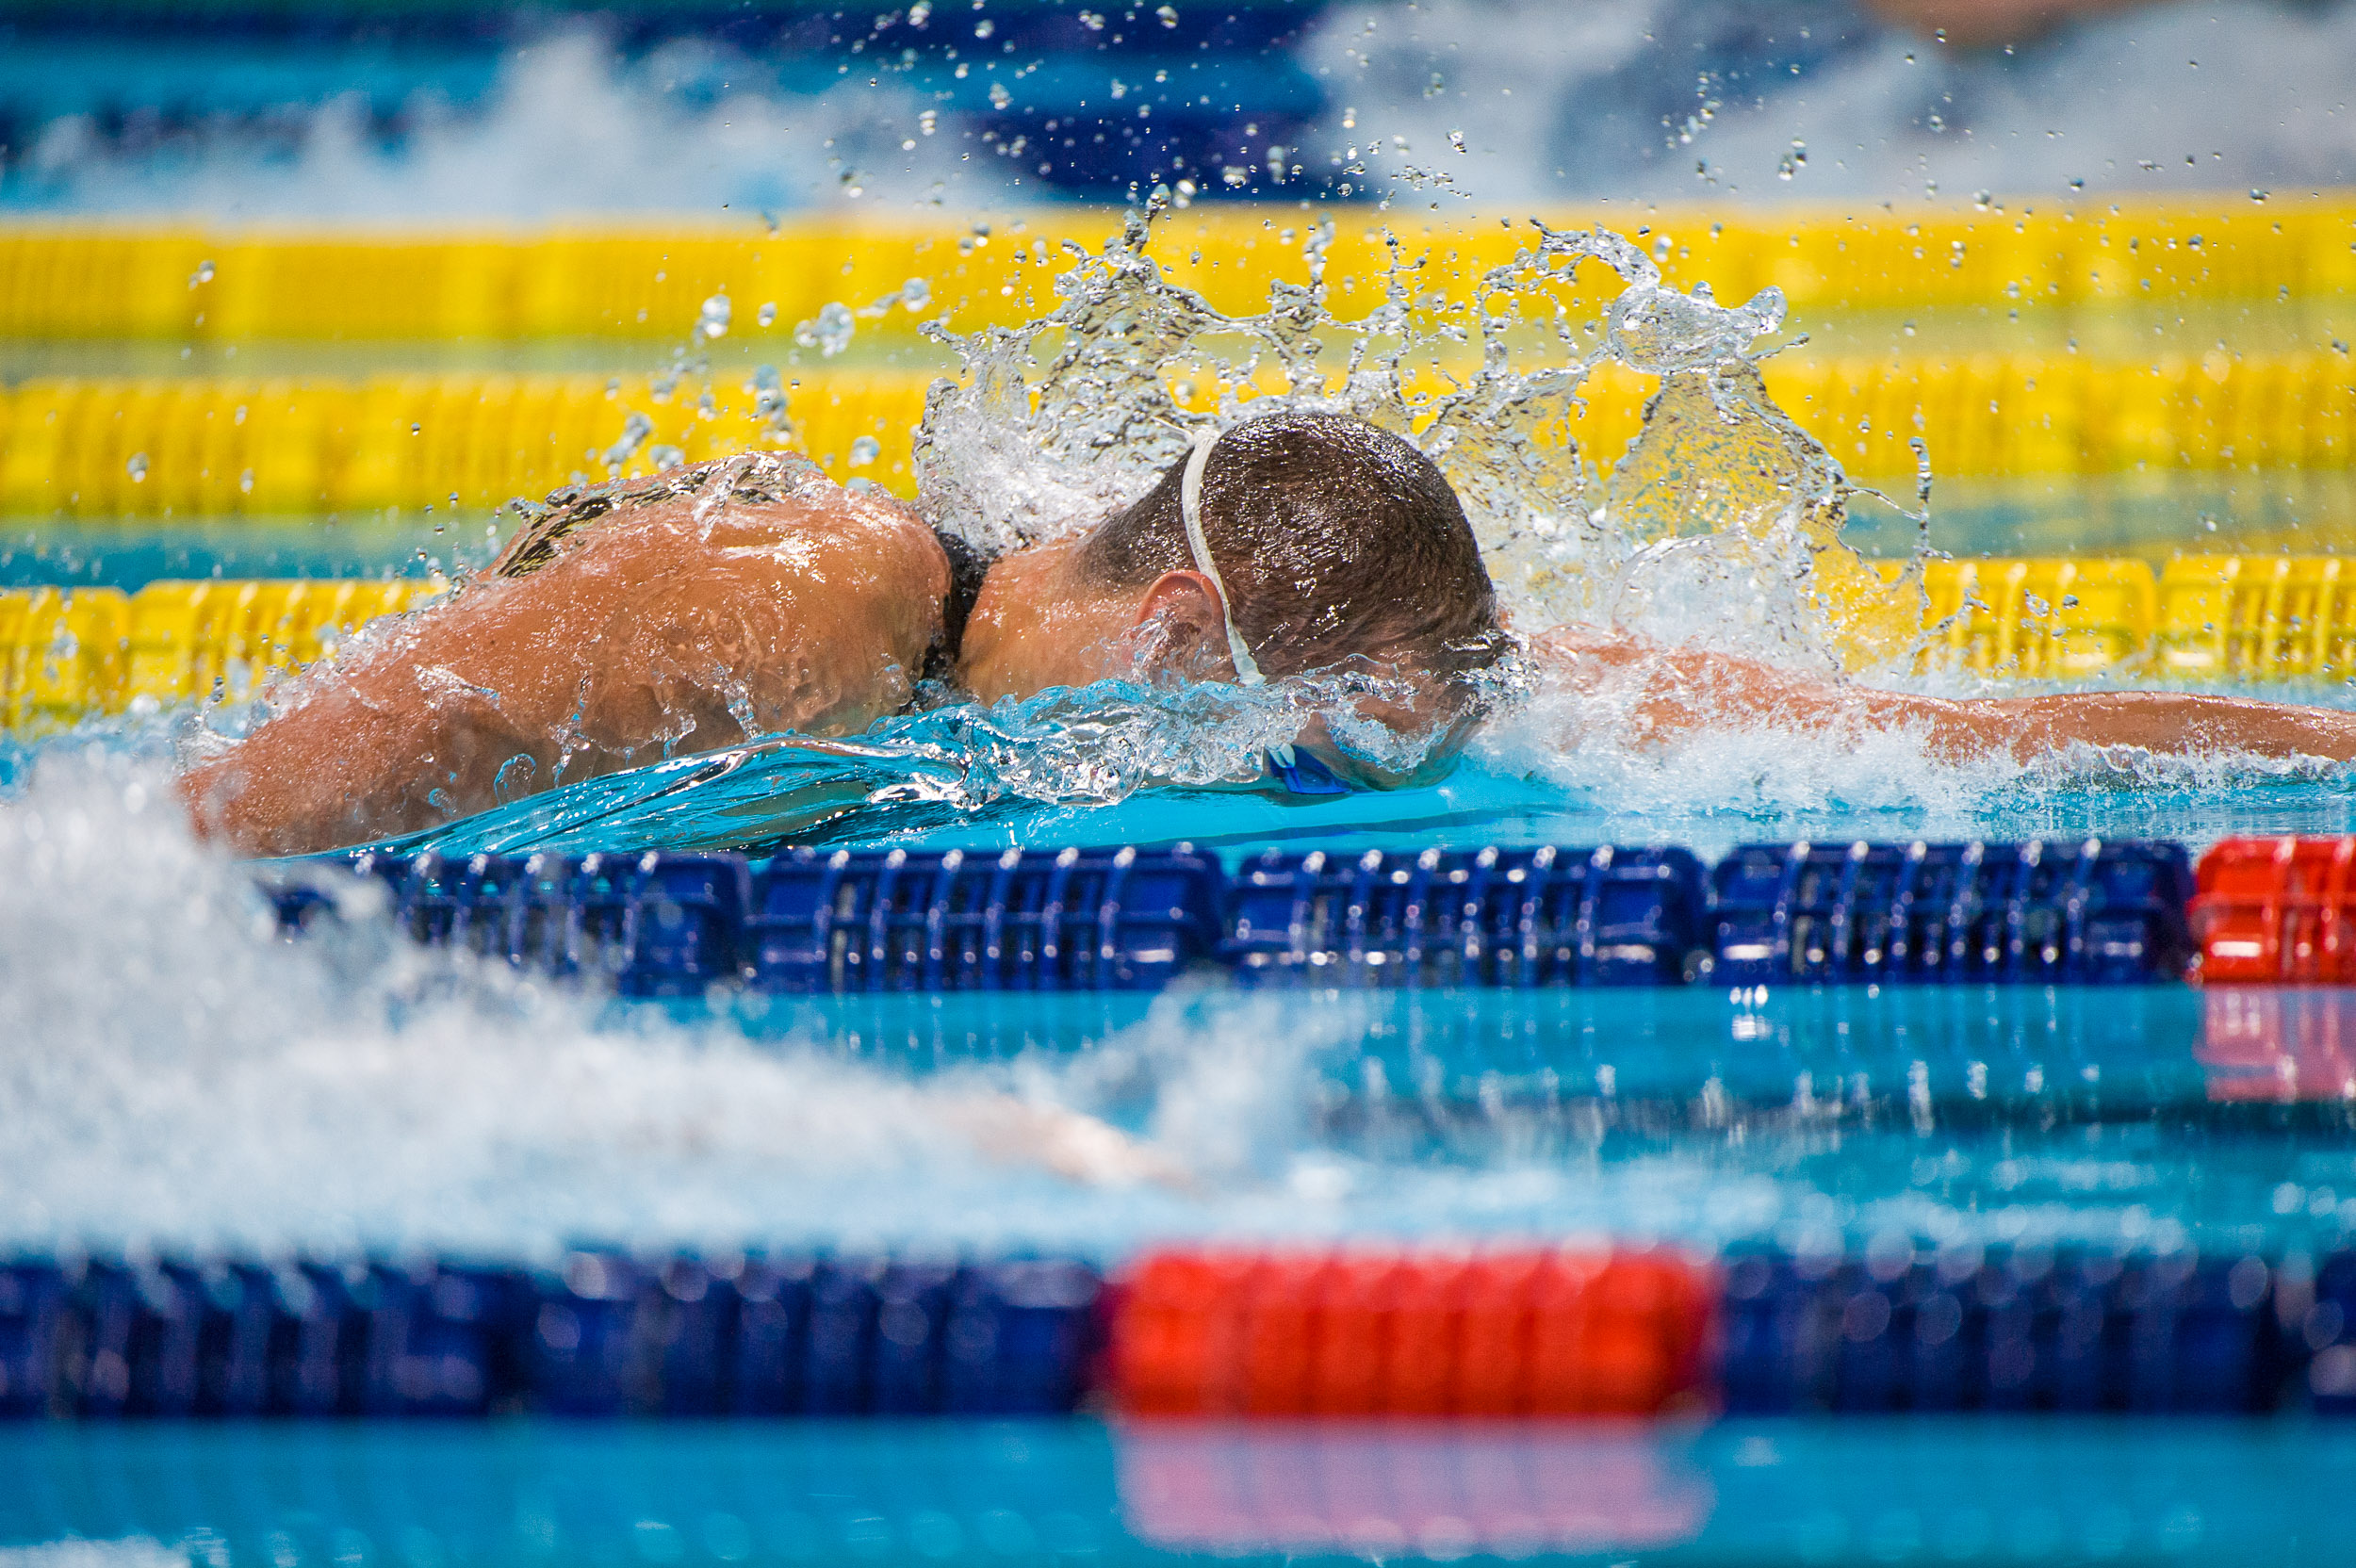
While you might want to opt for JPEG files, we’d still suggest opting for raw capture. This will give you much greater flexibility in post-processing, especially if you’re dealing with some tricky lighting; it'll be much easier to correct white balance, as well as recover highlight and shadow detail.
You’re also going to want to change the drive mode of your camera from Single to Continuous, as this will allow you to shoot an a sequence of shots when you press the shutter button. Some cameras offer a High and Low continuous burst mode, so think about the subject you’re shooting. Do you need to be shooting at 9-10fps, when 5fps is more than fast enough to capture the subject you’re shooting? Less can sometimes be more – especially when you’ve got to sift through all of those shots at a later date.
Choose Shutter Priority mode, as this is the most useful setting for most sports and action
Choose Shutter Priority mode (Tv on Canon DSLRs) as this is the most useful setting for most sports and action. It enables you to decide whether to freeze the movement with a fast shutter speed, or add some blur by using a slower one; the camera will automatically choose the aperture.
You’ll also want to have your camera set to Continuous AF (known as AI-Servo on Canon DSLRs), as this will allow your camera to continuously adjust focus as it follows your subject.
The actual focusing mode you select will be dependent on the model of camera you’re shooting with, but to aid precision of your camera’s AF when tracking a subject, use your camera’s dynamic-area AF (also known as AF point expansion). This will allow your camera to use information from the surrounding focus points to maintain focus should the selected focus point lose focus because your subject has moved.
- Get started with your new camera: 12 key settings
- 49 seriously good Canon DSLR tips, tricks, time savers and shortcuts
- 10 camera settings you need to learn to master your Nikon DSLR
4. Back-button focusing
This is something a lot of sports photographers swear by. Instead of half-pressing the shutter button to acquire focus, you use the rear AF-On button to do so. If your camera doesn’t have an dedicated AF-On button don’t worry, as it’s often possible to program the AE-L / AF-L button instead.
Working this way also means you won’t have to keep switching between Single and Continuous AF.
Simply set the camera to Continuous AF (AF-C), and, via the menu, disable AF activation from the shutter button. Not only does this setup keep focus locked on a moving subject much better as you’re depressing the back button without pausing, it makes shooting static subjects much easier, as you can lock focus on them before re-composing your shot; should they start to move you’re already in Continuous AF mode, so you can easily track them.
5. Use Auto ISO
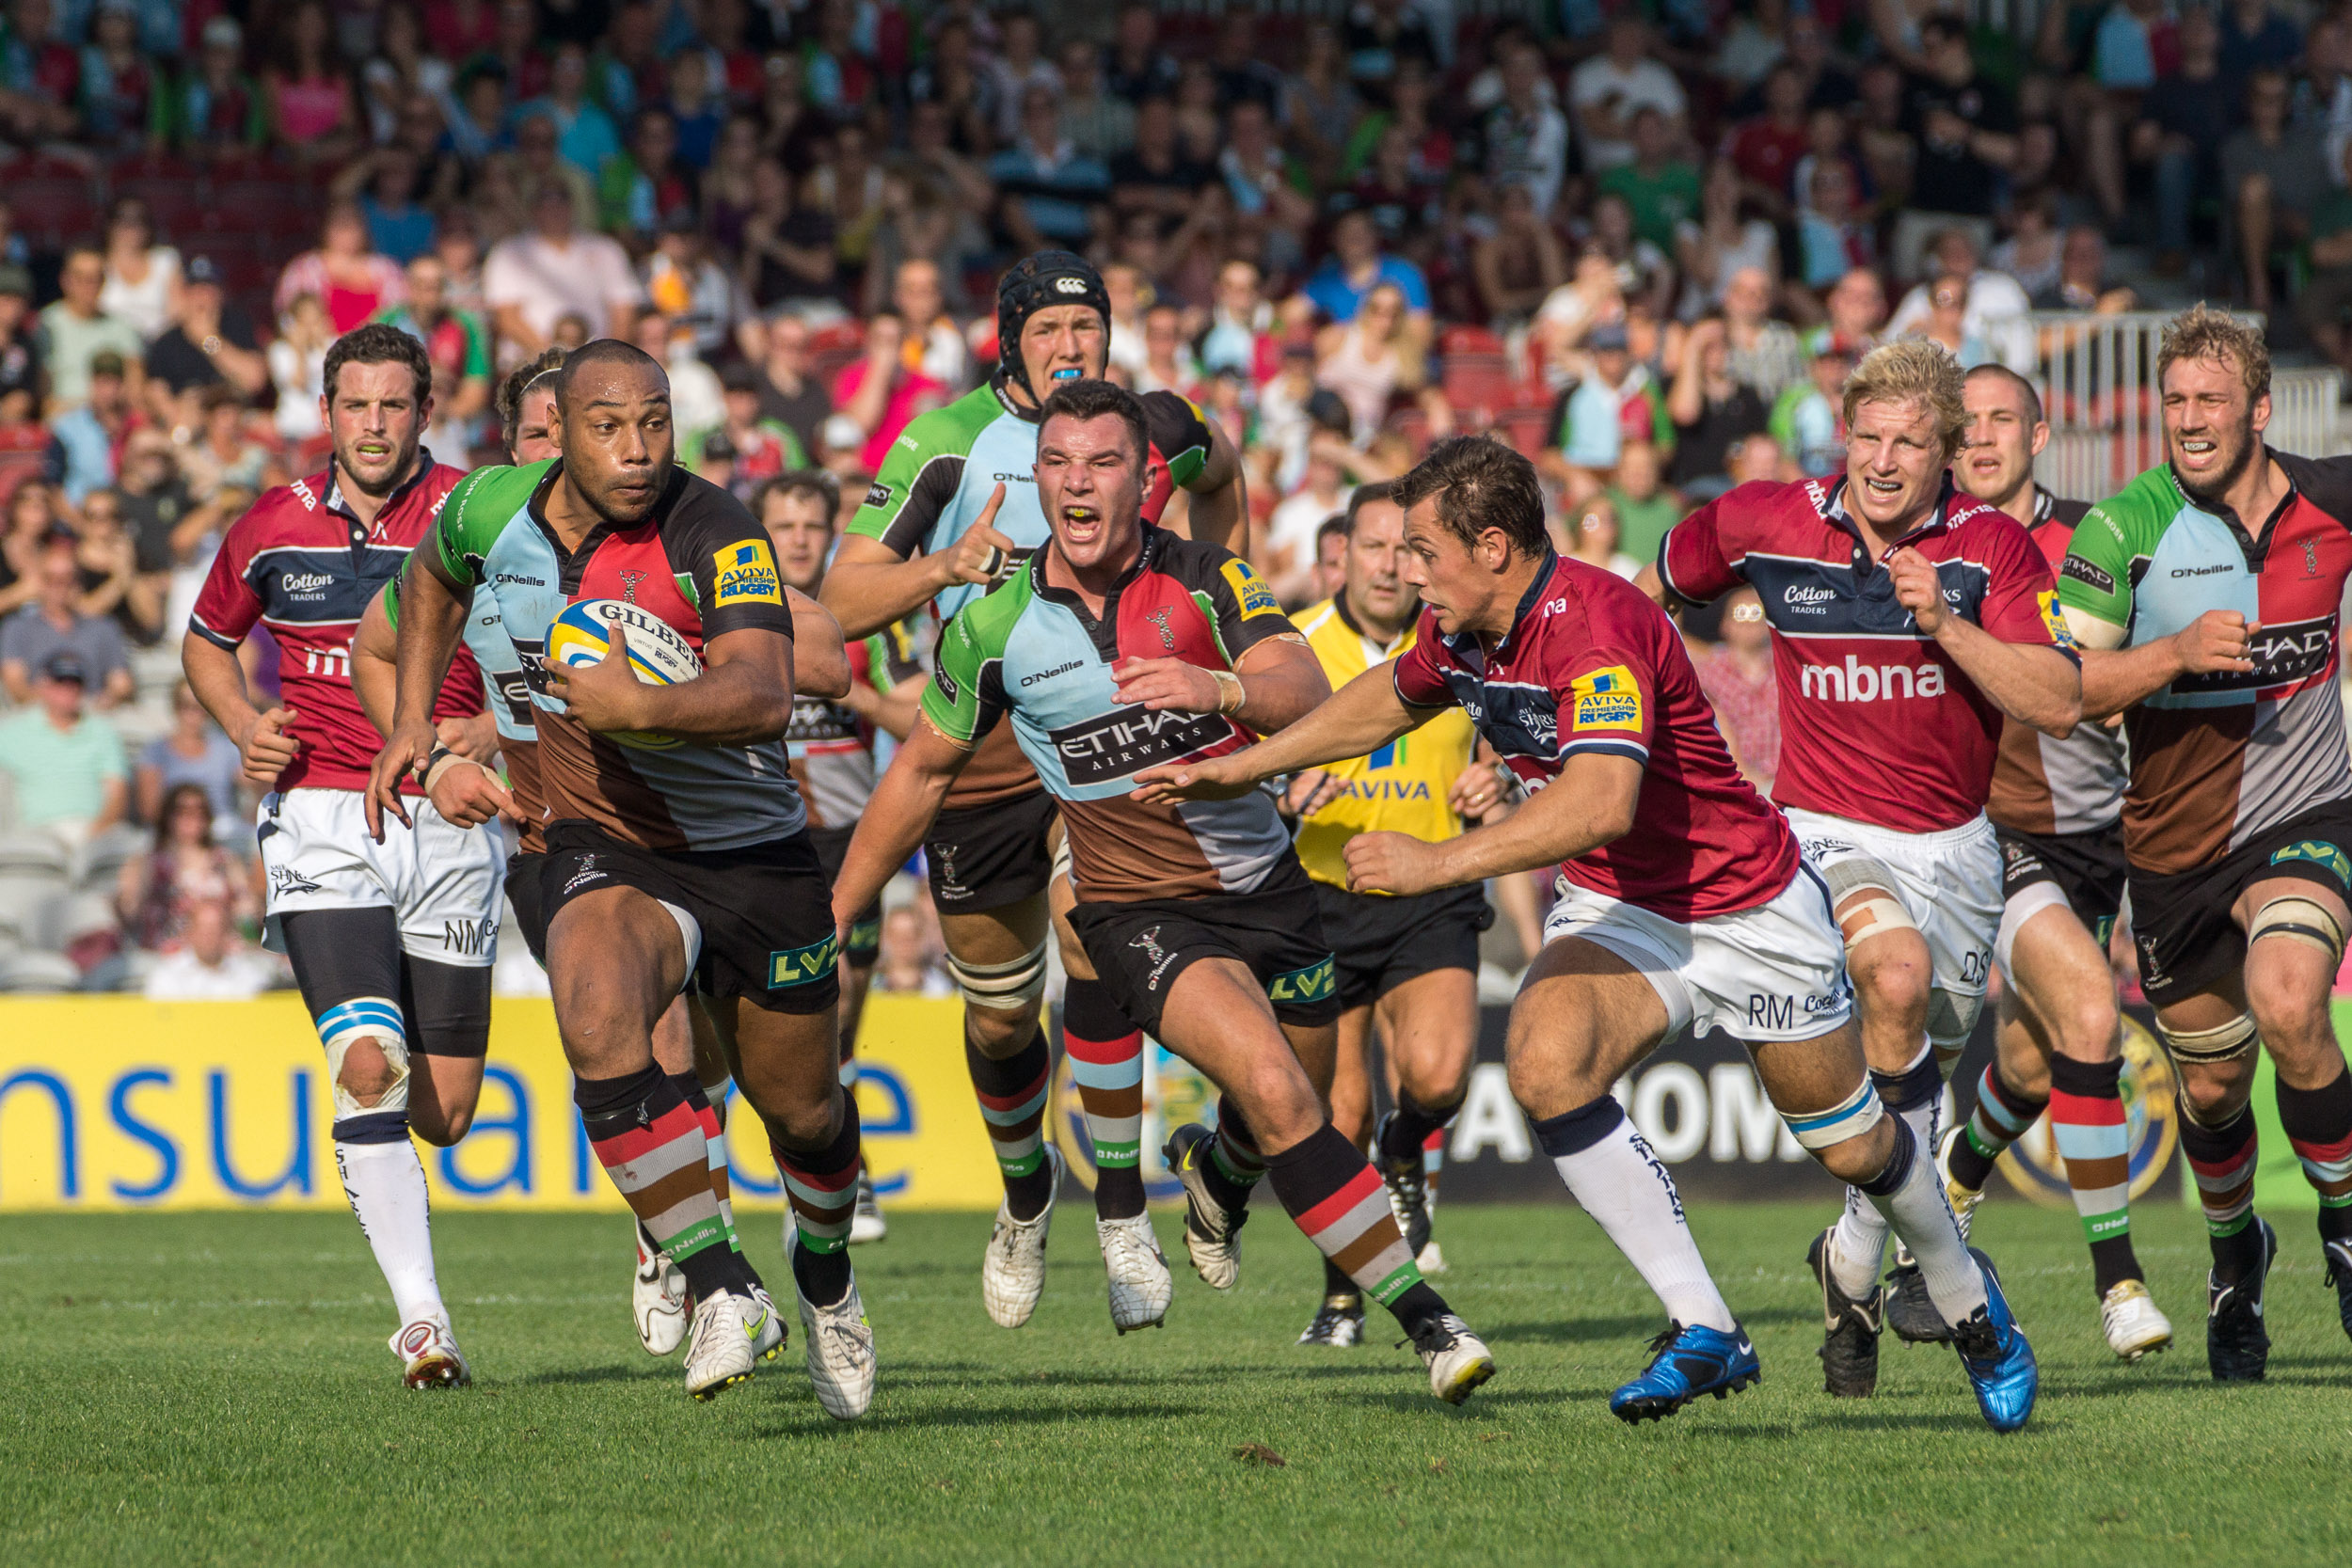
It might make sense to set the ISO manually in many situations, but Auto ISO can be very useful when shooting sport, especially if you’re trying to shoot at a certain shutter speed to freeze the action and the lighting changes. A good example is if you’re shooting in a stadium, and half of the pitch is in the shade while the other half is in the sunlight. On minute you could be shooting at ISO400 with a shutter speed of 1/1250 sec in bright sunlight, but should the action move into the shade of the stand and you might need an ISO of 1600-3200 to maintain the same shutter speed. Set your camera to Auto ISO and it will detect such changes and adjust the sensitivity accordingly.
6. Lens choice
You’ll want a telephoto lens to fill the frame, with the focal length dependent on what you’re shooting, how close you can get to the action and what type of camera you’re using. A good starting point is something like a 70-200mm f/2.8 lens, as the fast maximum aperture will allow you to isolate your subject. For even greater reach, a super-telephoto zoom lens (typically covering a focal range of 150-600mm) offers a lot of versatility, although the maximum aperture can be a little slow at, typically, around f/5.6-6.3.
Don’t discount shooting with a wide-angle lens though. You’ll have to think a little differently, but these can be great for telling a story and setting the scene. Try to get down low or raise the camera up high to introduce drama into shots.
- The best telephoto zoom lenses for Canon and Nikon DSLRs
- The 10 best Nikon lenses for DX-format DSLRs
- The 10 best Nikon lenses for FX-format DSLRs
7. Look for clean backgrounds
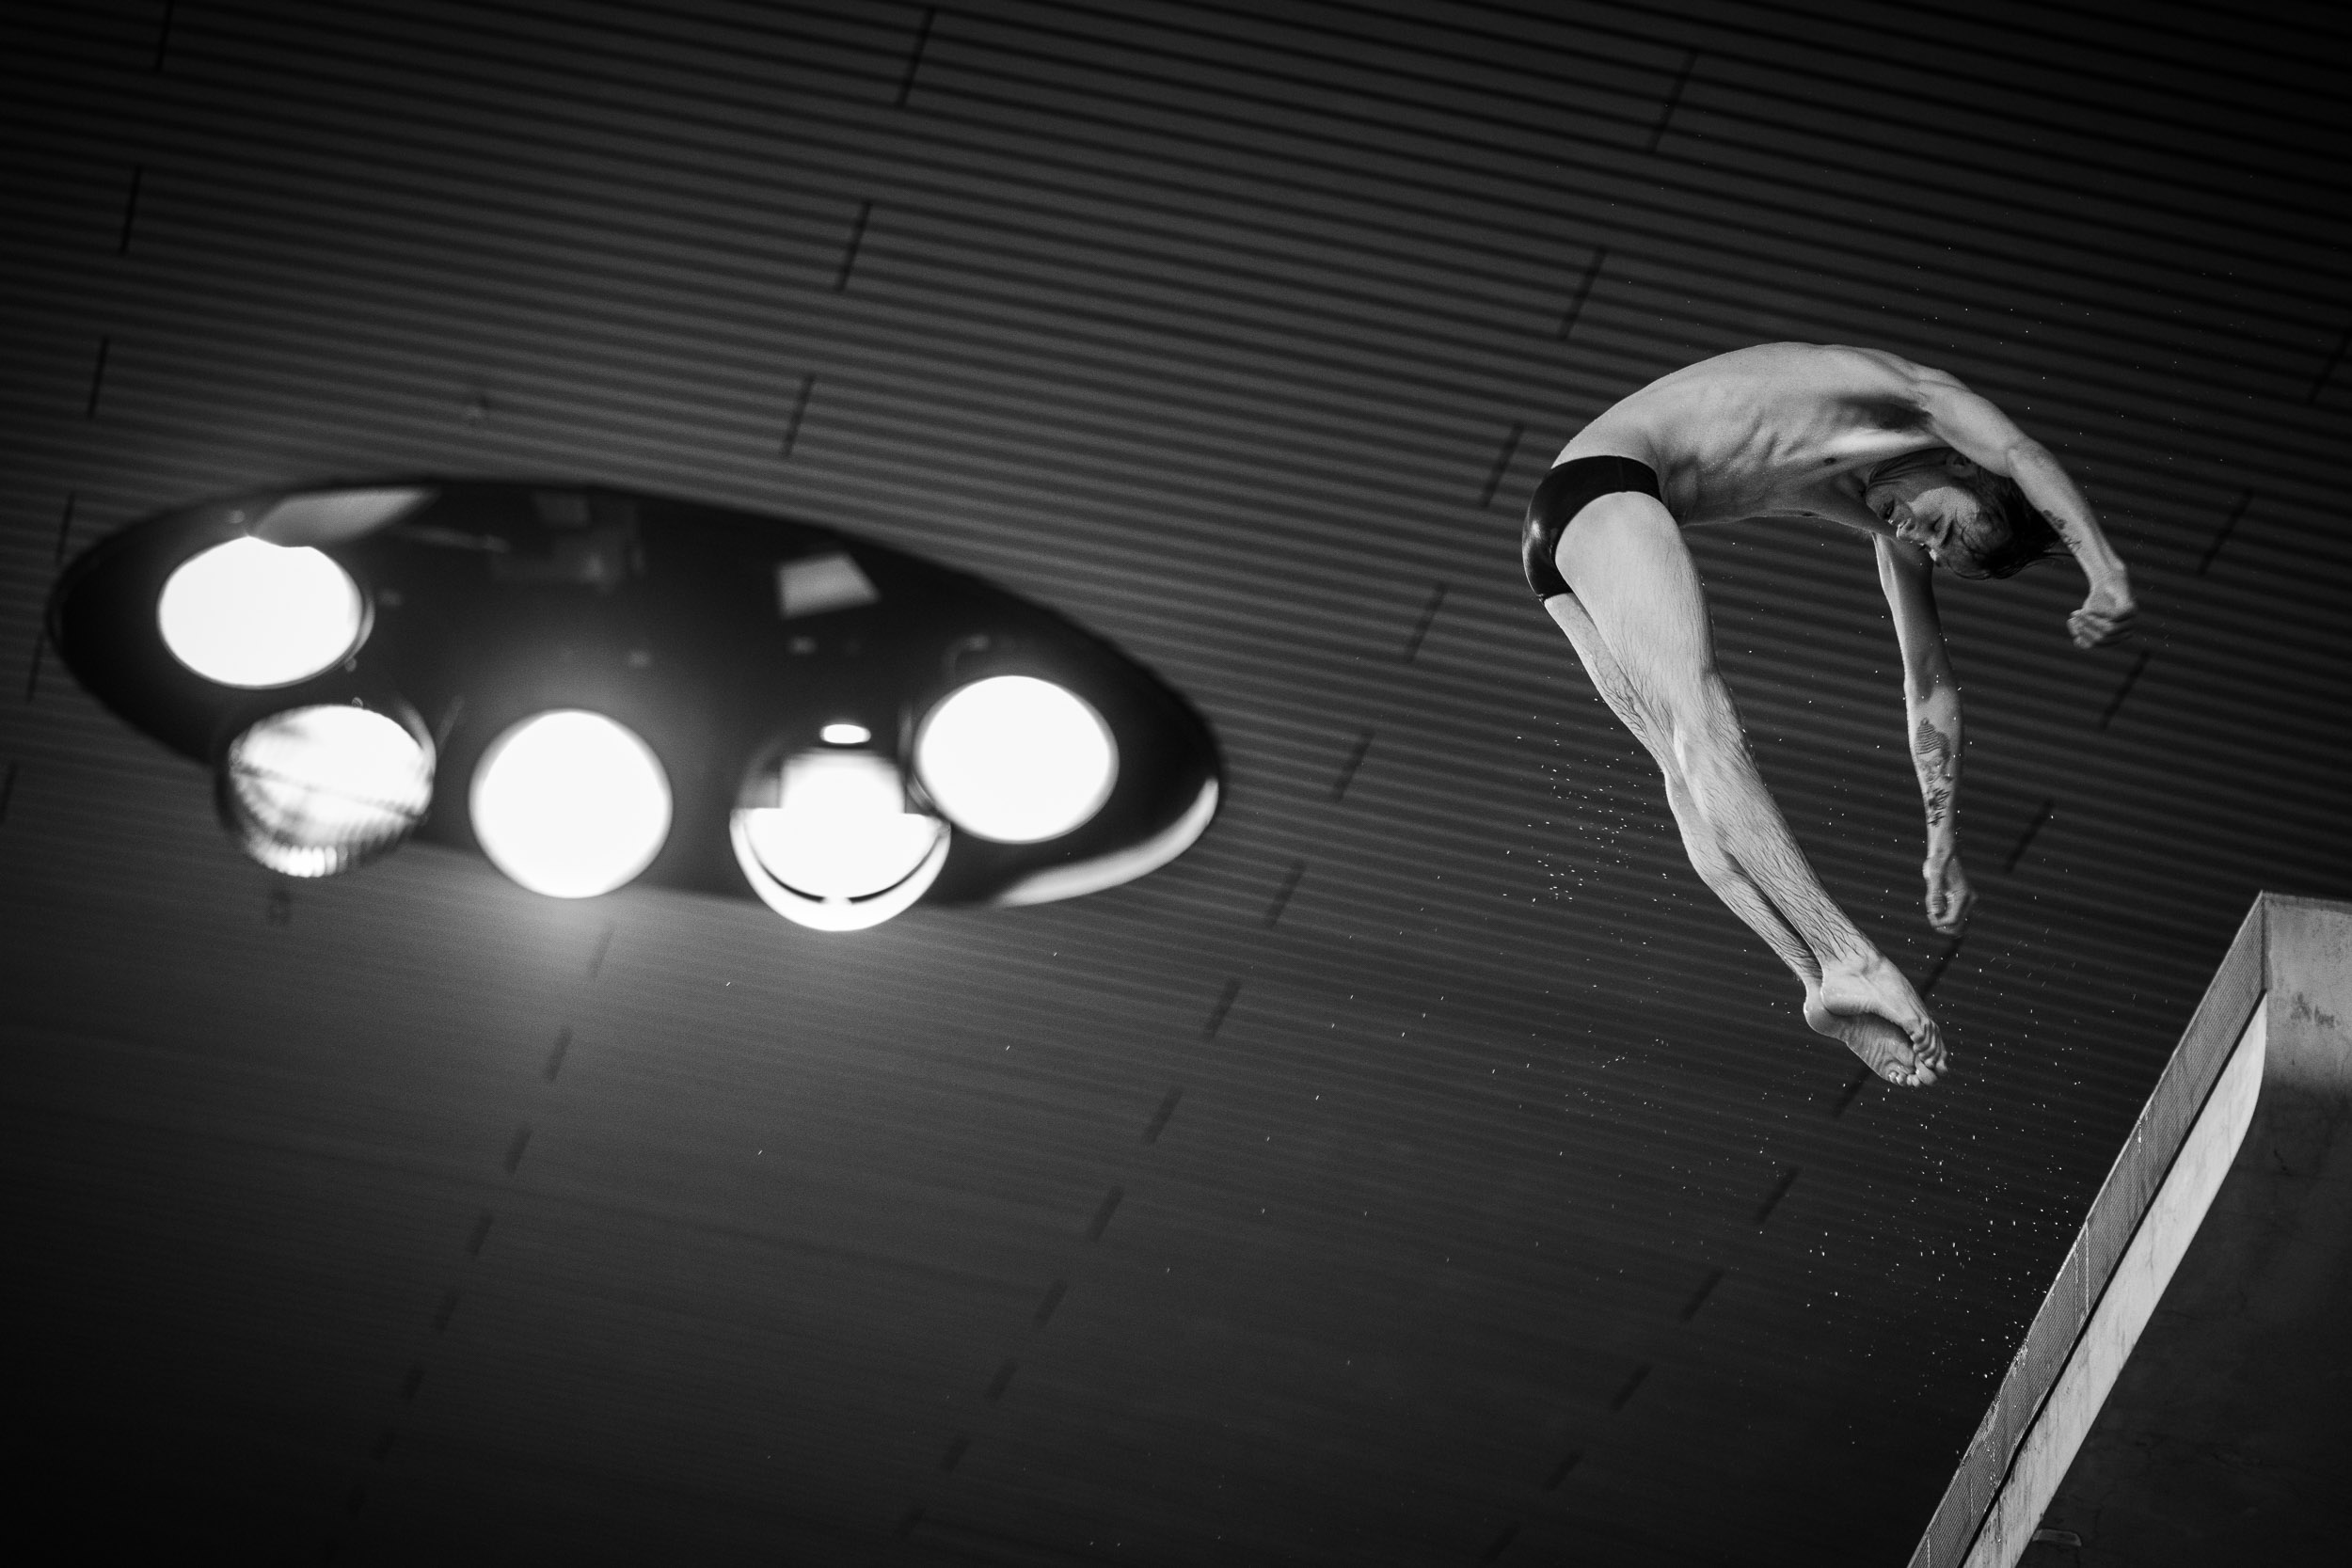
While using a shallow depth of field can help to isolate your subject, you should still try and avoid distracting backgrounds. If you can, get to your location early to look for a position that gives you a view free from cluttered backdrops. This will give your images much more impact.
8. Panning
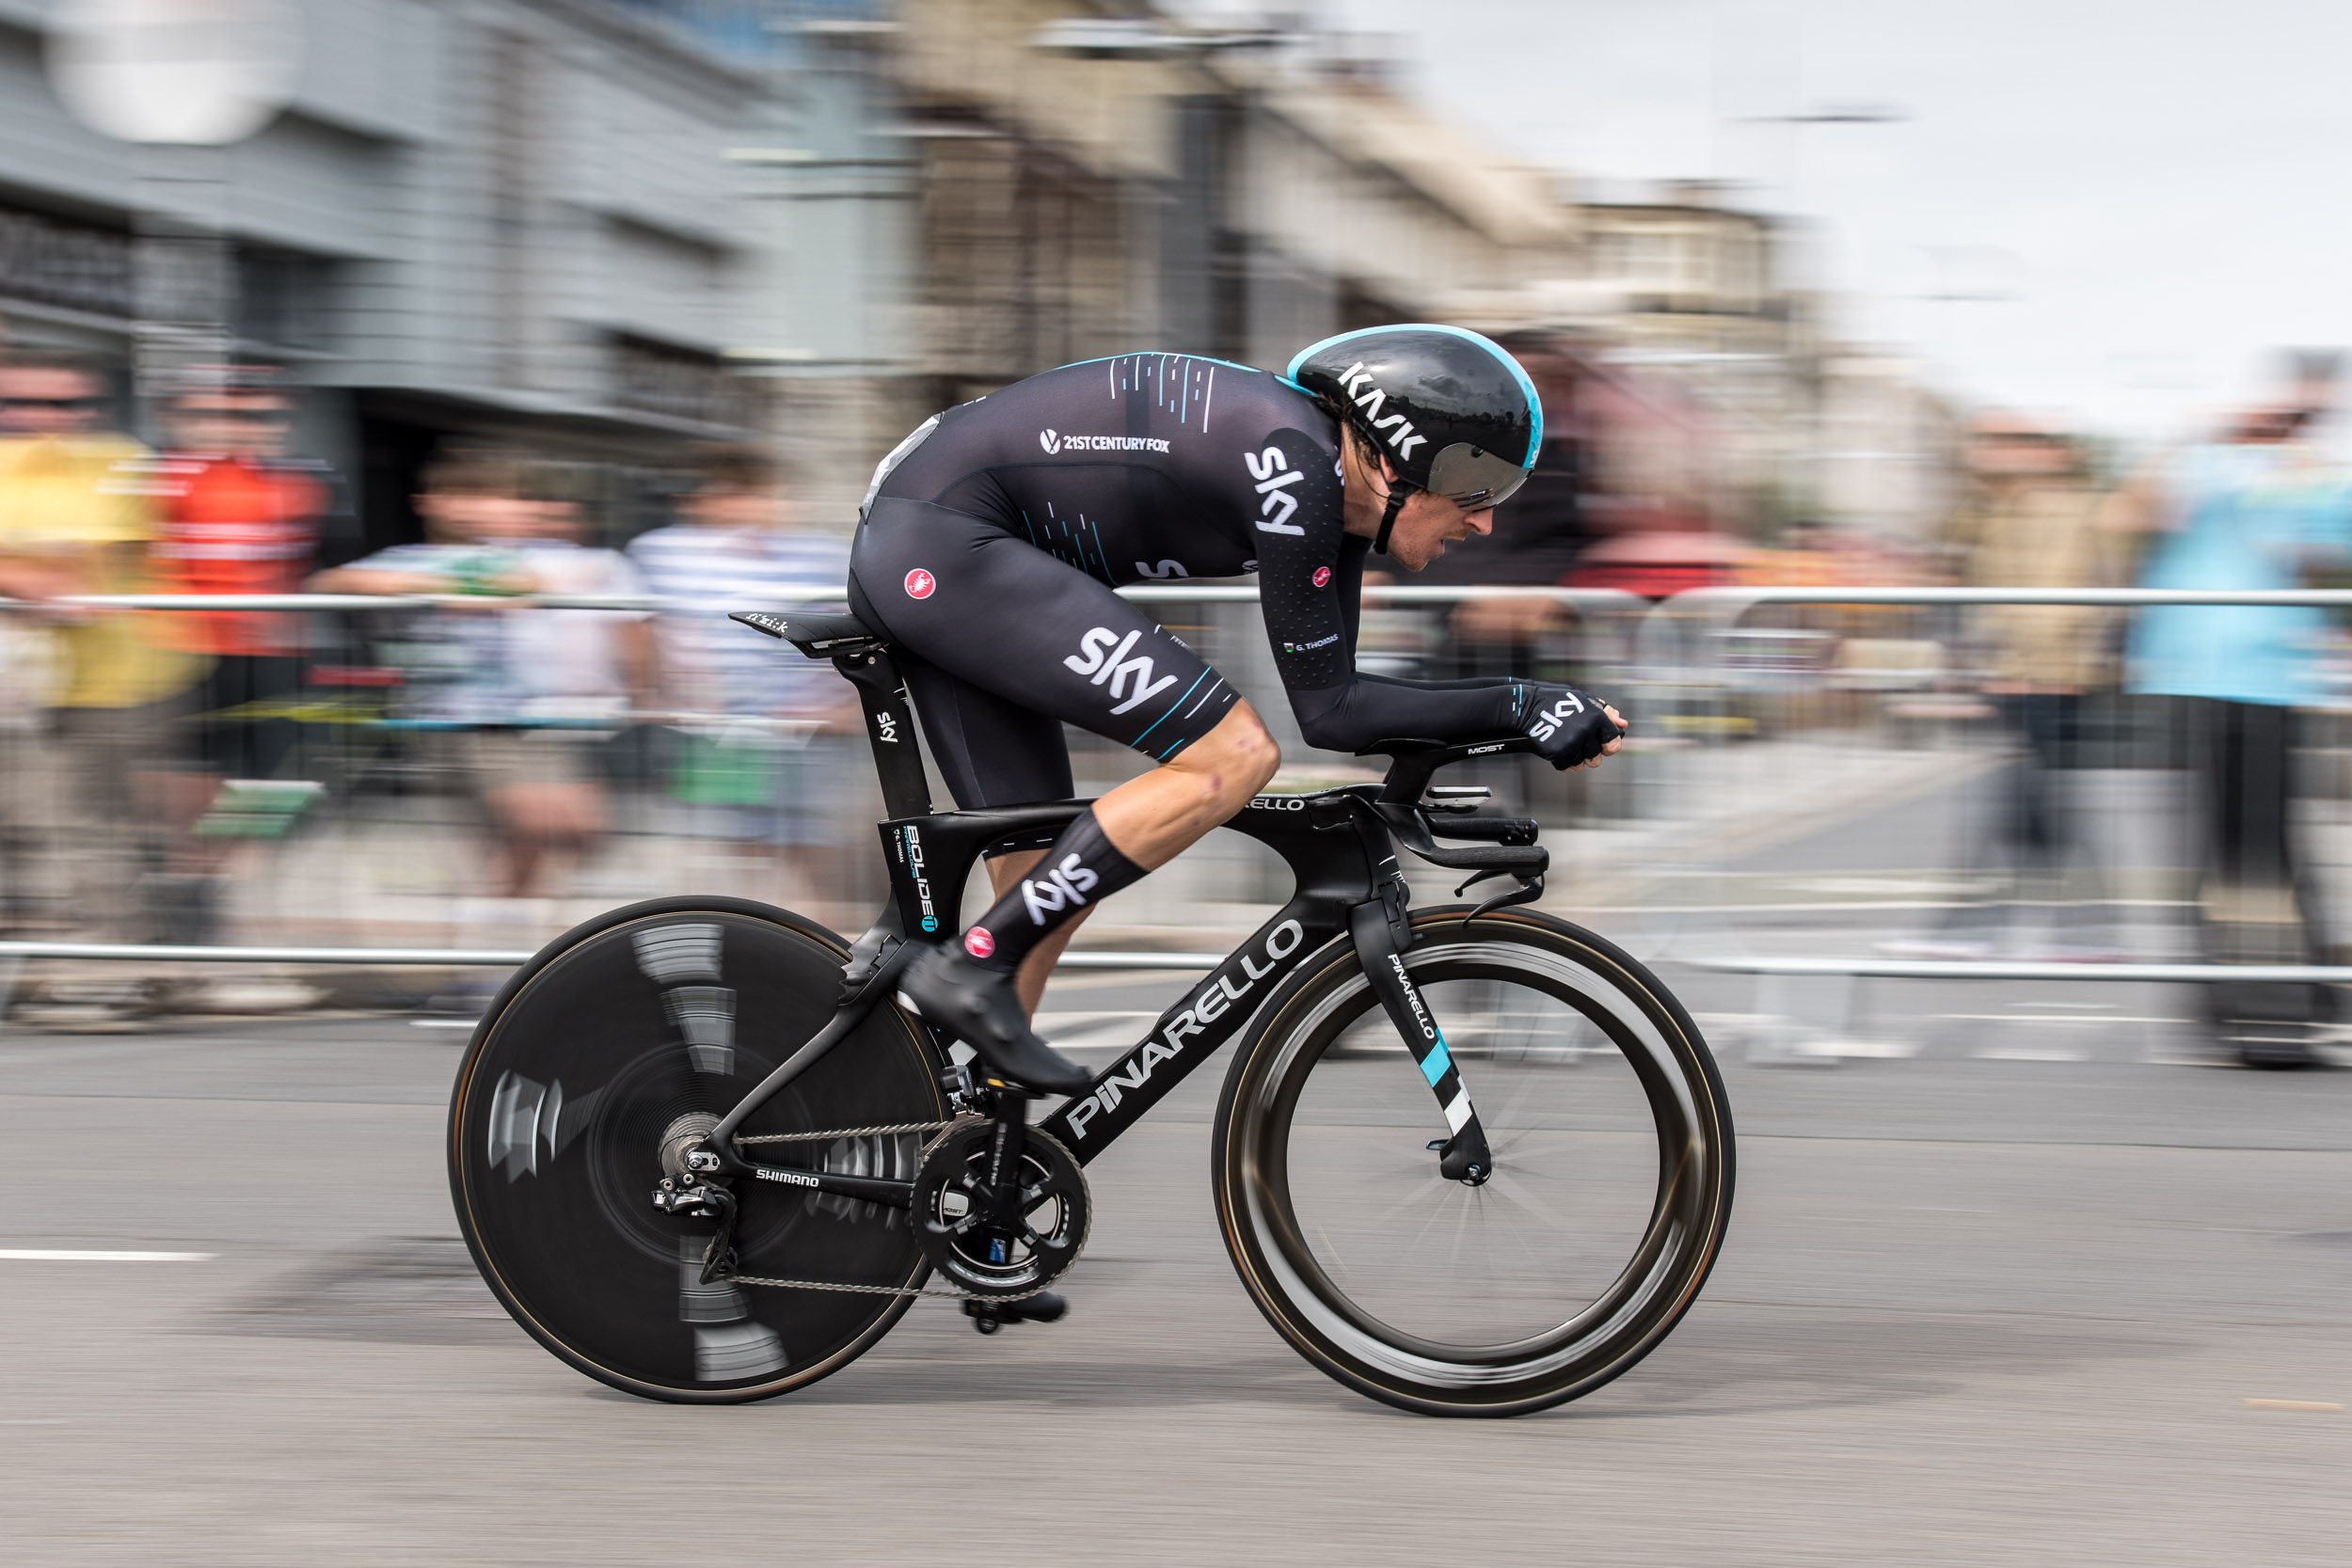
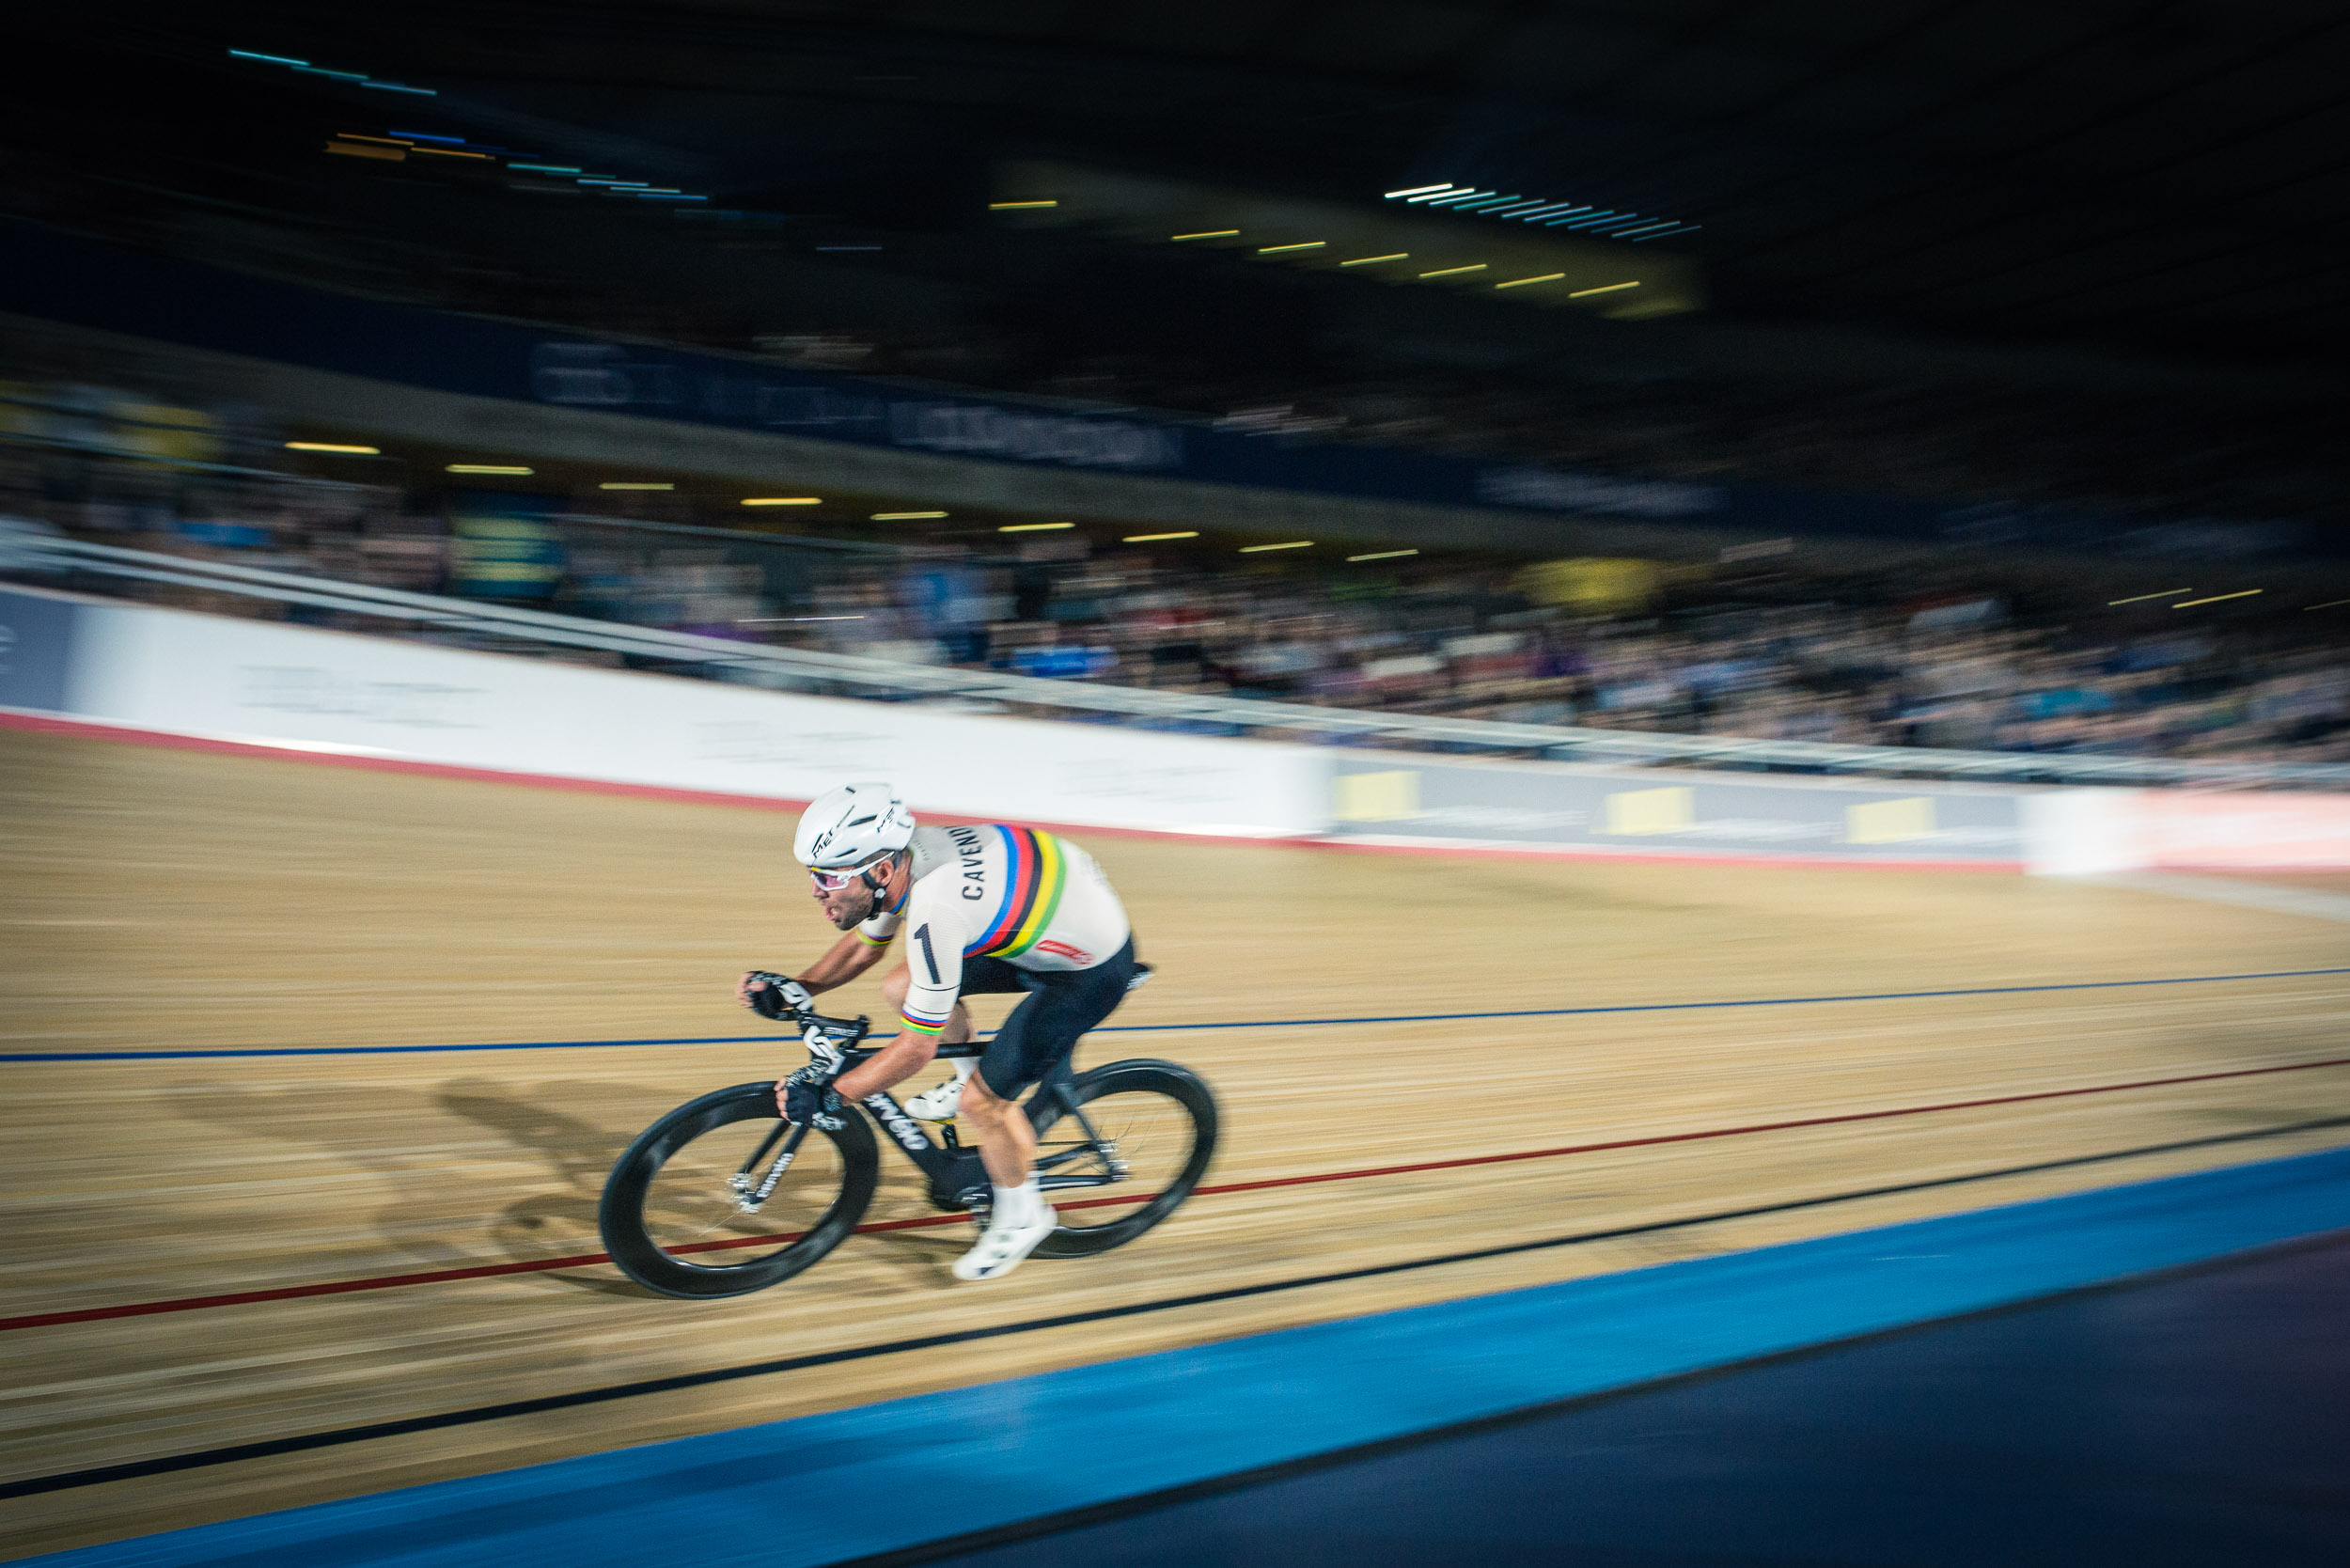
While freezing the action with a fast shutter speed is one way to shoot action, panning is a great way to introduce a sense of movement into your shots.
This involves moving your camera at the same rate as the moving subject. It’ll take a bit of practice, but panning can be pretty easy once you get the basics right, and the results can be striking.
Set a slower shutter speed than normal – for the shot of the cyclist above a shutter speed of 1/125 sec was used, but in some instances you’ll want to dial in a shutter speed even slower. Then, as the subject comes into view, track them through the viewfinder, and as they pass in front you fire off a series of shots.
The key is to be as smooth as you can with your movement – brace the camera and shoot with your legs shoulder-width apart to provide a stable platform, and only rotate your torso.
Keep moving the camera through the arc during the exposure. You may need to increase or decrease the shutter speed to find the perfect speed for your subject, so be prepared for some trial and error.
9. Stay focused and keep shooting
Don’t risk missing a key moment of action because you're busy reviewing your shots on the back of your camera’s screen – you'll have plenty of time to check your images later.

Phil Hall is an experienced writer and editor having worked on some of the largest photography magazines in the UK, and now edit the photography channel of TechRadar, the UK's biggest tech website and one of the largest in the world. He has also worked on numerous commercial projects, including working with manufacturers like Nikon and Fujifilm on bespoke printed and online camera guides, as well as writing technique blogs and copy for the John Lewis Technology guide.