10 surefire ways to get your sharpest-ever photos
10 best focusing techniques
One of the first rules of photography is that the subject should be pin-sharp. Most modern digital cameras offer a number of ways of achieving sharp photos, and in this post we're going to look at the most important digital camera focus techniques and the best settings to use. We'll look at how to select the AF point and which focus mode to use.

Tip 1. Manual focus
Although nearly all modern digital cameras can focus the lens automatically (the Leica M9, Leica M9-P and Leica Monochrom being notable exceptions) they also allow you to focus manually instead.
Manual focus is a particularly good option with macro photography because many cameras struggle to lock onto very close subjects and the lens ends up hunting (moving in and out of focus) every time the shutter release button is depressed.
It's far less frustrating to switch the camera (or the lens) to manual focus and do the job yourself.
What's more, Live View technology makes manual focusing very easy because it is usually possible to enlarge the image on the screen so that you can see the precise spot that you are interested in, and then adjust the focus until it is perfectly sharp.
- Learn more: Discover how to master manual focus

Tip 2. Single shot autofocus
Often abbreviated to single autofocus or single AF, this camera focus option sets your camera to focus when the shutter release is depressed half-way and to keep the lens focused on the selected subject until the shot is taken and the button is released.
If you need to refocus you have to lift your finger off the shutter button and then depress it a second time.
Single focus mode is useful for static subjects such as still life and landscapes.
- Learn more: The 10 laws of landscape photography

Tip 3. Continuous autofocus
When this camera focus option is selected the camera will continue to focus the lens as long as the shutter release button is half-pressed, or the AF button is pressed.
This makes it a very good option when photographing moving subjects because the camera will continuously adjust the focus distance as the subject moves round the frame.
Advanced cameras such as the Canon EOS 7D Mark II and Nikon D500 have options that enable you to specify which AF points the camera will use to track the subject as it moves about in the frame.
Some even allow you to specify how quickly the camera should respond to changes in subject distance to avoid the subject going out of focus when a stadium pillar, for example, momentarily blocks the view.
When using continuous AF it's usually best to set the starting AF point manually so the camera knows what the target is before it starts to track it.
If you like shooting sport or fast action then make sure you check out your camera's continuous AF options.
- Learn more: 9 tips for taking sports photos like a pro

Tip 4. Automatic focus point selection
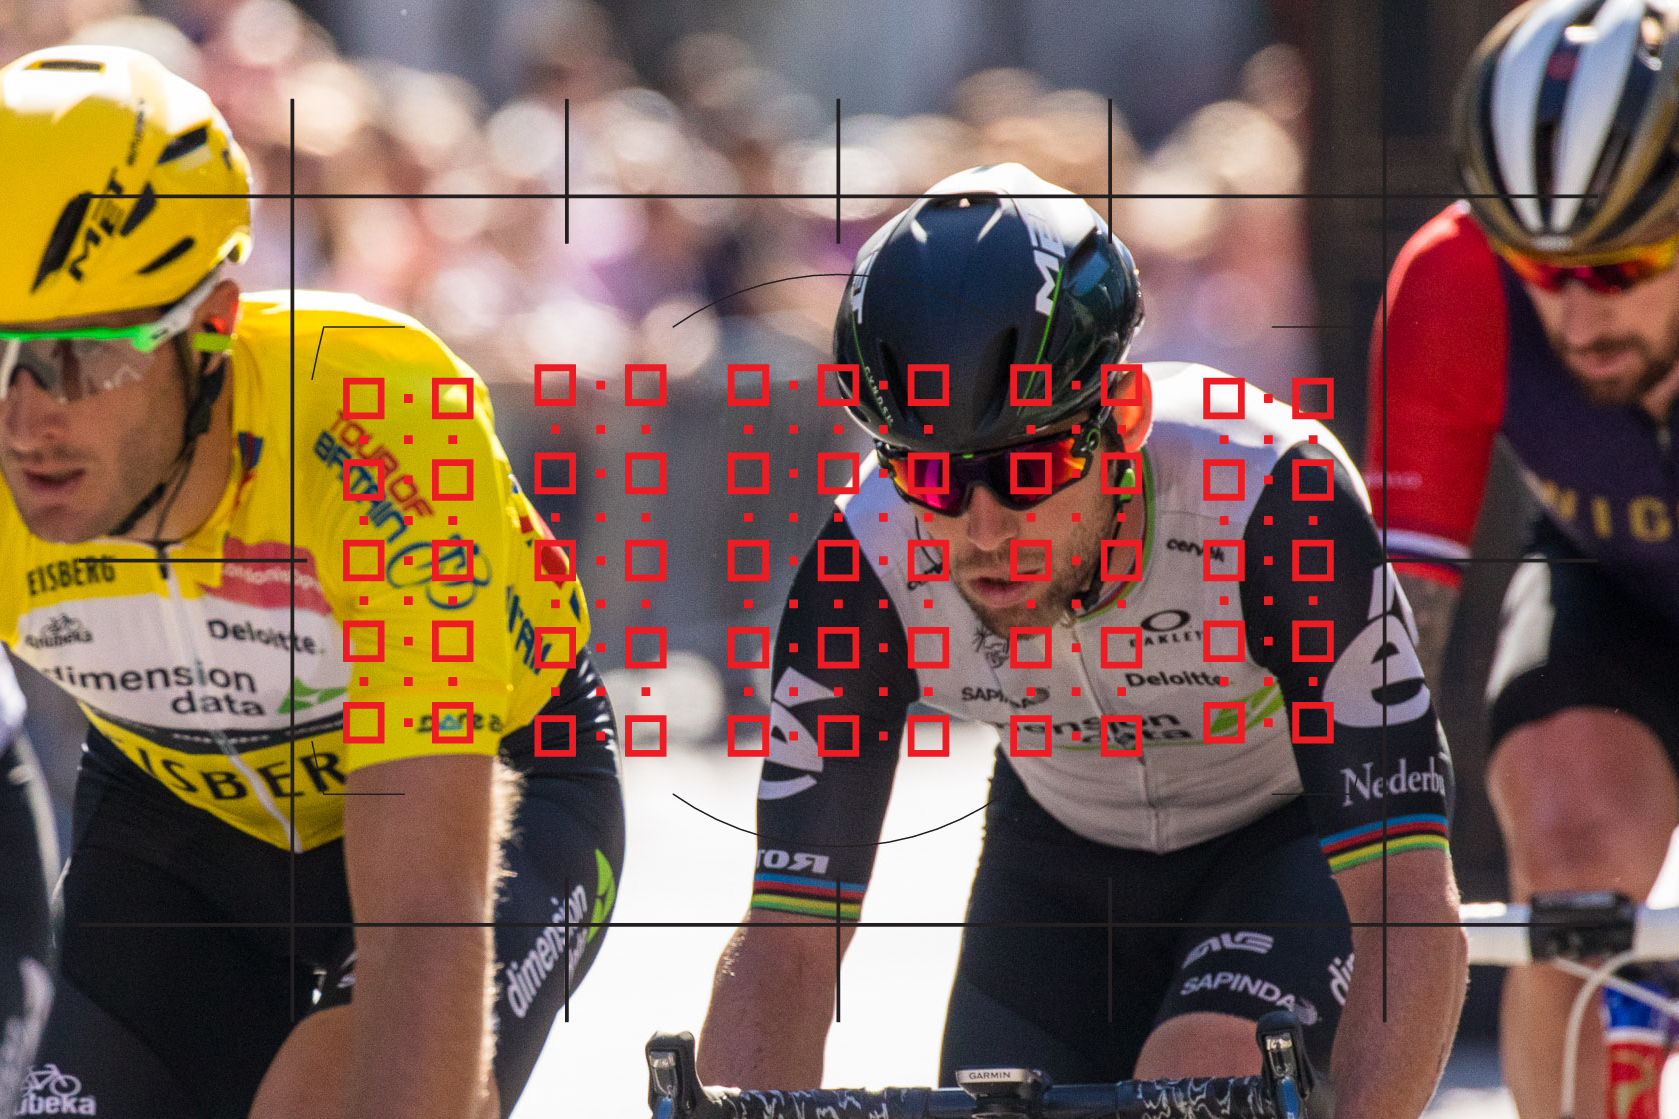
When you are focusing automatically you need to have the active AF point over the subject in the viewfinder to get it sharp.
Broadly speaking, there are two ways of selecting the AF point using this camera focus technique.
The easiest is to let your camera decide for you and use the automatic AF selection point option.
In many situations the camera will do a decent job and this is a useful option when you don't have much time to get the shot.
However, your camera will usually try to focus on the closest object near the centre of the frame and it's not usually very good at pin-pointing smaller subjects or fine details. For this reason it's often better to set the AF point yourself as we did with the shot above.

Tip 5. Manual AF point selection
Setting the AF point yourself gives you the maximum level of control over where your camera focuses, and it's a good option for landscape, still life and portrait photography when you have time to operate the necessary camera controls.
Setting this camera focus option is usually done by pressing the AF point selection button and then using the navigation controls to select the AF point you want while you look through the viewfinder. If you've got a touchscreen, you can simply tap the area where you want to focus.
Once you reach the AF point that is over your subject, you're ready to focus and take the picture.
In some cases you may be able to set the navigation controls to select the AF point directly without the need to press a button beforehand, but this can be at the expense of their usual shortcut functions.

Tip 6. Face Detection AF
This popular camera focus option is a form of automatic AF point selection found on most compact and compact system cameras - and even some DSLRs in Live View mode (when the image is composed on screen).
It works by recognising face shapes in the scene and then prioritising the focus towards them.
Refinements on this camera focus system include Smile Shutter, which triggers the shutter to fire when the camera detects that the subject is smiling (it doesn't work with every smile, but it can be very effective), while more advanced systems can focus on a specific eye for really precise focusing.
Some cameras can also be set to recognize particular faces in a crowd and focus on them. This is a very useful option for photographing your children at parties or events when they are surrounded by other kids.
When Face Detection AF is activated you'll notice boxes appearing around peoples' faces on the camera's LCD to show that they have been recognized. Half-pressing the shutter release brings the faces into focus ready for the shot to be taken.
As you might imagine, Face Detection AF is extremely useful at parties and social gatherings when you want to get lots of people pictures.

Tip 7. Focus and recompose technique
Although most digital cameras offer a collection of AF points so that you can select the one that sits over your subject, there may not always be one exactly where you need it.
In these instances the camera 'focus and recompose' technique comes in very handy - and it can be quicker than selecting an AF point even if there is one over your subject.
Imagine, for example, that the central AF point is selected, but your subject is off to one side of the frame. All you need to do is move the camera so that the AF point is over the subject and half-press the shutter button so that the lens focuses.
Now, with the shutter button still half-pressed to keep the focus locked, recompose the image so that the subject is where you want it in the frame and press the shutter release home to take the shot.
This also a useful focus technique to use in low light, as the outer AF points tend to be less sensitive than the central one.
When using this camera focus technique, it is essential that the camera is set to single AF mode. If it is set to continuous AF, the camera will refocus the lens on whatever subject is under the active AF point when you recompose the image.
- Learn more: The A to Z of low-light photography
Tip 8. Back-button focusing
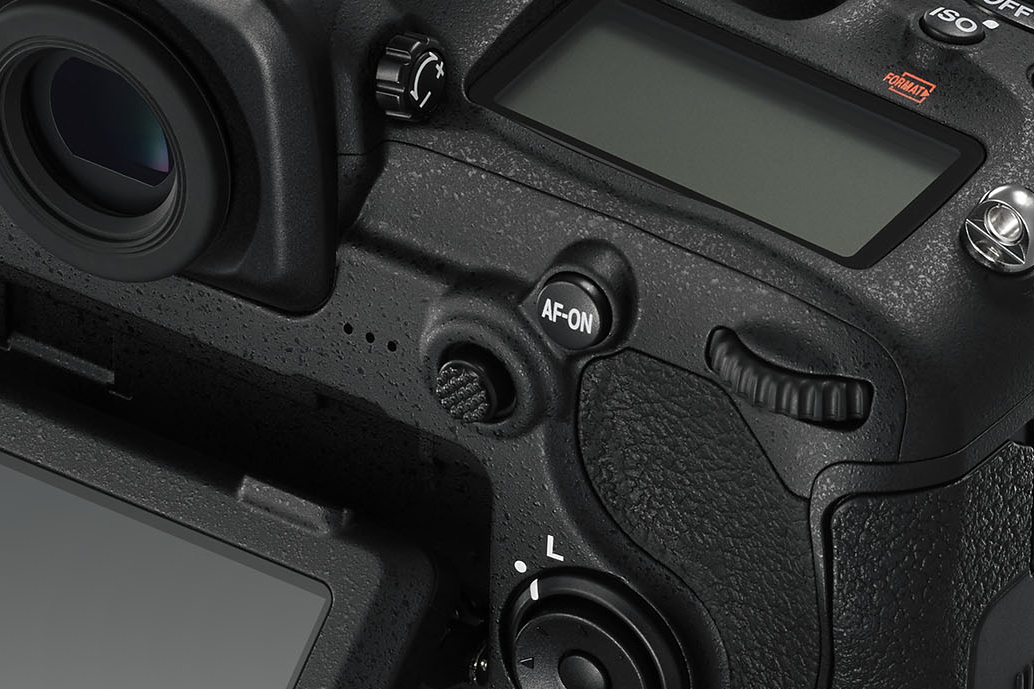
The usual way to focus a lens is to press the shutter release half-way down, but many cameras also have an AF button that can be pressed without the risk of pressing it beyond half-way and accidentally taking a few shots.
It is especially useful when using this back-button focus technique to photograph moving subjects that you press the AF button without locking the exposure settings until the point at which you want to take the image and press the shutter release home.
This focusing technique allows you to see the subject sharp in the frame and only take the shot when the composition or lighting is just right.
It also means that if something moves into the frame, another player when shooting sport for example, you can stop the focus from being adjusted by taking your thumb off the AF button, but continue to take photographs.
Back-button focusing is also useful when photographing subjects such as plants and flowers that move about a little in the breeze.
If the shutter button doesn't control autofocus the camera won't waste time attempting to focus every time the shutter release is pressed and you can wait until the subject is in the right position to take the shot.
- Learn more: 77 photography techniques, tips and tricks
Tip 9. Hyperfocal distance focusing
This is a popular camera focusing technique that is designed to get the maximum amount of a scene sharp at any given aperture.
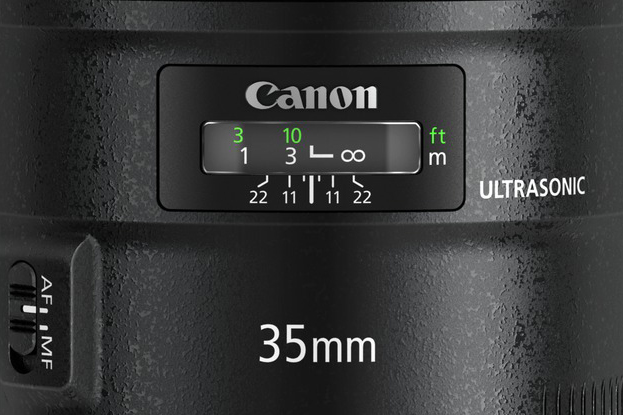
The traditional way of using it is to focus on the subject and then use the lens' depth of field scale (or a tape measure and depth of field tables) to find out where the nearest acceptably sharp point is.
This point, where the depth of field starts in front of the focus point, is known as the hyperfocal point.

Once the hyperfocal point is found/calculated, the lens is refocused to it so that the subject remains sharp and greater use is made of the depth of field.

The popularity of zoom lenses and consequent loss of depth of field scales has made it harder to apply this technique precisely, but you can still measure or estimate the focus distance and use smartphone apps such as DOF Master to tell you the hyperfocal distance.
Alternatively, you can rely on the principle that depth of field extends roughly twice as far behind the point of focus as it does in front and focus approximately one third of the way into the scene.
Hyperfocal distance focusing is popular in landscape photography and whenever you need lots of depth of field.
- Learn more: Depth of field explained
Tip 10. Focus stacking
Focus stacking is a digital technique in which several images taken with different focus distances are combined into one image that is sharp from the foreground all the way through the background.
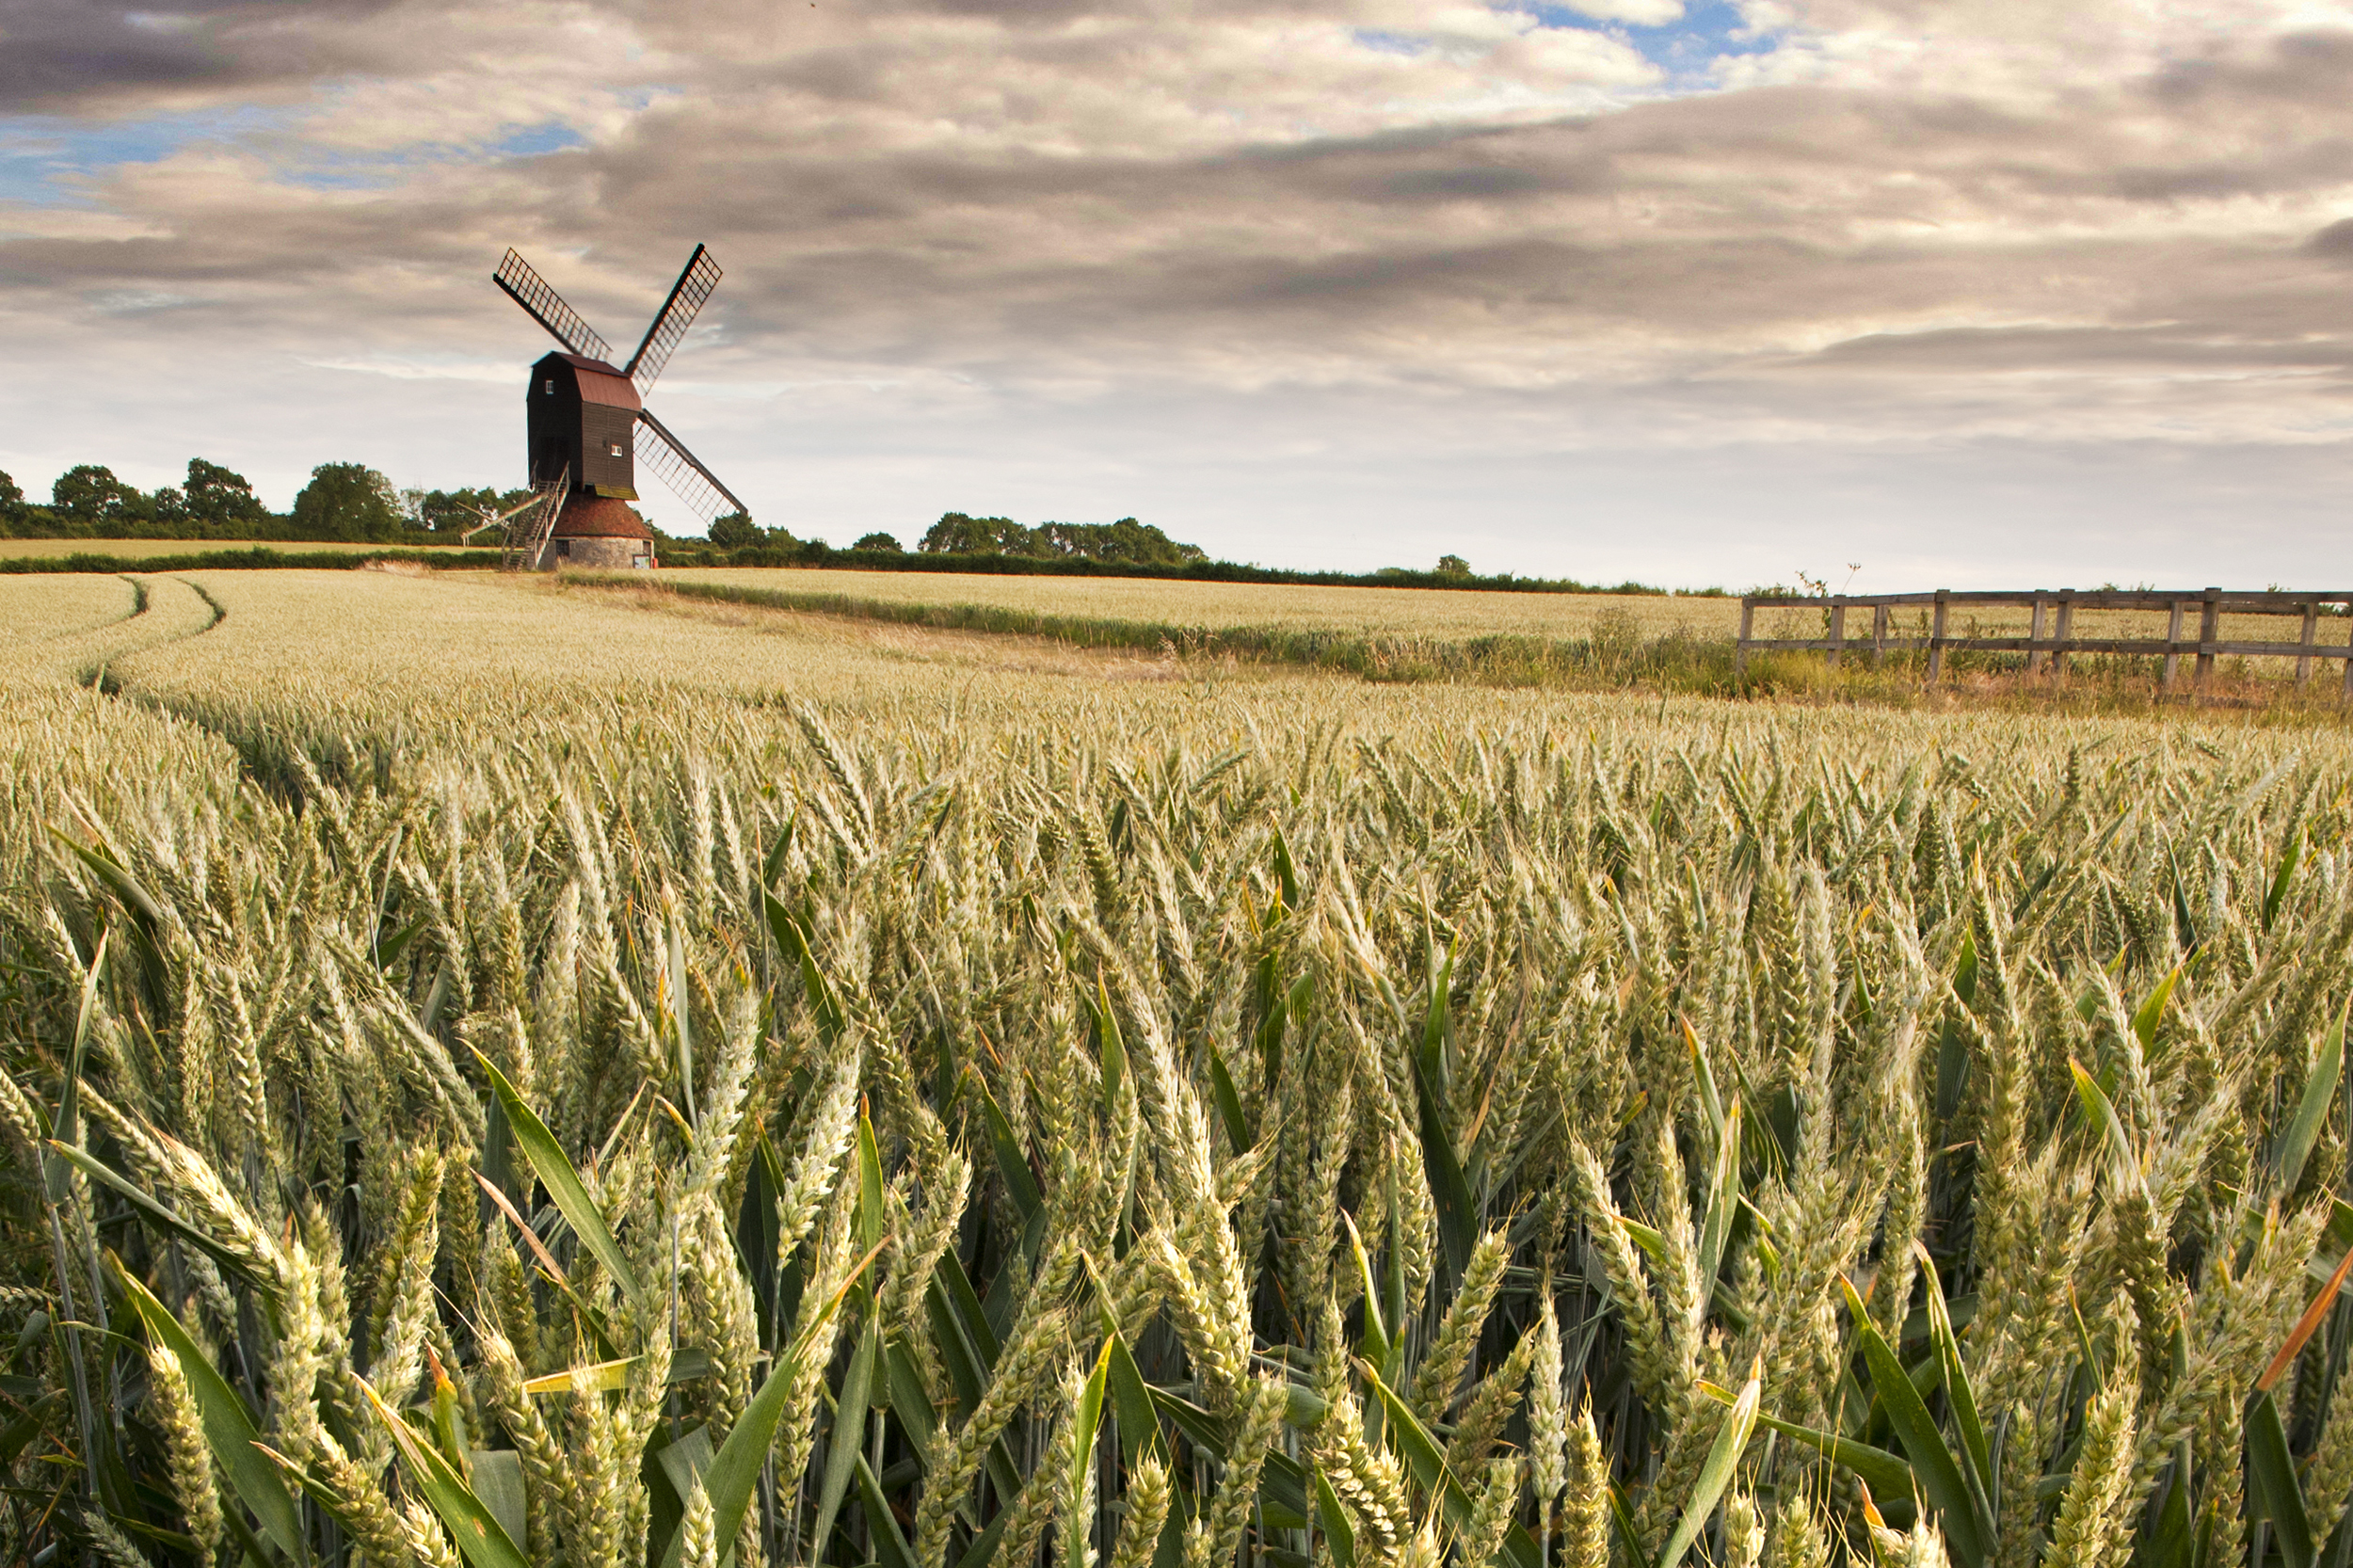
Although it can be applied to landscape photography, it is especially useful for macro photography because depth of field is very limited when subjects are extremely close.
With the camera firmly mounted on a tripod, take the first shot with the nearest part of the scene in focus. Then, without moving the camera, refocus just a little further into the scene and take the second shot before focusing further in again.
Repeat this until you have a shot with the focus on the furthest part of the scene.
Now all the shots can be combined to create one image that is sharp throughout. This can be done manually using any image editing software that supports layers - Photoshop Elements is fine.
But it can also be done automatically using software like Combine ZM, which is free to download and use, or using Photoshop's Photo Merge function.
- Learn more: How to combine images for amazingly sharp photos

Phil Hall is an experienced writer and editor having worked on some of the largest photography magazines in the UK, and now edit the photography channel of TechRadar, the UK's biggest tech website and one of the largest in the world. He has also worked on numerous commercial projects, including working with manufacturers like Nikon and Fujifilm on bespoke printed and online camera guides, as well as writing technique blogs and copy for the John Lewis Technology guide.
Sign up for breaking news, reviews, opinion, top tech deals, and more.
You are now subscribed
Your newsletter sign-up was successful