Learn how to master manual focus
Learn this super simple but incredibly useful skill
Sign up for breaking news, reviews, opinion, top tech deals, and more.
You are now subscribed
Your newsletter sign-up was successful
Autofocus is something most photographers take for granted. The autofocus systems on modern cameras are sophisticated enough to be tailored to all kinds of scenes and subjects, but almost every camera also allows you to do things the old fashioned way and focus manually instead.
Believe it or not, manual focus has evolved in the digital age alongside autofocus systems. But why would you want to do this? And what exactly do you gain? Whether you’ve never used it before, or you know your way around but you want to know how to get the best out of it, read on.
What does manual focus do?

Manual focus allows you to focus using a ring around the lens, or an equivalent control on your camera body, as an alternative to your camera’s autofocus system. It’s great when you want complete control over exactly where to place focus, but it also circumvents the handful of tricky situations in which autofocus systems tend to struggle – more on these in a second.
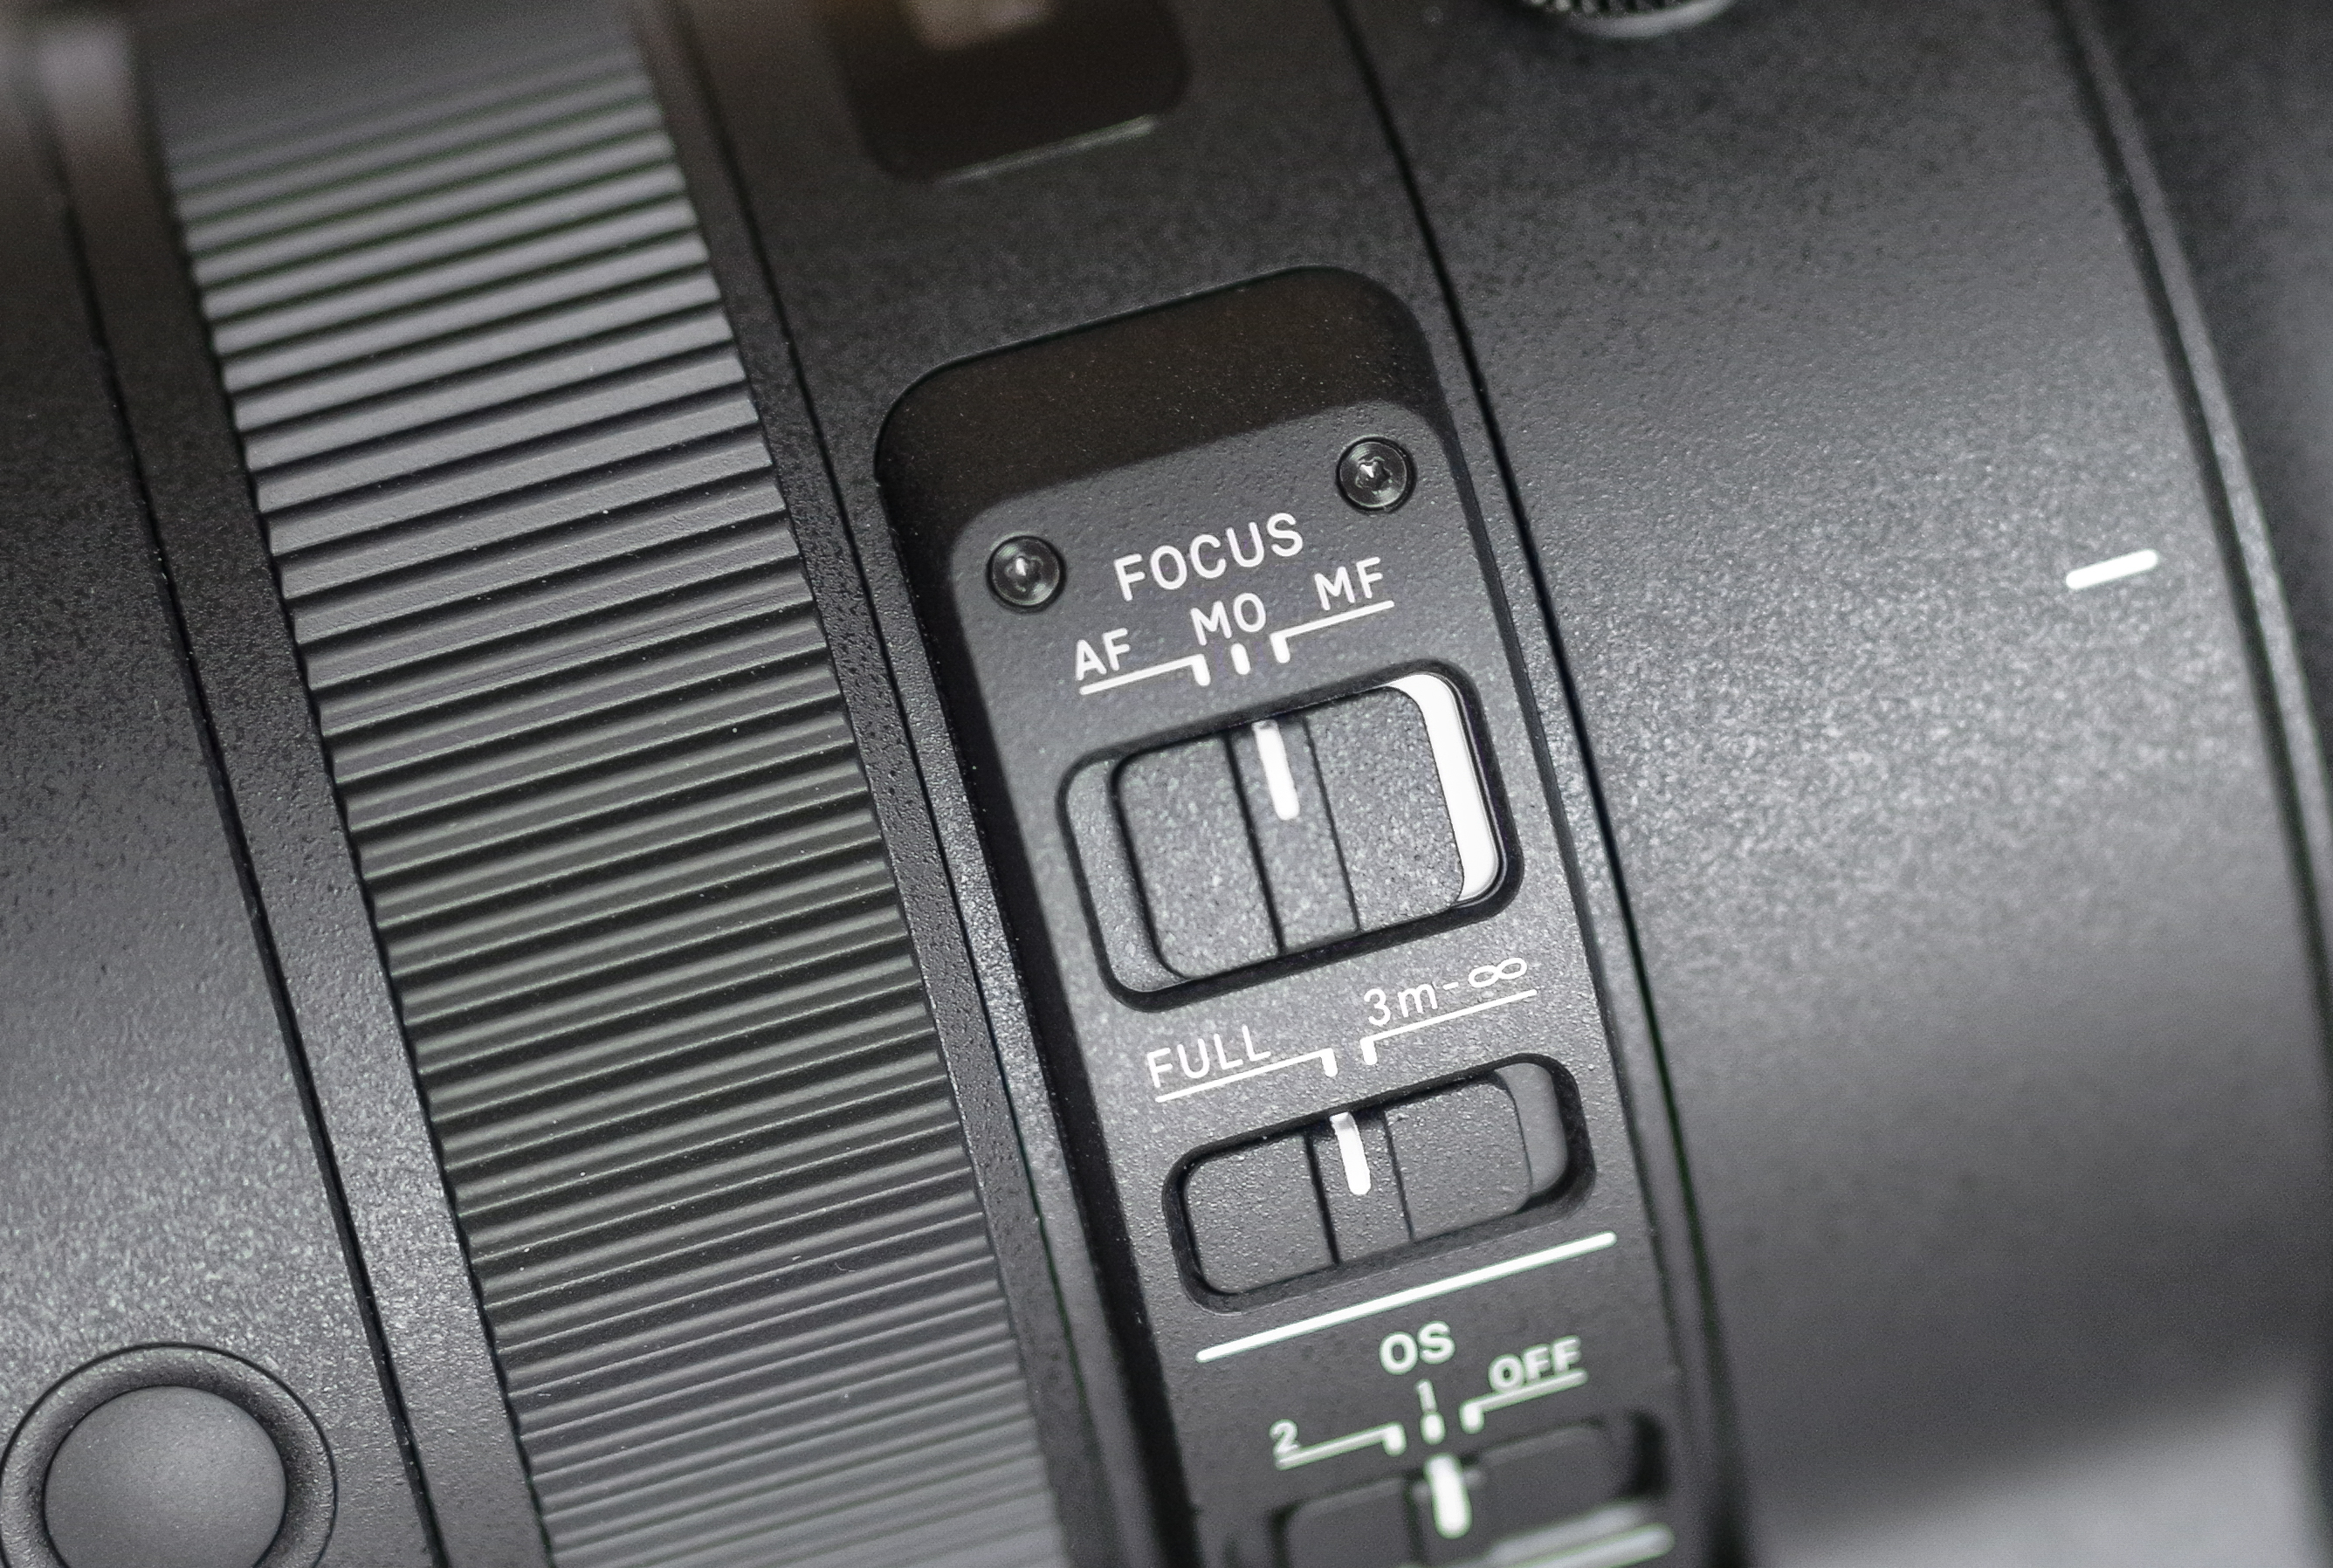
It’s usually accessed through a physical switch on lenses intended for use with DSLRs and mirrorless cameras. On compact cameras, it will typically be an option you select and adjust through the camera’s controls, rather than those on the lens (although there are a handful of exceptions). Look out for symbol 'MF', as this may be written somewhere on the body, although quite where this control is, and how it’s identified, varies across cameras and lenses. If in any doubt, it’s best to consult your manual.
You still have the same focusing range available to you whether you use autofocus or manual focus. So, if you can focus as close as 1m away from the subject and as far as infinity, that won’t change as you switch between the two methods.
When should I use manual focus?
You can use manual focus whenever you like, although it’s particularly useful in five situations.
The first is when there is low contrast in the scene. Your camera’s autofocus system relies on there being enough light to reflect off, or emanated from, your subjects for it to sense where to needs to focus. When this doesn’t happen, it might struggle to lock on to your subject. This can also happen when there is too much harsh light, such as when shooting a subject against the sun.
Sign up for breaking news, reviews, opinion, top tech deals, and more.

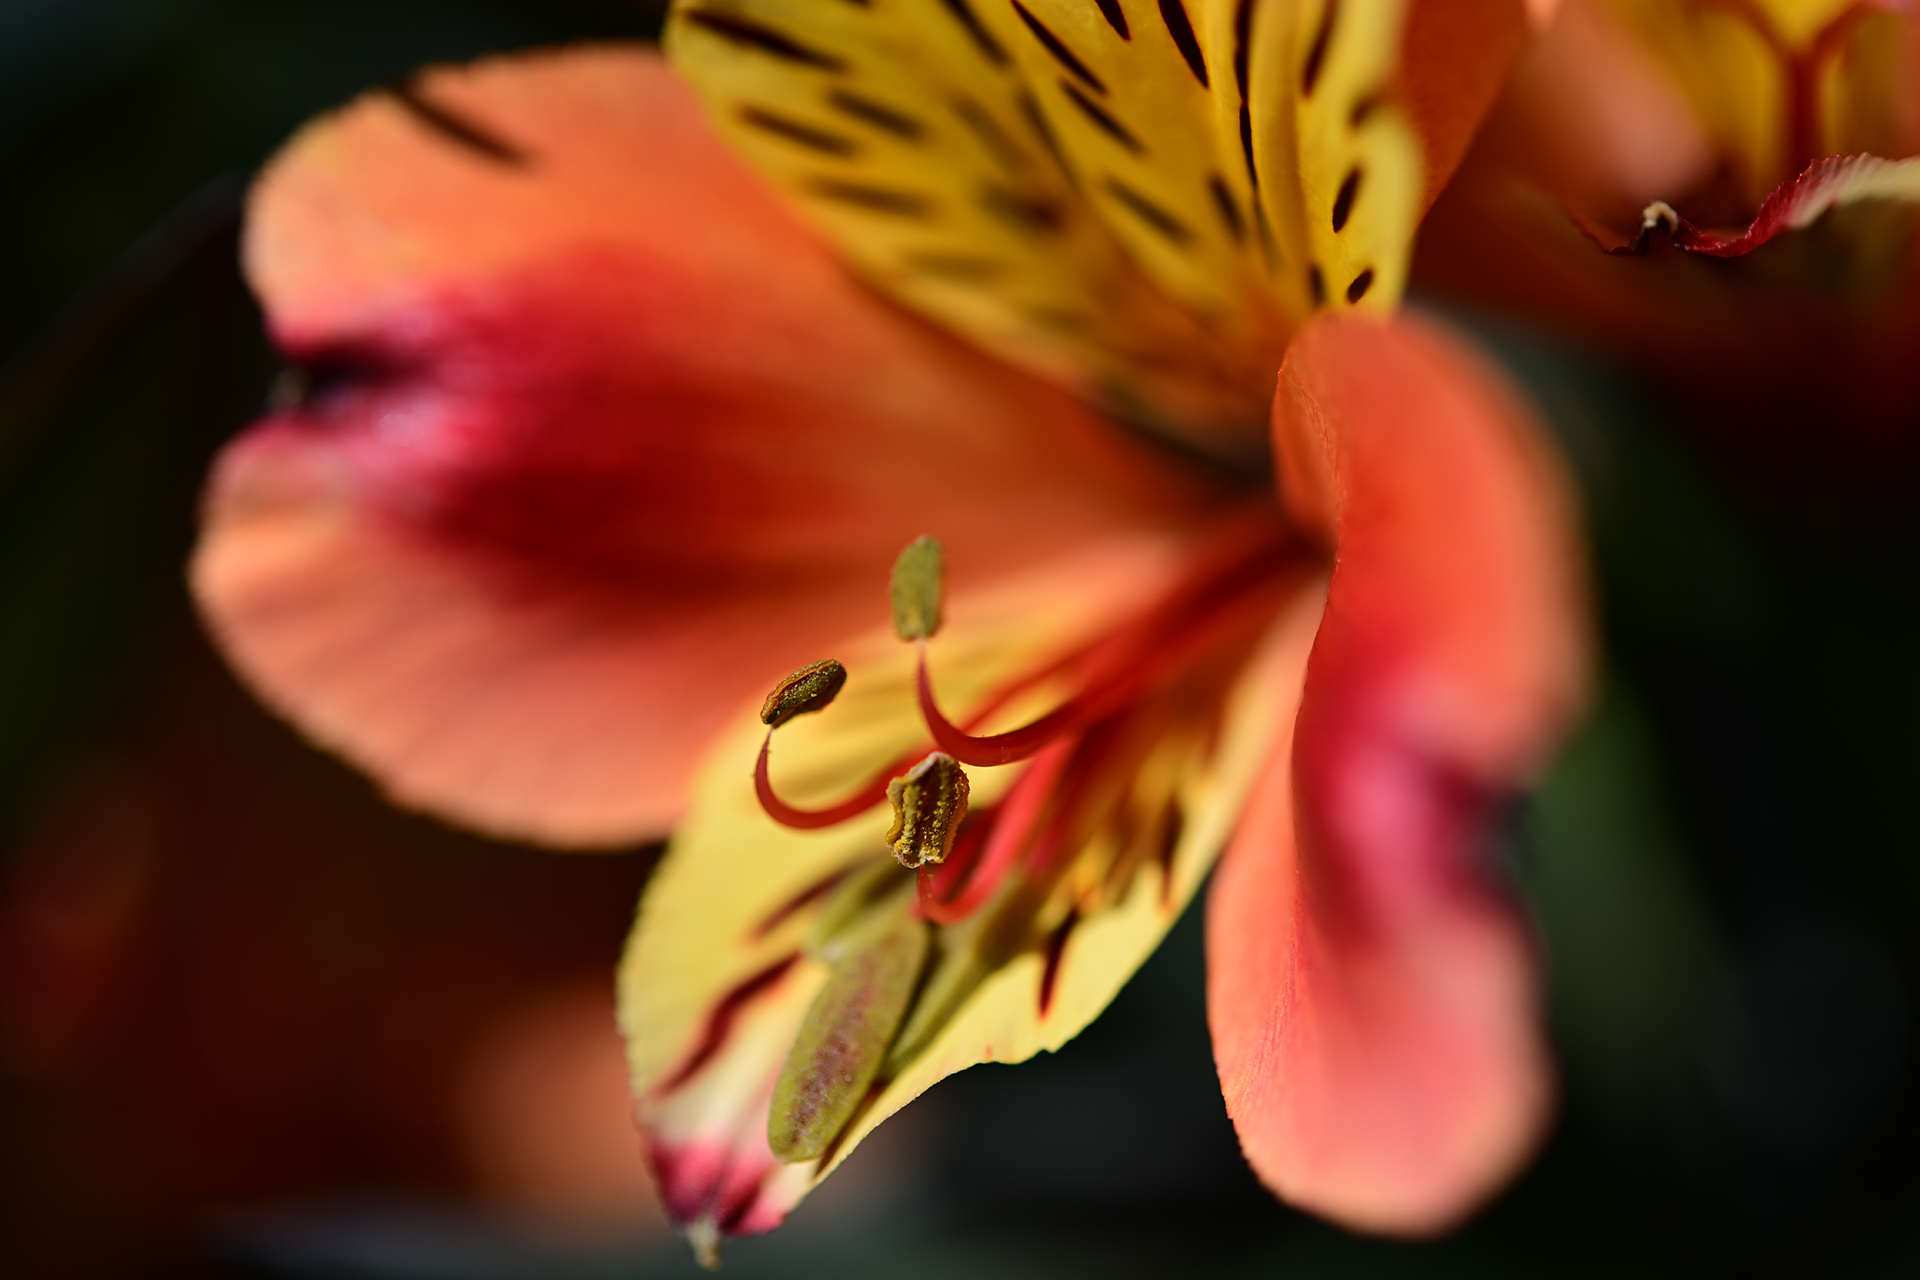
The second scenario is when the subject itself is low in contrast, or has few distinguishable details which make it more difficult for the camera to identify, such as the petals of a flower. It may also be the case the that subject is very small or visually similar to its background. The stamens inside a flower, for example, may be too fine for your camera’s autofocus system to pick out, and so manual focus may be required here (although you may find success using a smaller autofocusing point if there’s some way to adjust this on your camera).
It may also be the case that your scene is well lit but it contains a number of subjects, and the one you want to focus on isn't as distinct in some way as another. Here, your camera may not know were you want to focus and will automatically select the more visually obvious one. This tends to happen when shooting a subject through a fence or the branches of a tree, for example. You can use a specific focus point to guide it, although manual focus may be faster and/or more accurate.
The fourth situation is when shooting video. It may be that you’re using an older manual focus lens, in which case autofocus won’t be an option available to you, but you need to shift focus between two elements in the scene. Some cameras may be able to use autofocus here in a smooth and professional-looking manner, but you may find a result that’s more in line with your vision by manually focusing instead. This is also one way to either cut down or eliminate the noises of focusing motors inside the lens, which might otherwise be picked up on recordings.
Finally, you may want to use manual focus when it’s simply not possible to focus on a subject, potentially because it’s not turned up yet and may move too quickly for it to be focused on in time. Here, you can either use manual focus to find the position in which you think it will appear, which will save you fumbling around when it eventually does, although you may be able to use autofocus if there is another subject at the same distance. Quick tip: if you do use this, ensure you also select an aperture that will provide enough depth of field to render it in focus should your calculations regarding its position be slightly off.
How to use manual focus
Using manual focus is simple. Once you’ve set the camera or lens to the manual focus option, simply turn the focusing ring and watch what happens in the viewfinder or the LCD screen. When you get to the point at which focus looks right, and the subject is the sharpest it can be, stop turning the ring and take the picture.
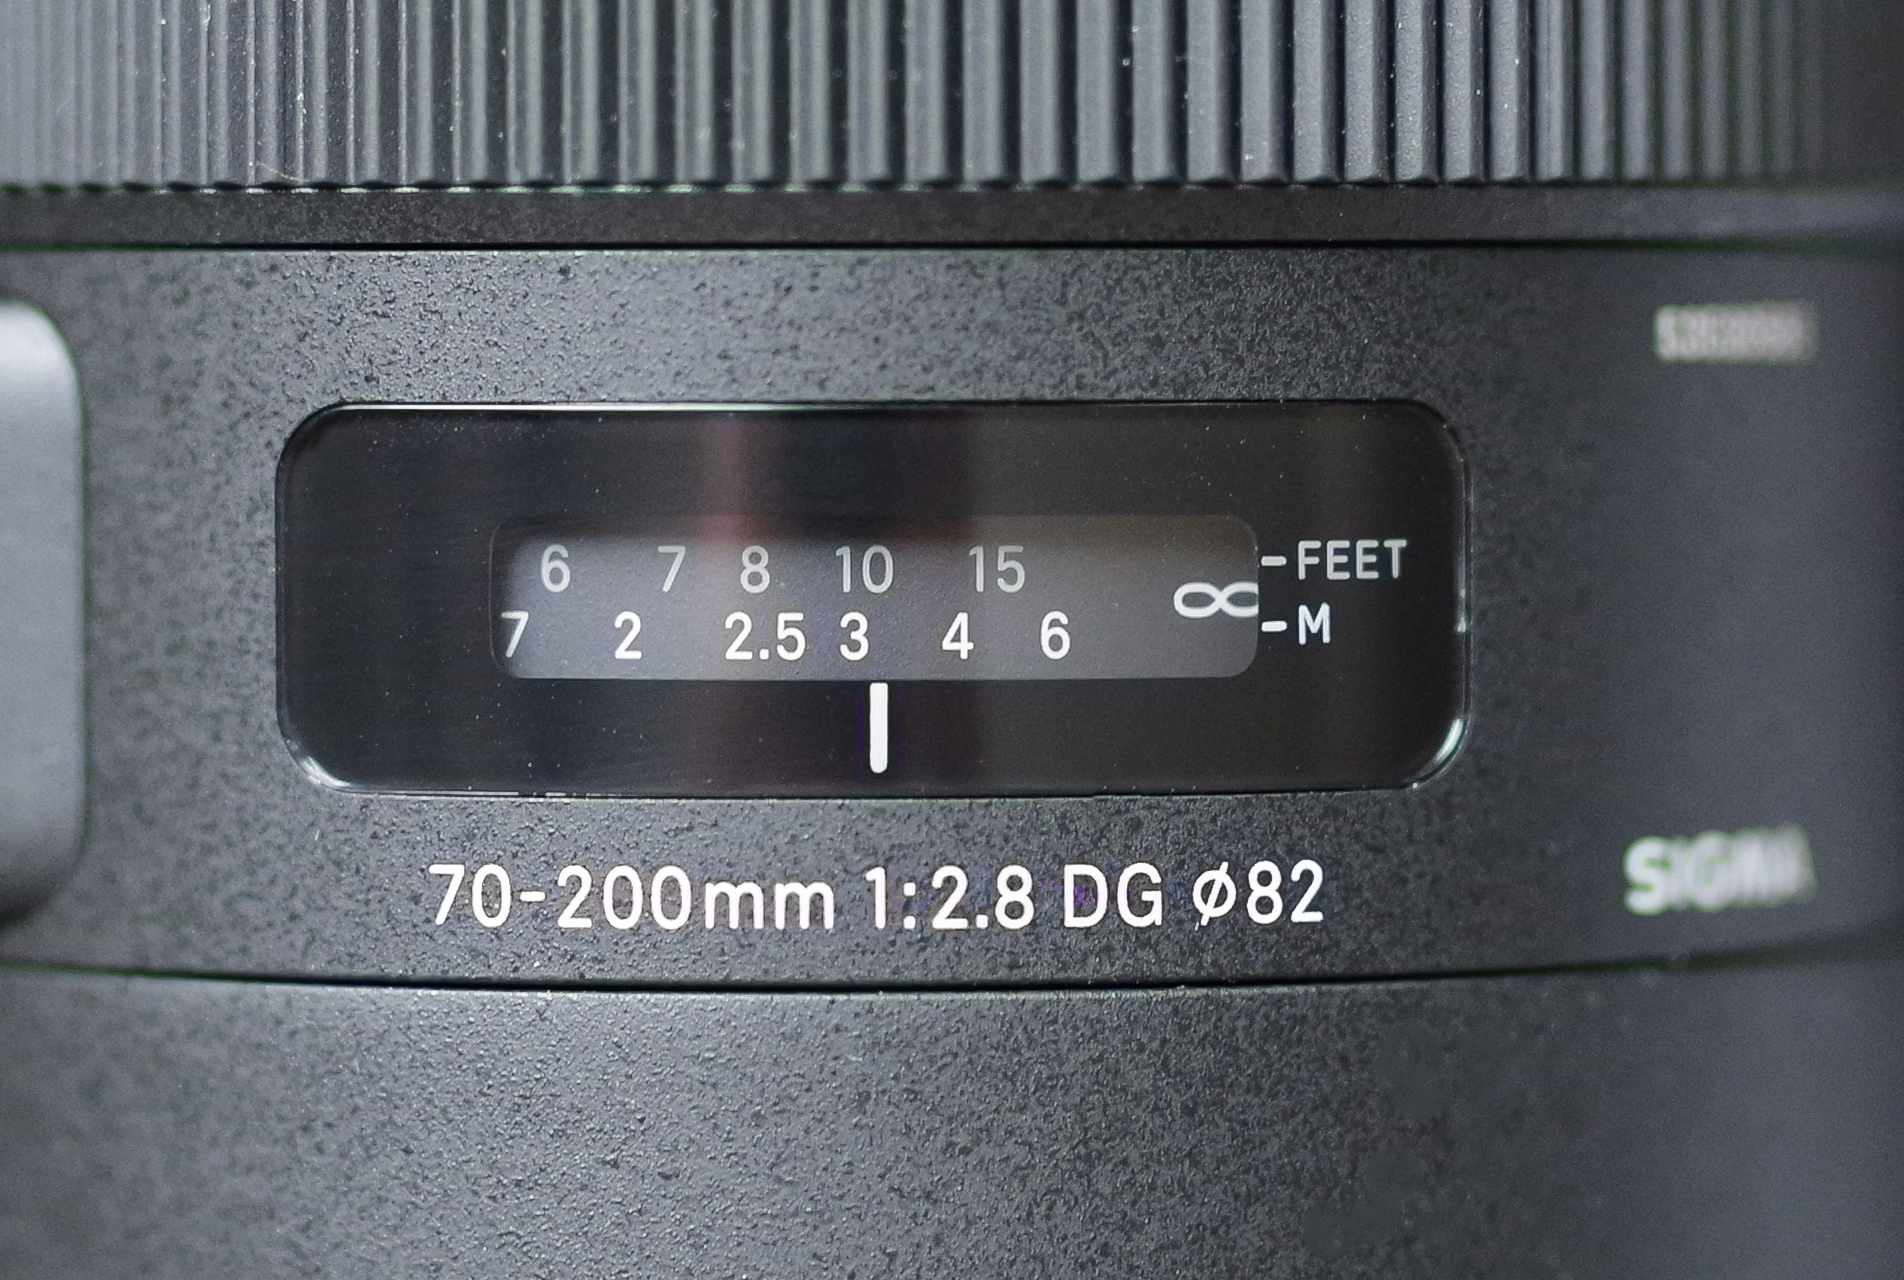
Your lens may have a small window that displays the focusing distance as you rotate the focusing ring, which you may find useful. Otherwise, the focusing distance may be displayed on the LCD screen or in the viewfinder (or both).
If you’re using an optical or electronic viewfinder, make sure the diopter is set for your vision. This control is usually found to the side of your viewfinder, and you should calibrate this by rotating it until everything inside the viewfinder appears as sharp as possible. This doesn't change focus itself, but getting it tuned to your eyesight will ensure that you're seeing the scene as it will eventually be captured.
Taking it to the next level
Today’s cameras and lenses typically offer a few additional tools to help you get the most out of manual focus. Some of these may automatically spring to life as you start to use manaul focus, while others may need to be enabled first.
The oldest of these is manual focus override. This is usually found on a camera’s lens, and it allows you to use the autofocus system before you fine-tune focus manually with the focusing ring, without you needing to switch the camera or lens to manual focus. This provides convenience and control, and it’s useful if the subject suddenly moves and you need to make a final adjustment. Be aware that on some lenses, the default autofocus position may give you this control as standard.
A more recent control, and one that’s most commonly seen on compacts and mirrorless cameras, is magnification of the scene. This typically activates itself as soon as you start to rotate the focusing ring, as it can sense that you're trying to manually focus. By doing so, it can provide you with a better idea of exactly what’s is and isn’t in focus. This appears as through you’ve suddenly zoomed into the scene, but it doesn’t change your focal length at all, and should snap back to your original composition once you’ve finished focusing.
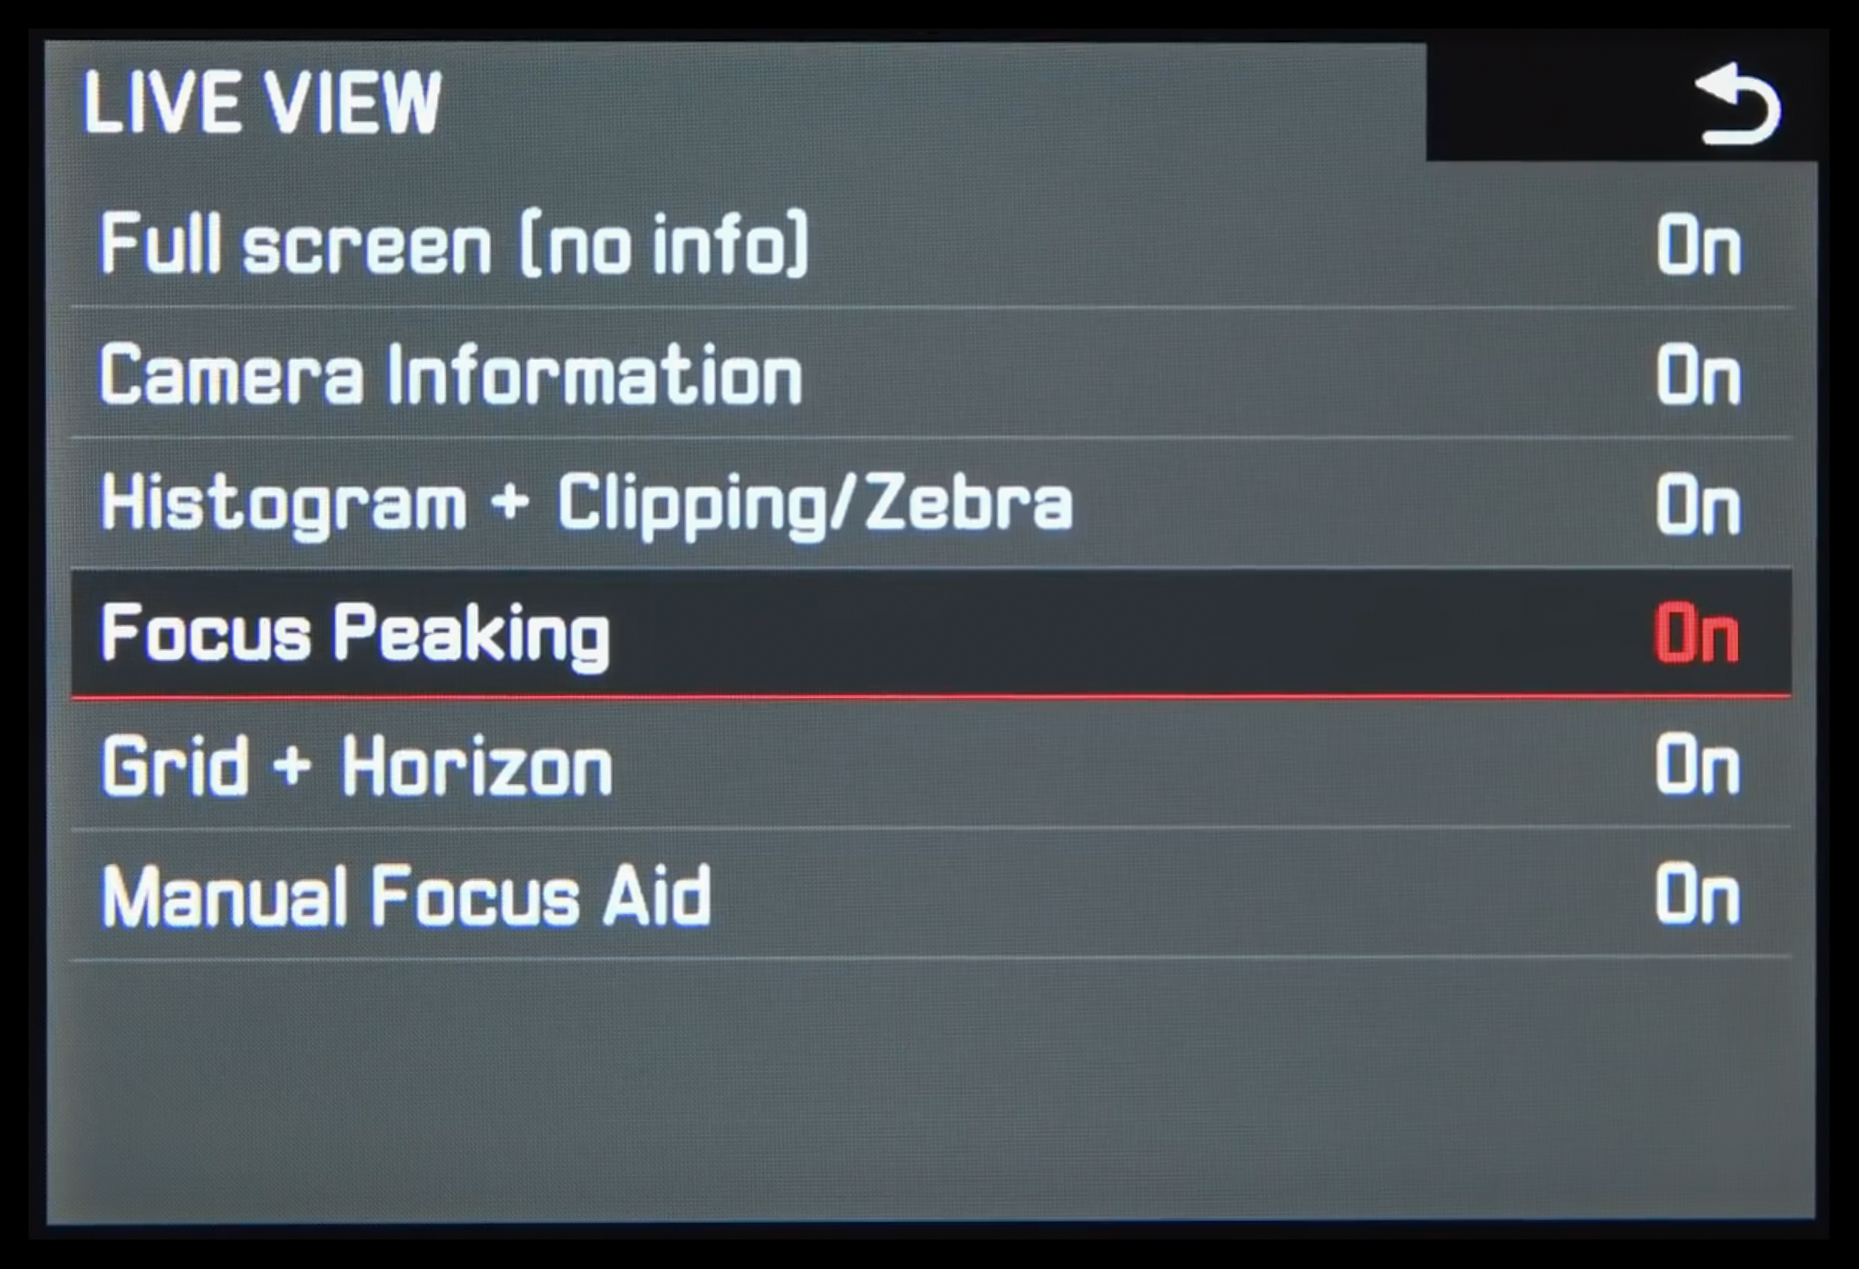
Focus peaking is another useful option that’s only been around for a few years. Here, the camera applies a coloured highlight to the areas in the scene where contrast is highest. As you rotate the focusing ring, you should find this highlight slowly travels in one direction, or simply appears and disappears, depending on what it is you’re photographing.
You can typically change the colour of this highlight so that it contrasts with the subject you’re shooting. So, if you're capturing a red flower and the highlight itself is red, for example, you may be able to change this to a yellow or blue highlight so that it's more distinct. You may even be able to adjust the threshold at which contrast starts to show, which is useful for very old manual focus lenses that might not be very sharp to begin with (or, conversely, modern lenses that are particularly sharp).
