
 Become a TechRadar Insider


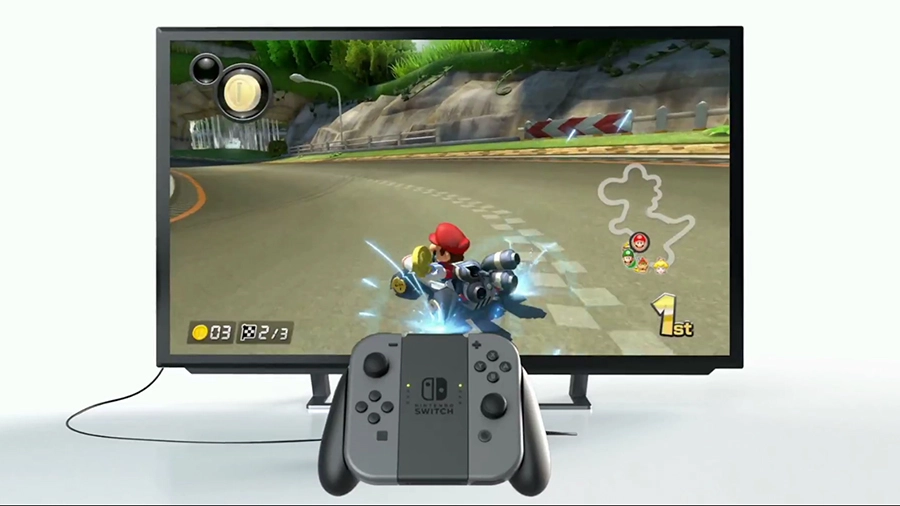
You livestream your PlayStation 4 games, your Xbox One games and your PC games. Heck, you’ve even livestreamed games from your Android device. Now you’ve got a shiny new Nintendo Switch, we imagine you’re getting ready to livestream from that too. The world deserves to see you majestic Mario Kart victories.
Unfortunately, you’ll find livestreaming to services such as Twitch, YouTube, and other similar services isn’t quite as easy on Nintendo Switch as on other new consoles, as Nintendo’s new console doesn’t yet support any of the apps that will allow you to do so directly.
The Nintendo Switch does have a capture button, though at the moment it’s only able to capture screenshots. Nintendo has said, however, that it’ll be capable of capturing shareable video in the future. Whether or not this will mean support for apps like Twitch and YouTube Gaming, however, is still unclear.
That’s not to say Switch livestreaming can’t be done right now, though! Where there’s a will there’s a way and by will we mean HD capture card.
Get an HD capture card
It’s up to you whether or not you use an internal or external HD capture card as both will work. As far as recommendations go we'd say a good external option is the Elgato HD60S or the AVer Media Live Gamer Extreme.
A good internal option on the other hand is the Elgato HD60 Pro PCIe.
If you’ve gone for an external capture card, your first step is just plugging it into your PC via USB.
If you opt for an internal capture card, there’s an extra step as you’ll have to install it into your computer’s PCI port. Different cards come with different instructions, so it’s worth referring to the installation instructions that come with your specific card.

Connect your console up to your TV and PC
To stream games from your Nintendo Switch, it’ll have to be docked (no on the go streaming for you, my friend) so make sure the console is in TV mode.
Next, grab an HDMI cable and plug one end of it into the HDMI port in your Nintendo Switch dock then plug the other side into your capture card’s HDMI input port.
Using a second HDMI cable, plug one end into the output HDMI port of your capture card and plug the other side into your TV.
If your PC isn’t anywhere near your Nintendo Switch, we'll be honest, this has the potential to be an absolute pain and you’ll have to pick up some extra long HDMI cables.

Now make sure the software that comes with your capture card is installed on your PC and start up your Nintendo Switch!
If everything’s gone smoothly and you haven’t accidentally strangled yourself with HDMI cables you should see your Nintendo Switch game appear on both your TV and your PC. Just hit record and start playing!
Get livestreaming software
This is just for recording rather than livestreaming. If you’d like to livestream you have to go slightly further and download some live broadcasting software. This doesn’t have to cost you any money and there are a couple of options available – OBS (Open Broadcaster Software) and XSplit for example.
While OBS is great for getting into the nitty gritty of things, if you're looking for software that's simple to set up and use XSplit is generally preferable.
Once you’ve got the software installed, make sure you add video capture card as a source and select your specific device from a drop down list.
Now you’re able to record and livestream your gameplay to your service of choice! It’s as simple as that.
