TechRadar Verdict
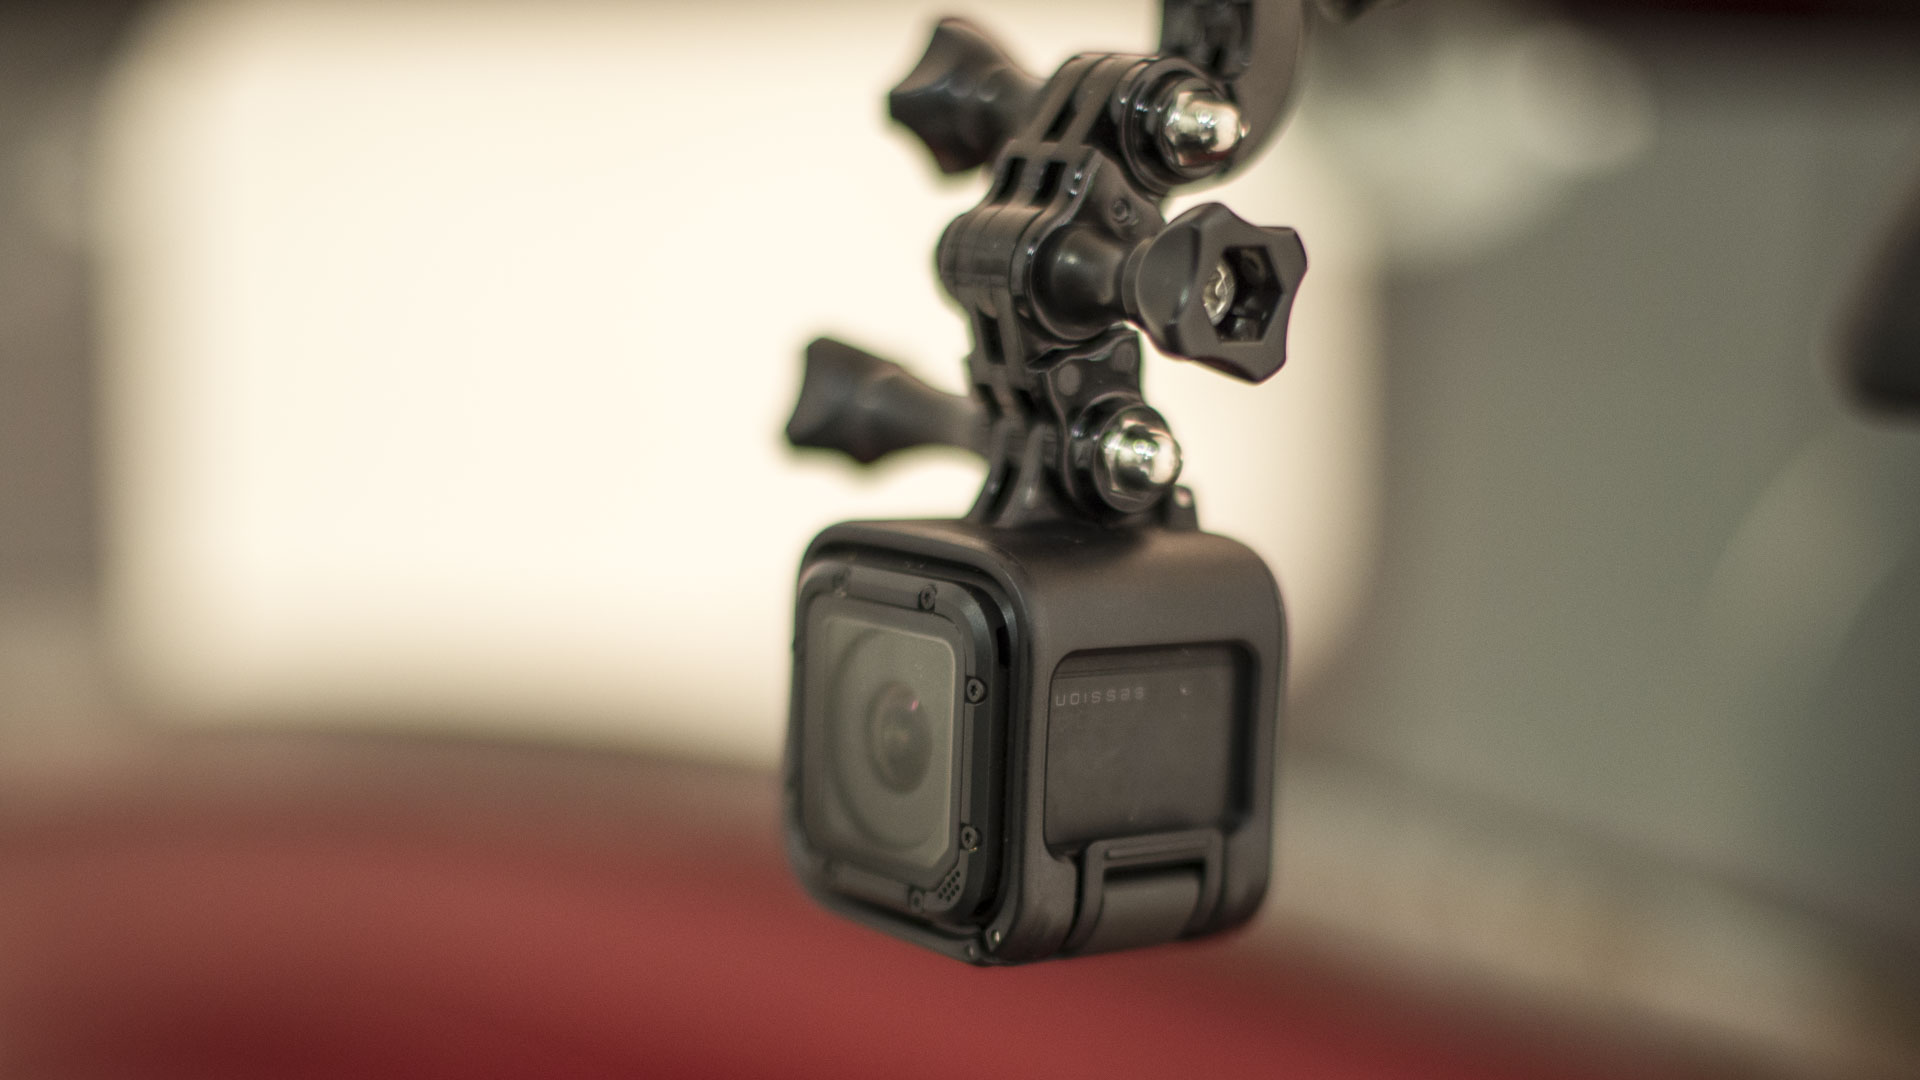
Stripped down to the basics, the Session is the smallest and lightest GoPro yet. The streamlined design makes for easier mounting and operation, and video quality is as good as ever, but the high price is hard to justify.
Pros
- +
Minimal size and weight
- +
Low-profile mounting options
- +
One-touch operation
- +
Excellent video quality
Cons
- -
Very expensive compared with rivals
- -
App needed to adjust most settings
- -
Slow to respond with some MicroSD cards
Why you can trust TechRadar
The simple square box style has been growing in popularity for action cameras, and with the HERO4 Session GoPro becomes the latest manufacturer to launch a camera of this style, following the likes of Polaroid's Cube and Cube+, and the Rollei 500 Sunrise.
[Update: the Hero Session has now be discounted by GoPro, with it's cube design no-more. If you're looking for an decent entry-level action camera, your best bet is the latest GoPro Hero7 White. It doesn't shoot 4K video, but has a solid overall spec.]
The design certainly has its advantages – it's 50 percent smaller and 40 percent lighter than previous HERO4 cameras – and it incorporates other improvements as well: the Session is waterproof to 10 metres without a housing, and a simple one-button operation makes capturing the action easier than ever.
Build and handling
There's little to fault with the design of the Session. The small size of the camera, encased within a skeleton frame, makes mounting and positioning it easier than ever. The camera can be rotated within the frame to the correct orientation and this, coupled with the auto orientation feature, ensures that your footage is always the right way up, which can be a major time-saver when it comes to editing.
A quick press of the shutter button powers on the camera and begins shooting video; press and hold the button and it starts capturing time-lapse sequences. A second press of the shutter button stops recording. The GoPro app is required to access other shooting modes, and to adjust settings.
On the back of the camera is a small button which, when pressed, displays settings and status information on the small LCD next to the shutter button. The back button also activates the Wi-Fi function and tags footage, depending on the camera's status.

On the side of the camera is a pop-out flap that gives access to the MicroSD slot, and a Micro USB port for charging the built-in battery. The flap is held in place by a small catch that, despite my best efforts, seems impossible to accidentally release.
Sign up for breaking news, reviews, opinion, top tech deals, and more.
The connections are stripped down compared with the GoPro HERO4 Black, so there's no mini HDMI port; this is no bad thing, however, and it follows the trend in most recent action cameras.
The Session comes in two versions, Standard and Surf, the only difference between the two being the selection of mounts included in the box. Both ship with a new ball joint buckle mount that enables 360-degree camera rotation, making it ideal for helmet and bike mounting.

The Session needs to be placed inside the included frame in order to be mounted; a pressure lever holds the camera firm. At the base of the frame is the standard GoPro mount, which is compatible with the majority of GoPro accessories. This frame and the new ball joint buckle also enable low-profile mounting, a welcome innovation compared with the more traditional GoPro accessory mounts.
Wi-Fi and app
You need to pair the camera with your iOS or Android device and use the GoPro app to access the full range of shooting modes and settings. Wi-Fi is activated by scrolling through the options using the Wi-Fi/Info button on the back of the camera, and pressing the shutter button to confirm.
Wi-Fi setup and pairing is straightforward, and the app gives you access to a variety of options and modes – you can adjust the resolution, frame rate and camera modes, and remotely operate the camera and live view. Selecting and adjusting these settings is similarly fuss free.
There's a good choice of quality settings, including 1440p at 30fps, 1080p at 60fps and 720p at 100fps. There are plenty more frame rate options, as well as a choice of NTSC or PAL formats.
All video is recorded in H.264 codec in the .mp4 file format, making it fully compatible with most popular editing applications, as well as with the excellent GoPro Studio. Video buffs can also make use of the ProTune settings, which facilitate control over sensitivity and sharpness.
Adjusting settings via the GoPro app is quick and intuitive, and you can check settings by switching to the remote control feature. The app also features live view, so you can quickly check composition and exposure, and adjust settings as needed.
The interface features a large start/stop record button, and additional icons enable you to change modes quickly. The app also enables you to play back footage, and you can upload footage direct to the GoPro community.
Ali Jennings is the imaging lab manager for Future Publishing's Photography portfolio. Using Imatest Master and DxO Analyser he produces the image quality tests for all new cameras and lenses review in TechRadar's cameras channel. Ali has been shooting digital since the early nineties and joined Future's Photography portfolio back in 2003.
