The A to Z of Photography: Raw
Think of raw files like a digital negative

Sign up for breaking news, reviews, opinion, top tech deals, and more.
You are now subscribed
Your newsletter sign-up was successful
Raw files are unprocessed image files captured straight from your camera’s sensor. They have been called the equivalent of a ‘digital negative’, but it would be equally accurate to think of them as the ‘undeveloped’ digital image.
So what’s the difference between raw files and the JPEG images produced by your camera? All digital cameras can produce JPEG images. These are ready-processed image files ready for viewing, sharing and printing. JPEG is a kind of universal file format for photos, that doesn’t take up much space and can be viewed and shared on any device.
But the camera’s sensor actually captures a lot more data than you see in the JPEG image saved by the camera. A lot of this excess data is discarded as the camera applies settings you’ve chosen on the camera, such as the white balance or picture style, and because the JPEG image format simply can’t hold all the data captured by the sensor.
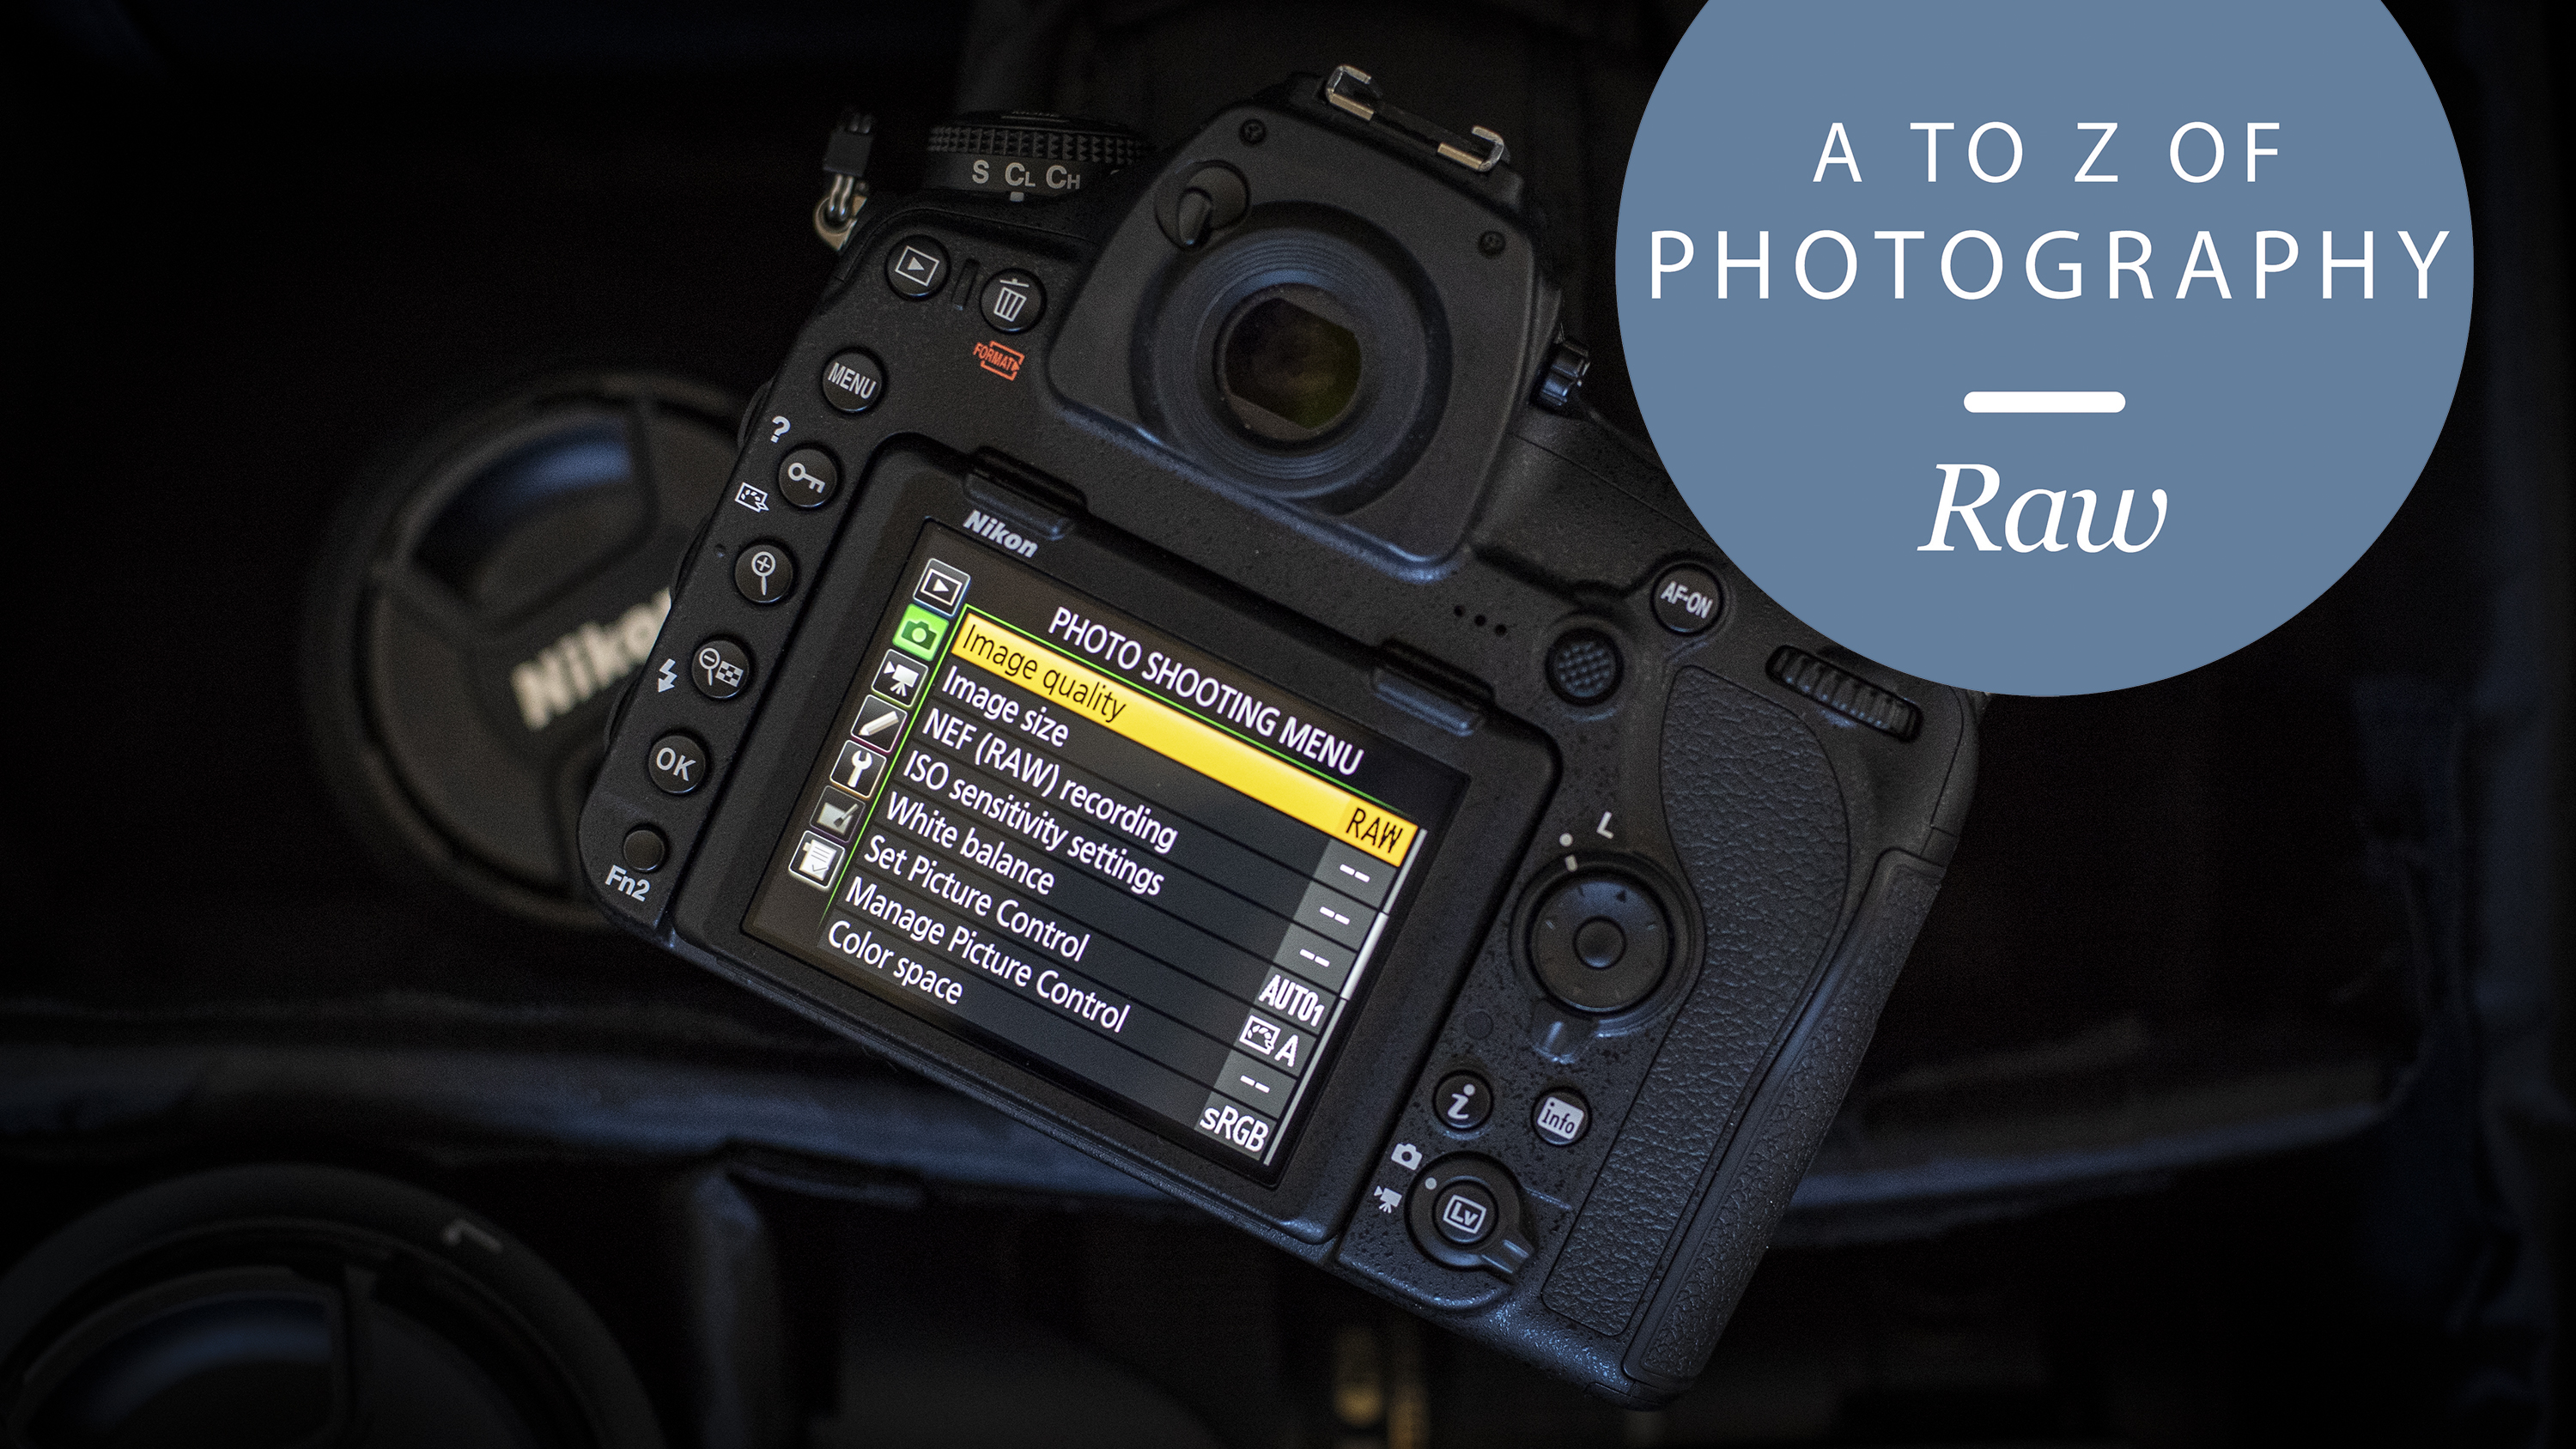
More advanced cameras, however, can save the camera’s original unprocessed ‘raw’ file instead of a processed JPEG image, or both at the same time. It's best to see them like a digital negative, while a JPEG is more like a 6 x 4 print from a high street lab.
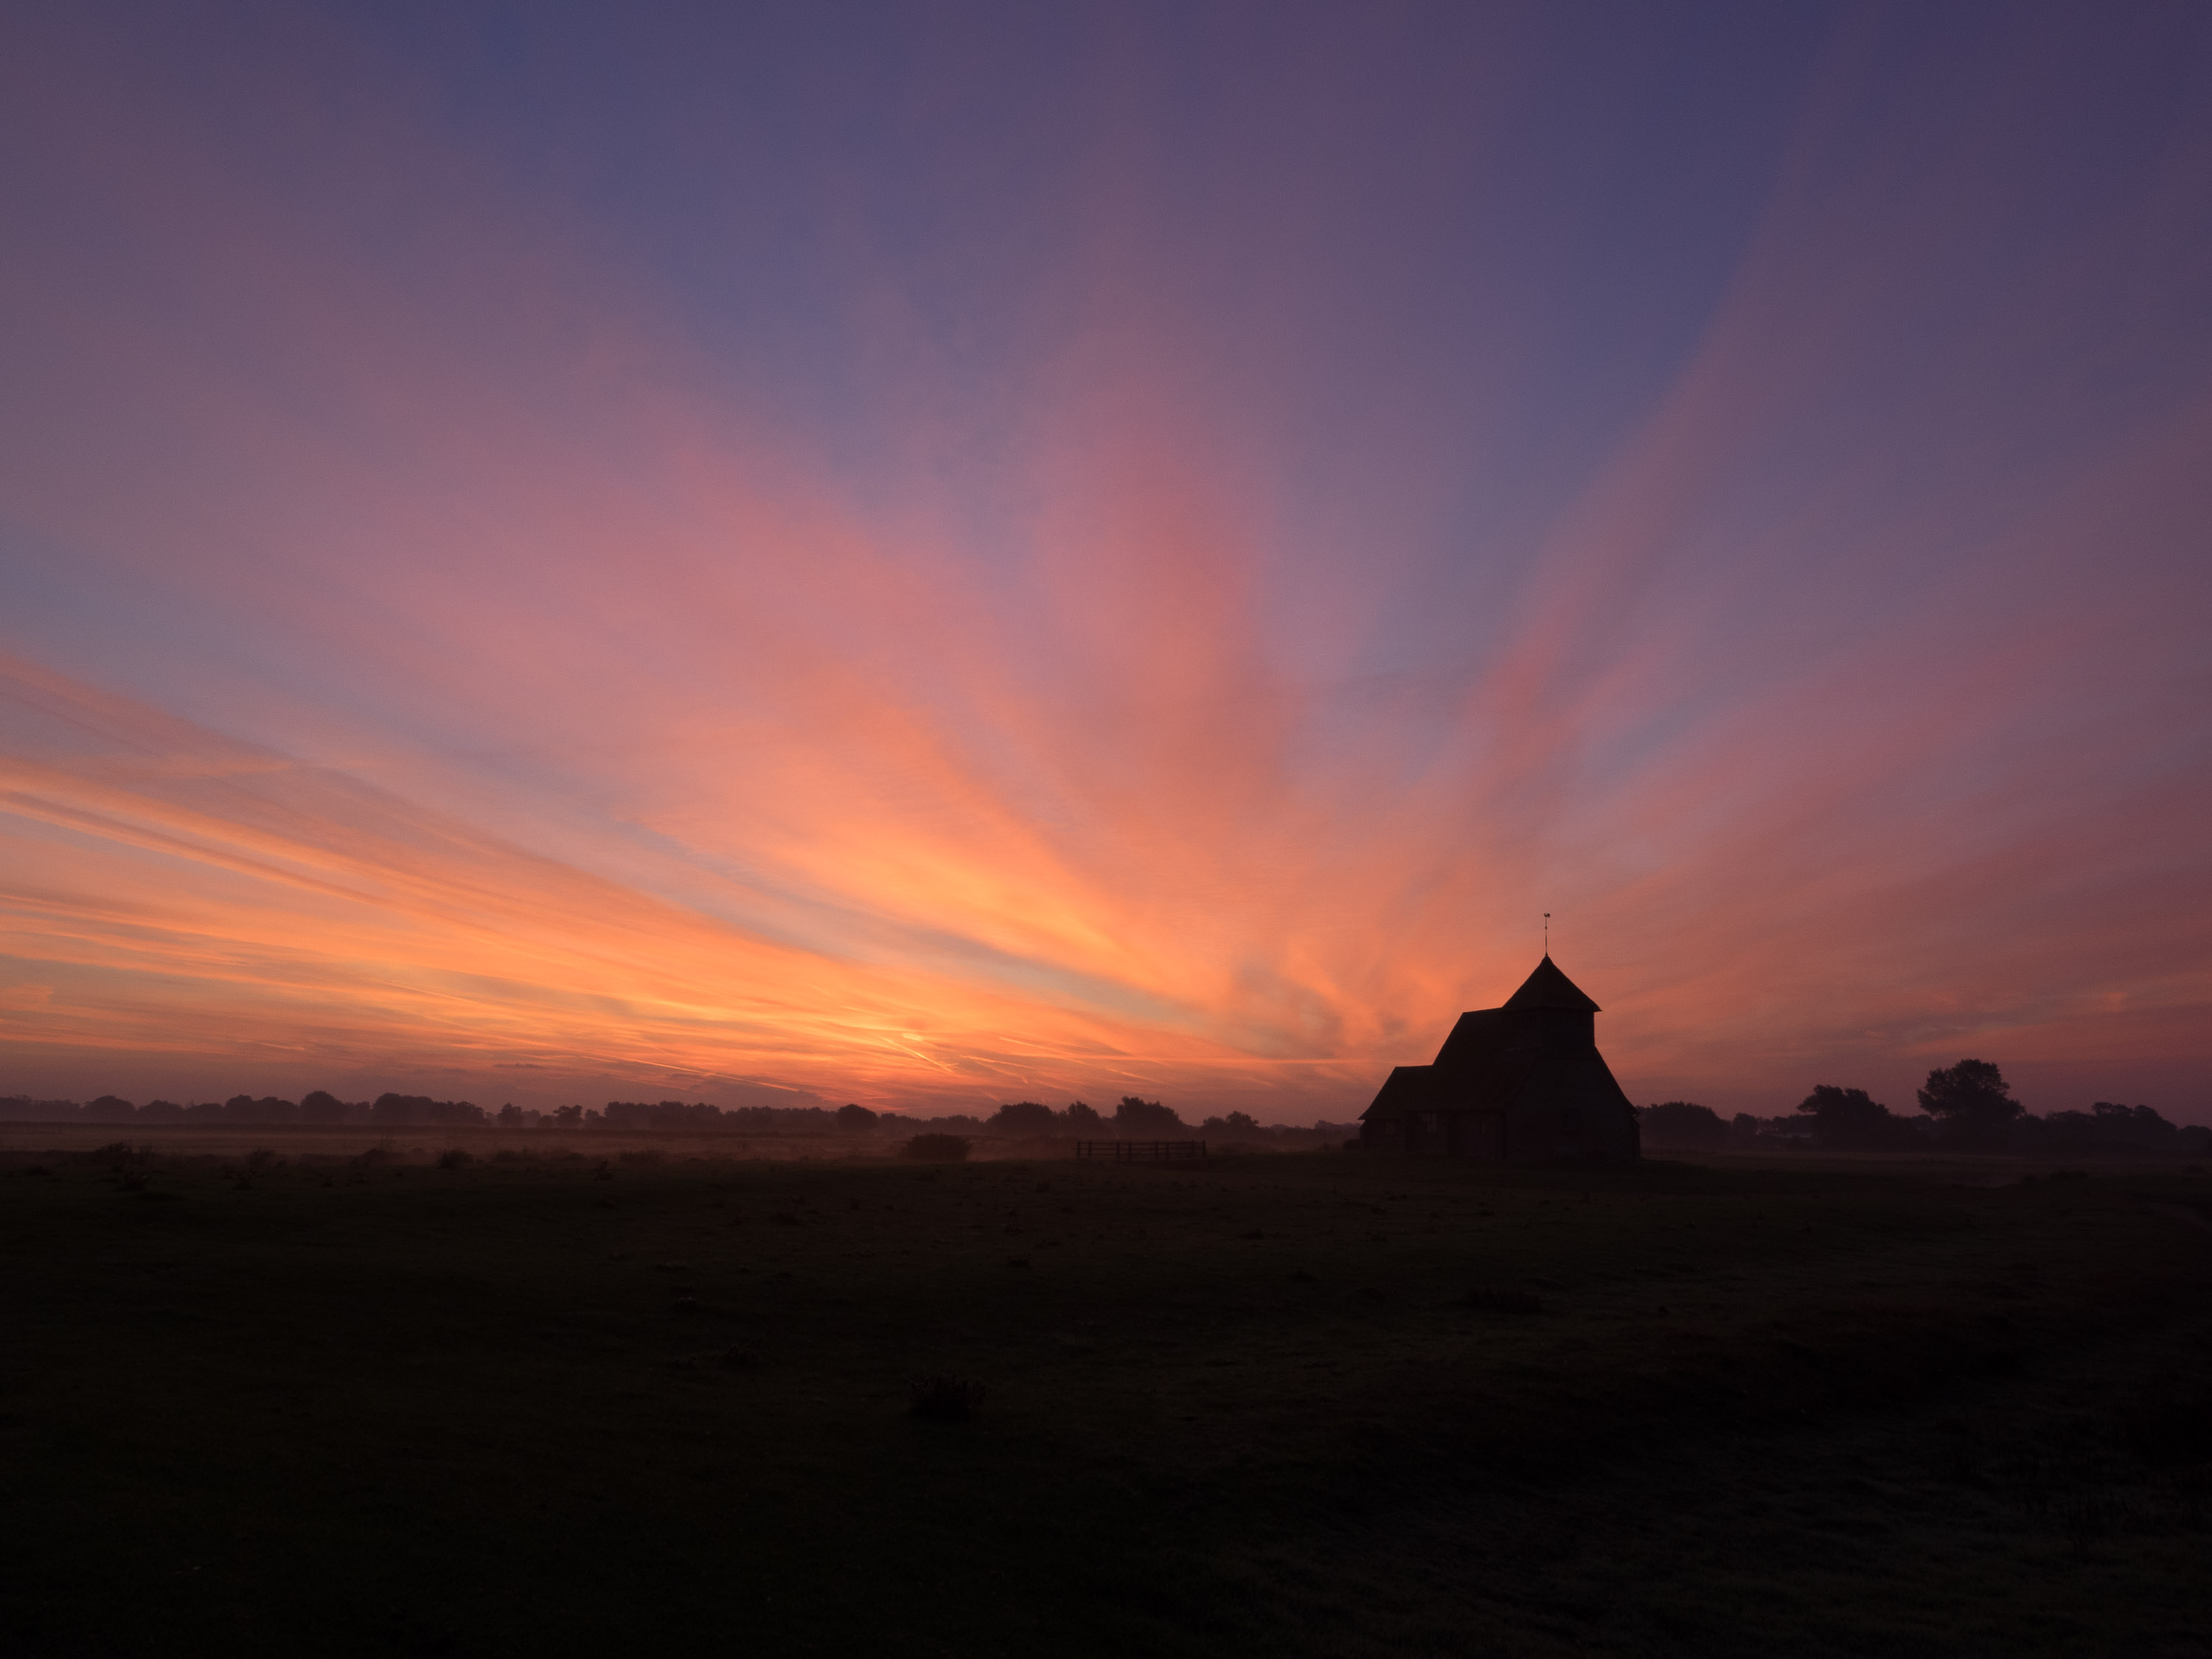
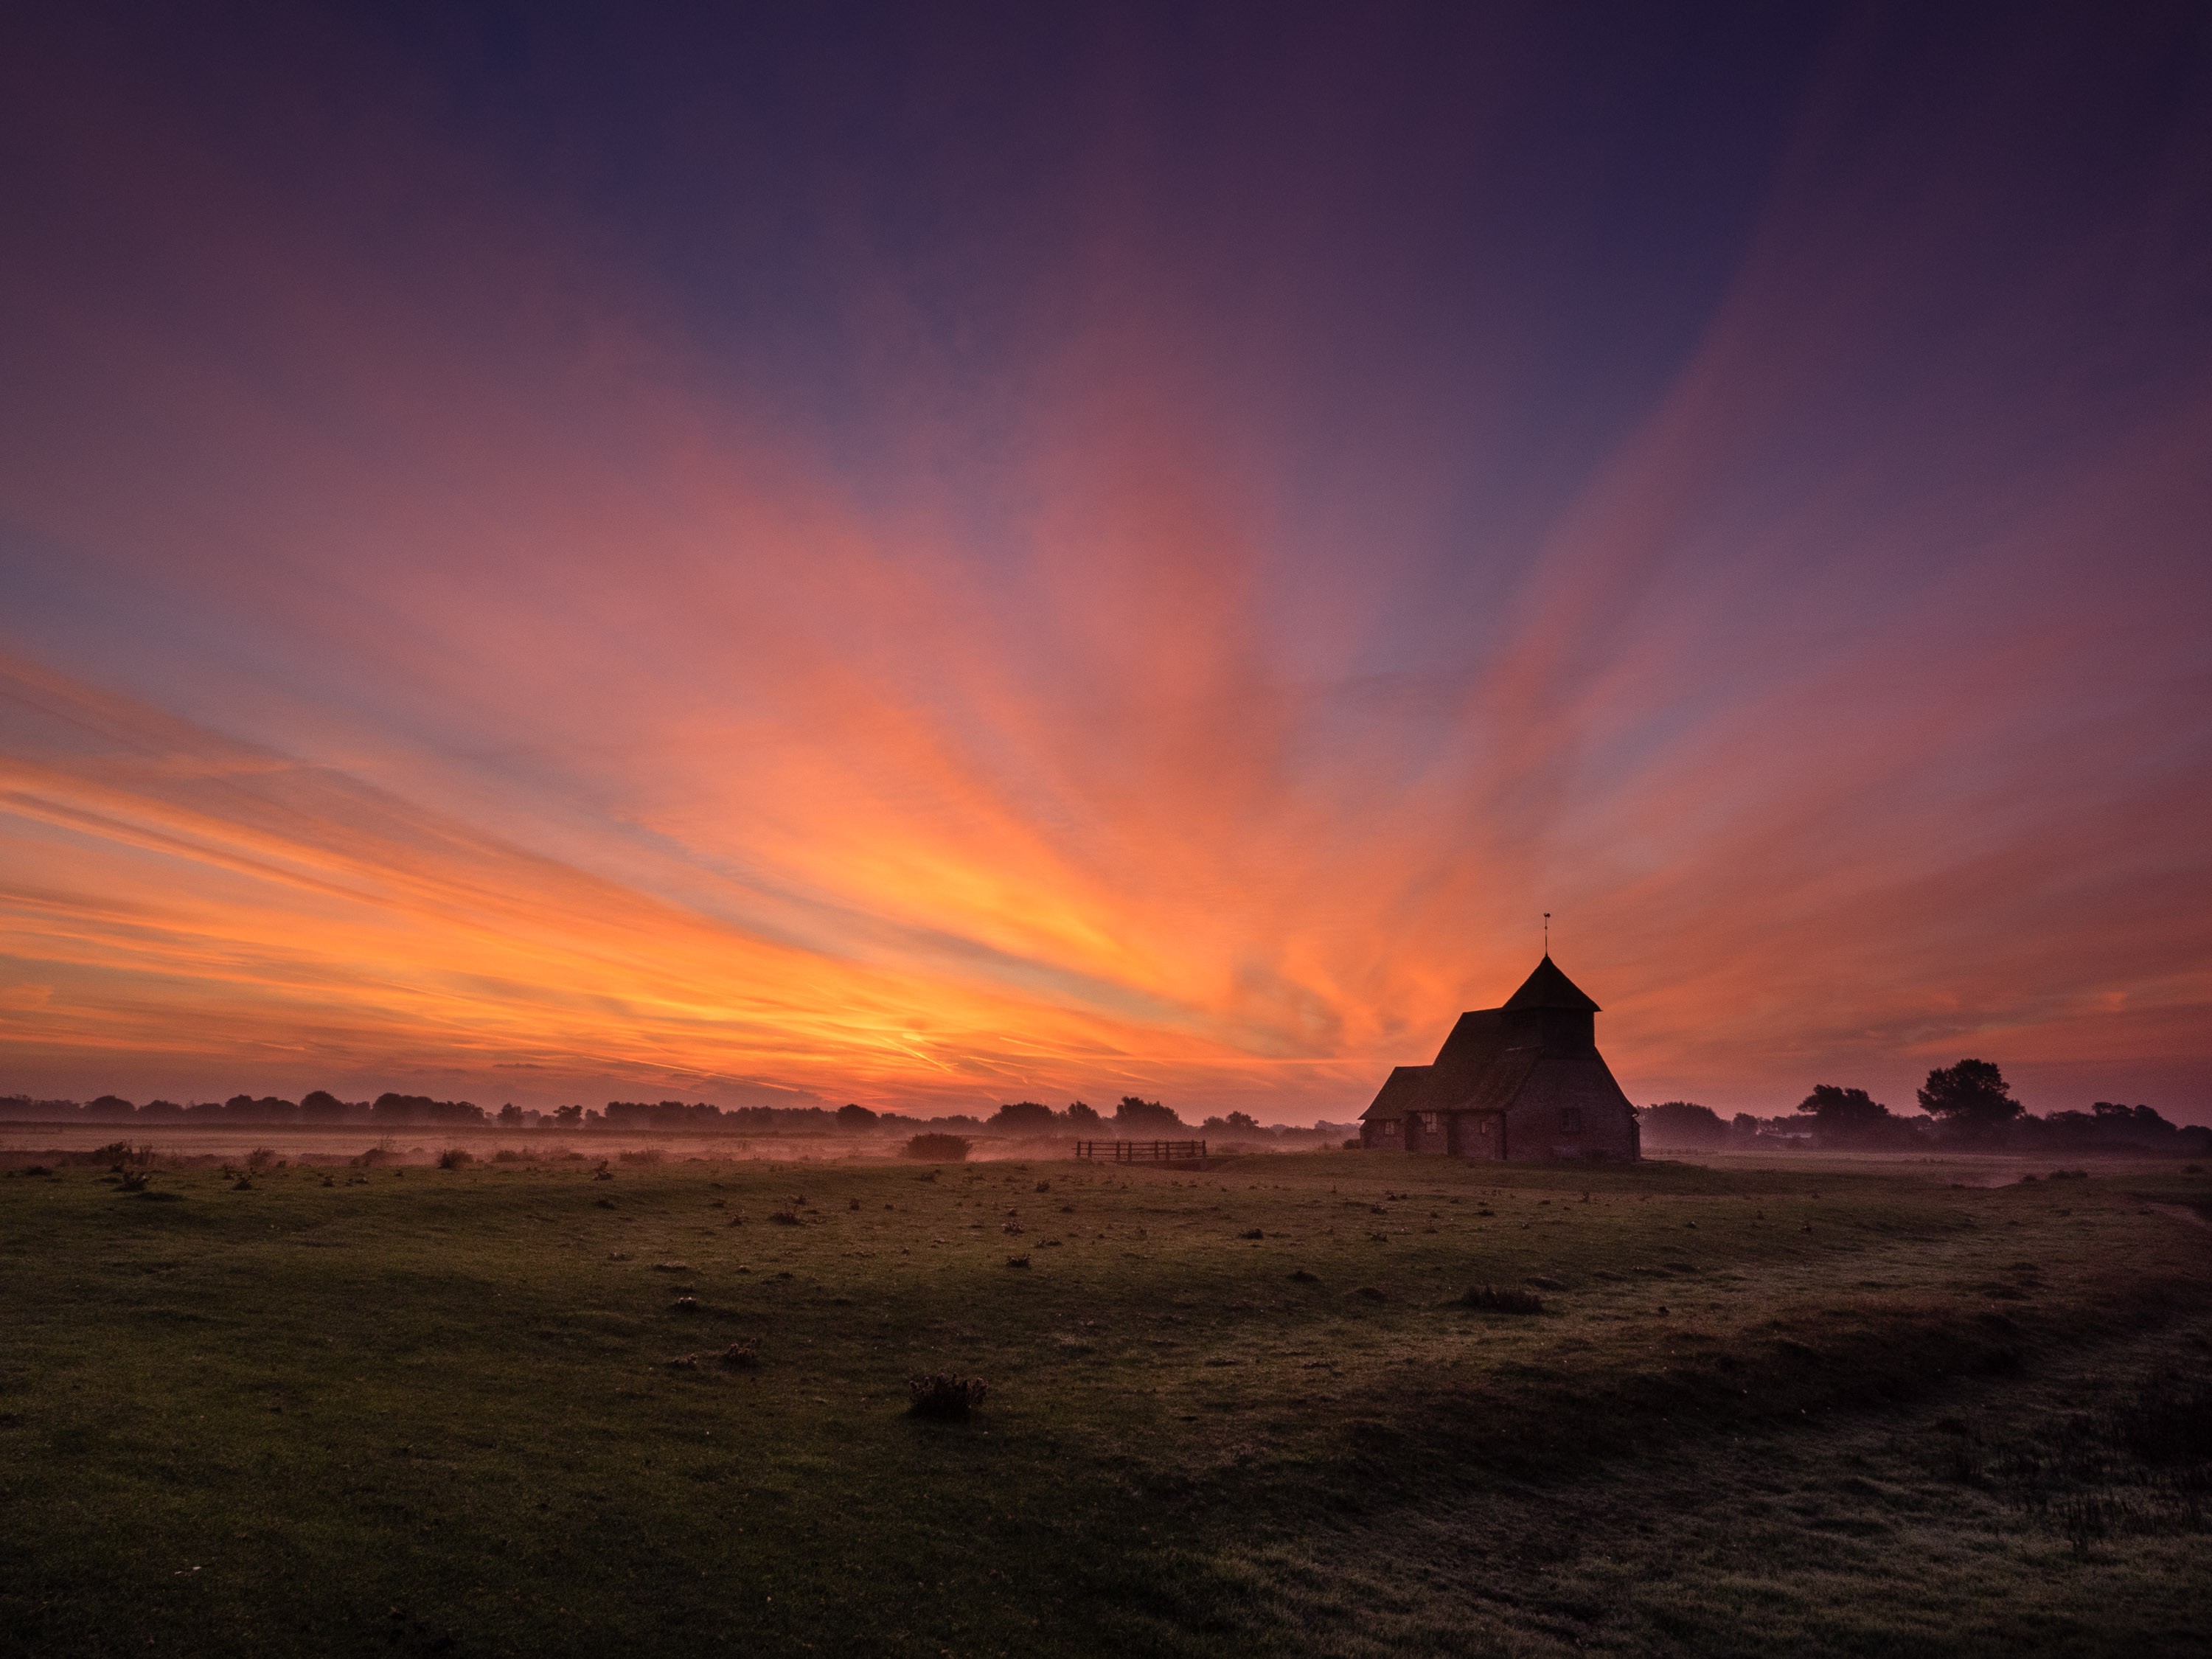
These raw files must be processed by raw conversion software before they can be viewed, edited or shared in the normal way, which is inconvenient. But they contain a lot of useful extra data, so it’s possible to extract a wider range of tones from your photo (dynamic range), select a white balance setting later rather than at the time of shooting, and apply heavier image adjustments without degrading the image quality.


The digital imaging process
Here’s a brief guide to the image capture process to show where raw files fit in.
Step 1: The camera’s sensor captures light values as analog signals
Step 2: Its built-in analog-digital converter turns these into digital data – this is the raw file
Step 3: The camera then generates a processed JPEG image by ‘demosaicing’ the red, green and blue pixels captured by the camera
Step 4: It also applies the white balance, contrast, colour, sharpening and other settings you’ve chosen on the camera
Step 5: JPEG images can store only a limited amount of data (8 bits per red, green and blue colour channel, for the technically-minded), so a great deal of unused data is discarded.
When you capture a raw file, you’re intercepting the image at stage 2, after the analog-digital conversion. You can then use more powerful raw conversion tools on your computer to control the way the raw file is processed or ‘developed’. At the end of the process you can create a more refined JPEG image or use the higher-quality TIFF format. With TIFFs you can create 16-bit images which withstand image manipulation much better than JPEGs.
Raw file technicalities
Annoyingly, each camera produces its own particular raw file type, so if you use third-party raw conversion software like Adobe Camera Raw, Lightroom, Capture One or DxO PhotoLab, you might have to wait a few weeks for support for a new camera to arrive.
Each maker uses different file extensions for their raw files. Nikon raw files have the .NEF suffix, Pentax raw files end in .PEF and Fujifilm raw files have the .RAF suffix, for example.
Adobe has tried to produce a universal .DNG raw file format, and while it does offer a free DNG converter to convert any proprietary raw file into this format, the DNG format has not really caught on and has itself come in different versions over time, so that not all programs that support the DNG format can read all the various DNG versions.
Sign up for breaking news, reviews, opinion, top tech deals, and more.
Raw files can’t be edited – you can’t make permanent changes to them in the way you can with other image formats
Different raw conversion tools produce very different results, too, which is why it’s often more useful to think of raw files as ‘undeveloped negatives’. Adobe Camera Raw, Capture One Pro, DxO Photolab and a host of other tools will all produce different renditions of the same raw file. Expert photographers will often have a favourite raw converter in the same way that traditional film photographers would have a favourite developer.
Raw files can’t be edited – you can’t make permanent changes to them in the way you can with other image formats. This is good in a way because it means you will always have the original image - they're non-destructive. It does mean that raw processing software has to save your adjustments as ‘metadata’, processing instructions stored alongside the raw file or in an image database, rather than within the file itself.
Raw file pros
- You can choose the white balance setting later, regardless of the setting you shot with
- There’s usually extra highlight and shadow detail in the raw file which can help you fix exposure problems in bright skies and dark shadows
- Raw conversion software will often give you better sharpness and noise control than you get with in-camera JPEGs
- You can export 16-bit TIFF files which are much better suited to heavy image manipulation than JPEGs
Raw file cons
- Raw files take up more space on your memory cards and your computer
- If you shoot sports, they reduce the number of shots you can take in a burst
- They have to be processed later, which adds an extra step to your photographic workflow
- Sometimes it takes a bit of work just to match the quality of an in-camera JPEG, never mind improve on it

Rod is an independent photographer and photography journalist with more than 30 years' experience. He's previously worked as Head of Testing for Future’s photography magazines, including Digital Camera, N-Photo, PhotoPlus, Professional Photography, Photography Week and Practical Photoshop, and as Reviews Editor on Digital Camera World.
