
 Become a TechRadar Insider


The iLife suite has been around for a while now, and iMovie and iPhoto were even available long before all these programs became part of a single retail package. In fact, they've become such a big part of our interaction with Macs that it's hard to imagine using a computer without them.
But the problem with owning a program for such a long while is that you can get stuck using the same functions over and over again.
The iLife suite is designed to make life as easy as possible by apparently limiting the number of options available to you. But just because you're constrained doesn't mean it has to be Apple's way or the iWay.
What many basic and intermediate users don't realise is that all of these programs have a lot of hidden features within them, designed to offer more advanced users some powerful tools and useful shortcuts that they can use to improve their workflow.
It's not a failing on your part that this isn't immediately obvious – most of these tools are undocumented, which means you'll probably happen across them by chance or discover them via an obscure comment in a forum or web page online. So to make your life easier, we've gathered together 40 tips you may not be aware of that can help you find new and efficient ways of using all of these iLife apps.
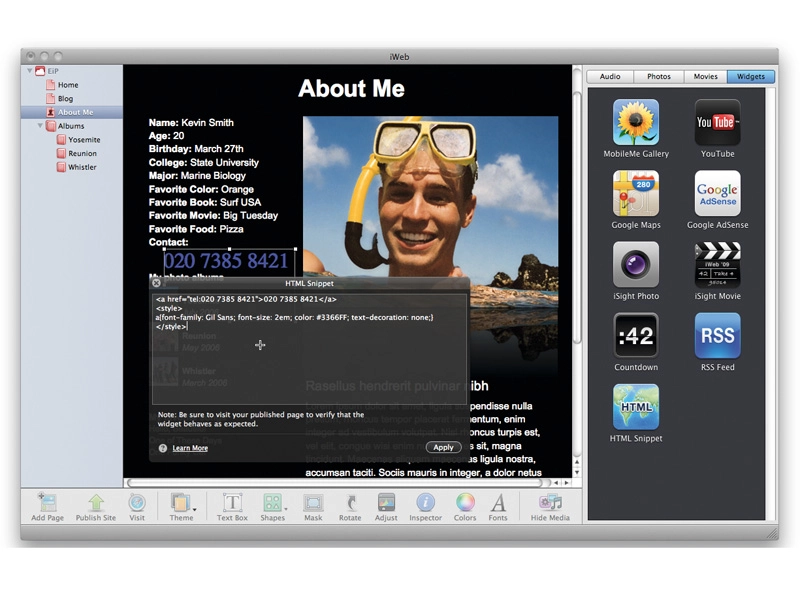
It could be as simple as using a keyboard shortcut to speed up your workflow in iPhoto, or as complex as writing some code yourself in iWeb. It's like finding 40 new features you weren't aware you even had, which should keep you going for a while – or at least until the next version of iLife.
iPhoto tips
Handy tricks for modifying and storing your pictures
1. Multiple libraries
Digital photography has exploded since the early days of iPhoto and you may find yourself needing bigger and bigger drives to store all your pictures. One of the downsides of iPhoto is that everything is saved in one location, meaning you can't split your photos up onto multiple drives.
But you can actually do one thing to help you organise yourself better, and that is to create multiple iPhoto libraries.

Hold down the Option key when you start up the program and you'll find a new window asking you to choose the library you'd like to load. You can also create a new one from there.
And best of all, these libraries can be stored anywhere, even on external drives. You could have one library for your family shots, one for work and different libraries for any project you need to work on.
2. Adjusting multiple photos
Sometimes you may need to apply identical changes to a great number of photos. If your camera wasn't calibrated properly for instance, or if you didn't change the settings for each environment, every shot you've taken in a day might well need to have the same adjustments applied to them. But manually adjusting each and every one individually would be extremely time consuming – not to mention mind-numbingly tedious.
Thankfully, there's a workaround. You still have to adjust at least one image, but once that's done, just click the Copy button, on the lower right of the Adjust window.
Next, select another photo and then click the Adjust window's Paste button (handily situated right next to Copy), for the changes to be applied instantly – saving you a good deal of time and more importantly a lot loss less headache.
3. Zooming into your work
When it comes to editing your images, you may find that doing precise adjustments is difficult because the interface displays the whole image by default with no obvious means of zooming into it. You could of course go full screen (View > Full Screen), but you still can't focus on a specific area unless you use your keyboard.

Using the keyboard you have two magnification levels: press 1 or 2 to select them. To go back to seeing the whole image, press 0. When magnified, a small floating window appears showing you which part of the photo you're currently seeing. To move to another, click and drag within that navigation window.
4. Before and after
When tweaking a photo to make it look right, you could get carried away and forget what it looked like originally. Sometimes, seeing the initial state of your photo can help you focus on what else needs to be done, or bring you back in line if you've gone too far and made your image look too artificial.
You could click on the Adjust window's Reset button (lower left) and then hit Command+Z to undo that action to switch between the original and current state.
That's all well and good, but there's a much easier way to achieve a similar result. Just hold the Shift key to see what your original photo looked like, then release it to get back to where you are now. That way you've got a quick and easy method to toggle between how your snap looked like when you took it and its latest modified version.
5. Confirm or deny
The Faces feature introduced with iPhoto '08, is a great way of seeing all the photos you took of a particular person, but setting it up can be a little time consuming.

First go to Faces, double-click on a specific person and you'll be presented with a series of photos which iPhoto thinks are a match. You then have to click once to confirm or double-click to inform the program that this selection was a mistake.
If there are a lot of errors, though, doubleclicking them all can be annoying, so try this instead: Option-click to reject the image.
6. Redirect the rejection
But what if you recognise the face that you're about to reject as belonging to someone else?

Instead of hoping to find it again in that person's series of shots you need to approve, there's another way. Ctrl-click on the image and you'll be presented with a contextual menu bearing three commands: Confirm, Reject and Name.
Select the last one and start typing that person's actual name. iPhoto will even link to your Address Book database to help you autocomplete the name, which is fabulously helpful.
7. Pins on the map
Unless you've got one of the latest cameras or you use your iPhone a lot, you may find that the Places section is of little use to you.

But if you like to see at a glance were you took all your photos, you can add that information manually. You can even apply it to multiple photos at once: select all the ones you wish to work on then click on the 'i' button, to the lower right of any of the selected shots.
Now type in the shooting location and all those photos will automatically get the same info.
8. Take your pick
If you mouse over an Event you're able to scroll through all the photos within it. Hit [space] and the image you're currently viewing becomes the one used to display the Event. You can also perform the same action in Faces, so you're not stuck with the first photo you labelled.
9. Copying location
If you find a photo you wish you'd included in a batch, don't despair – you don't have to type anything.
Just select an image which already contains the location you want and copy it. Next, Ctrl-click on the new photo and select Paste Location from the Contextual menu. Job done.
10. Date and time
What if you hadn't set your camera's time right, or you scanned a few old photos and need them to be placed in the order that you took them?
Well, you can easily alter that information: select a shot and go to Photos > Adjust Date and Time. Be aware though that if you select multiple photos, you won't be changing them all to the same date.
If you add five months to the first one, it'll also add five months to the others, time-shifting them all.
