4 simple ways to install NordVPN on Apple TV
Unblock worldwide content to boost your Apple TV experience

Sign up for breaking news, reviews, opinion, top tech deals, and more.
You are now subscribed
Your newsletter sign-up was successful
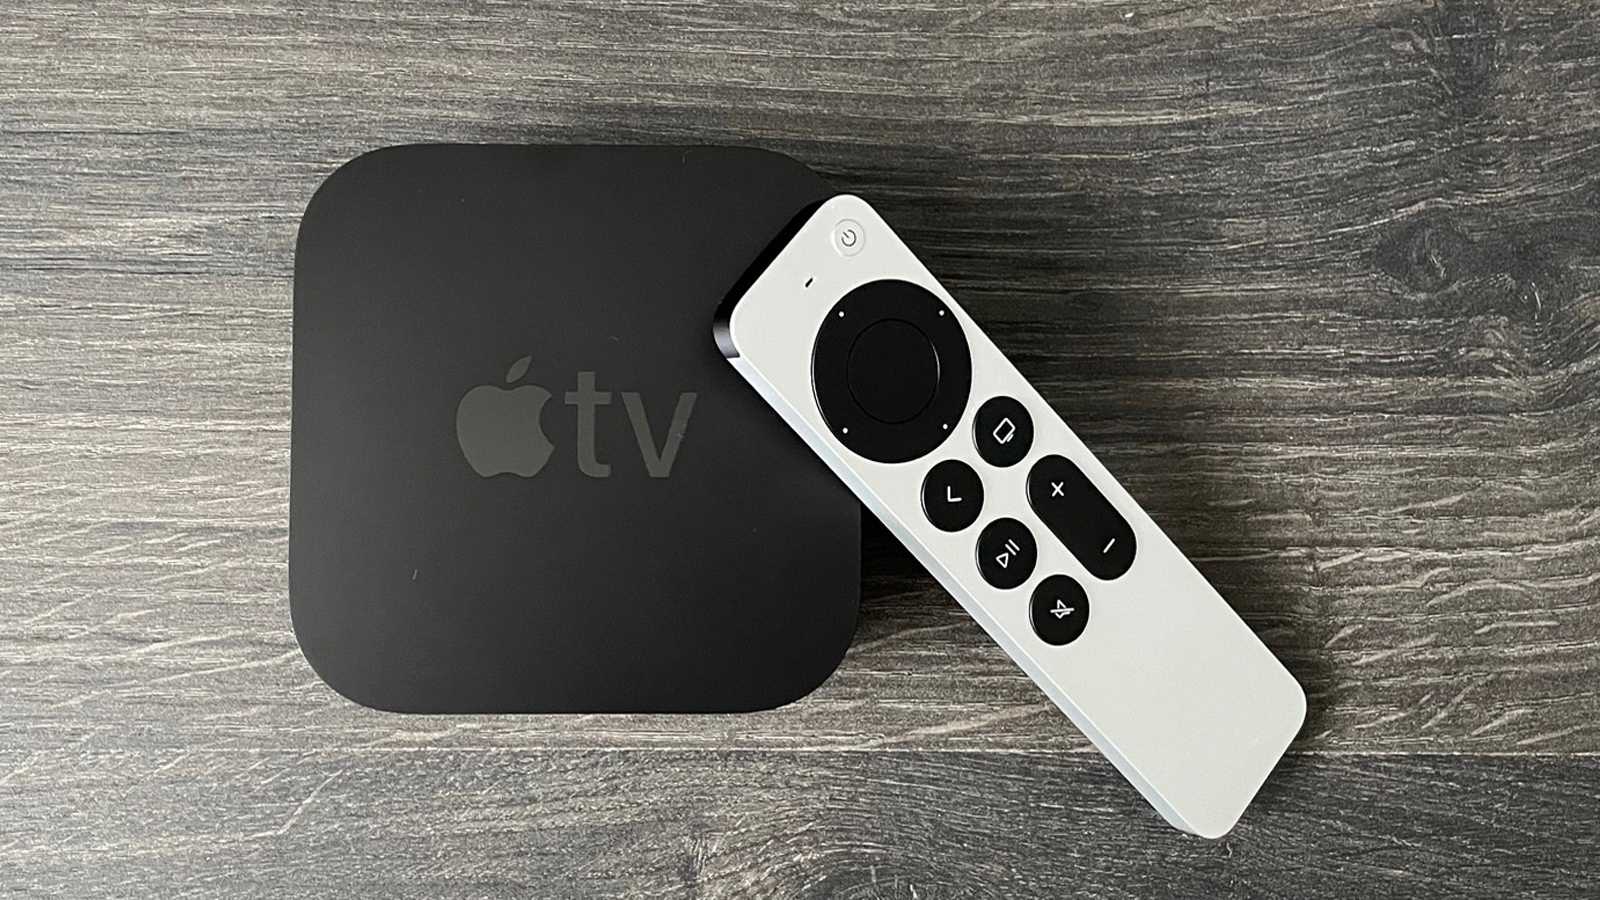
Since its launch in 2007, Apple TV has become the go-to for millions of streamers around the world. But this handy streaming device has its limits. This is where the best Apple TV VPN services come in.
Let's say that you want to bring your Apple TV abroad when traveling. You'll find that you cannot access all your favorite TV series and movies as you do at home. This is because streaming platforms impose geo-restrictions on their content. With a VPN, you can spoof your real location, connect to a server in the country you wish appear from, and unlock foreign catalogs at ease.
Among the best VPNs for this job is NordVPN. Secure, speedy and famous for its great unblocking powers, it is a no brainer in boosting your streaming experience.
The only issue is that Apple TVs do not directly support VPN apps. No need to worry, though. Below are four easy ways to help you install NordVPN on your Apple TV in no time.
NordVPN - superb mix of streaming and security
NordVPN holds a fantastic reputation - and for good reason. It's prolific in the streaming services it can unlock and has extra security perks, too. Plus, you can try it out for 30 days risk-free.
Option 1. Use NordVPN Smart DNS
Why you can trust TechRadar
The NordVPN SmartDNS feature is perhaps the easiest way to set up this streaming VPN on your Apple TV device.
It is worth noting that it doesn't encrypt your traffic, though. This means that while you can spoof your location and bypass geo-restrictions, your data won't be secured in its VPN tunnel.
Here's a step-to-step guide to help you install NordVPN SmartDNS on your Apple TV:
1. If you haven't done so yet, sign up for a NordVPN account.
2. Whitelist your IP address on your profile. First you need to make sure the device from where you are accessing NordVPN and your Apple TV are connected to the same network. At this point, open your Nord account. Head on Services and press the Activate button next to the SmartDNS option.
3. One your Apple TV, click on Settings and then Network. Note: If you are using one of the older generations, you need to head to General and then press Network.
4. Click on Wi-Fi at the top and select your network.
5. Click Configure DNS and then Manual.
6. In the box enter the details for the SmartDNS server address provided by NordVPN. For Primary DNS enter 103.86.99.103 and for Secondary DNS (if available) type 103.86.96.103.
7. Restart your device and start streaming worldwide!
Option 2. Install NordVPN on your router
Installing a router VPN is a bit more of challenging setup than the SmartDNS method. But there are plenty of good reasons it's worth doing.
The most obvious one is your streaming data will be protected by encrypted VPN connections, securing your online privacy. What's more, all the devices connecting on your router Wi-Fi can connect to the VPN.
This means that you can easily expand your device coverage. In fact, while a NordVPN subscription covers six devices at the same time, installing the VPN on your router only counts as one connected device.

If you are opting for this method, the first thing that you need to make sure of is that your router actually supports VPN apps. NordVPN no longer supports L2TP/IPsec and PPTP connections, so make sure your hardware works with OpenVPN protocols.
There are also some VPN routers on the market - this means that a VPN is already built-in, so no need to manually install one for yourself.
As a rule of thumb, you have to first log into your router. You can do this by typing your router's IP address and admin on your browser. At this point, configure the settings to use the VPN. The process will differ depending on the model of your router, so we recommend checking on the NordVPN tutorial page for specific details.
Once NordVPN is all set up on your router, head to the settings of your Apple TV. Then click Network and select Configure Wireless for choosing your connection.
Option 3. Use your computer as a virtual router
It might be that your router doesn't support NordVPN, or you don't wish to carry out the complicated configuration process. The good news is that you can use your computer or tablet as a virtual router. Much like through a physical router, a virtual router gives you the full protection of secure VPN like Nord.
All you need is an active NordVPN subscription, a stable Wi-Fi connection and a device that is able to share its network. The only downside is that your computer needs to run at all times while you are watching your favorite shows on Apple TV.
Depending on if you are a macOS or Windows user, the process of creating a virtual router will be different. But, in both cases, you need to disconnect the VPN on your computer and select Protocol in the preferences menu.
Again, once your virtual router is up and running, Go to your Apple TV settings and click on Network. Then select Configure Wireless and link the device on your computer's connection to start streaming worldwide.

Option 4. Use AirPlay to stream on Apple TV
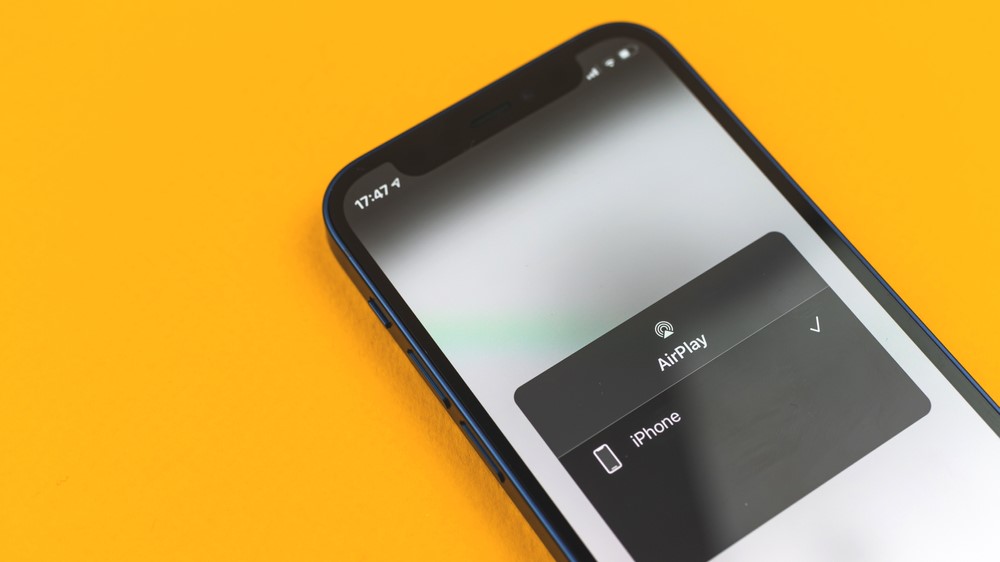
If you are all-in Apple, there is an even easier way to use NordPN on your Apple TV. AirPlay is an amazing feature that allows you to cast and mirror content from one Apple device to another. Simply unlock the content with your iPhone VPN or Mac VPN.
All you need is to download the NordVPN app on your smartphone, tablet or computer, have an active subscription and a stable Wi-Fi connection. Head to your favorite streaming platform directly on your device and choose what you want to watch. Tap on the AirPlay icon and link it to your Apple TV. It couldn't be easier!
Sign up for breaking news, reviews, opinion, top tech deals, and more.

Chiara is a multimedia journalist committed to covering stories to help promote the rights and denounce the abuses of the digital side of life – wherever cybersecurity, markets, and politics tangle up. She believes an open, uncensored, and private internet is a basic human need and wants to use her knowledge of VPNs to help readers take back control. She writes news, interviews, and analysis on data privacy, online censorship, digital rights, tech policies, and security software, with a special focus on VPNs, for TechRadar and TechRadar Pro. Got a story, tip-off, or something tech-interesting to say? Reach out to chiara.castro@futurenet.com
