If you're using a Windows-based PC or laptop, then you'll want to know how to reinstall the Realtek HD Audio Codec driver if for some reason things go awry. The most commonly used sound driver for managing the sound settings in Windows, the Realtek HD Audio Codec driver is probably what's behind almost every sound your computer makes.
f you’re using Windows 10, then you're using Realtek audio. Loaded with features, it delivers high quality sound to your system using an audio card, so unless you're using a separate sound card or running sound through HDMI with the best graphics cards, the Realtek HD Audio Codec driver is the one making sure that everything runs smoothly from a sound point of view.
Article continues belowBelow, we guide you through the process of how to reinstall the Realtek HD Audio Codec driver yourself. Able to be performed quickly and easily in a matter of minutes, you'll be back to enjoying high quality sound again in no time. After more tips and tricks? Then be sure to check out our guide to 100 common Windows 10 problems and how to solve them.

1. Uninstall your current audio drivers
This might seem counterintuitive, but before you go looking to reinstall the Realtek HD Audio Codec driver, you’re going to have to uninstall all traces of your existing audio drivers. To do this, go to the Device Manager by either right clicking the start button or typing “device manager” into the start menu.
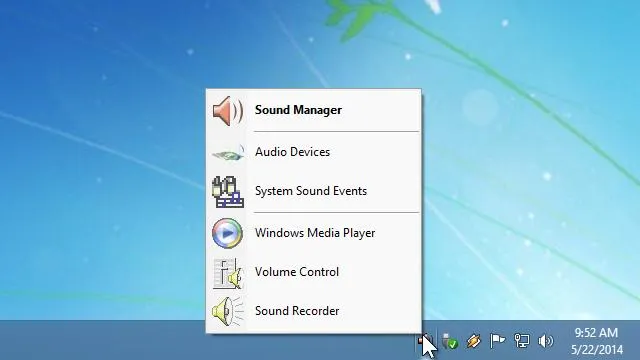
Once you’re there, scroll down to “Sound, video and game controllers” and find “Realtek High Definition Audio”. Once you do, go ahead and right click it and select “Uninstall device”. It will come up with a dialog. Make sure you have the box “Delete the driver software for this device” selected and click OK.
Then, just follow the directions on screen until the device is uninstalled. Once that’s done, at the top of the device manager window, click “view” and scroll down to “show hidden devices” and click it. This is just to ensure you don’t have any duplicate drivers. Uninstall any duplicates, restart your computer before moving to the next step.

2. Download the Realtek HD Audio Codec driver
Next, you’ll need to download the actual driver. Go to Realtek’s website and find the downloads section. You’ll be presented with a prompt that makes sure you understand that some motherboards might not use these drivers. It’s more than likely that these drivers will work for you, so just go ahead and click “accept” and move on to the actual downloads page.
You’ll then be presented with a long list that for some reason only takes up a quarter of your browser window. We know, it looks weird. Just find your operating system and click the “Global” link that corresponds to it.

3. Install the driver
Once you’ve downloaded the software, go ahead and find it in your downloads folder and run it. After you grant access for the program to run, it’ll bring up a big blue window. Just let the installer do its thing. Click next on each of the screens and then go make a sandwich while it installs – it’ll take a minute.
When the installer is done, well, installing, it’ll ask you to restart – make sure you do, otherwise the driver can’t finish its installation.

4. Verify and finish
After you restart your computer, the driver should be installed. However, we here at TechRadar like to make sure software takes before we trust it.
First, go back to Device Manager, and make sure that “Realtek High Definition Audio” shows up under “Sound, video and game controllers”. If it’s there, great! If not, the installation didn’t work for some reason. Go ahead and find the driver in your downloads folder and run it again.
Once you’ve verified that the driver is actually there, go ahead and fire up a YouTube video or play your favorite song on Spotify to ensure that the driver is functioning properly. If it’s still not working, check out our guide on how to fix audio issues in Windows 10 to help you troubleshoot what’s going on.
Now that you’ve verified everything is running smoothly, go ahead and pat yourself on the back – you’ve successfully learned how to reinstall the Realtek HD Audio Codec driver. You can listen to your favorite music and get immersed in the best PC games all over again.
