How to replace your hard drive without losing data
Upgrade your laptop's storage in a few simple steps

By their very nature, laptops are generally not upgradeable.
There are some exceptions, however. One area you can readily upgrade is the hard drive, and it's a relatively simple process.
There are a couple of reasons that you may want to replace your hard drive. You may require more storage space, or the drive may have developed a fault, or stopped working altogether. But as long as the drive hasn't stopped working, then you should be able to transfer all of your data, and you may not even have to reinstall Windows either.
SATA versus IDE
Newer laptops use SATA hard drives, whereas older ones use IDE hard drives. You need to know which type your laptop has, before you buy a new one. If you go into the BIOS setup when you turn your laptop on, by pressing the key indicated on screen, usually [F2] or [DEL], and enter the drive configuration section, you should see an indication of whether your laptop has SATA ports.
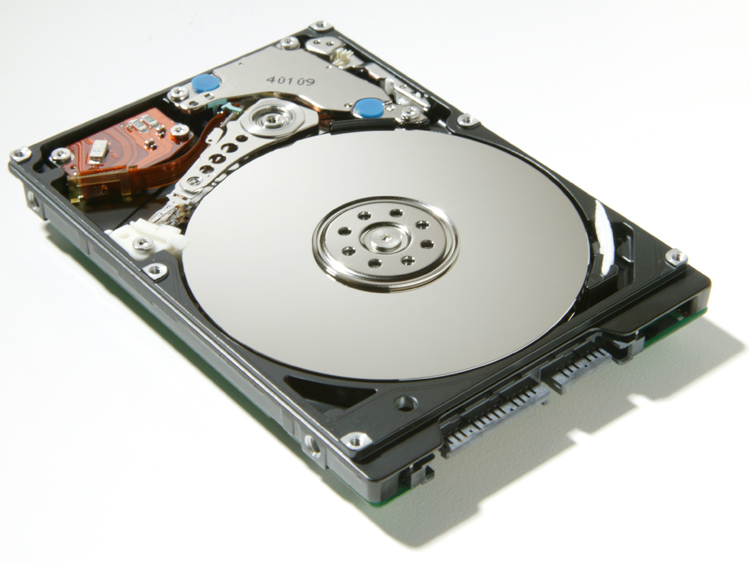
Failing that, you will need to physically remove the hard drive and look at the connectors. SATA drives have two flat connectors with a lug at one end, IDE drives have a number of pins. SATA drives should also have the SATA logo somewhere on the drive's label, which will aid identification.
Once you have established the drive type, you will need to buy a replacement drive. Standard laptop hard drives are all the same size – 2.5 inches – but they come in a variety of capacities. Currently, 500GB is the largest size available. Choose one that suits your needs and your budget.
Sign up for breaking news, reviews, opinion, top tech deals, and more.
It's not only capacity that will affect the price of a drive, as the relative speed of the technology can play a part. Basic drives spin at 4200rpm (revolutions per minute), while most drives run at 5400rpm and even 7200rpm. For everyday use, we'd suggest opting for a 5400rpm drive, as this is the most common speed at present.
If you're thinking of upgrading and copying your data across then you will also need an external drive caddy, which you can connect to your laptop by USB. These can cost as little as five pounds on sites like eBay and enable you to connect up your new drive for transferring your data.
If your drive is not damaged and Windows is working, then you simply need to put the new drive in the caddy, connect it to your laptop and clone the existing drive across on to the new one. A recommended commercial program for this is Acronis TrueImage, but there is a free program that works just as well, called DriveImage XML.
Swapping drives
Once the drive has been cloned, simply remove the laptop's existing drive and replace it with the new one.
To remove the hard drive, ensure the laptop is powered off, and not in Sleep or Hibernation mode, and unplug the power lead. Each laptop is slightly different, but the hard drive will be located in a section that slides out of the chassis, or you may need to remove a cover plate and then lift the drive out. Either way, the drive should be labelled or have an icon on it, so you know which screws to remove.
Bear in mind that if your laptop is still under warranty, then this will invalidate the warranty, so if the drive has failed, send it back to the manufacturer instead. You will probably need a set of jeweller's screwdrivers to remove the screws.
The drive may be held in a mounting to give it some extra shock protection, but will usually just lift out and disconnect from the connectors in the laptop's chassis. Once this is out, remove the drive from the caddy, replace with the new drive and refit to the laptop chassis, taking care not to bend any connecting pins. Once the drive is secure, you can turn your laptop back on.