You asked for it and now you've got it: A beginner's guide to tricking out your rig. Follow our directions and we'll guide you through your first steps into adding a mod of two, we promise it won't hurt a bit.
First, we'll teach you how to strip your PC chassis and give it a semi-professional internal paintjob, and one that won't break the piggy bank.
Article continues below 
Disassembly of the chassis or PC case is a fairly straightforward process. Personally, I like to take several photographs to enable swift reassembly. Most cases are riveted together using aluminium rivets. These tend to be soft and very easy to remove using a cordless drill and a 3mm drill bit.
2. Rubba-dub-dub, time for a wash and scrub down

We're now looking at a pile of pressed steel panels and it's time to rub them down using a warm water mix with a dash of washing up liquid. This will help de-grease the steel panels while rubbing or flattening them down using 400 grit Wet n Dry sand paper. I've lightly rubbed down both sides of each panel and washed them off.
3. Shake-shake-shake Señora, shake your primer time

After you have made sure that the chassis panels are 100 per cent dry and make sure you inspect these for any dirt you may have missed. Shake the primer well for at least three to five minutes. Lay each panel down and from approximately six to eight inches away apply a 'dust' or very light coat of primer.
4. Jump in de line, coat your primer in time

Gently build up the coats of primer allowing 10 to 20 minutes before applying the next coat. This is the secret of getting a good result when spray painting: lots of light coats built up over a period of time. Hitting the panel hard with the spray paint from the first coat will cause a reaction, run or worse.
5. Prep-prep-prep da primer and sand it down

Once the primer coat has been completed and given at least 24 hours of drying time, you'll need to flattening off the primer coat to reduce any imperfections. This is a must in my book as preparation is key to obtaining a good or well finished panel. I've used 800 grit Wet 'n' Dry sand paper for this stage.
6. Left and right is da tempo (and up and down)

Again, make sure the panels are 100 per cent dry. Shake the spray tin well for three to five minutes we can apply the first layer of the chosen top coat. Using an up-down, side-to-side movement with the spray can lightly cover each panel inside and out waiting that all important 10 to 20 minutes before further coats.
7. Topping the top coat with more top coat

Now check the top coat is satisfactory after 24 hours of drying. For example, look for anything that may have fallen onto the panel, such as bugs and flies or dust in the air. At this point you still have the option to flatten the panel back again for a further top coat or carry on if everything looks fine 'n' dandy.
8. Don't be a slacker, apply some of dat lacquer

Some may regard lacquering as unnecessary but unless I've chosen a matt or satin finish paint, I always lacquer. Apply the lacquer in a few fine dust coats, leaving it five to 10 minutes before continuing. (N.B Lacquering doesn't actually turn your panel black, but black does show off the effect better than white).
9. Lacquer needs more lacquer – okay, I believe you!

I like the deep shiny finish to gloss paint. It's like looking through a piece of glass before seeing the paint underneath, so with this in mind the option to apply a thicker coat of lacquer presents itself. Another couple of fine dust coats then and I've applied quite a heavy coat, which gives the panel an almost wet look.
10. Wait-wait-wait Señora wait until it's dry

Give the lacquer a good 24 to 48 hours drying time before touching it, a good way of testing whether the paint has gone off properly is to press your finger nail into an unseen area. If an indentation is present, leave it alone and dry for longer, if all is okay then polishing the panel is next on the agenda.
11. I tell you my friends adore her with her deep shine

Please note: polishing is only worth considering if you have 'dry' areas of 'runs' in the paintwork. If I were painting the side panel this process would be carried out to obtain the deep shiny look. Thankfully my spray painting skills have paid off on the chassis panels and only minor polishing is required.
12. Rivet-rivet-rivet! Build your rig all da time

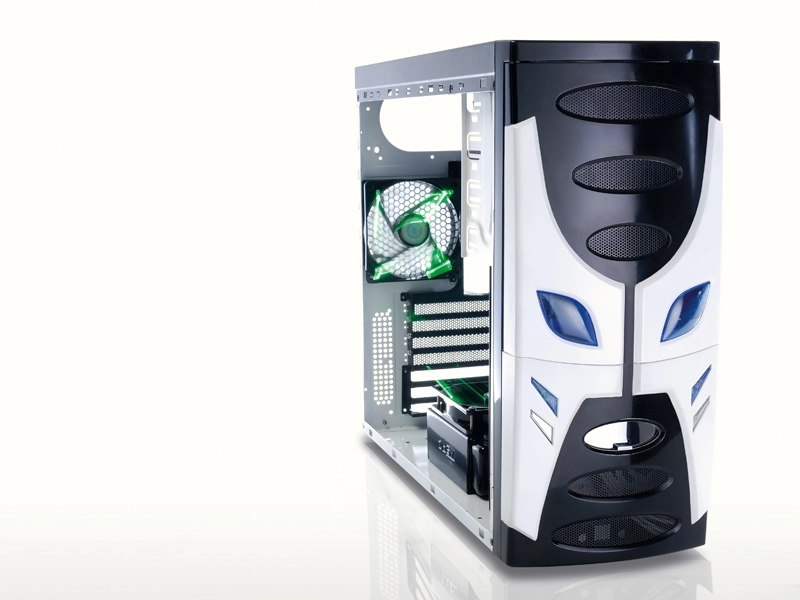
The reassembly of the chassis or PC case is a little harder as you don't want to scratch the panels in any way possible. The case has been re-riveted using black coloured rivets to match of tie in with the paint colour scheme. Once the chassis is back on its feet, our entry level case looks a whole lot better than when it arrived.