
 Become a TechRadar Insider


Whether you're new to the world of smart home tech or you just aren't confident in the set-up stage, getting a new gadget to try can be a little overwhelming at first. Add to that the vague instructions in the box, and you may end up putting off installing your device for weeks. Our guide to how to install a Ring doorbell will hopefully help you get over the hump.
The best video doorbells may look similar but vary from brand to brand. Even within the Ring range, the specifics of installing each model can be slightly different depending on whether it is battery-powered or wireless or the surface on which you want to mount it. While we've tried to cover as much as possible in this guide, you can also take a look at our article on how video doorbells work for more information.
Keep reading for a step-by-step guide on how to get your new smart doorbell up and running, whether you're a renter looking to do as little damage as possible or a homeowner who wants a more permanent solution.
1. Get prepared
Unpack your doorbell and get familiar with its contents, which will likely include the main device, a charging cable, screws and other fittings, and a small screwdriver. The specifics will depend on which model you have, but all of them will be similar.
We recommend laying everything out before you start and choosing a vague place outside for your doorbell to go, so you're not scrambling later.
2. Power your doorbell
If your Ring doorbell is a battery-powered model, you thankfully won't need to fiddle around with any wiring at this stage. Instead, you will have to wait around a little while so that the internal battery can charge. For the Ring Video Doorbell (2nd Gen), you can plug the charger into the port at the back, and for the Ring Doorbells 3 and 4, press the release for the battery pack and charge this.
A small light should be on top of the device that turns green once the battery has been fully charged.
How do you know if your doorbell is battery-powered?
All Ring doorbells have the option to be hardwired, but if you prefer a battery-powered model, you have the following options:
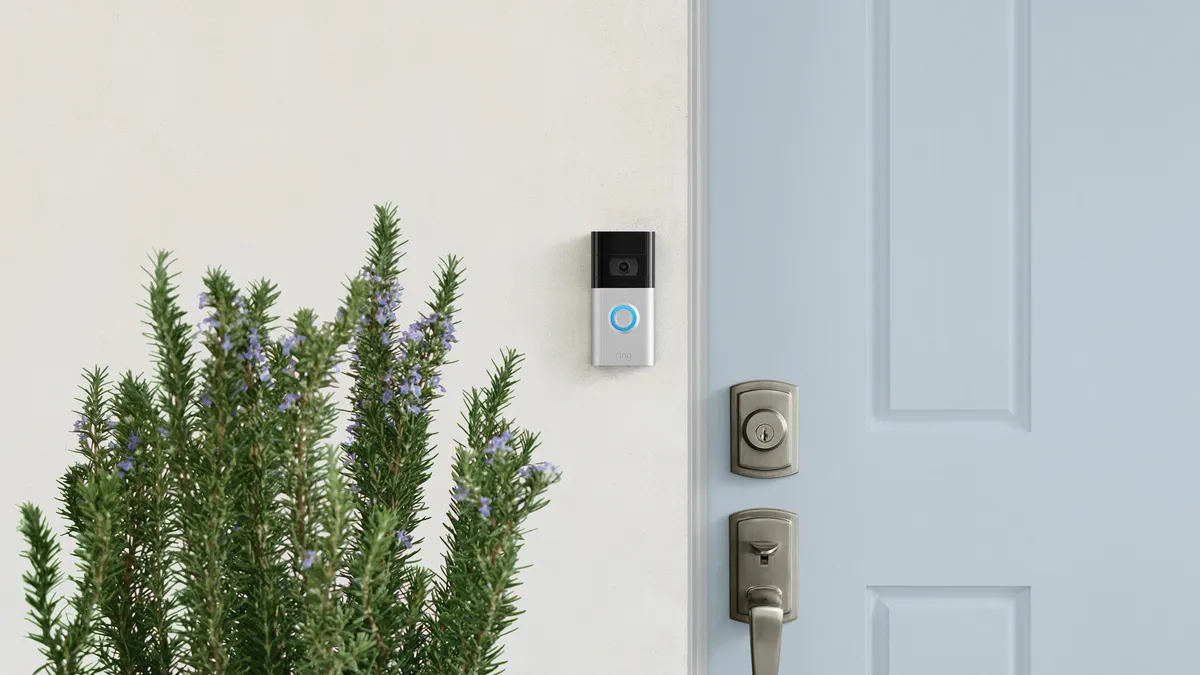
Ring Video Doorbell (2nd Gen)
Ring Video Doorbell 3
Ring Video Doorbell 4
These doorbells can be used wirelessly, with a built-in rechargeable battery. The 2nd Gen model will need to be removed entirely from the door for charging, while the 3rd and 4th Gen doorbells have a removable pack that can be released and reinserted when required.
If your Ring is hardwired
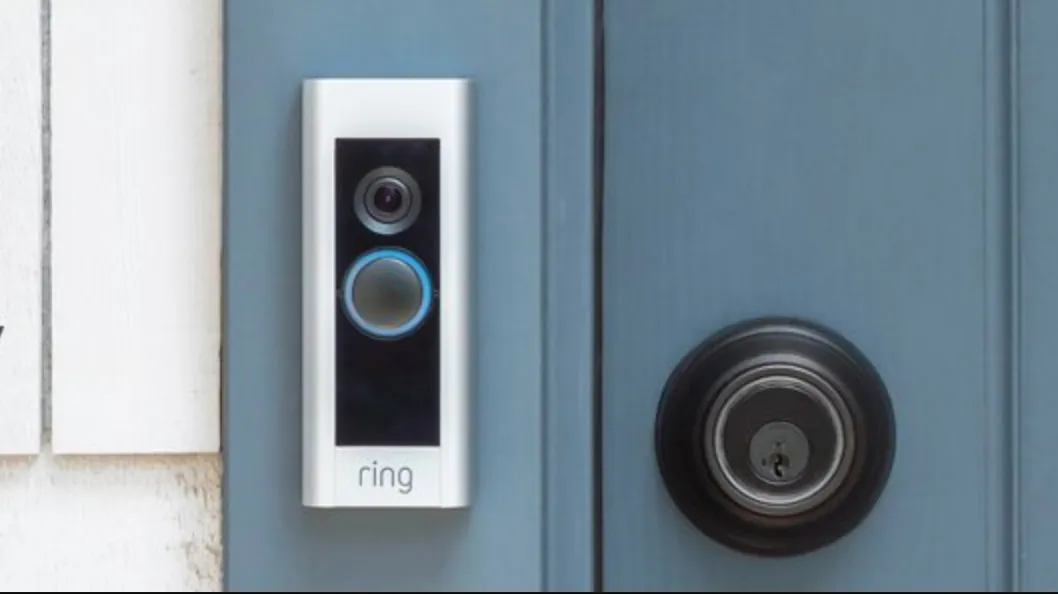
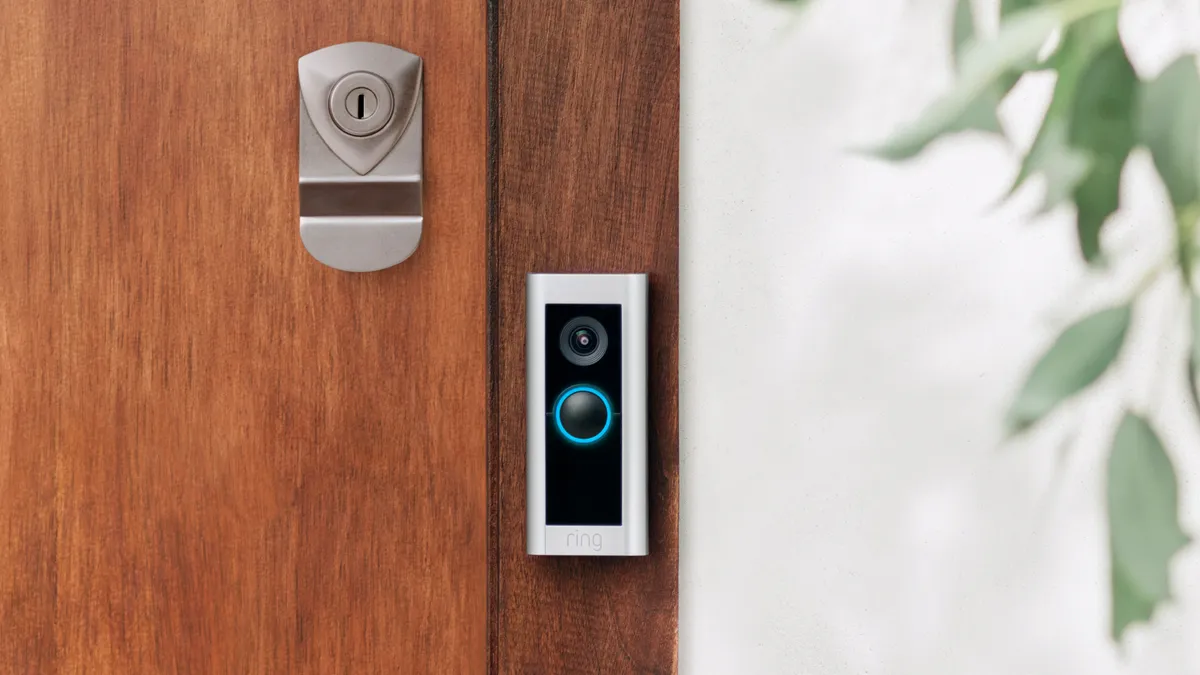
The Ring Video Doorbell Pro, Ring Video Doorbell Pro 2 and Ring Video Doorbell Wired must be hardwired.
If replacing an existing wired bell, you should turn off your doorbell's power for safety before going further. Then you can take your old doorbell off and carefully disconnect the wires. Note: you may need an additional transformer to replace an old doorbell, so check your chosen model's fine print.
What if you don't have existing doorbell wiring?
Ring allows you to 'hardwire' your doorbell from scratch with its plug-in adapter. This works with an ordinary indoor socket with a wire going out to the doorbell. Otherwise, you can call out for professional installation.
3. Download the Ring app
The Ring app is where all the action happens, and you should ensure you're set up before mounting your device. You will find the app in your phone's store.
Once downloaded, you will need to create an account. This account can host any Ring products, so you won't need to re-register if you add a security camera or chime from the brand later.
Speaking of the chime, Ring sells these separately, so if you don't want to rely on your phone to tell you when someone's at the door, you may consider the Ring Chime Pro. This can be easily added to your account and linked to your doorbell.
Once your account is ready, select the 'Set Up a Device' option, followed by 'Doorbells'. The app will then direct you to scan the QR code on the front of the device (sometimes underneath the faceplate if you're having trouble spotting it).
Scan the code with your smartphone camera, and you should be taken to the next stage. Enable location tracking (required for some features), so your account knows where you are and customize your device's name.
4. Connect your doorbell to your home WiFi
There is an orange button on the back of your doorbell. Push this and the light on the front should start spinning. Once it is, tap 'Continue' in the app. It will then ask to join your home WiFi network or, if you are an Android user, this step is automatic. Input your password.
And you should be ready to go!

5. Mount your doorbell
It is recommended that you put your new doorbell about 1.2m from the ground, but you should use your own judgment based on things such as the length of your driveway or whether your front door has steps leading up to it.
Put the mounting bracket in your chosen position and mark where the screws will go. There is also a level tool included to get things perfectly aligned. If you are mounting to brick, concrete or stucco, you can use the plastic anchors and drill bit included in the box, though you won't need the anchors for a wooden surface.
Then use the screws to secure the mount to the wall at the same points you marked initially. There's a tab on the mount that you can use to slot the Ring doorbell into place before using the smaller screw to make sure it doesn't budge.
These security screws may look slightly different depending on your model, but they essentially function to keep the faceplate in place.
If your Ring doorbell is hardwired
Before attaching the mount or device, ensure you have fed the existing doorbell wires through the holes in the bracket. After securing the mount to the wall, connect these wires to the screws on the back of the Ring doorbell. Then you can follow the steps above.
Read our guide to Ring Video Doorbell Pro vs Ring Video Doorbell Pro 2 if you're struggling to choose between wired models.
Don't want to (or can't) drill holes?
If you're a renter and don't want to drill holes into the outside of your home, there are other - completely reversible - ways to mount your Ring doorbell. The trick is to get high-quality mounting tape that won't wear out quickly and lead to a broken doorbell. We have successfully used this method, but there is no guarantee that you will have the same results. So to be safe, we recommend mounting it in the traditional way.
