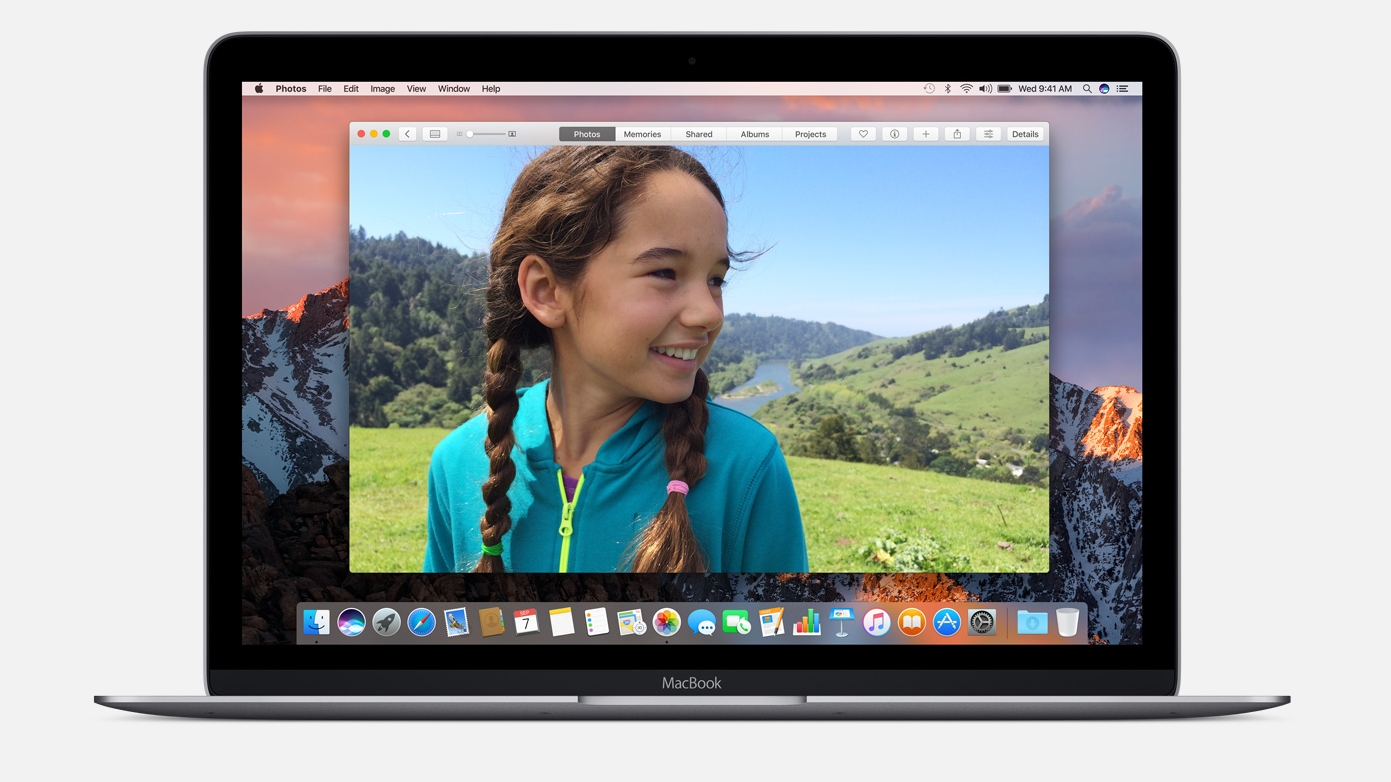
With the arrival of macOS Sierra, the Photos app has been overhauled, making it easier than ever to organise your photos, so you can quickly find the images that you're after.
This is thanks to the new technology Apple has included in the app that lets you Mac analyse the content of your photos, identify faces and make use of meta data such as geolocation information. In this guide we'll show you the best tips for using the new macOS Sierra Photos app.
This article is part of TechRadar's Mac Week. This year marks not only the 10th anniversary of Apple's MacBook, but the triumphant return of macOS. So, TechRadar looks to celebrate with a week's worth of original features delving back into the Mac's past, predicting the Mac's future and exploring the Mac as it is today.
1. Identify faces
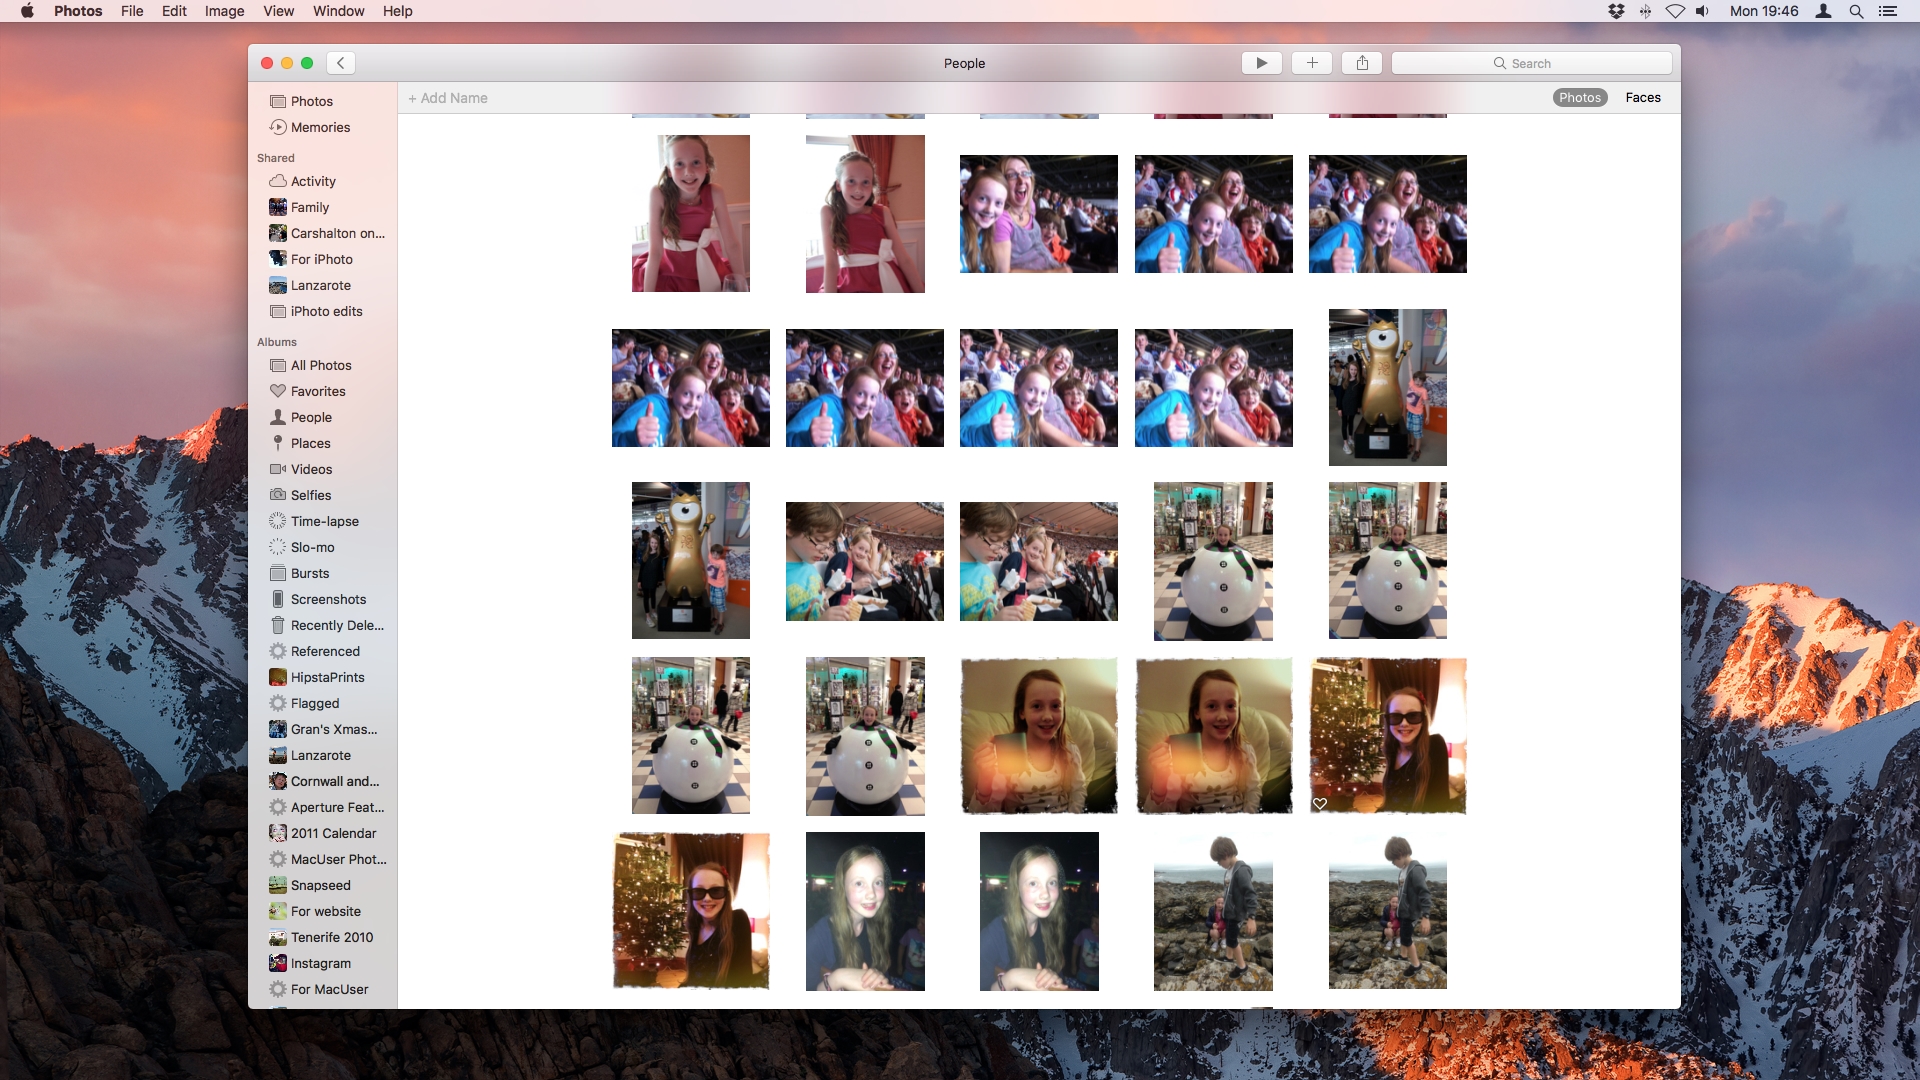
Photos changes the way Faces are identified and organised. To see them, click on People under Albums. You'll see an array of faces Photos has identified from your photos. Double-click on on of the faces in the grid and you'll see all the images Photos has linked to that face.
2. Add missing faces
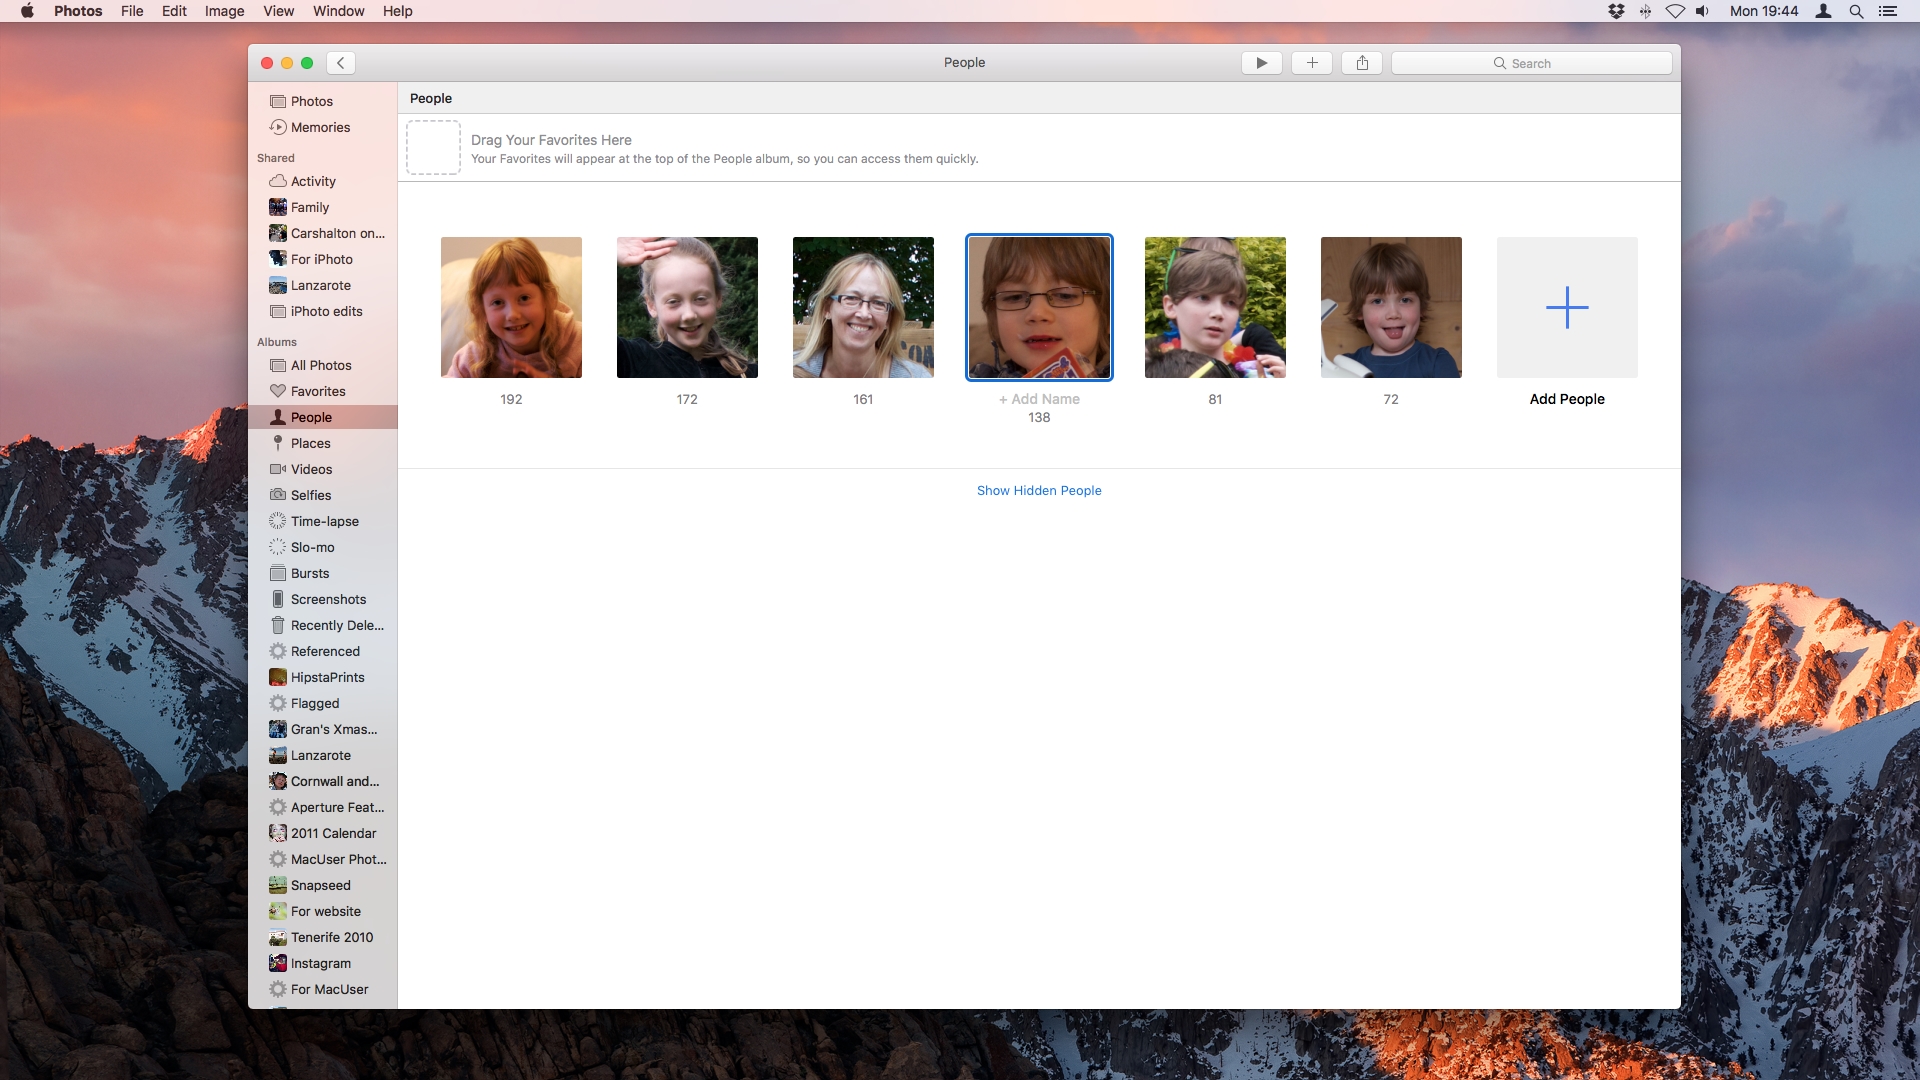
Like its predecessor, iPhoto, Photos is imperfect when it comes to adding faces to the People album. You can, however, add missing people to faces. Go to the People album and in the box next to the last face, click Add people. Choose a face to add.
3. Put names to faces
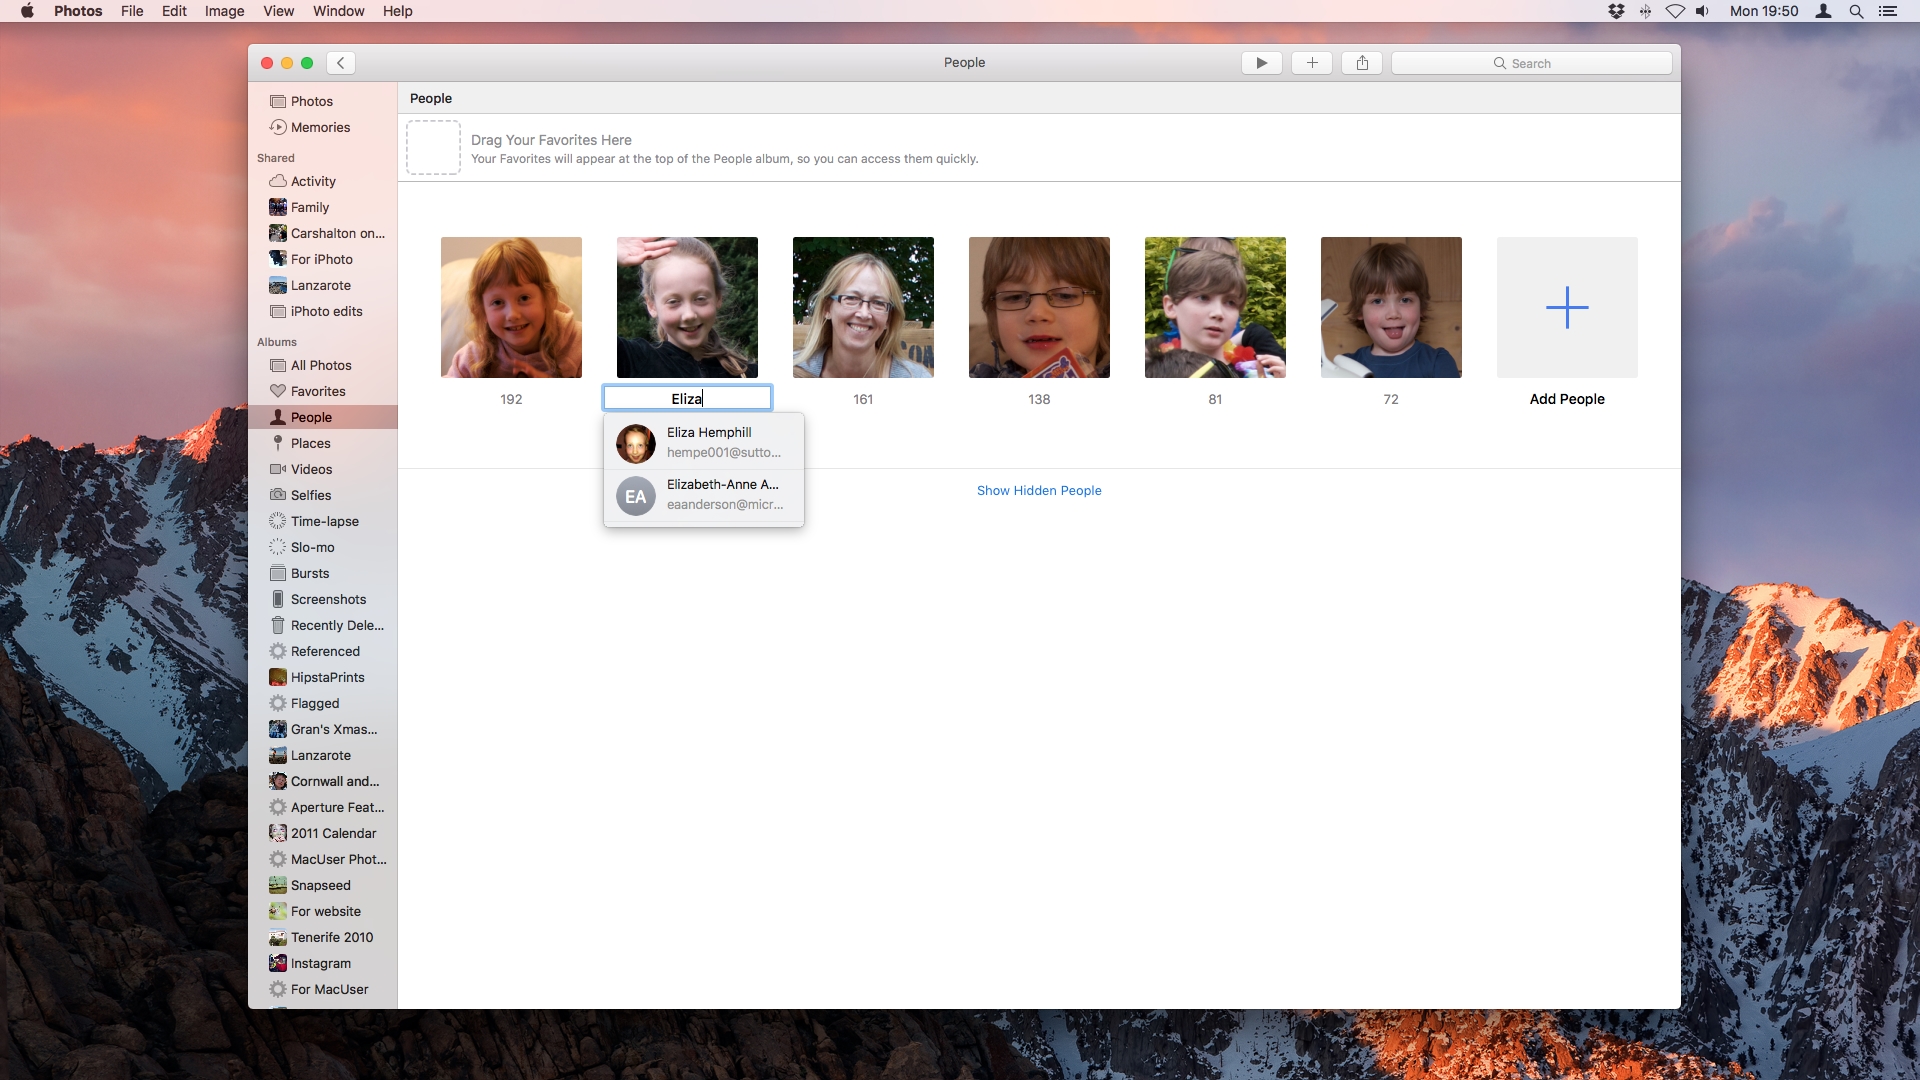
Hover on any unnamed face and click Add Name, then start typing the name of the person whose face you clicked. Photos will suggest auto-complete options, pulled from the Contacts app. If it finds the correct one, click it. If not keep typing the name.
4. Group faces
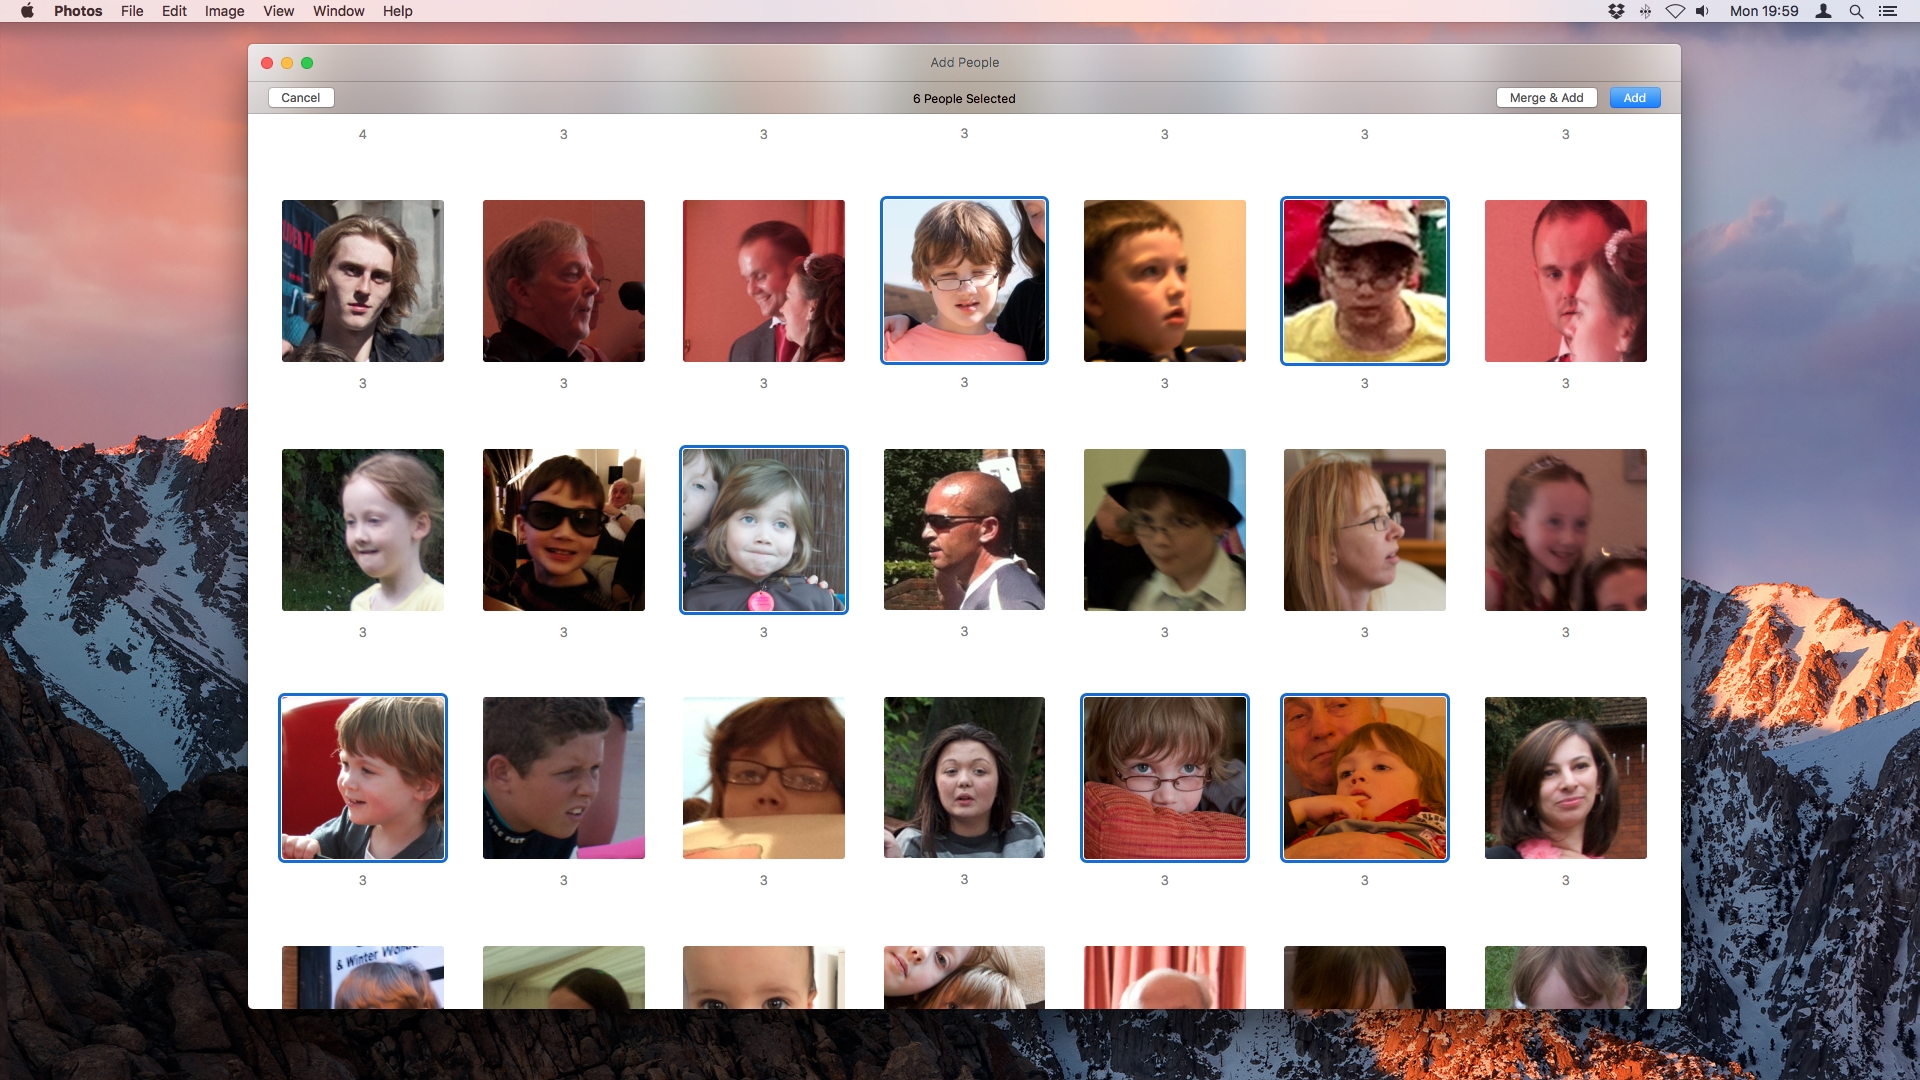
In the People view, click Add people again and this time Command-click any two or more groups of faces and then click Merge & Add – in effect you're telling Photos that the faces it has identified separately are the same person. Photos will merge the photos under one person.
Sign up for breaking news, reviews, opinion, top tech deals, and more.
5. Hide faces
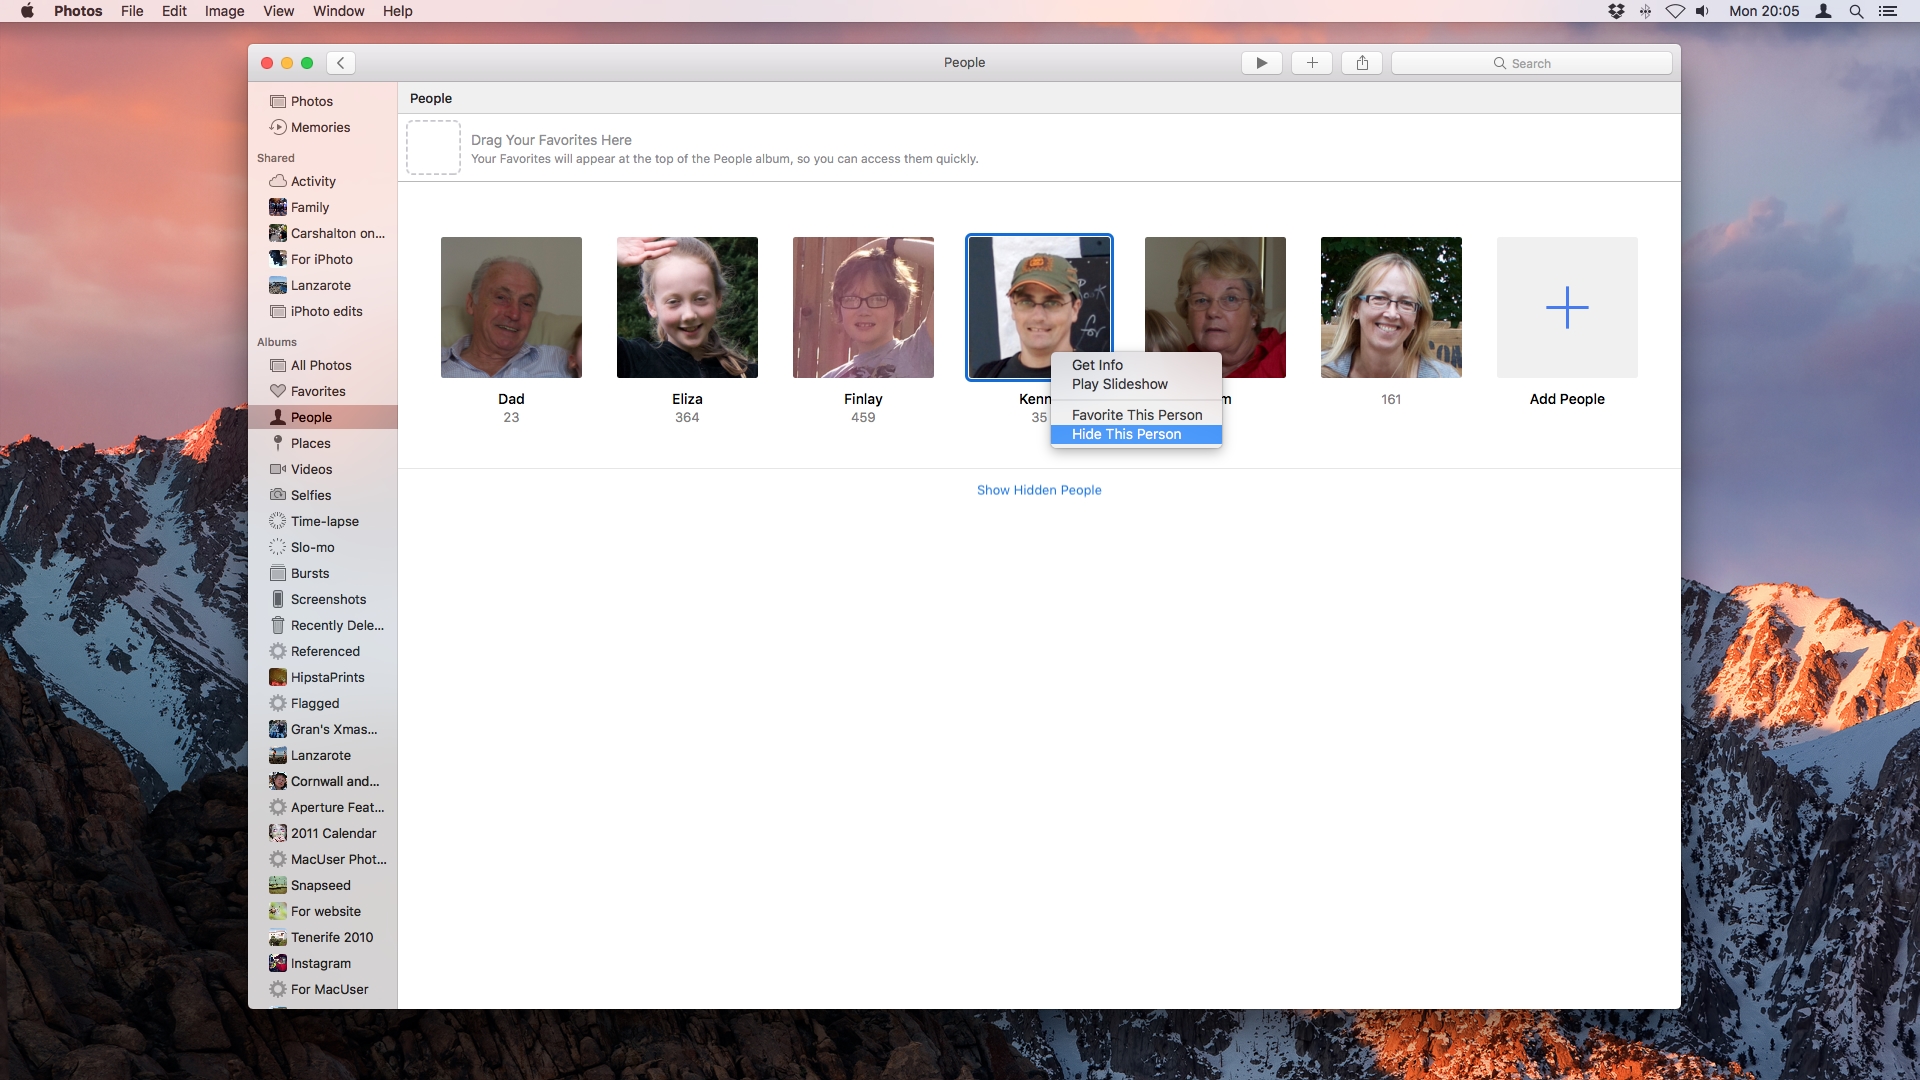
If there are too many faces in your People album, you can hide those you don't want to see. Command-click on the faces you want to hide to select them. Then right-click on one of the selected photos and choose Hide from the menu.
6. Add Favorites
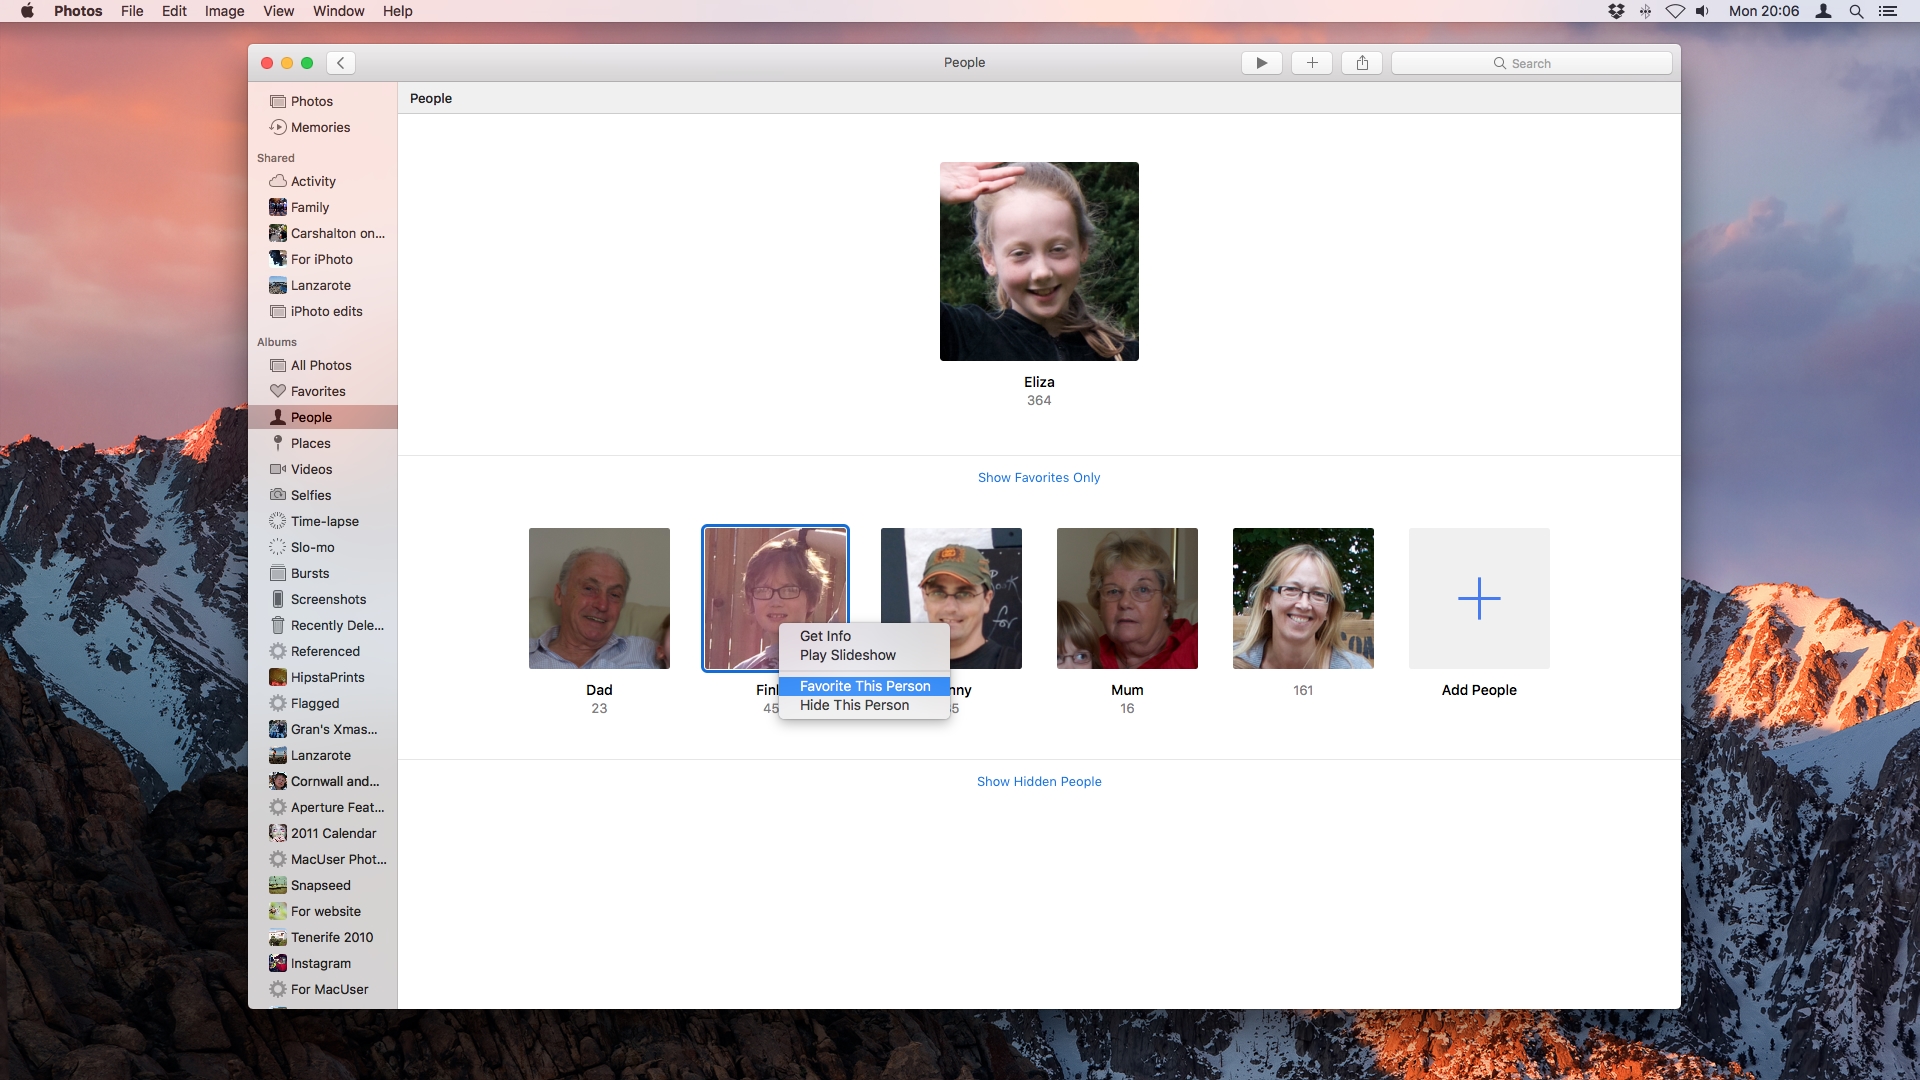
If you still have lots of faces in your People album, you'll want to choose favourites to make them easier to find. Command-click the faces you want to add as favourites to select them. Then drag them to the Favorites section at the top of the window.
7. Set a Key Face
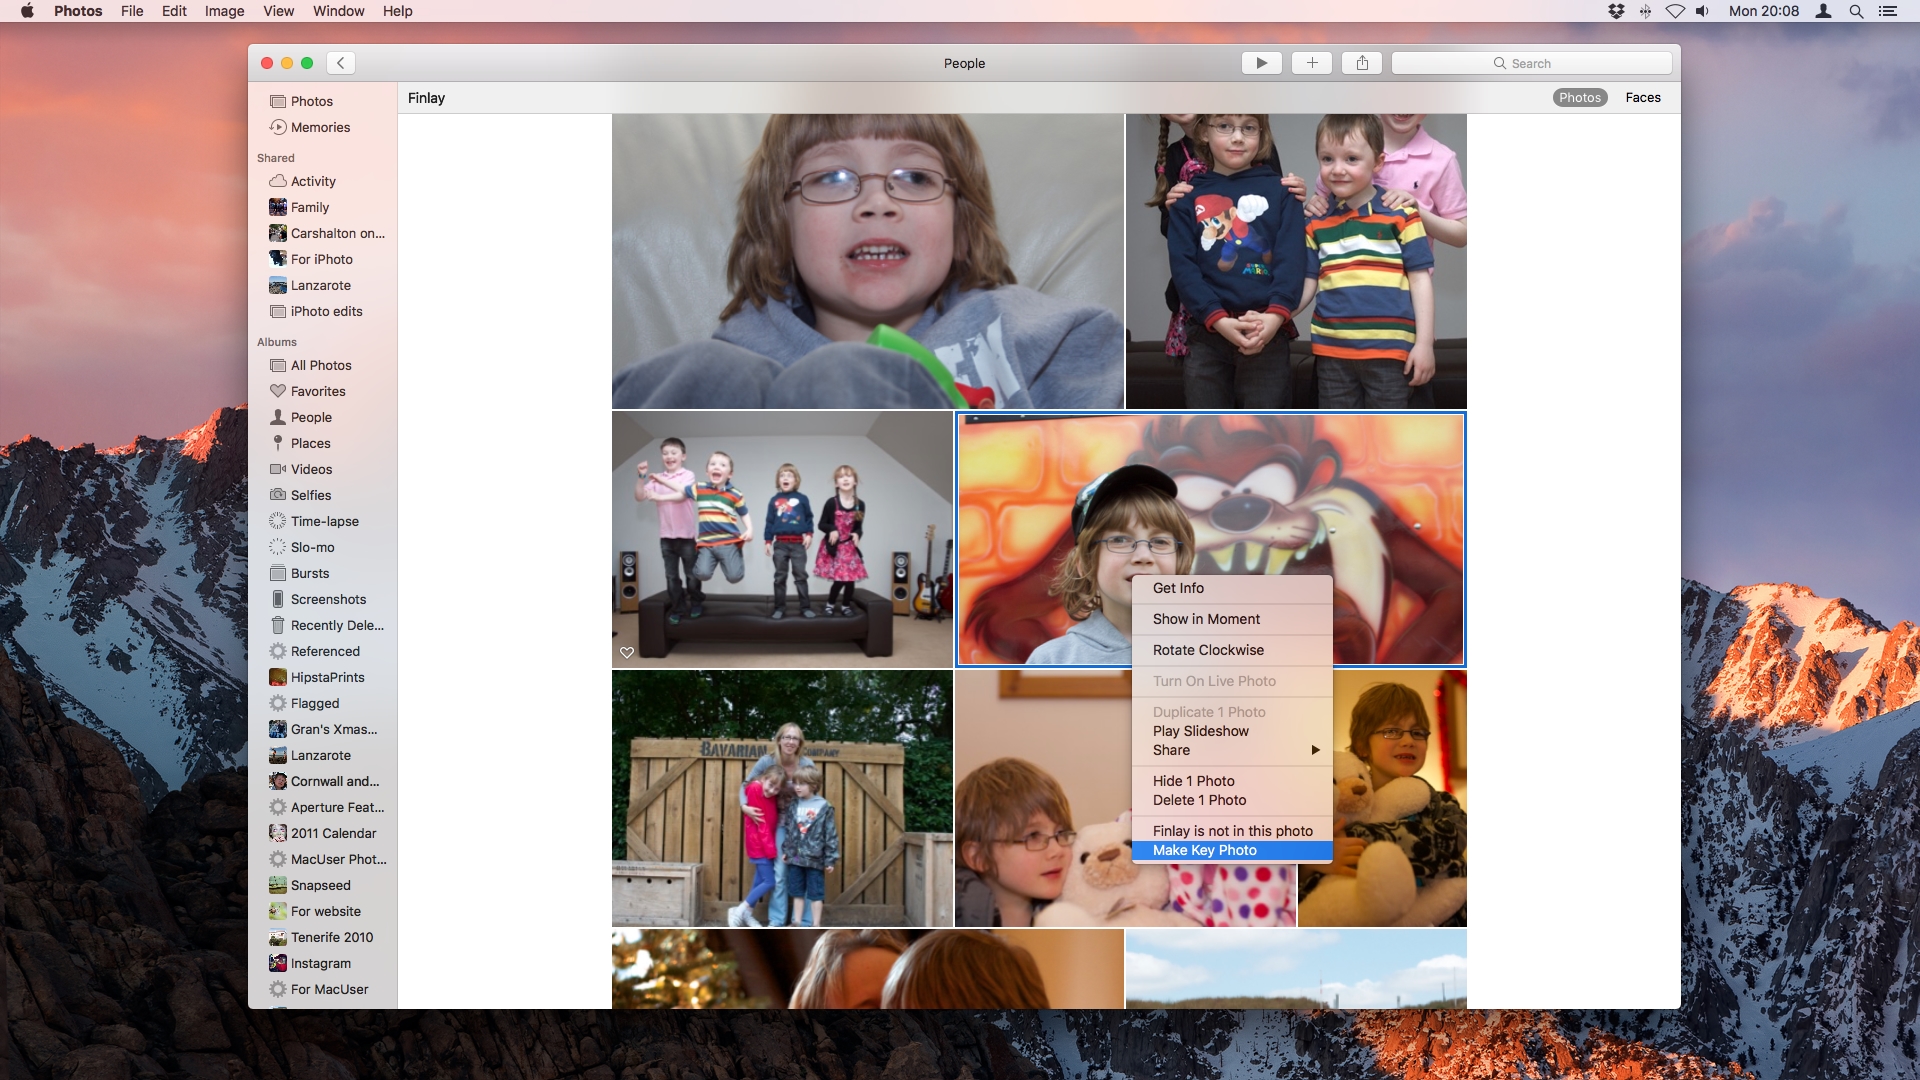
Photos automatically selects the 'Key Face' for each person, but you can change it. In the People album, double-click the person of whom you want to set a key face. Then right-click on the photo you want set as the Key Face and select Make Key Photo.
8. Fix any identity problems
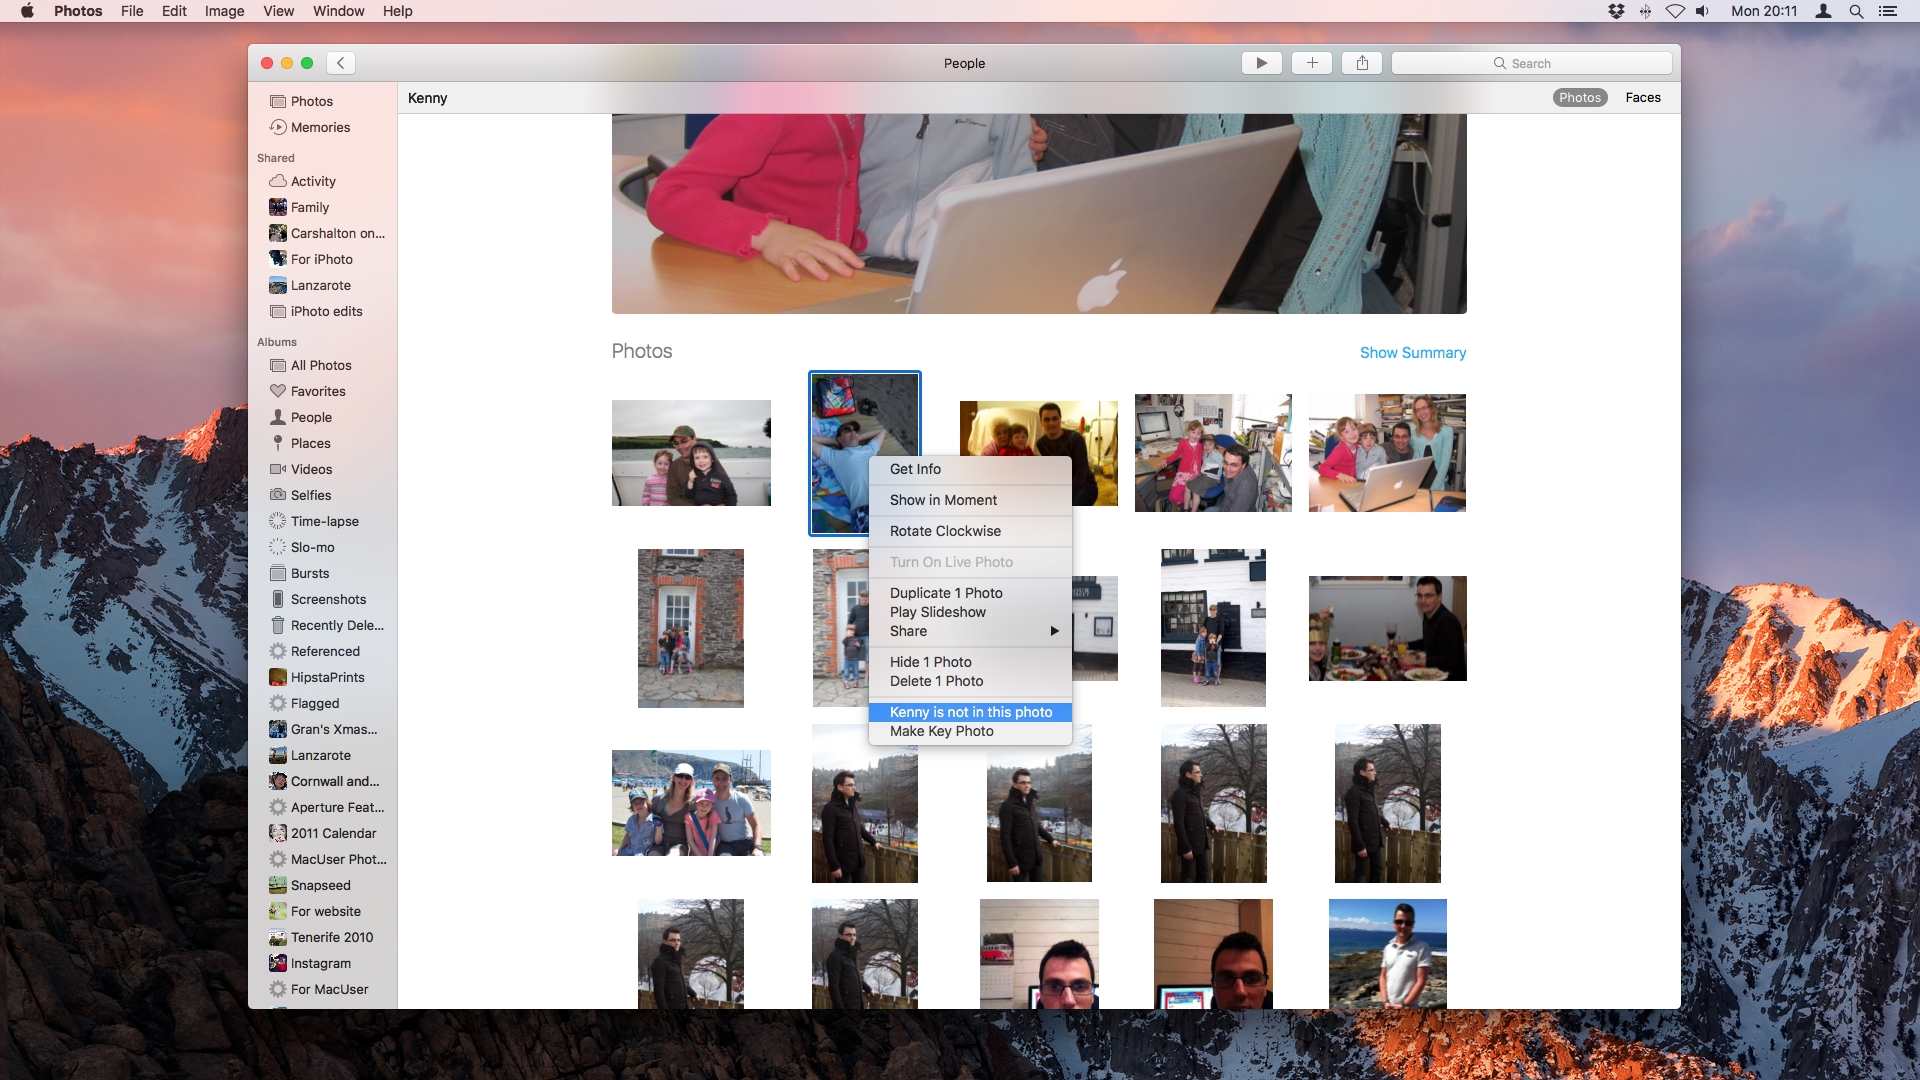
If Photos has wrongly identified a face in a photo, you can fix it. Double-click on the person in the People album and click Show all to see all the photos in the album. Command-click the photos you want to remove, right-click and choose 'is not in this photo.'
9. Sweet memories
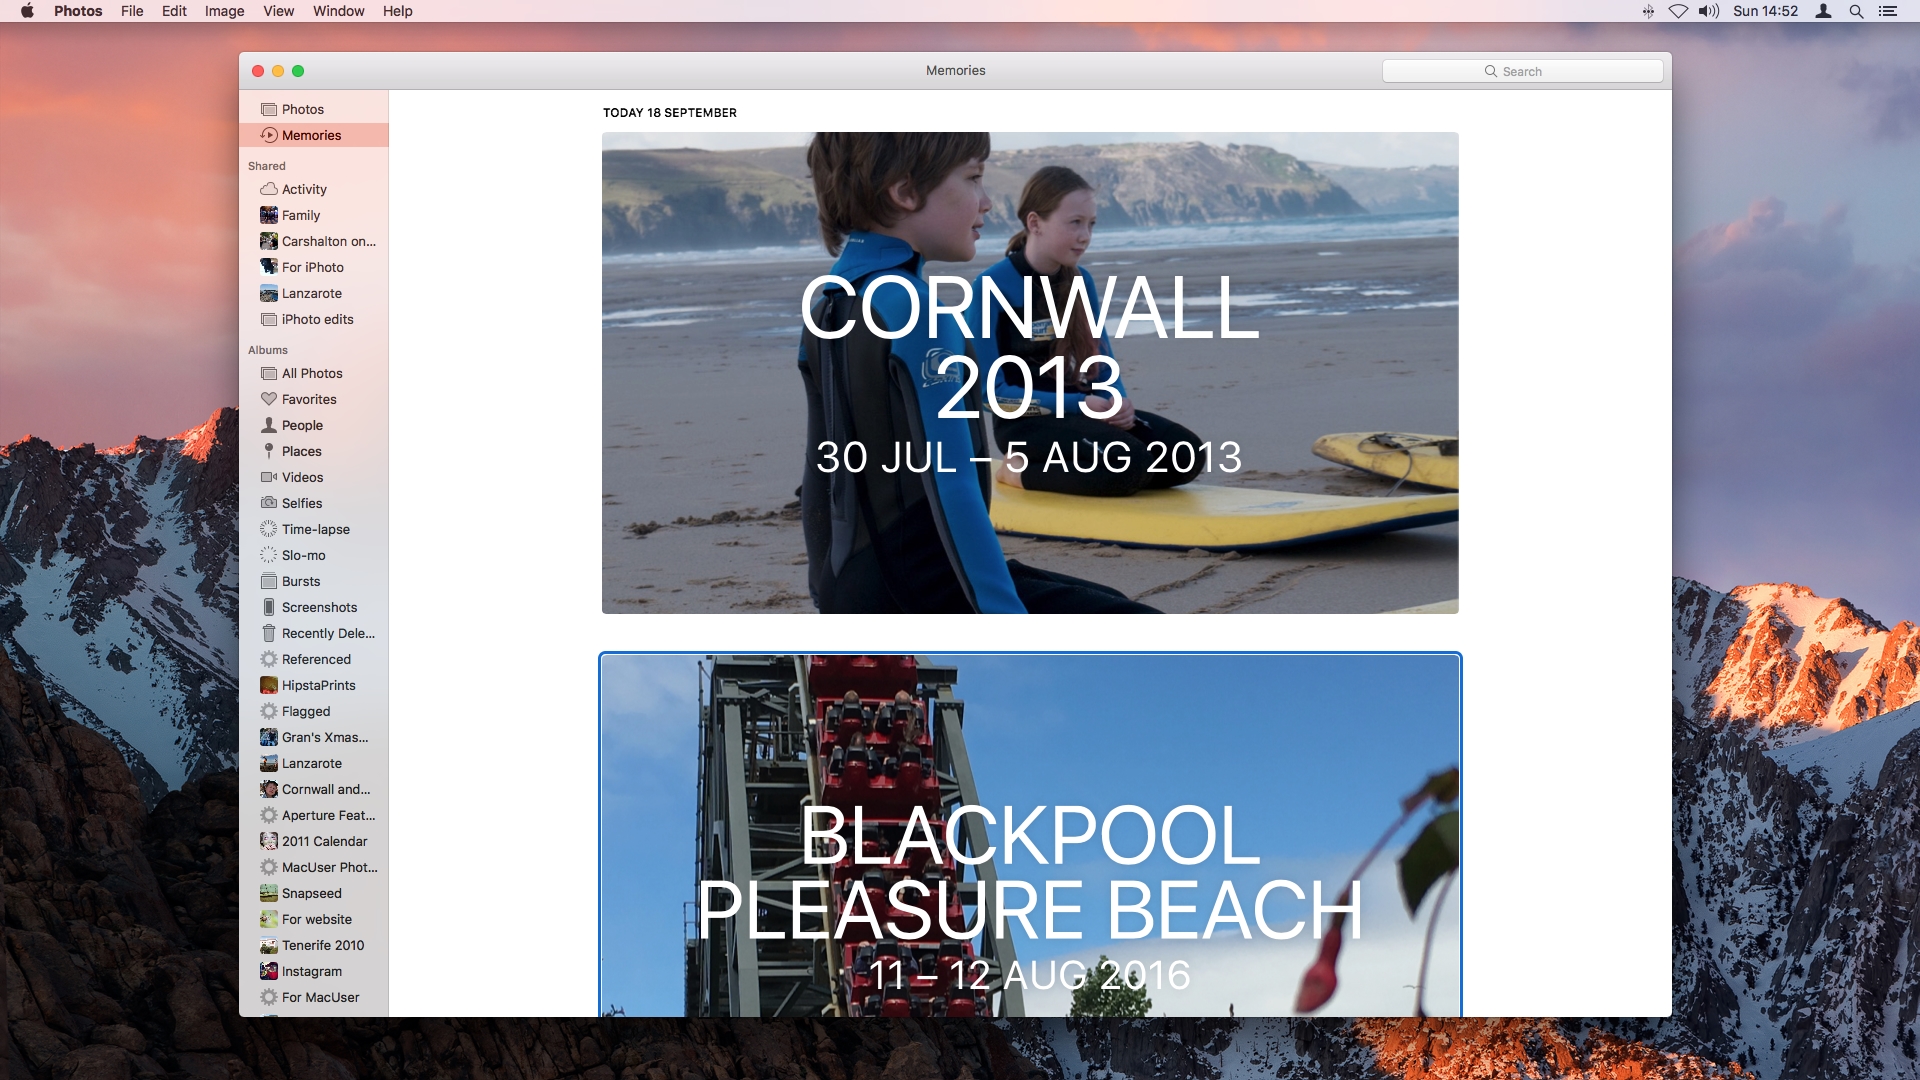
The Memories feature creates slideshows of events and people. To use it, click on the Memories heading in the sidebar. Photos may have already created some Memories. If so, double-click one to see the photos in it.
Then click the play button to start the slideshow. If Memories hasn't created anything yet, it will show you an explanation of what it does and ask you if you want to start. Click the button to confirm.
10. Making Memories
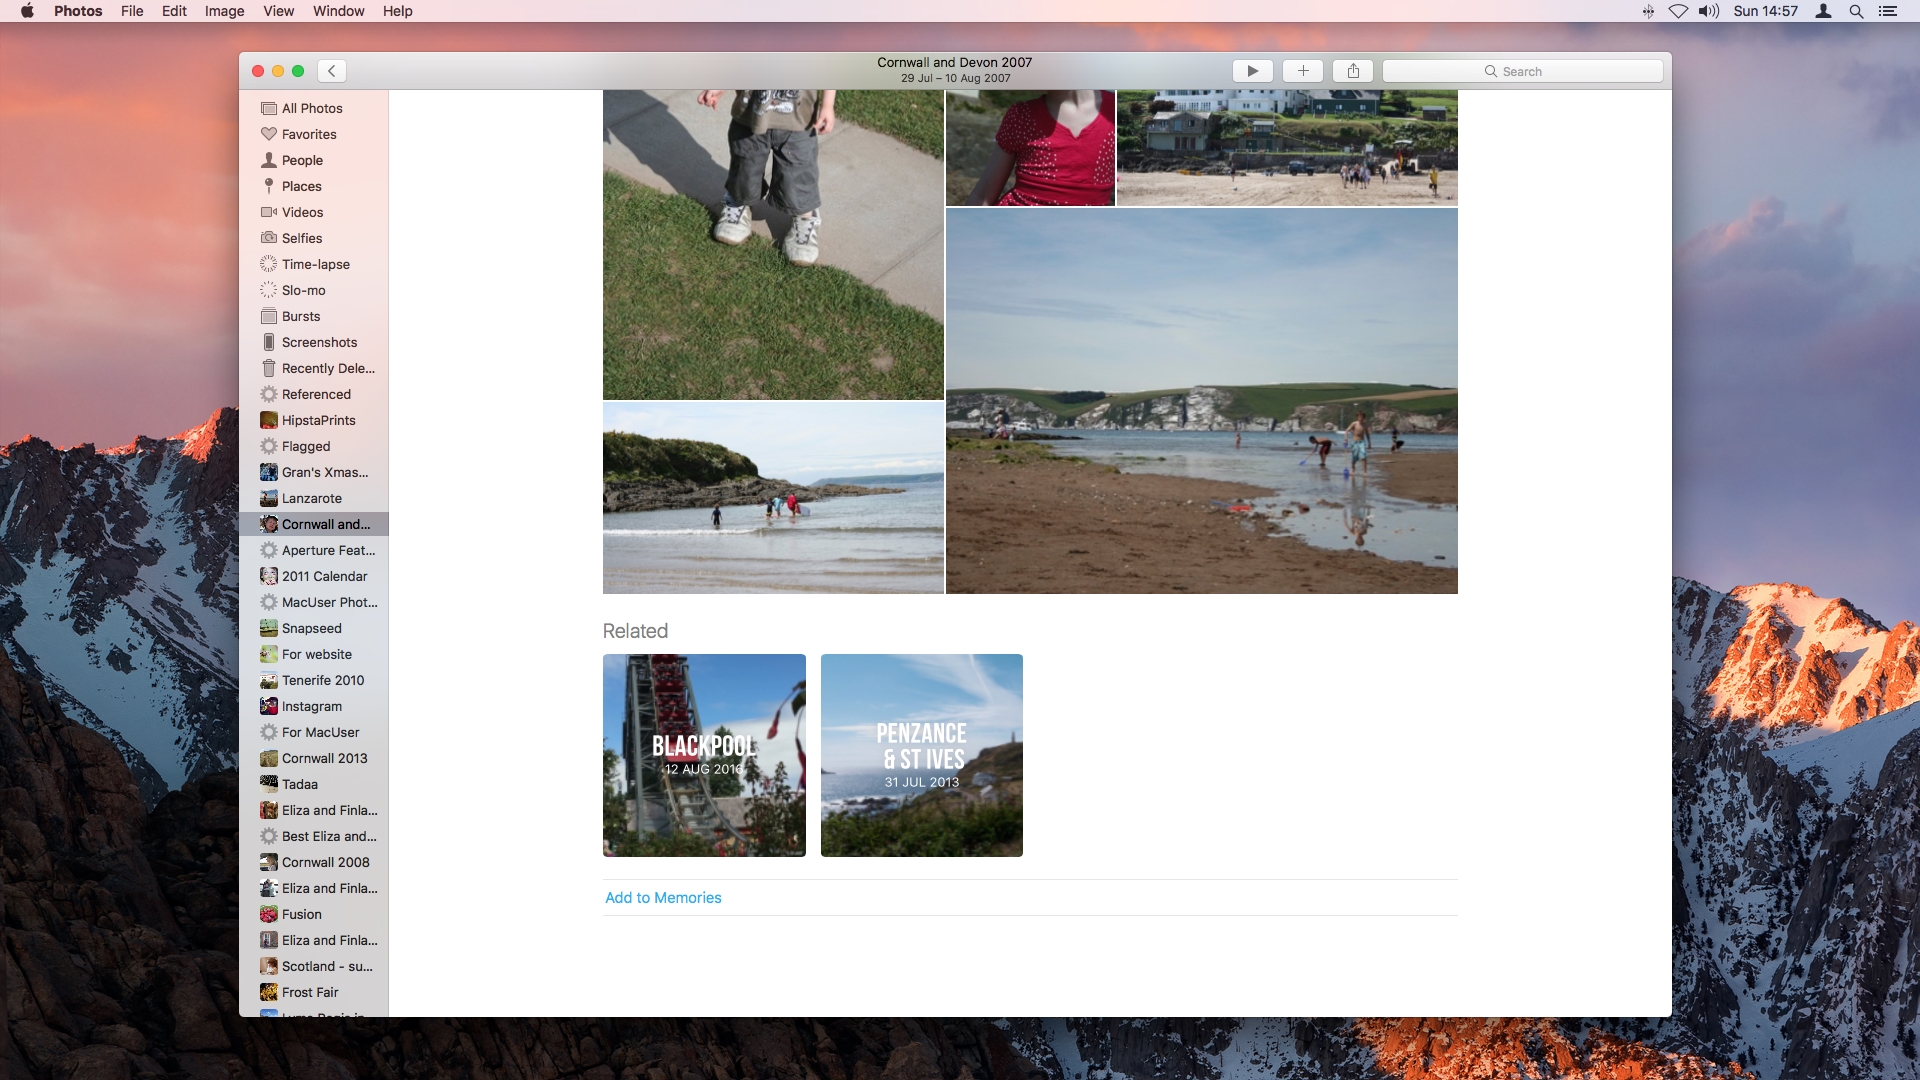
To add a new Memory, click on any album and click Show as Memory in the toolbar. Scroll down to the bottom of the screen and click Add to Memories. All the photos in the album will now be compiled into a Memory slideshow.