How to install and use Cinebench
Test your hardware
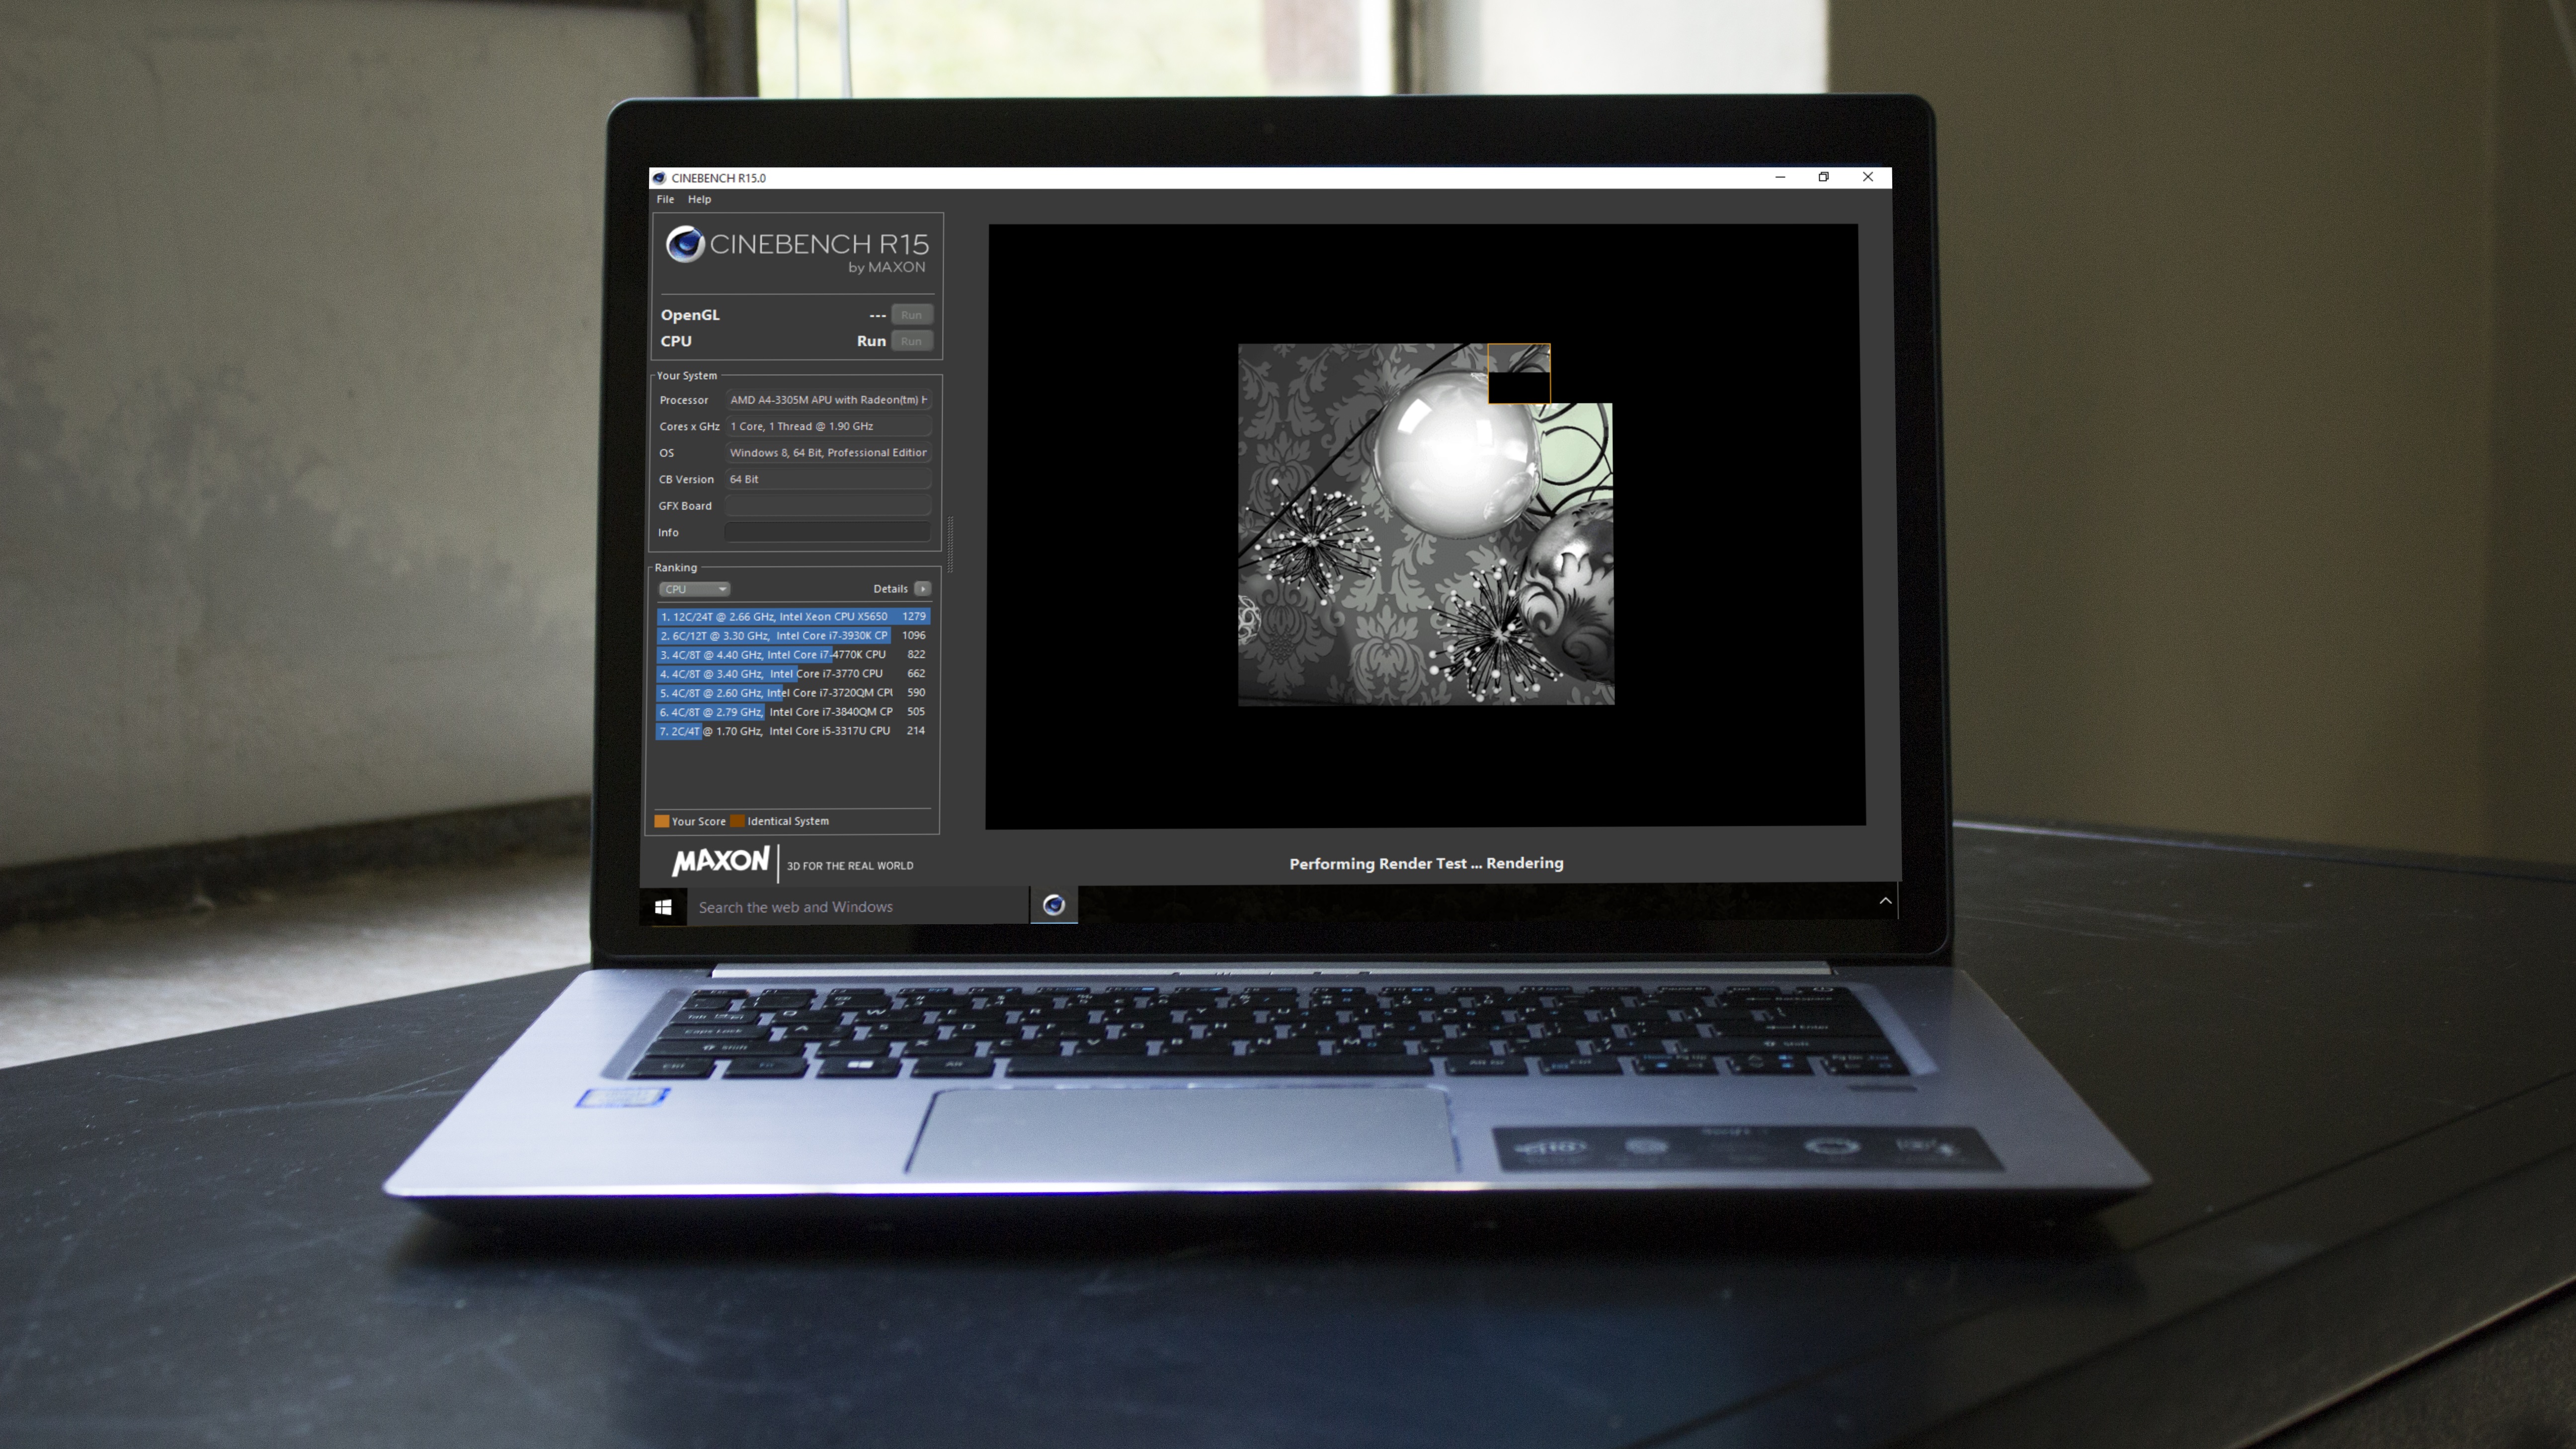
For years now, the good people of Maxon have provided a free and easy way for computer owners to evaluate system performance via their utility ‘Cinebench’.
Cinebench works in part using the code which forms part of Maxon’s 4D software to render a three-dimensional scene on your machine using advanced algorithms. This is them used to gauge the efficiency of your openGL and CPU settings.
Results are displayed using Cinebench’s own scoring system. In this guide, you’ll learn not only how to run basic and advanced tests on your computer but to see how it compares to other similar models. This is a great way for reviewers to make sure that new hardware lives up to the manufacturer’s claims, as well as for power users to check their system is still shipshape.
Command line junkies will also be pleased to hear that Cinebench now has a handy CLI (Command Line Interface). This is covered in the guide, but we strongly recommend trying out the simple GUI first.

1. Download and run Cinebench
Open you web browser and navigate to the Cinebench website. Click the download link for your own operating system e.g. Cinebench for Mac.
If you’re using Windows, Cinebench is compressed in ZIP format. Right-click and choose ‘Extract All’ to access the program itself. The macOS version of Cinebench is stored inside a DMG container. Once the download is complete, double-click to mount.
Cinebench can be run directly from your downloads folder regardless of which operating system you use but you can copy the utility to your ‘Program Files’ or ‘Applications’ folder if you wish. Double-click to launch.
Sign up for breaking news, reviews, opinion, top tech deals, and more.
Open the folder named Cinebench and then click to launch.
2. Test OpenGL
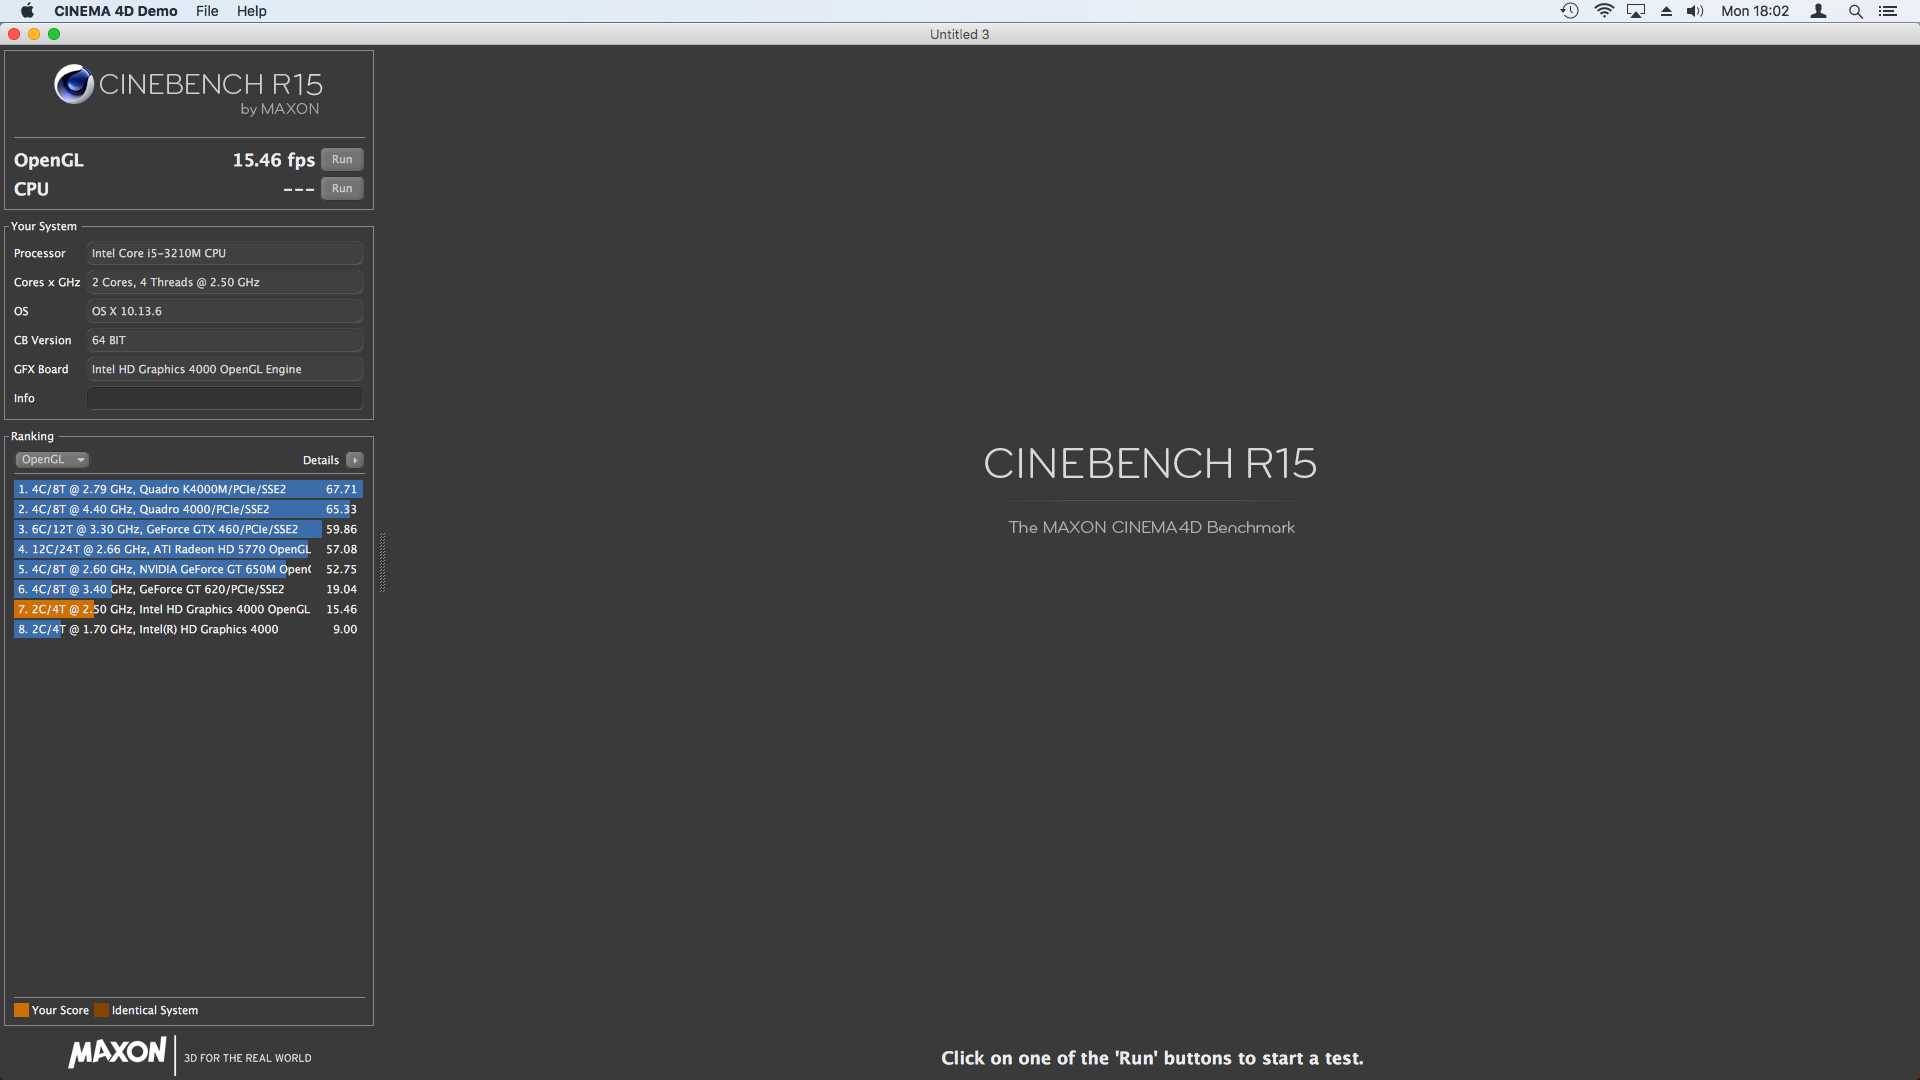
Cinebench launches, you’ll be able to run a number of tests in your system. The app does this in an entertaining way by rendering a 3D video on your system, then measuring its performance.
For instance, to check how nicely OpenGL works in your system, click the ‘Run’ button at the very top-left. Cinebench will display an epic video of a car race and then evaluate your performance in fps. You'll also see how this compares to similar models of computer under ‘Ranking’.
To a more informative view, click ‘Details’ in the left-hand pane. From here you can have Cinebench display further useful titbits such as ‘OpenGL version’ and specs for your current CPU.
To run more comprehensive tests on your processor, click ‘Run’ next to the CPU option. Cinebench will benchmark your processor by rendering a high-quality 3D image. Your CPU performance will naturally also be affected if you have any other running programs.
For a fair test, make sure you close down any other apps beside Cinebench beforehand. Save and close any open files before you do.
Cinebench uses its own scoring system, measured in units of ‘cb’ to measure CPU performance. After you run each test, the app will also show how your CPU compares to other machines.
3. Advanced benchmarking
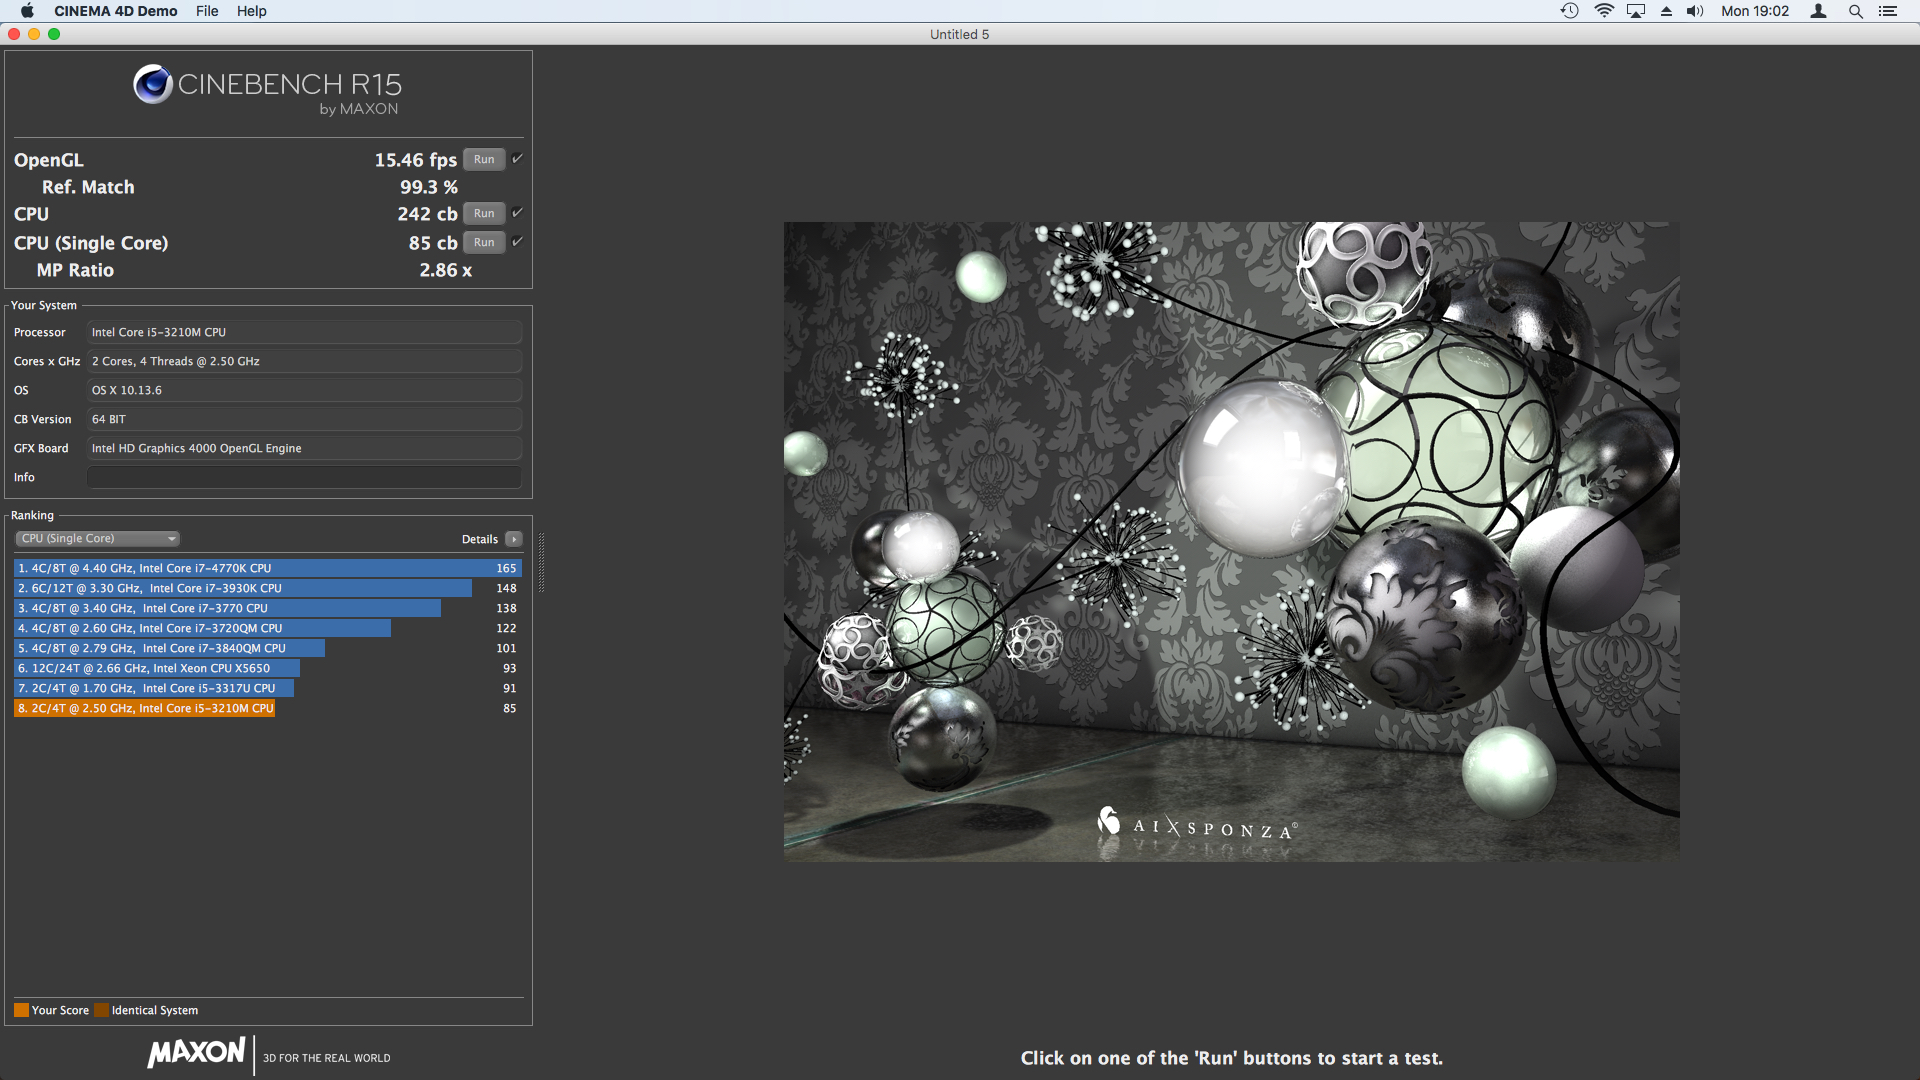
Once you’ve run the basic benchmarks against your graphics card and CPU, click File > Advanced Benchmark to view more detailed information.
The ‘Reference Match’ value, which is displayed as a percentage represents how faithfully the 3D scene has been rendered on your display. This is due to the fact that commercial graphics cards driver optimization can sometimes cause pixels to render incorrectly. This is usually invisible to the naked eye but Cinebench can measure the reference match for any completed tests.
Click ‘Run’ beside ‘CPU (Single Core)’ to view a more detailed breakdown of your processor's performance. This will measure the speed measured in ‘cb’ of individual processor cores. Cinebench will also display your MP Ratio - the ratio between single core and multi core.
Cinebench compares your system performance to other identical models where possible. The key for this is displayed at the bottom left of the screen. This shows an orange box which represents your score after rendering and a brown box which represents an identical system in the ranking list. All other systems are highlighted in blue.
4. Submit your benchmark results
Cinebench maintains a huge online database of tests run by users. This is enormously helpful, as it helps you determine where your system should appear in terms of rankings.
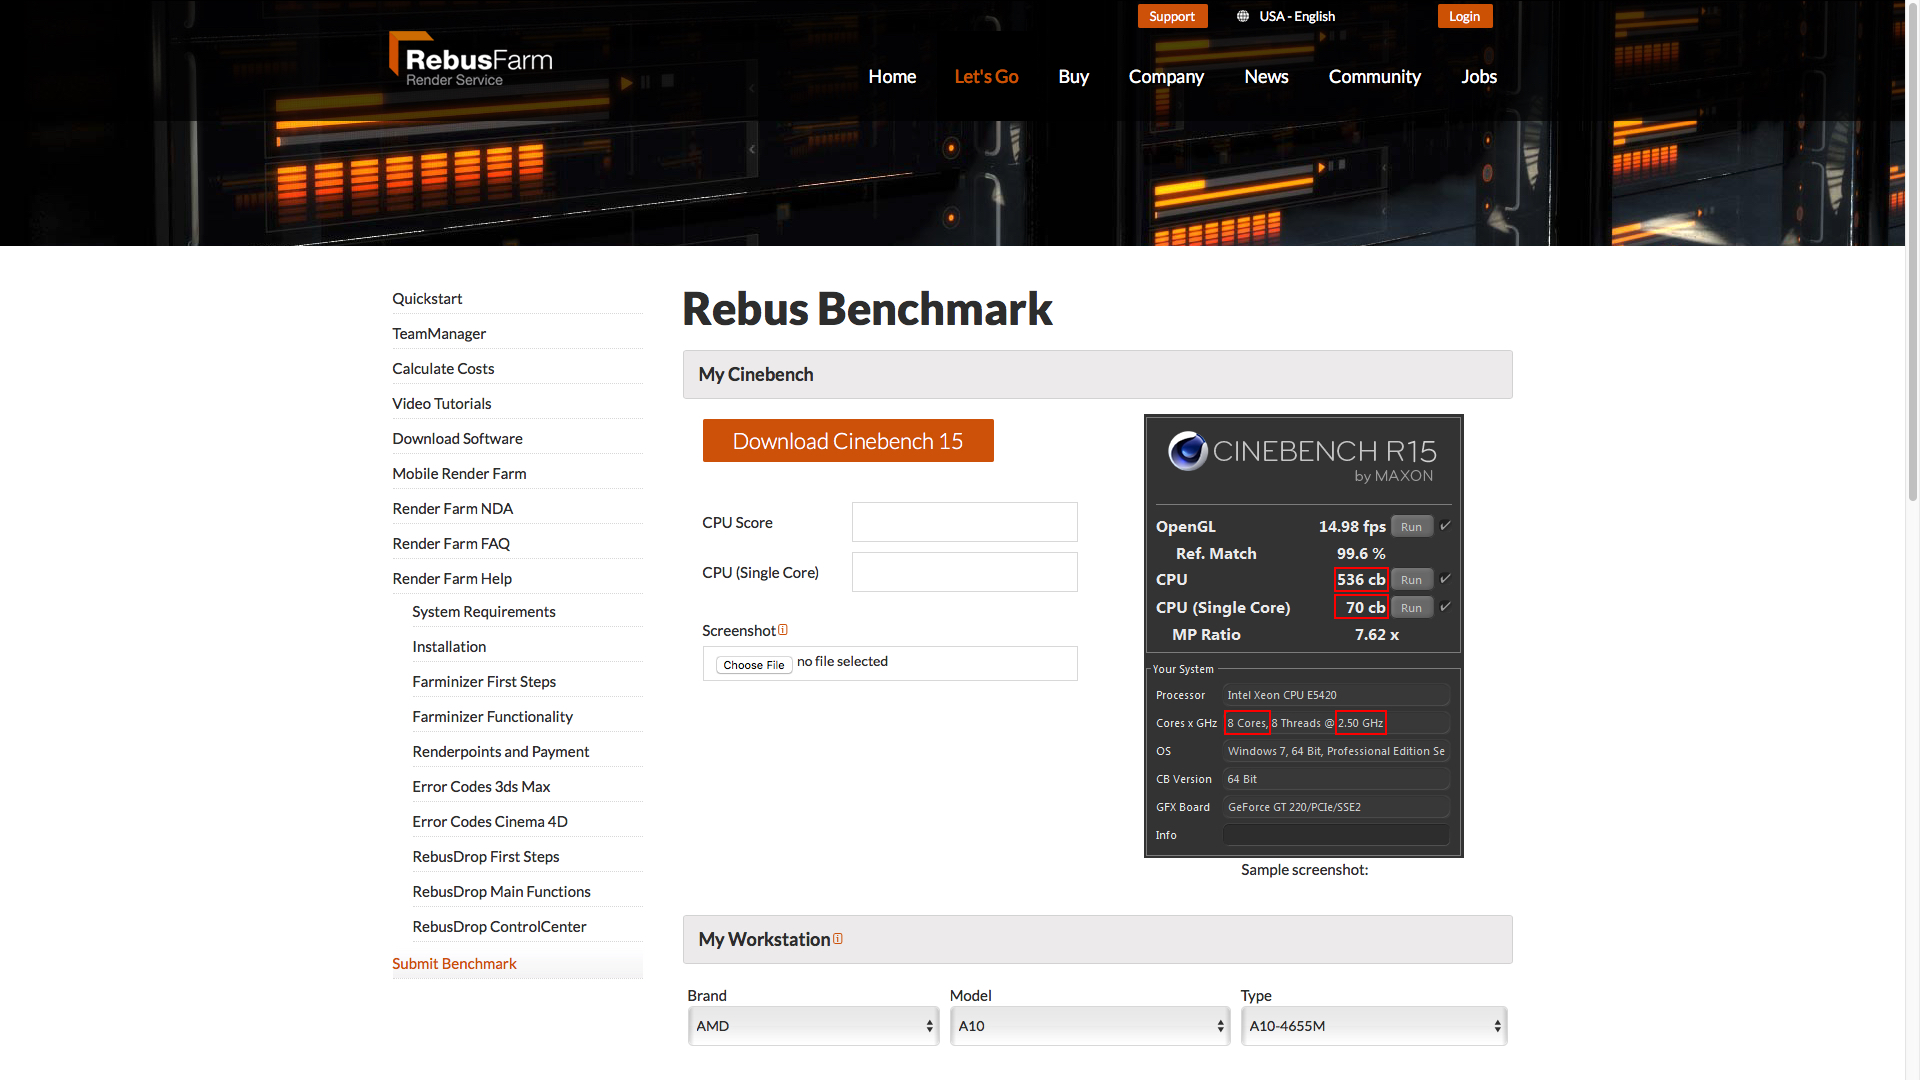
To share your benchmark results, go to the Submit Benchmarks website. From here you can fill in a form with your scores from any rendering tests that you’ve performed via the Cinebench app. You will be asked to enter your CPU and CPU (Single Core) score.
Under the ‘Screenshot’ section click ‘Choose File’ to upload the screenshot of your results. Make sure that the image is to the specifications laid out by the website.
Enter your hardware details in the ‘My Workspace’ section. If your hardware is not listed, choose ‘Other’ from the ‘Model’ menu and enter the name.
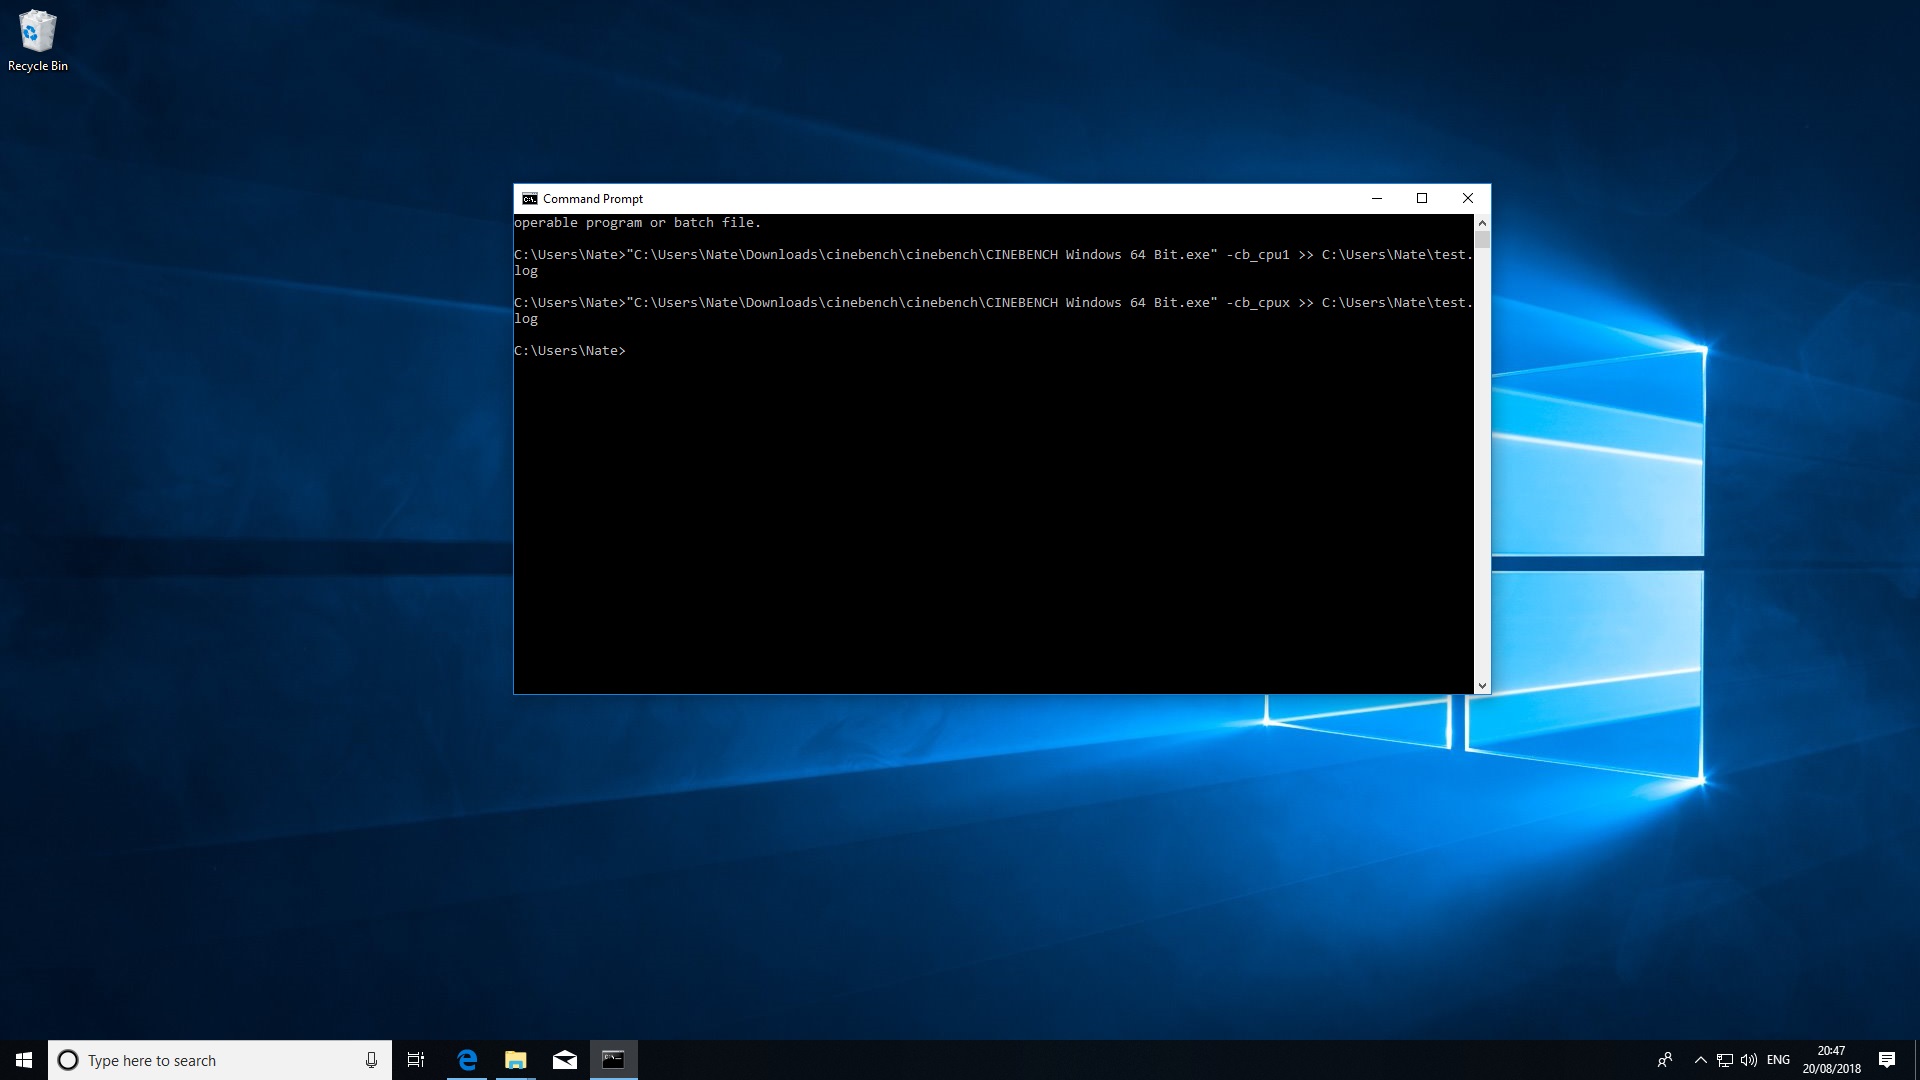
5. Cinebench CLI
If you are a power user, you may prefer to use Cinebench via the command line. This is generally a better way to benchmark your system as the command line prompt uses very few system resources.
There are various tests you can run, and you can also save the results to a log file.
To get started, open your prompt and launch Cinebench with one of the following parameters:
-cb_gpuxThis runs a multi core test.
-cb_cpu1This runs only the single core test procedure.
-cb_openglThis tests openGL.
-cb_allThis runs all tests. You can specify a log file to store test results after the command line parameters e.g:
C:\Users\Nate\test1.log- The best laptop 2018: our pick of the 15 best laptops you can buy this year
Nate Drake is a tech journalist specializing in cybersecurity and retro tech. He broke out from his cubicle at Apple 6 years ago and now spends his days sipping Earl Grey tea & writing elegant copy.