Panasonic software lets you use your Lumix camera as a webcam – with a few catches
Panasonic finally joins the webcam party

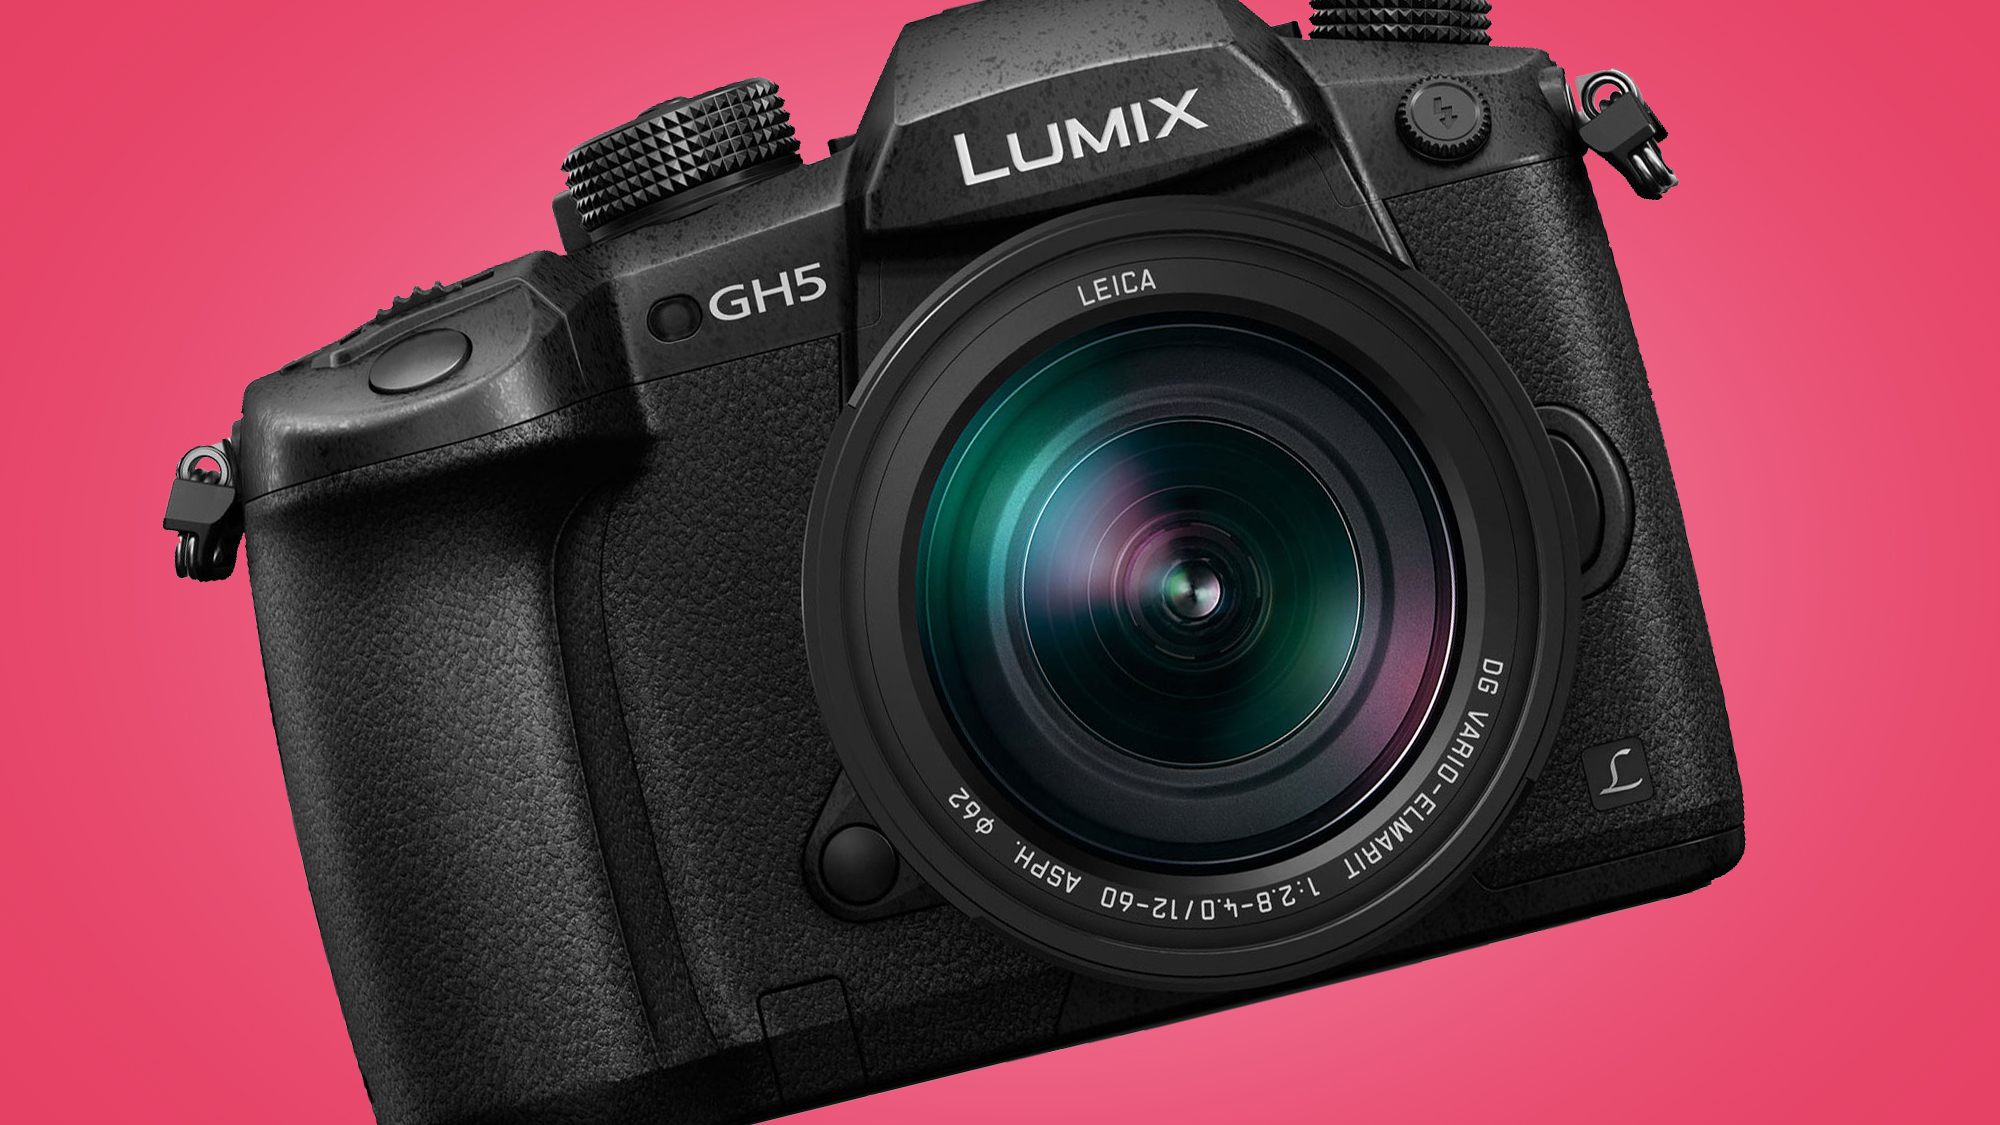
With webcams still in short supply, most camera manufacturers have released beta software to help you use their cameras as high-quality cameras for Zoom meetings and the like – and now Panasonic has belatedly joined the list with its new tethering software.
Canon and Fujifilm have both already released similar software with various restrictions, but Panasonic's new 'Lumix Tether for Streaming (Beta)' comes with a few more caveats than its rivals' solutions.
First, it's only compatible with six of its most recent cameras right now: the Panasonic Lumix GH5, G9, GH5S, S1, S1R and S1H.
The software, which is a 'Live View' update to Panasonic's existing 'Lumix Tether' app, is also currently only available for Windows 10, so if you own a Mac you're out of luck – unless you're happy to shell out for a video capture card like the Elgato Cam Link 4K.
The final restriction is that you'll also need to download and install some additional free software to get your Lumix camera working as a livestreaming camera for the likes of YouTube, Facebook Live and Twitch, or as a webcam.
Unlike with Canon and Fujifilm's solutions, you'll need to download the popular open source OBS (Open Broadcaster Software) and also OBS-VirtualCam, if you want to use your camera as a webcam.
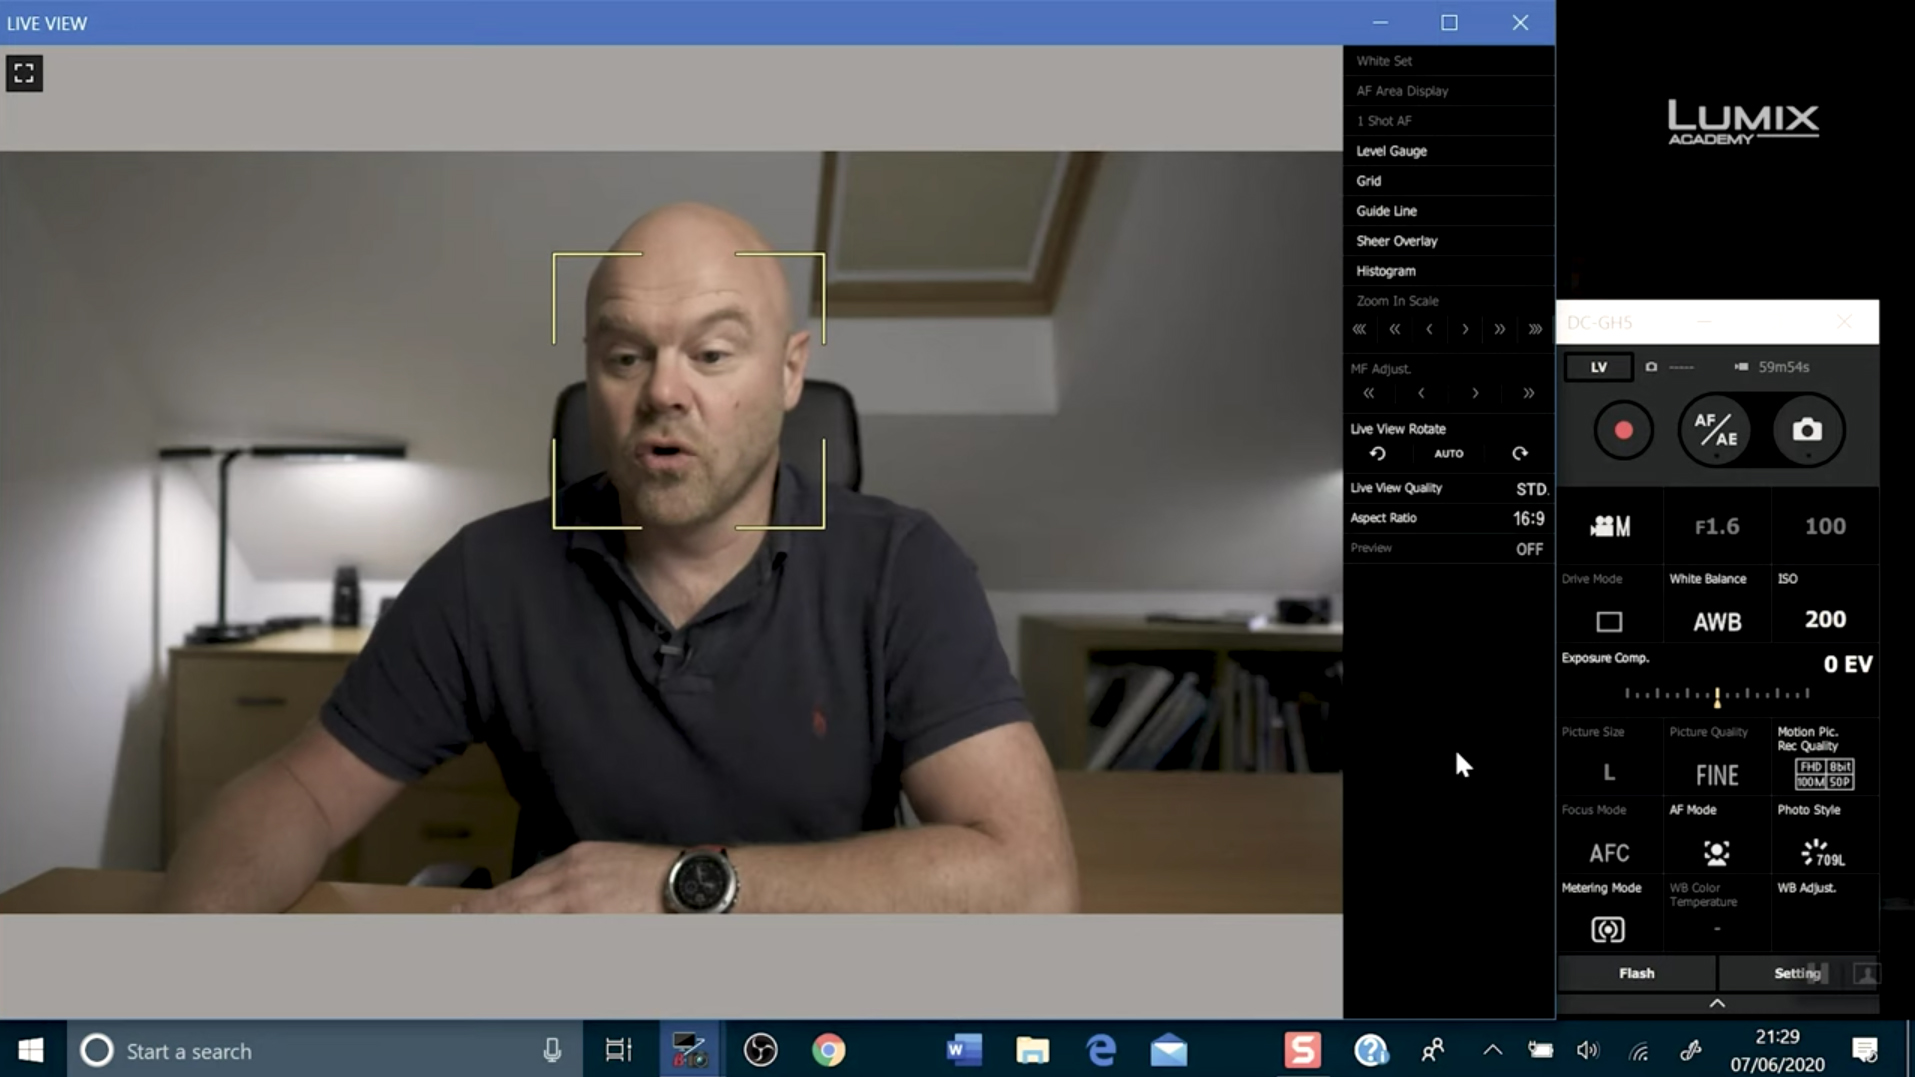
If you have one of the supported cameras and a Windows PC, though, then the set-up process is relatively straightforward, as Panasonic's Lumix Academy video shows.
Sign up for breaking news, reviews, opinion, top tech deals, and more.
How to get Panasonic's livestreaming and webcam software

- How to use Skype
- Best 4K cameras available right now
- How to use your DSLR or mirrorless camera as a webcam
Once you've downloaded and installed the software, and connected your compatible Lumix camera via a micro HDMI cable, click the 'LV' button to head into Live View mode. That shows you a preview of your broadcast source – you can tweak the quality to 'Fine', before heading into OBS.
In the bottom right-hand corner of OBS, head to Studio mode and then click 'Auto Configuration Wizard' in the 'Tools'. Finally, choose your service (for example, Facebook Live), paste in the stream key, then choose 'Lumix Tether Live View' from the OBS sources list.
It's not exactly foolproof, then, and you'll also need to add OBS VirtualCam to use your camera as a webcam.
If you'd rather simply go down the webcam route, check out our guide to the best webcams that are still in stock – or if you own a camera from another manufacturer, head to our how to use your DSLR or mirrorless camera as webcam guide.

Mark is TechRadar's Senior news editor. Having worked in tech journalism for a ludicrous 17 years, Mark is now attempting to break the world record for the number of camera bags hoarded by one person. He was previously Cameras Editor at both TechRadar and Trusted Reviews, Acting editor on Stuff.tv, as well as Features editor and Reviews editor on Stuff magazine. As a freelancer, he's contributed to titles including The Sunday Times, FourFourTwo and Arena. And in a former life, he also won The Daily Telegraph's Young Sportswriter of the Year. But that was before he discovered the strange joys of getting up at 4am for a photo shoot in London's Square Mile.