7 essential concert photography tips

Sign up for breaking news, reviews, opinion, top tech deals, and more.
You are now subscribed
Your newsletter sign-up was successful
Live music can be a challenge to photograph, especially indoors. There's a lot of fast, erratic movement to contend with, and usually very low lighting. And to make matters worse, many venues don't permit the use of flash. But that's not to say it's impossible: armed with the right settings, there's no reason you can't come away with shots that rock.
The first thing to consider when shooting gigs is what you are and aren't allowed to do. Before the event begins, check with the venue staff and event organisers to see whether you're allowed to use flash. Sometimes, at larger events (such as festivals) you can get away with it, but often smaller, more intimate venues won't permit it as it can distract the band and disrupt the crowd.
Also check how long you're allowed to shoot for; the bigger names tend to enforce a 'first three songs' rule, only allowing photographers to shoot at the beginning of the gig, but the rules are different depending on where you're shooting. Smaller venues will often let you snap away all evening.
With so much to think about, from varied lighting to who's moving where and what settings to use, shooting a gig is a real challenge, but it can also be a lot of fun.
1. Shoot fast
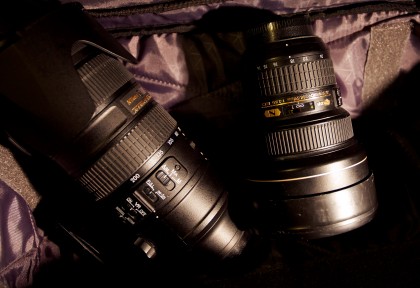
You need a wide-angle lens, especially in smaller venues, as you won't be able to move back due to the crowds. Ideally, you also need a 'fast' lens, to enable you to shoot in low light at low ISOs. We used a Nikon 14-24mm f/2.8 and a Nikon 70-200mm f/2.8
2. Open wide
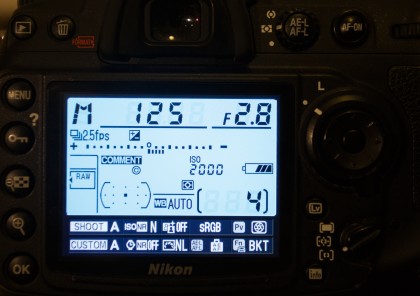
In Manual mode, set your lens's widest aperture, to let in as much light as possible – this will enable you to set a shutter speed fast enough to freeze any movement. Where possible, try to keep the shutter speed above 1/125 sec (see step 3 for how to do this!).
3. Be more sensitive
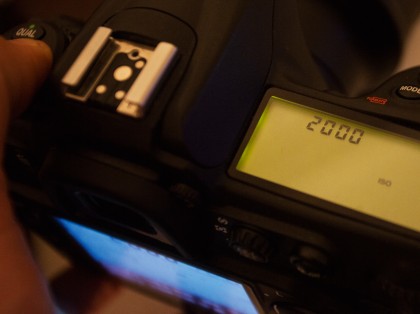
With the aperture and shutter speed set, you'll need to adjust the ISO to ensure a correct exposure. The darker the venue, the higher the ISO needs to be. So long as there's some ambient light, and brighter stage lights, you should be able to get away with an ISO setting of between 1600-3200.
Sign up for breaking news, reviews, opinion, top tech deals, and more.
4. Control the focus
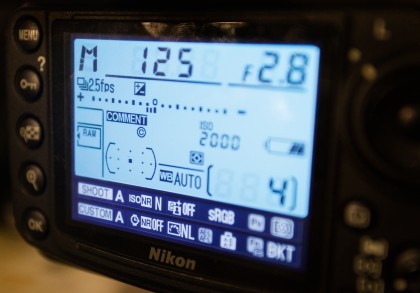
When you're using a very wide aperture, accurate focusing is essential. Make use of manual AF point selection to keep the focus exactly where you want it, such as on a face or instrument. Move the AF point using the arrow keys on the back of your camera.
5. Wait for the light
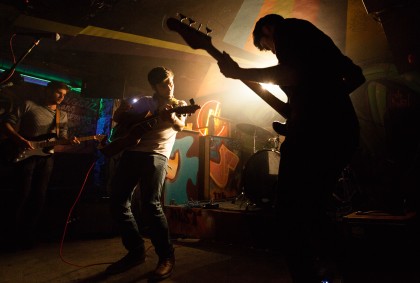
Waiting for the right light is a key skill. Stage lighting is remarkably varied and can be quite colourful and dramatic, but it's constantly changing. Watch how the lights change, and try to time your shots to capture the best or most dramatic lighting.
6. Find your angle
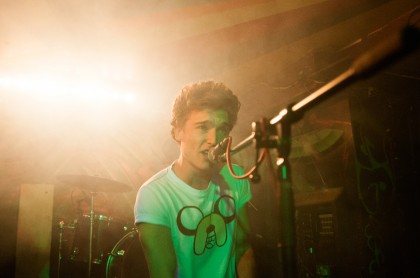
Composition is everything. Find the angle that suits your subject (though you'll often be restricted to the front of the stage, looking up). Try tilting the camera for a more dynamic feel, and use things like instruments and mic stands to lead the viewer's eye into the image.
7. Obstructions
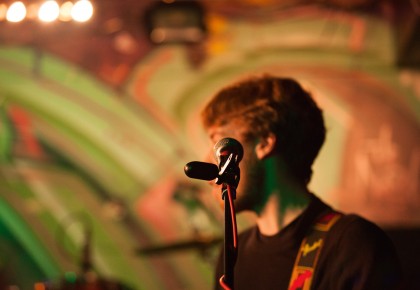
The band are there to play, not be photographed, so their kit will often get in the way. The most common culprits are microphone stands and speakers. Keep an eye out for these, and position yourself to the side of them, so that you can see the band member(s) clearly. This will often require patience, as musicians rarely stay still! If in doubt, frame your shot first, and then wait for them to move out from behind the mic.
Essential accessory: ear plugs
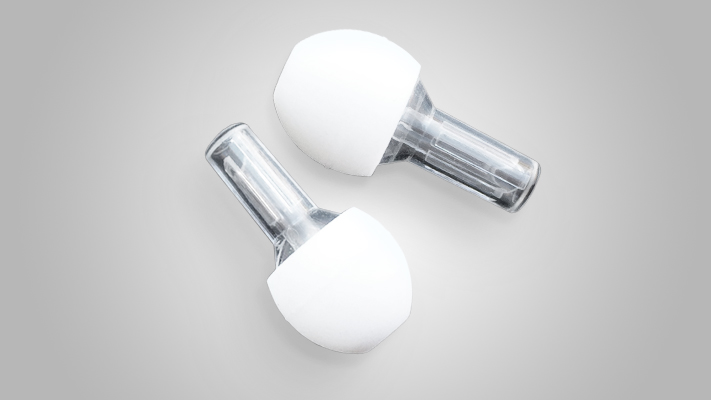
If you're going to be regularly shooting bands, you're going to want some ear protection. Vibes Hi-Fi ear plugs provide up to 22 DB of sound protection, but the clever bit is that they've been designed to do this without sacrificing sound clarity.