How to set up Oculus Go from scratch
With no wires, setup is easy

If you’ve got your new Oculus Go headset in front of you and are ready to dive into the virtual worlds offered by virtual reality (VR), we’ve got all the instructions you need to get started.
The setup process is quick thanks to the lack of wires and there not being any external sensors that need to be carefully calibrated.
Unpack everything
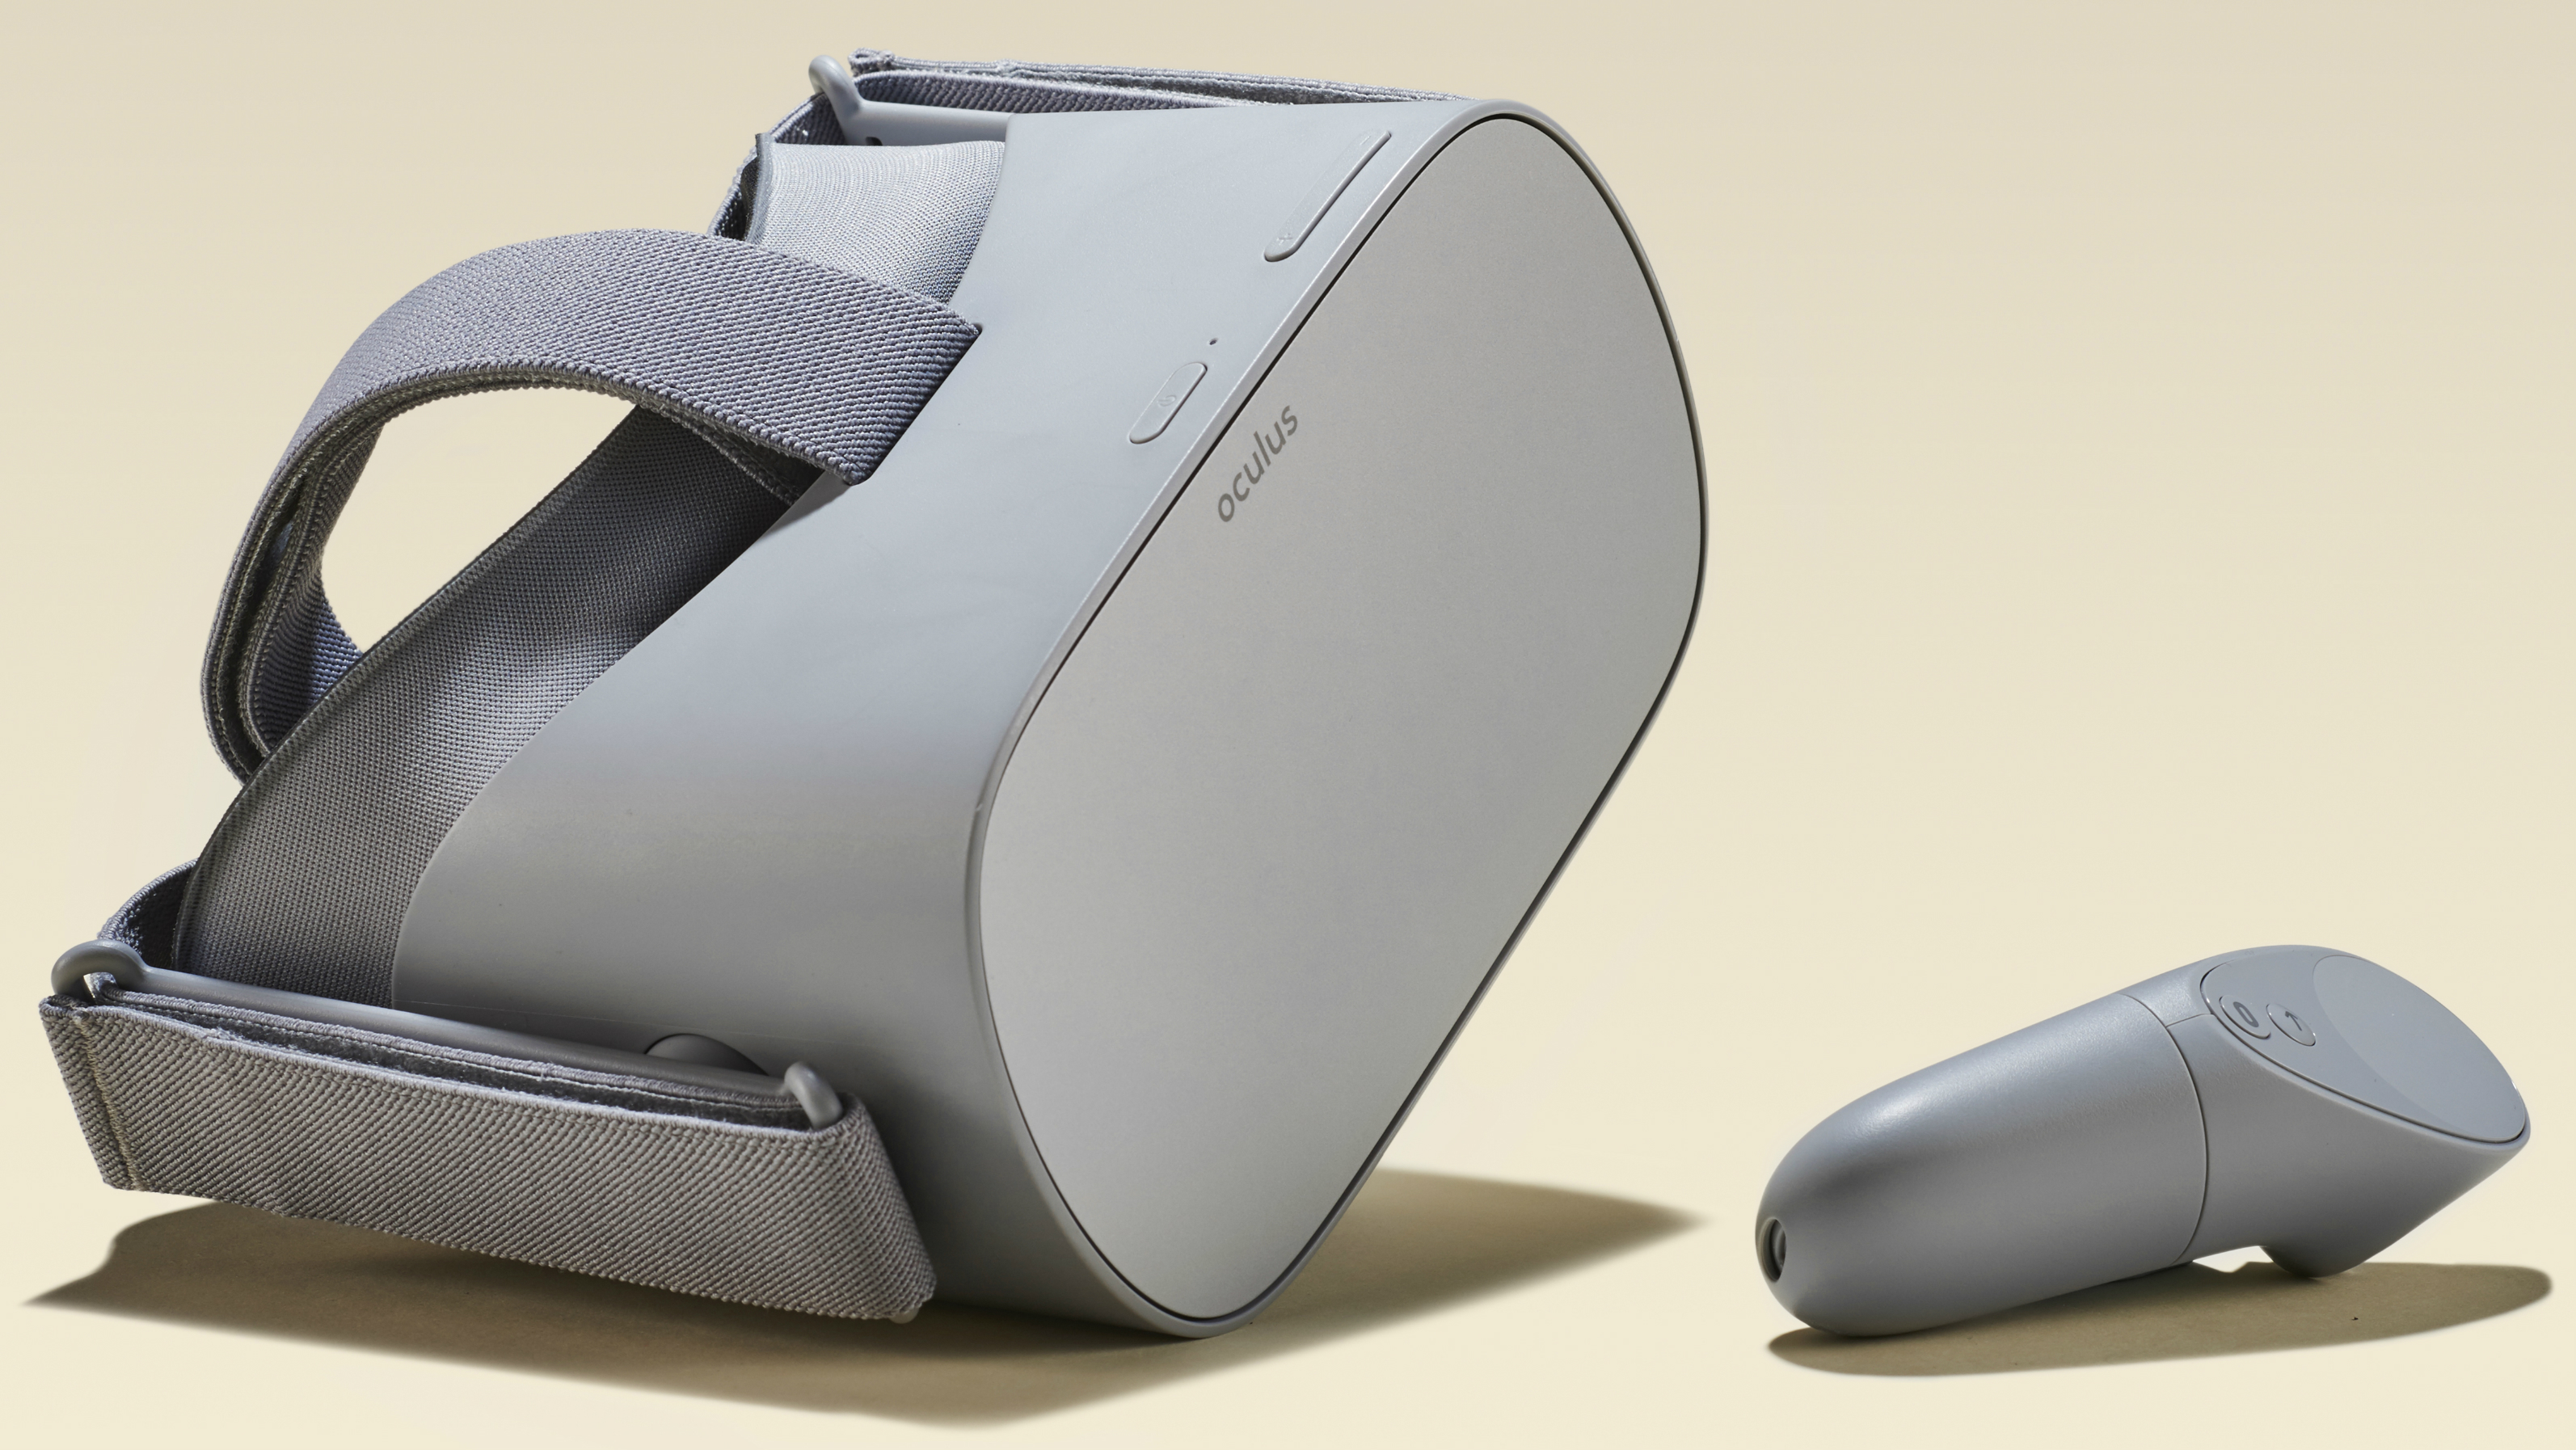
With your Oculus Go package in front of you, remove each item from the box. Remove the headset and charging cable first, and plug it in to begin charging.
You’ll want the headset to have a full charge when you start setting it up and using it for the first time.
If you’ll be using the Oculus Go headset with glasses, unpack the Glasses Spacer and attach it to the headset (Oculus has detailed instructions for that here.).
Remove the controller, and attach the lanyard to the base of the controller by removing the bottom cover. Unpack the AA battery as well. You can put that in now or wait until later on.
You should also have a microfiber cloth for cleaning the lenses, and a Health and Safety Guide you’ll want to read through.
Sign up for breaking news, reviews, opinion, top tech deals, and more.
At this stage, you can also remove any plastic films on the devices, such as the films covering each lens of the Oculus Go headset.

Get the Oculus Go app and connect the headset
While the Oculus Go headset continues to charge, download the Oculus Go app from the Google Play store or iTunes App Store.
For Android users, you’ll need a device running Android 6.0 or later. iPhone users will need iOS 10 or higher.
You’ll be prompted to sign in on the app, and you have the option of using your Facebook account for that.
Once you have the Oculus Go app installed on your device, make sure your phone is also connected to the Wi-Fi network you intend to use and has Bluetooth turned on.
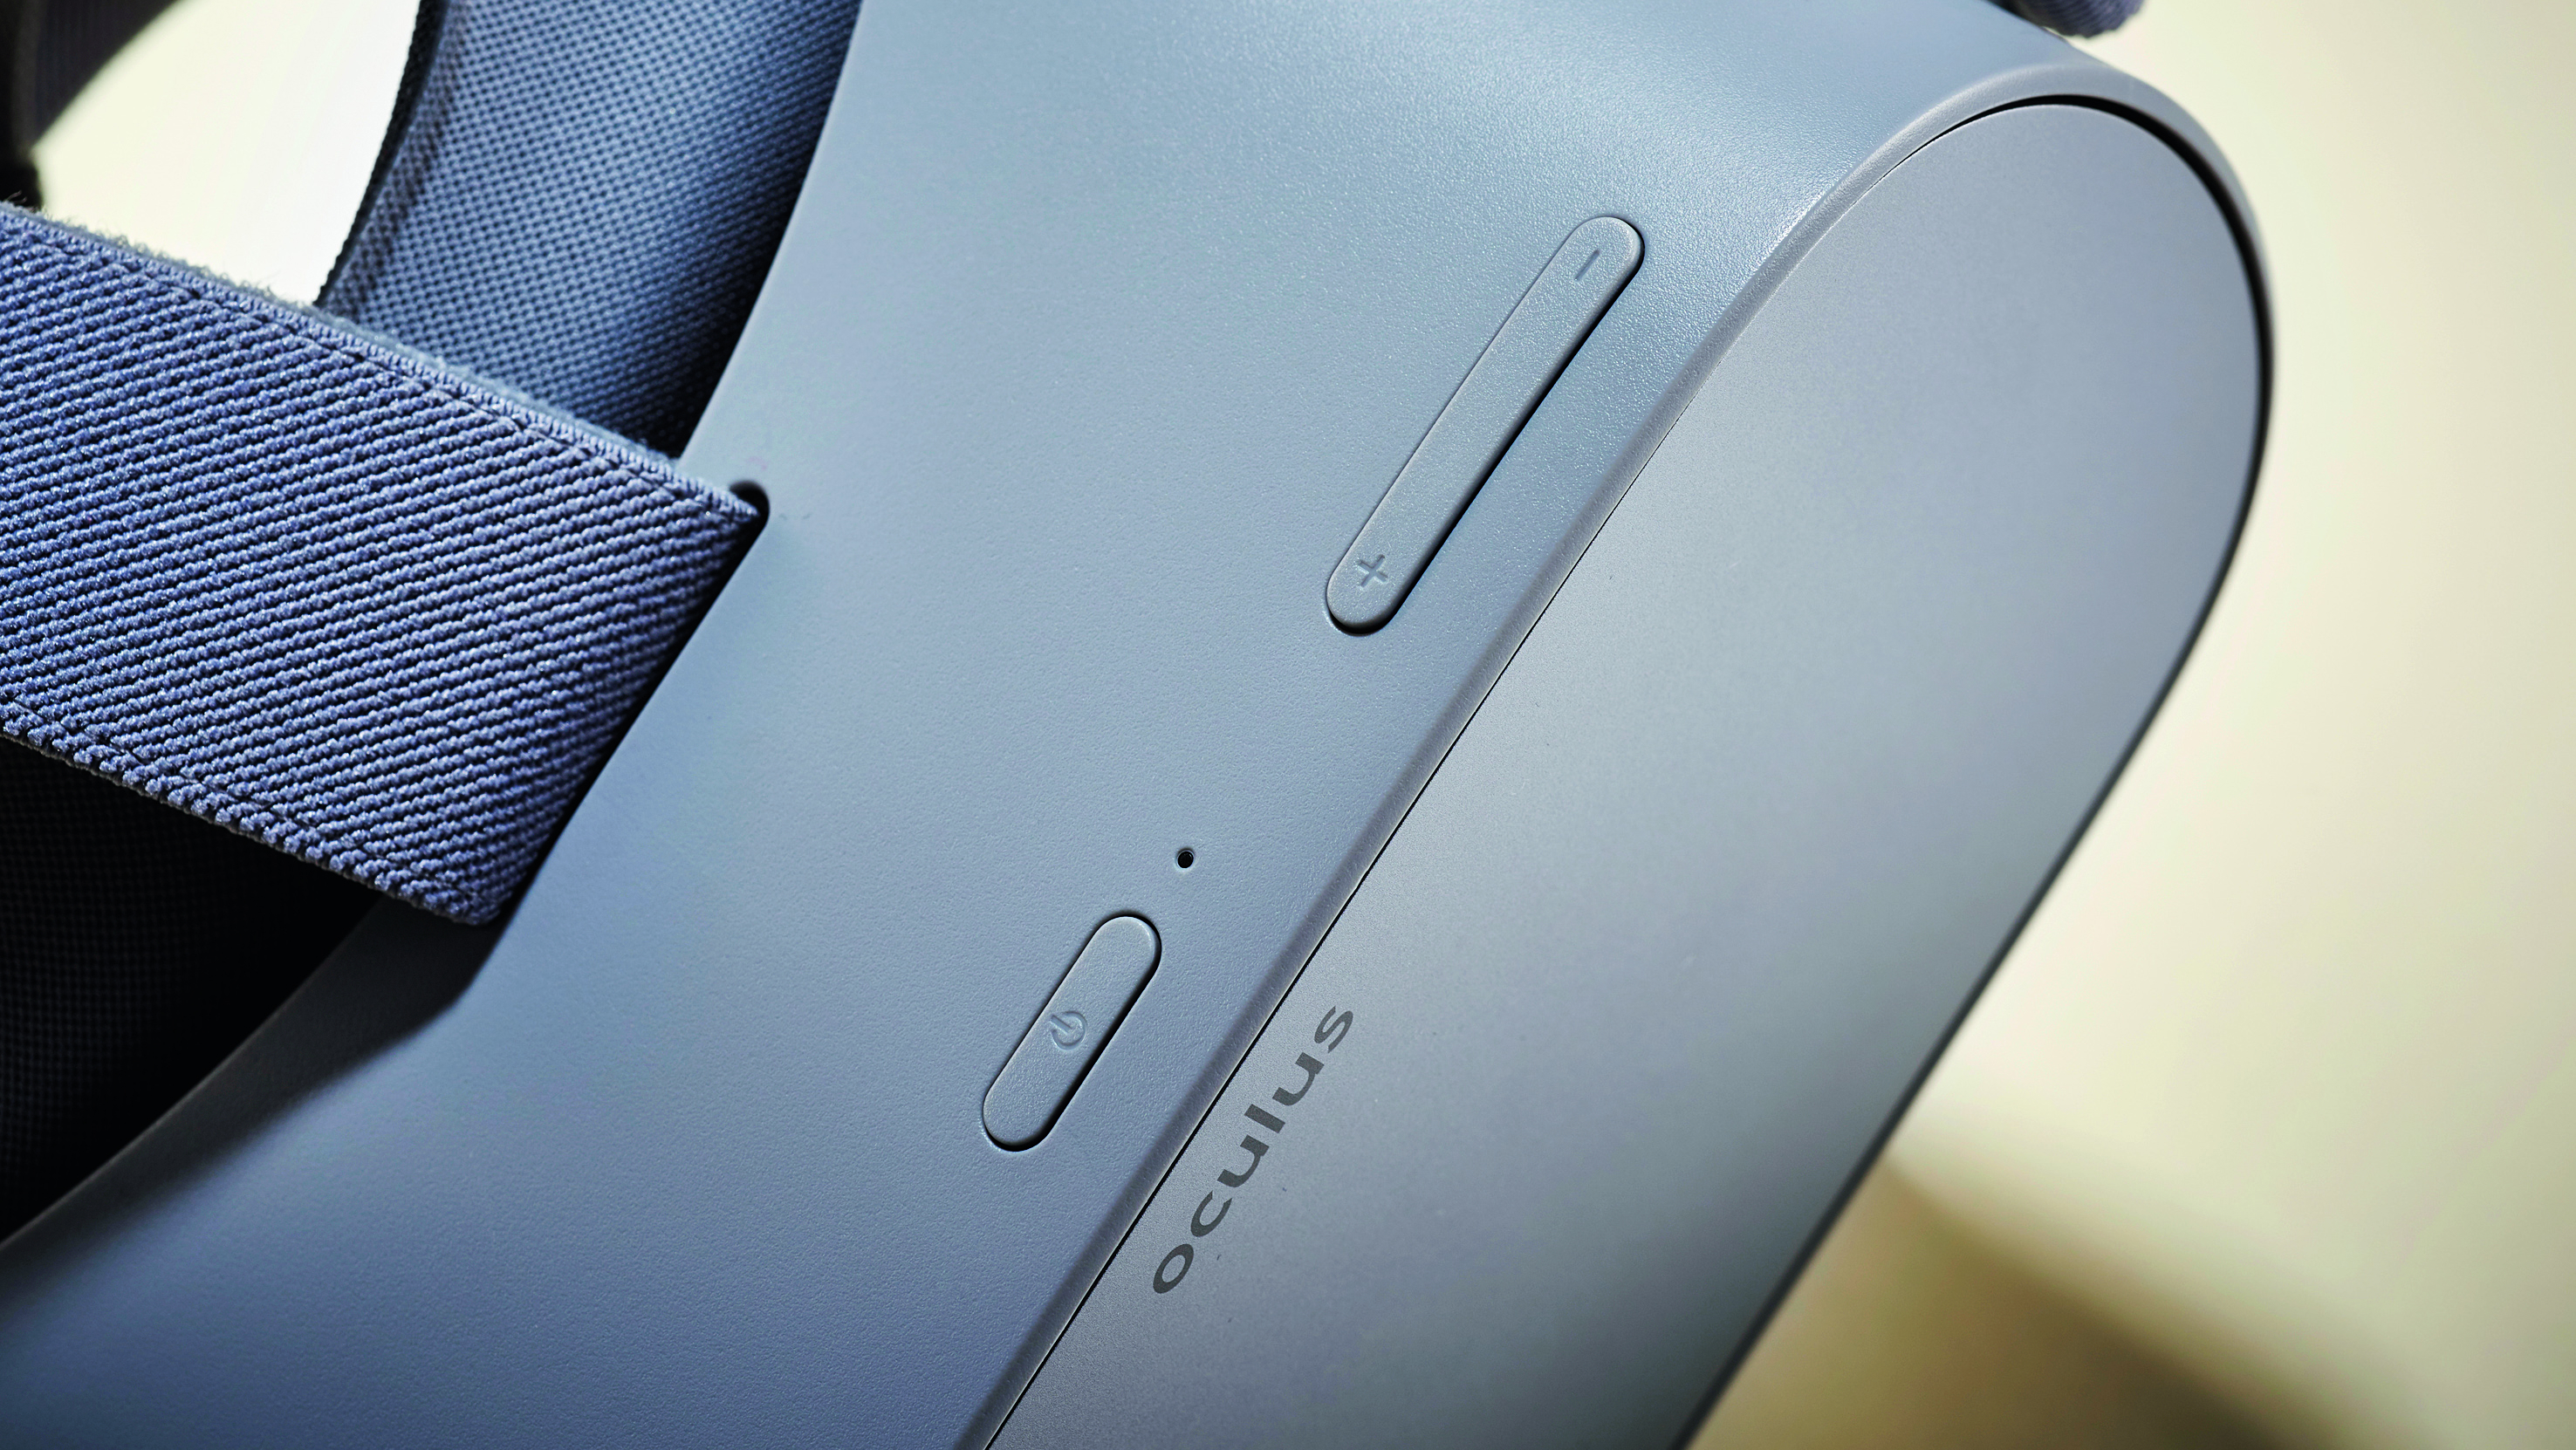
Now, you can launch the Oculus Go app and begin the process of connecting the Oculus Go to your phone and wireless network. With the app running, power up your Oculus Go by holding the center button on top of the headset until its light turns on.
Follow the prompts on your phone, and it will establish a connection with your Oculus Go. Continue on your phone to connect your Oculus Go to a Wi-Fi network.
Next, you’ll pair your controller. Remove the bottom cover to insert the AA battery, and then replace the cover. With the battery installed, press and hold both the Oculus and Back buttons until the LED on the controller lights up.
You’ll have the option to choose whether you intend to use the Oculus Go controller in your left hand or right hand.
With everything connected, your headset may need to update. While it does, you can browse the store for Oculus Go games and experiences. If you’re still waiting for the Oculus Go headset to fully charge before jumping in, you can begin downloading and installing apps and games to the headset so they’re ready for you as soon as you jump in.

Dive into VR
With everything connected, updated, and charged to full, you can put on your Oculus Go headset and jump into VR. Loosen all the straps on the headset first.
If you’re wearing glasses, Oculus suggests putting the headset on over your eyes first, and then pulling the straps down. Otherwise, you can put the straps on the back of your head and then pull the front of the headset down over your eyes.
With the headset on, adjust the side straps and then the top strap until it’s comfortably tight.
Then, you can reposition the headset so your view is clear. Now, you’re ready to go, and the Oculus Go will guide you through everything else.
Supported content on TechRadar means the article has been created in partnership with a developer, publisher, manufacturer or other relevant party. When you see this disclosure note in an article, it means that the article idea has been approved by another company – a developer, hardware maker, or publisher – but that otherwise the content is planned, written, and published by TechRadar without any further approval. This is distinct from sponsored content on TechRadar, which is created entirely by a third party, and not the TechRadar editorial team.

Over the last several years, Mark has been tasked as a writer, an editor, and a manager, interacting with published content from all angles. He is intimately familiar with the editorial process from the inception of an article idea, through the iterative process, past publishing, and down the road into performance analysis.
