How to clean your gaming peripherals
Germ-free gaming
Sign up for breaking news, reviews, opinion, top tech deals, and more.
You are now subscribed
Your newsletter sign-up was successful
First, a mild defense. When an article cites a study that your desk harbors 400 times the number of bacteria as a toilet seat, it’s fair to say that, whilst true, it’s more than a little misleading. Namely, the proportion of those bacteria that are harmful would make for a disappointing headline.
Not only are you surrounded and covered by what are mainly an indisputable force of good in nature (and to you), but, as a ‘superorganism,’ the ratio between your own cells and microbes is one-to-one.
As we know, however, not all bacteria and viruses are so benign. Considering gaming peripherals likely only come second to our phones in contact time and are often paired by many with the consumption of food, exercising caution seems advisable.
Cleaning always attracts various schools of thought, but if cleanliness is next to godliness, then these were the godliest tips we found to tackle every component of your gaming life.

General Q-tips
As these are electronics we’re dealing with, ensure all devices are powered down with cables/batteries removed, lest you run the risk of a shock.
Also, avoid getting any liquid in ports or otherwise within devices, assuming you want your devices to continue working after their ablutions. To best achieve this, you will want to avoid direct spraying onto your gadgets and oversaturating cloths.
Be sure to spray any solution onto a microfiber cloth and potentially wring cloths out sufficiently before use on your devices. A disinfectant wipe or 70% isopropyl alcohol wipe should be ready to use.
Sign up for breaking news, reviews, opinion, top tech deals, and more.
In the debate between disinfectant wipes and cleaners (including rubbing alcohol) vs. the more environmentally conscious option of microfiber cloths plus water - whilst the latter are effective against bacteria, most don’t have fine enough fibers to pick up viruses. Even those that claim effectiveness against viruses will only be capable of picking up those sufficiently large.
Given that there are negative health effects associated with consistent use of antibiotic soaps and disinfectants, you may want to weigh up those health concerns against the risk posed by viruses at the time.
Not all disinfectant wipes and cleaners are equal either, so it’s worth visiting the EPA website to search for a product’s effectiveness against different bacteria and viruses. This should also inform you of the length of time you need to leave your device wet for the product to act, although the best course of action is to let your device dry on its own. You could use a microfiber cloth around your device afterwards for good measure.
If you want to avoid commercial disinfecting products, simple household soap and water on a microfiber cloth is surprisingly effective at suspending and removing both bacteria and viruses. You might just want to be extra careful that you’re not overly wetting your cloth and getting water down any gaps. Another solution is using undiluted hydrogen peroxide in place of a cleaning solution.
Additionally, if you have the money to throw at it and you purchase one sufficiently big, you could use a UV-C disinfection device for all your devices. For many that might be overkill.
Gamepads
There are two levels of rigorousness when it comes to gamepads. For the purposes of antimicrobial cleaning you can clean the surface, but in terms of maintaining a controller’s good operational order, there’s also the option of carefully opening up and cleaning inside.
Doing the latter will void your warranty and should probably be left for when you’re out of warranty and experiencing an issue (e.g. sticky buttons). It’s worth taking into consideration that whilst the PS4 DualShock and Nintendo Switch Joycons and Pro controller enjoy year-long warranties, Xbox One accessories’ lasts for only 90 days. The most common ‘drift’ issue for Joycon joysticks can also be fixed out of warranty, which seems like a good argument to avoid a do-it-yourself approach unless you’re brimming with confidence.
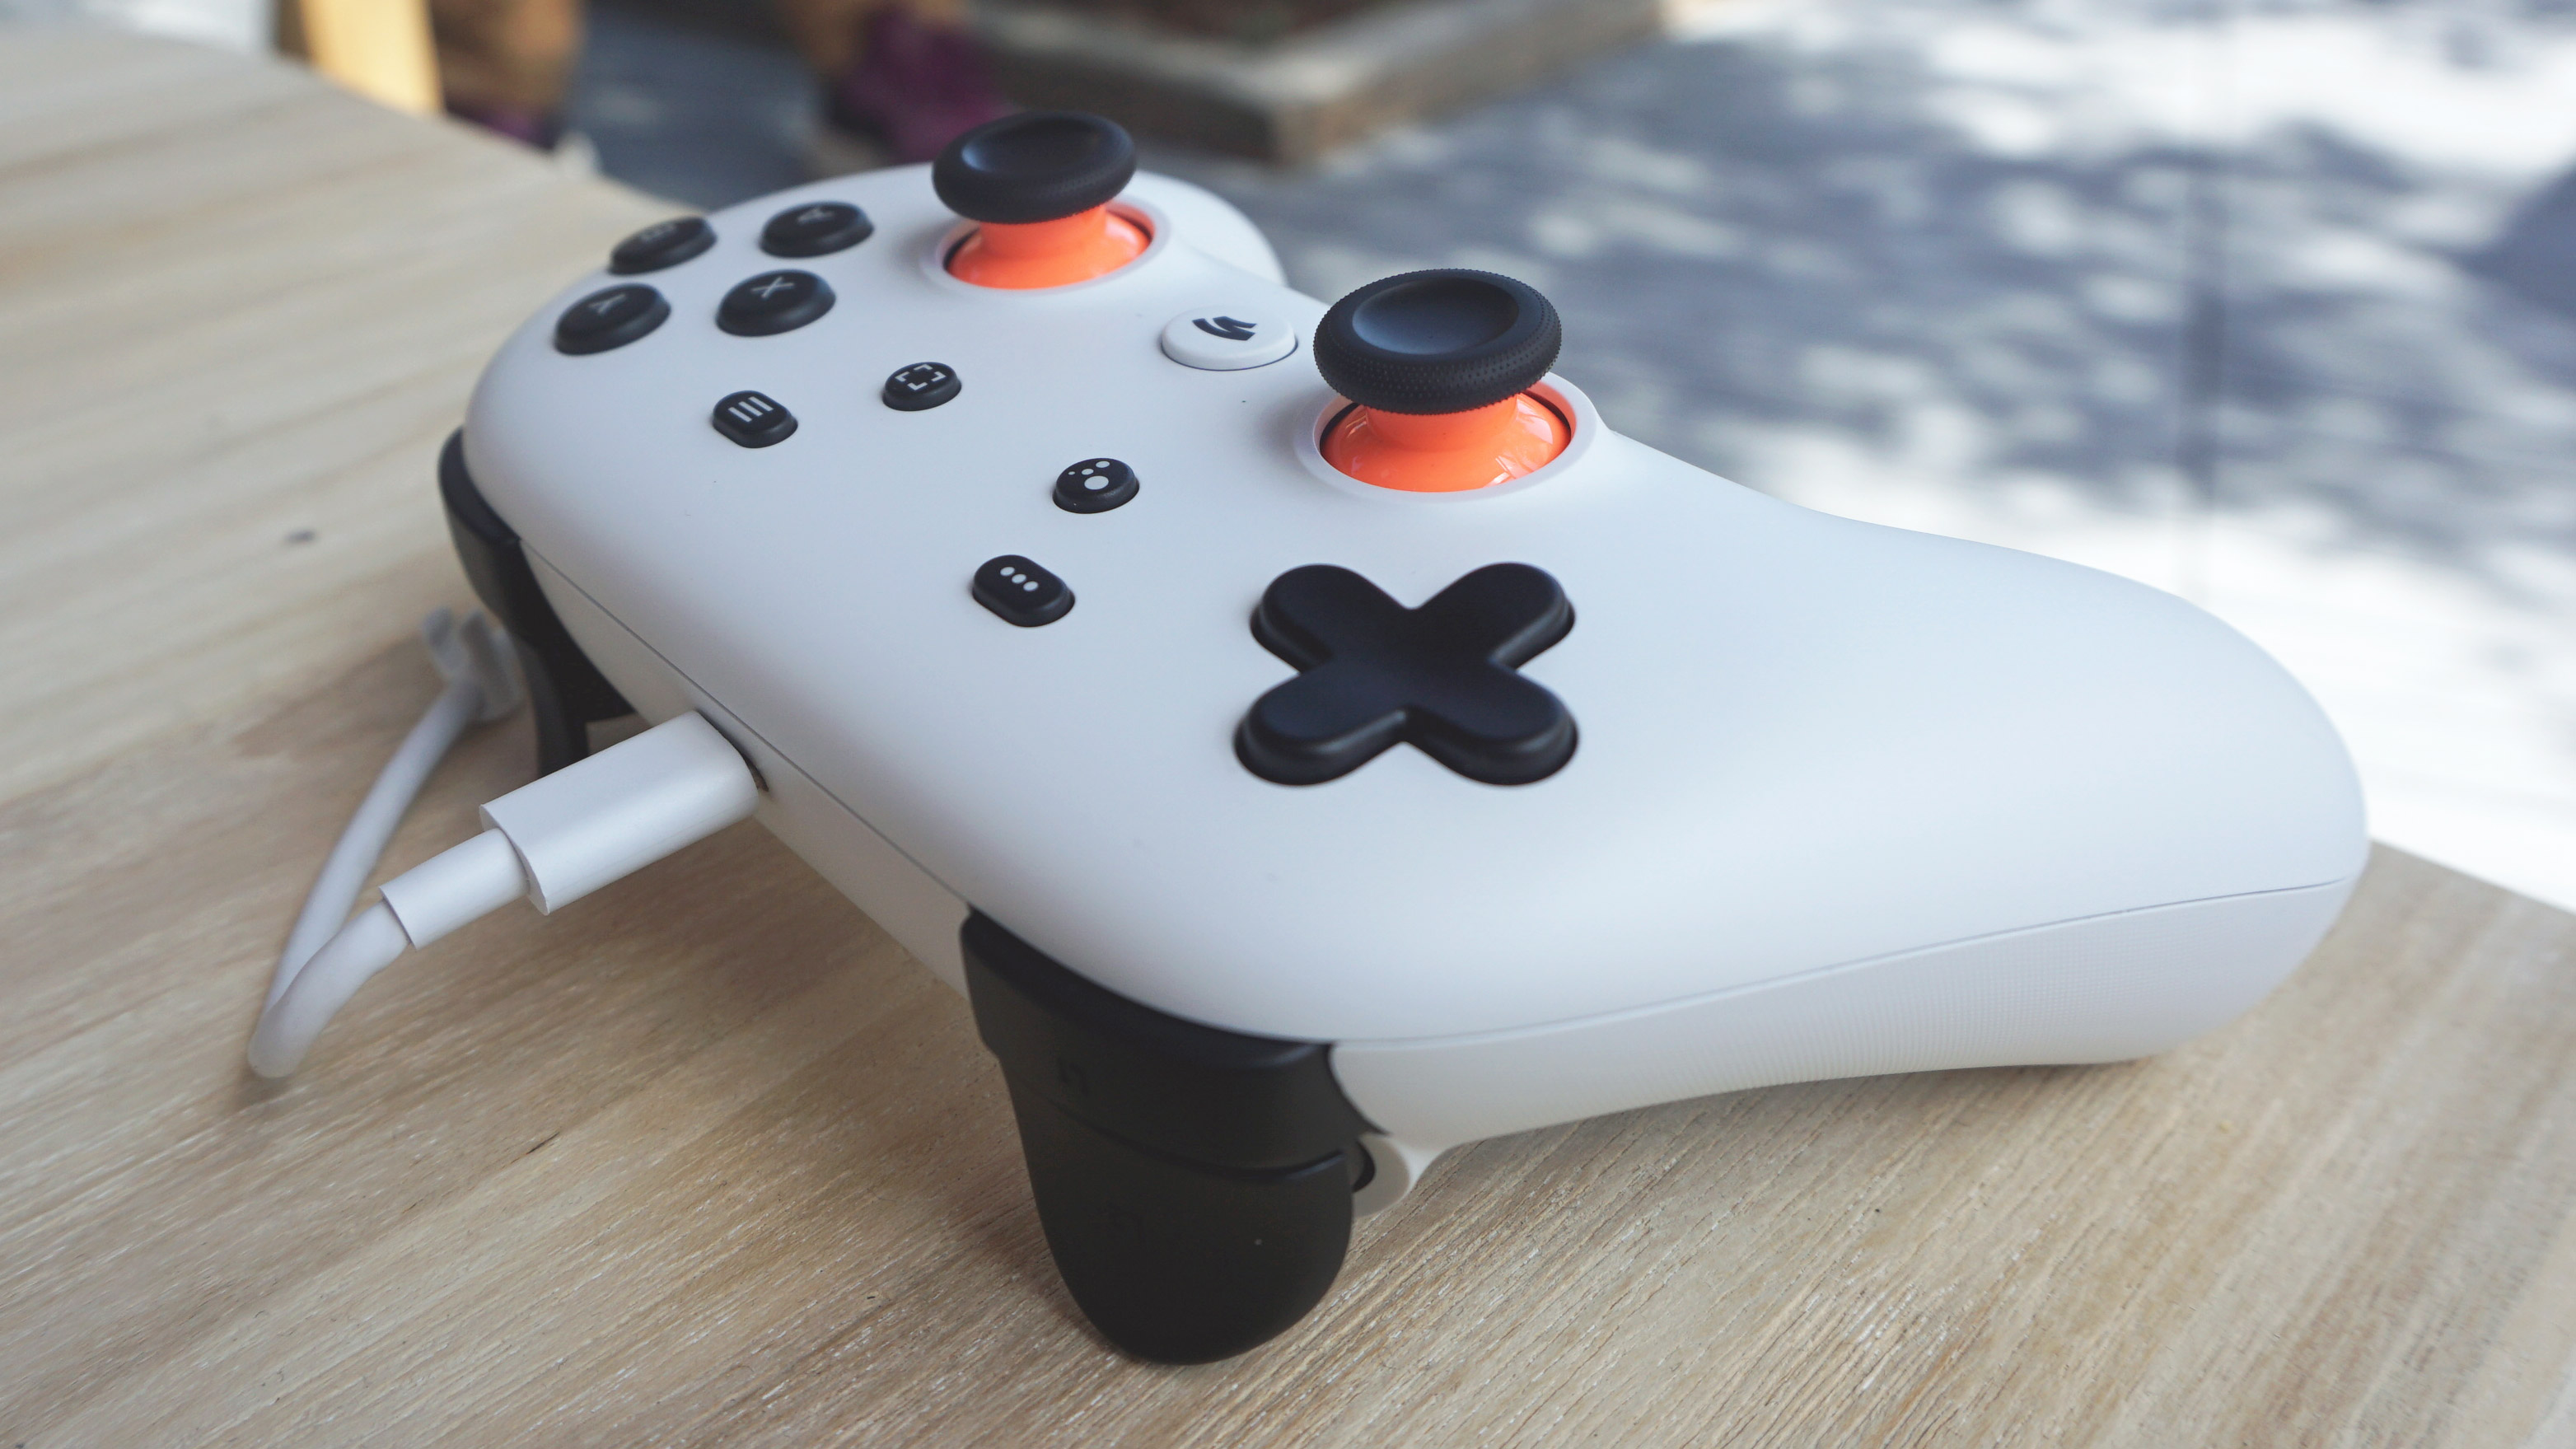
Cleaning the surface of any gamepad and under the joysticks with your preferred cleaning solution is straightforward.
You can rip off part of a wipe/cloth and use a Q-tip to more easily get underneath a joystick. If you’re using a disinfectant, you’ll want to leave it wet for the product’s specified time. Avoid overly wetting so that solution doesn’t get down the gaps of buttons, joysticks and triggers.
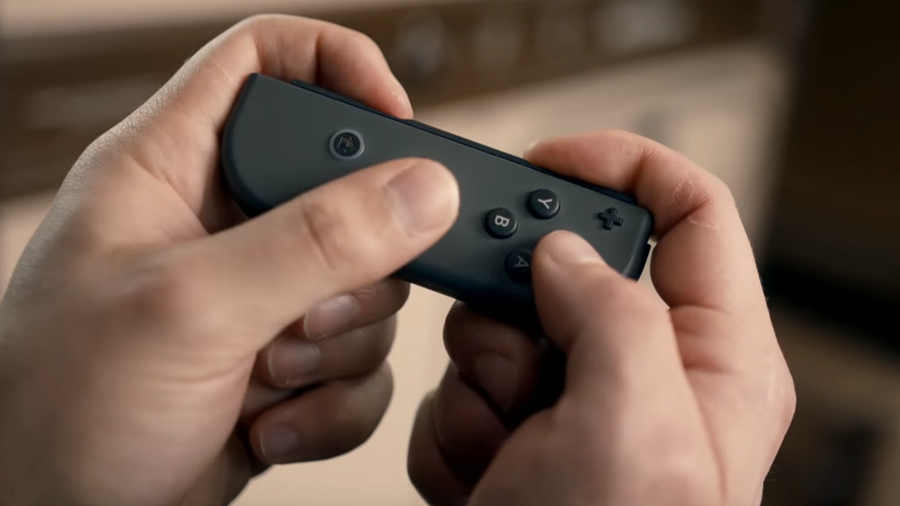
To get to those hard-to-reach button gaps you have options. These range from more official products like electronic cleaning brushes and even vacuum brushes, but you could equally reach for a hack solution of a post-it note or similar substitute. If you’re more adventurous and thorough, you can open your controller up to reach those buttons. The Xbox One controller needs a T8 Torx screwdriver, PS4 controller a Phillips #00 screwdriver, Switch Pro controller a Phillips 000 screwdriver, and Joycons a Y 1.5mm Tri-point screwdriver. Once you’ve removed the back of these controllers, you should be able to remove the buttons individually to clean the sides.
Nintendo Switch
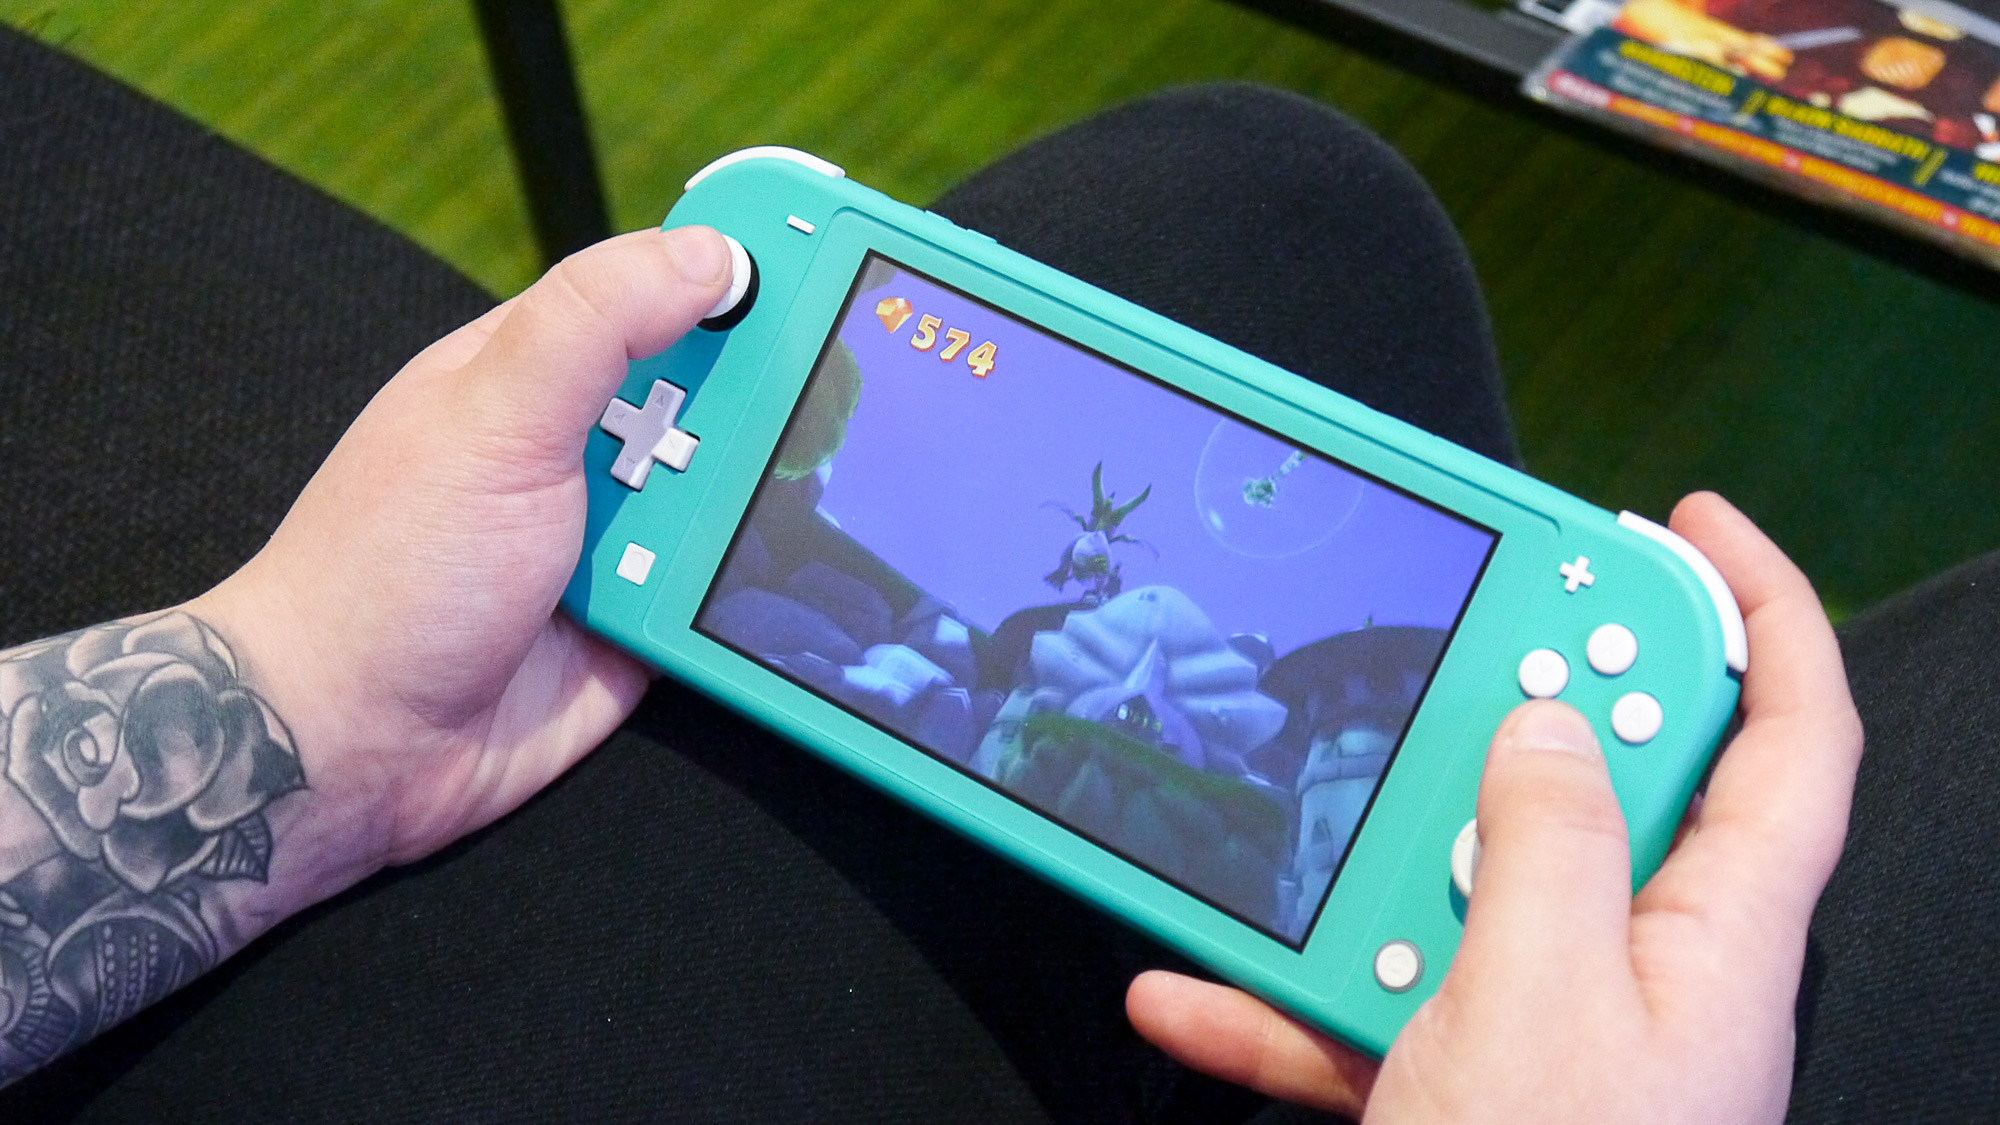
Being essentially a big cellphone that plays Zelda, for this console’s screen you’re free to use 70% isopropyl alcohol wipes. Equally, gently rubbing with simple household soap and water on a microfiber cloth is a majorly effective option. Simply dry off with another clean microfiber cloth.
What you might want to avoid altogether is antibacterial gel or most other cleaning products, since this may damage the oil repellant coating that prevents fingerprint marks. This may also apply to any screen protector you’ve applied if that boasts similar oil resistance in its feature list. Ensure no water gets in the charging port and the device is fully powered off and not just in sleep mode.
Keyboards and mice
Clean the surface of the keys with your preferred cleaning solution using a microfiber cloth that’s sufficiently unsaturated so as to not let solution run between the keys.
As with gamepads, you can either use various methods to clean between the keys or be so rigorous as to remove them to clean underneath. In the case of laptops, it’s likely that removing keycaps will both be more difficult and riskier, so this is best left to only problem keys. For this you can use the tip of a flathead screwdriver on each corner of a target key. You can then tackle any debris of this area with compressed air or a Q-tip exposed to your solution of choice. Leave to dry and put the key back in.
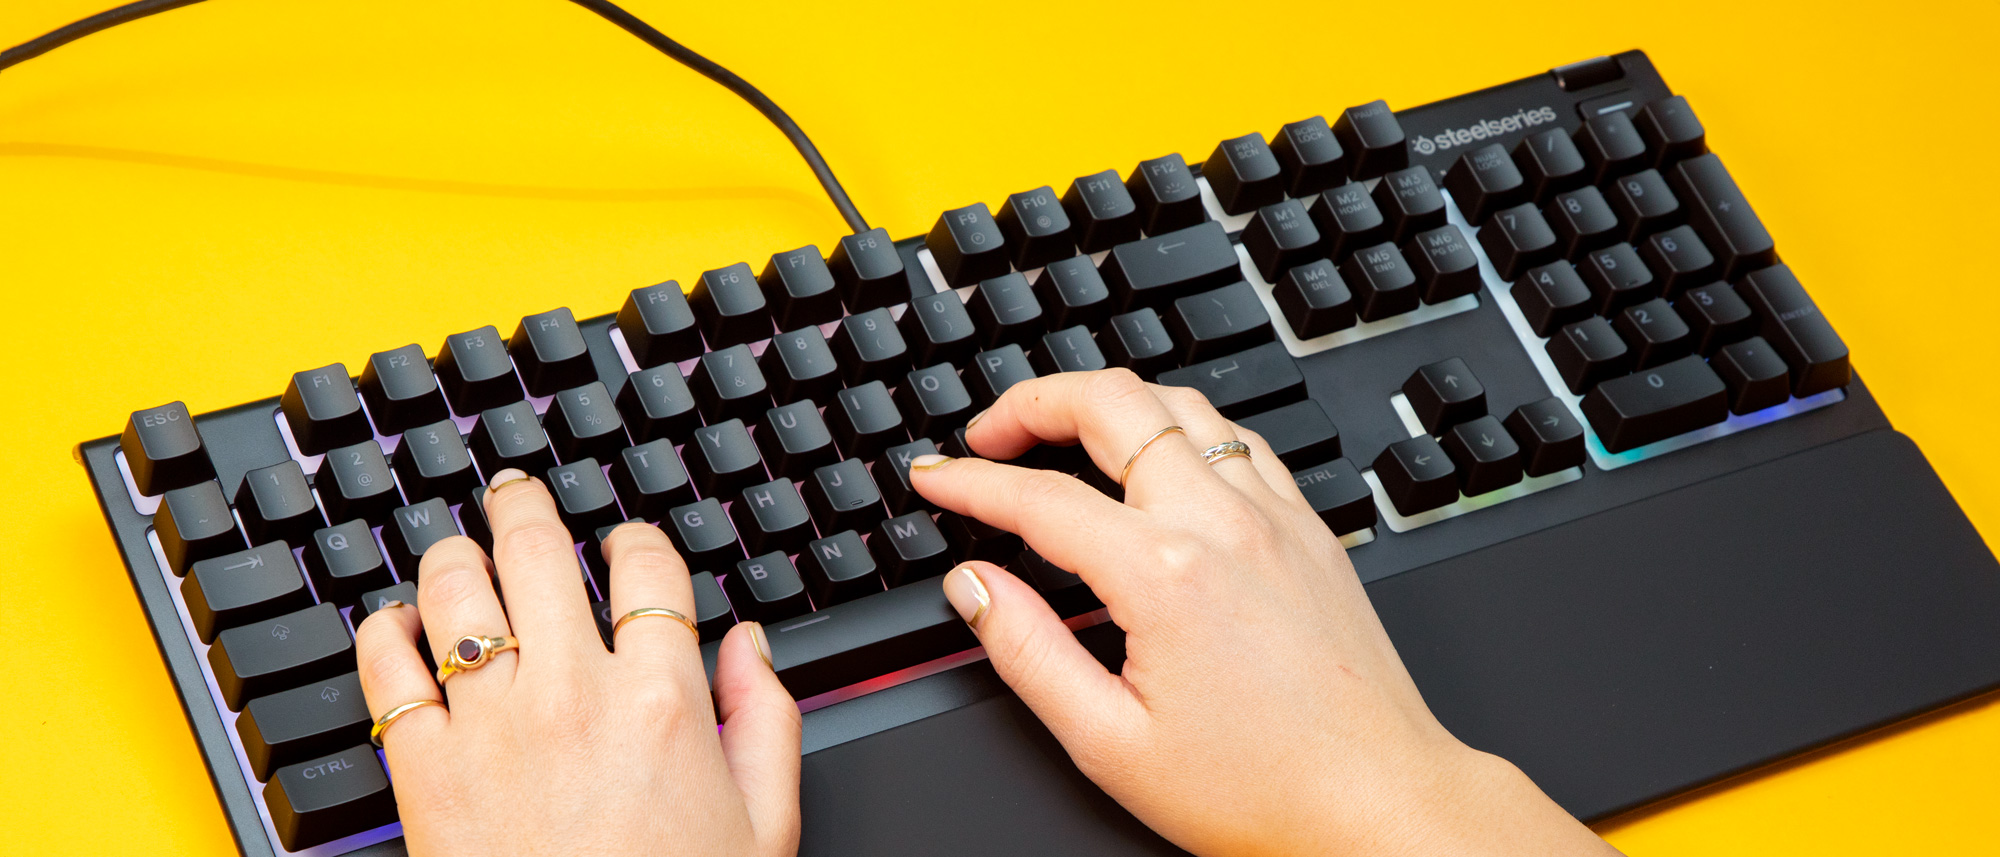
To avoid removing keys you can use brushes (even a toothbrush) or Q-tips exposed to some solution of choice to run between keys. Post-it notes, cleaning putty gels or compressed air can be used to remove any dust or debris. It may also be worth simply patting any debris you can out.
Your mouse is a very simple job of ensuring no excess liquid on your microfiber cloth and using your preferred cleaning solution to rub it down. You could also use a brush to get under the mouse buttons and clear out debris.
VR headsets
Given its intimate proximity to your eyes and nose, its propensity for fostering a hot, moist environment, and the irresistible urge you’ll have to show it off, your personal head-mounted display is the device you’ll most want to practice good hygiene with.
First things first, you’ll want to replace that default foam cushion with an easy-wipe, waterproof alternative. This will let you wipe it between each use. Avoid using an alcohol solution at least every time, however, since it can be harsh to skin.
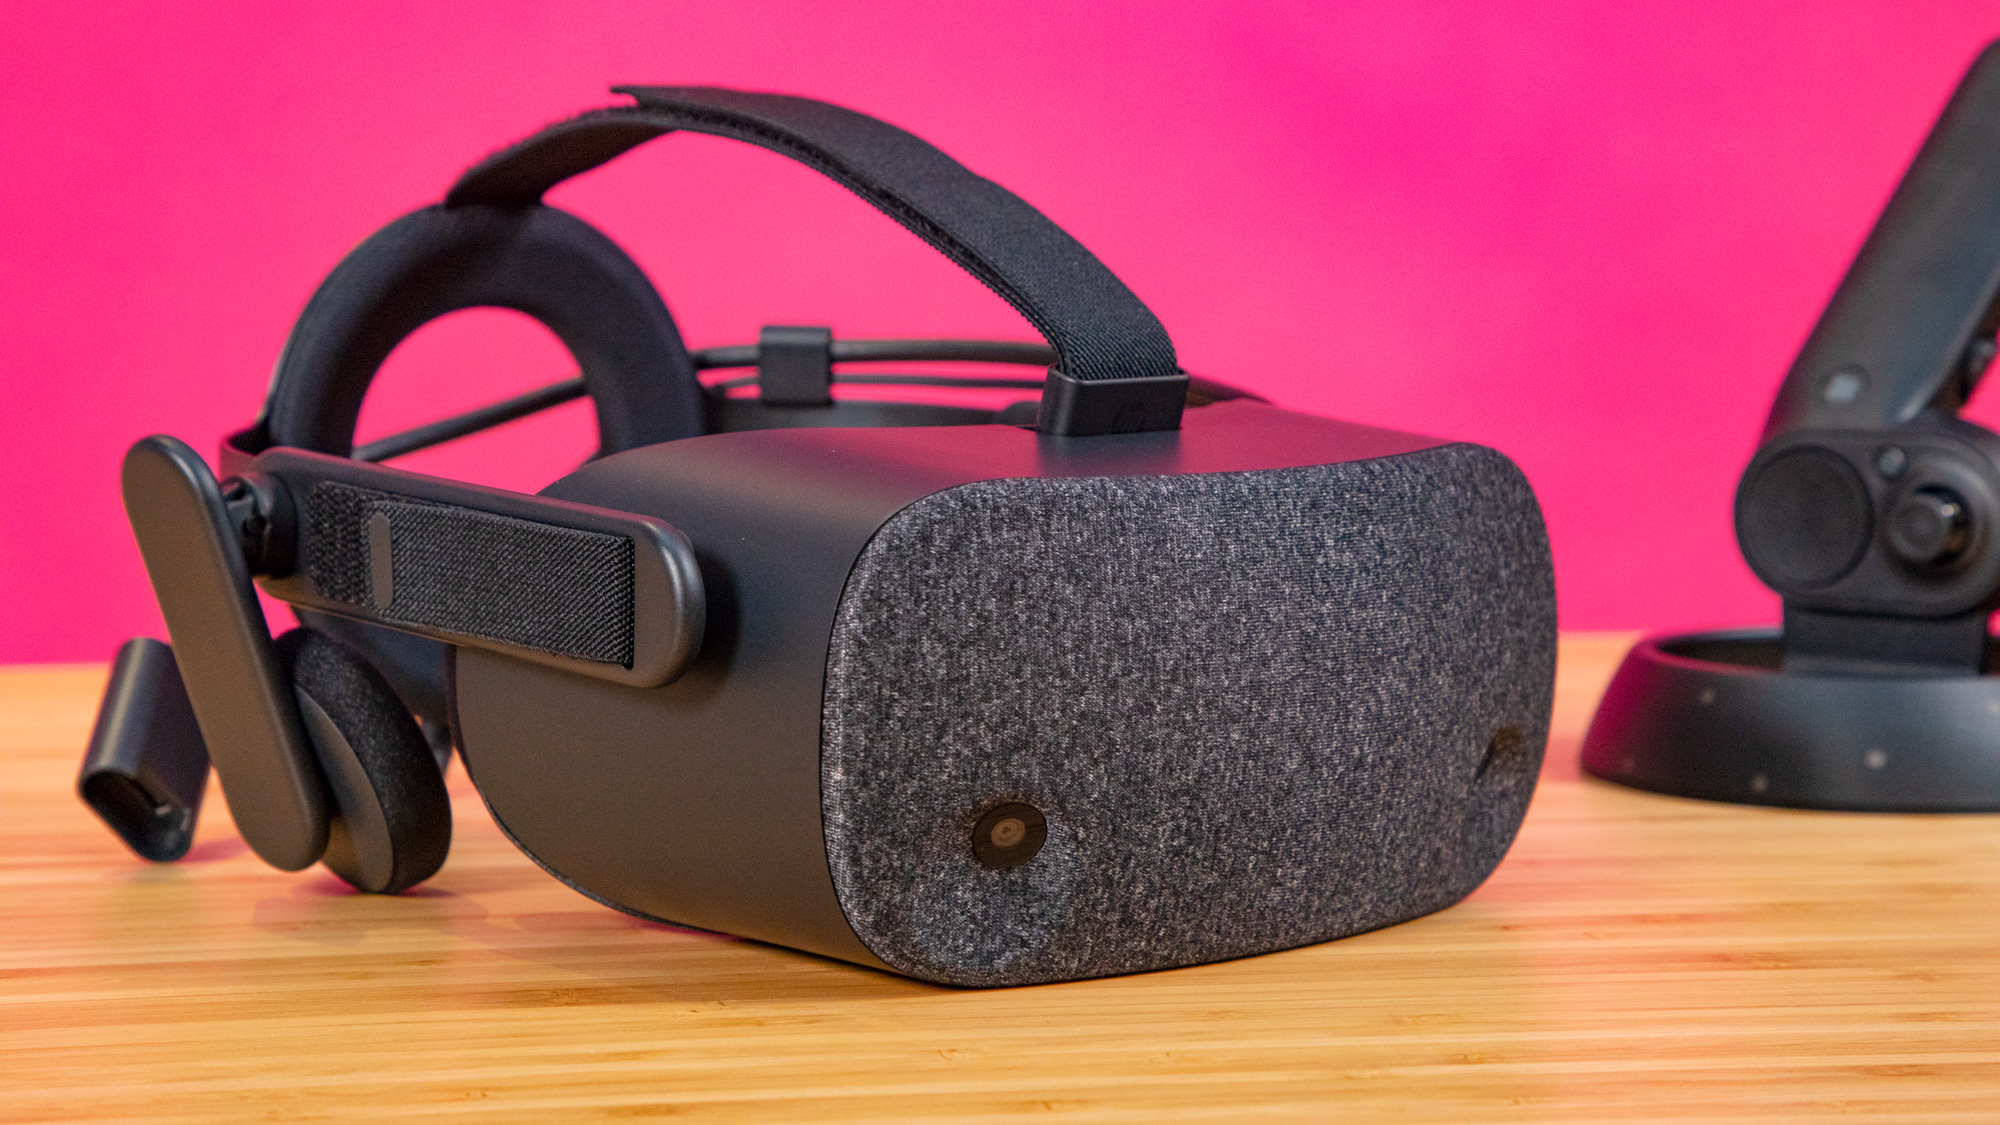
Keep a microfiber cloth handy to wipe the lens and inside of moisture between exchanges too. A regular disinfect of the inside is a good idea. Be careful to avoid getting any solution in the lens gaps, however, if you want to clearly see Half Life: Alyx and not soap slicks.
Keeping your headset off the floor and somewhere it can avoid dust is a good idea. If it does see any dust accumulation, you could use compressed air to get it out of hard to reach areas and otherwise use a trusty microfiber cloth.
Compared to a standard gamepad, VR controllers are majorly expensive, an ungodly nightmare to get into and host to a wide number of issues, so you’ll likely want to stick to surface-level disinfecting them like a standard controller whilst avoiding getting any solution in button/trackpad gaps. You can also use those similar brush solutions to instead get down the side of buttons and trackpads.

Henry is a Medical neuroscience graduate at the University of Sussex and a freelancer.