How to install a dash cam
Sign up for breaking news, reviews, opinion, top tech deals, and more.
You are now subscribed
Your newsletter sign-up was successful
If you’ve been looking at the best dash cams for your vehicle, then you'll have noticed that there are plenty to choose from. From forward-facing to front-and-rear cameras, there are options for all kinds of driver. But whichever one you choose, there's one important step to negotiate before it's up and running: the installation.
Thankfully, this is usually a pretty straightforward process, but we've put together this handy guide to make sure it goes as smoothly as possible. Our tips may even help you decide what kind of dash cam is best for you, or give you pointers on how to install it before it arrives.
Dash cam designers have done most of the hard work and that means installation can usually be done in no time. Unless you're going the hard-wired route, setting up a dash cam doesn’t require any real technical skill. Most models also come with a basic installation manual, at the very least.
However, there are a few steps that can make installing a dash cam even more straightforward. We’ve outlined the core steps involved in getting your in-car camera online below. While there may be some variations on the theme depending on the model you’ve purchased, the general process is basically the same.
1. What you'll need
Most dash cams have been designed for universal fitment, so it’s usually possible to get your preferred model up and running in any kind of vehicle.
Your dash cam will probably come with a microSD card, but you might want to buy a larger capacity one for more recording freedom. Check out our guide to the best microSD cards for some ideas – and don’t forget to push it correctly into the built-in port before you begin your installation.
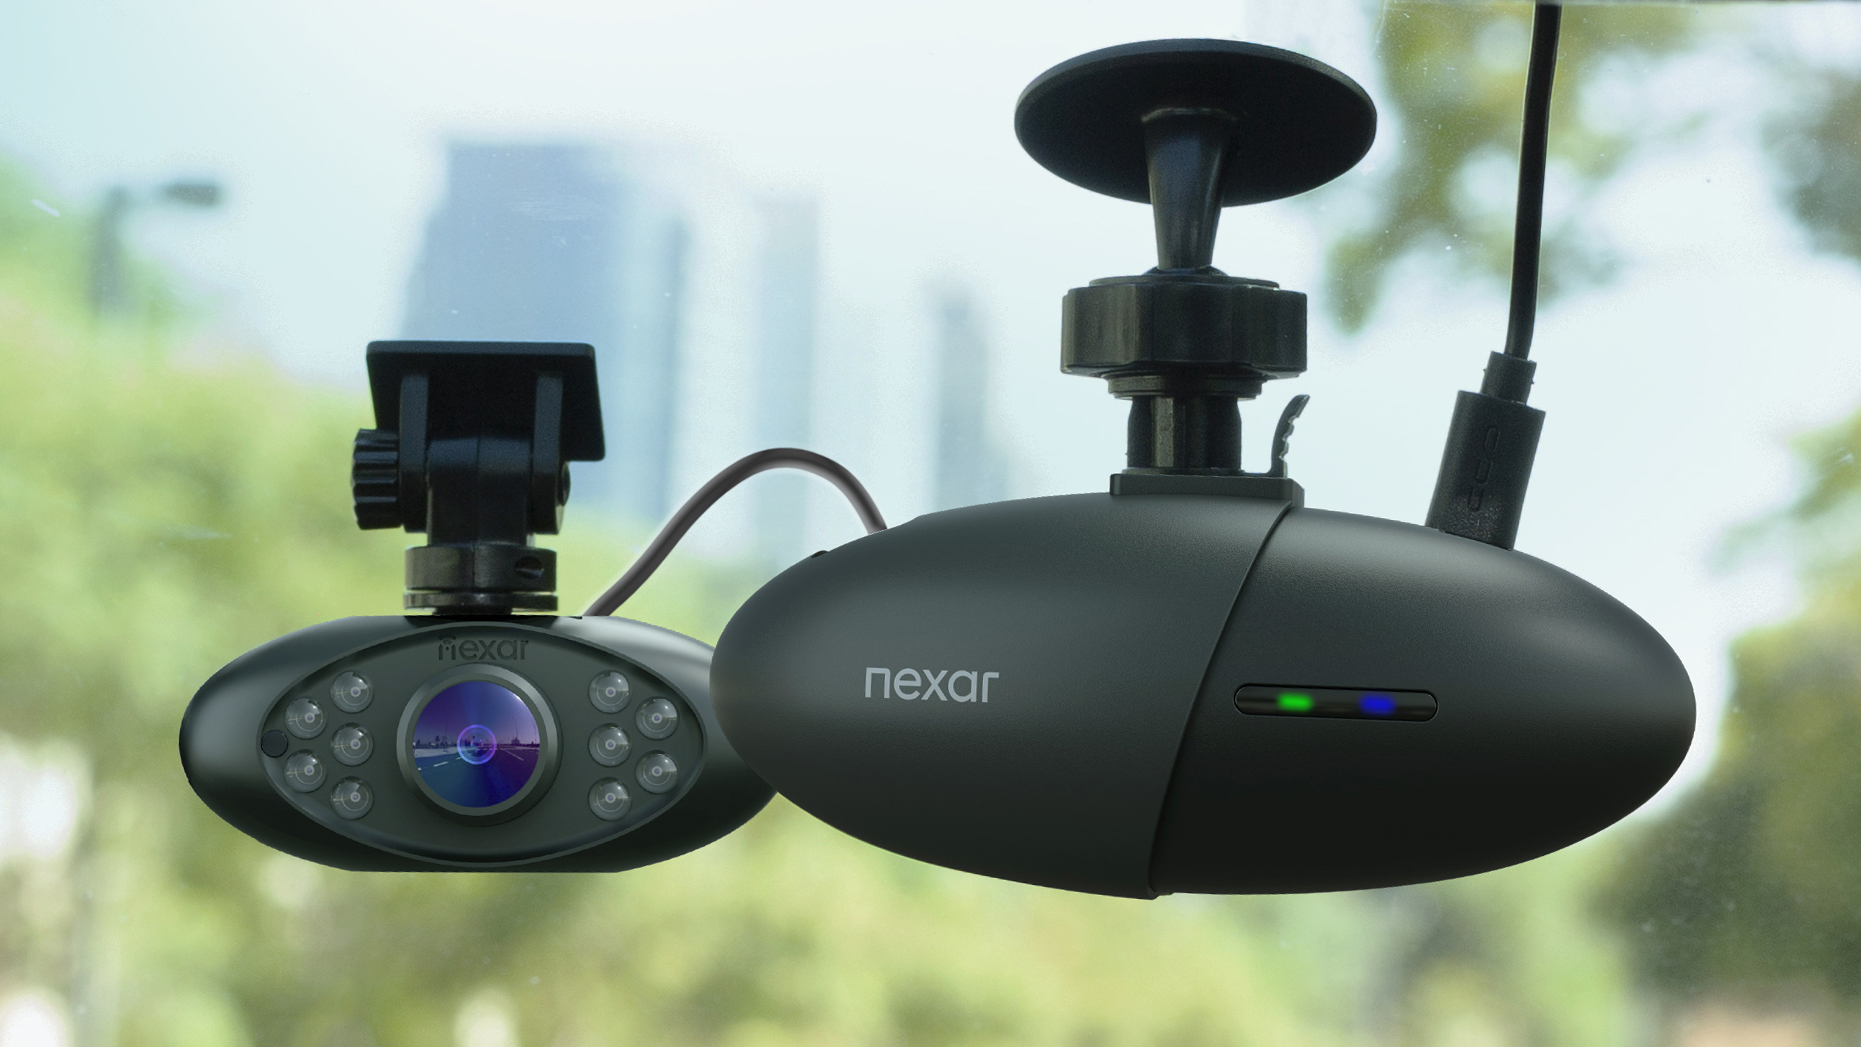
You might have more than one dash cam to install, too. Some models, like the Nexar Pro, come with an additional interior camera for added security. Consider this option if you think interior security is a must-have. Other front-and-rear bundles have a rear-mounted camera as part of the package.
Sign up for breaking news, reviews, opinion, top tech deals, and more.
You’ll need to allocate a little time for the installation, but the tools needed should be minimal. Grab a screwdriver and some tape for holding things in place. A light is also handy if you’re working inside the car or poking around under the dash. A second pair of hands is always a bonus, too.
2. Choose a location
This is a straightforward step in the process but requires some forethought. If you’re installing a front-facing dash cam you’ll want an unobstructed view of the road ahead from a centrally-located vantage point.
Just under the rear-view mirror is a standard option. Conversely, low down near where the windscreen meets the dashboard is another dependable vantage point.
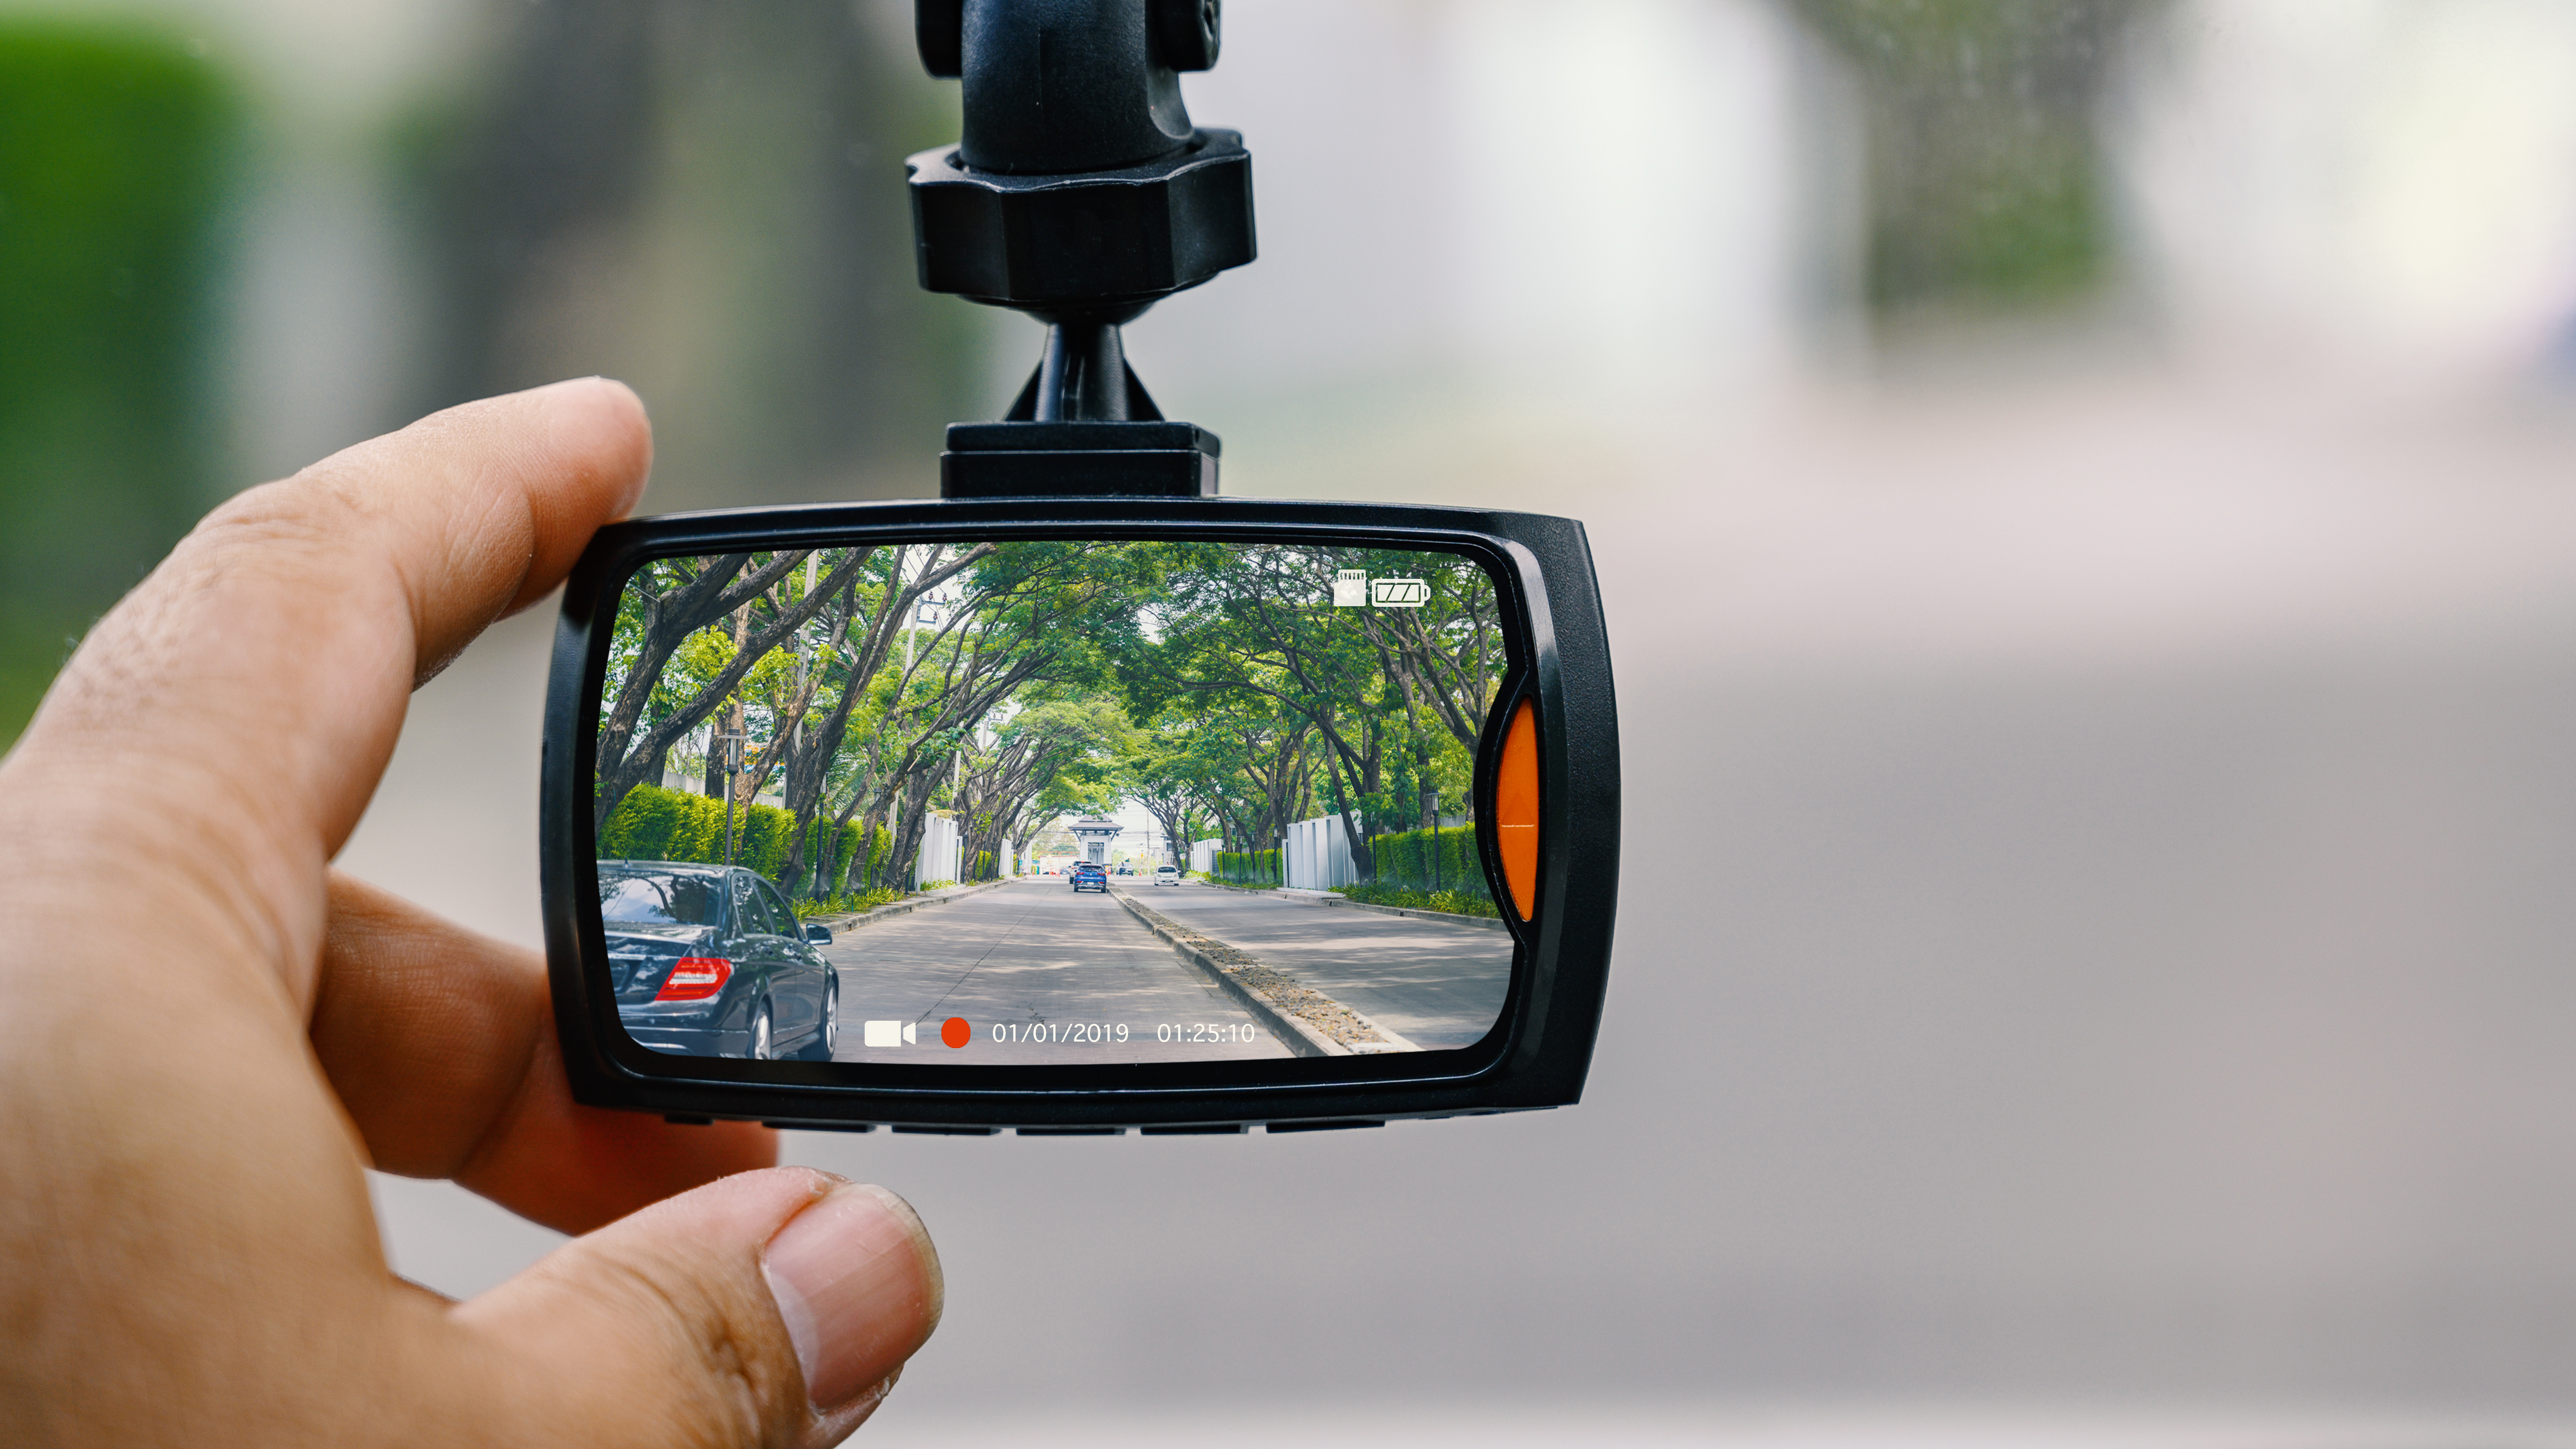
The main thing to bear in mind is that the dash cam shouldn't obstruct your view in any way, in order for it to remain legal. This is also the case if you’ve got a rear-facing dash cam to fit.
You’ll also want to ensure the dash cam is positioned so that it captures an even, central view of the road. Check that it’ll see far enough ahead without unintentionally having the view cropped by pillars, the bonnet or, indeed, the rear-view mirror. It’s worth having a dry-run at this point, to make sure the dash cam is in an optimal position.
3. Types of mount
Fixing your dash cam into position usually involves a mount, which is likely to be one of two different kinds. There’s the suction mount variety (like the one below), which is the more practical option as it allows the mount to be easily moved. This is especially useful if you need to use the dash cam in more than one vehicle or aren’t happy with the existing location and need to adjust it.
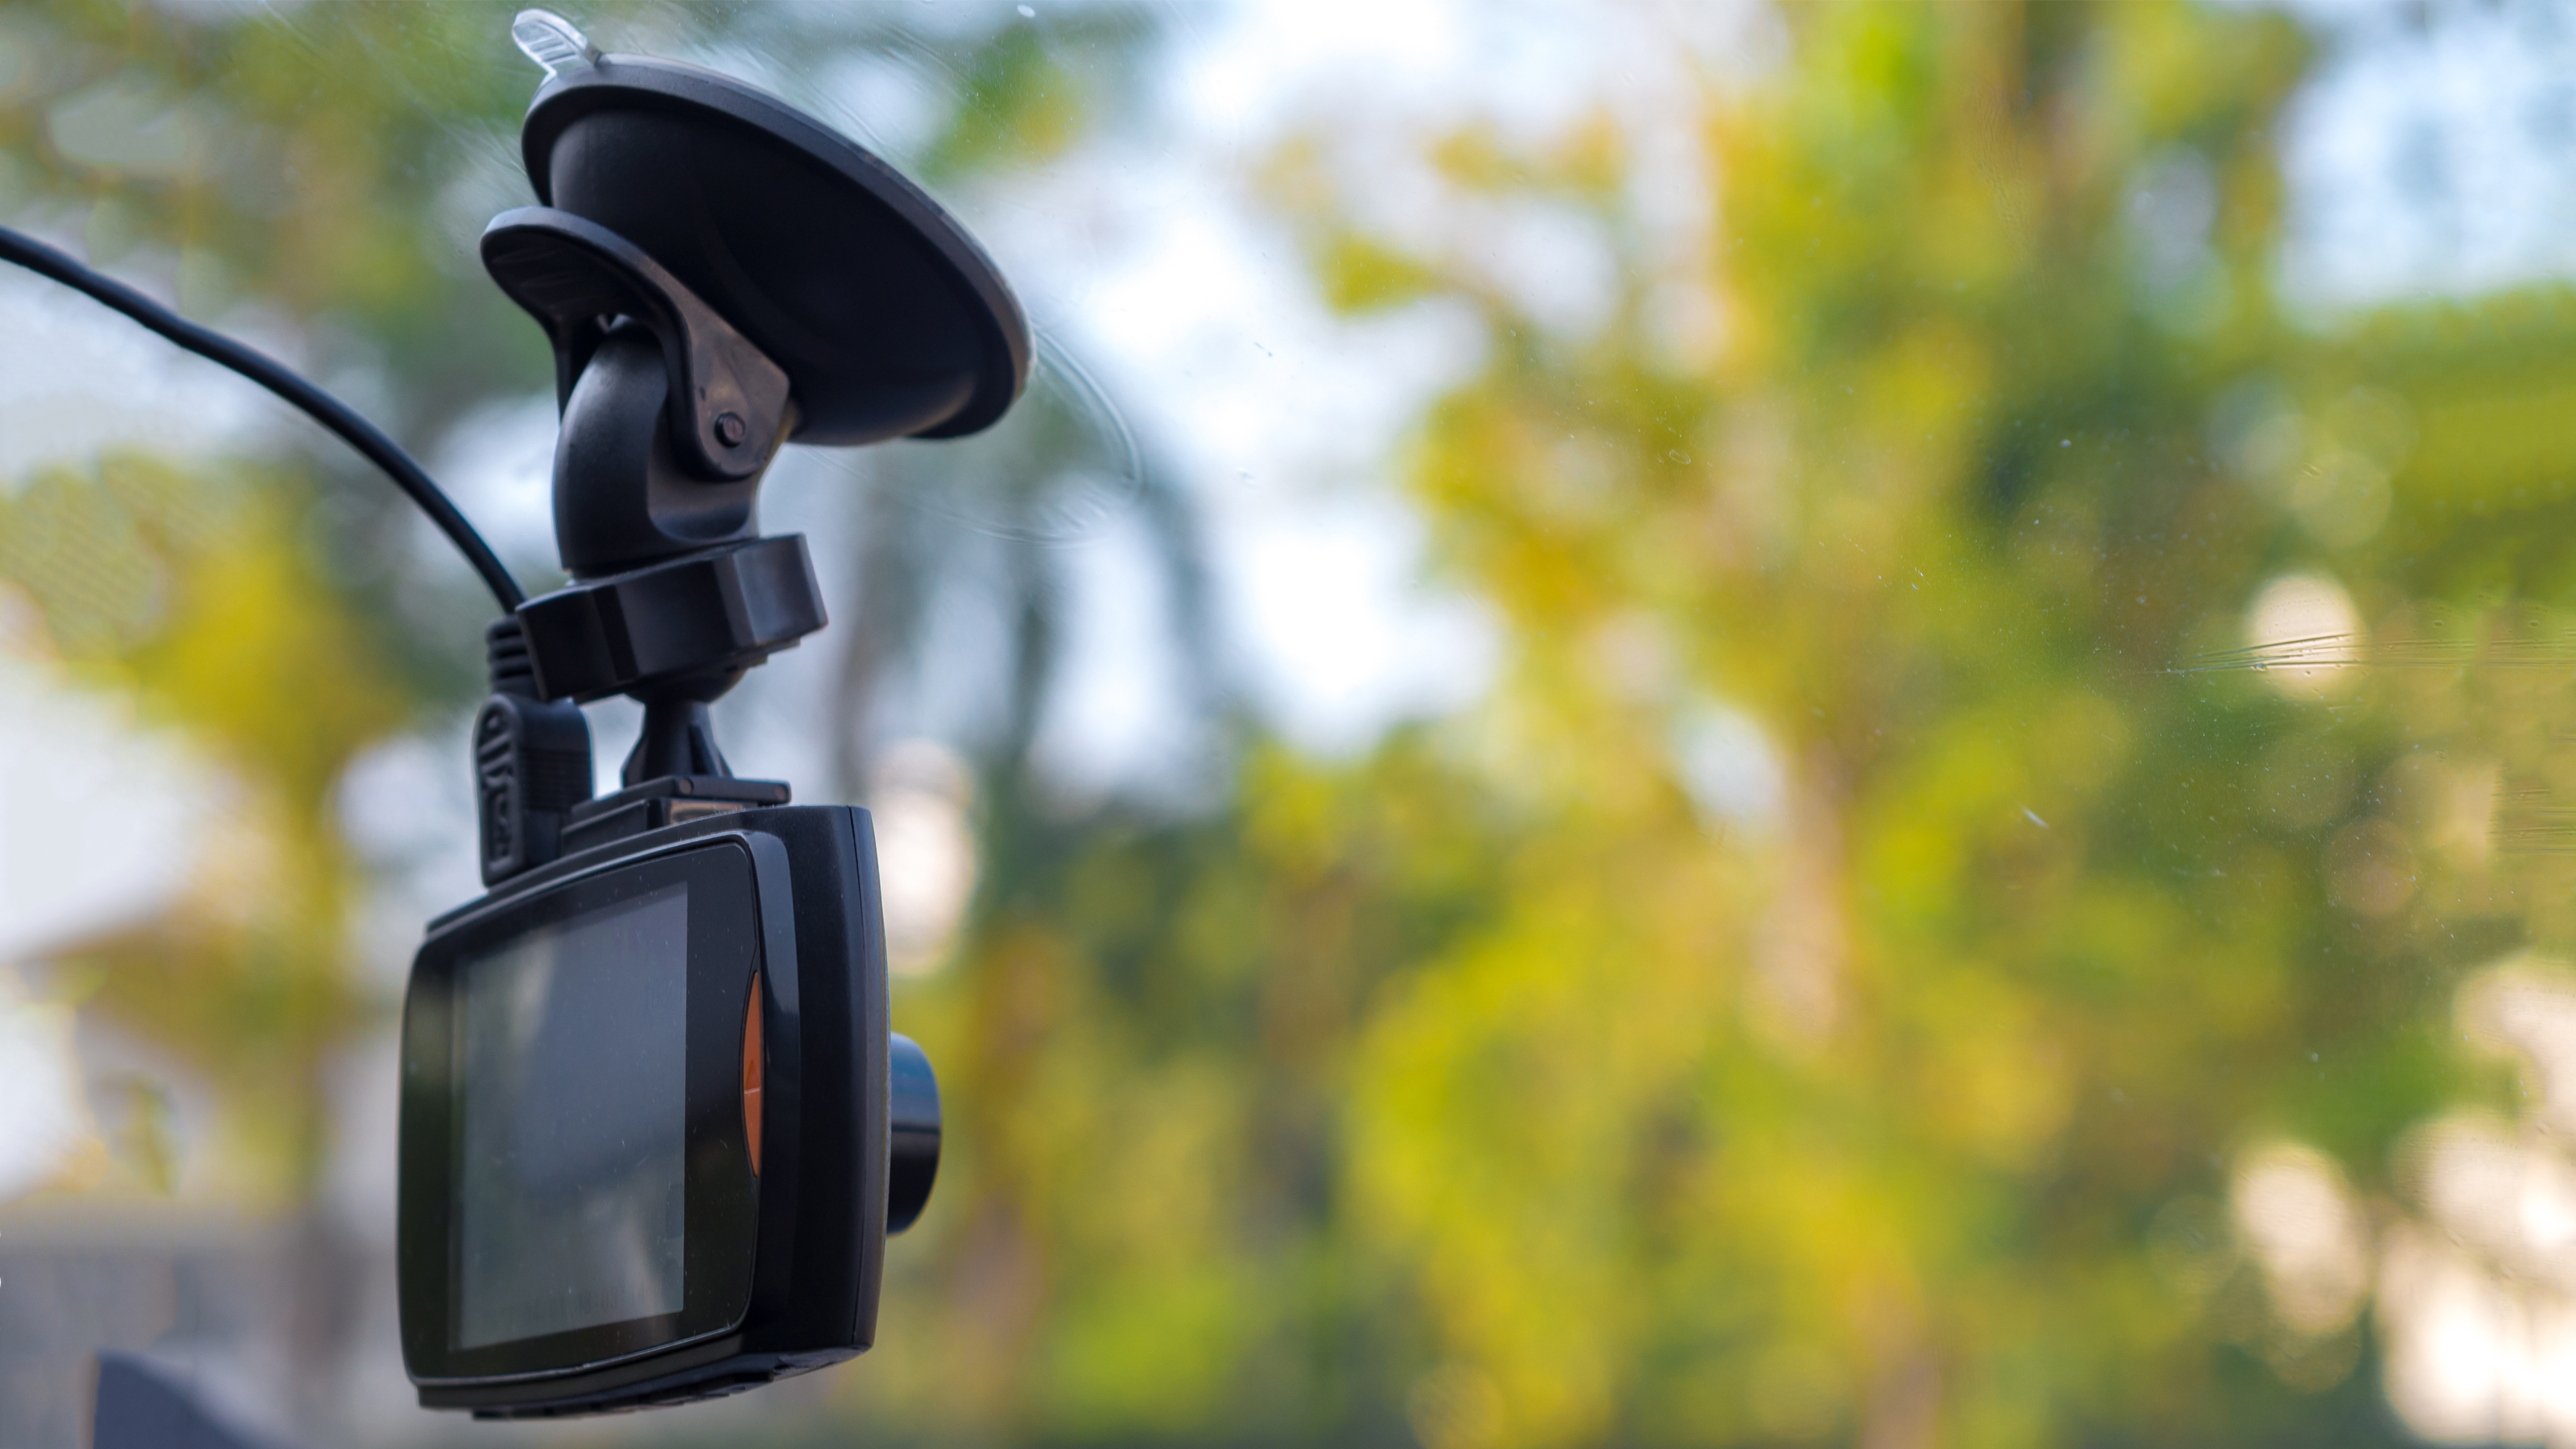
The other type of mount frequently revolves around a bracket with a sticky self-adhesive pad on it. This bonds in semi-permanent fashion to your windscreen, dash or similar location. The downside of this mount design is that you need to get the position of the dash cam right first time, or be prepared to pull it off and start again. Some models come with spare sticky pads that allow you to do this, but it’s less appealing than the suction mount route.
Either way, the main objective is to position the dash cam so it aligns with the horizon. Every vehicle is different, so this requires some careful thought and experimentation. You might get lucky and position it right first time, but if you’re working with a sticky pad-type mount it’s best to practice a couple of times first. Some tape, a wipe-off marker and, ideally, a second pair of eyes can all help get the camera positioned correctly before you fasten it into place.
4. Plug-in or hard-wired?
Dash cams are third-party accessories, which means you'll have cables to deal with – and this is the most complex part of the installation.
The most basic way to power your dash cam is to plug it into your car's cigarette lighter/auxiliary port. Most models come with a bundled cord for doing this, though it's worth making sure it comes with a longer one (at least four meters, ideally) if you're planning to pipe it around your windscreen and underneath seats.
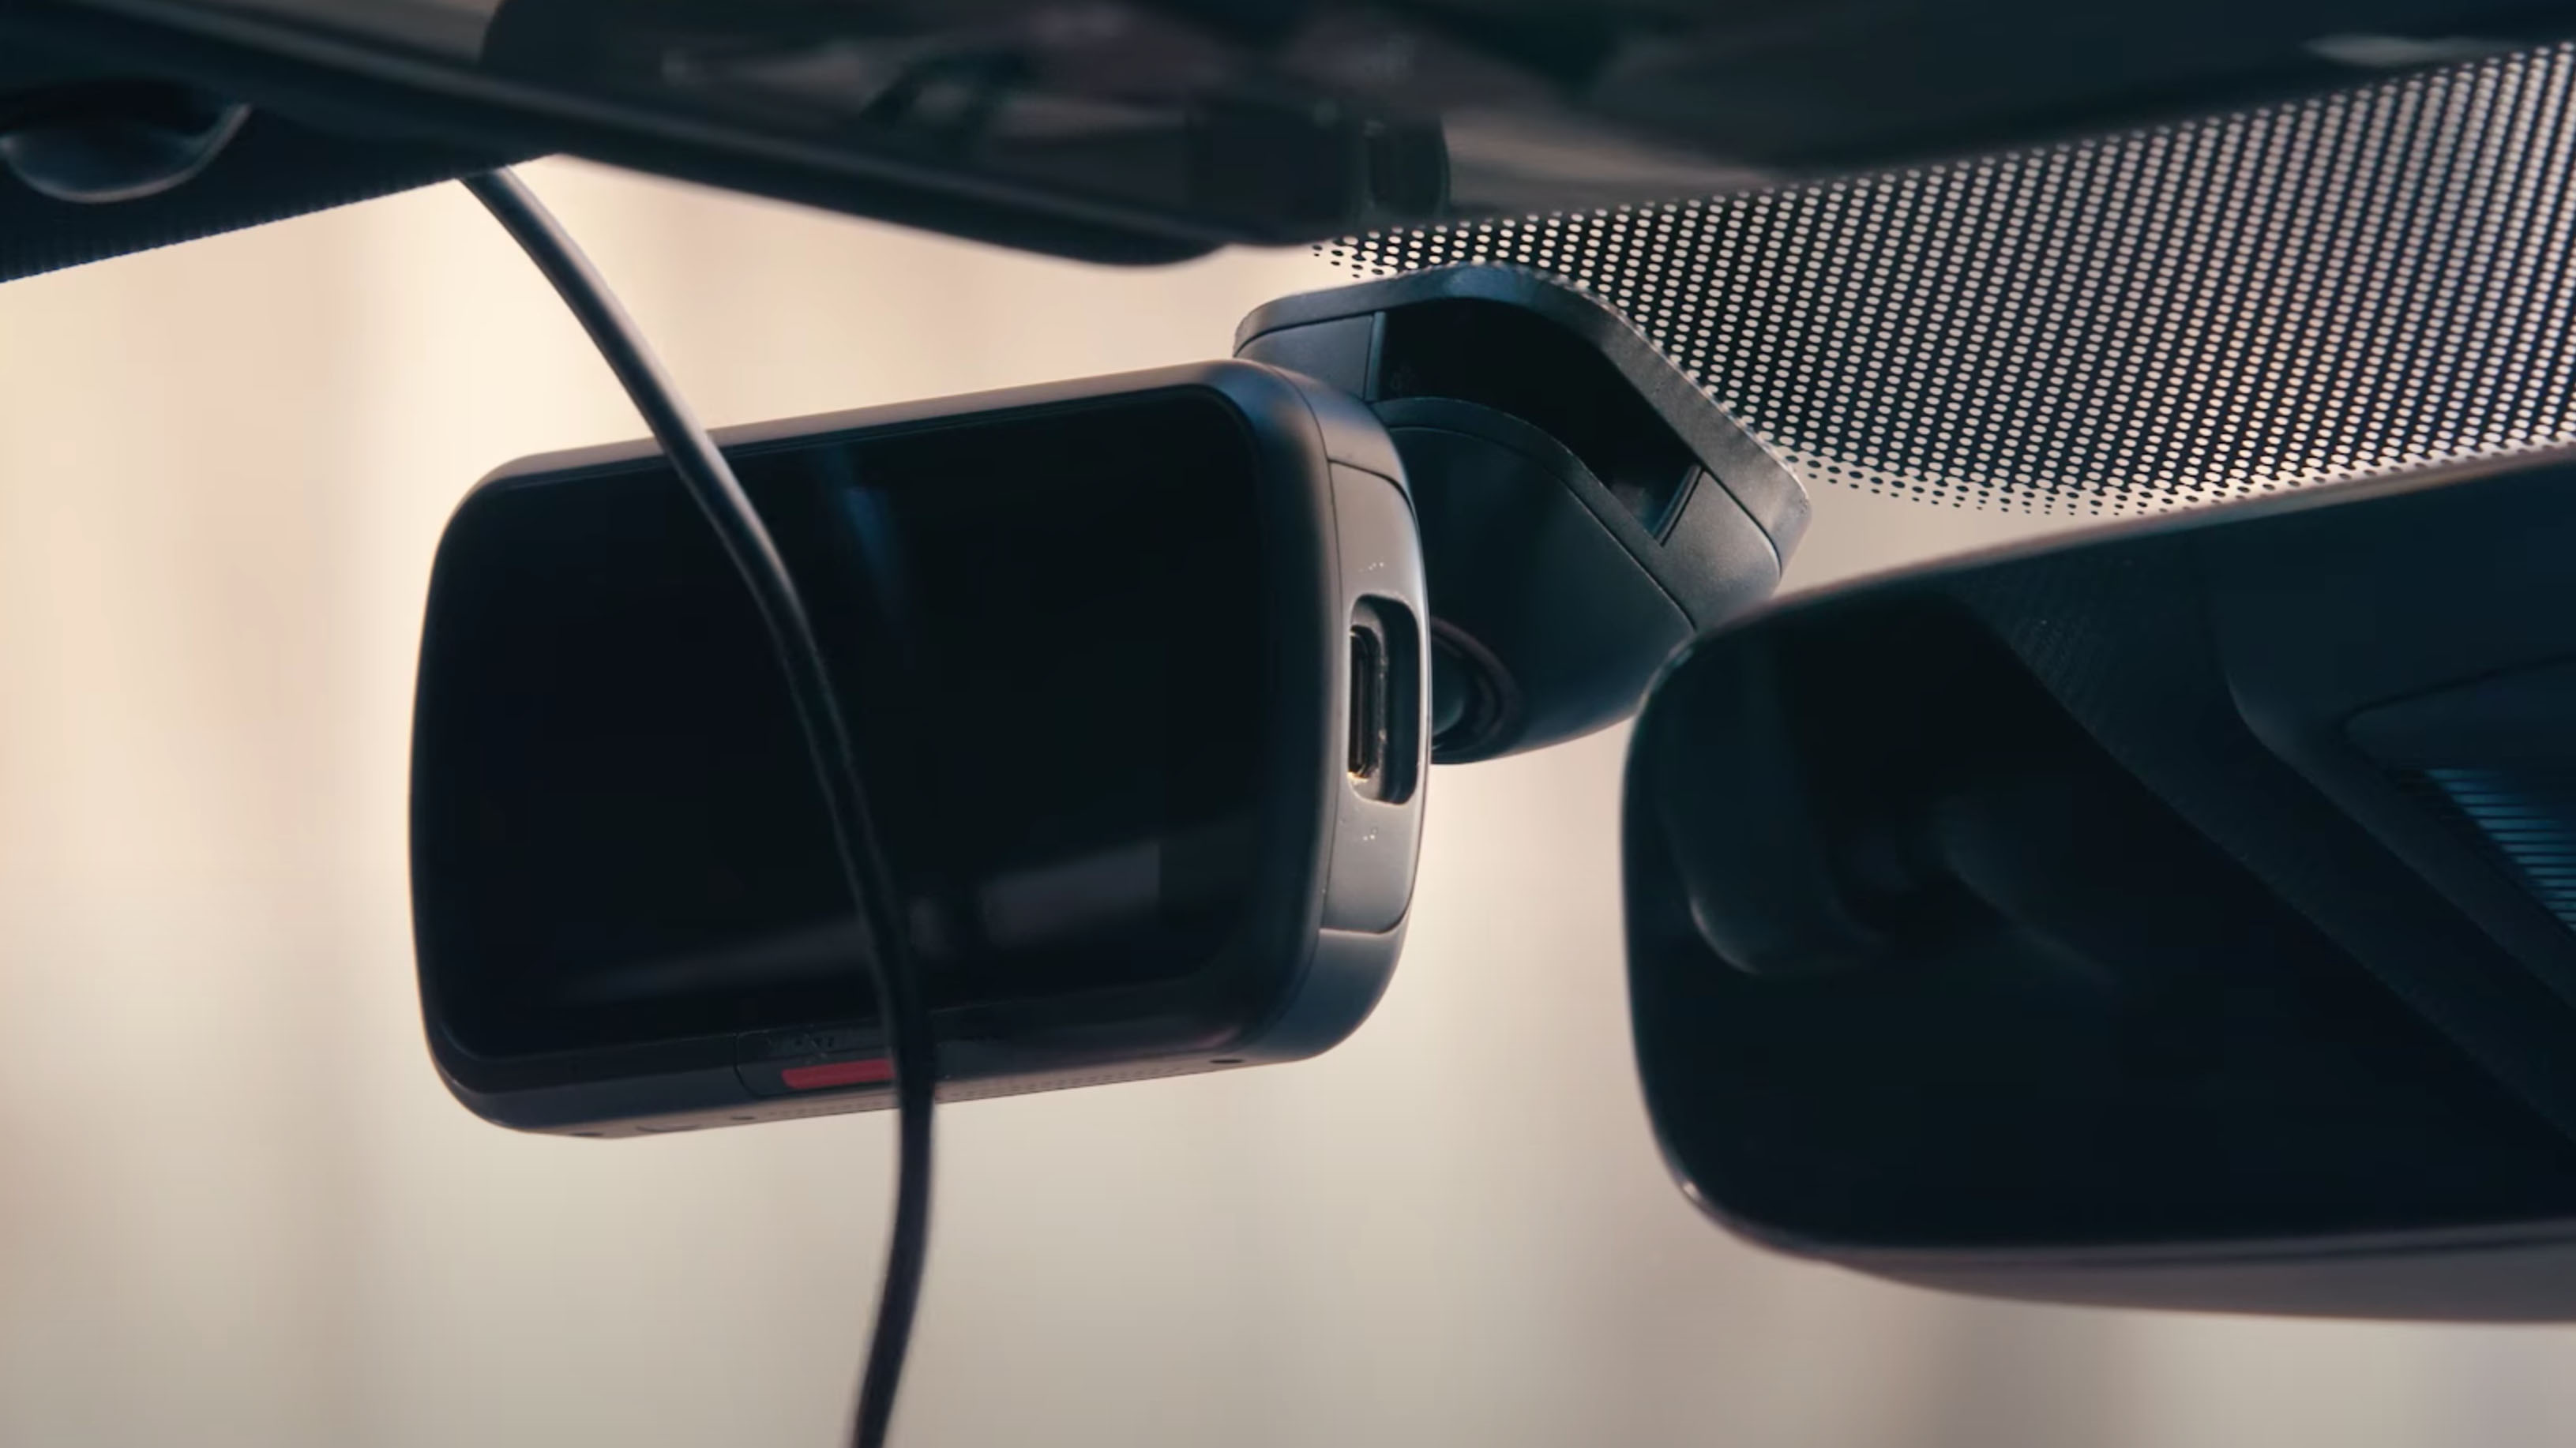
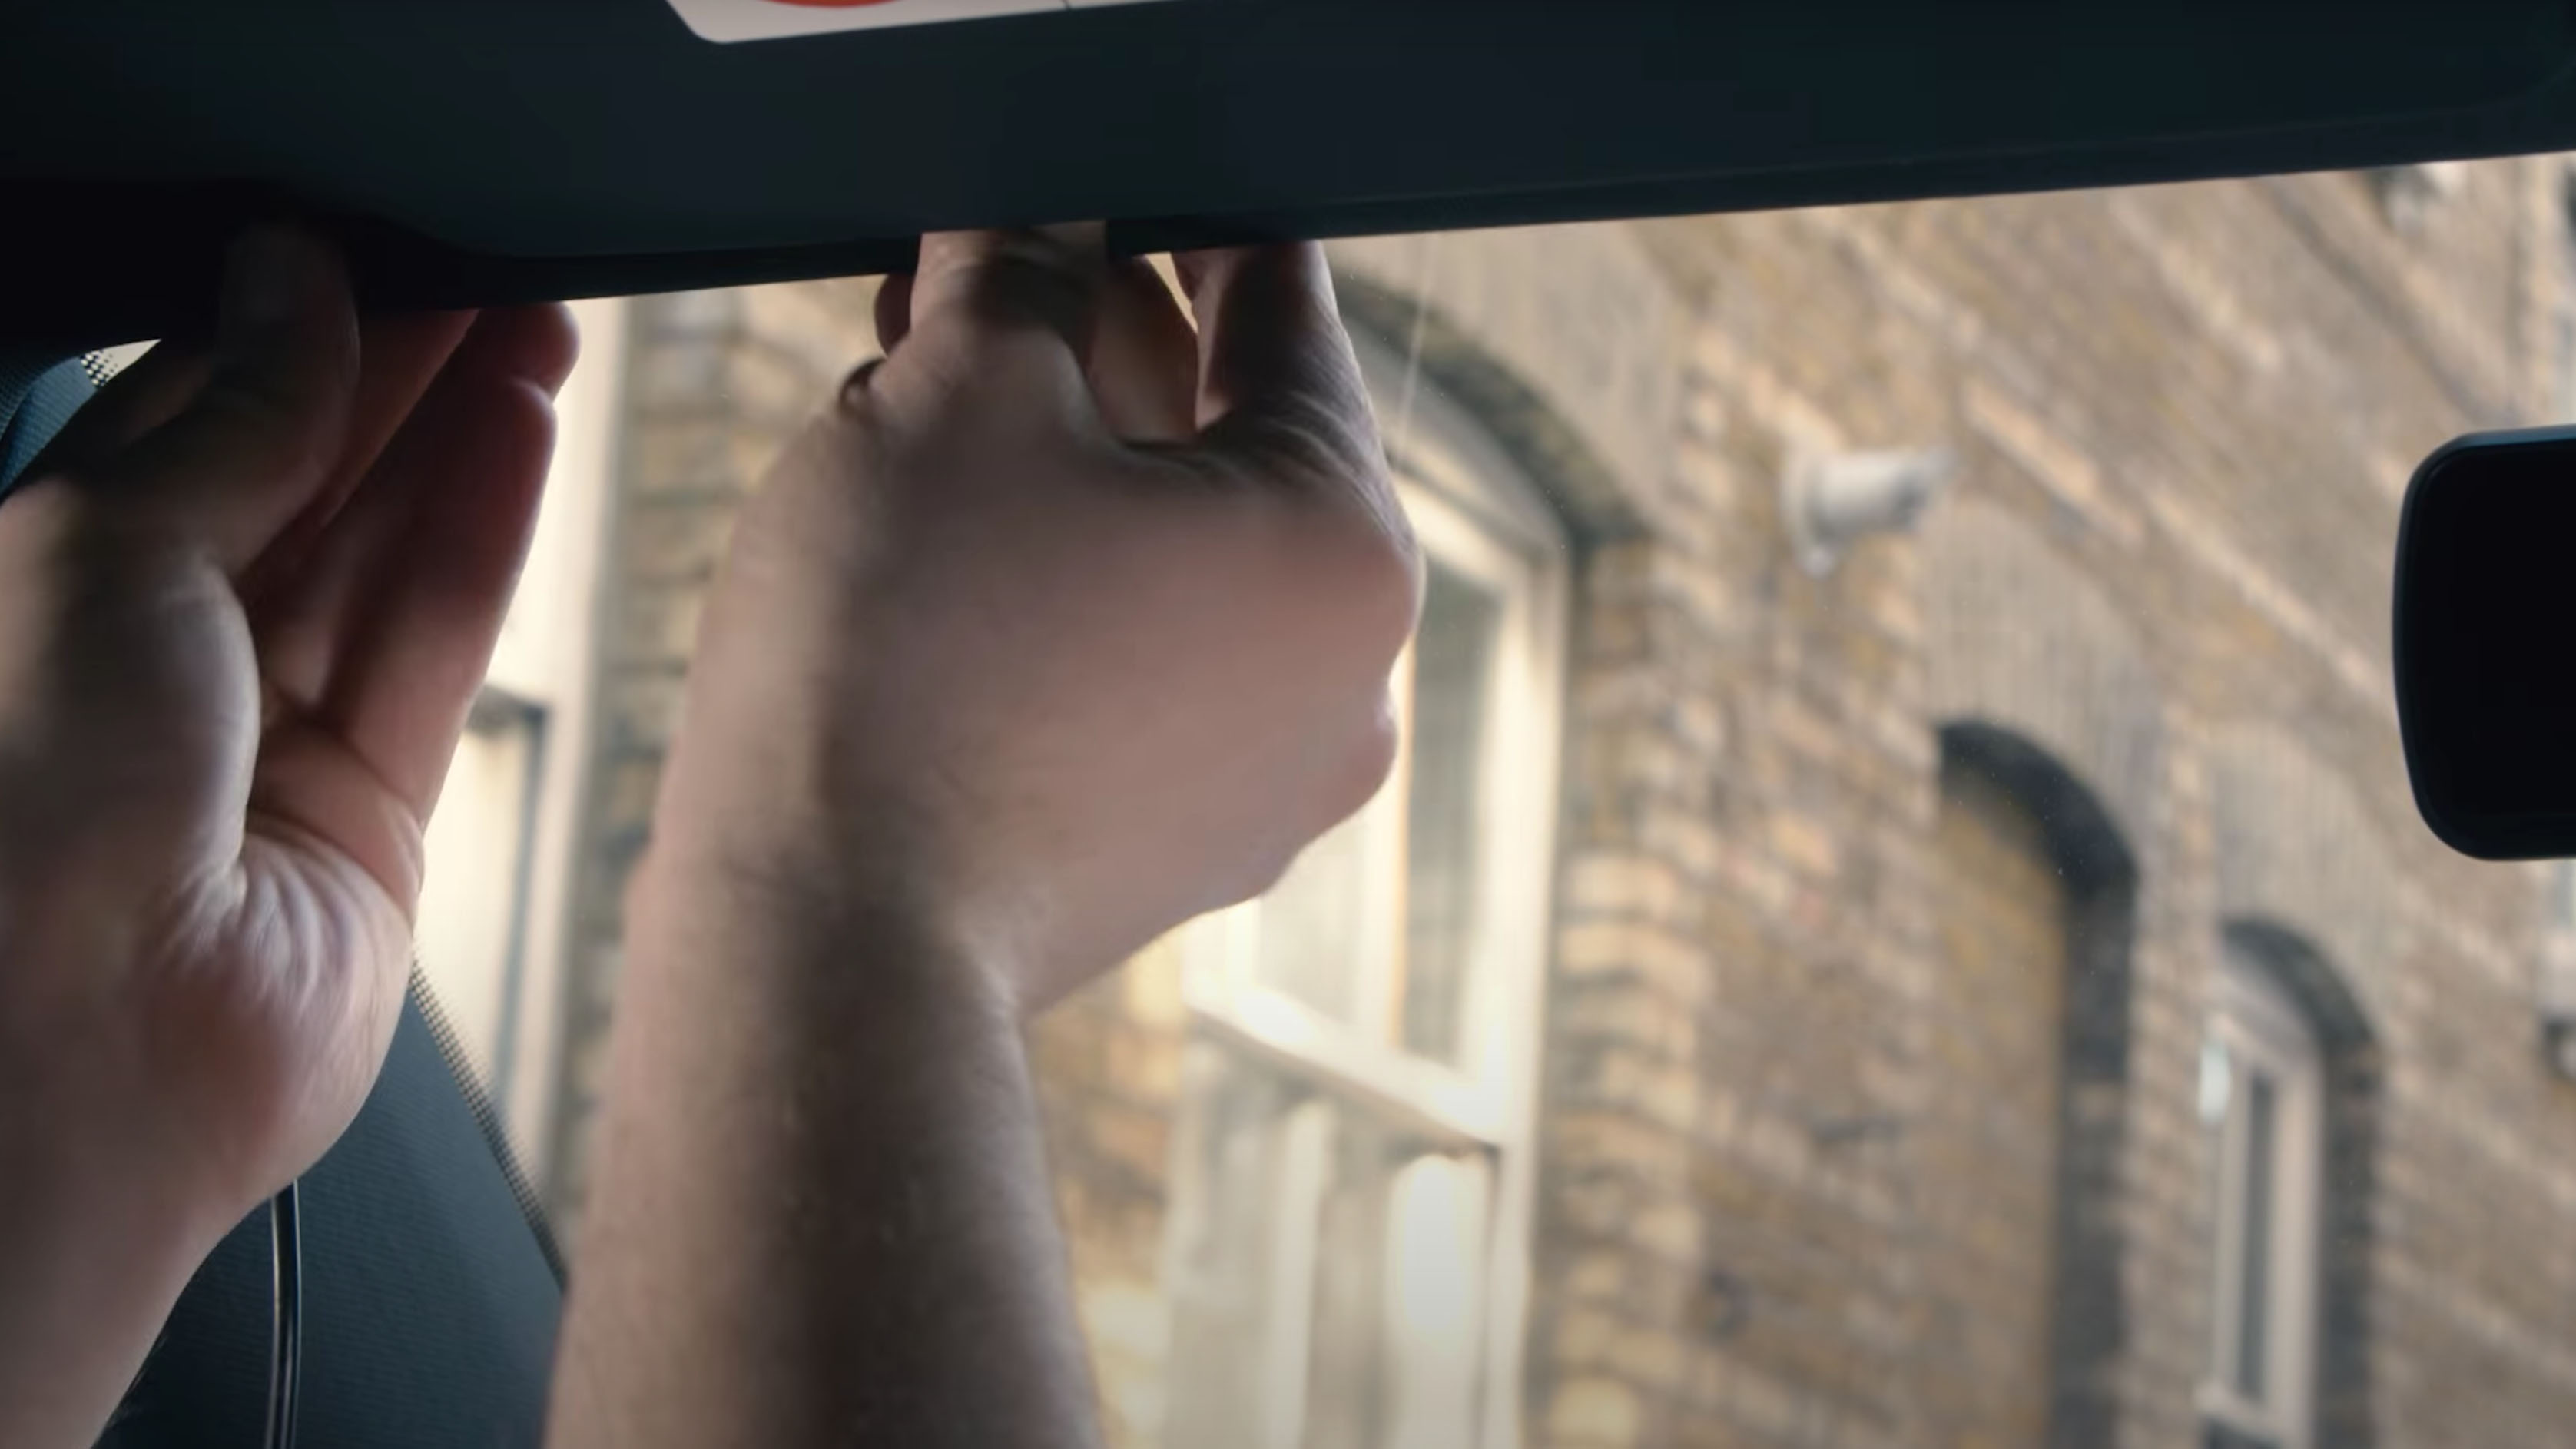
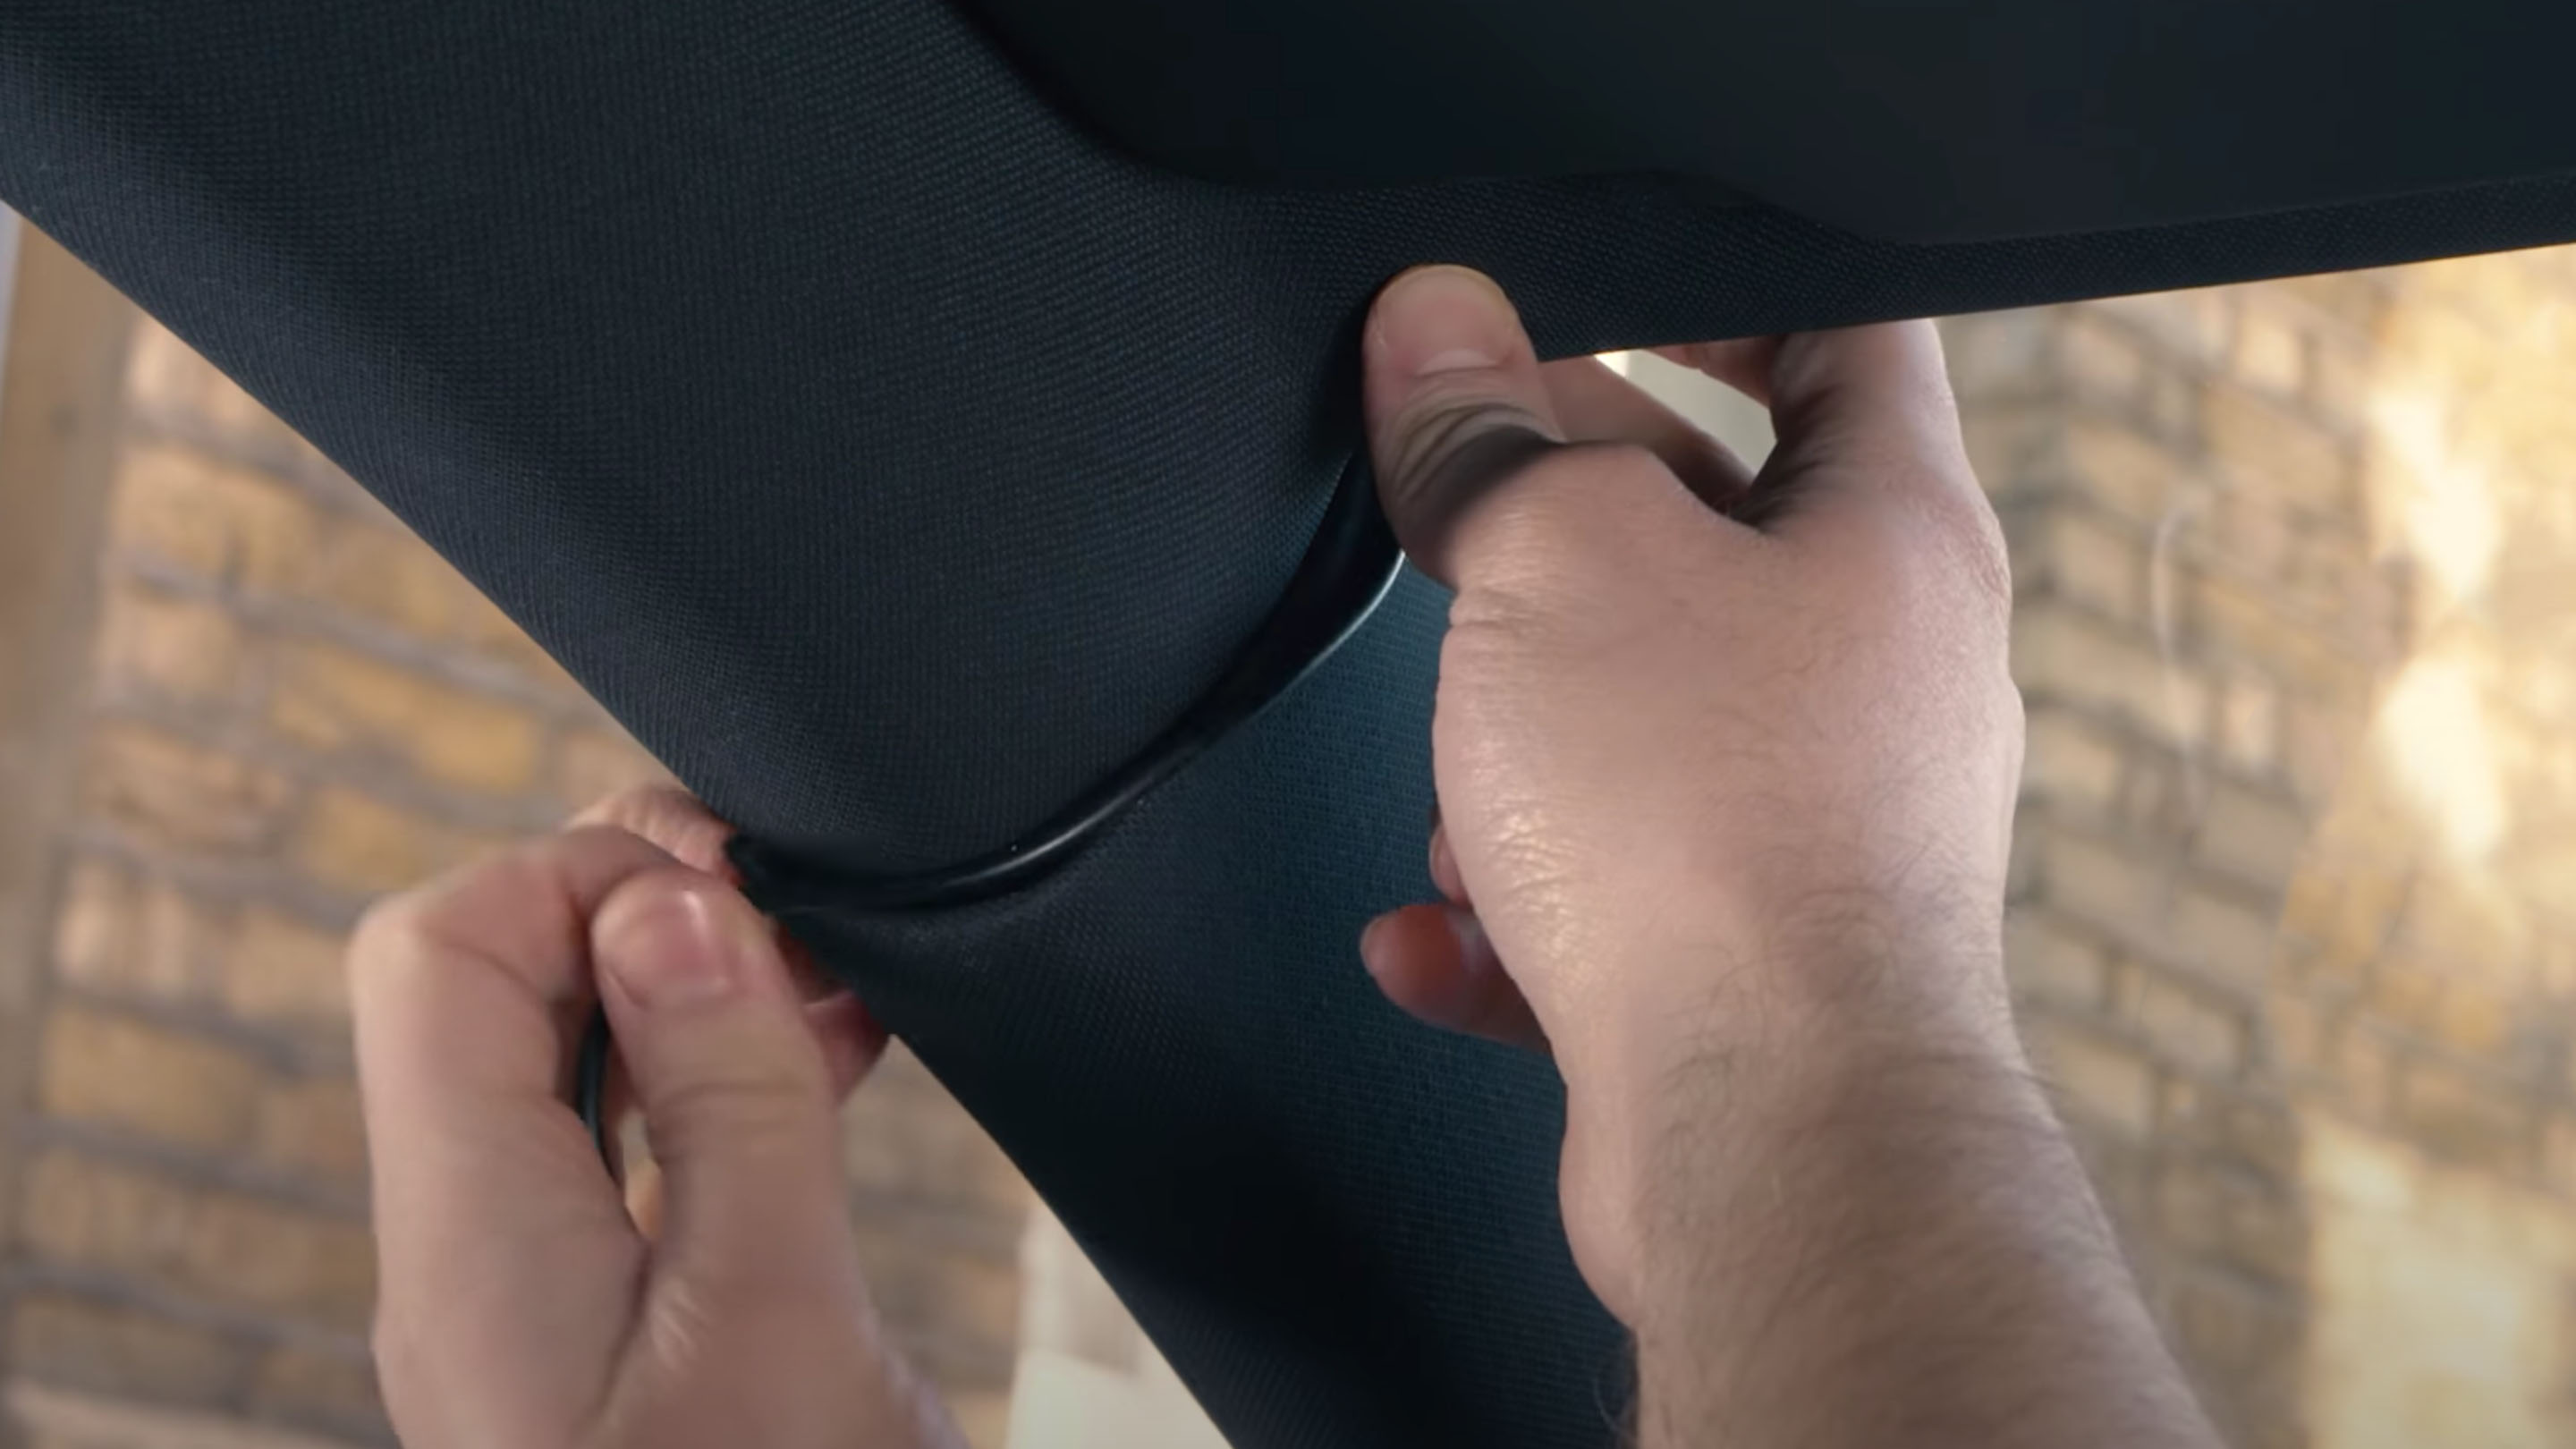
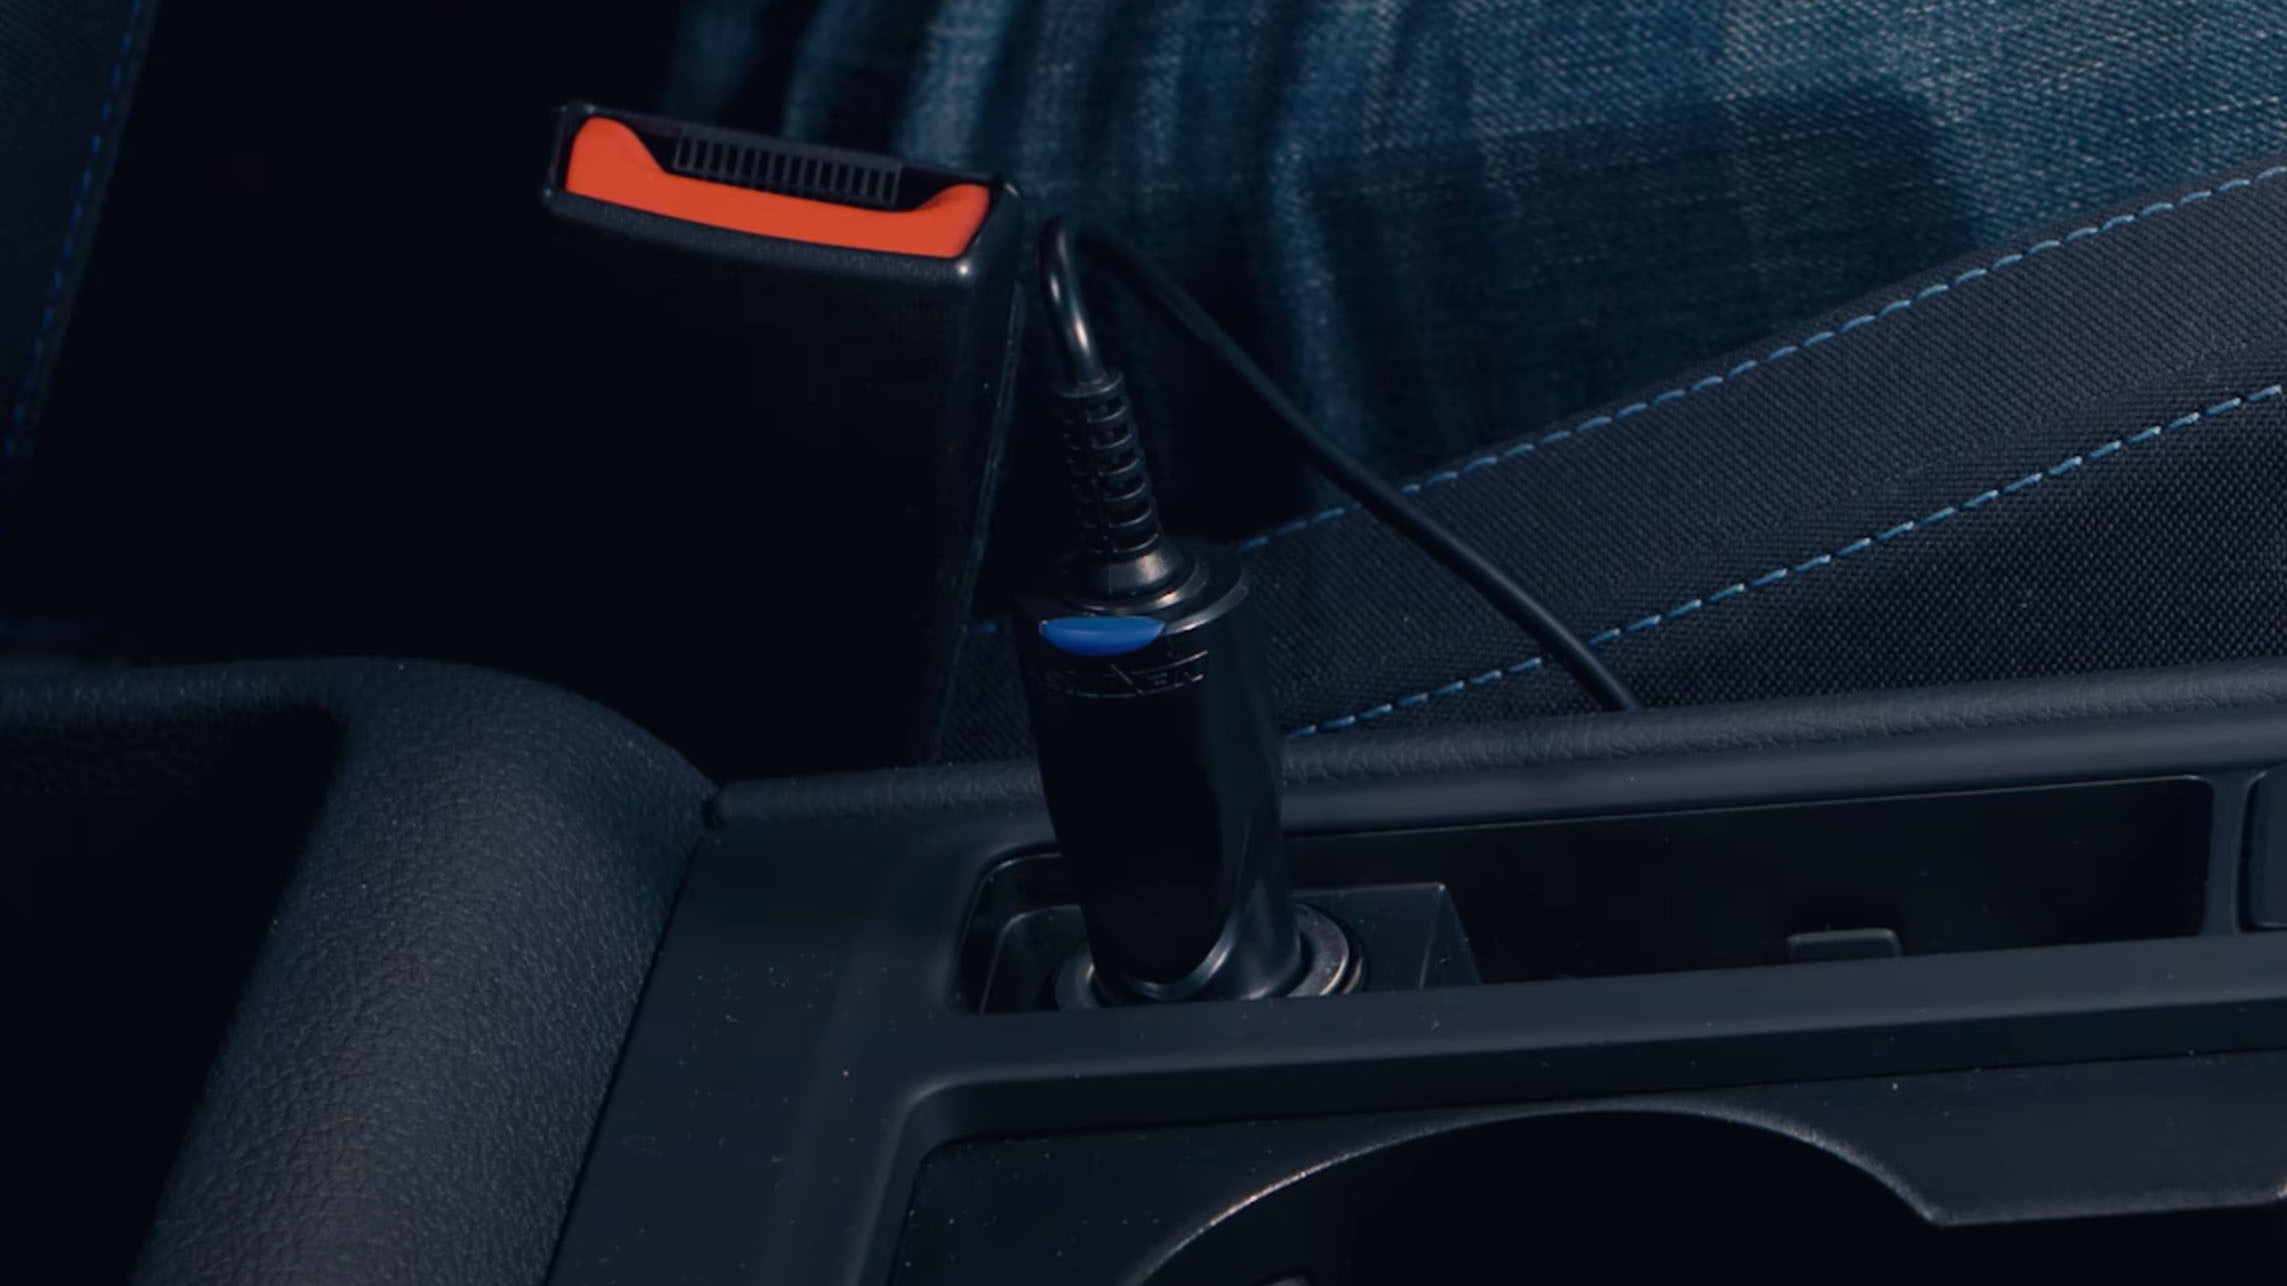
Deciding how to do this isn't always easy, but the vast majority of dash cams come with fitment tools that allow you to push the cable behind trim, carpet or headliner. The usual practice for longer cables is to route them behind your car's headliner (just above the windshield), then behind your door's weather seal and down under the car seat, before plugging into the cigarette lighter/auxiliary port (see above).
If you have a powered rear-view mirror, another good option is to plug it in there instead. The benefit here is that it's a neater install and the camera will not use power when the car is turned off, removing any worries about draining the battery. The downside is you'll most likely need to buy an adapter, like the ones available from Dongar Technologies, and there'll be limitations on factors like the voltage of your dash cam.
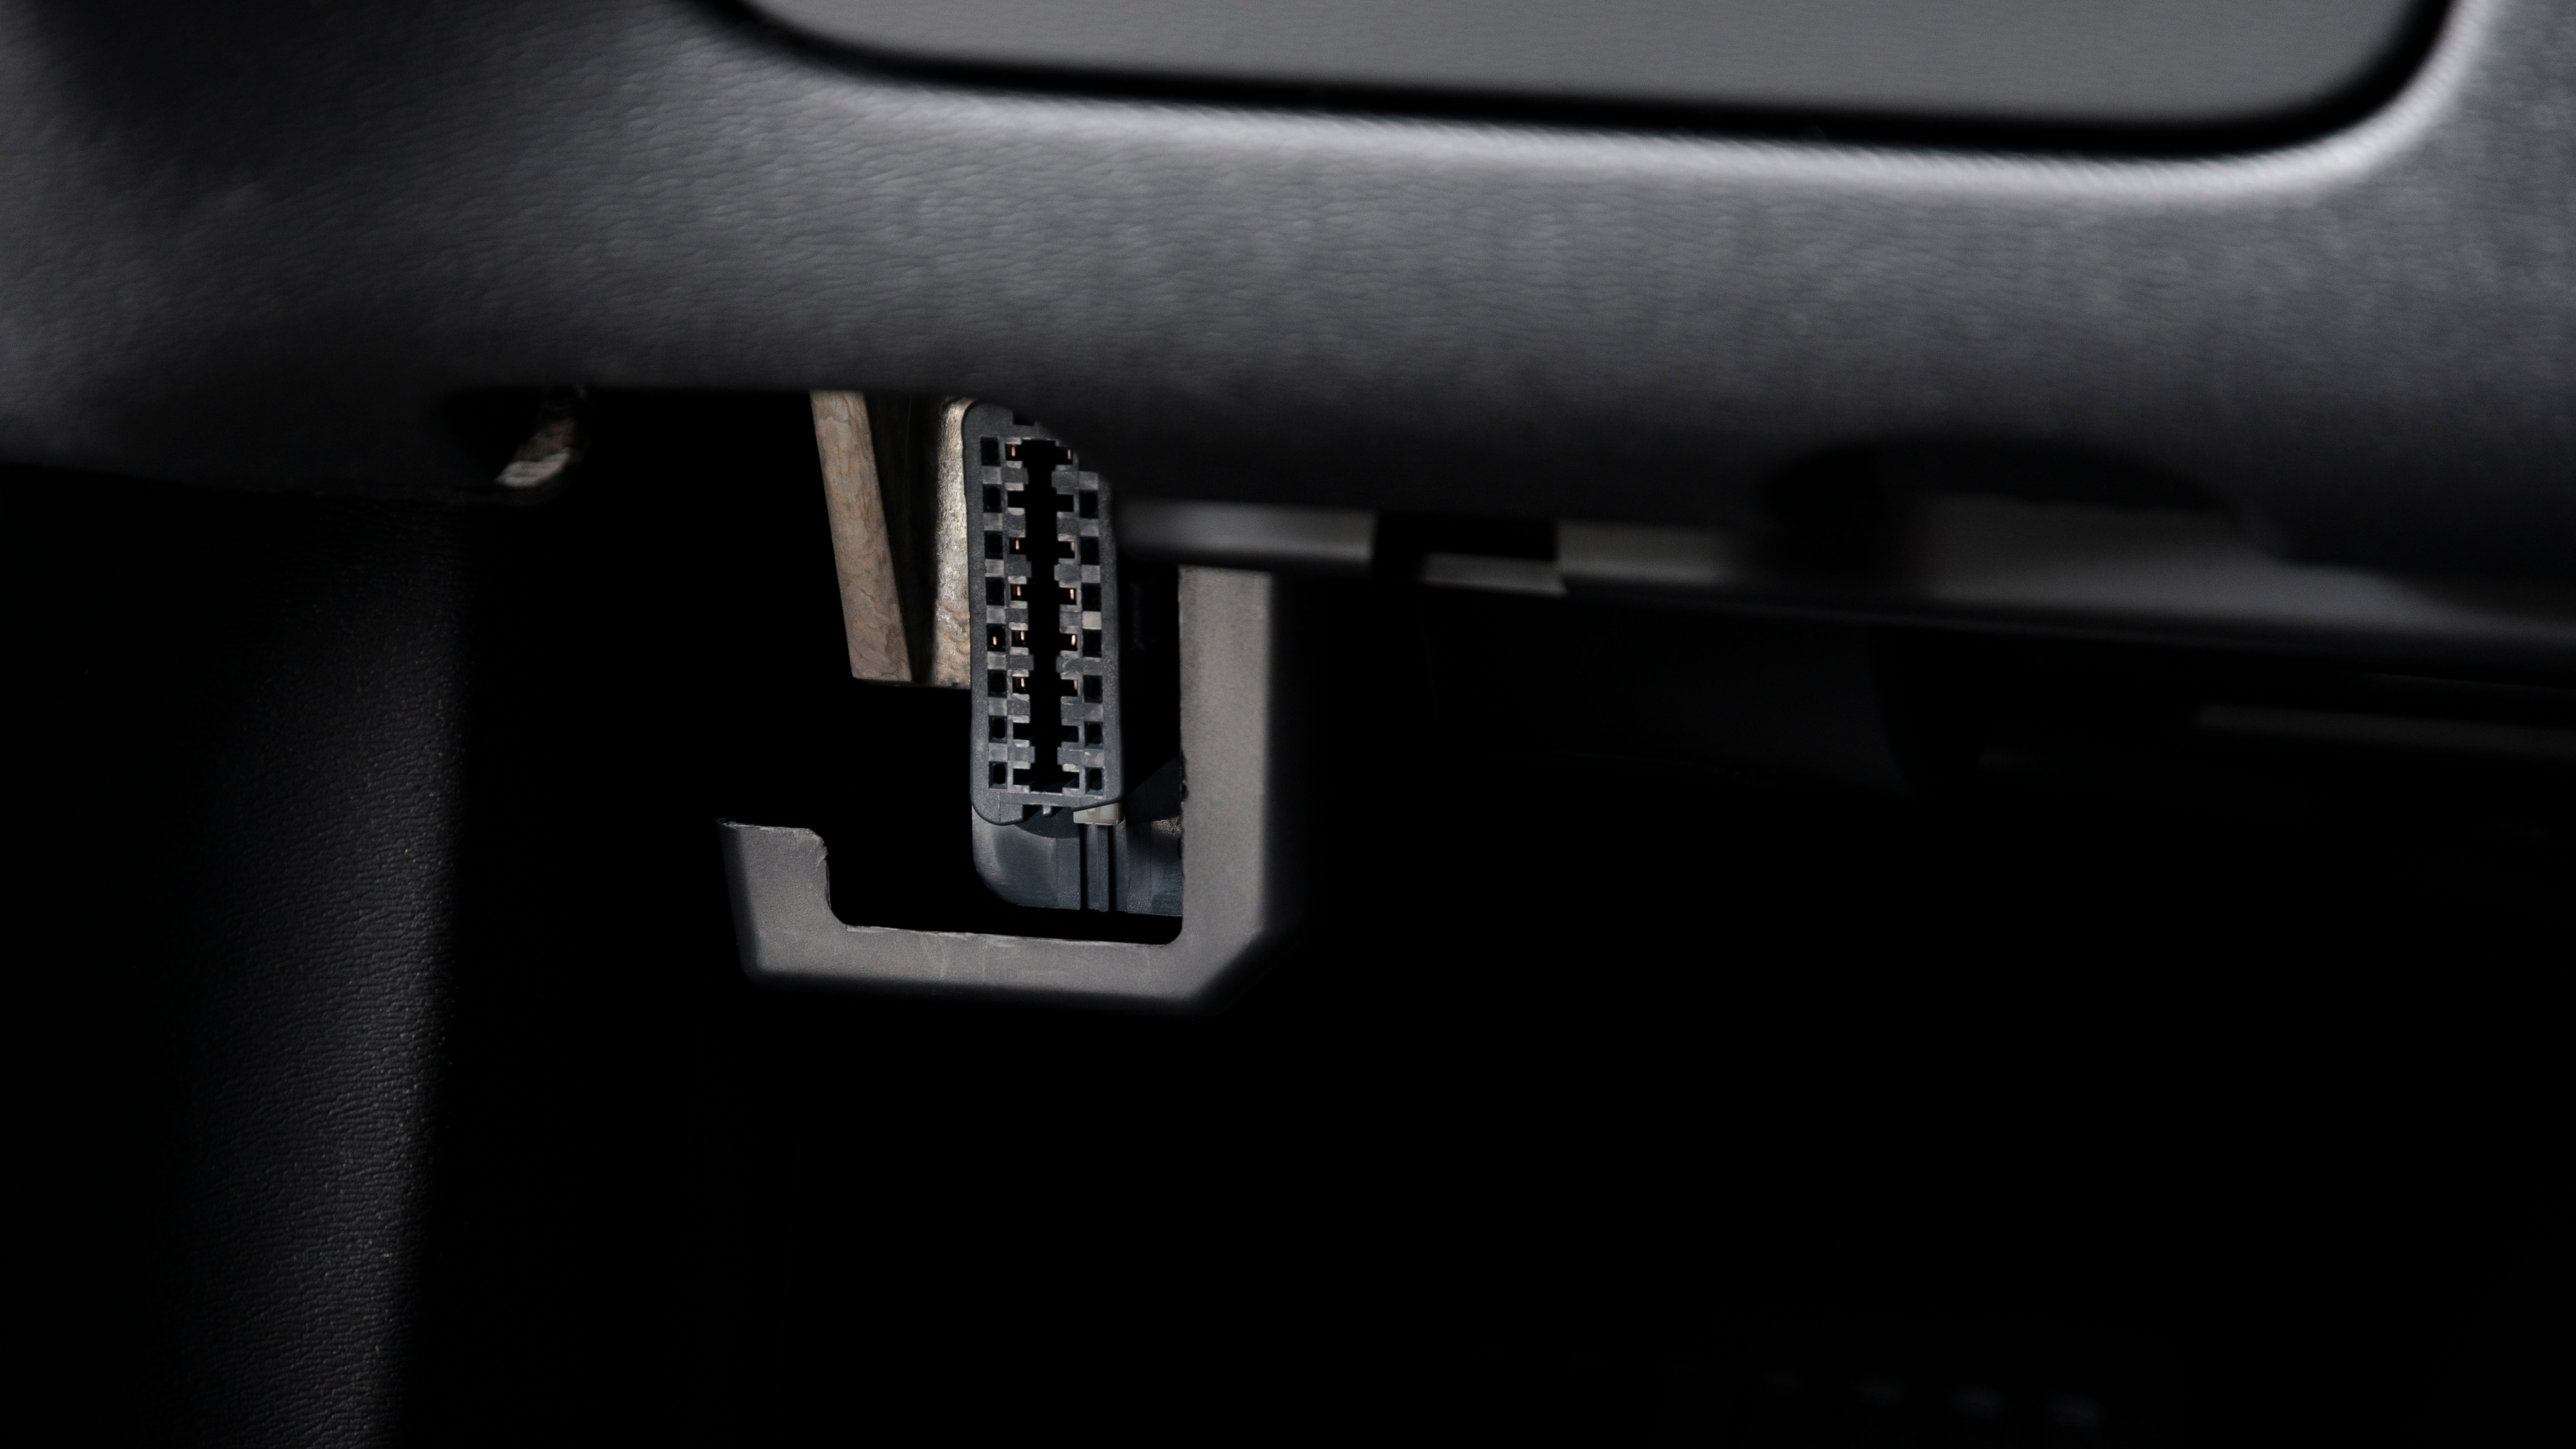
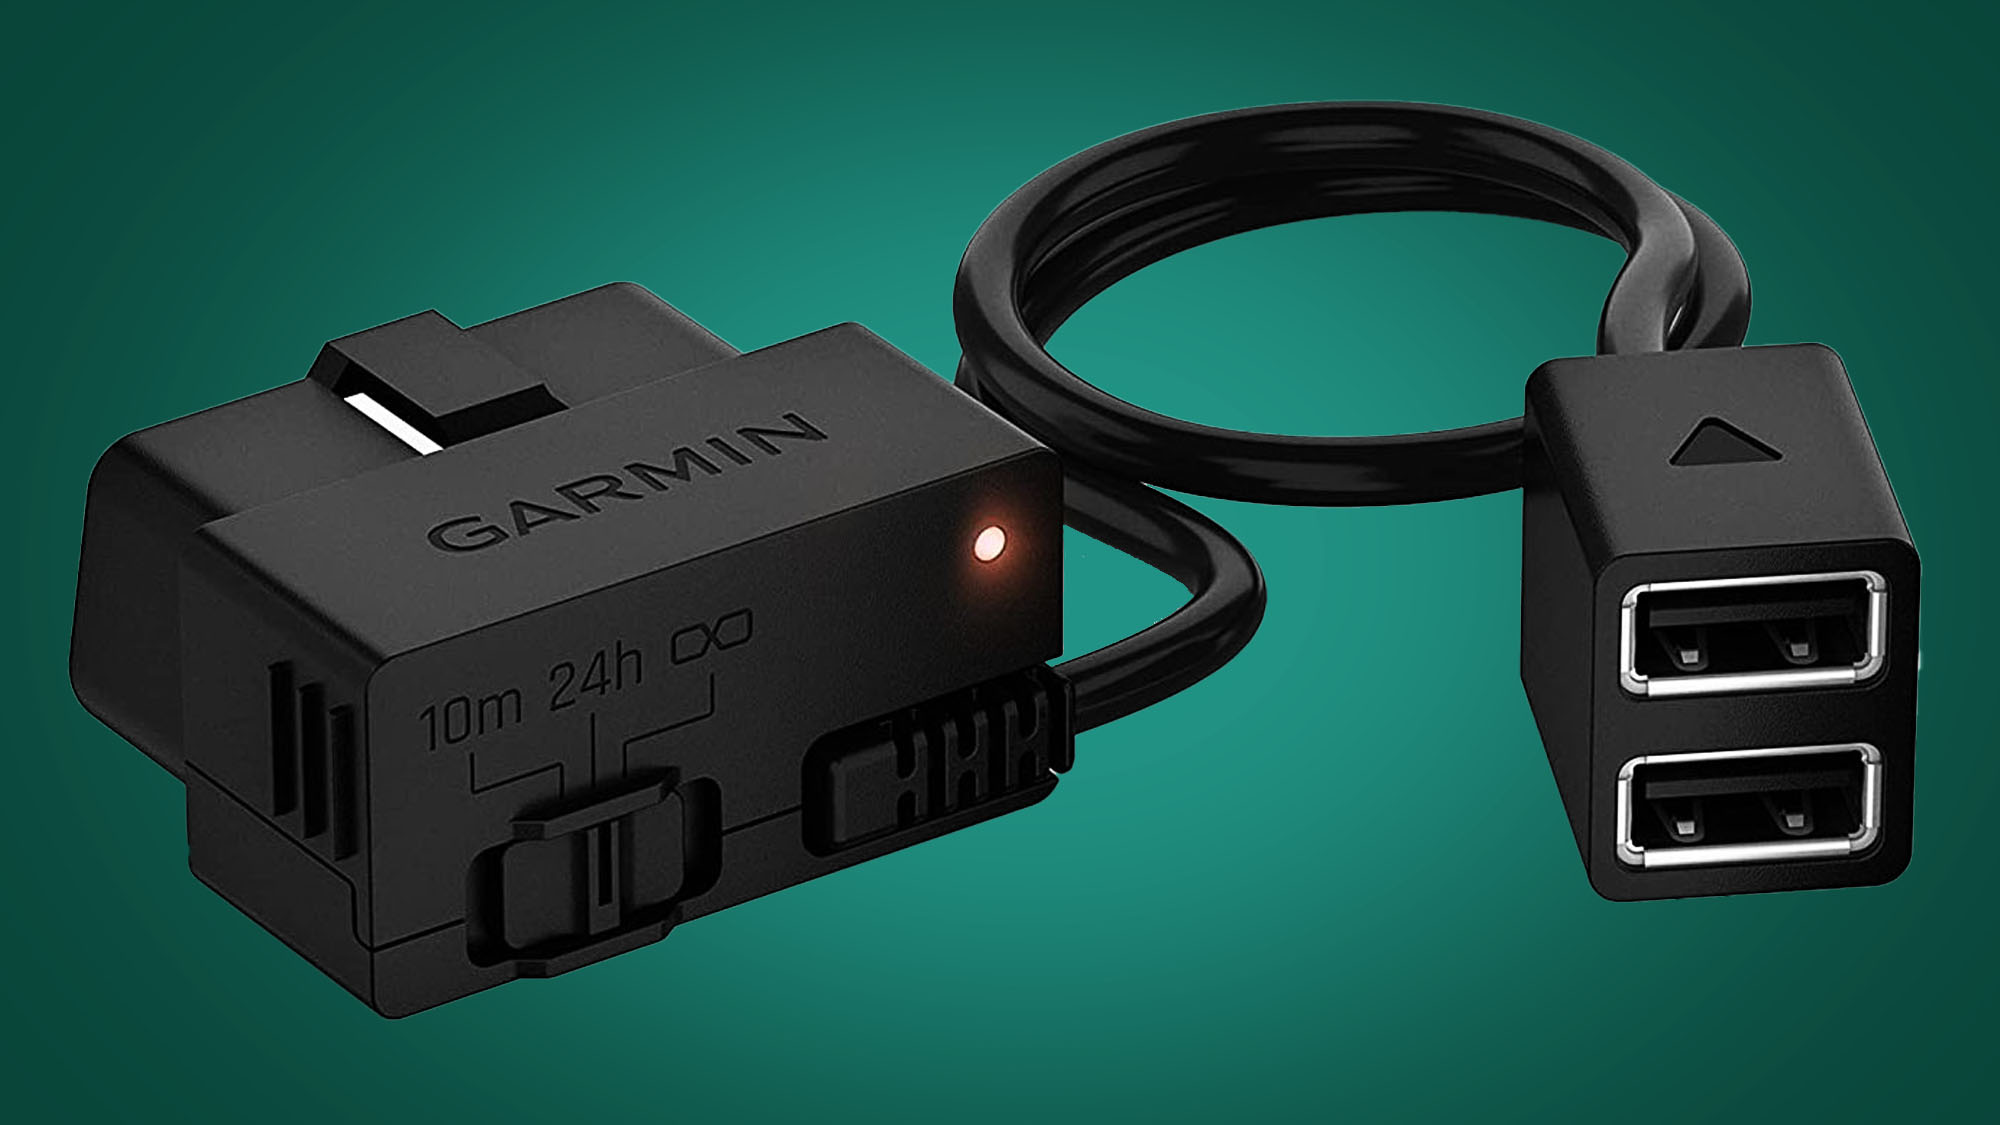
Another alternative is plugging your dash cam into your car's OBD2 port (above). This is normally used for diagnostic inspections but is another route to consider, using a OBD2 to mini-USB connector.
The port may not always be easy to find, but most modern cars have it located somewhere down under the dashboard.
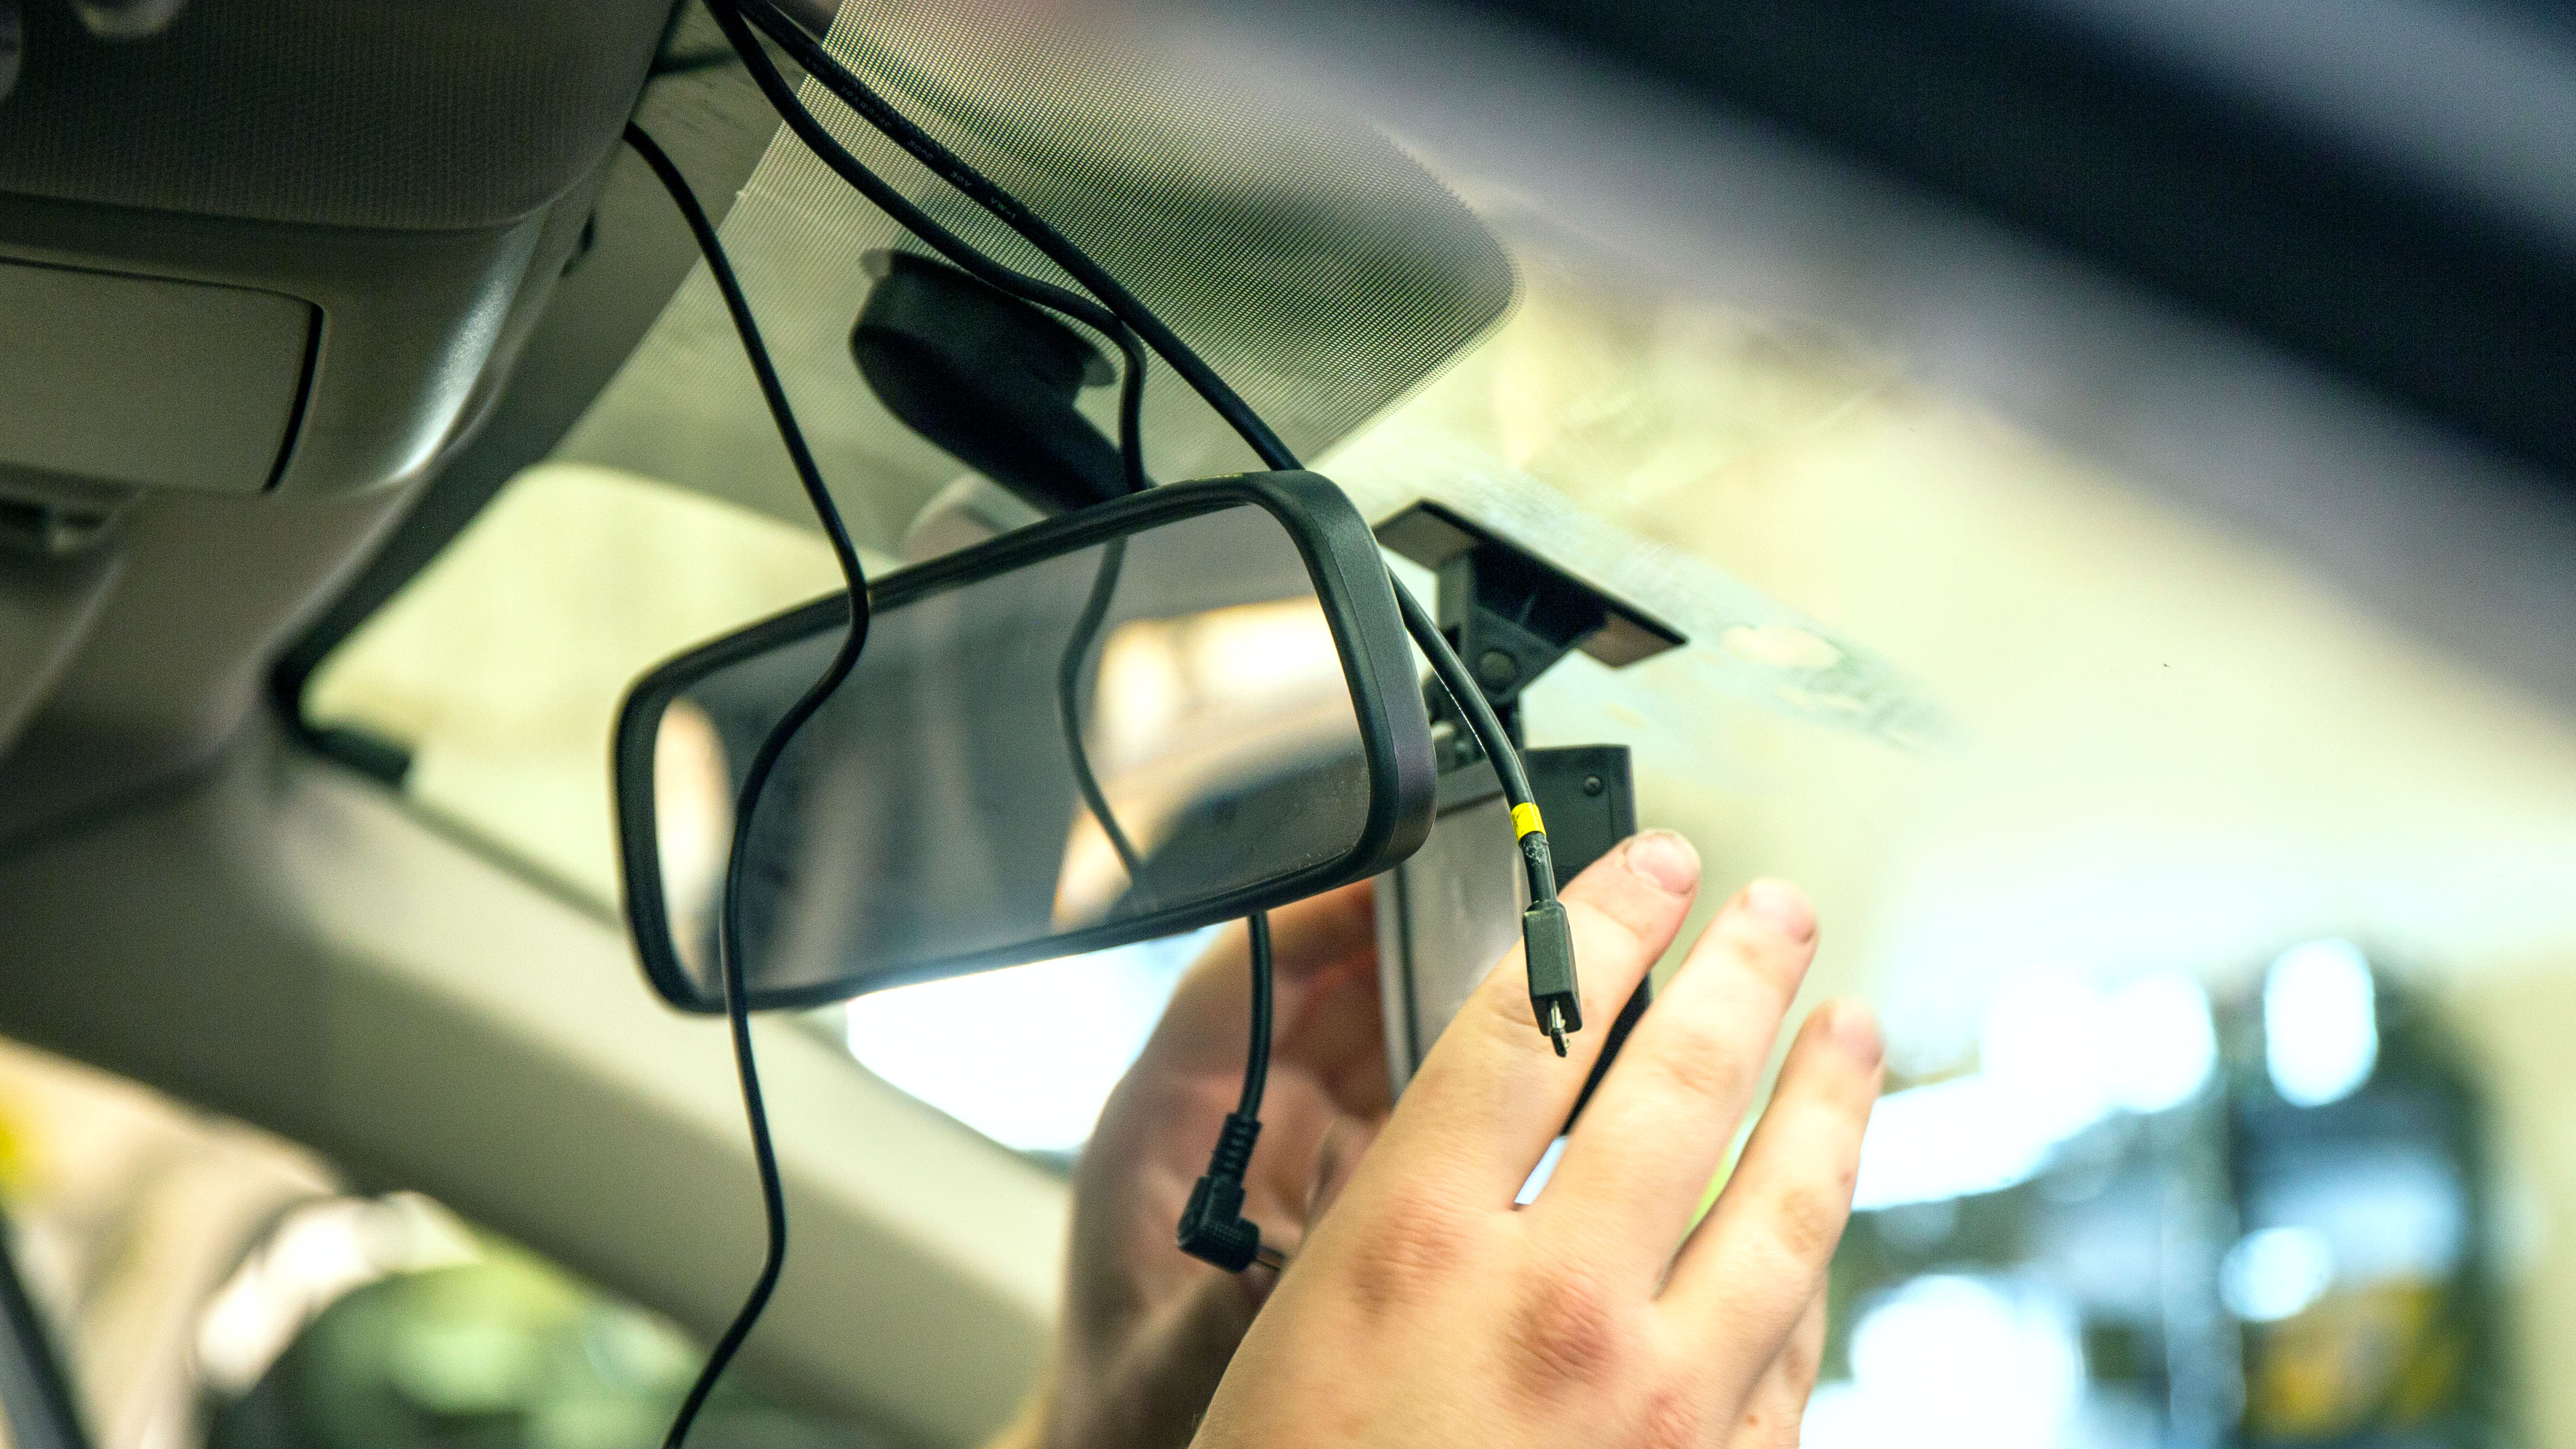
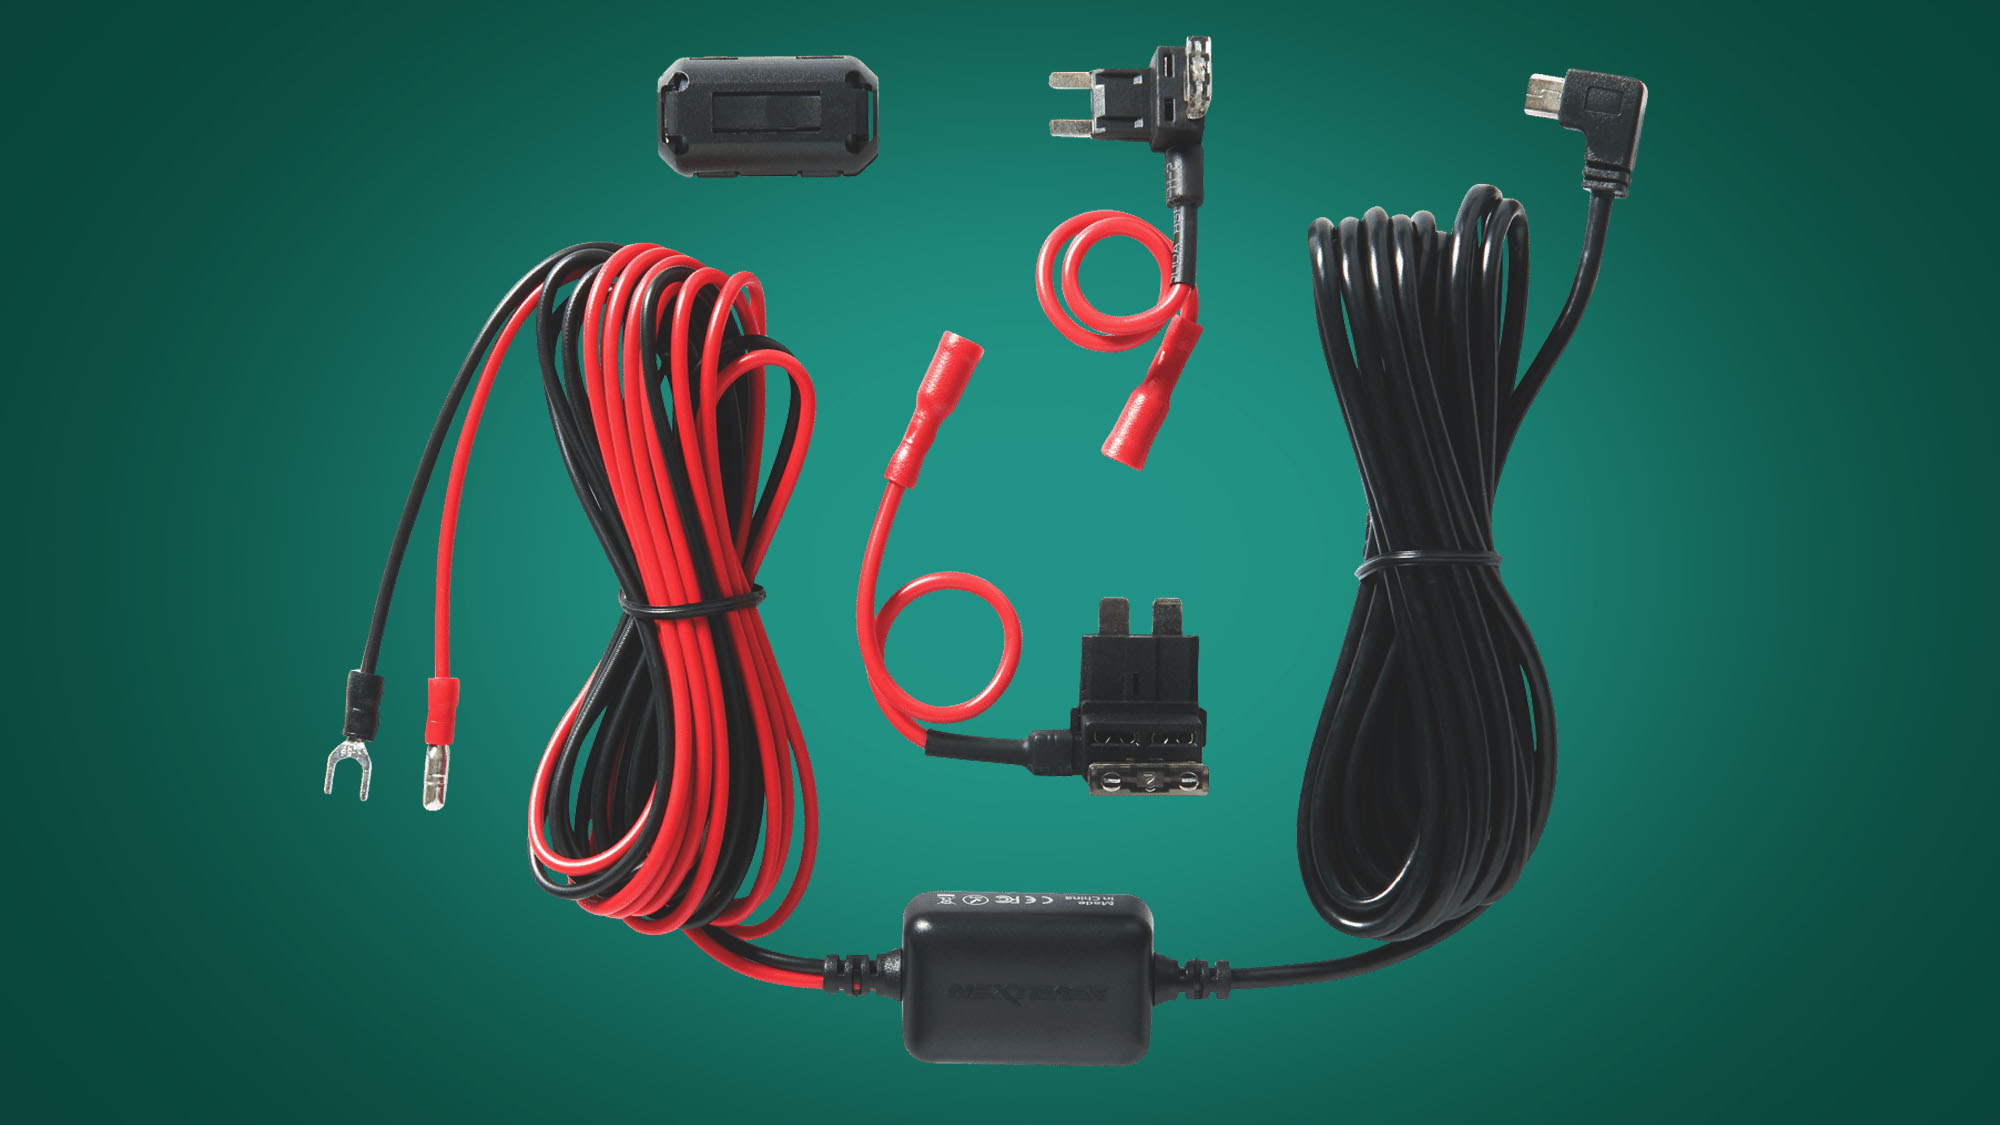
The neatest way to install a dash cam is connecting it directly to the wiring harness of your car. Some dash cams come with the kit needed to do this, while others might require a third-party accessory. Either way, this needs care and a professional installation might be more appealing.
In most cases, the end result will look tidier, but given the electronic complexity of many cars, the hard-wiring route might not be for everyone. It also means there’s less flexibility if you want to switch the dash cam between more than one vehicle, due to the more permanent nature of the fitment.
5. Tidying up and running checks
With everything plumbed in and powered up you’ll want to finish by checking all cables are out of harm’s way. Ensure no cables are fouling on any obstructions or are being pinched or chafed by trim components. Over time, any pinch points could cause wear and tear on the cable, which may result in a malfunction or the dash cam not working at all.
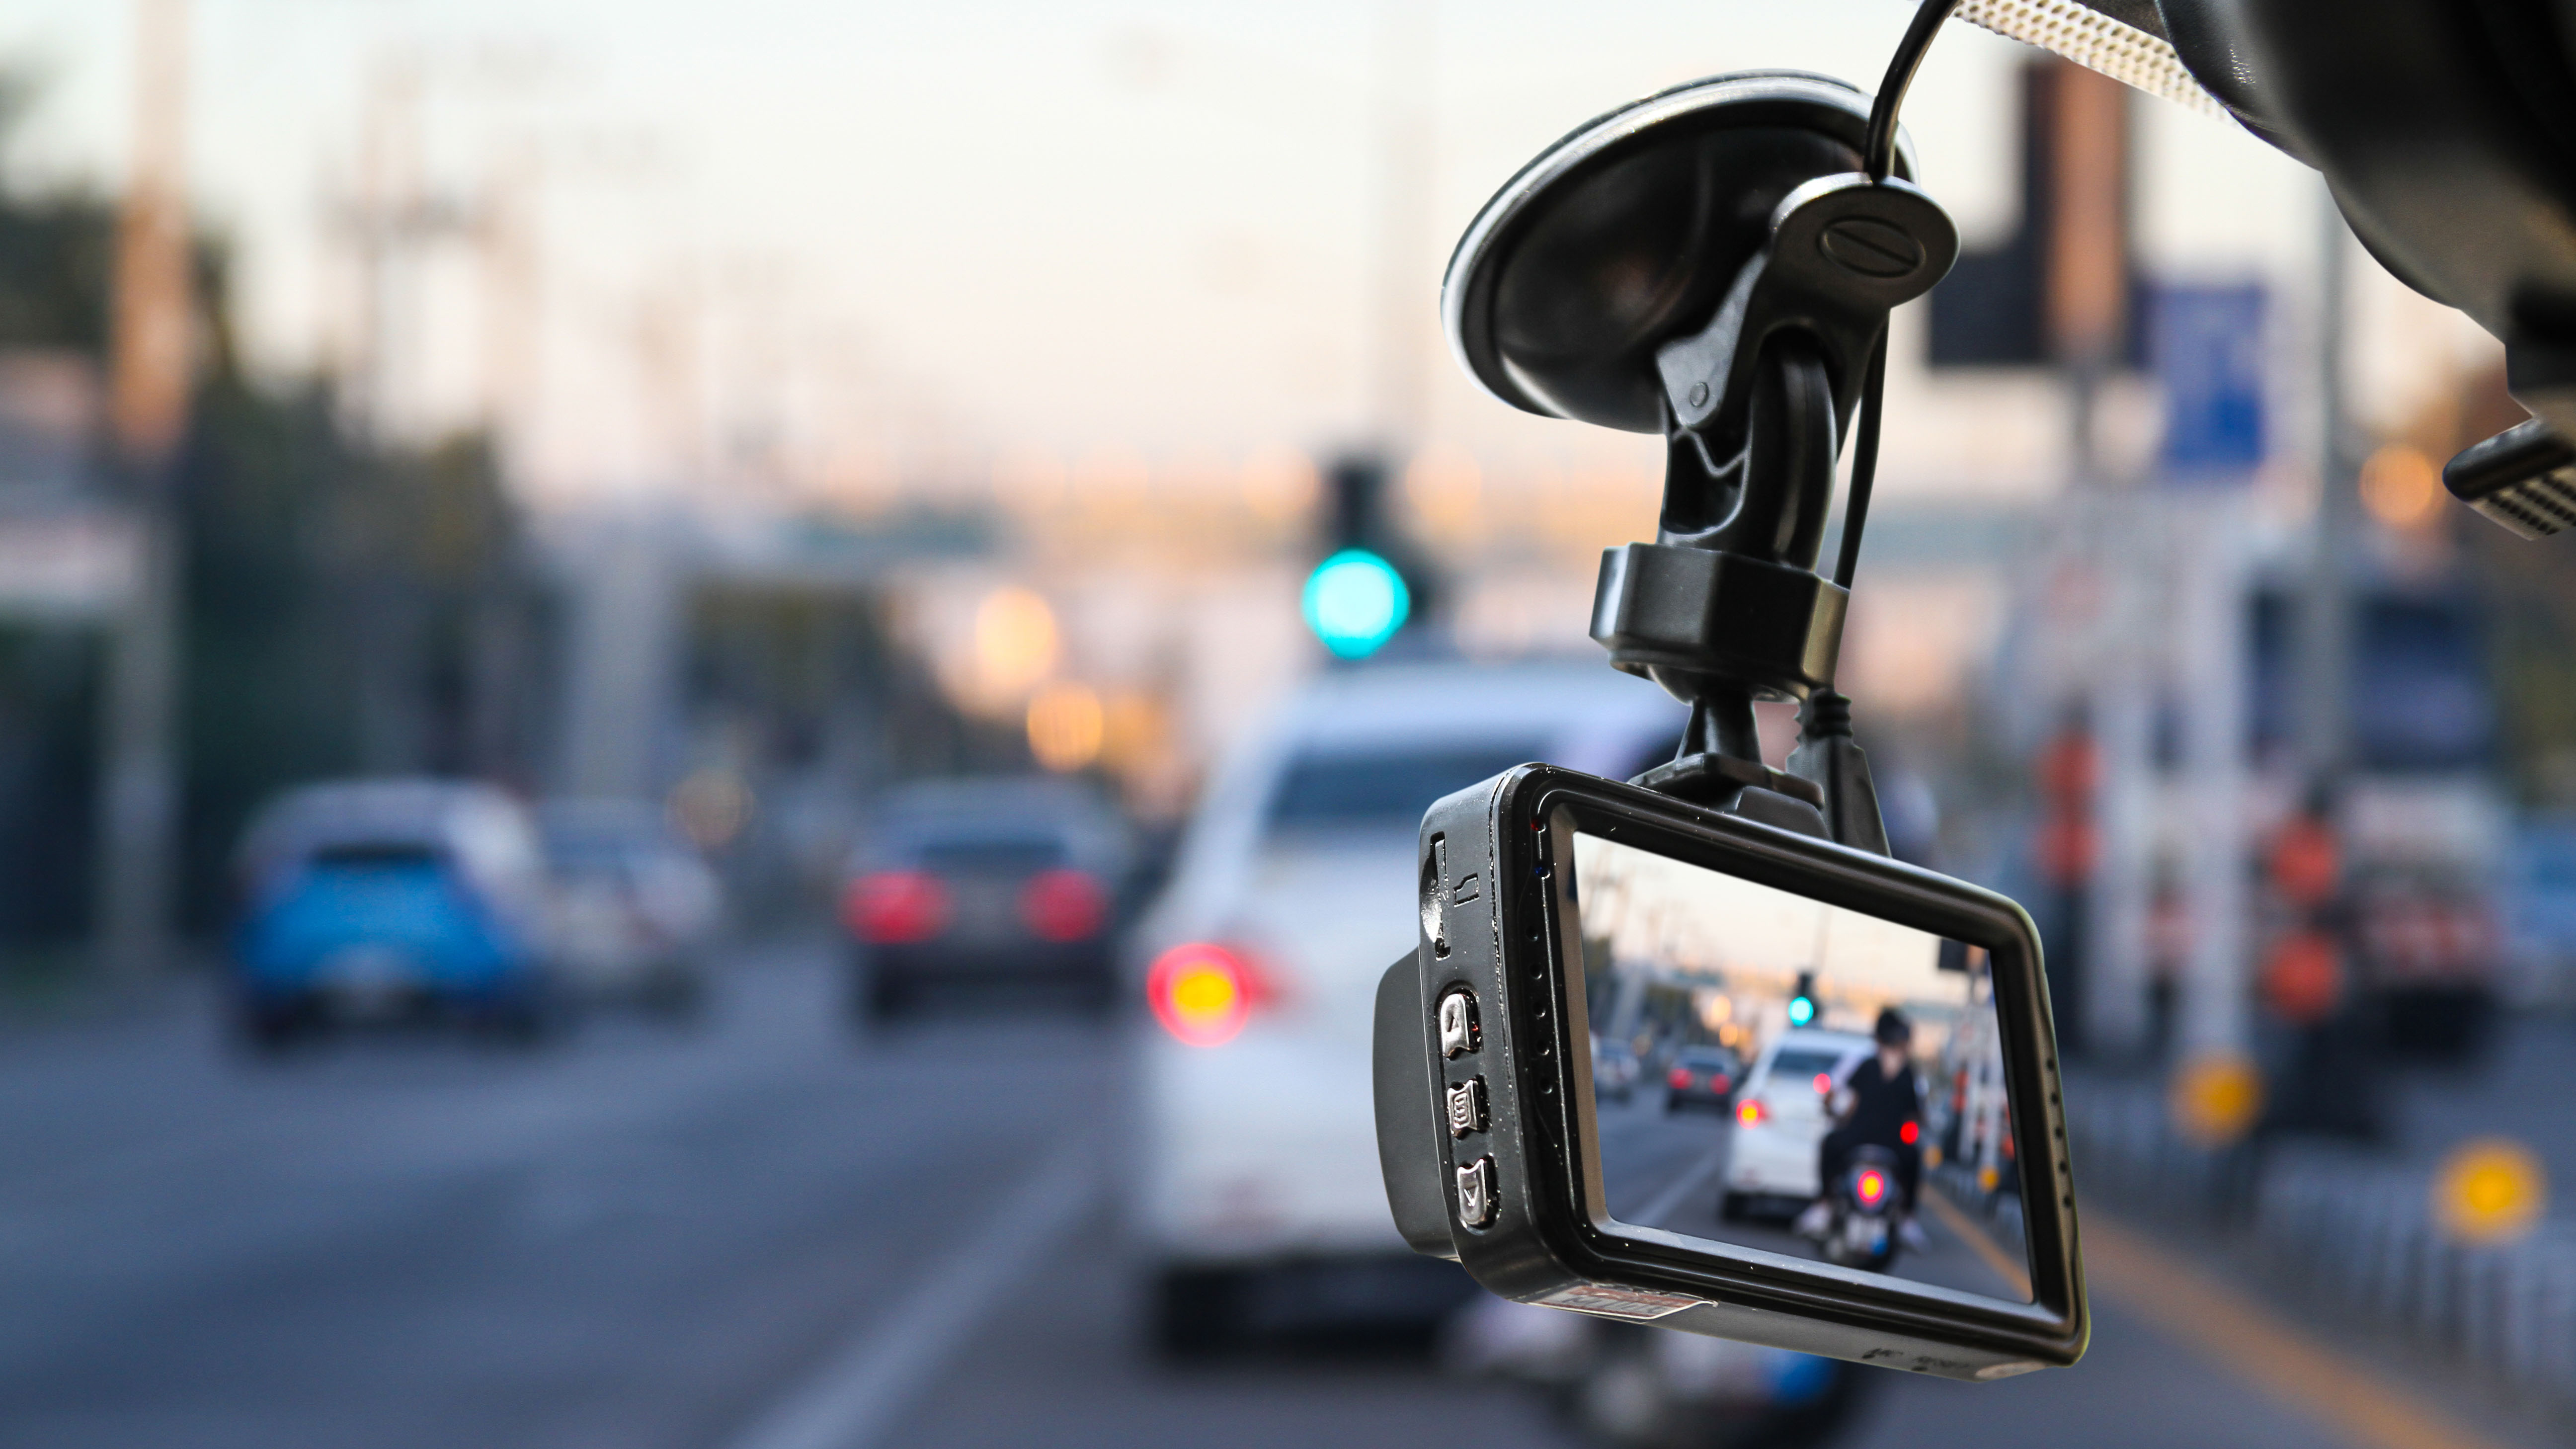
It’s worth checking this again once the setup has had time to bed in, especially if you own an older vehicle that’s prone to lots of vibration. This can frequently be the reason a dash cam stops working as less than great connections shake loose or cables even drop out altogether.
Most dash cams come with a supporting app, which is frequently what you’ll be using to review any footage if the need arises. This will be the best way to ensure everything works as expected, too, if there isn’t a preview screen on the dash cam itself. It's worth driving around the block to ensure your unit is configured as expected and that it’s capturing footage as desired.
6. Using your dashcam
This should be the easiest part of the whole process. Most dash cams will start automatically once you’ve powered up and started driving. It’s worth noting that your dash cam draws power from the battery when the car isn’t on though, which can happen with some models. You might need to physically switch it off or unplug the cable to ensure it doesn’t drain your battery.
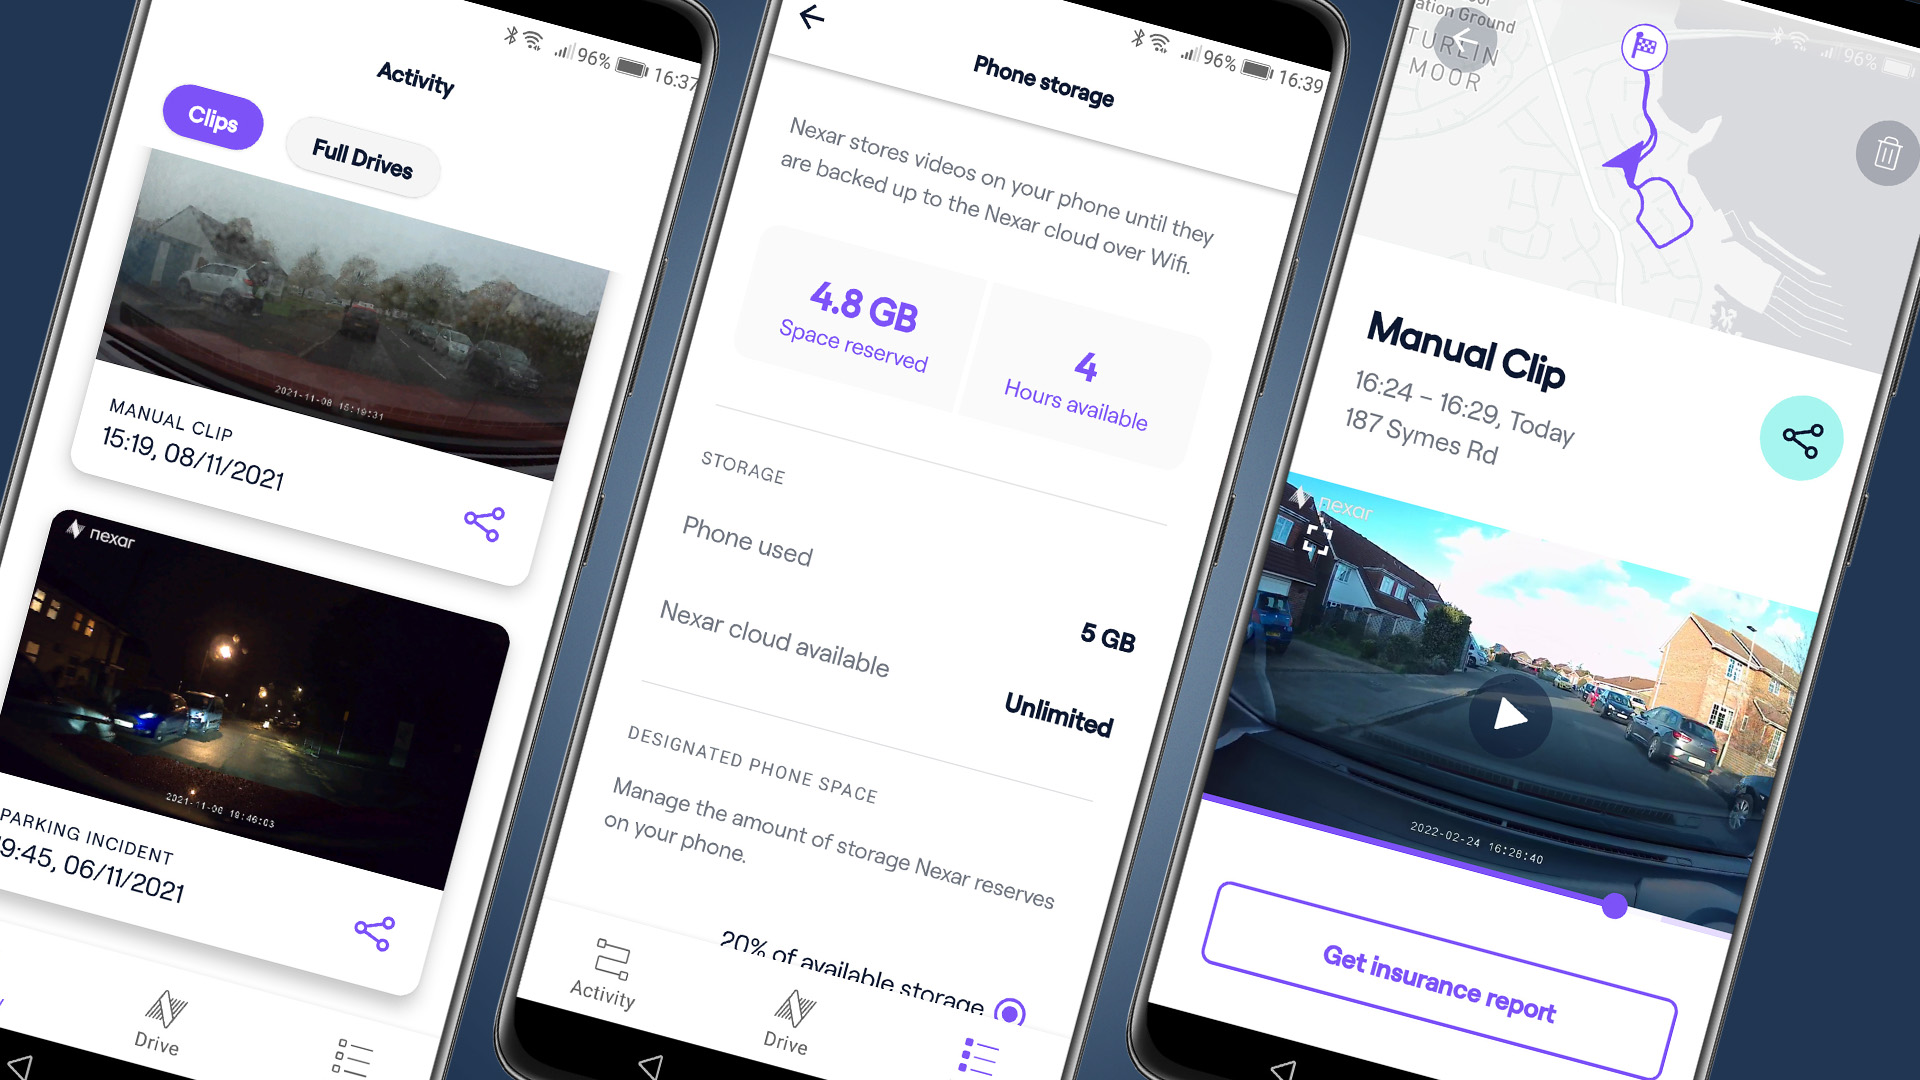
Depending on the model, resulting video footage is either stored on the internal microSD media card or transferred to your phone. Some models do both, with the added ability to store any footage in the cloud, which is useful for archiving video content over time. It also means you’ve got a permanent back-up, just in case you need call up any video evidence later on down the line.

Rob Clymo has been a tech journalist for more years than he can actually remember, having started out in the wacky world of print magazines before discovering the power of the internet. Since he's been all-digital he has run the Innovation channel during a few years at Microsoft as well as turning out regular news, reviews, features and other content for the likes of TechRadar, TechRadar Pro, Tom's Guide, Fit&Well, Gizmodo, Shortlist, Automotive Interiors World, Automotive Testing Technology International, Future of Transportation and Electric & Hybrid Vehicle Technology International. In the rare moments he's not working he's usually out and about on one of numerous e-bikes in his collection.