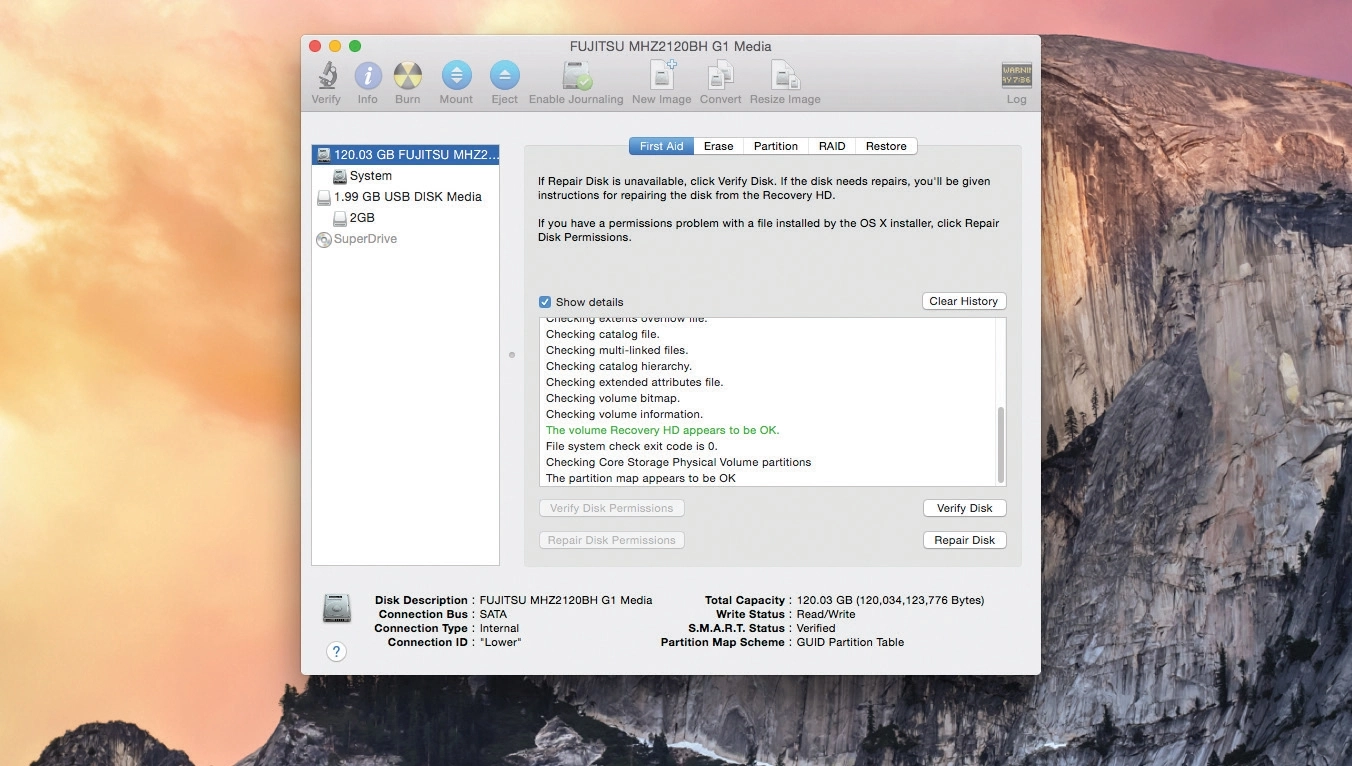
Disk Utility, as its name implies, is your go-to solution for just about any drive-related tasks or problems (short of catastrophic physical failure). It's a one-stop shop that enables you to check, repair, manipulate and back up your hard drives and removable disks like SD cards or USB flash drives.
You’ll find Disk Utility in the Utilities folder within your applications folder, but if your Mac won’t start up correctly you can also access it via the built-in recovery options – hold down Command+R as your Mac starts up to start in Recovery mode, and you can launch Disk Utility from the main menu that appears.
1. Erase and partition
Disk Utility enables you to configure your storage by erasing disks, partitioning them and setting up RAID arrays. To erase an individual disk or partition, select it in the left-hand pane and switch to the Erase tab.
Article continues belowGive the volume an easy-to-find name, like ‘Data’, and pick a format. If the drive is being used exclusively with Macs, then the default macOS Extended option is best; the ‘Journaled’ option enables the drive to be indexed so it can be searched easily, but if there’s nothing on the drive that you want indexed, leave the option unselected.
You can always enable indexing at a later date using the Enable Journaling button at the top of the Disk Utility window. If you're formatting an external drive that you want to plug into a Windows PC, we recommend choosing exFAT.
2. Disk security
Next, click on Security Options… to configure how the drive will be erased: you can choose a more secure setting if there's data on the drive that you want permanently (unrecoverably) removed.
Finally, click Erase and wait while the drive is erased.
3. Partition it!
If you select a disk drive rather than a partition, you'll also see a Partition tab appear. This enables you to divide a large-capacity disk into smaller subdivisions, which then behave as if they were separate drives.
Like formatting, partitioning wipes all existing data on your disk, so is best used when setting up a new hard drive for the first time.
4. Disk images
Disk images are exact copies of a selected disk's contents, held in a single file. They can be handy for backing up entire partitions or removable disks like USB flash drives.
To back up an existing disk, select it in the left-hand pane and click the New Image button. Select a location and filename for your image; if backing up a disk partition or entire disk, choose a different disk to save the image to.
Make sure there's enough room on your target drive, then click Save and be prepared to wait while the image is created (depending on the size of the backup). Once it's done, it'll appear in the left-hand pane underneath your drives for easy access. Select it and you can verify it to ensure it's not corrupt.