How to 3D print your own virtual reality headset
DIY VR
Why build your own VR headset?
Google Cardboard is a great (and cheap) virtual reality solution, and while it might not give you the full VR experience it certainly provides an accessible way into this new technology.
As the plans for Google Cardboard is free to download, anyone with enough patience can make a pair, although ordering them online is almost as cheap. However if you really want to get into the spirit of virtual reality then making a customised set for yourself is worth a go, and will also help you understand a little more about how it works.
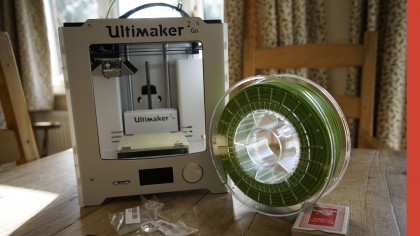
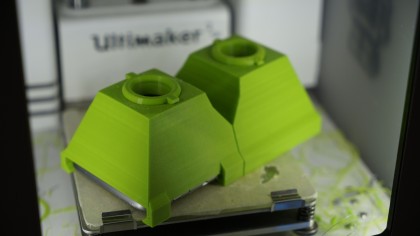
In this project we're going to 3D print our own pair of VR Goggles using the Ultimaker 2 Go. Despite its size and relatively small print base it's ideal for projects where accuracy is essential.
With the machinery in place it's just a simple case of measuring my head, designing the goggles in a 3D application and waiting two days for the print to finish.
1. Designing your goggles
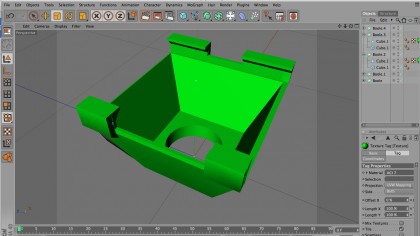
Virtual reality goggles such as Google Cardboard are surprisingly simple, with many such as the Samsung Gear VR just being a holder for your smartphone and a pair of lenses.
The design has evolved from that of the Stereoscope which was produced well over 100 years ago - this device enabled you to view a stereoscopic pair of images; one image prepared for the left eye view and the other for the right. When looked at through the viewer you would see just one image with the illusion of 3D. Our viewer will do exactly the same, but as with anything that seems simple there is always a little more to it.
2. Gathering the parts
Lenses are what really makes this make your own virtual reality headset project, and after a quick search online for biconvex lenses you'll come up with a huge selection of different options.
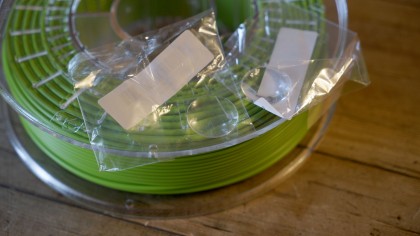
Biconvex basically means that the lenses are curved on both sides, which optically means that the focus distance should also be nice and short. The amount of different options out there is staggering, but in this project we've selected a relatively cheap 25mm diameter plastic lens with a 45mm focal distance. The rest of the construction of the goggles will be 3D printed and for this we've selected a PLA filament which will be printed on the Ultimaker 2 Go.
3. Getting the measurements
The 3D design process takes a while and before you start it's worth grabbing a sheet of paper and making sure that all of your measurements add up.
The first measurement we need to take is the distance between your eyes, and this will vary greatly depending on the person. This is known as the pupillary distance, and the average is between 54 and 68mm. For this project we've set this distance as 70mm. The next measurement is for the smartphone you want to use. Jot down the width, height and length, and while you're doing this also make note of the position of any buttons on the side.
4. Make sure the images align
As printing will be done on an Ultimaker 2 Go the viewer will need to be printed in two parts due to the print base size. Once the two sections of the viewer are complete we need to make sure that the distance between the centre of each lens will be 70mm, and each half will need to be 35mm from the centre of the lens to the centre of the bridge of the nose.
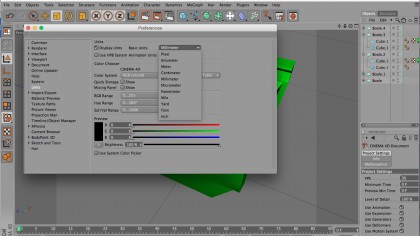
The edge of each viewer section will also act as the divide between each image shown on the smartphone. When creating the 3D model make sure that you have the units switched to millimetres (mm) in your 3D application so you're working in real world units.
5. Finding the focus distance
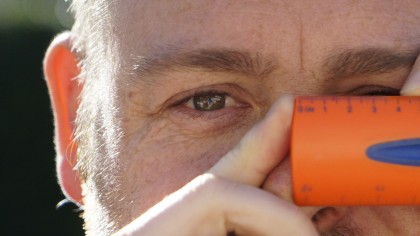
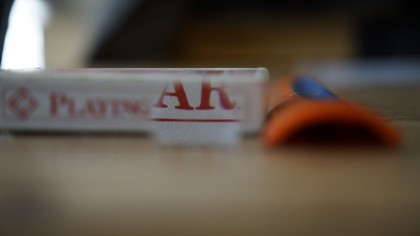
The lenses we're using have a diameter of 25mm and claim to have a focus distance of 45mm, but this distance is worth checking. To do this hold the lens up to your eye along with a ruler, look through the lens down the length of the ruler, and then holding something with a bit of thickness (such as a pack of cards) move the object up the ruler until it is in focus.
Read off the mm and that is the focus distance of the lenses. The lenses we used should have been 45mm but were in fact closer to 40mm, so it's just as well we check, as when you're looking at 7 hours per print working these distances out now will save hours compensating for any errors later.
6. Avoiding mistakes
Cinema 4D is the software we have used for this project, but the viewer can be created in any 3D application that you feel comfortable with.
Most 3D apps will have plenty of documentation on how to design for 3D printing, and these tips make essential reading as there are a few differences between designing for screen and for 3D printouts.
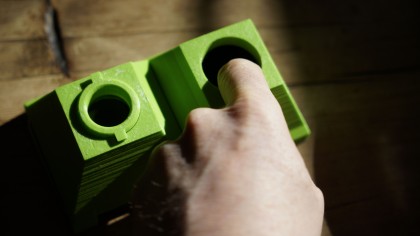
As you design make sure overhangs are small, and if unavoidable, create an incline rather than an overhang. Also remember that you need space for power buttons and switches on the side, and most importantly you need a way that will enable you to touch the screen to stop and play videos with the goggles attached.
7. Removable lenses
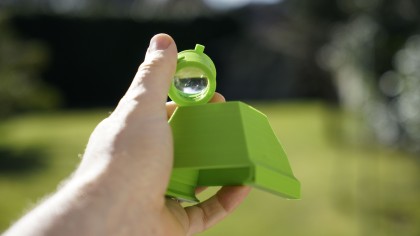
One of the easiest solutions to the lenses focal distance, which will also enable you to touch the screen, is to create removable lenses. Here we've created simple cylinders that fit snugly within the two viewer sections.
These can be moved in and out of the units to adjust the focus distance, and this ensures that video being played back in both the left and right eye is in focus. The other advantage of this design is that one of the eyepieces can be quickly removed so a finger can be used to start and stop videos easily.
8. Playing footage in virtual reality
The viewer can be used to watch back any 360 VR footage including that shot on the 360Fly or Ricoh Theta. Once you've shot and output your footage you then need to pass it through the Google 360 Video Metadata App.
In the app open and select your video's type, for example the 360Fly is Spherical, and click 'Save as'. Once saved this file can then be uploaded to YouTube. It takes a while to process but once done the video can be watched back through apps such as the In360Tube app, you just need to hit the goggle icon to watch it in virtual reality mode.
Alastair is a photographer, filmmaker and tech writer who has been working in the publishing industry since the late 1990s. For more than 25 years he has covered photography, video and technology across Future's photography, technology and gaming brands. He runs a photography and video production company and lectures in TV and film. He can usually be found testing mini PCs or prototyping and prop building with the aid of 3D printing.