Stunning shutter speed effects
Master shutter speeds to boost your creativity
Sign up for breaking news, reviews, opinion, top tech deals, and more.
You are now subscribed
Your newsletter sign-up was successful
Get creative with blur
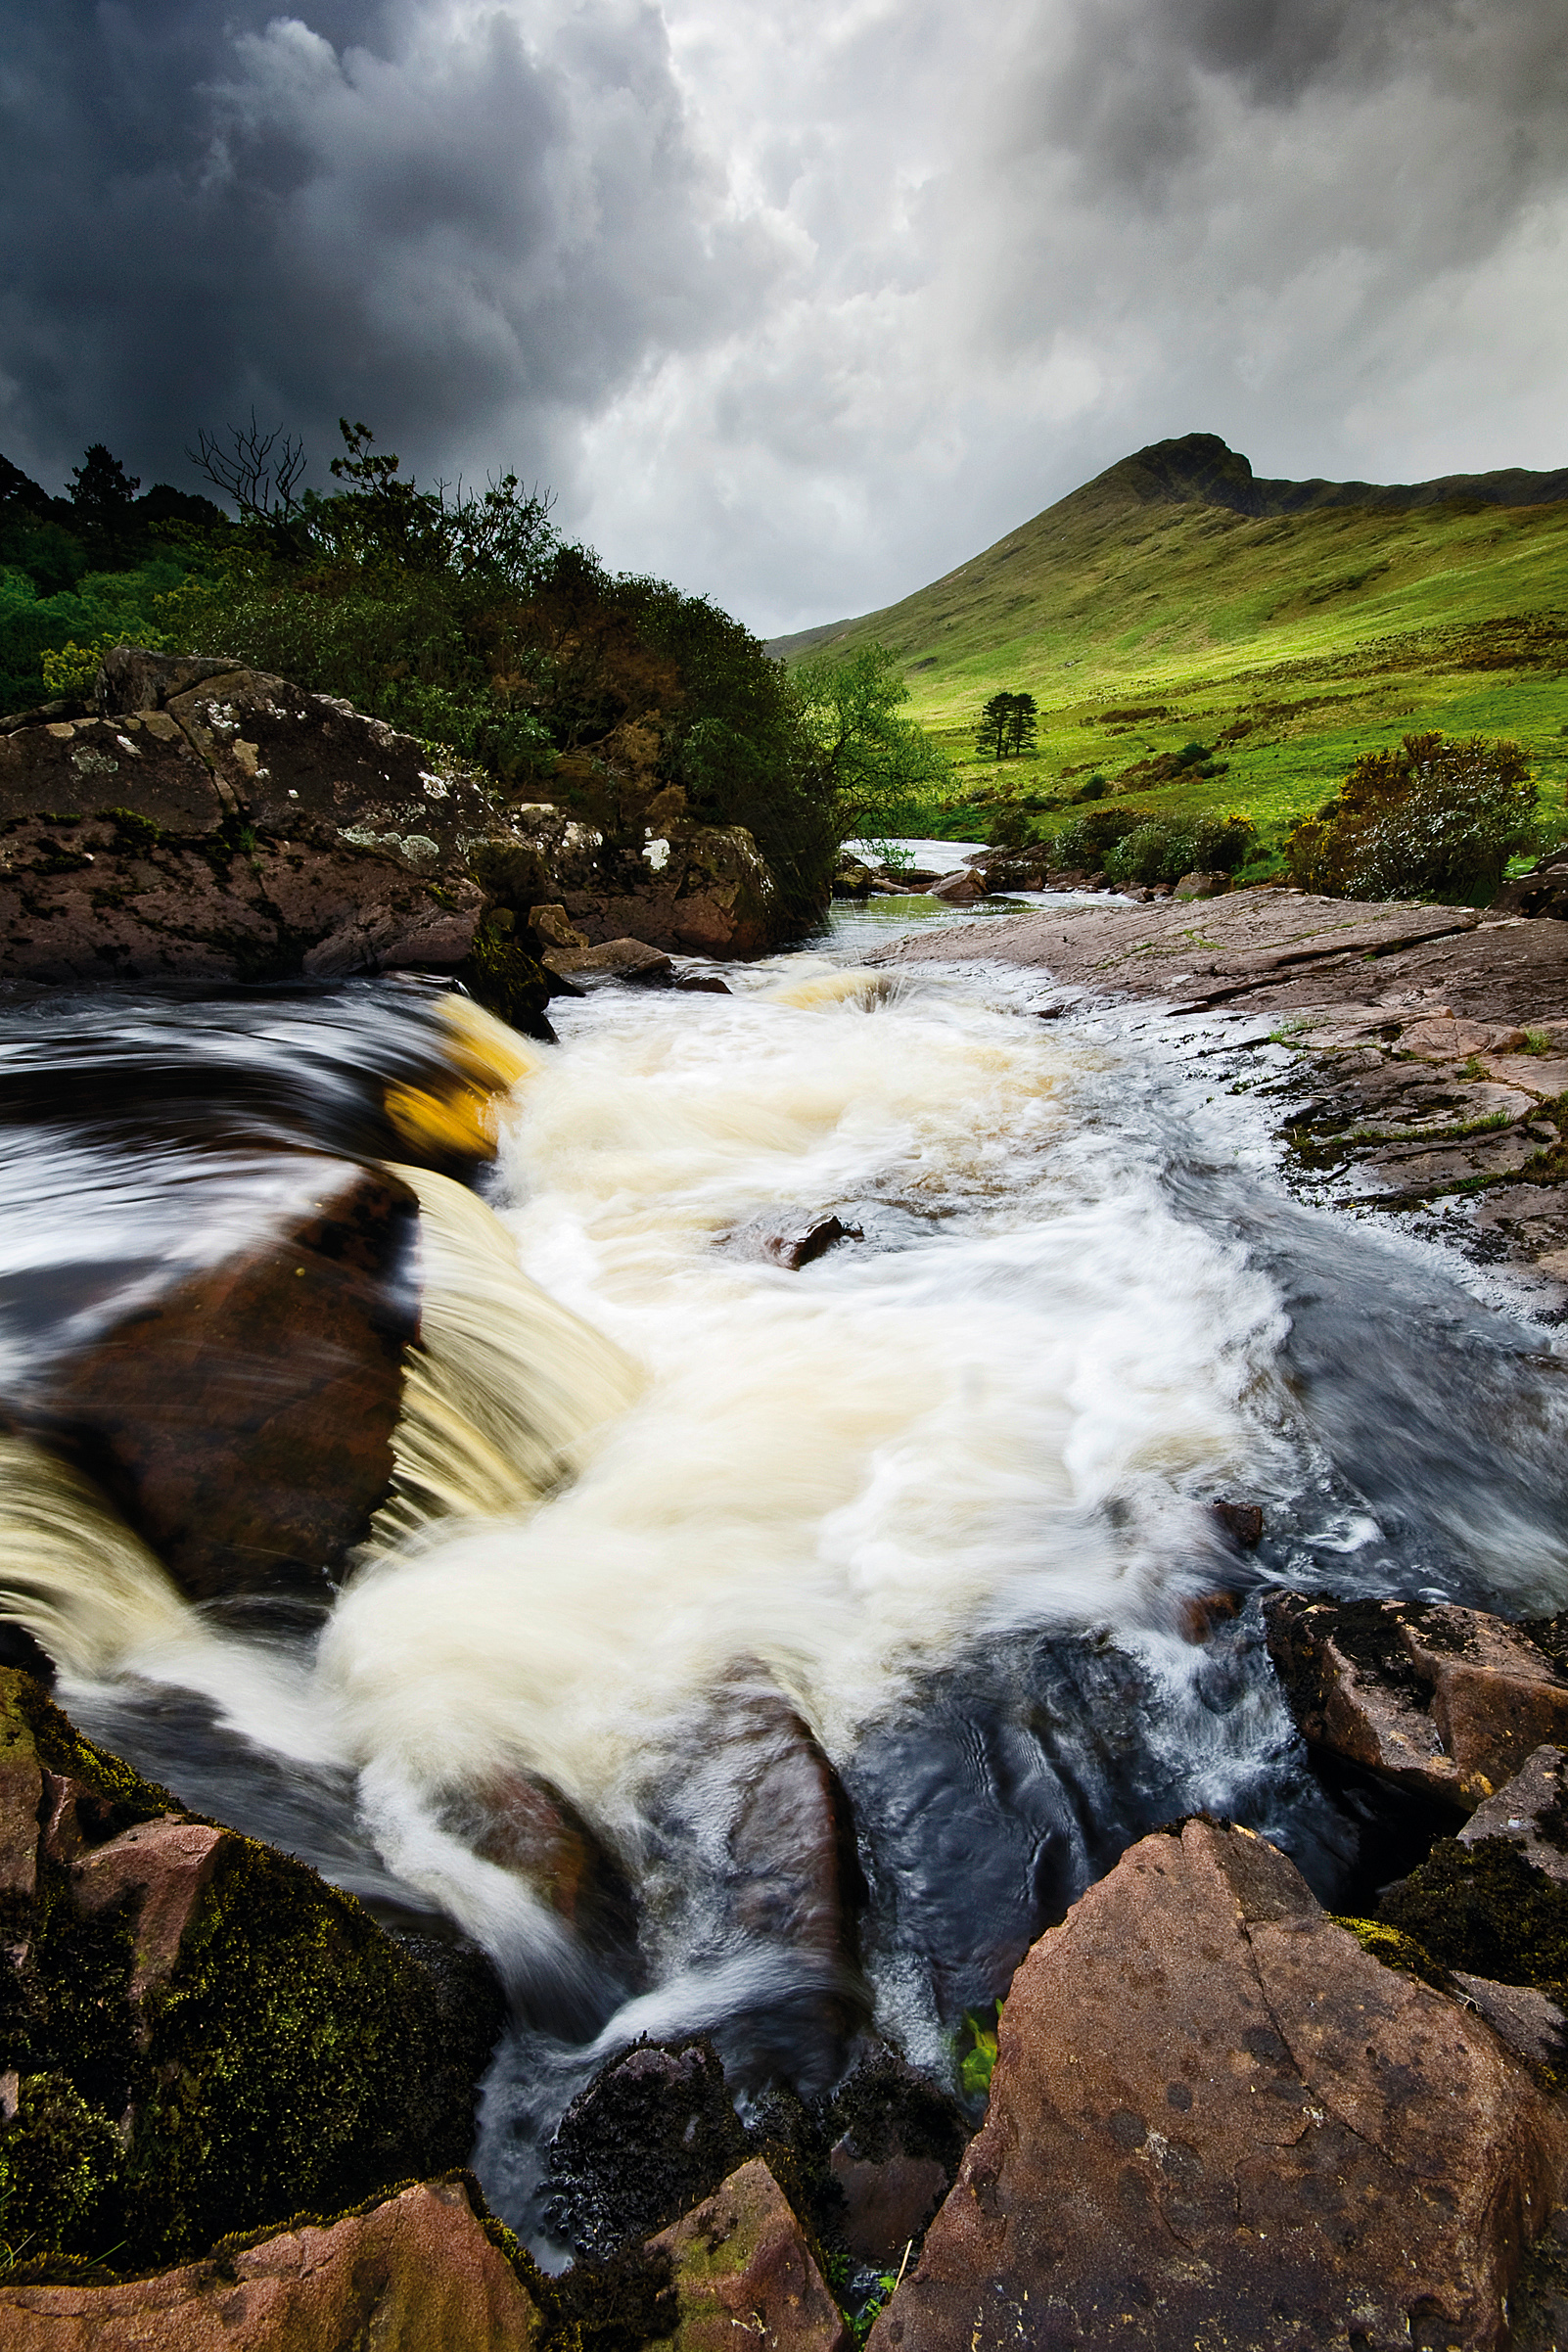
By stepping down the shutter speed scale to 1/15 sec or slower, you can start to explore the creative effects of keeping the camera static and allowing moving elements of the subject to blur. This shutter speed range will enable you to create the classic blurred water effects used by the pros, especially when shooting fast-flowing water, such as waterfalls.
To get this effect you need to keep the camera perfectly still during the exposure. Using the wide-angle end of a standard zoom with image stabilisation, it’s possible to shoot at the higher end of this shutter speed range without having to use a tripod. But get down to 1/8 sec or slower and you’ll really need a tripod to ensure sharp results (remember to turn off any stabilisation features, though).
One of the biggest challenges is predicting how the moving subject will be rendered
One of the biggest challenges when using slower shutter speeds is predicting how the moving subject will be rendered in your final image. There are loads of variables with this technique, but with a little practice it becomes much easier to understand how the final image will appear.
First of all you need to recognise if the movement is regular and linear, like it is in a flowing stream, or more random – when leaves blow in the wind, for example. A linear, regular movement will be recorded as lines or curves in your shot, while more random movement will produce a more chaotic blurred effect.
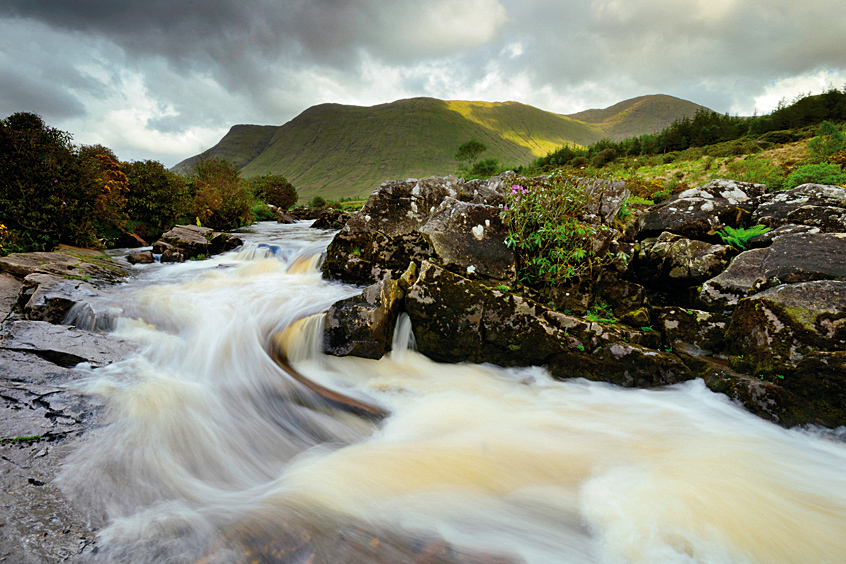
1/2 sec
Here you can see how different shutter speeds have affected how the fast-flowing water in this scene appears
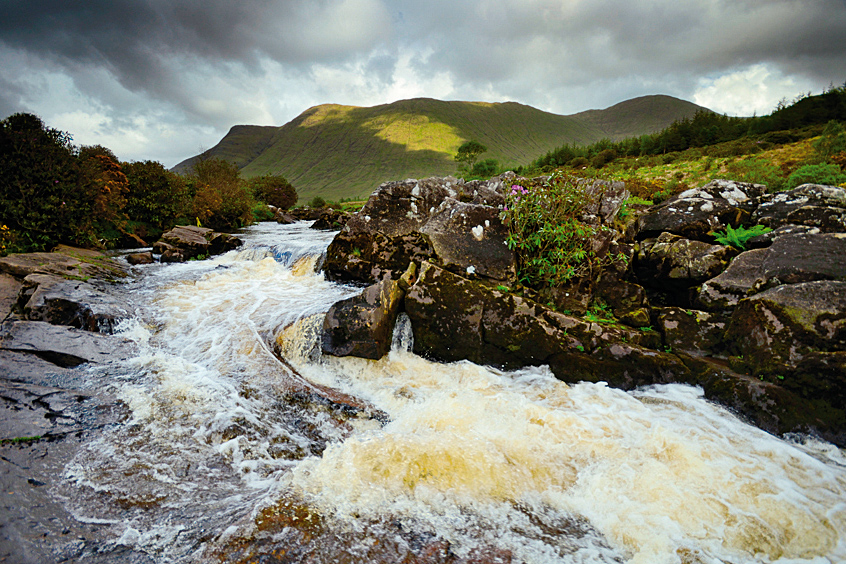
1/250 sec
Here you can see how different shutter speeds have affected how the fast-flowing water in this scene appears
Next you need to decide on the shutter speed you want to use, which depends on how fast the subject is moving, how close it is to the camera, and how much blur you want in the final image. For example, to ensure adequate blurring, a fast-flowing stream in the foreground of your shot won't require as slow a shutter speed as background trees that are gently blowing in the wind.
Step-by-step: It's all a blur
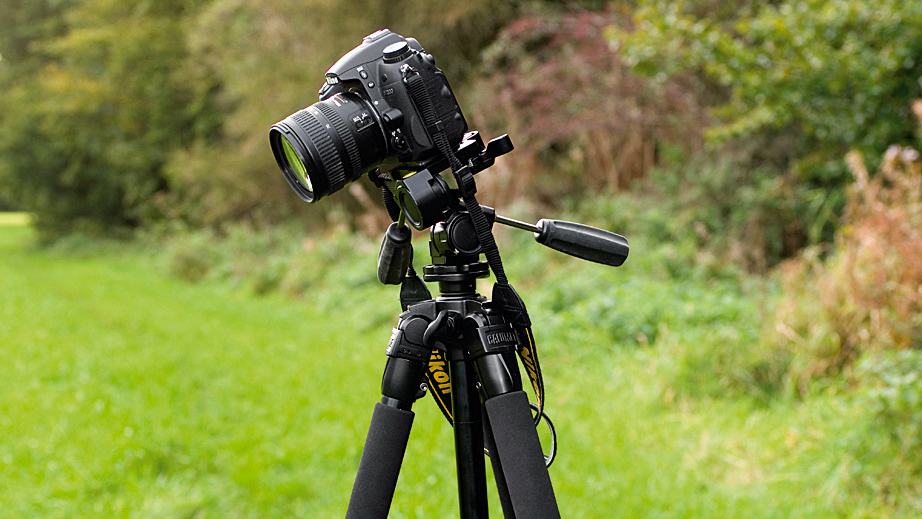
1. Keep it steady
You can get away with hand-holding the camera at the faster shutter speeds in this range, but you’ll need to keep the camera perfectly still to use the slower speeds. Use a tripod and shoot using a remote release or the self-timer to avoid camera shake.
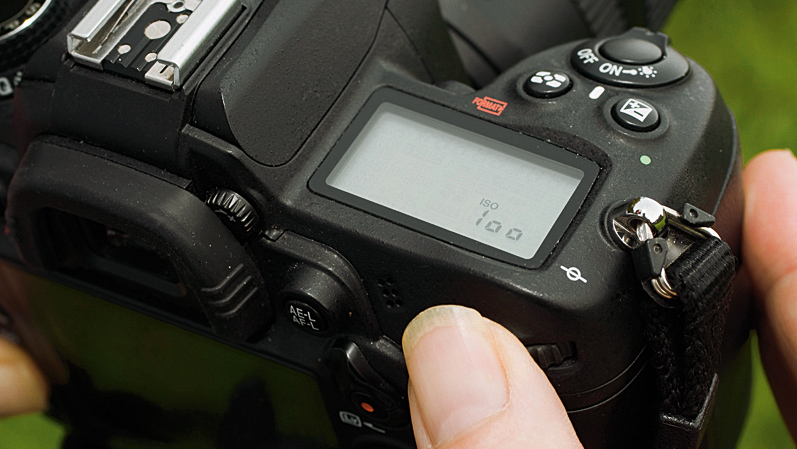
2. Select a low ISO
In most lighting conditions you’ll need to select a low sensitivity setting, such as ISO100. Then switch the camera to shutter priority mode and, depending on your subject, select one of the shutter speeds suggested in our table, see left.
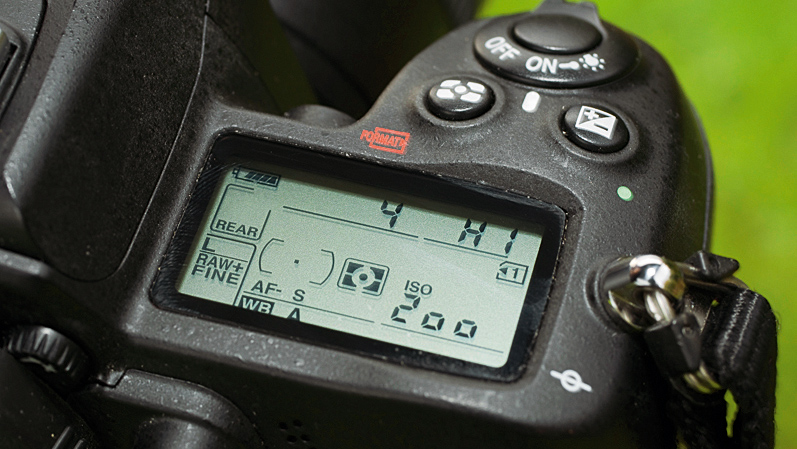
3. Check the aperture
Once in position, make sure that the aperture reading isn’t showing or flashing a warning to indicate that there’s too much light for your shutter speed. If it is, you need to use an ND filter or polariser to reduce the amount of light reaching the sensor.
Common mistakes
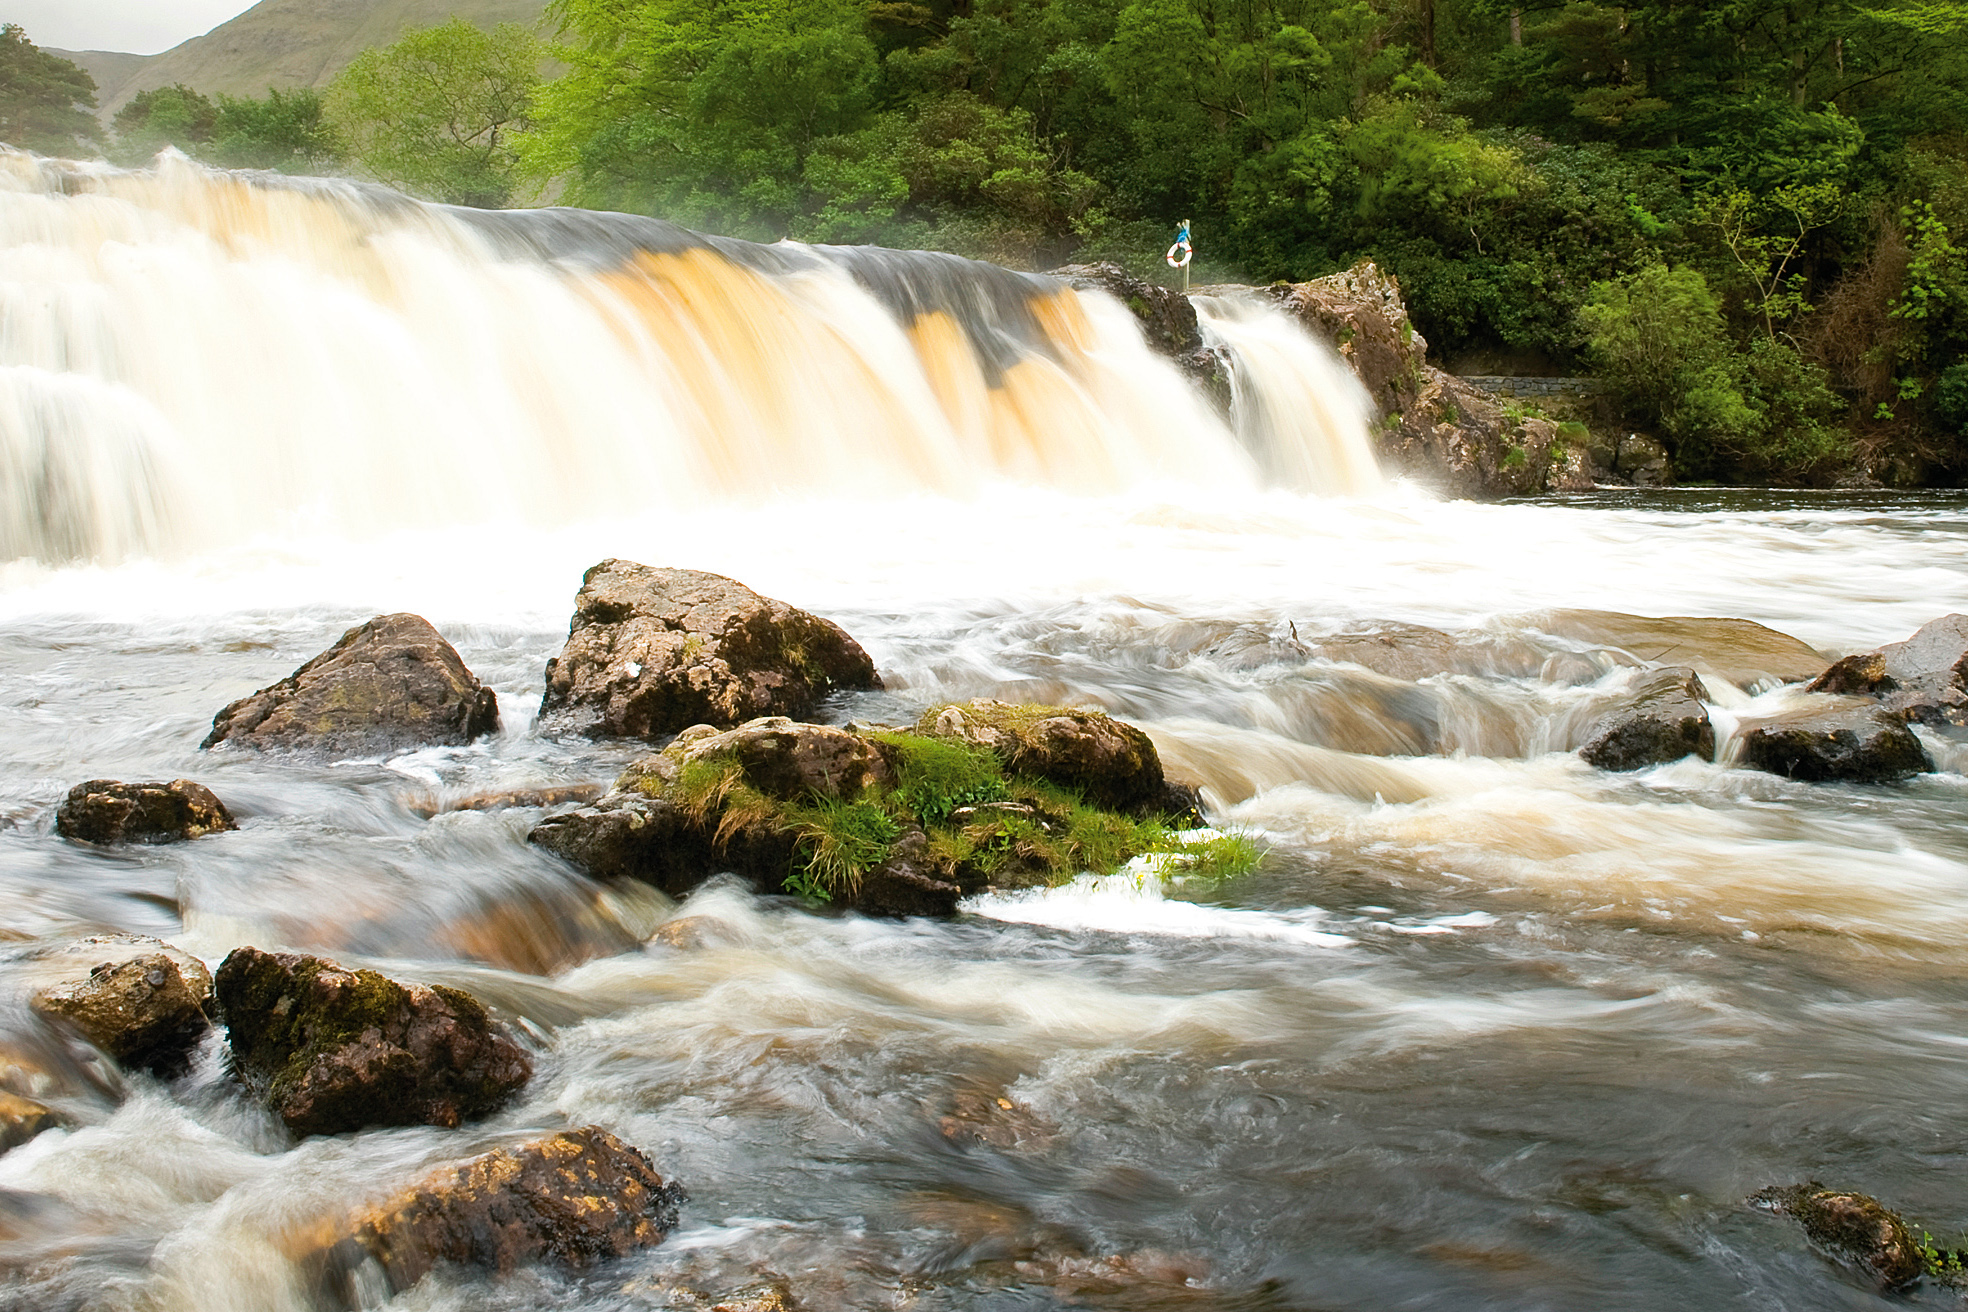
At slow shutter speeds, it’s easy for areas subject to large amounts of movement, such as the sea, to create over-exposure. Take a test shot at the suggested settings and take a look at the histogram (or highlight warning) display to make sure the highlights are correctly exposed.
Sign up for breaking news, reviews, opinion, top tech deals, and more.