Messages saves you resorting to a social network such as Facebook to arrange meeting up with a number of people. That’s because iMessage allows everyone who has an Apple device to take part in a group conversation so that the details can be agreed upon together. When plans are less definite, you can share your location — either at that point in time, or with live updates for a few hours if you’re likely to roam elsewhere.
The Messages app also gives you control over how intrusive any conversation can get, regardless of whether it takes place by iMessage or SMS, by suppressing notifications about one while allowing another to still grab your attention.
Also welcome is the fact that Messages — and the Phone and FaceTime apps, too — can block unwanted contact, whether it’s from people you know or cold calls from salespeople. Being able to stop the latter is especially welcome these days! Check the gallery below for more handy tips that will let you take advantage of all of the features of Messages and iMessage.
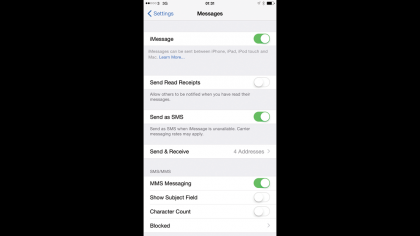
1. SMS or iMessage
Note the color of a contact’s name after you enter it. When you add a contact, the app confirms with Apple whether that number or address is registered to receive iMessages. If so, it will be blue. If it’s green, the message will be sent as an SMS or MMS. Enabling Messages > Send as SMS in Settings ensures the app will fall back on SMS if the iMessages service is unavailable.
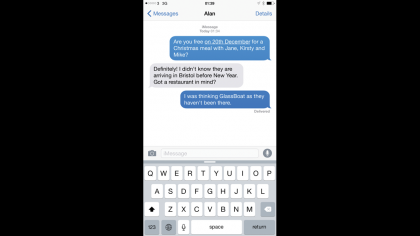
2. Read Receipts
After sending, “Delivered” should appear below an iMessage’s bubble. If the recipient has read receipts enabled, that will change to “Read.” If you don’t want your iPhone to send read receipts, turn off Messages > Send Read Receipts in Settings. Dates appear between bubbles. To see the time messages were sent, swipe right to left and keep your finger on the screen.
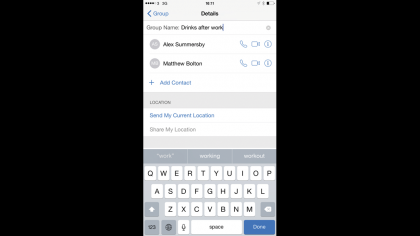
3. Group Messaging
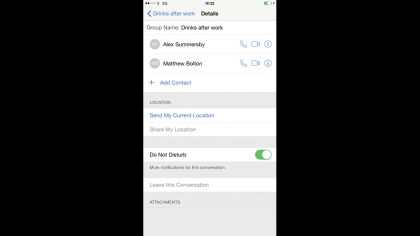
Group conversations are listed by participants’ names; you can assign a label. Tap Details (top right of conversation), and swipe down to reveal a field above the list of participants, then type a label such as “Reunion.” Swipe right to left on a name to reveal a Delete button; tap this to stop them receiving contributions. Tap Add Contact to add more people to the conversation.
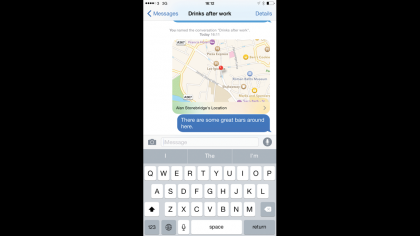
4. Share Your Location
When meeting someone, tap Details and look under Location. You can share your current location or share your live location for a period of time — an hour, end of the day, or indefinitely. When you receive a location, tap the map to view it fullscreen. Choose walking or driving directions and tap Start, or tap Apps to find navigation apps that will help get you there.
Sign up for breaking news, reviews, opinion, top tech deals, and more.
5. Mute a Conversation
Notifications can become a distraction. Tap Details (top right of the conversation) to turn on Do Not Disturb. This doesn’t turn on Do Not Disturb for everything on your iPhone, as the switch of that name in Control Center does – it mutes only this conversation. You’ll still receive messages so you can catch up later, and at any time you can turn this switch off again.