How to use the iOS 10 Control Center
Gain control
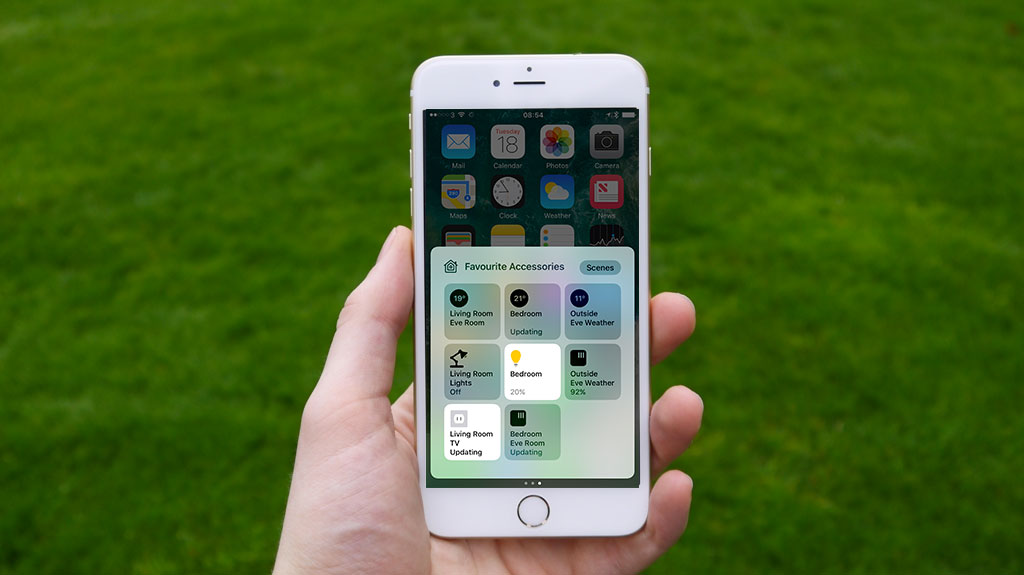
The iOS 10 Control Center saves you the bother of digging around for often-used device settings, opening an app that’s playing audio to control its playback, or searching for a flashlight app to light your path.
Whether you’re at the Home screen, in an app, or you’ve just woken your device to its Lock screen, you can do all these things and more.
To open Control Center, swipe upwards from the screen’s bottom edge. This slides a card over the bottom part of the screen and dims the rest of the display.
Swiping up while using an app might not reveal Control Center right away, though; look for a small tab with an arrow on it at the centre of the screen’s bottom edge; the point of this is to stop you accidentally pulling Control Centre over an app just by interacting with its controls near that point.
Tap elsewhere on the screen to dismiss the tab and carry on, or swipe upwards from it to pull Control Centre in to view.
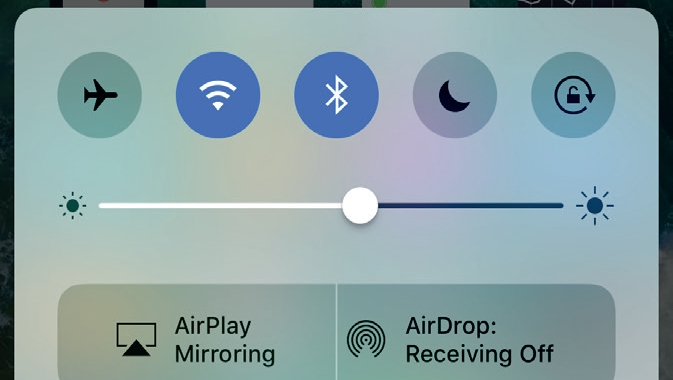
From left to right, the top row of Control Centre contains buttons that toggle Airplane Mode (which disables Wi-Fi and Bluetooth), enable or disable Wi-Fi or Bluetooth on their own, toggle Do Not Disturb to avoid calls and notifications interrupting you, and lock the screen orientation (to portrait only on iPhone or iPod touch, but also to landscape on iPad).
Below these is a slider that controls screen brightness, illuminating the rest of the display as normal so you can accurately see its effect.
Sign up for breaking news, reviews, opinion, top tech deals, and more.
Next down are buttons to mirror your iOS device’s screen to an Apple TV and control whether Macs and other iOS devices can see your device and send things to you – such as links, contact details, photos – over a direct Wi-Fi connection between devices.
The Night Shift button toggles that feature and shows when it’ll next turn on or off. Night Shift warms the screen’s output, reducing the blue light that can disrupt your sleep. Set up Night Shift in Settings > Display & Brightness.
3D Touch enhancements
The bottom row contains buttons that turn an iPhone’s flash into a flashlight or open the Clock, Calculator or Camera app.
On a device with 3D Touch, press firmly on them for extra options, such as flashlight intensities, preset timer duration, and camera modes.
Note the page dots that are shown below the card, which are new in iOS 10 – read on to learn how Control Center’s layout has changed and about its new options.
How to control your iOS 10 device’s key features
1. Open Control Centre
Swipe up from the bottom edge of the screen; the last card used is shown even after locking your device.
On the first card, the top row’s icons and Night Shift toggle their feature when tapped. AirPlay and AirDrop offer some choices, though.
2. Stream to Apple TV
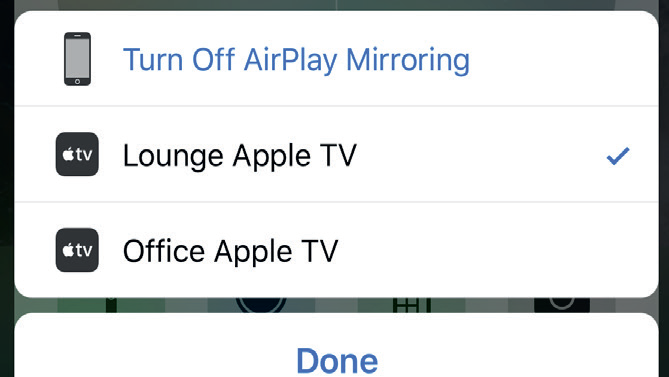
To mirror your device’s screen to a television, tap AirPlay Mirroring and then tap the name of a (second-generation or newer) Apple TV that’s been found on the same network.
Tap AirPlay Mirroring again for an option to turn this off.
3. Receive from a device
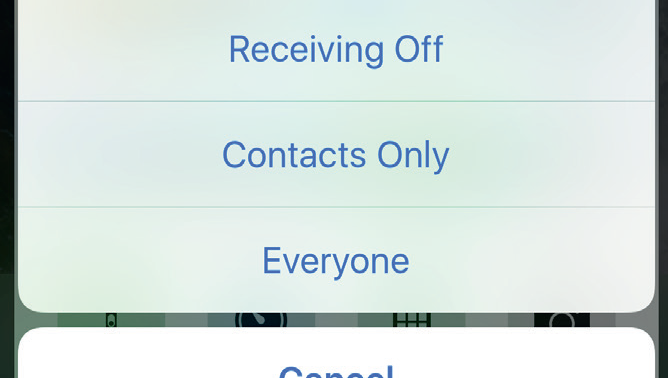
Tap AirDrop and then Contacts Only or Everyone to send things to or receive from a Mac or iOS device that’s nearby.
AirDrop to and from Macs only works with models made in the last few years.
How to control audio from the Now Playing card
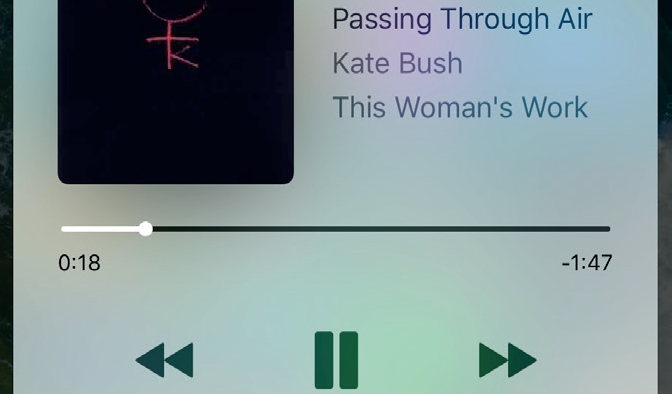
1.Take control of music
When an app is playing audio in the background, Control Center’s second card shows details (tap them to go to the app), playback controls, plus headphones, Bluetooth speakers and AirPlay speakers you can send the audio to (one at a time).
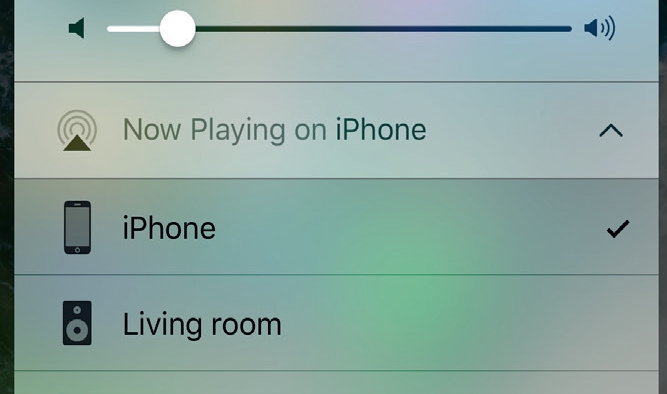
2. Pick a target on iPhone
On iPhone, the current destination for audio is shown in the bottom row of the card.
Tap it to expand it and see the list of available speakers. Tap one to send audio to it, then tap outside of Control Centre or swipe down on it to close it.
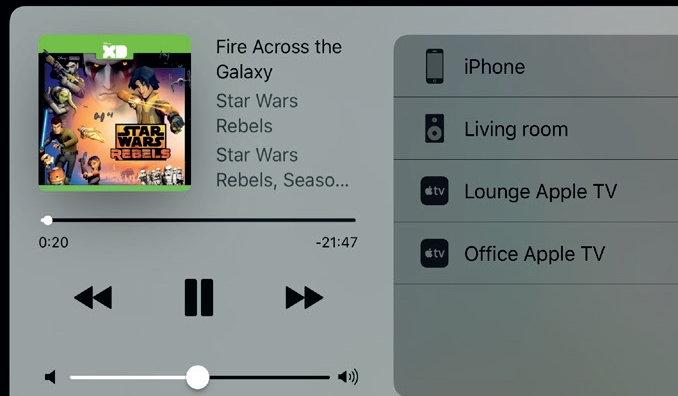
3. Split video and audio
You should also use the second card if you want to watch video on your device yet send its audio to a better speaker; ignore the first card’s AirPlay control in this instance, as it always sends video and audio to your specified destination.
How to control HomeKit accessories and scenes
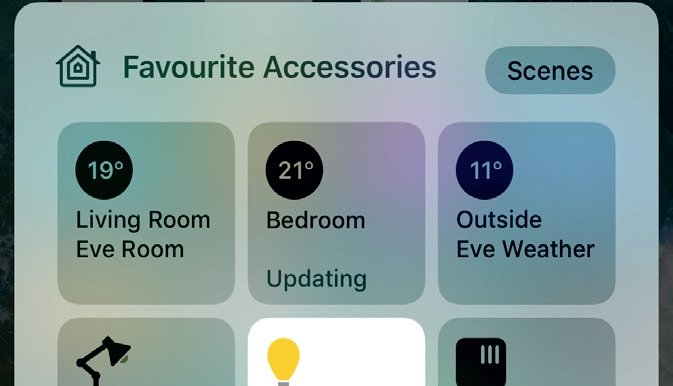
1. Master of your home
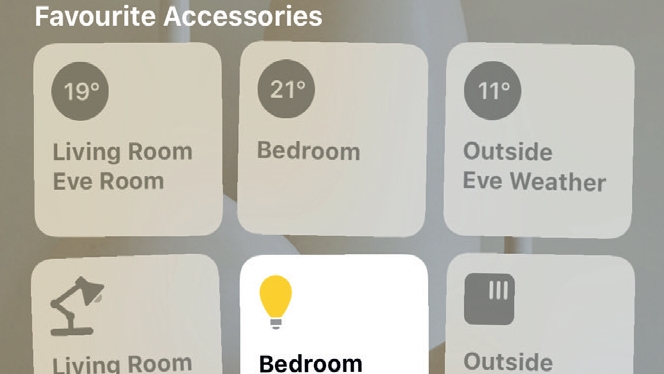
If you’ve configured accessories in the Home app, such as lights, door locks or air quality sensors, Control Centre’s third card shows up to nine accessories (12 on iPad) and scenes marked as favourites, for at-a-glance info about their status.
2. Accessory information
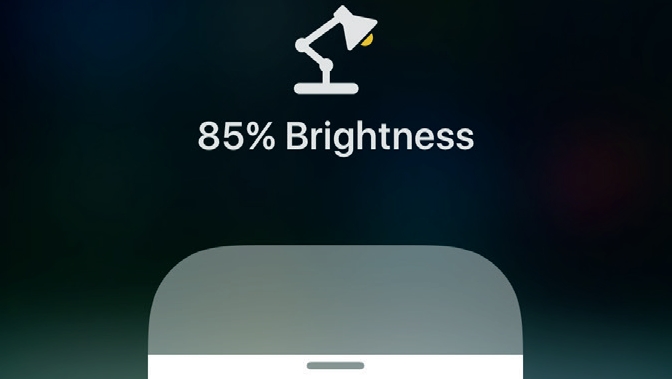
Tap an accessory (that isn’t just a sensor) or a scene to toggle its status – to turn a light on or off, for example. If an accessory allows finer adjustment, such as a light’s brightness, apply 3D Touch/hold a finger on it to show that control.
3. Choose your favourites
Tap the house icon (top left) to open the Home app if you need to use its extra controls or want to change or rearrange the favourite accessories that are shown in Control Centre: tap Edit, then drag the accessories into your desired positions.
- Enjoyed this article? Get more tutorials, guides, and tips on how to get the most from your Apple devices inside MacFormat. Take advantage of an exclusive offer in our sampler today.