How to use Instagram: from first snap to influencer status
A no-nonsense guide to everyone’s favorite photo app (Insta-fame not guaranteed)
It's time to get 'gramming
Since it launched in 2010, Instagram has drawn more than 700 million active monthly users into its addictive web of photos, likes, hashtags, stories and filters. But don’t worry if you don’t know your Reyes from your Juno just yet (they’re filters, for the uninitiated), because it’s not too late to get started.
All you need to do is get the app, and from there it takes literally minutes to get 'gramming. And while Instagram may come with its own esoteric dictionary of terminology, the app itself is really easy to use, and all of the words, the conventions and the filters start to make sense once you’ve uploaded a few images.
If, on the other hand, you’ve been using the app for a while but you’re getting bored, see this as an opportunity to breathe new life into your Instagram existence, and start transforming your over-filtered selfies into beautiful creations your followers can’t help but like.
So whether you’re an Instagram newbie who desperately wants to find out who the hell this ‘Amaro’ guy, is or you’ve been happily ‘gramming since day one and just want some tips on how to grow your audience, we’ve got you covered.
1. Get the app
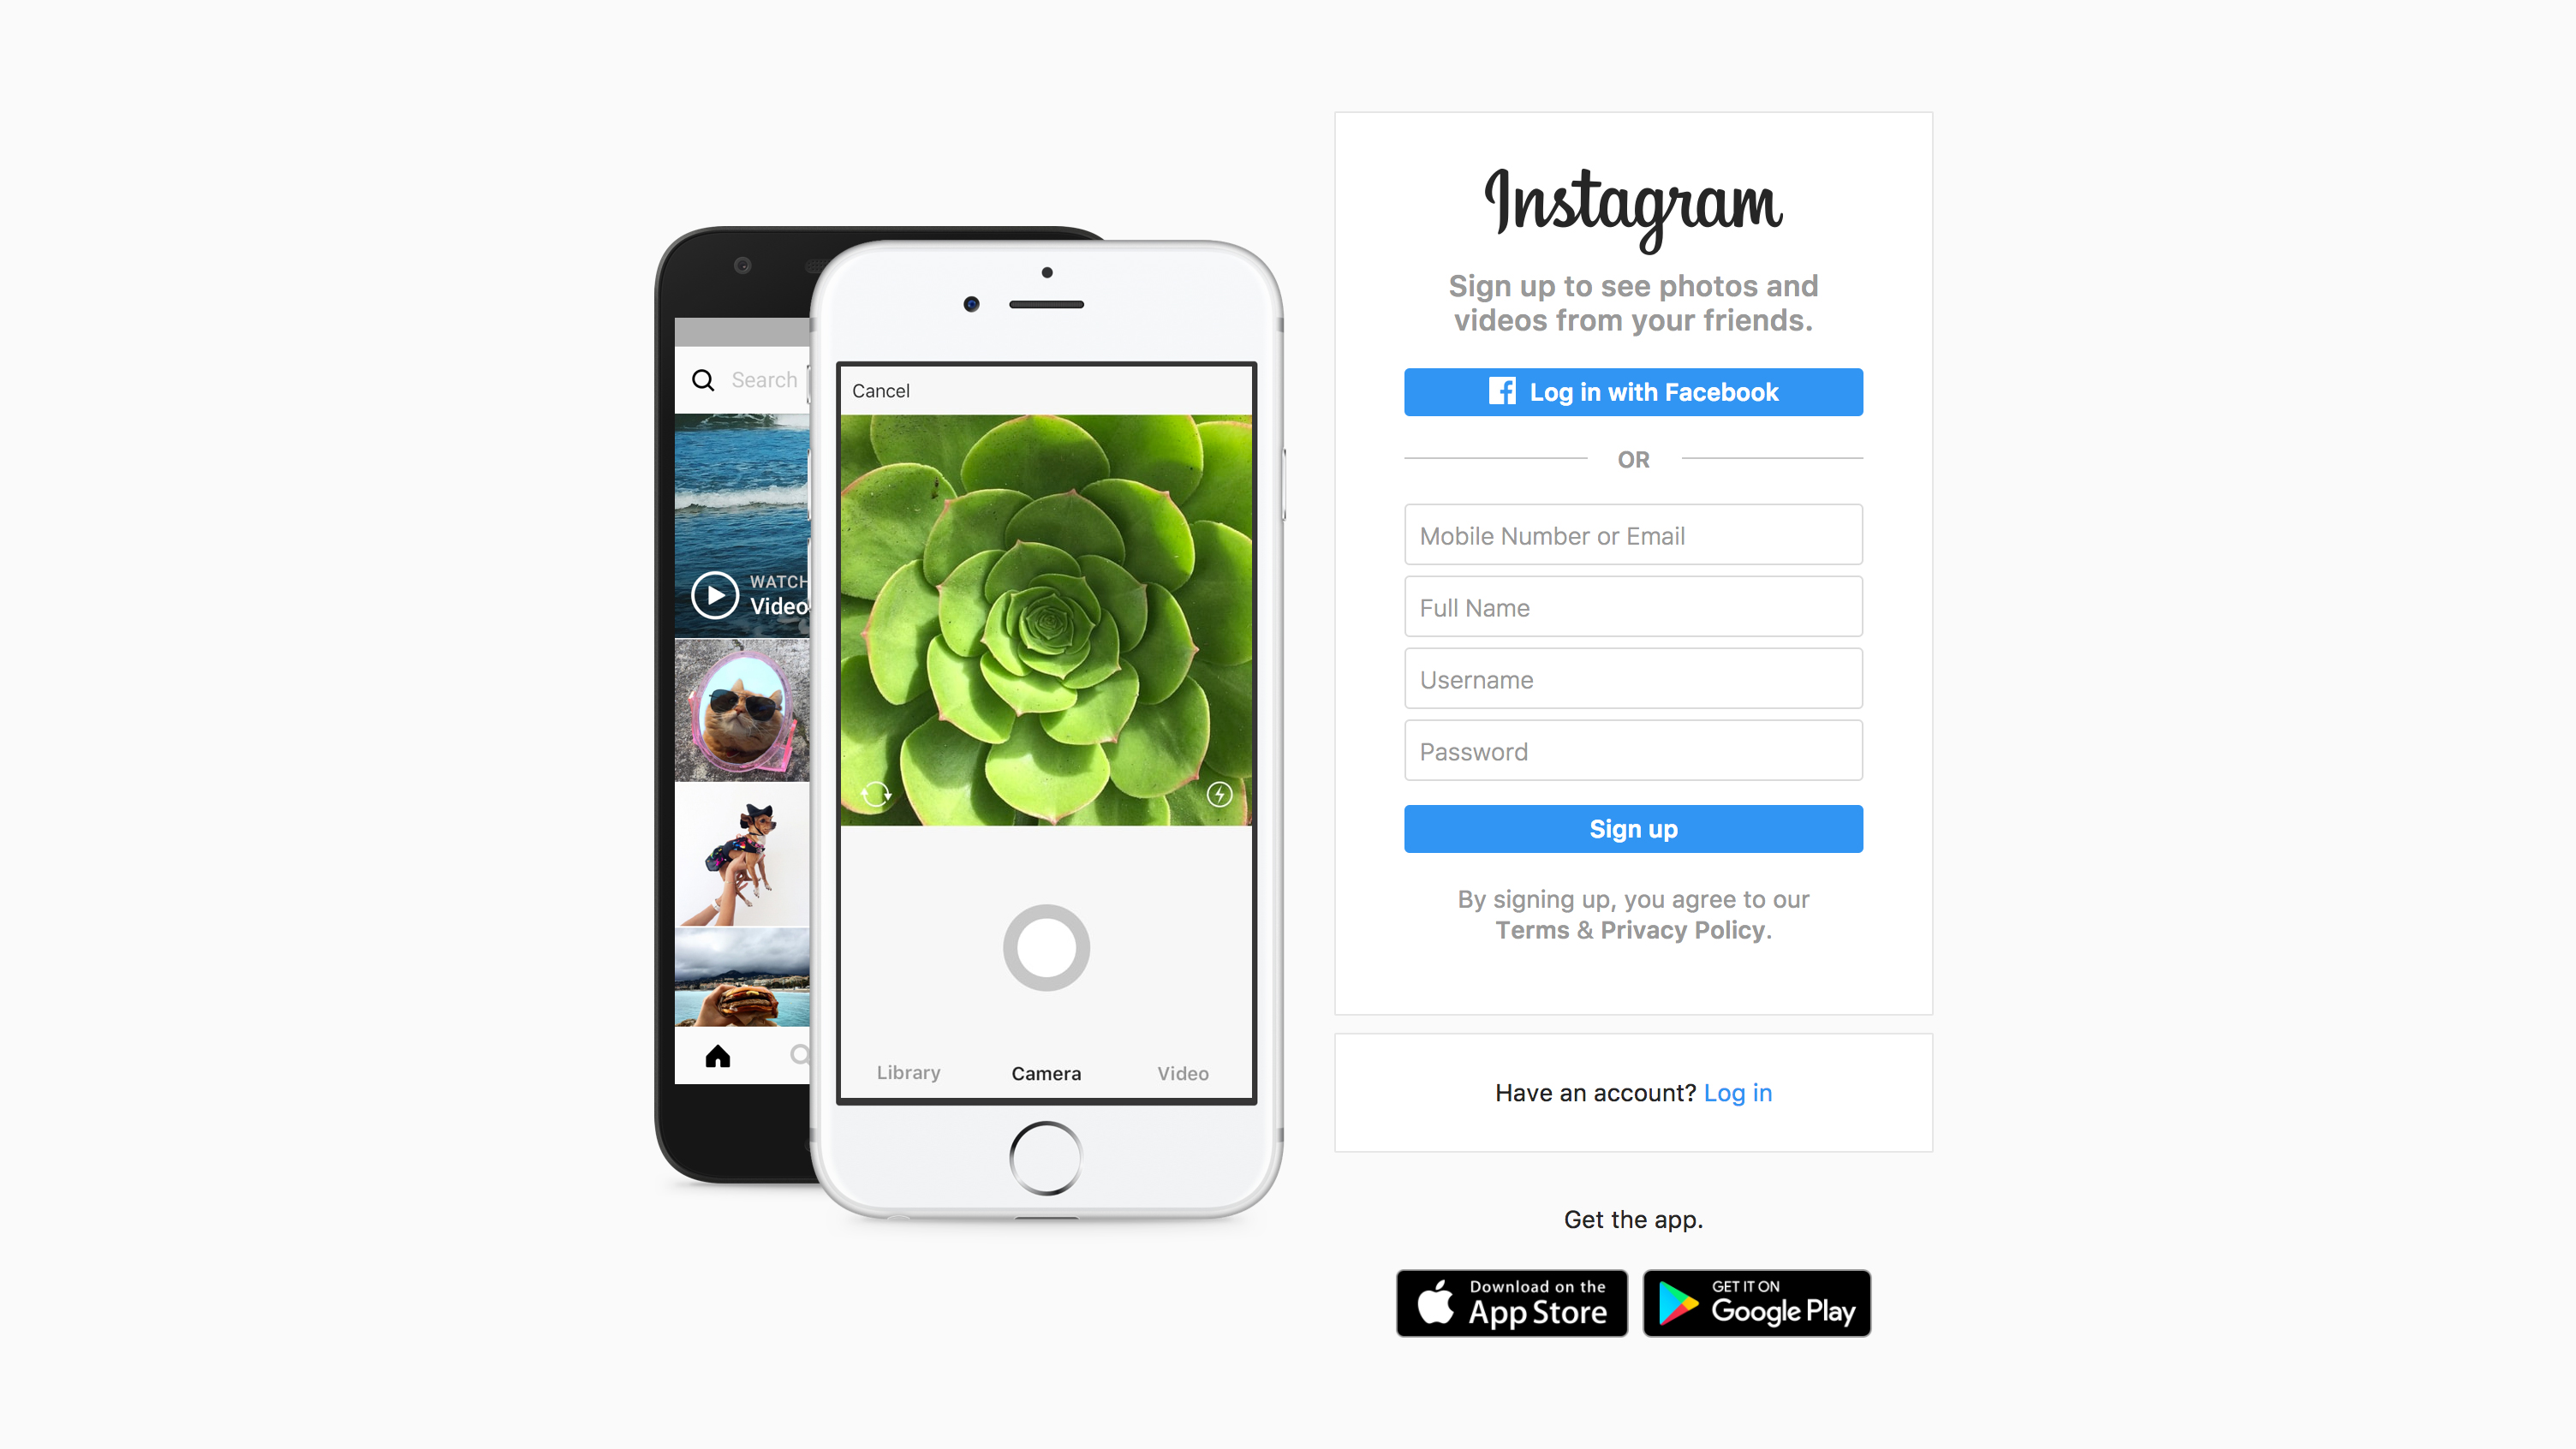
You can sign up for Instagram on the web, but to use it you have to get the app – it’s a mobile-first platform. It’s super-simple to use, but the most important bit is choosing your username.
If you just want to share photos with family and friends, then go wild and choose anything. But if you’re setting up an account for a business, or plan to become instafamous, you'll need to put a bit more thought into it.
A good rule of thumb is to choose something that’s as short, memorable and relevant as possible. Bonus branding points if it’s a username you’re already using on other apps and social networks too.

2. Add your existing networks
You’ll get the most from Instagram – not to mention a ready-made fanbase – if you sync it with your Facebook and Twitter accounts, which will then allow you to add people you already know. You can do this by heading to Options (the little cog in the top right-hand corner of your profile) and then scrolling down to ‘Follow People’.
Of course if you’re setting up a business profile, don’t want your family to see what you’ve been up to, or are sharing content you’d rather keep private, you’re free to skip this step.

3. Use the Explore feature
Lots of people complain about Instagram getting boring, seeing lots of the same types of content or getting sick and tired of dull meal photos. But the content you see depends on who you follow. So it makes sense to only follow people you’re interested in.
There are lots of ways to do this, by finding lists online, by seeing what kind of content your friends like and interact with, or by using the Explore tab. It’s the little magnifying glass in the bottom menu bar, and it’ll show you the most relevant content for you from people or brands you’re not already following (or at least that's the idea…).

4. Apply the basics of photography
Smartphones are so damn smart nowadays that the photos you take can give proper cameras a run for their money. This means there’s no excuse for taking substandard photos that break all of the basic rules of photography. Brushing up on your knowledge of basic stuff, like positioning yourself so you get plenty of natural light, using doorways for framing and applying the rule of thirds (above) is easy to do.
Not only will some of these tips help you to produce nicer-looking photos, they could get you more likes too. Studies suggest that lighter, brighter Instagram photos tend to get way more likes and comments than those that are darker – which is hardly surprising, but useful to know next time you’re rushing and not considering where the light is coming from.

5. Experiment with filters
There are lots of great filters available in Instagram, and a few years ago when the app was still young and fresh-faced, people would heavily filter everything they shot (not to mention adding frames – urgh). But most users now tend to go easier when it comes to editing images and applying filters.
Luckily Instagram makes it easy to go easy, as there’s an intensity slider that accompanies each filter. Just hit the filter to see what it looks like, then hit it again to change the intensity by moving the slider.
If there’s a particular filter you love using, you can re-arrange the list so it shows up first. Just head to Filters, scroll to the end and tap Manage. Here you can press and hold the list icon next to the filters to change their order.

6. Share to your other networks
When you share a photo to Instagram you have the option of also sharing it to your other social networks, such as Facebook, Twitter, Tumblr, Flickr and Swarm. If your goal is to share things far and wide, and you’re proud of your content, make sure you take the time to sync up all the right accounts.
If you’re not sure whether you want to share everything with everyone, fear not. When you post a photo you can choose whether you want to share that particular photo to Facebook one day and keep your next photo on Instagram the next – just use the easy toggle function.

7. Stay alert to notifications
At the bottom of the Instagram app there’s a menu bar; the fourth icon along that bar is a heart, and that’s where all your notifications live. Click on this to see who's added you as a friend, who's liked your posts, who's commented on your posts, who's replied to a comment and who's tagged you in a post.
To see what your friends have been liking or commenting on, toggle from You to Following at the top – this is a great way of finding interesting new accounts to follow.

8. Play with Instagram Stories
Gone are the days of Instagram being solely about sharing a photo that stays on your profile forever. Since Snapchat took off, Instagram has followed suit and introduced Instagram Stories. These are short bursts of content – video or images – that only live on the platform for 24 hours then are lost forever in the social media ether.
Stories haven't caught on with everyone, as it’s a really different way of sharing, but it’s a great way of keeping people engaged in what you’re doing – especially when you want to share something but it doesn’t feel ‘special’ or, let’s face it, good enough to be an Instagram photo and be immortalized forever on your profile.
You add a story by clicking the camera button in the top left-hand corner of your home screen. You can either take a photo or record a video on-the-spot, or swipe down and pick one from your library. From there you can do all kinds of things, like easily add paintbrush, text, emojis, location and so much more. All you have to do then is hit the arrow button to share it.
You can see your story by clicking on your face in your profile, and you can see other people’s by heading to your home page and clicking on the little circles of their faces at the top.
9. Define a color scheme or style
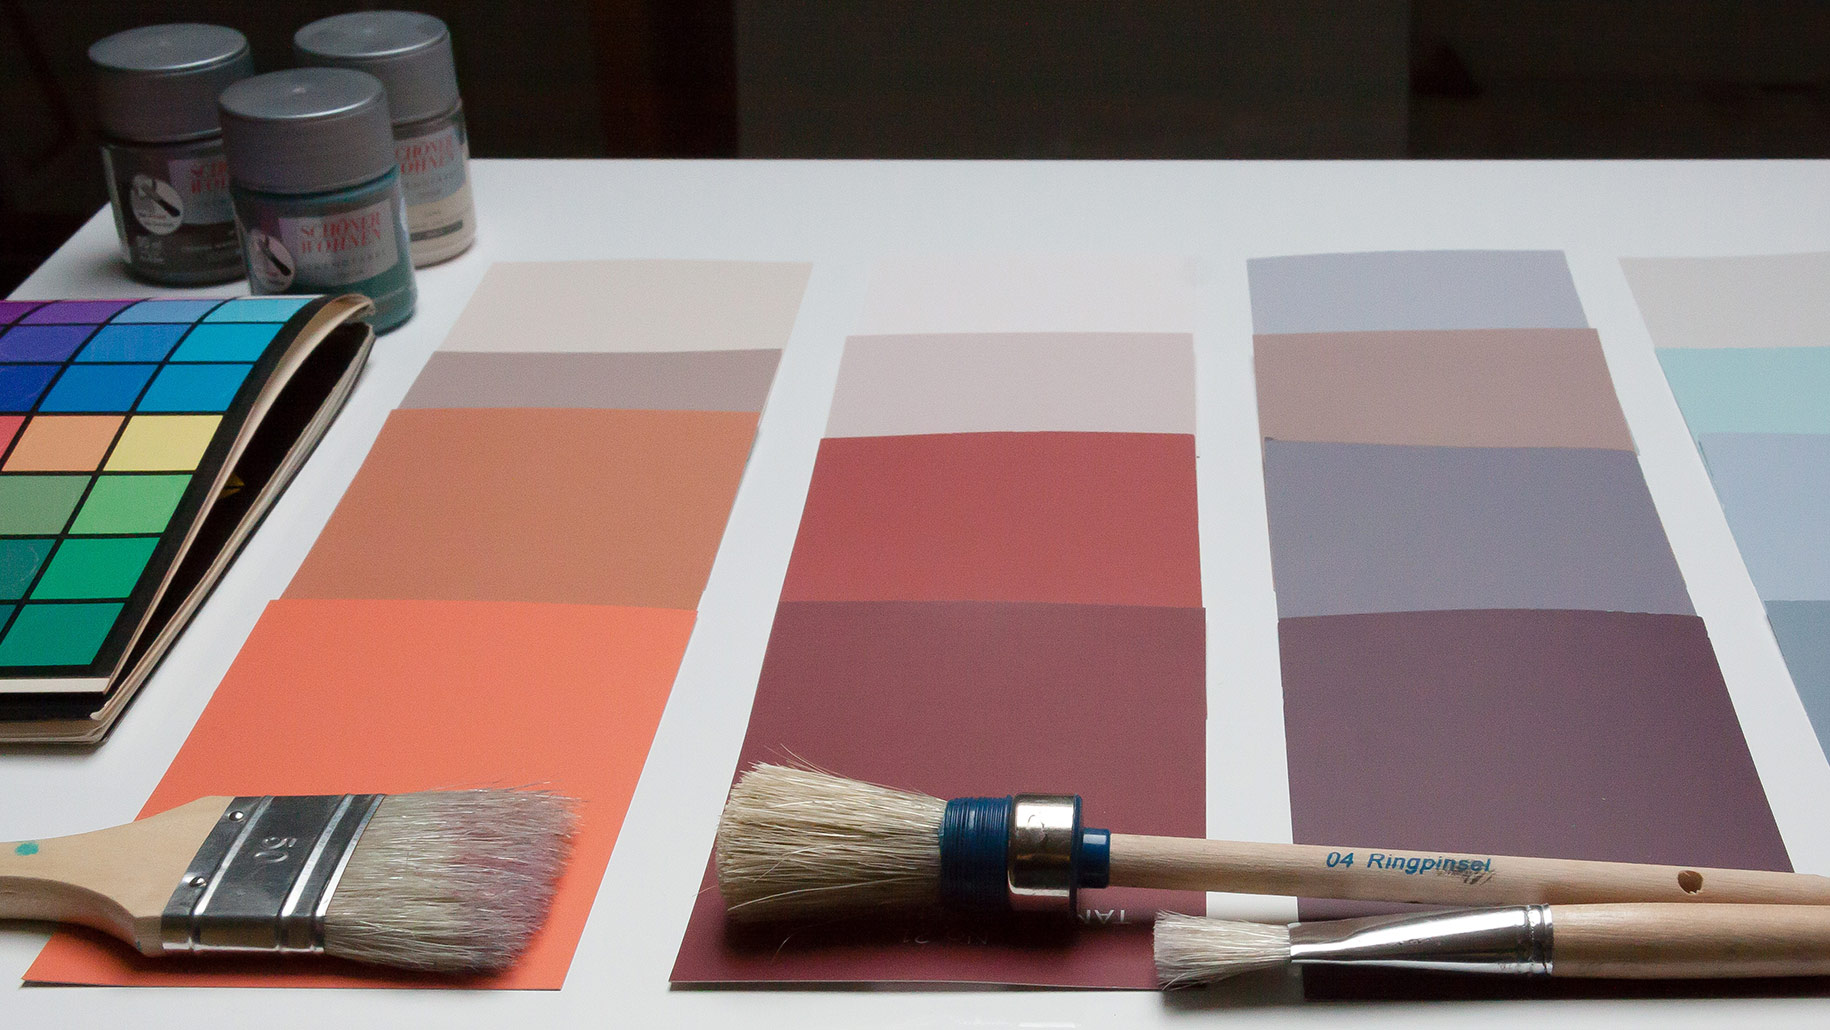
There are plenty of people (raises hand) who use Instagram to share random nuggets from their life, a bit like Twitter and Facebook, without really considering personal branding or a theme. But because of Instagram’s highly visual nature, some people like to get creative and tailor their content to look a certain way, whether that’s by adding a color scheme or sharing a certain style of photo.
When it comes to individual photos, single, bright, dominant colours tend to equal more engagement than a pale selection of lots of colors – especially those comprised of blue shades, which research suggests will get you 24% more likes than photos that are more red.
10. Hashtags are your friend
Hashtags are a way of sorting and labelling content so that other people can find it, so don’t be afraid to use them. Smart users will add hashtags in a separate comment underneath their photos after they’ve posted them – this is so they don’t make their captions look messy, and spares their followers on other networks from hashtag overload when they share across platforms.
In a separate comment, Instagram can suggest the best hashtags to use – just start typing something and suggestions will pop up.

11. Think about when you post
Instagram doesn’t just serve up content chronologically – you see photos from other people based on an algorithm that takes post frequency, interests, who you follow, timing, and all kinds of other things into account. This means that the more you post, the more likely you are to be favored by the algorithm and have your content pop up at the top of everyone’s feed.
Then again, posting for the hell of it won’t do you any favors. Remember the old maxim: always prioritize quality over quantity.
Most social media experts tend to suggest that posting photos at lunchtime – so between roughly 11am and 2pm – and during the evenings – between 6pm and 9pm – will lead to more likes and comments. That won’t always be the case, but as a general rule people are probably more likely to check Instagram when they’re not working. Although let’s have a quick show of hands to see how many people have broken that rule recently…

12. Use Instagram’s other apps
There are plenty of ways to spruce up your photos within the Instagram app – just hit the Edit button next to Filter and you can tweak everything from color to contrast – but Instagram has also created a number of standalone apps that are worth checking out.
There’s Hyperlapse, which lets you create cool timelapse videos; Boomerang, which enables you to make GIF-style looping videos; and Layout, which lets you combine images in a nice-looking grid – perfect for creating a collage of photos you’ve taken at an event or for a making a mood board.

13. Explore other editing apps
Nowadays, Instagram has plenty of filters as well as lots of great editing options. But many people have favorite photo apps they rely on before they send their creations to the platform.
Some of the most popular editing apps include Snapseed, VSCO and SKRWT, and there are plenty of selfie-specific ones too, such as Facetune. Whether it’s because you prefer a filter in another app or just like the interface more, it’s now so easy to make changes in one app and send your photo straight to Instagram that you shouldn’t shy away from looking elsewhere.

14. Think outside the square
When Instagram first appeared it only allowed you to upload photos in a boring old square format. Now you have the option to upload landscape photos, by clicking the little two-arrow stretch option in the bottom left-hand corner before you get the option to apply filters.
And that’s not all. You can use Layout to make compilations of lots of different-sized photos, or even use multiple photos to create a big image that's only visible from your feed – although if you’re not sure how that’s done it’s best to leave it to proper designers, as you can make quite a mess.

15. Tag friends, brands and people you admire
You can tag and mention friends really easily if you’ve taken a photo of them, but you can also use this functionality to get the attention of people you admire by tagging their work or products.
So let’s say you buy a cool new print from an illustrator – you can tag them in that image to say thanks. There are other ways to use the tagging feature too – a lot of style and fashion bloggers like to tag the brands they’re wearing so their Instagram feed becomes like a mini catalogue, enabling their followers to shop their looks easily. To tag a brand or person, hit the Tag People button underneath the 'Write a caption…' box.

16. Captivate with captions
Sure, Instagram seems like it’s solely focused on photo and video content, but a great caption can have a huge impact too. There’s no character limit to Instagram’s captions, so you can post nothing at all, or a cryptic single word, or an entire story if you want to.
As you might expect, research suggests that questions tend to get people commenting the most. And if you want to enter a lot of words, do it in a note-taking app on your mobile first so you can add plenty of line breaks and paragraphs – you can’t do that in the Instagram app itself. You can also use this trick to add line breaks in your bio, to make your profile stand out a bit more.

17. Send direct messages
If you see something on Instagram that you’d like to share with a friend, or you admire someone’s work and want to tell them privately, there’s a direct messaging feature built into Instagram. To get into it, just click the little paper plane icon in the top right-hand corner of your home screen. From here, you can take photos, share photos and have text-based conversations, and as with Instagram Stories you can add emojis and texts to your photos too.

18. Remove and delete
We’d love to live in a world where everyone just gets along and doesn’t do anything mean, but unfortunately people can be idiots, especially online, so…
If you want to delete comments, swipe left on a comment and hit the little red bin symbol.
If you’re getting a lot of negative comments and just don’t want to deal with them any more, hit Advanced Settings before you publish a photo and toggle comments to off.
If someone has tagged you in a photo that you want to remove, double-tap the photo and check Hide from My Profile or Remove Me from Post.
If you’re getting hassle from a particular person, go to their Profile and click the three dots in the top right-hand corner – there are a bunch of options here, but this is where you can go to block or report them.

19. Draft content for later
If you want to publish a post later you can make all of your edits to it, then save it as a draft. To do this just upload a post as usual, edit it, and add a caption if you want. But instead of hitting Share, click the 'back' button in the top left-hand corner, then hit it again – Instagram will ask you if you want to Save Draft.
If you want to edit a post using Instagram’s filters and suite of tools but don’t want to share it, or save it as a draft, you'll need to set your phone to Airplane Mode and edit it and share it. Because you’re not connected to the internet or data, it won’t publish, but it will save to your camera roll, so you can either upload it later, use it elsewhere or add another filter to it.

20. Switch to a business profile
If you’ve set up an Instagram account that’s affiliated with a business – or if you’re creating a business from your Instagram presence – you can now ‘unlock’ some special features reserved for brands that were introduced last year.
Head to your Instagram account and click Options (the cog in the top right-hand corner) then scroll to Switch to Business Profile. This will allow you to add a phone number, email or location to your account so that customers can reach you more directly with an easy-to-use button on your profile. It’ll also serve up an Insights panel, so that you can learn more about your audience, their habits and how to make the most of your content, and can create promotions.

Becca is a contributor to TechRadar, a freelance journalist and author. She’s been writing about consumer tech and popular science for more than ten years, covering all kinds of topics, including why robots have eyes and whether we’ll experience the overview effect one day. She’s particularly interested in VR/AR, wearables, digital health, space tech and chatting to experts and academics about the future. She’s contributed to TechRadar, T3, Wired, New Scientist, The Guardian, Inverse and many more. Her first book, Screen Time, came out in January 2021 with Bonnier Books. She loves science-fiction, brutalist architecture, and spending too much time floating through space in virtual reality.
Sign up for breaking news, reviews, opinion, top tech deals, and more.
You are now subscribed
Your newsletter sign-up was successful