How to take amazing photos with your smartphone
There's more to smartphone photography than meets the eye
Sign up for breaking news, reviews, opinion, top tech deals, and more.
You are now subscribed
Your newsletter sign-up was successful
Today’s smartphones can take photos as good as the classic point-and-shoot camera, which is why the category has dwindled in recent years to make room for more high-end models like digital SLRs.
The best smartphones have sensors that are actually superior to entry-level cameras, while fast chipsets and advanced operating systems allow for a level of processing that’s tough to cram into a point-and-shoot.
But that doesn’t mean every photo taken on a smartphone is a stunner. There are a few simple things you can do that dramatically improve your smartphone photography. Whether it’s capturing dramatic landscapes on holiday or taking better selfies for Instagram, here are a few tricks to help you get even more out of your camera.
Explore the rule of thirds
The rule of thirds is a fundamental principle of photographic composition, one that’s easy to learn and implement.
When shooting a photo, imagine the scene is split into three, both vertically and horizontally. Try to position your subject and other points of visual interest at the intersections of these 'rule of thirds' lines.
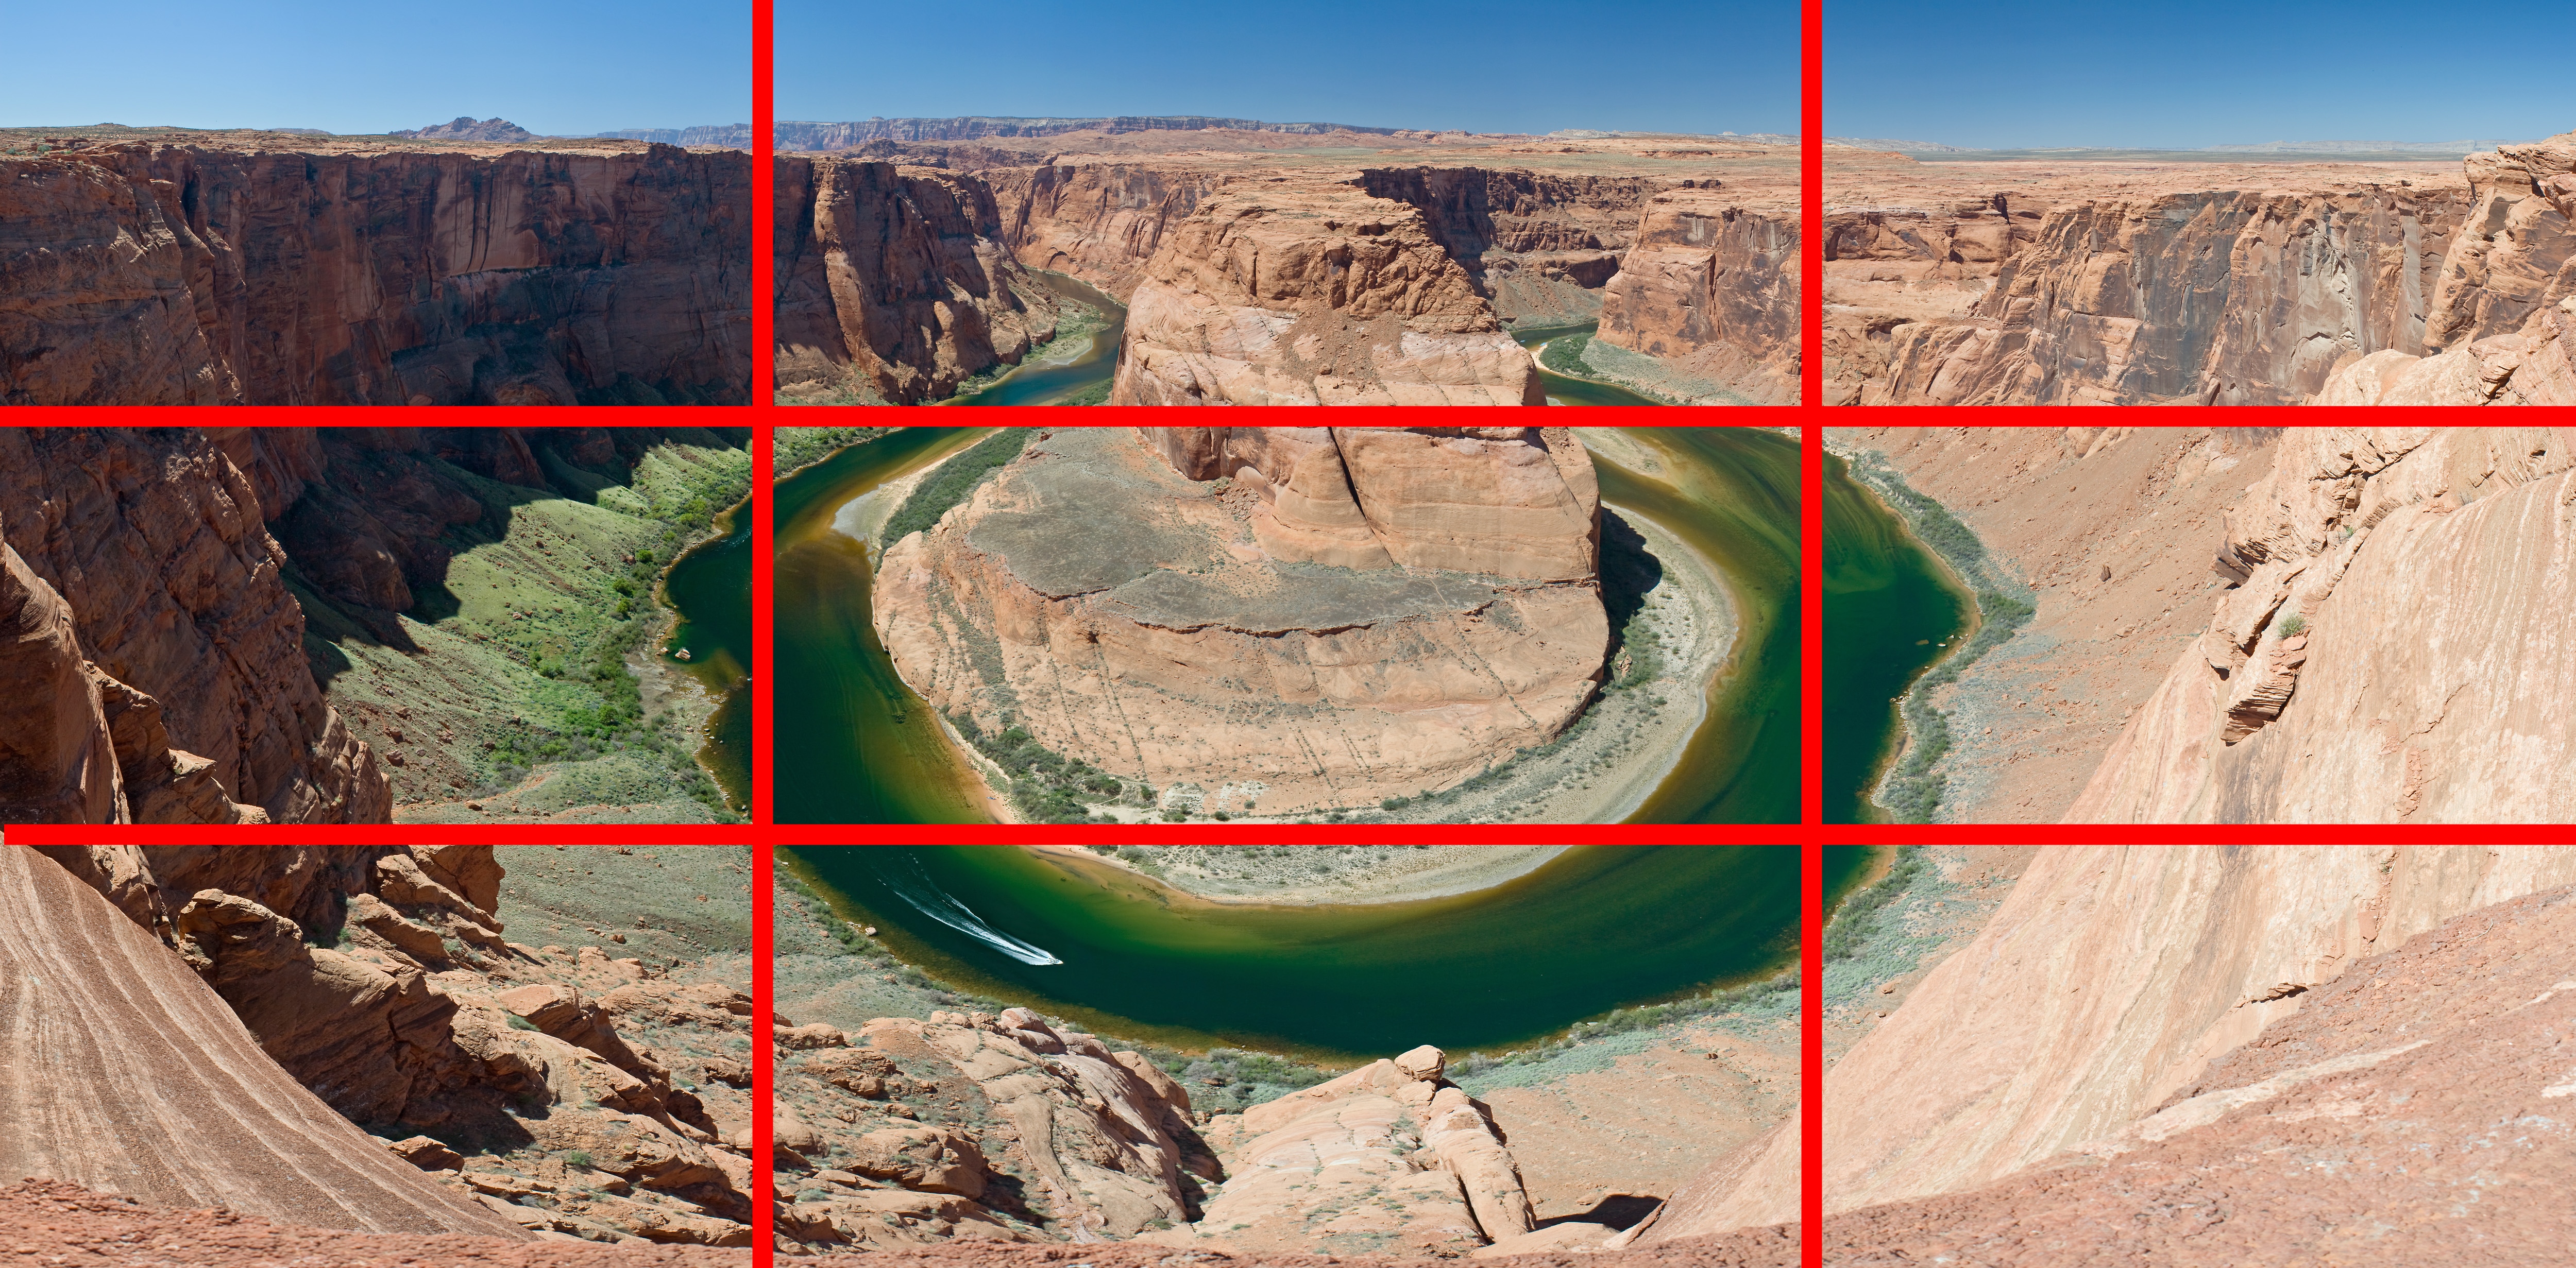
Many smartphones allow you to turn on a rule of thirds grid, which helps to compose the image. By using the rule of thirds you instantly avoid the amateur look, where subjects are just plonked smack bang in the center of an image without much thought.
There are other compositional conventions you can look into further down the line, but the rule of thirds is a great, simple way to start thinking about photo composition.
Sign up for breaking news, reviews, opinion, top tech deals, and more.
Try a new angle
One of the best ways to move on from lazy photography, mobile or otherwise, is to be more inventive in the way you hold and point your camera. You can (almost) always move your position, crouch down or hold the phone up to find a new angle.
Our favorite of the three is the urban crouch, which gives you a lower view in a city. As well as reminding you quite how creaky your knees are, it’s a great way to get more dramatic perspectives of buildings and other geometric city structures.
Like the rule of thirds, this is a rule to shoot by whether you use a smartphone or DSLR.
Use HDR for sunset images
Sunrise and sunset scenes make for striking images. But they’re also a challenge for cameras, because of the stark difference in light levels between the darkest part of the image and the brightest.
The golden orange, red and yellow parts of the sky are very bright, but the foreground is often much darker. The most desirable result is to bring out as much foreground detail as possible without overexposing the sky, particularly if the scene is of lush green countryside rather than grey urban buildings.
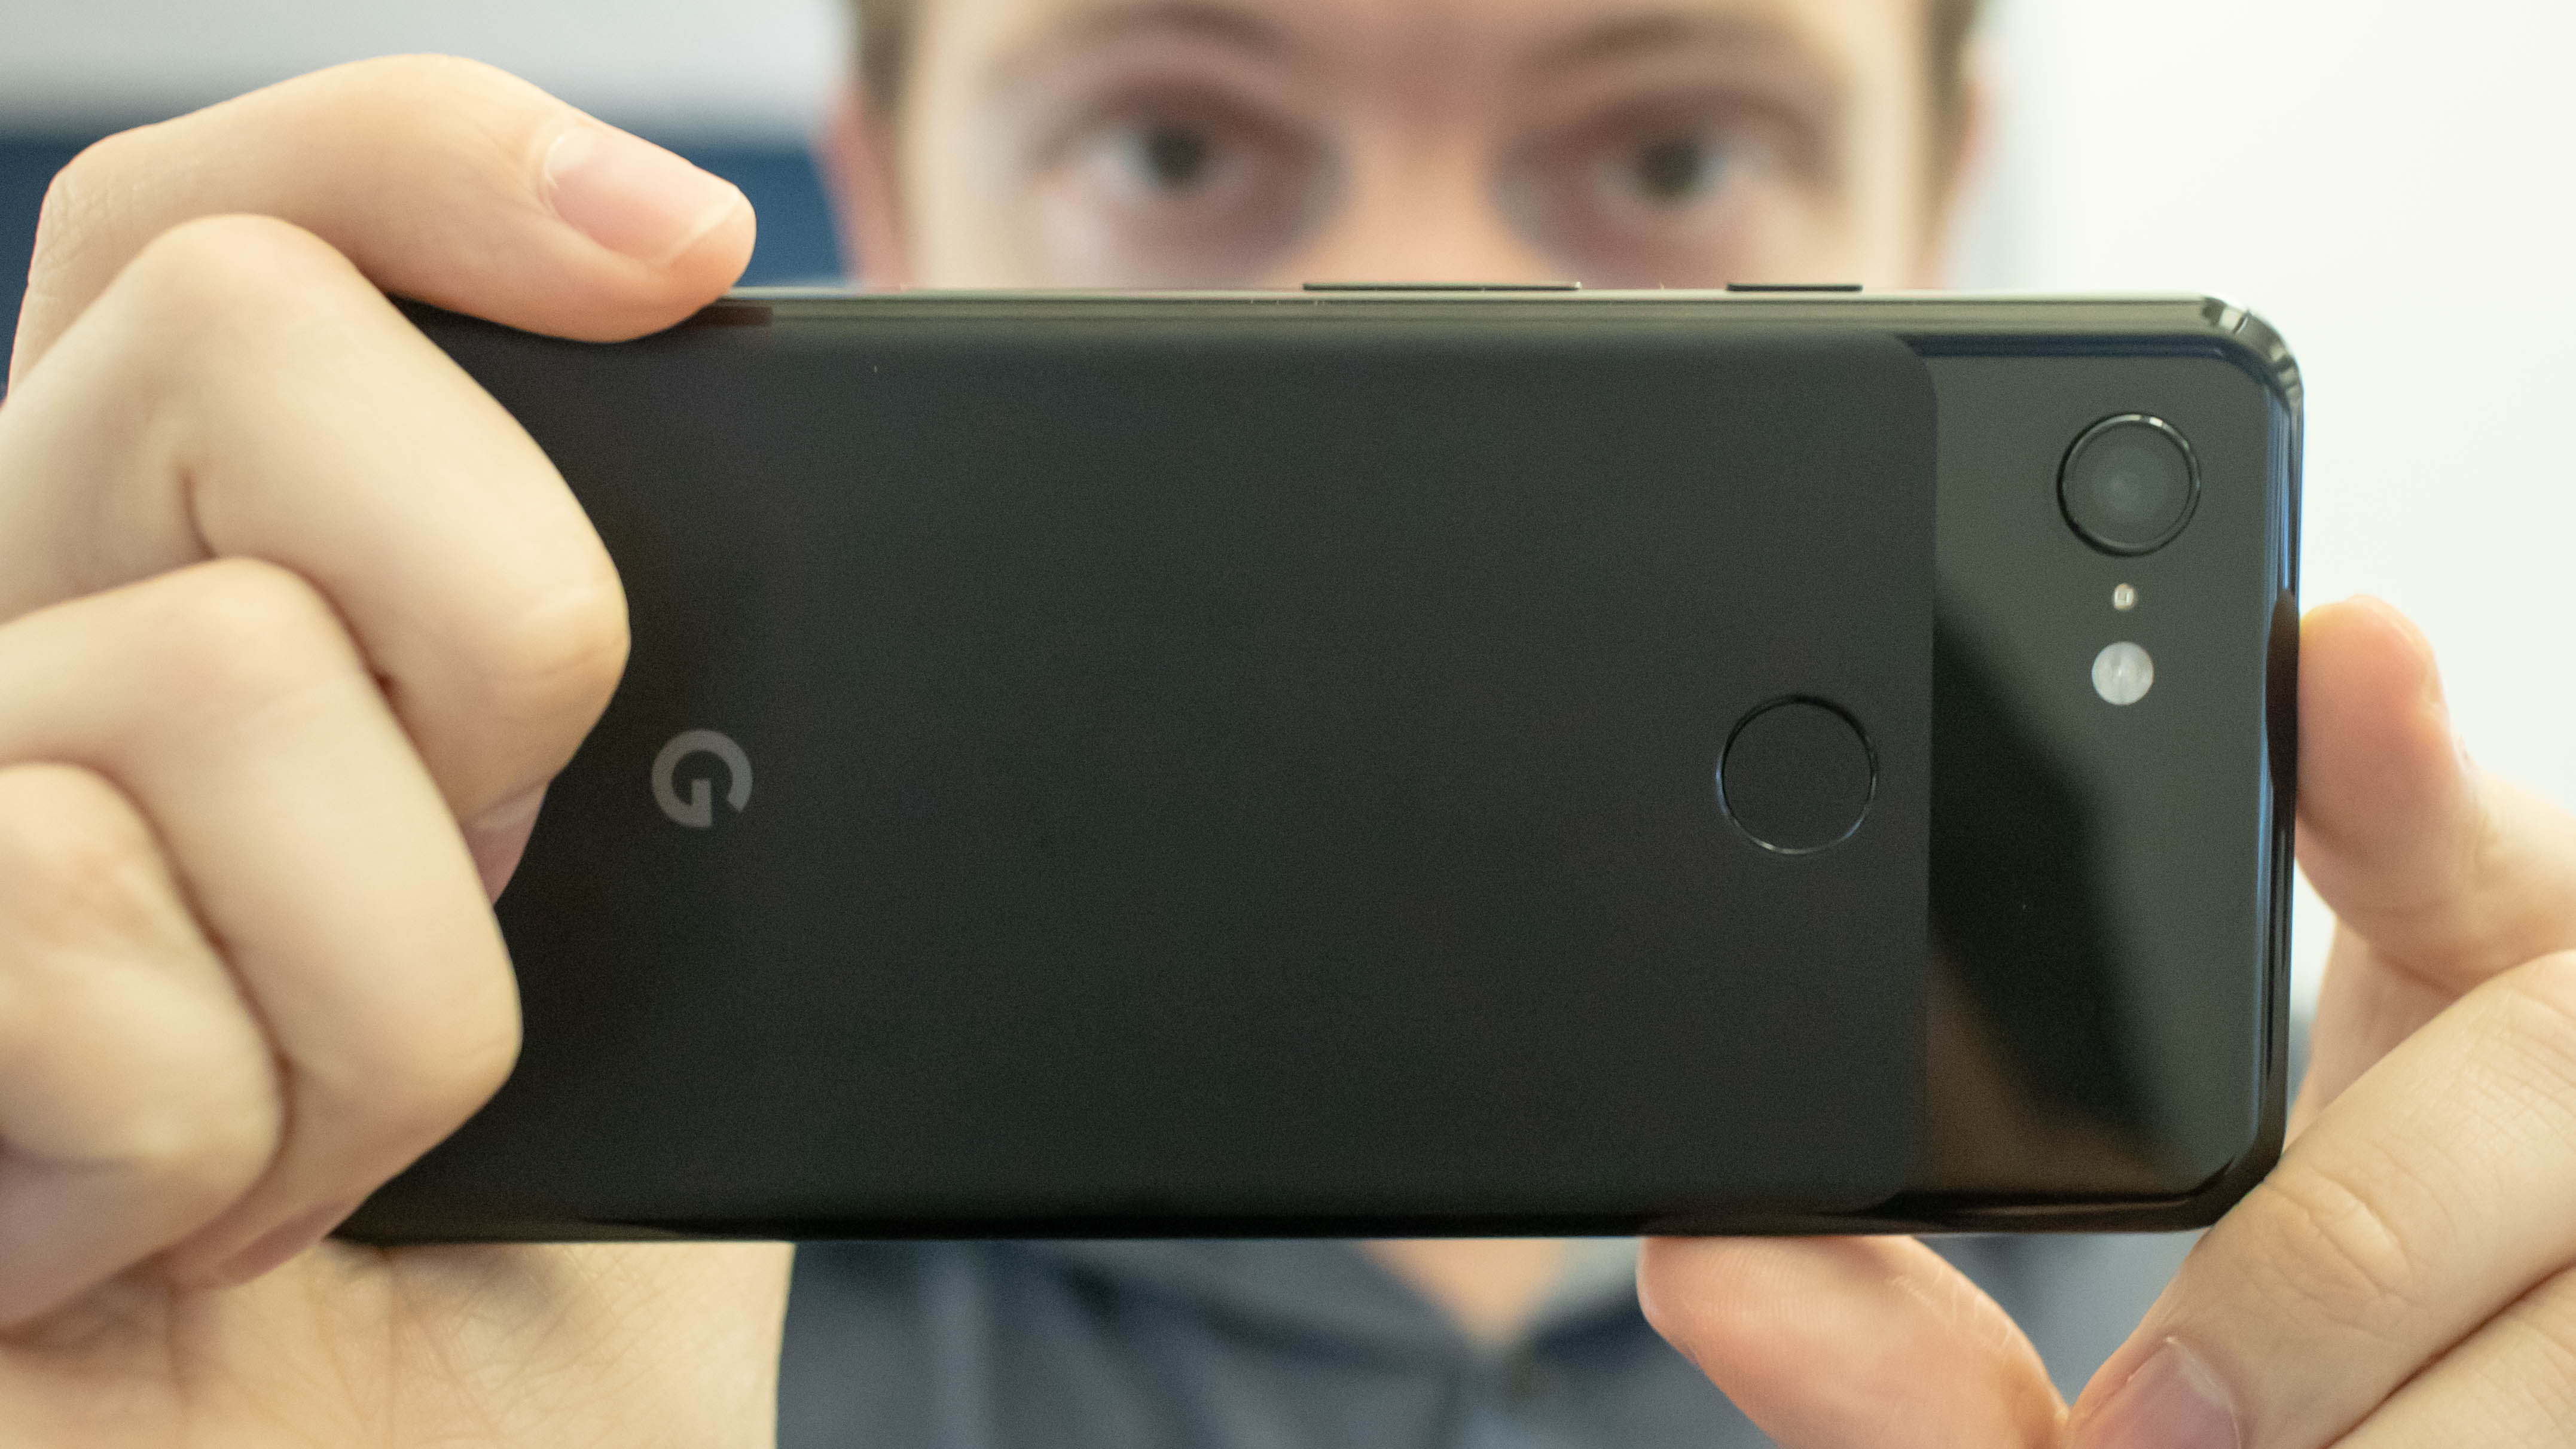
If your phone has an HDR mode, switch it to 'On' rather than 'Auto' or 'Off', to make sure it uses the full extent of its dynamic range-boosting power.
Android One phones, the Google Pixel 3 and the rest of the Google Pixel series, feature HDR+, which uses Google’s AI powers to compose a picture from several different shots, each taken at different exposures.
That means you get detail in the darkest parts of the image and the brightest, making for some stunning pictures.
Get to know manual mode
Lots of phones now have manual shooting modes that offer more control over your pictures. Exposure, white balance, ISO sensitivity and manual focus are what you usually get.
There are three situations where manual is particularly useful. Firstly, using manual focus lets you get as up-close-and-personal with your subject as the lens allows. Smartphone autofocus often struggles with close-up objects, so manual focusing gives you the best possible chance at capturing macro-style images.
Secondly, you can slow down the shutter speed for better low light images. Keeping the shutter open for longer allows more light to hit the lens. If your phone has a stabilized camera, you can often keep the shutter open for as long as a quarter of a second and still get sharp handheld images.
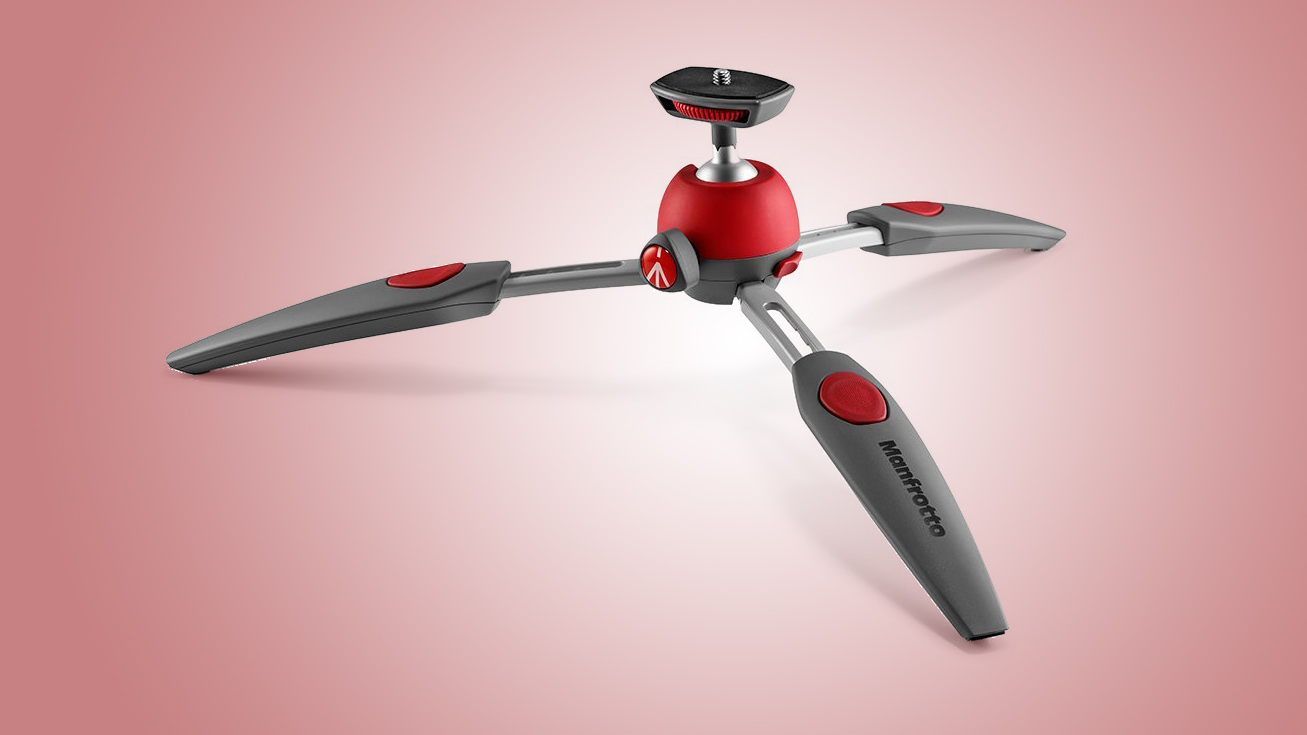
Use a phone tripod/grip or find somewhere to prop it up and you can often shoot exposures up to 30 seconds, for DSLR-like results even at night. The phone needs to be perfectly still, though. Don’t try this handheld unless your aim is an arty blur.
Shoot action on a bright day and you may want to go the other way too, manually selecting a very fast shutter speed to make sure your subject doesn’t look blurry.
Finally, there’s ISO. This controls the sensitivity of the sensor. When managed automatically, ISO sensitivity increases as available light decreases.
While some pro photographers deliberately use high ISO for a grainy look, phone images usually look best with ISO set as low as possible. Phone processing butts heads with high-ISO grain and the results are rarely pretty.
Use 'background blur' modes
If you have a phone with multiple rear cameras, or advanced software, you may have access to a 'bokeh' or background blur mode. This creates a depth map of the scene you shoot, letting the camera differentiate between the foreground and background in order to blur out the latter.
The result looks like an image taken with a very wide aperture DSLR or compact system camera lens, bringing the subject into, perceptually at least, sharper focus.
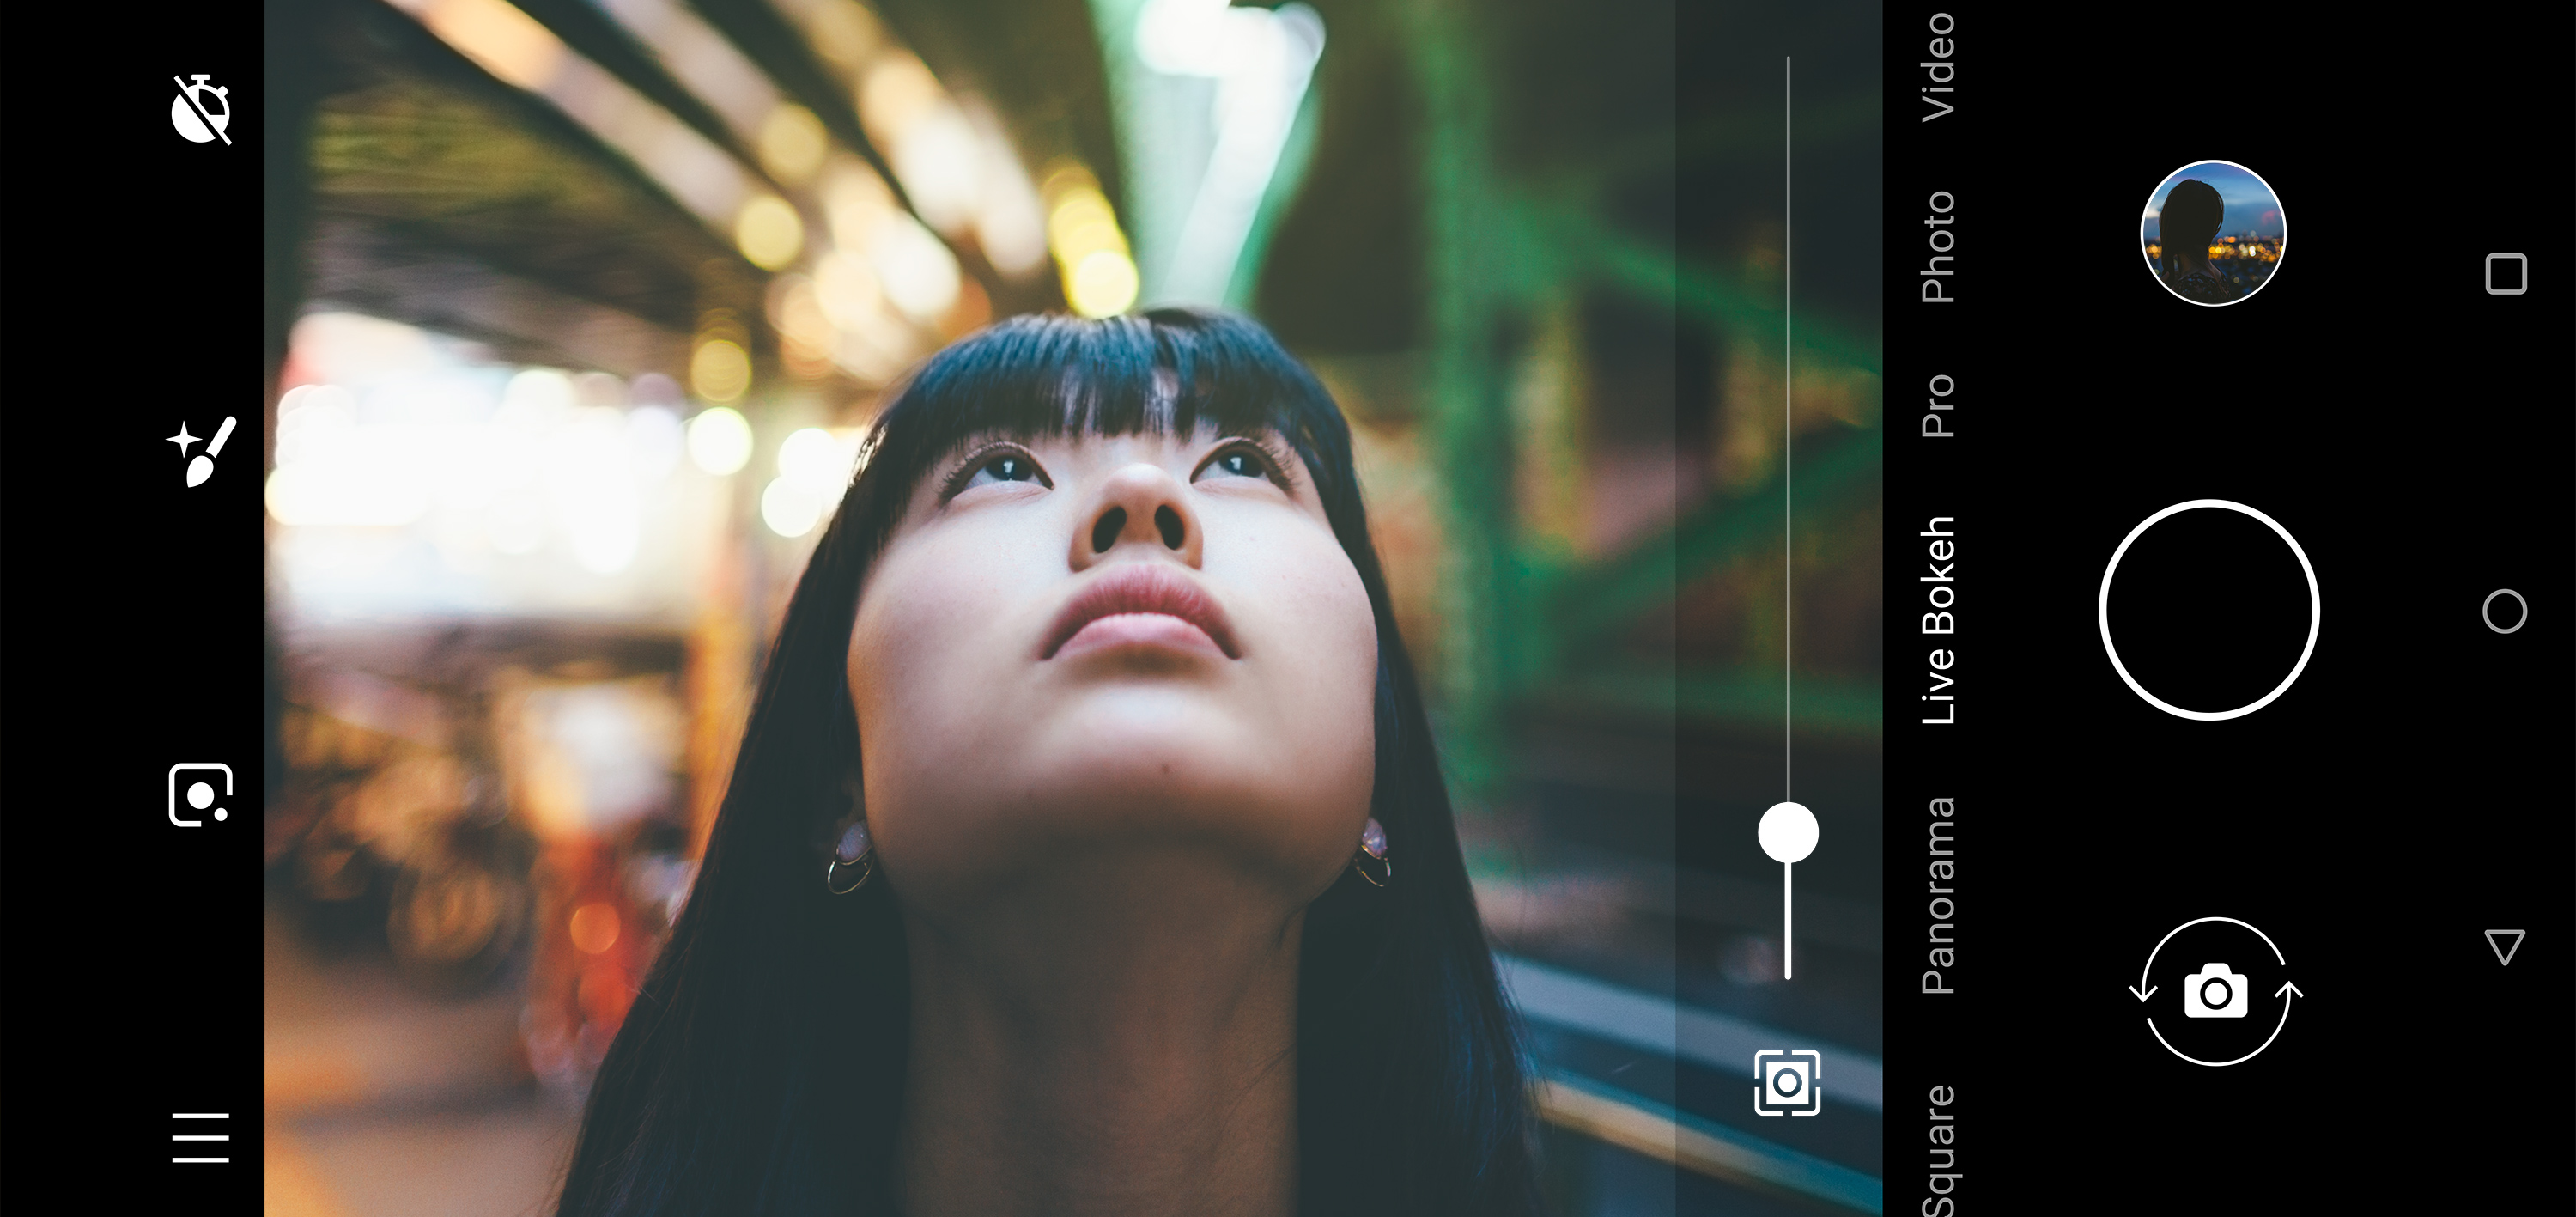
Most phones can’t do this without help from software. Even the best smartphones still have relatively small sensors and lenses. Even with wide aperture smartphone lenses, the actual aperture size is tiny. The natural background blur is therefore minor, and only obvious when your subject is very close.
For best results, subjects typically need to be around 1.5 meters away so there’s a clear difference in distance between the foreground and background.
Managing focus and exposure
Even when shooting in Auto modes, a phone still gives you control over the most important elements of your images. Number one is the point of focus. If you shoot a far-away landscape, you don’t have to worry about focusing, because the phone naturally uses 'infinity' focus.
However, the focal point doesn’t just affect focus, it affects exposure too. Most phones alter the brightness of the image to make sure a selected subject is bright and clear.
Overexposure is what you need to look out for, particularly if you use a phone that doesn’t have good image processing or effective HDR. This is where parts of an image are turned into blocks of white, because the corresponding parts of the sensor received too much light, like an overfilled cup.
Most phones let you see evidence of these overexposed areas in the image preview, although on occasion the final results are actually better. But what can you do to fix this?
Some Auto modes have exposure sliders that appear by the focus point, or let you choose different spots for the focus and exposure by holding a finger down on the screen and dragging around a second reticle.
The more advanced your camera, the less you have to worry about overexposure. Smarter software usually means better exposure metering.
Brought to you in association with Nokia and Android One, helping you make more of your smartphone - learn more here!

Andrew is a freelance journalist and has been writing and editing for some of the UK's top tech and lifestyle publications including TrustedReviews, Stuff, T3, TechRadar, Lifehacker and others.