How to photograph Christmas lights: capture Yuletide displays in all their glory
Make your Christmas merrier with beautiful images
Sign up for breaking news, reviews, opinion, top tech deals, and more.
You are now subscribed
Your newsletter sign-up was successful
No matter where you are in the world, Christmas is a wonderful time to spend with friends and family. For many, 'tis the season for making snowmen and having snowball fights, but for others (in the Southern Hemisphere) 'tis the time of year for donning Santa hats and thongs (footwear, mind), relaxing on the beach and gorging on prawns and mangoes.
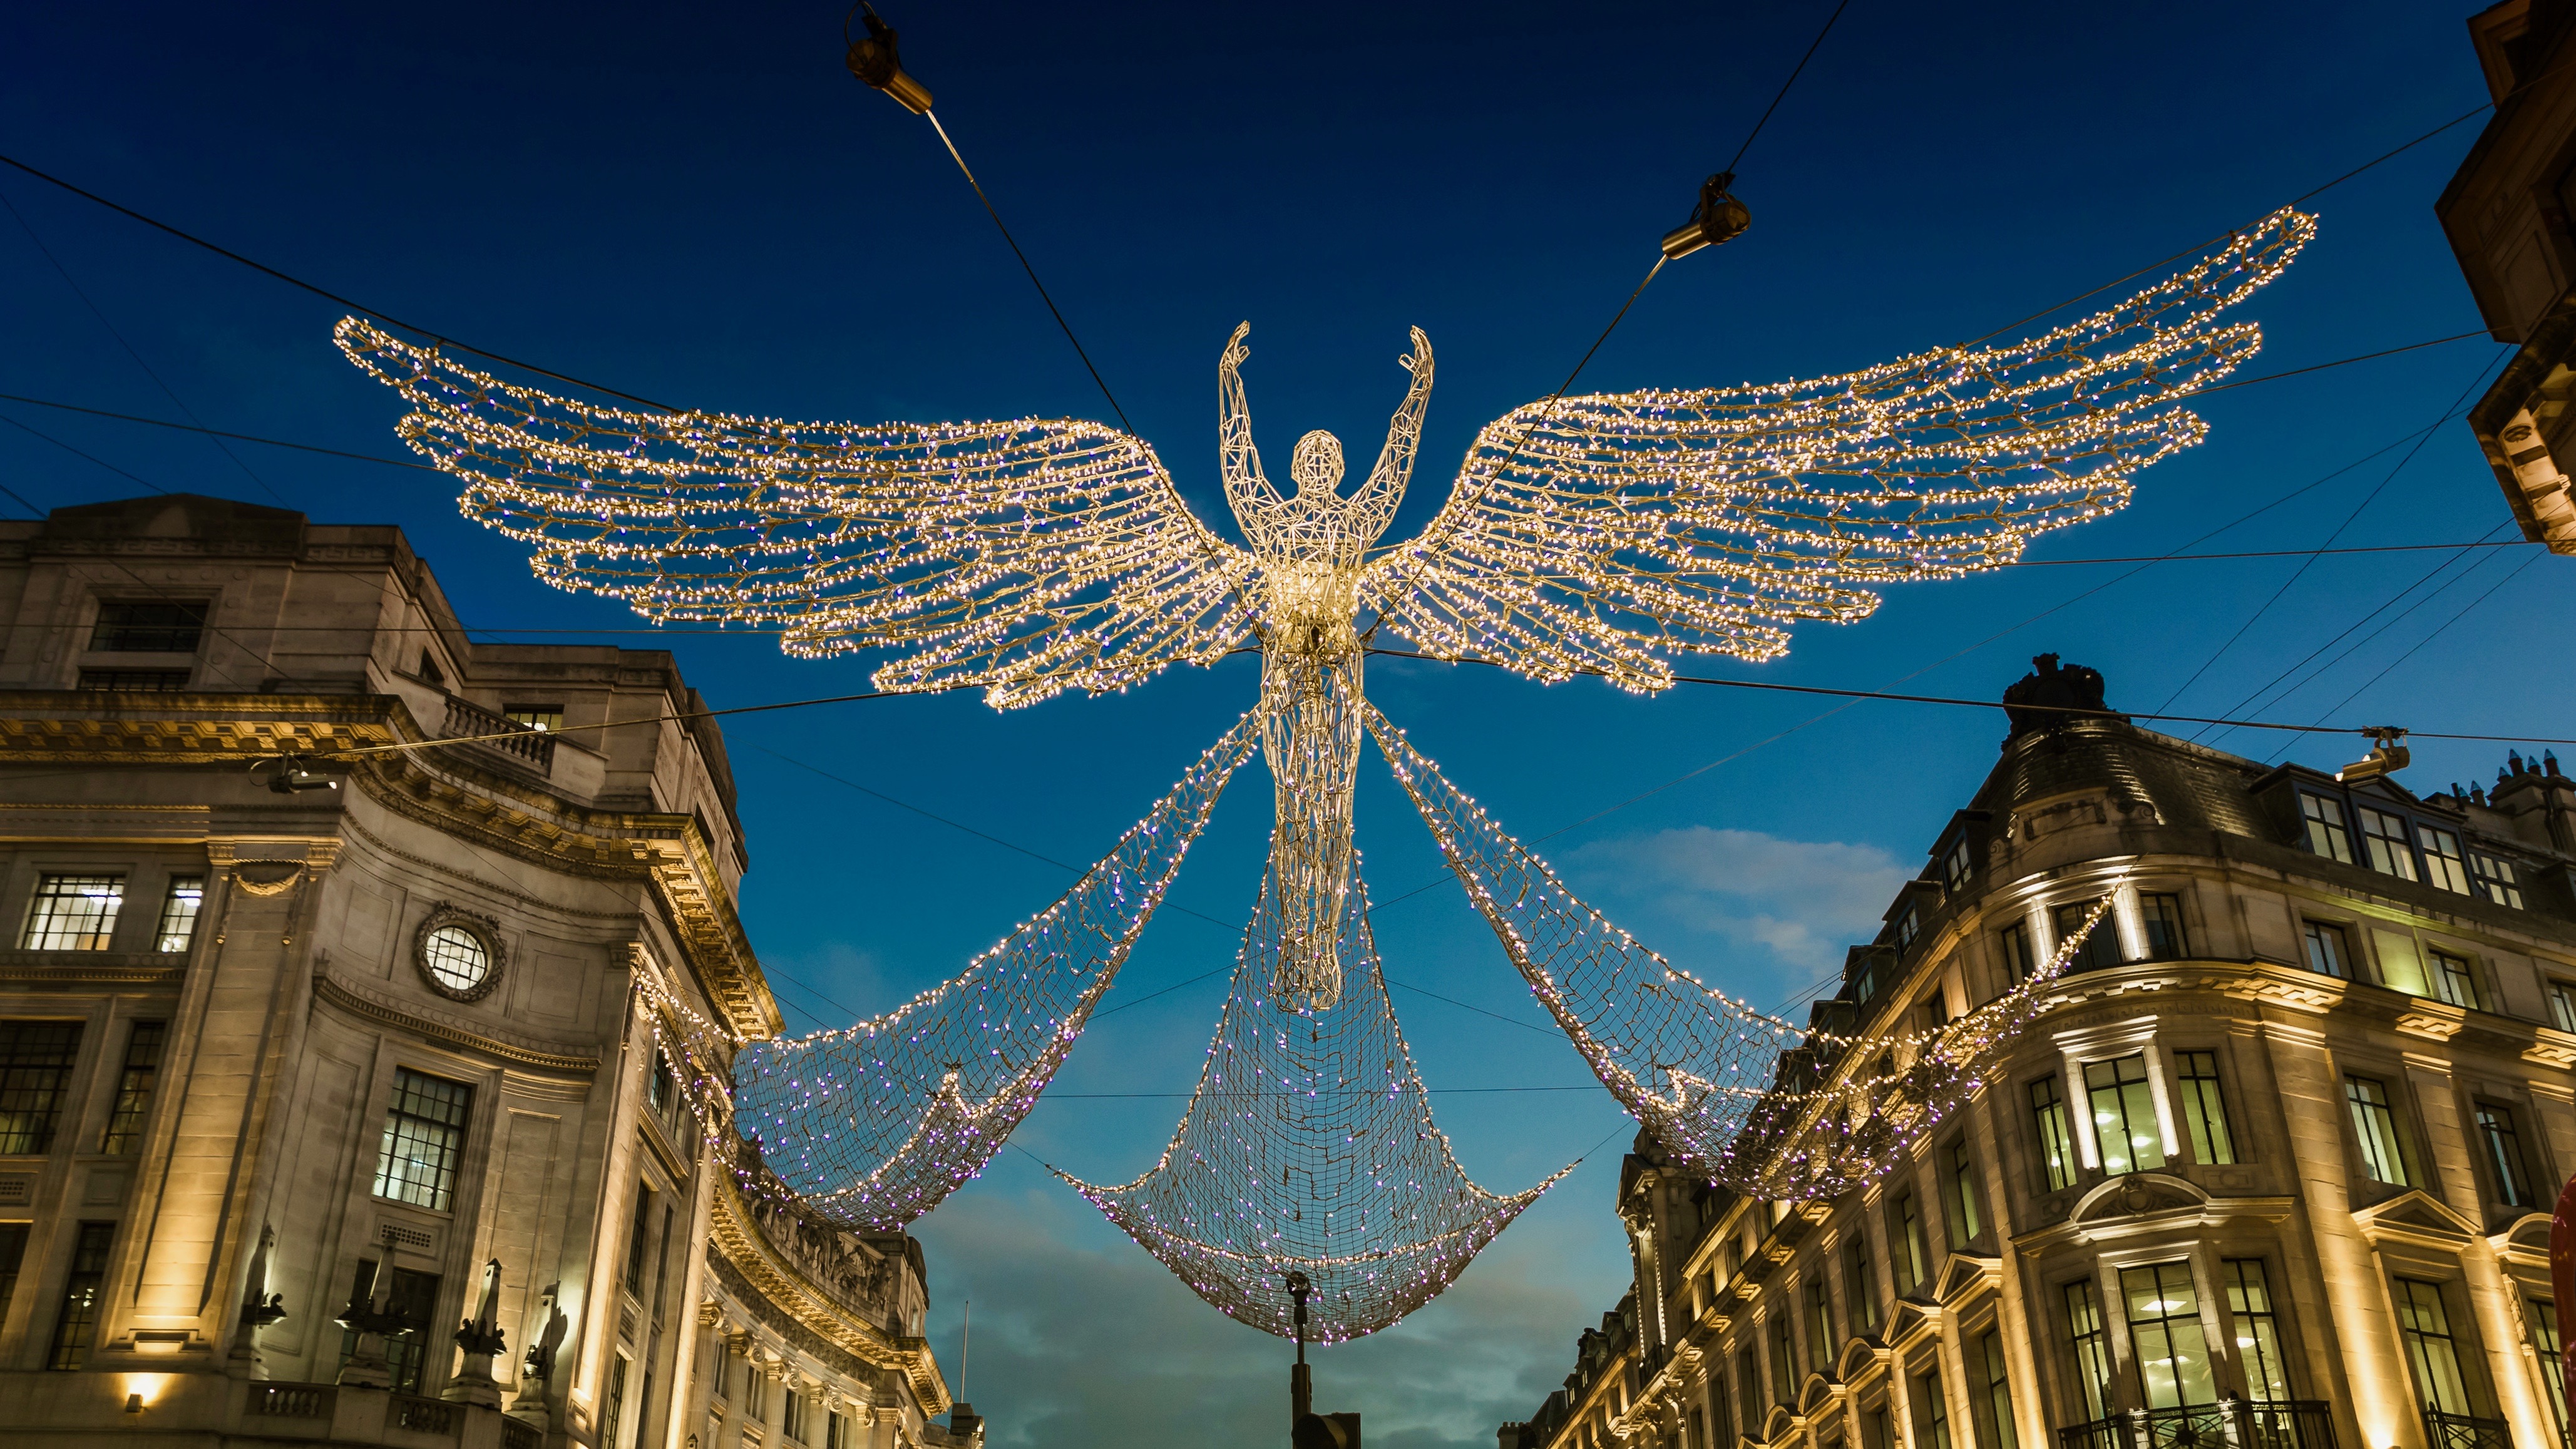
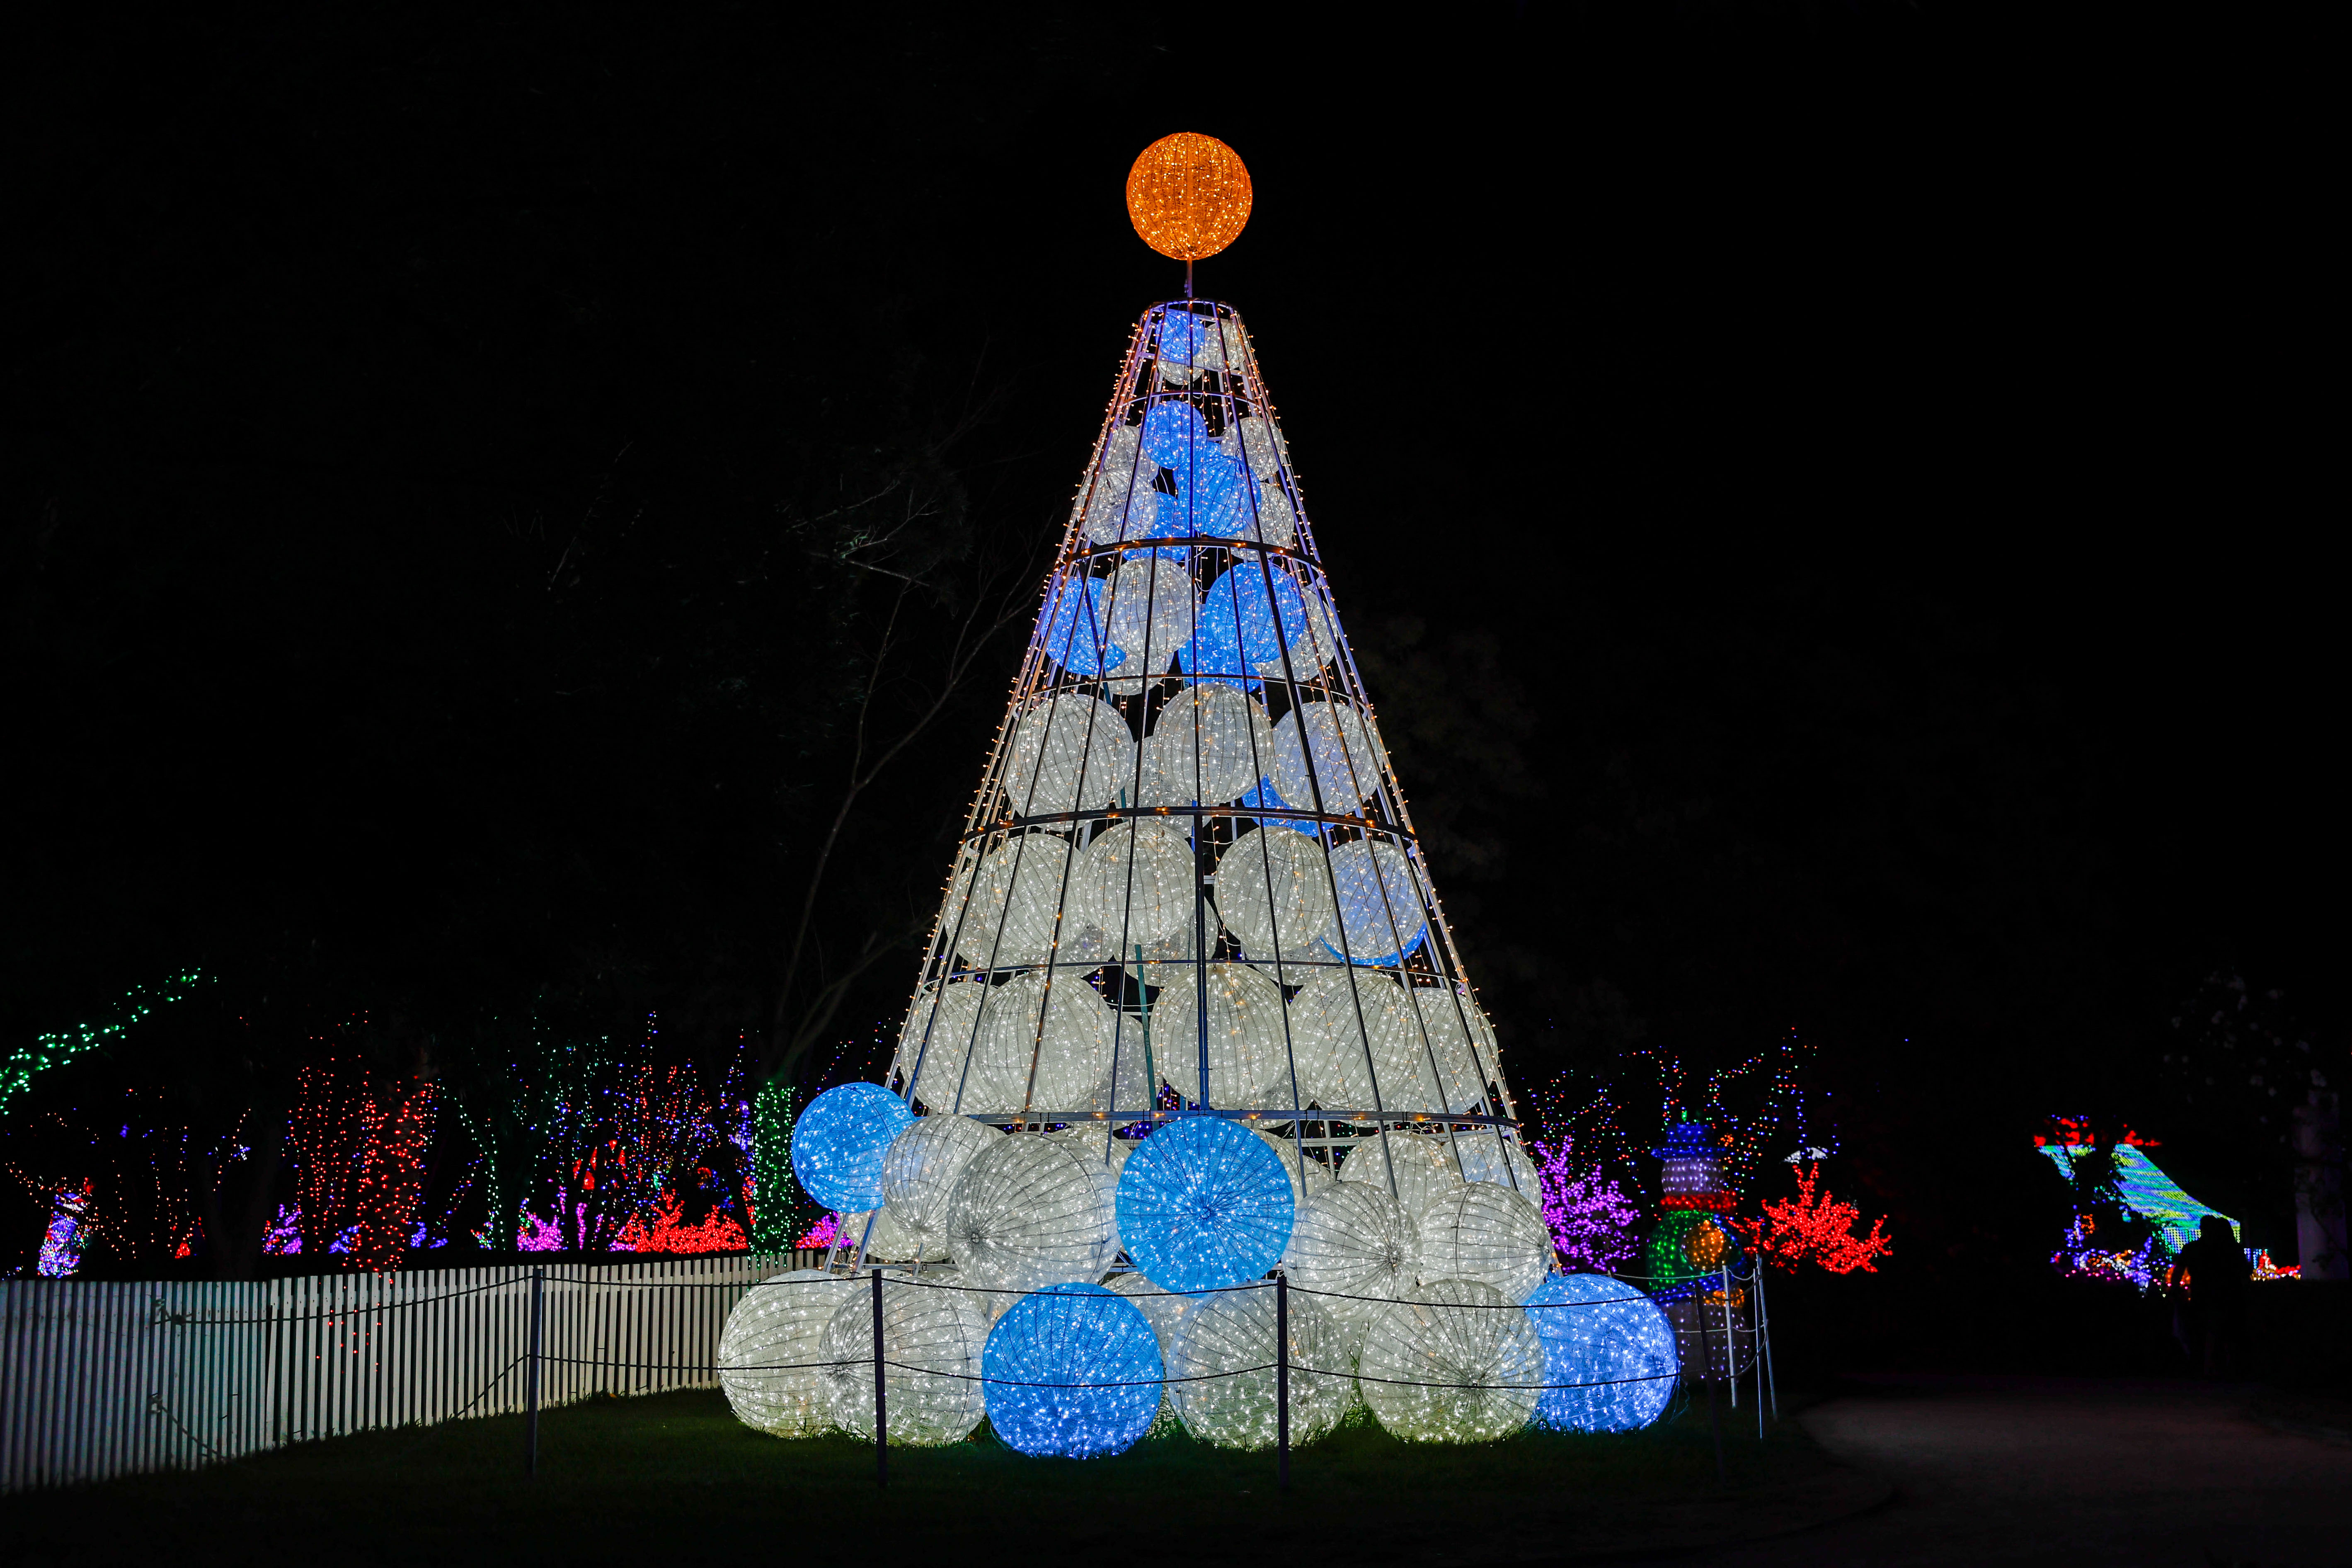
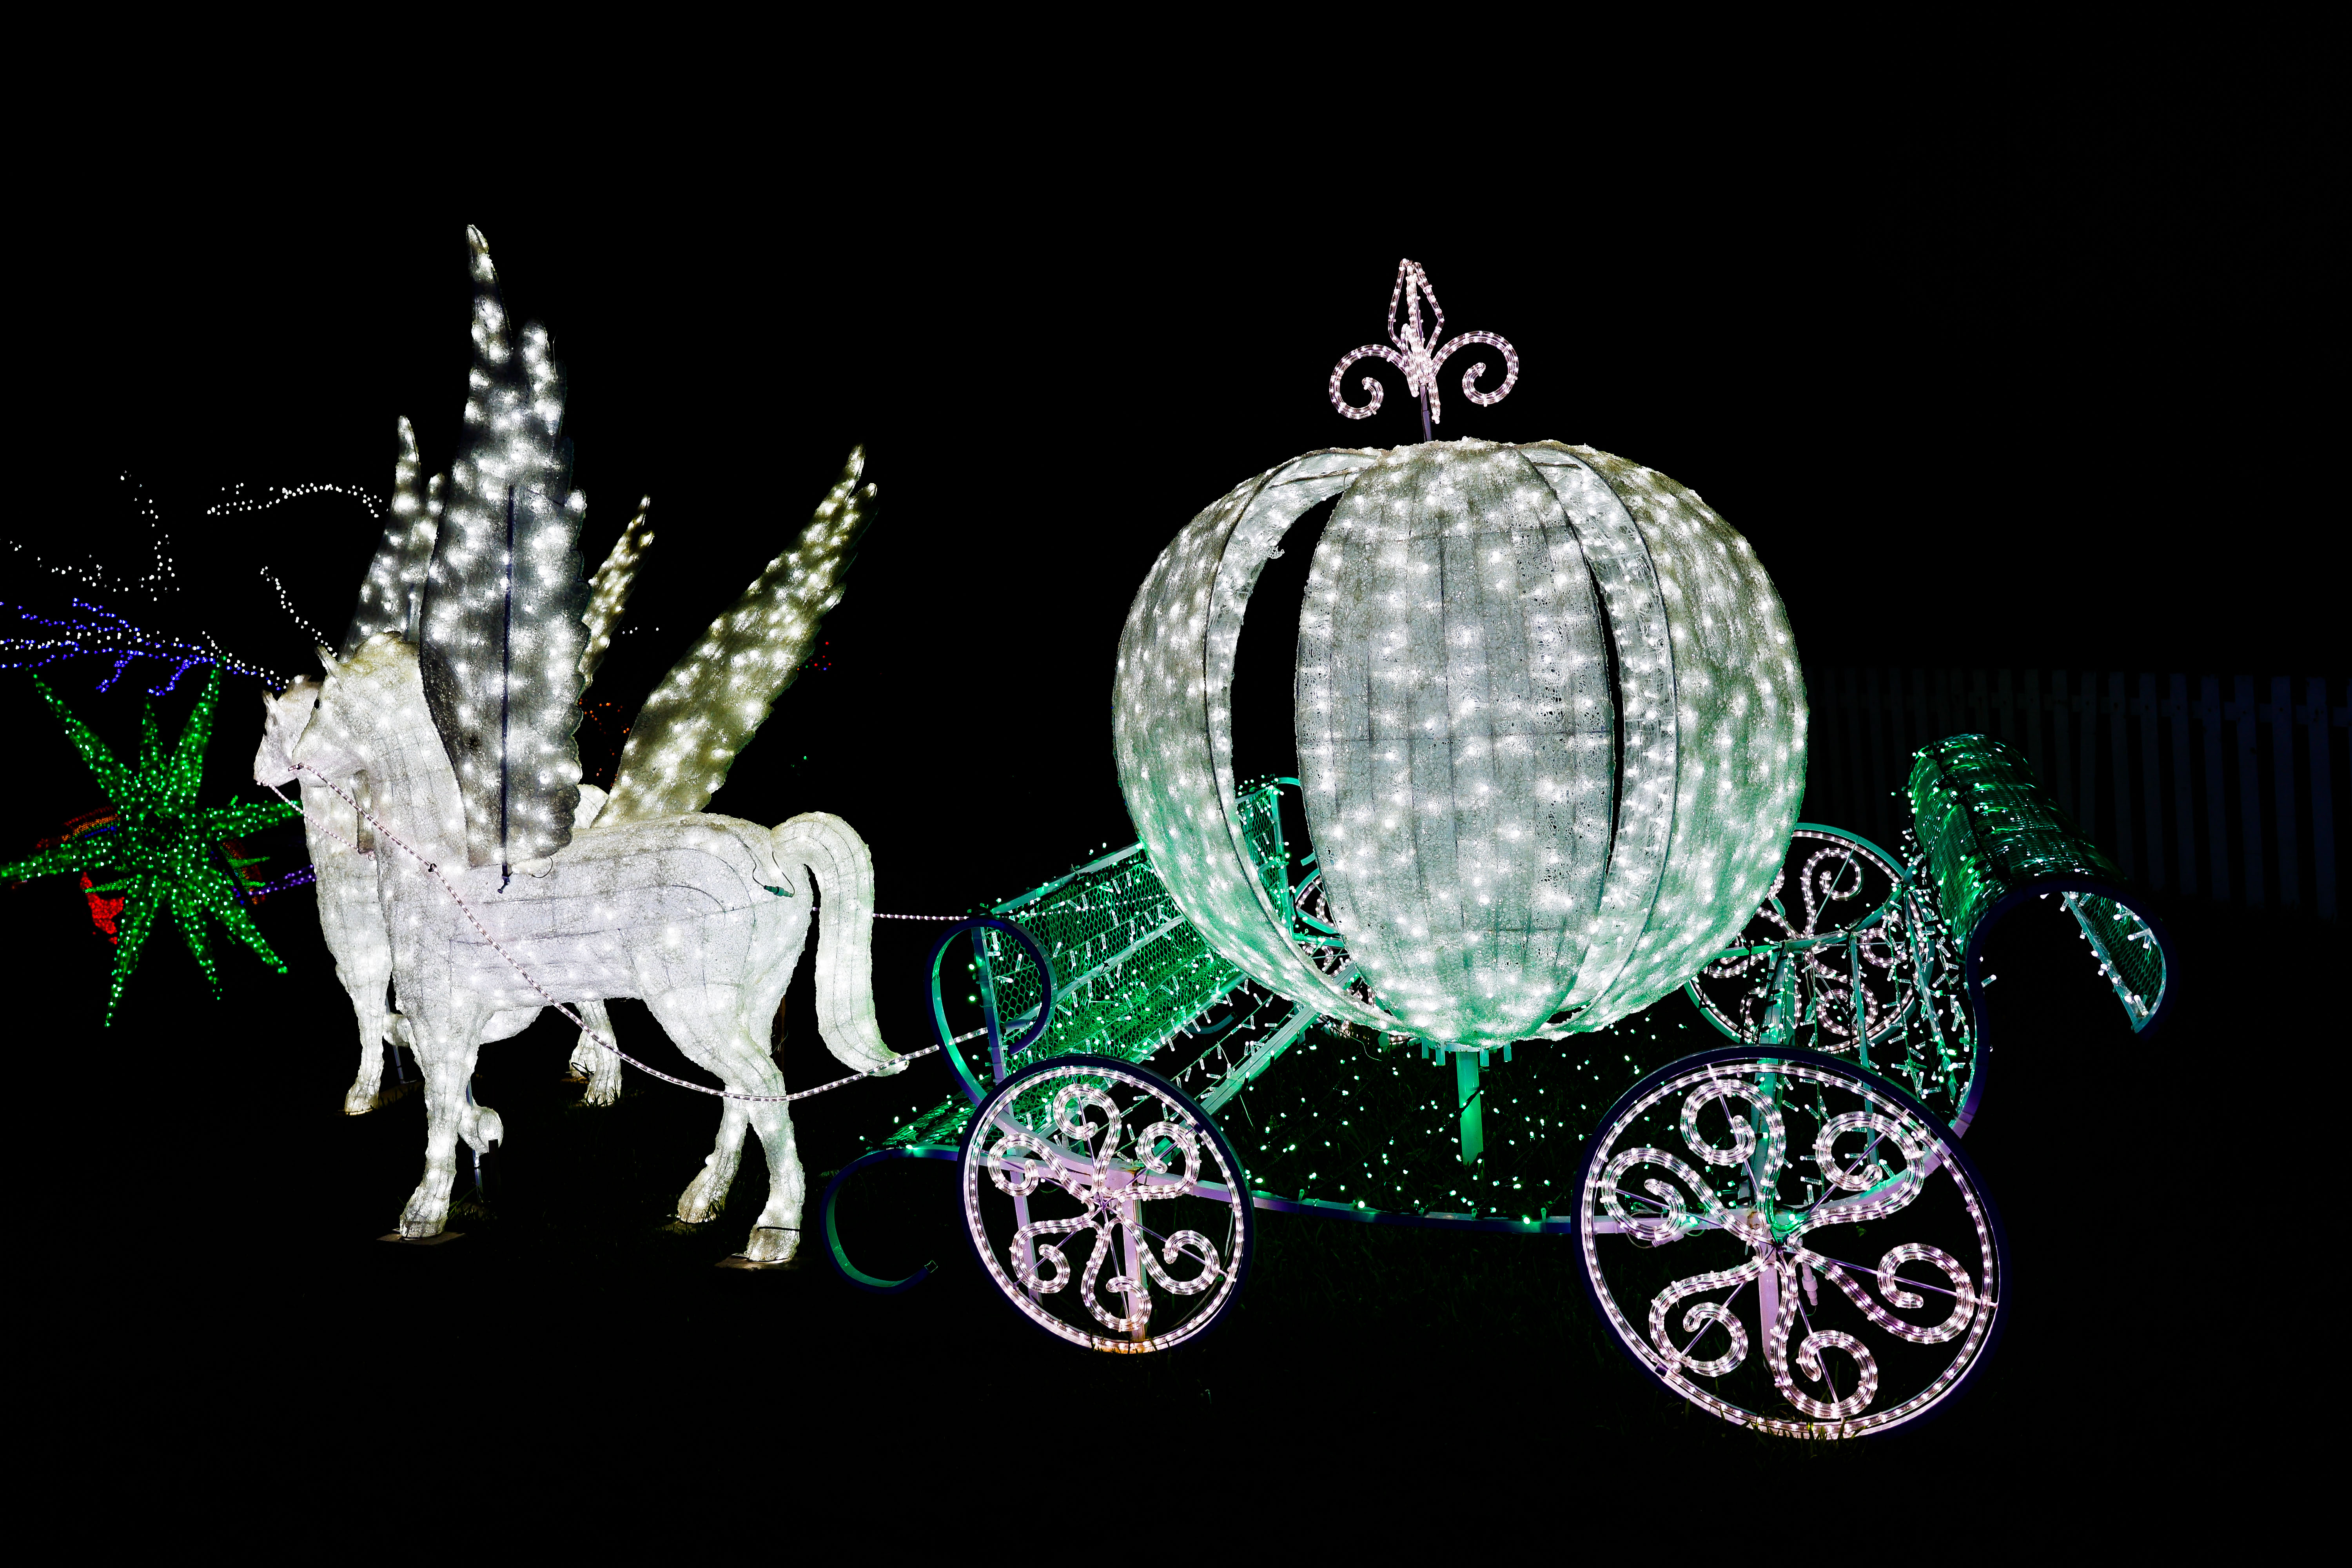
The silly season is also when great decorations go up all around the world, and a lot of it is lights. Almost every town and city around the world has Christmas displays during December, giving locals and visitors something to enjoy and, of course, photograph.
Even before electricity, households lit candles to place on window sills and hang on the tree (talk about a fire hazard!), until Thomas Edison and his apprentice started to mass produce the little lights we use today. Some homes are entirely transformed by the families living there, while even more extravagant displays can be found in towns and cities that are absolutely worth taking a picture of.
However, capturing unique and well-framed shots of these gorgeous displays can be hard, particularly when some displays are large or when you’re uncertain how to set your camera to photograph string lights. If you’re after images you can show off, or turn into Christmas cards, we’re here to help you figure out how.
Pack the right gear
To photograph Christmas light displays you’re going to need a camera with a manual mode so you get maximum control over your shooter. You’ll need to change shutter speed, aperture size and ISO occasionally, depending on what you’re photographing. You’ll also need a tripod, particularly if you’re going to use long shutter speeds and, for versatility, you can pack a good quality wide-angle zoom lens.
There are a couple of other items you can consider carrying with you, if you’d like to get creative. The first is a macro lens to shoot close-ups of individual decorations, while the second is a cross screen filter that adds starburst effects to lights – in case you’d like to add a touch of sparkle to some of your shots.
If you have the time and the inclination to do some craftwork, then you could even make some bokeh cards. All you need is some black cardboard, a hobby knife and a pair of scissors. Just cut a circular piece of the black cardboard so it can be fitted over the lens like a hood, then carve out the shape you want the bokeh to look like in the centre of the circular piece. You need just the one cutout.
Sign up for breaking news, reviews, opinion, top tech deals, and more.

Stick the cardboard onto the front of your lens, set the camera to its lowest aperture (aka completely opening it – maybe f/4 or f/2 if it goes down that far), and you’re all set. It’s cheap, it’s easy and you can make as many as you want.
Shoot at dusk or twilight
Light displays won’t be switched on before sunset, so the best time to head out to capture those beautiful Christmas displays would be around dusk or twilight. That’s also when there’s just a hint of light in the sky to add some soft textures to your images, while also adding an extra layer of depth (giving it a 3D effect).
Don't fret if you miss out on the blue hour. While some nighttime shots can appear flat and one-dimensional, darkness can lend itself very well when capturing some Christmas displays.
Find the right spot
Christmas displays can be popular places, meaning you may not always find the best vantage point to shoot from. However, if you can locate higher ground – a balcony or rooftop – you can get some beautiful wide-angle shots of entire displays.
Also look for spots where you can frame your image well. Any element that lends itself to leading lines (anything that draws attention to the subject along a line) would be excellent. Leading lines can be anything from bridges to cobblestones, or even escalators if you are shooting indoors.
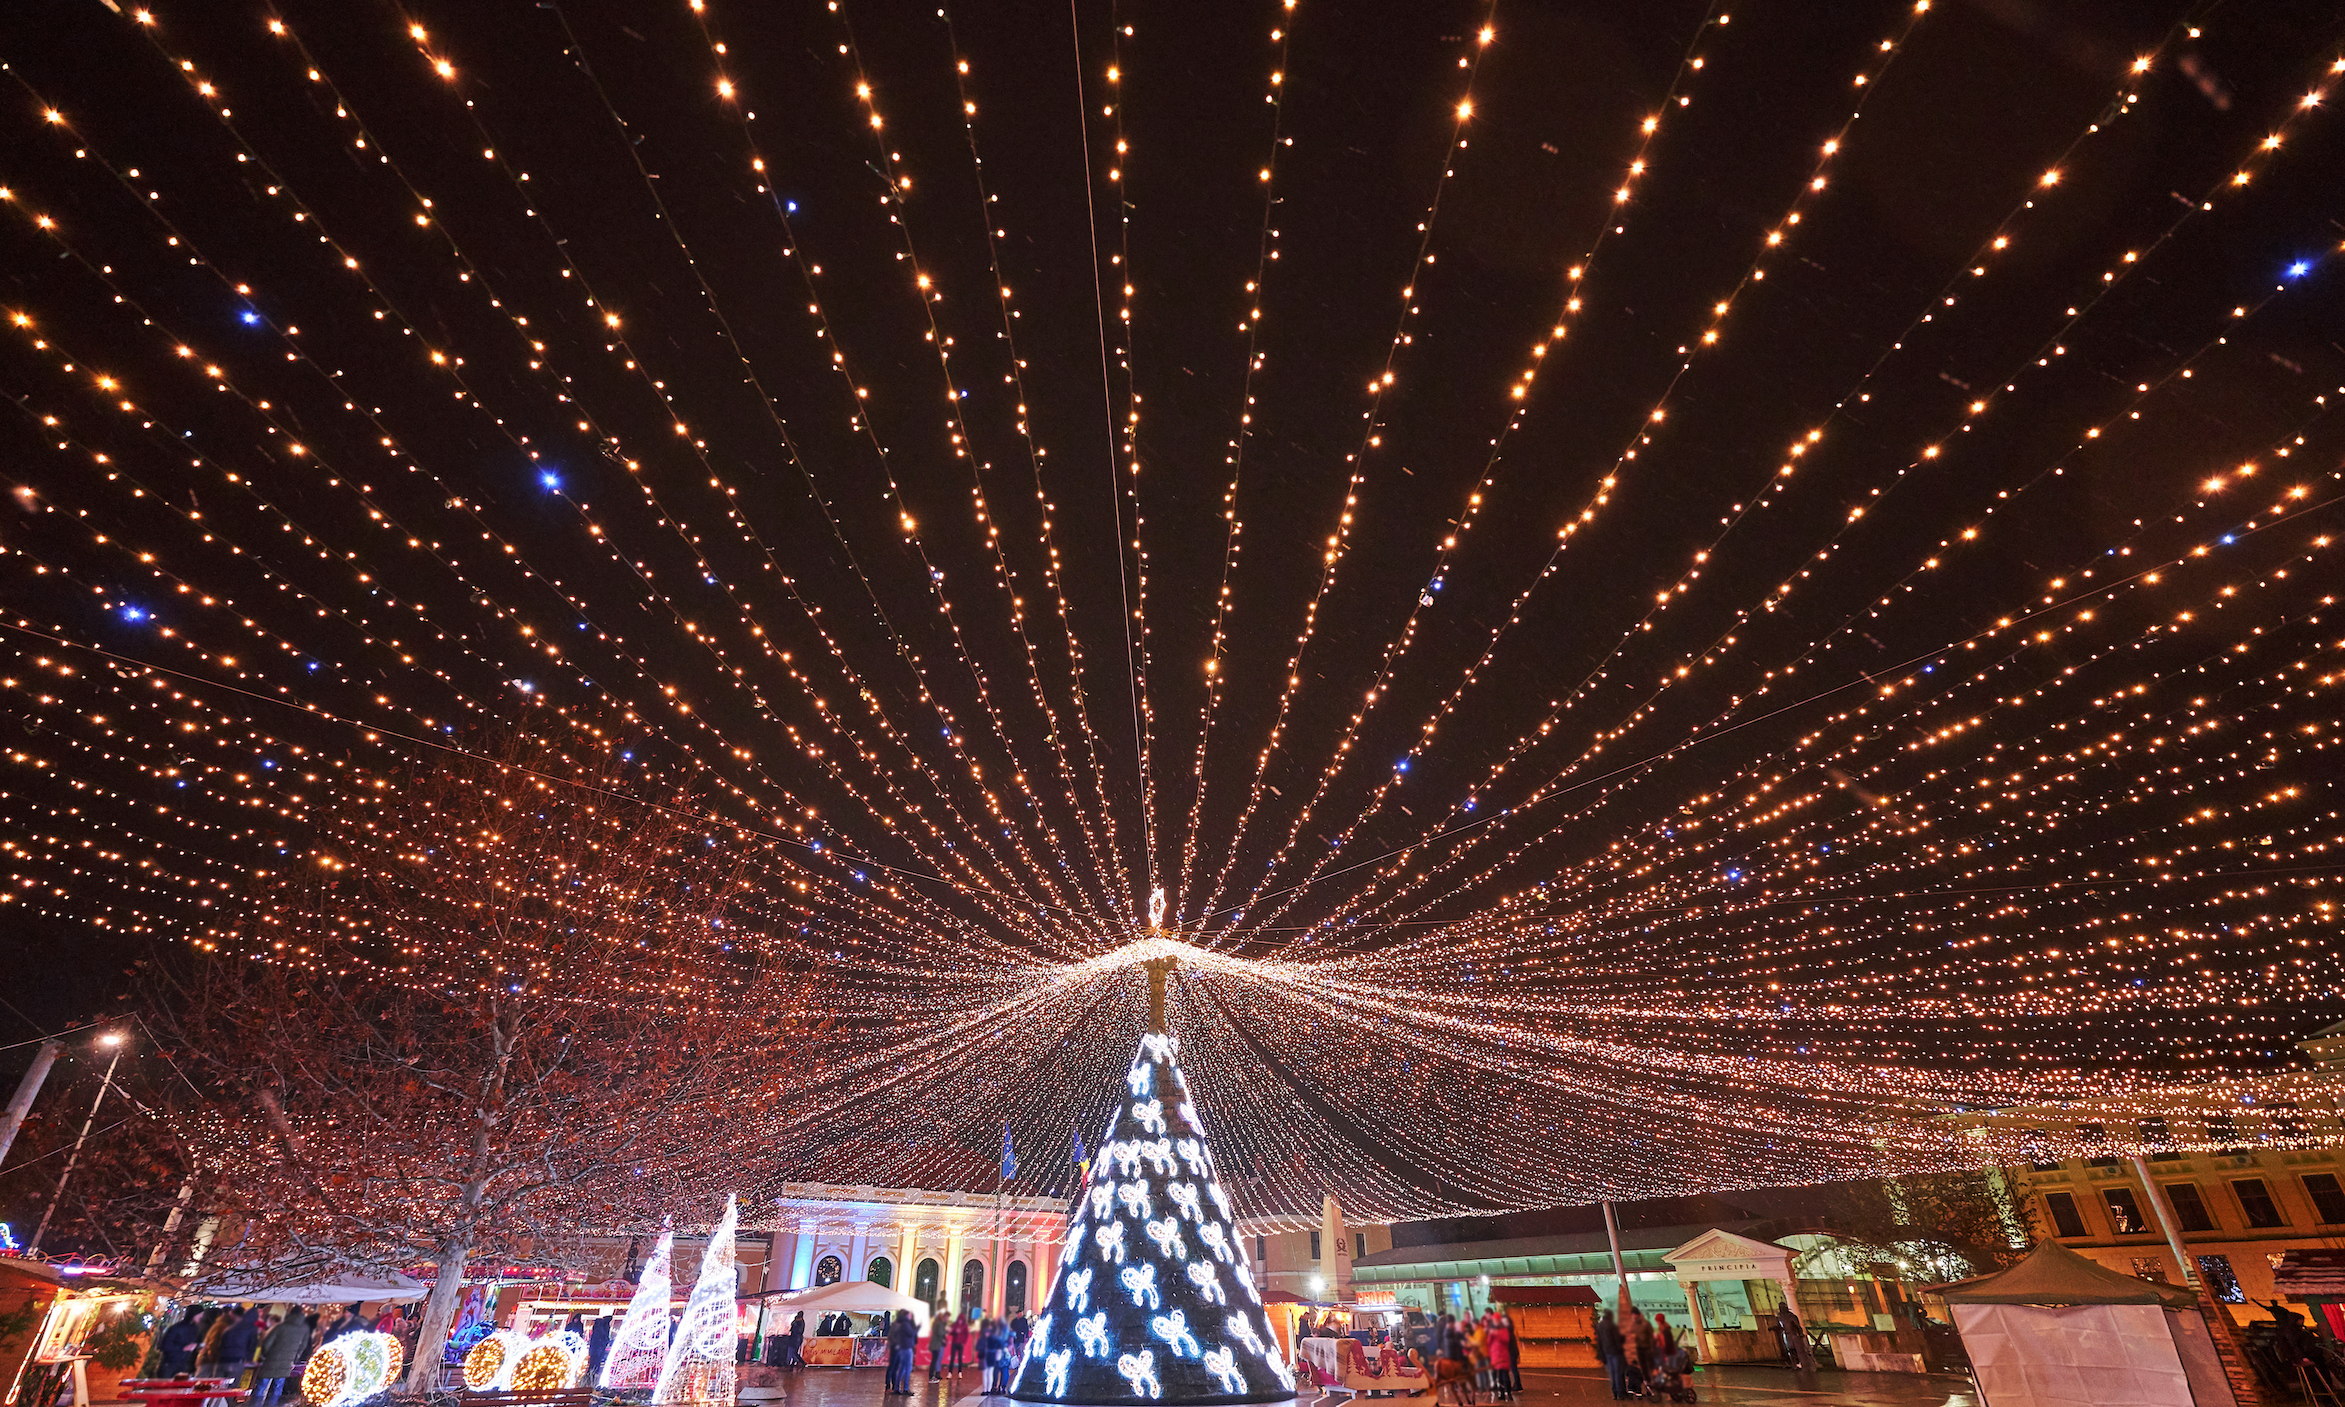
If leading lines aren’t an option, then frame the Christmas tree or a display in another way – within an arch or under a dome. Be sure to look around you – there will be great spots to shoot from so you can find unique angles.
One unique angle is from ground level. This often adds mood and atmosphere to your shots, telling a story of what's happening around you. So be sure to experiment.
Say no to the flash
When you capture lights, the camera’s flash is useless. In fact, it will overexpose the frame and wash out the colours of the scene. It will also end up highlighting unwanted details, like the wires of the display, as they are darker. So no matter what time you head out to capture Christmas lights, stay away from your camera’s flash if it has one.
Choosing the right metering mode
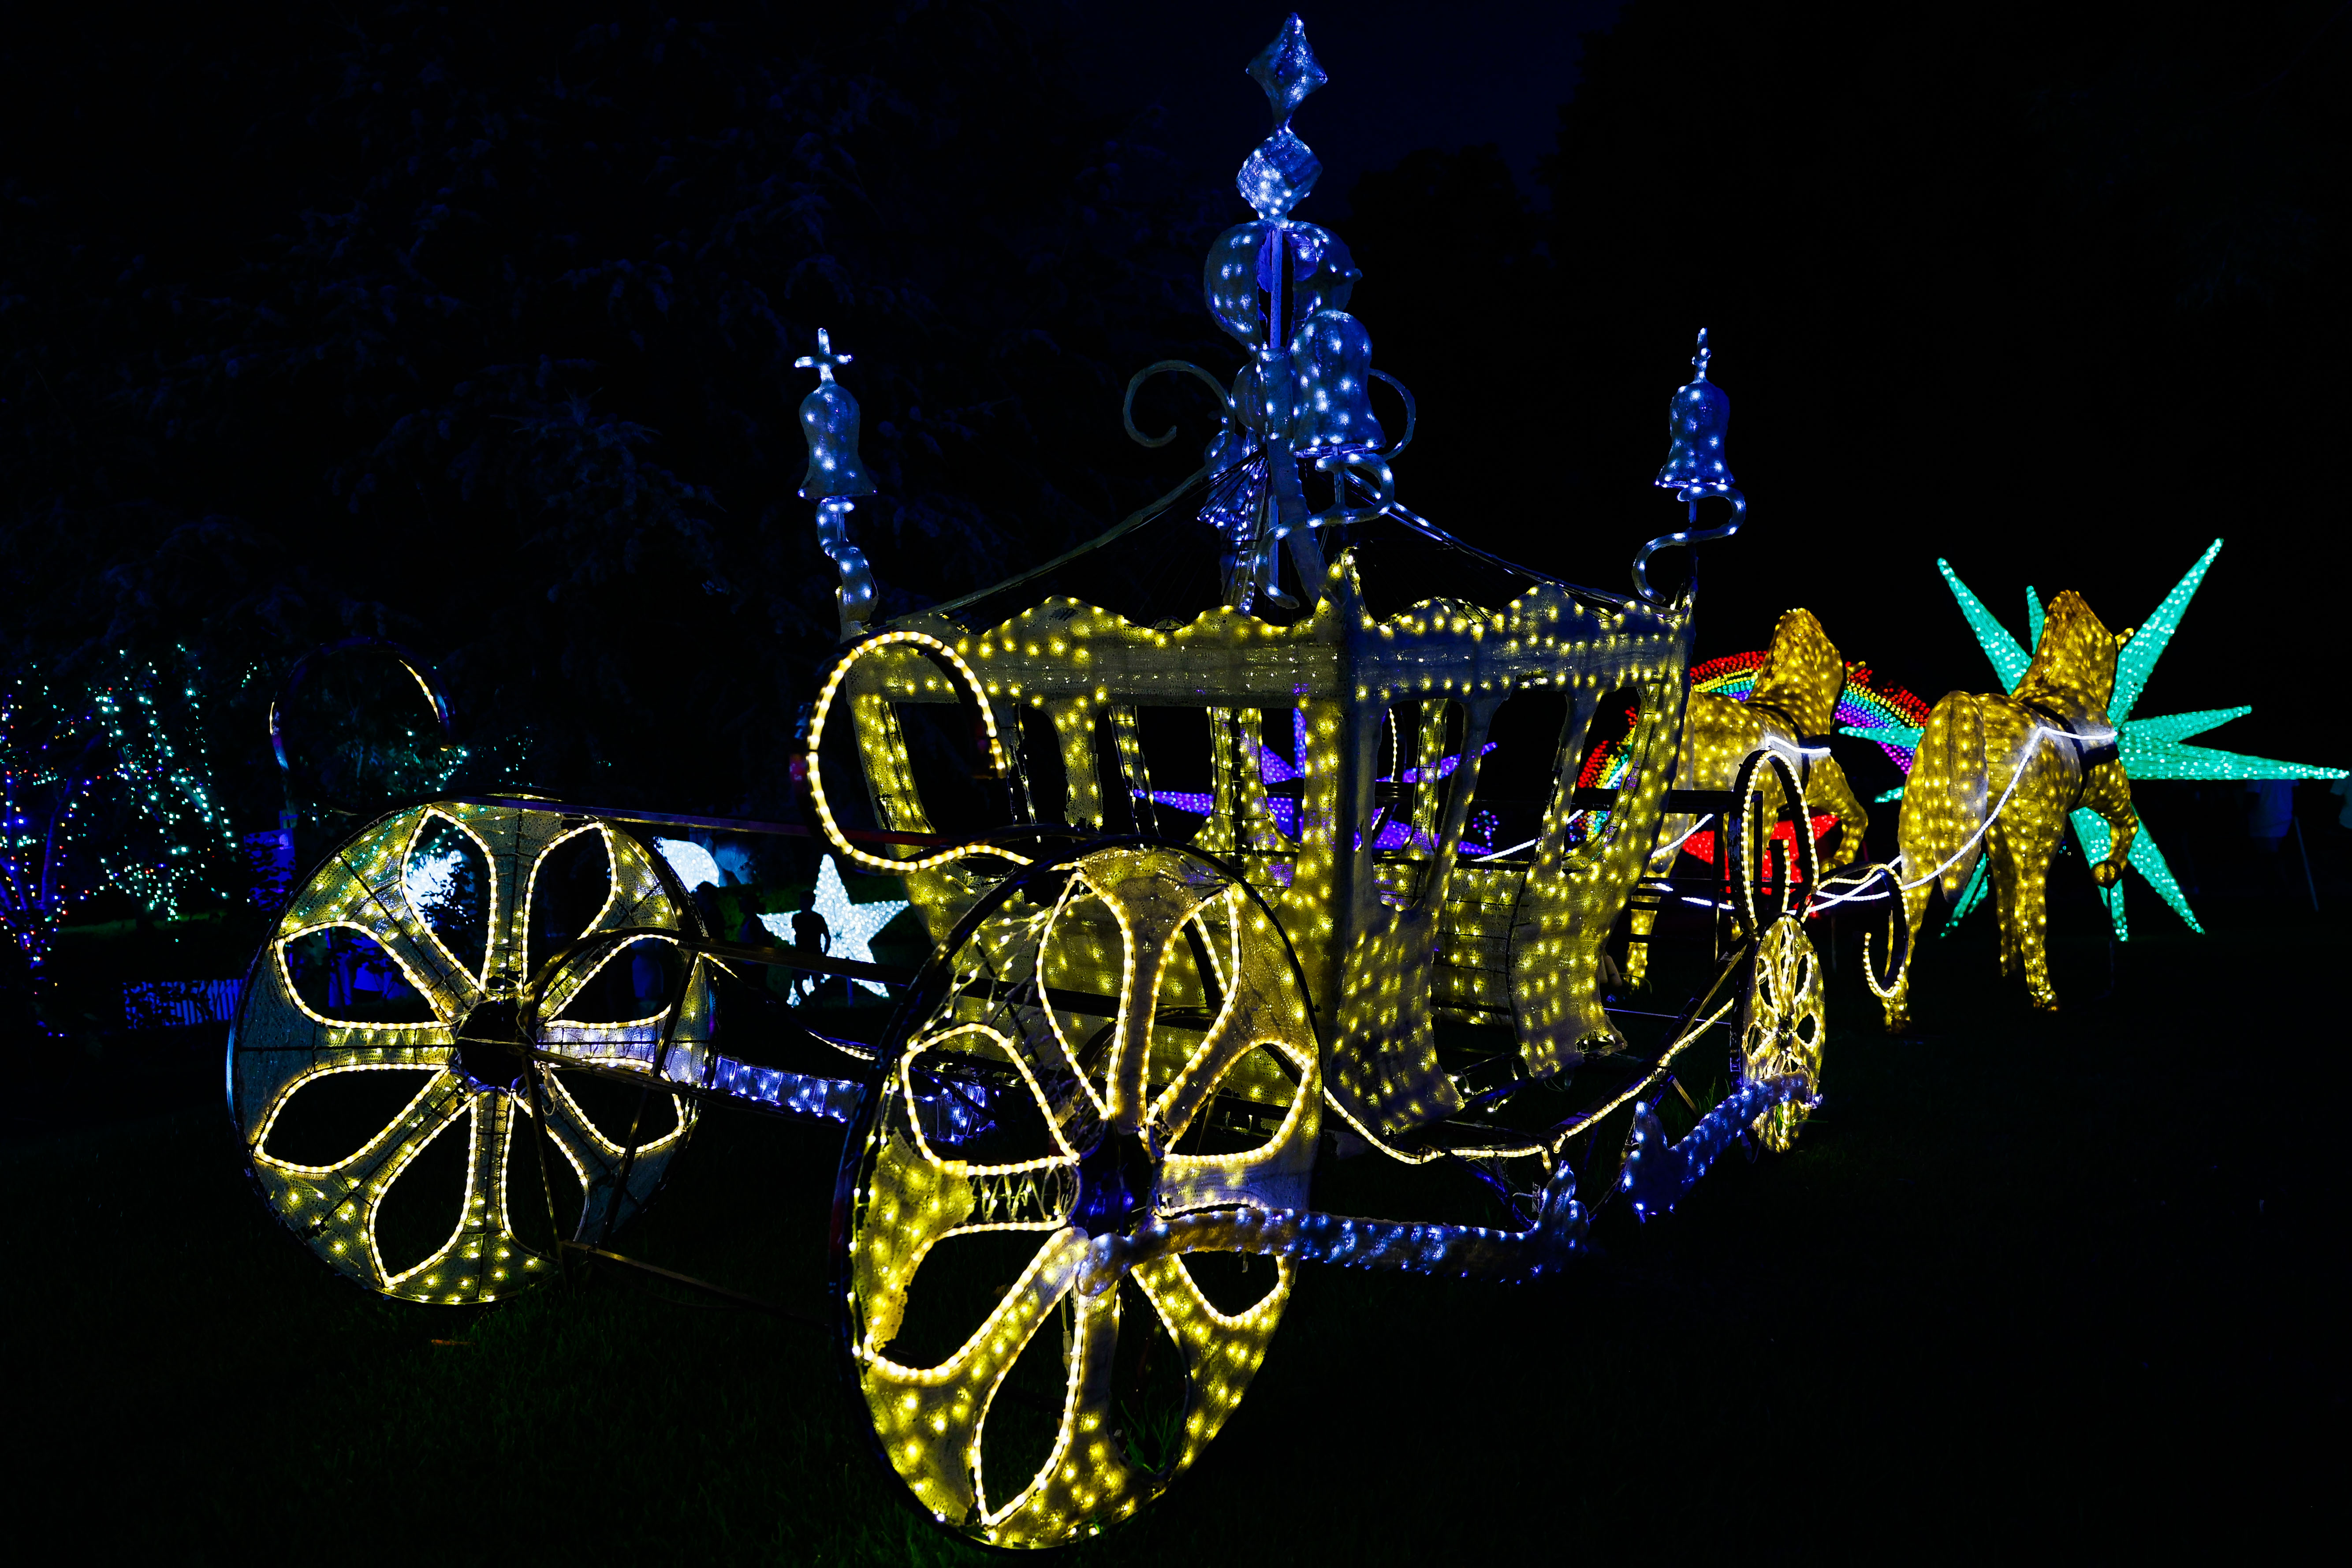
A camera is able to detect the amount of light entering it by using a metering sensor, which then automatically adjusts exposure for that particular setting. To capture light displays, where brightness can vary across the scene, it’s best to dig into your camera’s menu system and select multi-zone metering (that’s called Evaluative on Canon shooters, while Nikon calls it Matrix metering), although many cameras come with this as the default setting. This will detect light from across the entire frame using several metering zones and optimize exposure accordingly.
Experiment with slow shutter speeds
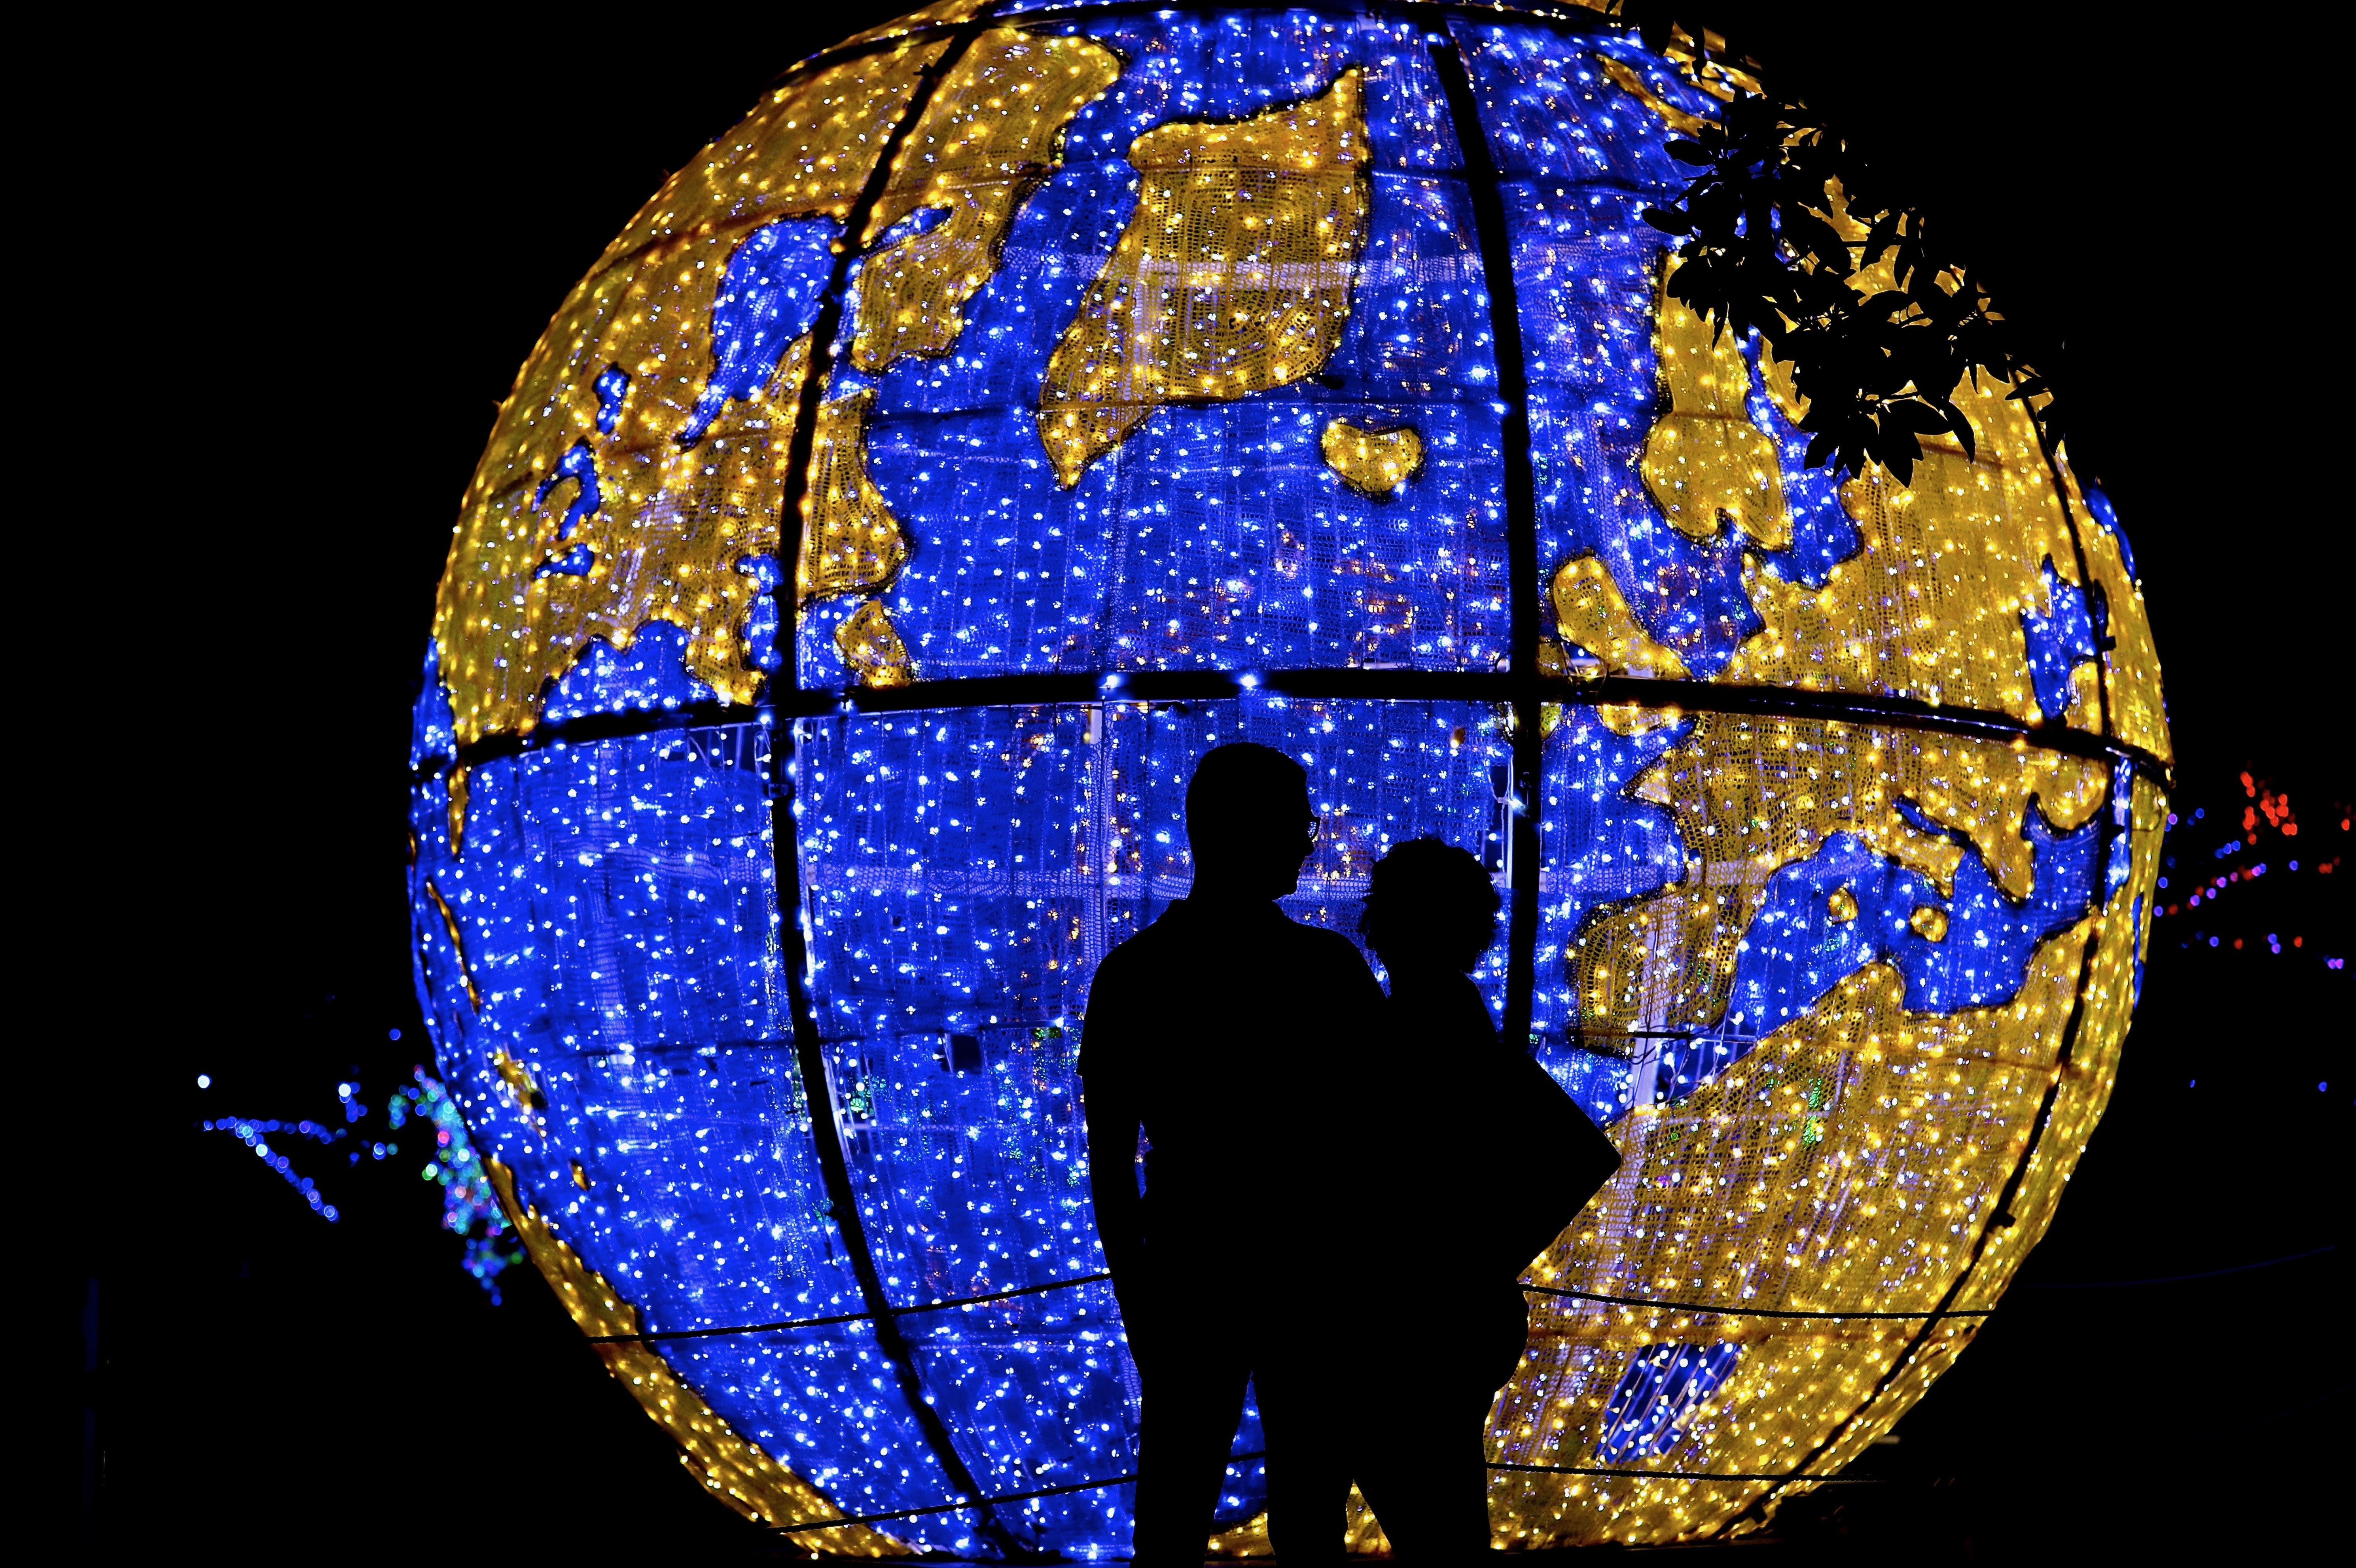
Christmas lights tend to flicker, or there could be some missing or not working along a string, which the camera can pick up as an ungainly black spot when shooting at high shutter speeds. While a lot of the latest cameras have an anti-flicker feature, it still isn't quite enough at high shutter speeds. So we’d recommend trying shutter speeds of about 1/125th of a second, which should be enough to make the lights look smooth and decently sharp as well.
However, feel free to use slower speeds as well (try 2 seconds or even 8 seconds), particularly if you’re on the street, as light trails from passing traffic can add some interesting dimensions (even leading lines) to your photography.
What the f
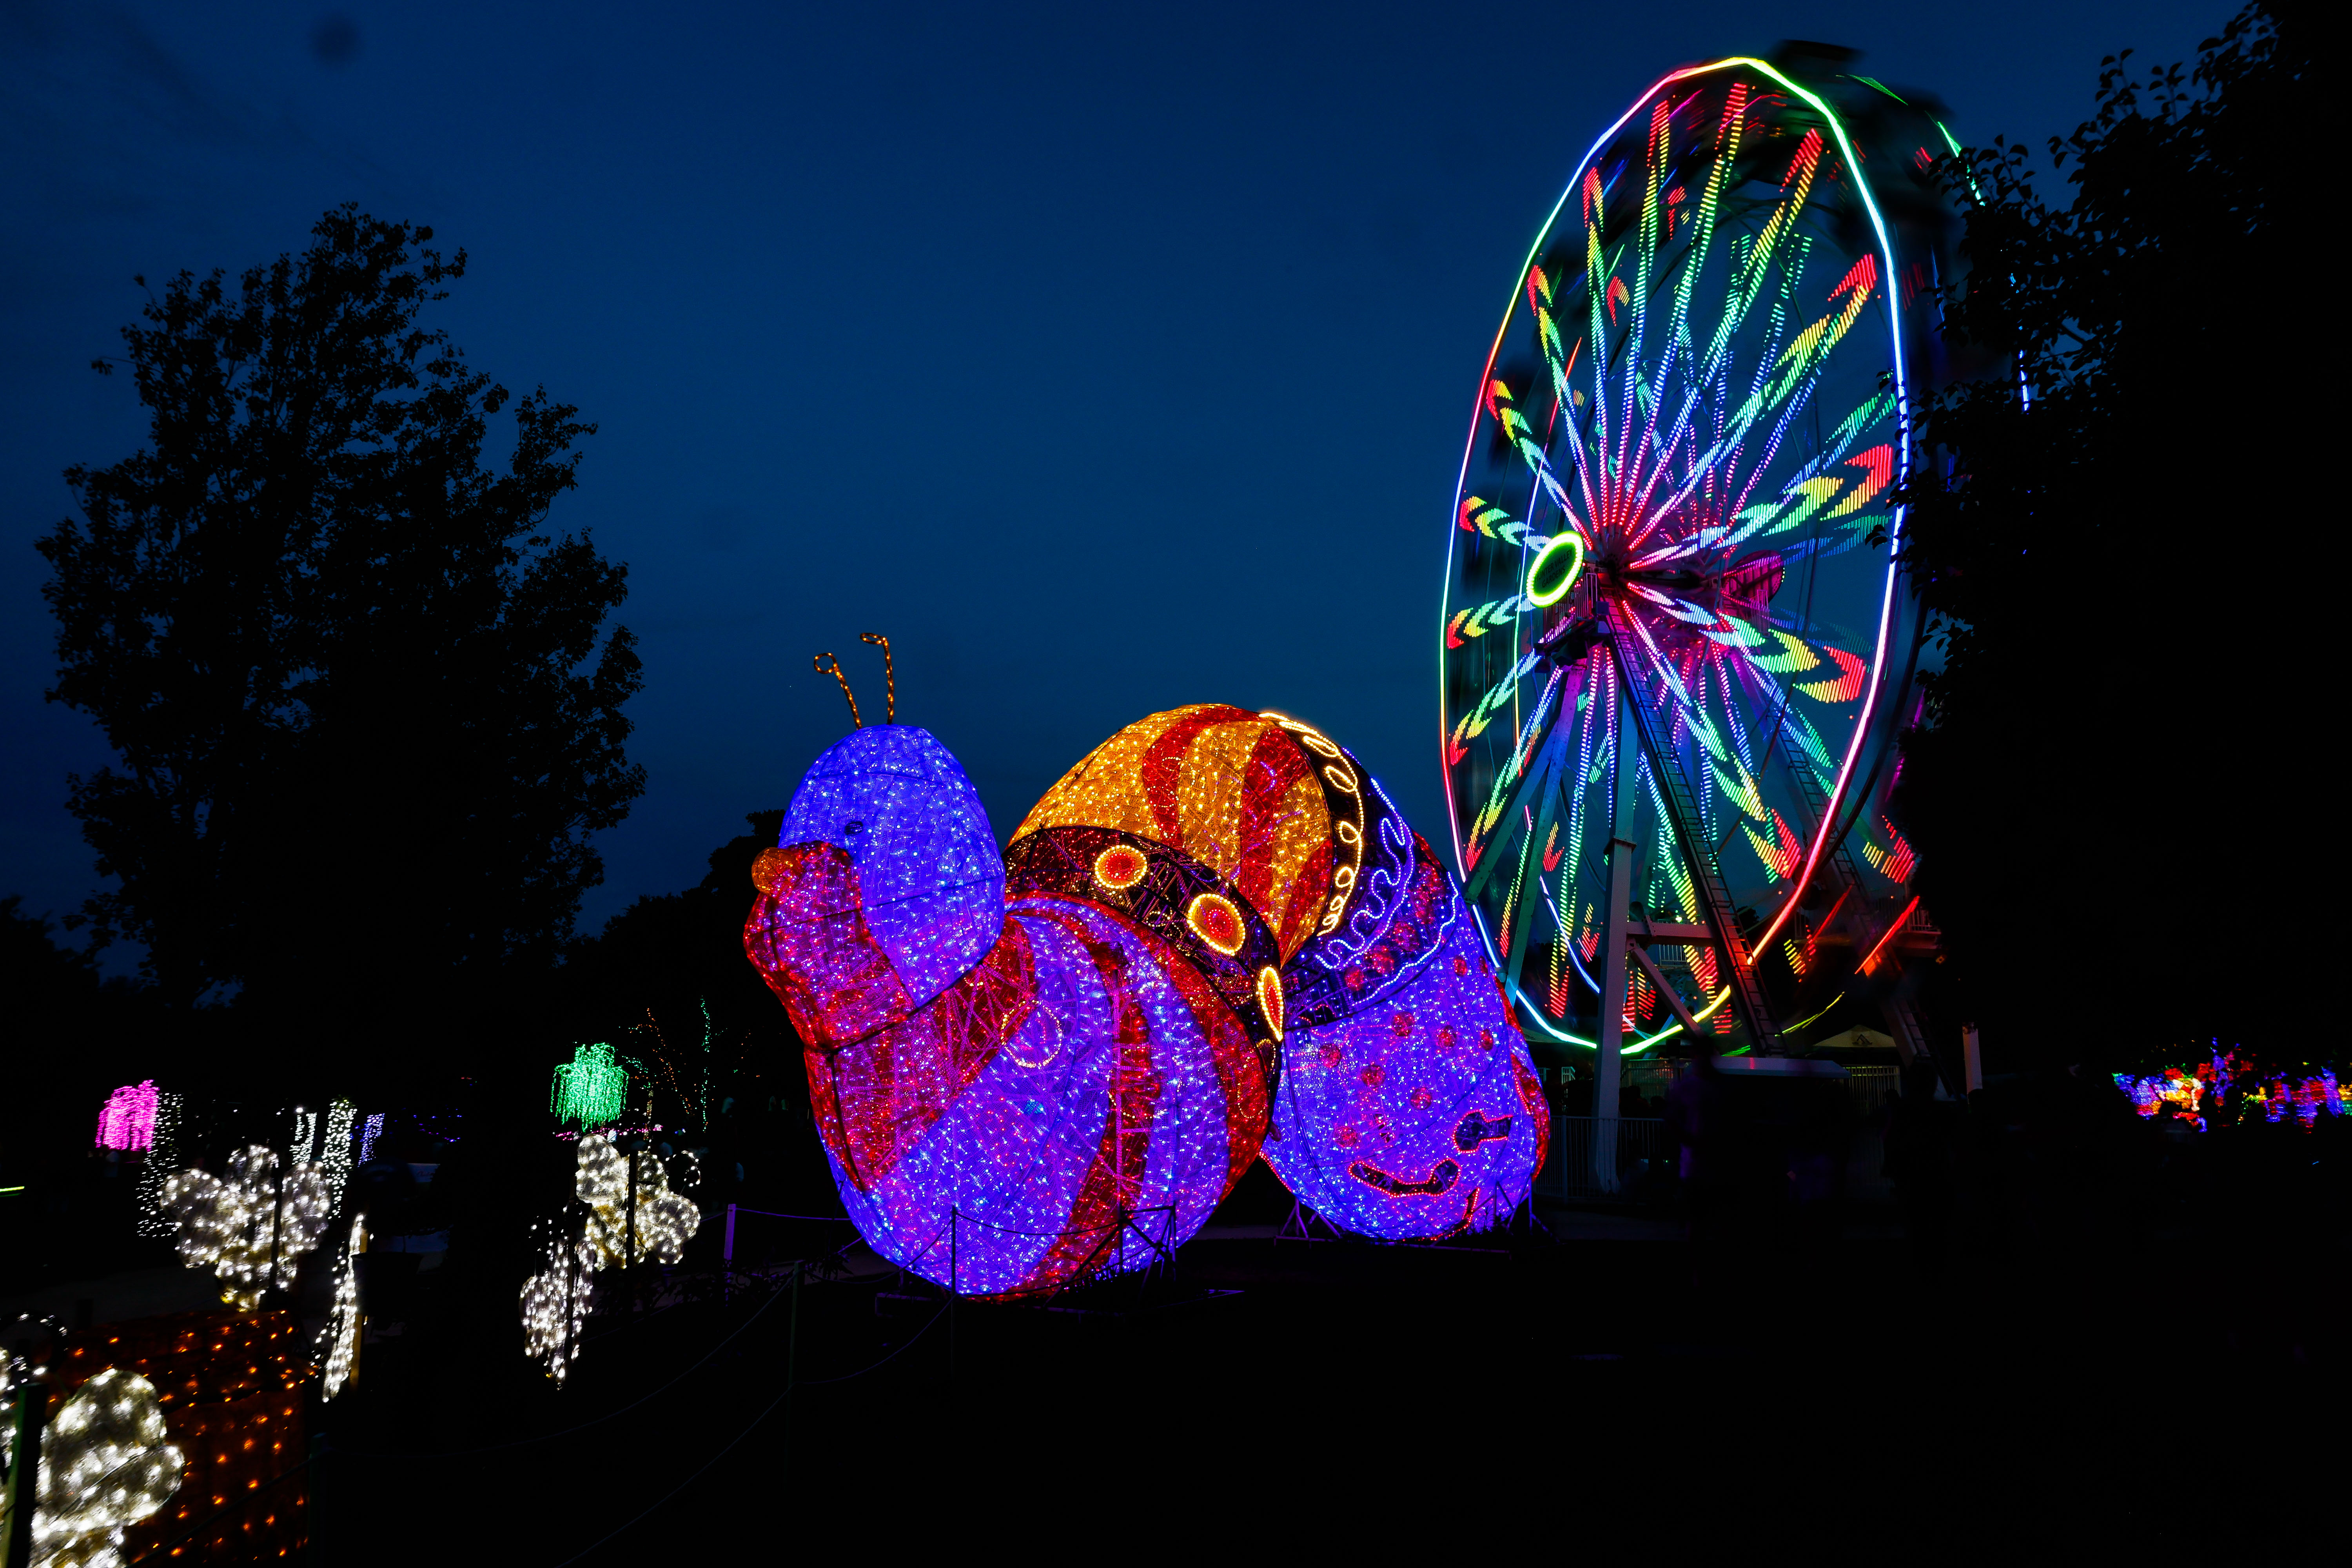
There’s no perfect aperture setting for Christmas displays. You can experiment with a wide open aperture (a small f number) to capture a sharp foreground with lots of bokeh in the background, while a smaller aperture (higher f number) can sharpen the entire frame. So the aperture setting you choose depends on what you’re actually going to photograph. To keep things simple, an aperture of about f/8 will keep the frame sharp and will offer a bit of depth of field as well, but feel free to experiment.
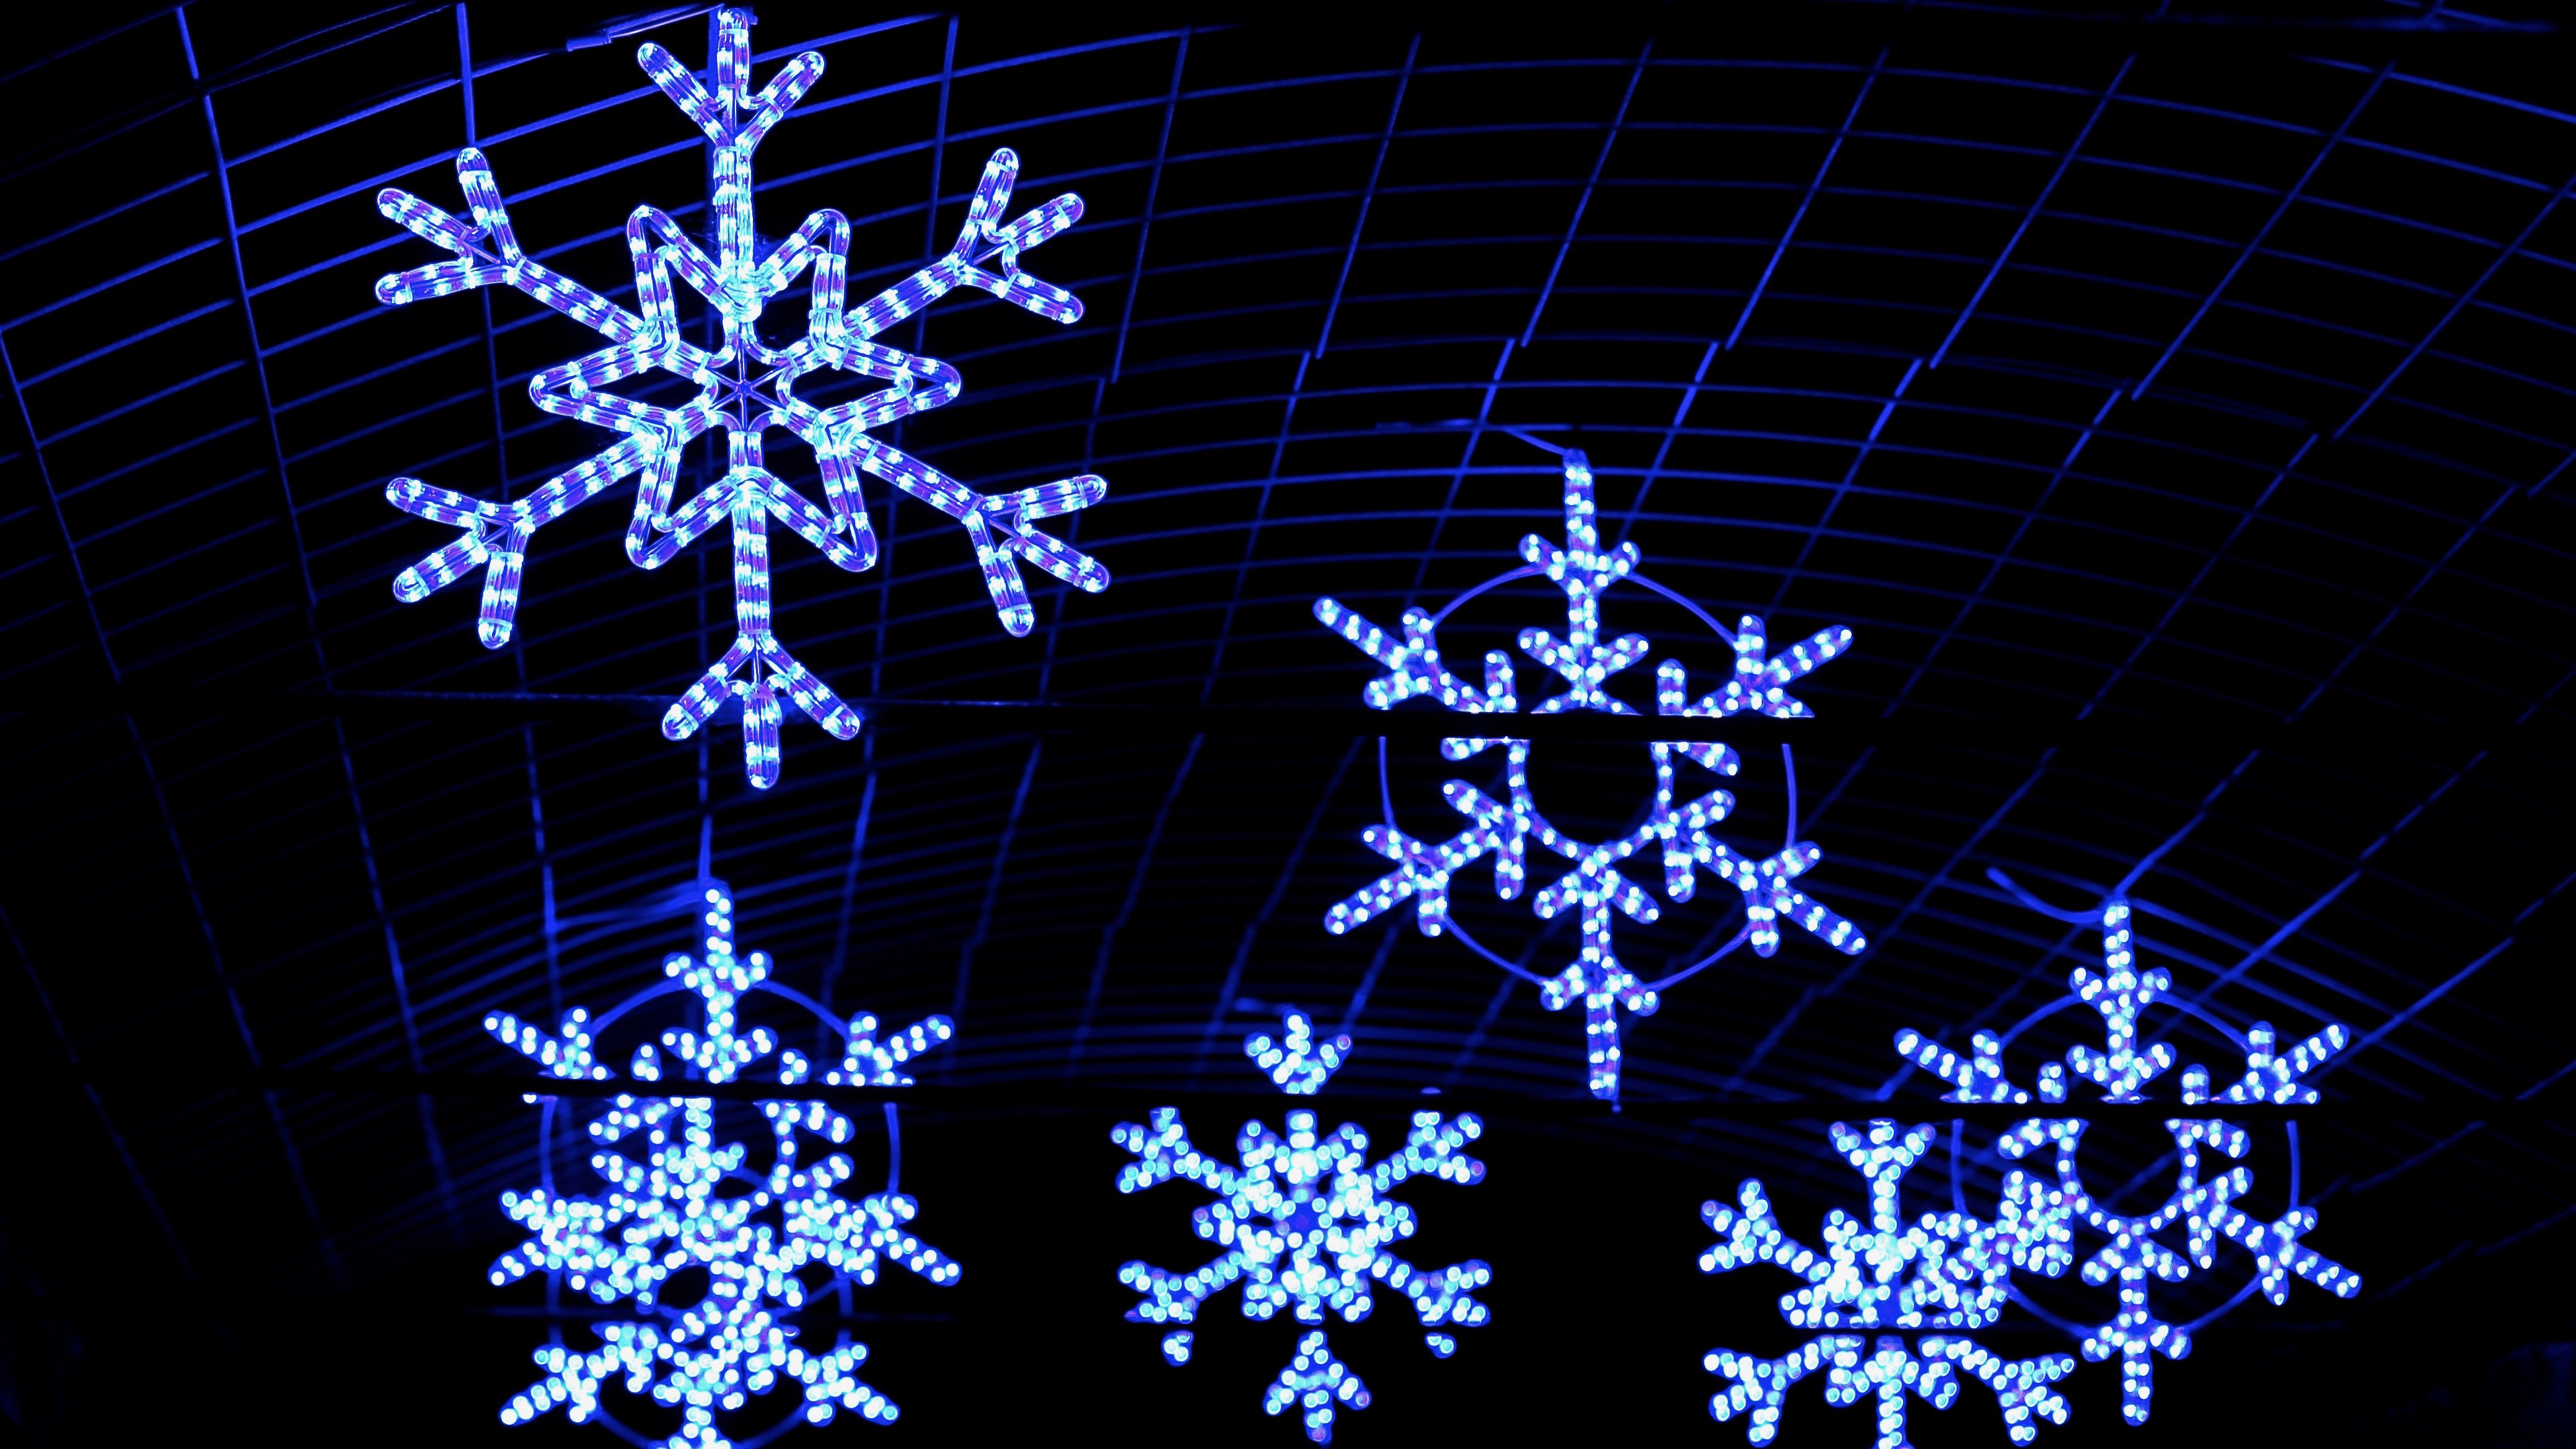
Tweak the ISO
Remember that when you change shutter speed and aperture, it also changes the amount of light entering the camera. That means you’ll also need to tweak the ISO levels so that you don’t underexpose or overexpose your shot.
High ISOs can add noise (grain) to nighttime photography and blur out details. So if you’re using a slower shutter speed, we’d advise you to start at base ISO (100 or 200, depending on the camera) and then move up, but be careful with values over 400 as that’s when noise can become a problem, particularly for older DSLRs. Most modern mirrorless cameras and DSLRs, though, should be able to handle higher ISO (at least till 6400) with ease.
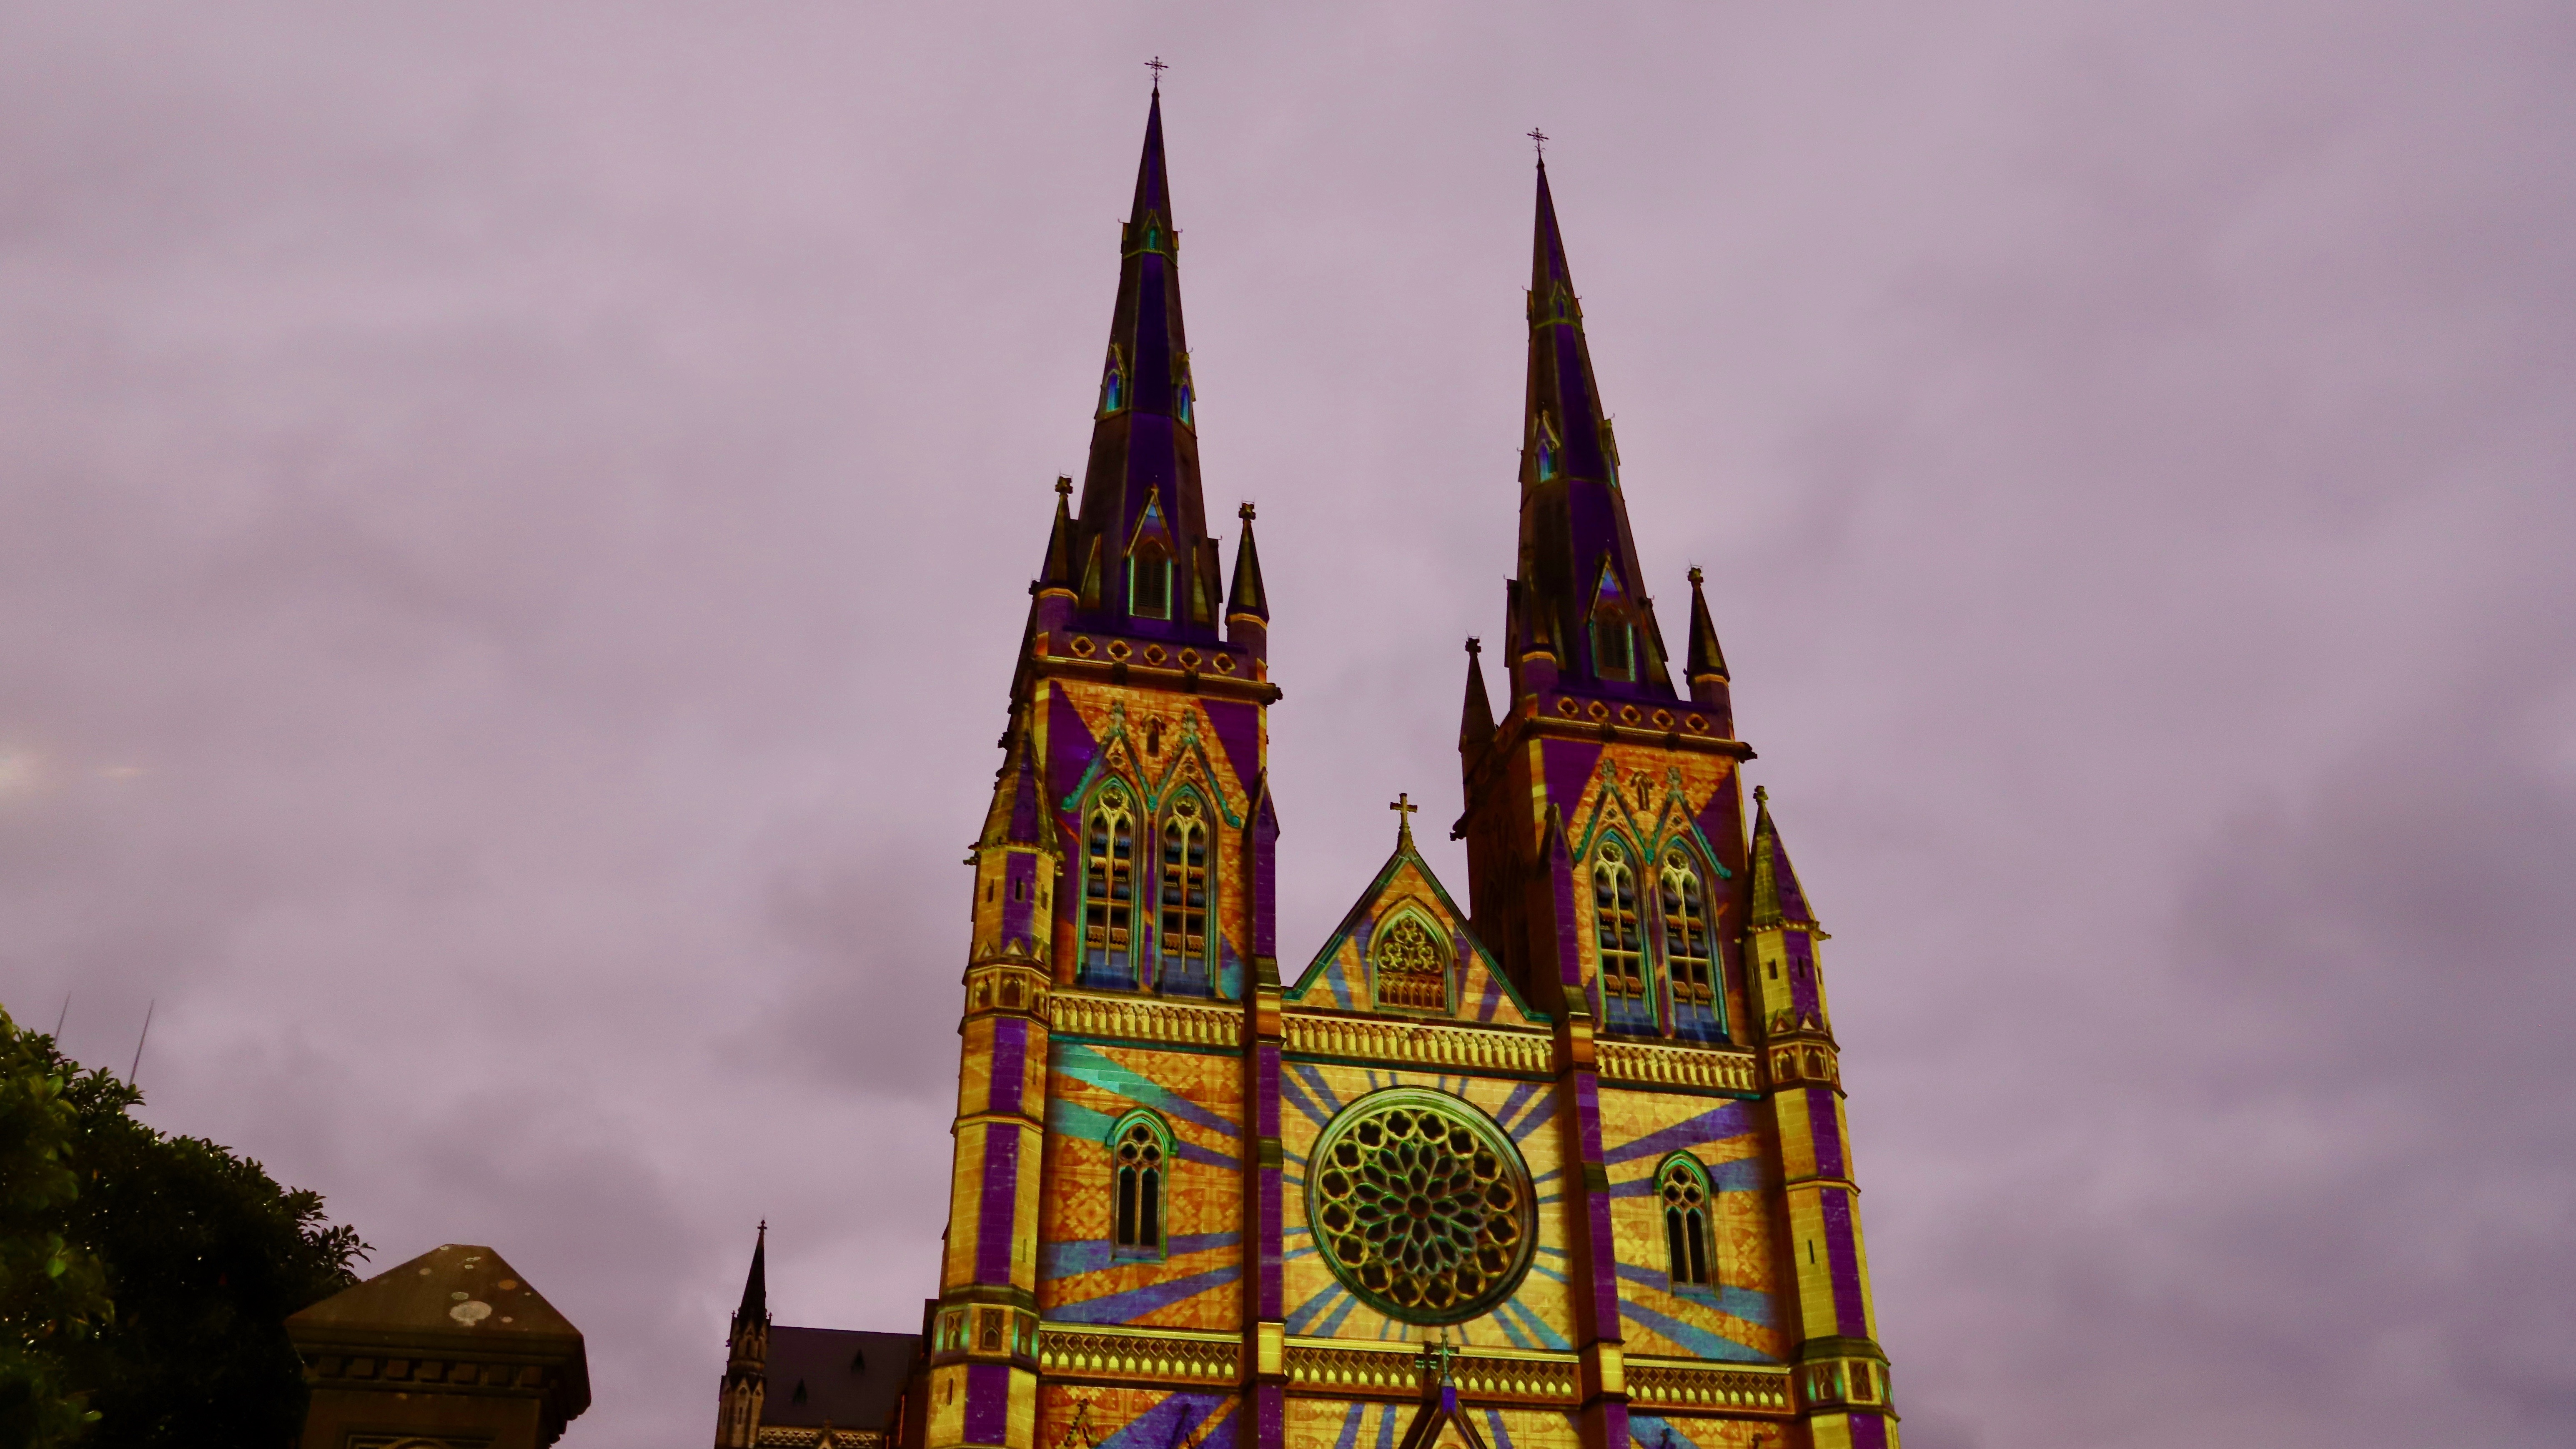
Have fun with bokehs
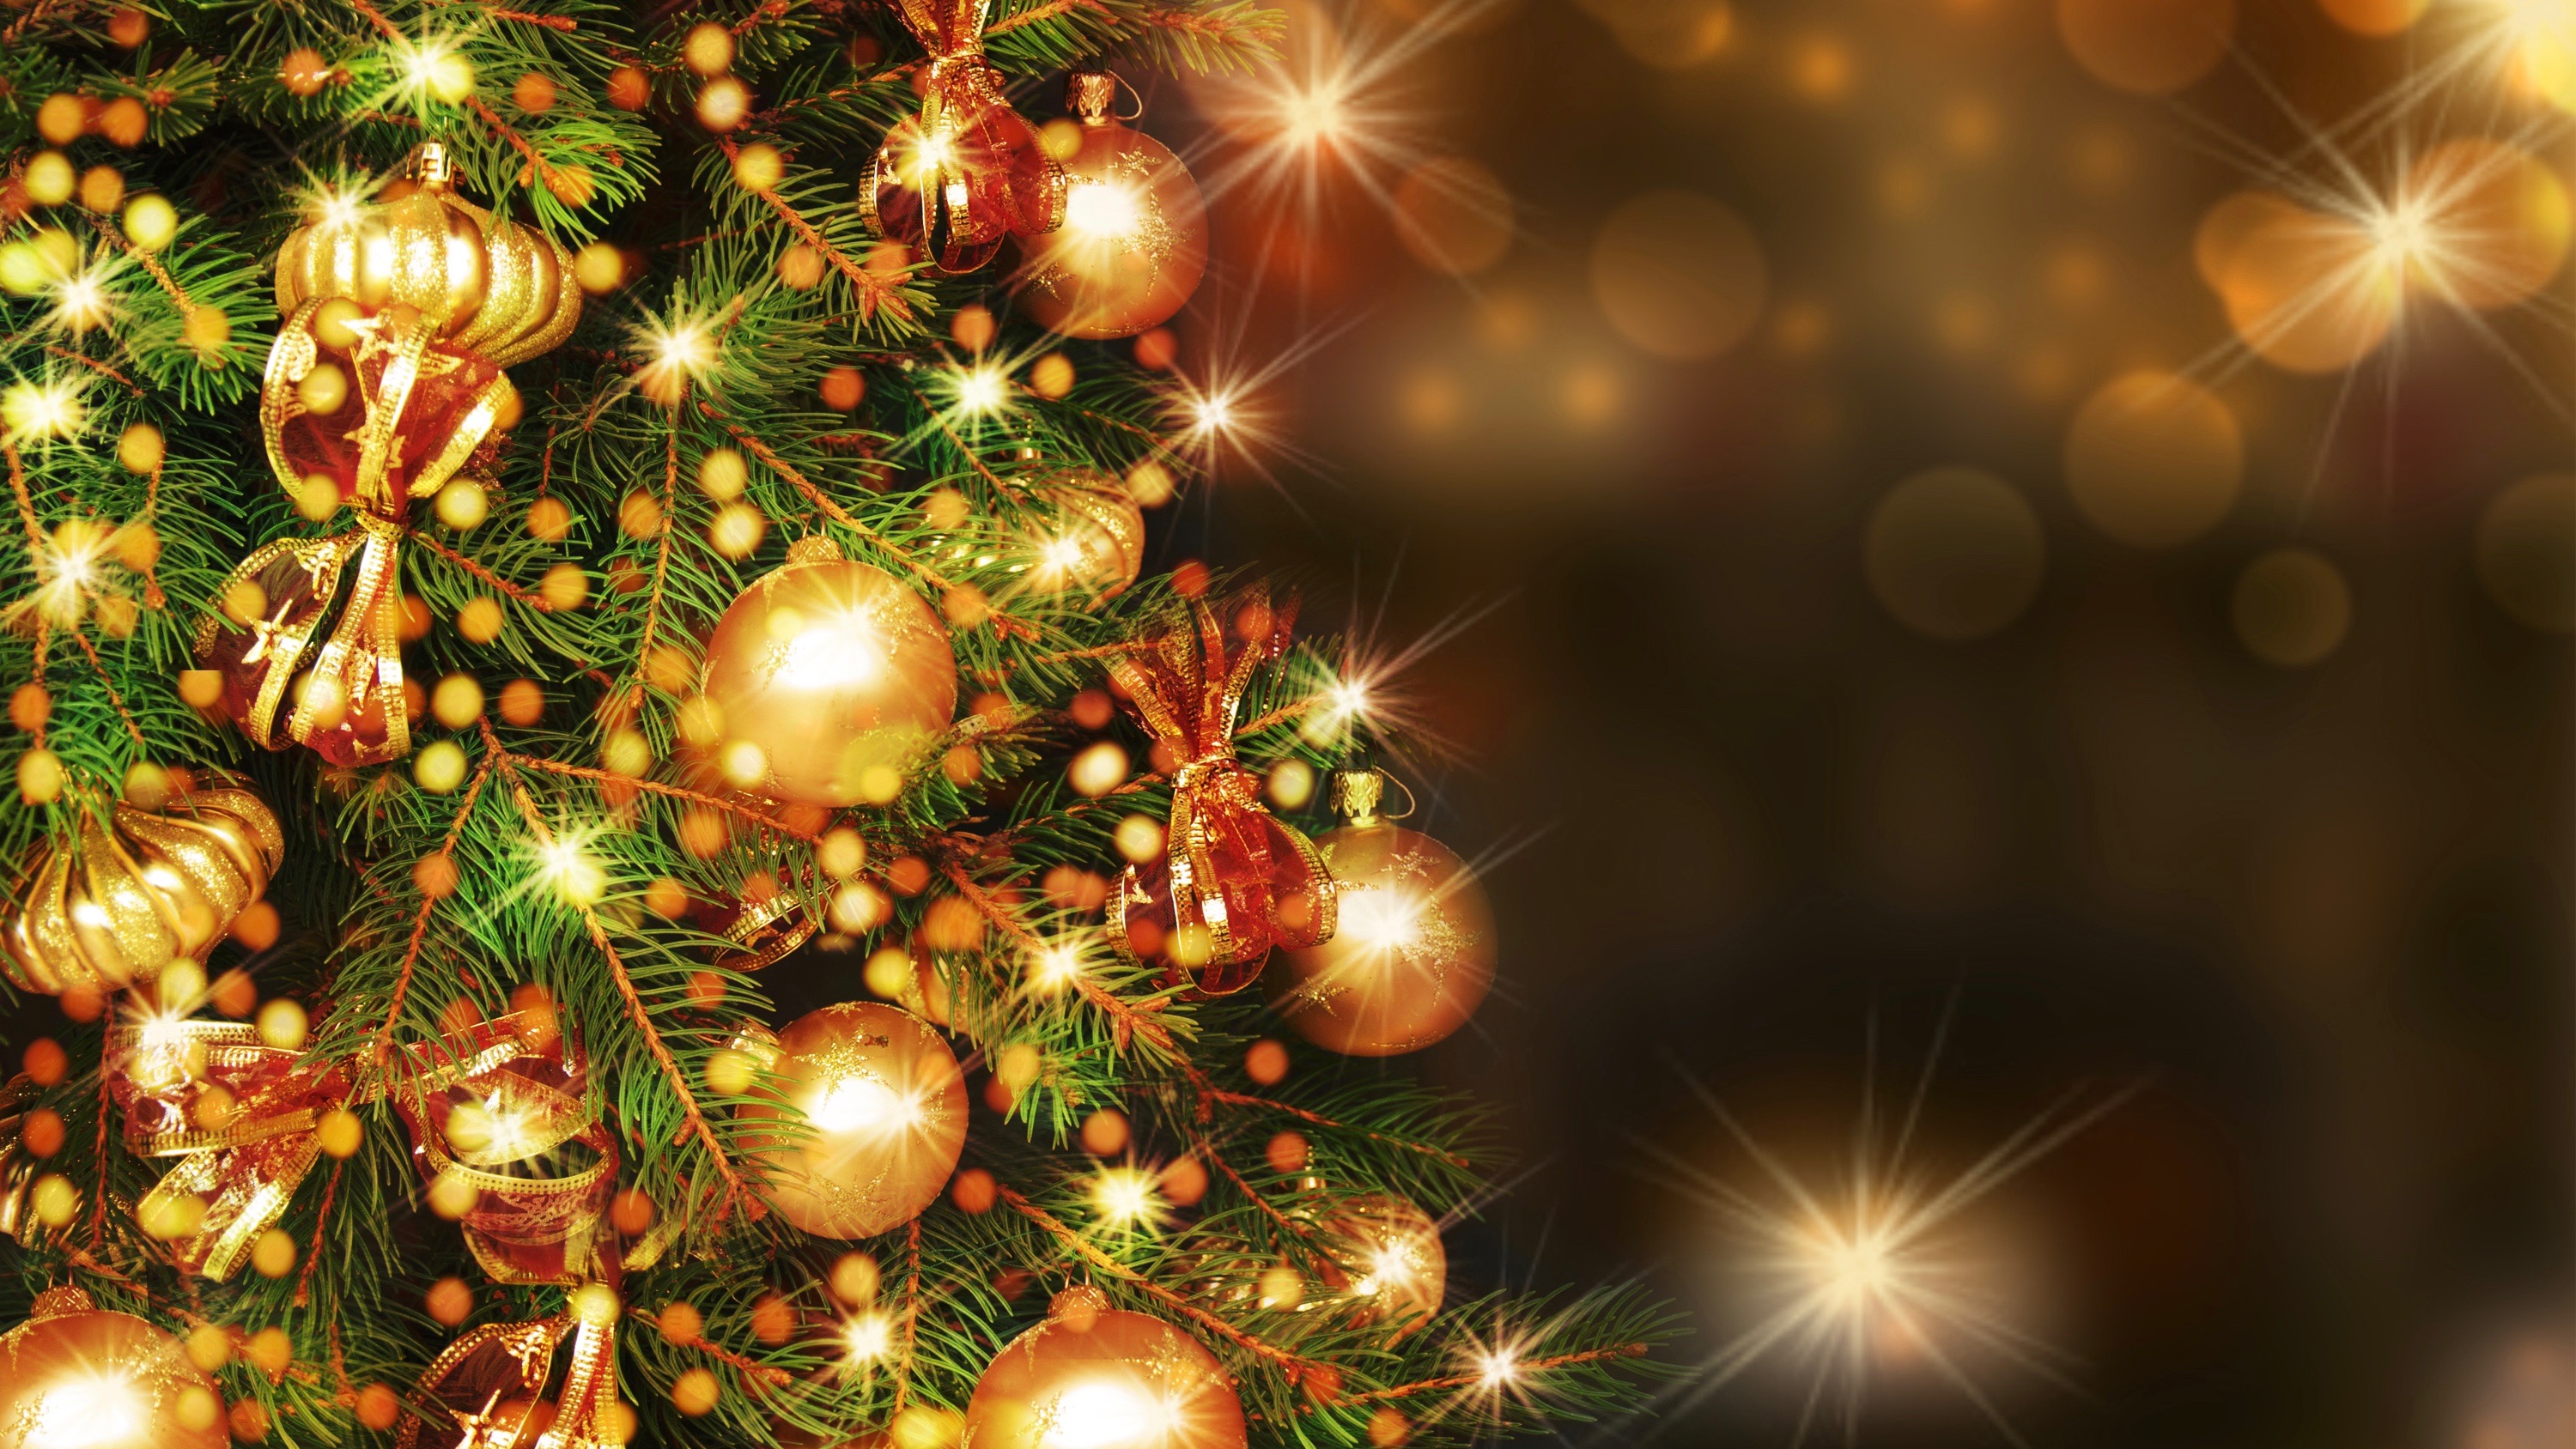
Christmas is a great time to capture those gorgeous bokehs (aka the blurry background lights that add mood to an image). There will be so many lights around that you can fill an entire frame with them, so go crazy. You can even use a macro lens for this, if you’re shooting indoors – focus on a target and let the background go really blurry.
If you are experimenting with bokeh, switch your camera to Aperture Priority, then open the aperture as wide as it will go (f/2 or f/4). Use manual focus to prevent the camera from autofocusing on the lights and sharpening them.
If you have a subject in the frame, be sure to place them close to the camera and a little distance away from the lights. This will make the blurred lights in the background appear larger, while placing a subject close to the lights will diminish the size of the bokeh.
Capture the joy
While the displays themselves are worth capturing, there will be other things to shoot as well. If you happen to be at a Christmas fair, try setting up you camera with a slow shutter speed to capture the rides, or the people (your family included) laughing and enjoying the season.
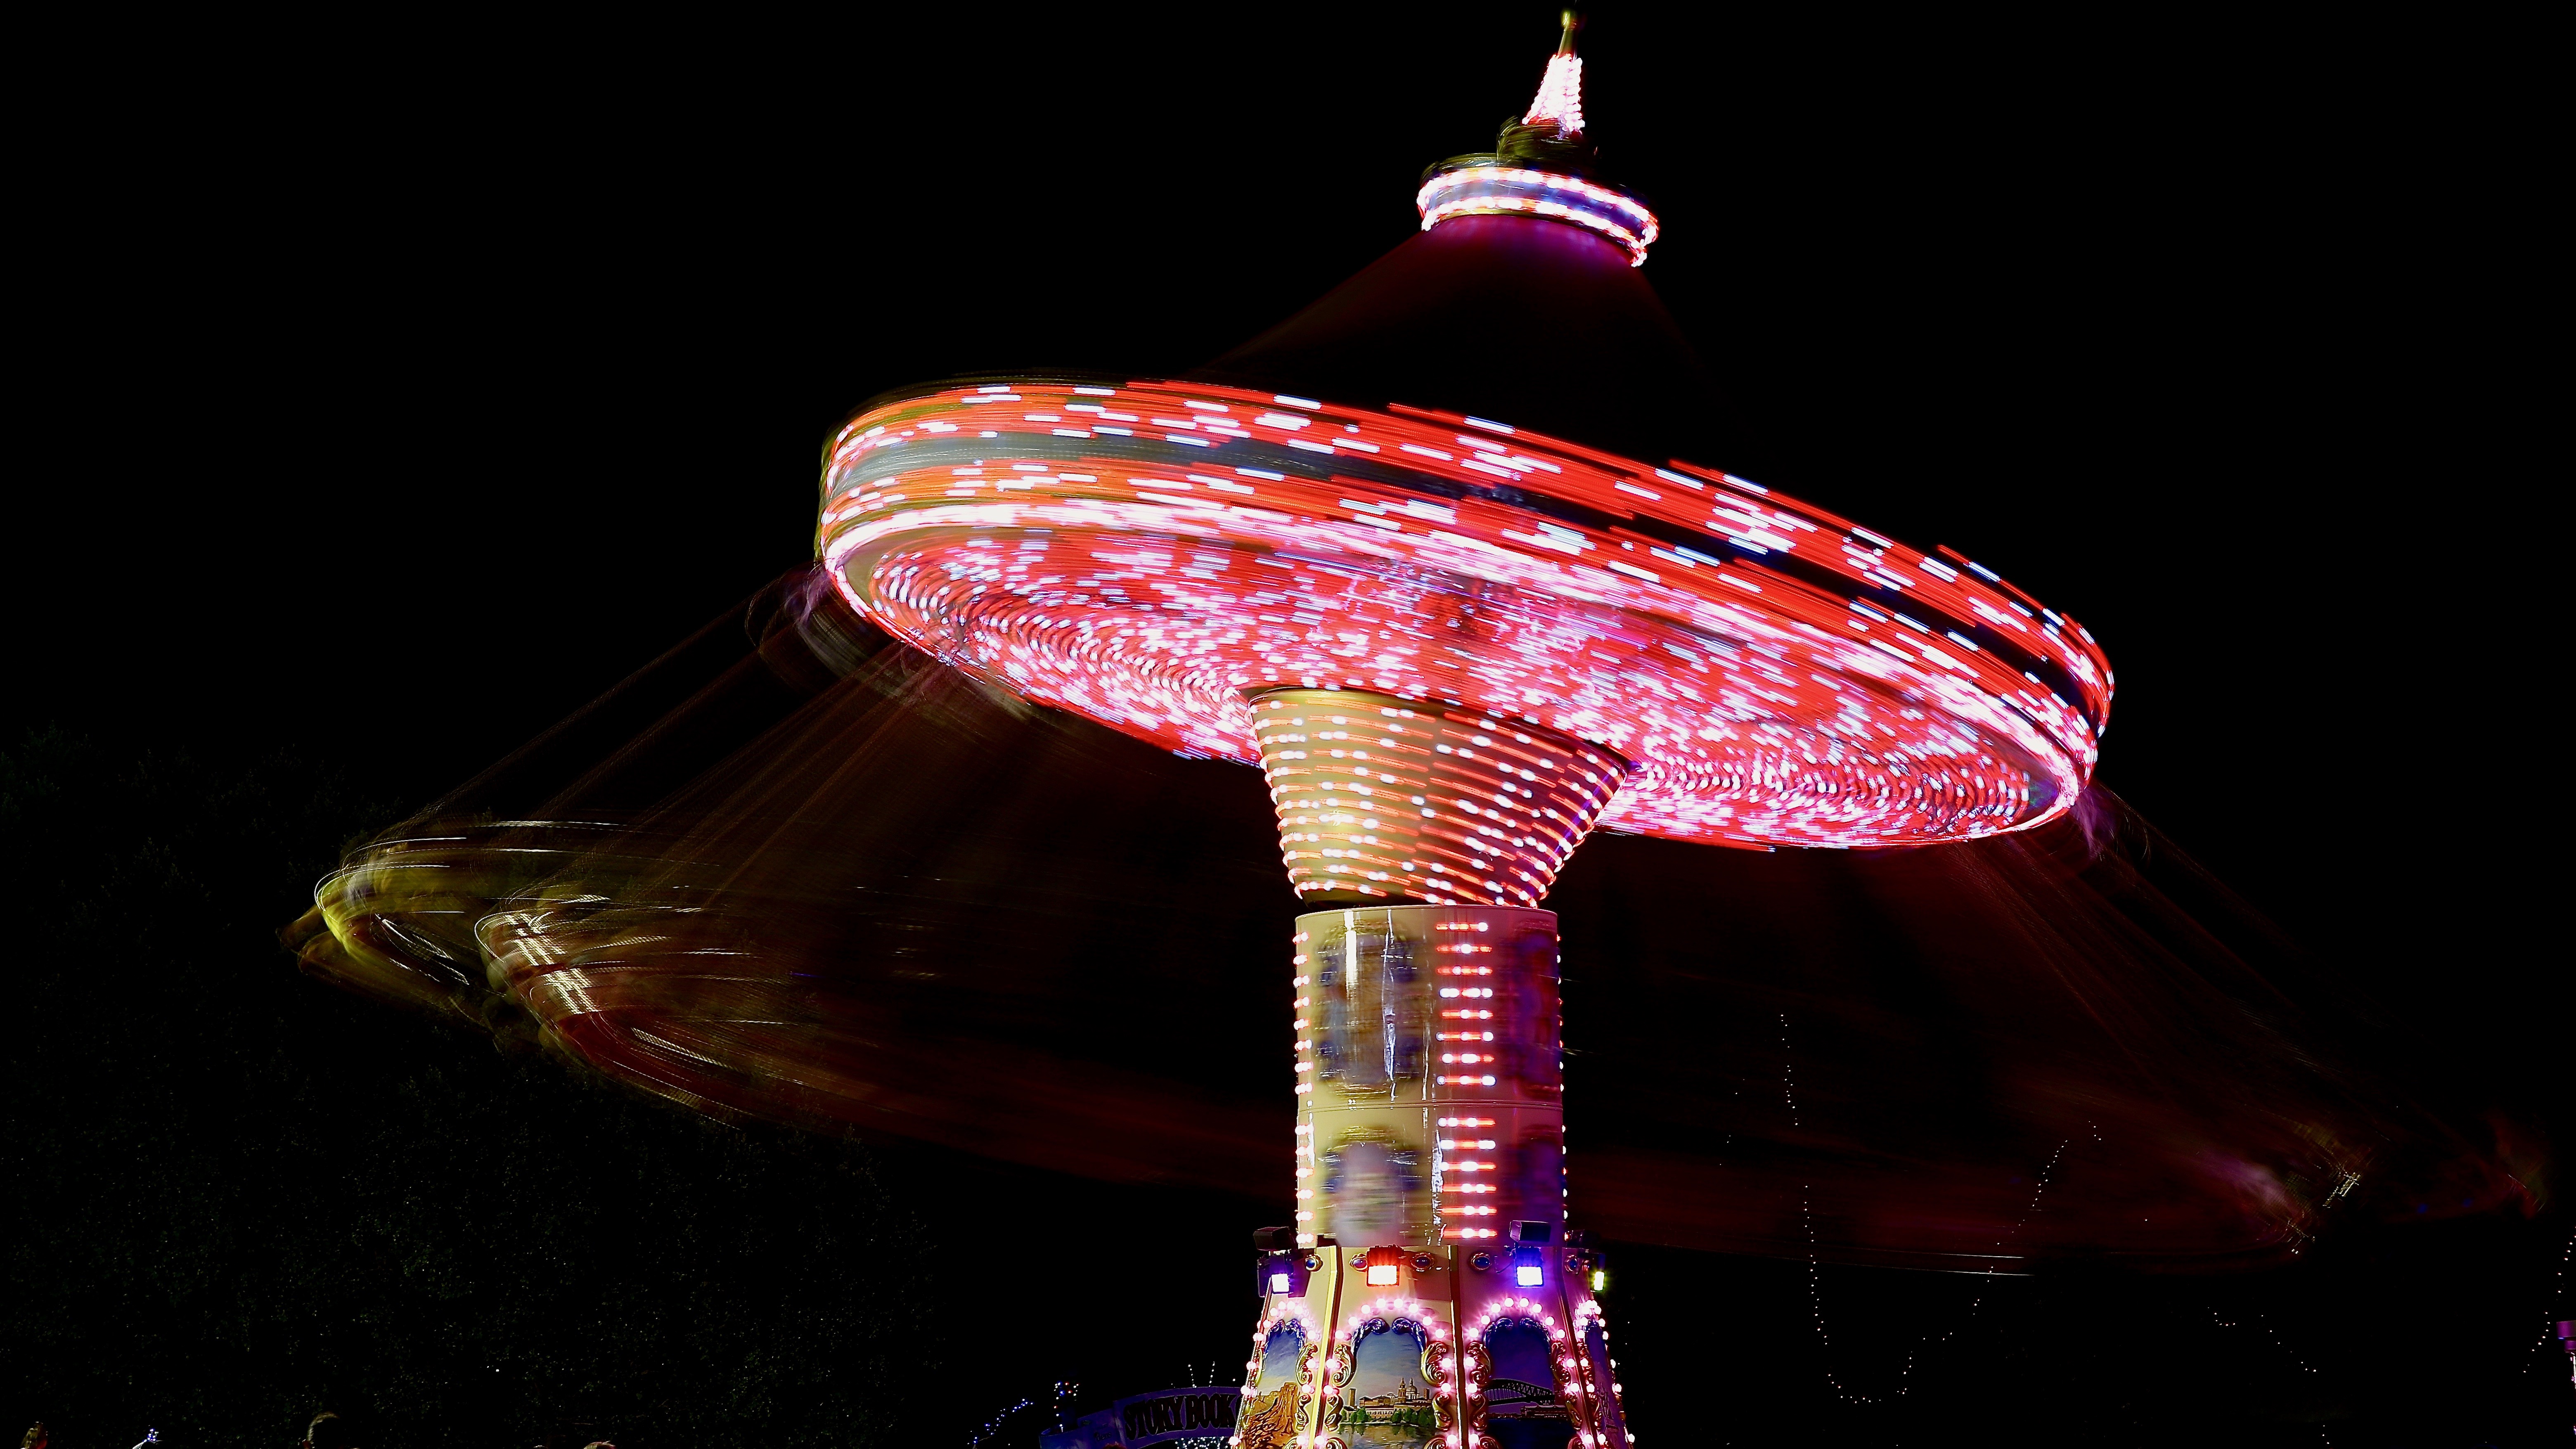
A few other tips
White balance:
Christmas displays are essentially strings of LED lights, meaning you may need to change your camera’s white balance to ‘tungsten’ or ‘incandescent’, usually denoted by a light bulb icon. This will remove the yellowish hue (colour temperature) that may be found on images shot on Auto (AWB) or the daylight setting when shooting under artificial lights.
Add some sparkle:
While you can use a cross screen filter to add starburst effects to lights, it can even be done in-camera without the need for a filter. When zooming in on lights on a tree, try using a small aperture (f/18 or smaller) to reduce the light entering the camera to a minimum.
Shooting indoors:
When capturing the spirit of Christmas at home, you can use your camera’s flash if you’re shooting portraits. This will help highlight the main subject from the rest of the scene but be careful to not overexpose any lights within the frame itself.
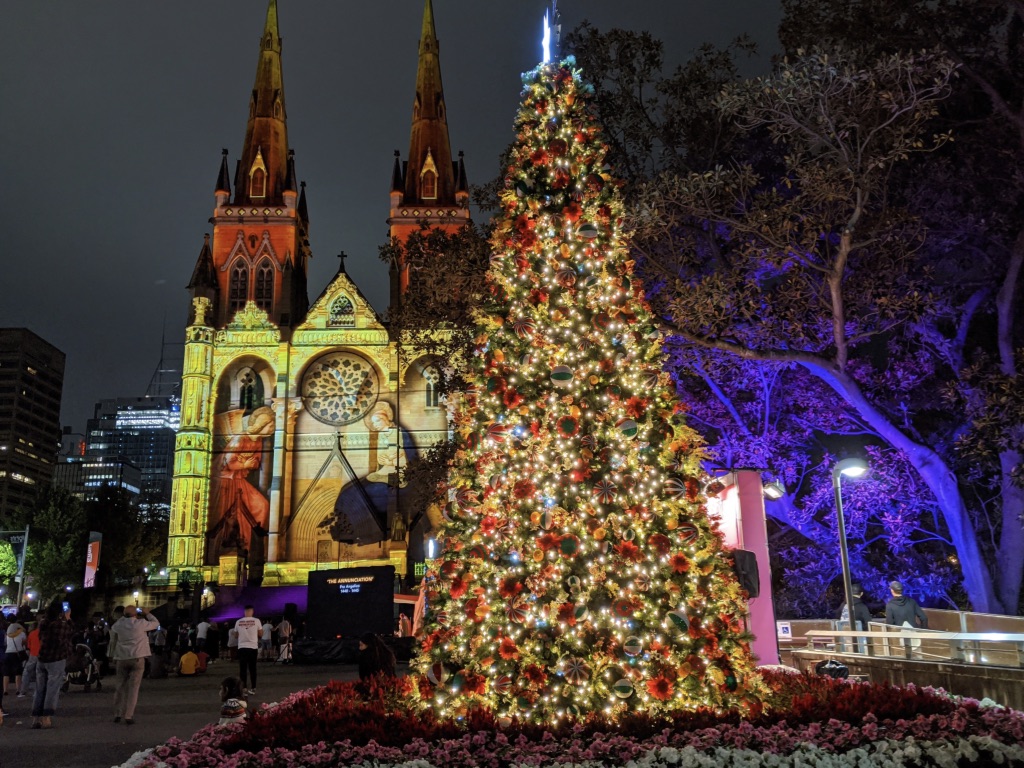
No 'real' camera? Your smartphone will do:
If you don't have a camera with a manual mode, most recent smartphones will do a decent job as well, particularly if they're flagships made in the last two or three years. The Google Pixel 6 and Pixel 7 range, Samsung Galaxy S20 and above (particularly the Galaxy S22 Ultra), or even Huawei's P50 Pro and Oppo's Find X5 Pro handsets are some of the best camera phones around, and will do a great job when shooting nighttime light displays. If your phone has a dedicated night mode, be sure to switch to that but, for the most part, modern handsets do automatically detect the scene and adjust settings accordingly.
Put your camera away for a bit:
Concentrating on your photography is all well and good, but don't miss out on the joy and the spirit of Christmas while you're taking your shots. Every once in a while put your camera down and take it all in – maybe enjoy a hot cocoa (if you're in a colder climate) or get yourself a snack at a stall and look, actually look, at what's happening around you. You might even see some things to shoot that you wouldn't otherwise have thought to capture.
- Do more with your photography by creating motion blur in-camera
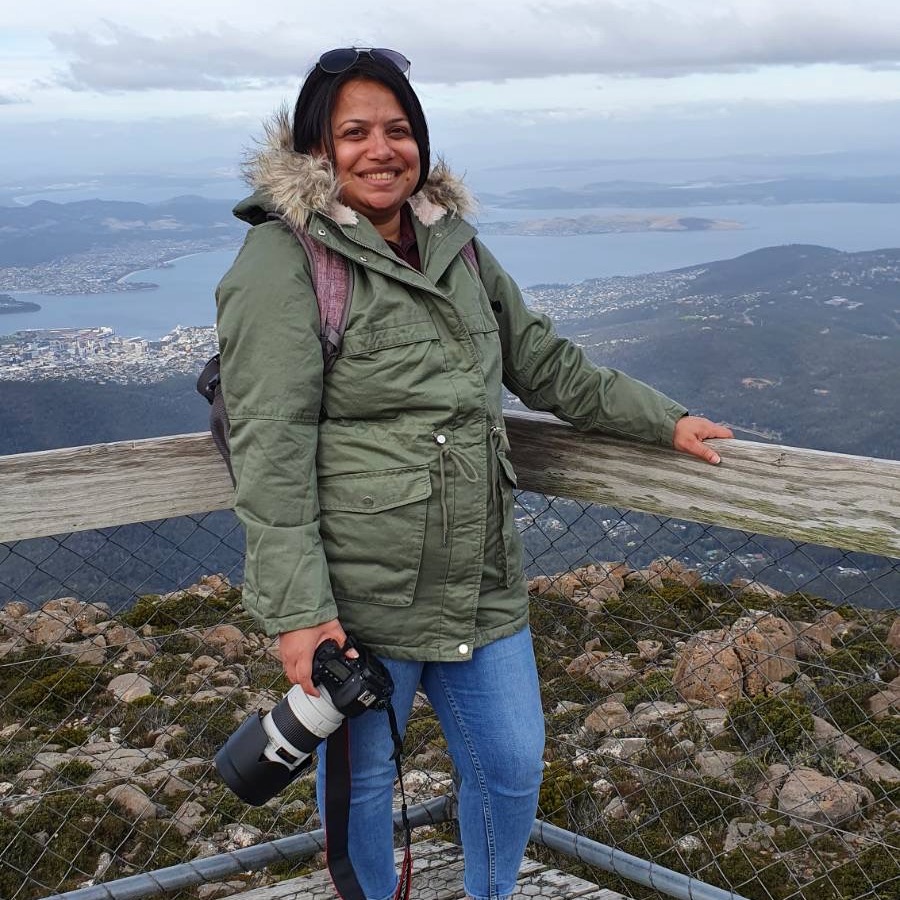
While she's happiest with a camera in her hand, Sharmishta's main priority is being TechRadar's APAC Managing Editor, looking after the day-to-day functioning of the Australian, New Zealand and Singapore editions of the site, steering everything from news and reviews to ecommerce content like deals and coupon codes. While she loves reviewing cameras and lenses when she can, she's also an avid reader and has become quite the expert on ereaders and E Ink writing tablets, having appeared on Singaporean radio to talk about these underrated devices. Other than her duties at TechRadar, she's also the Managing Editor of the Australian edition of Digital Camera World, and writes for Tom's Guide and T3.