6 festive photo ideas to try this Christmas
Sign up for breaking news, reviews, opinion, top tech deals, and more.
You are now subscribed
Your newsletter sign-up was successful
2. Shoot a wintery portrait
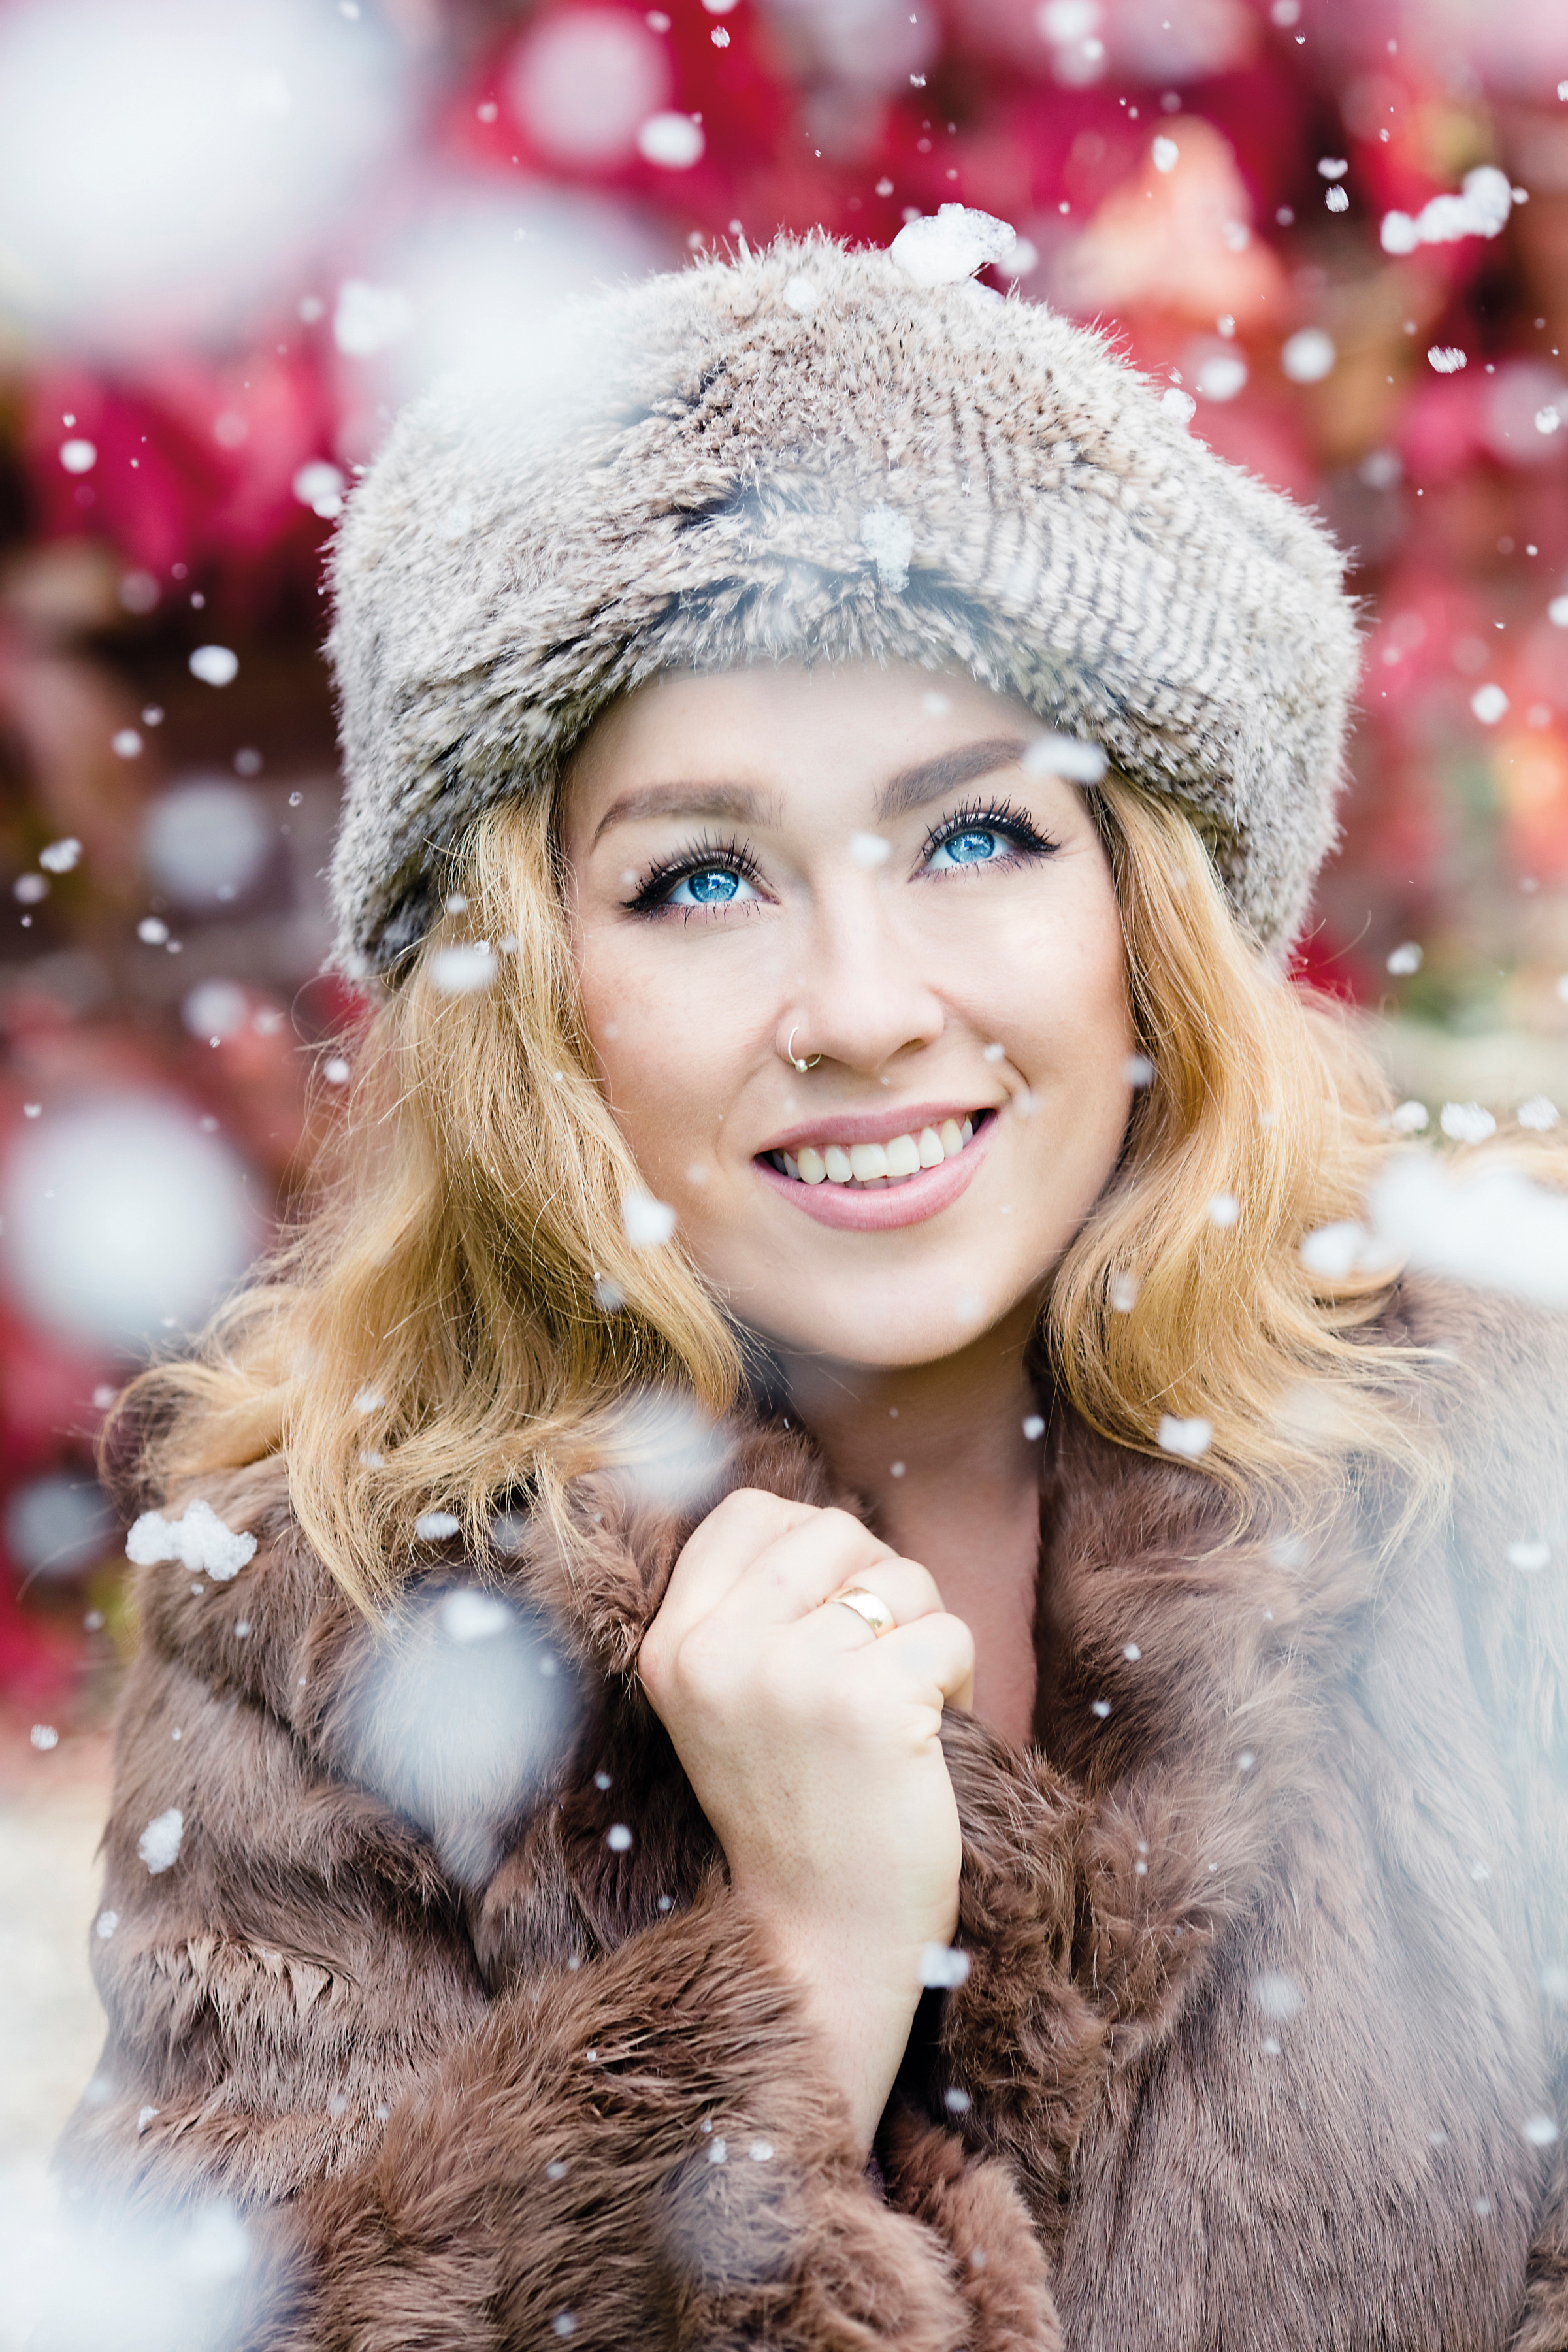
If you’re lucky enough to have snow for a portrait shoot, then make the most of it – snow is a natural reflector of light so it gives lovely, soft, flattering light with subtle shadows.
In the UK at least, it seems that it only snows when we don’t want it to, and never when we do, so for this project we had to make our own white stuff!
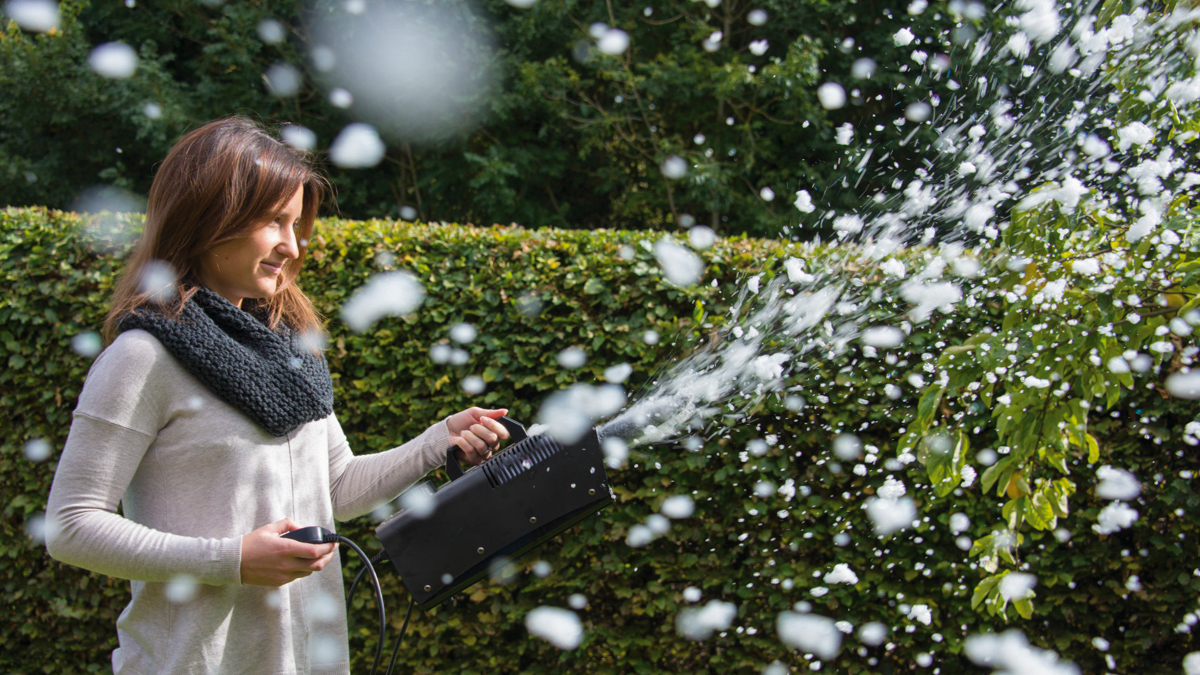
A fake snow machine such as the one we used sprays out a stream of soapy flakes that drift gently down to the ground, just like the real thing.
You can hire fake snow machines from most entertainment suppliers – the same places that offer disco hire and lighting rigs. They won’t break the bank either: ours was £25/$30 for the day, and came with a bottle of soapy fluid to make the snowflakes (you can hire specialist machines that create real snow, but they cost more, and the air temperature needs to be below freezing for them to work).
Our snow fluid lasted for about 30 minutes of continuous use, so fire it in bursts to make it last. For the best effect, have a helper direct the snow so that the flakes fall both in front of and behind your subject while you shoot.
As well as making your own snow, we’ll look at a few of the key techniques and rules for shooting outdoor portraits, whether you want to fake a blizzard, capture subjects against beautiful seasonal colors, or shoot any kind of portrait in natural light. With the right choice of lens, aperture, shutter speed and focus controls, the rest is easy – we’ll show you how to create a beautiful winter portrait whether you have the weather on your side or not.
Step-by-step: Let it snow

1. Wrap up warm
Cold weather presents a great opportunity to dig out your fancy hats, coats, scarves and other winter accessories. Hats can enhance close-ups by providing a natural frame for the face, while textures like those in this fur-look hat and coat contrast nicely with the skin.
2. Bring on a snowstorm
If you can’t shoot in real snow you could hire a snow machine such as this one from a party or entertainment shop – it fires out a stream of soapy flakes that fall softly to the ground. Place the machine upwind of your subject so that the flakes drift across them.

3. Pick your background
We were shooting on a bright sunny day, so we looked for a spot in the shade of a tree for softer, and so more flattering, light. The ‘snow’ shows up best against a darker backdrop like the red leaves here, which also lend the image a Christmassy feel.
4. Choose your lens
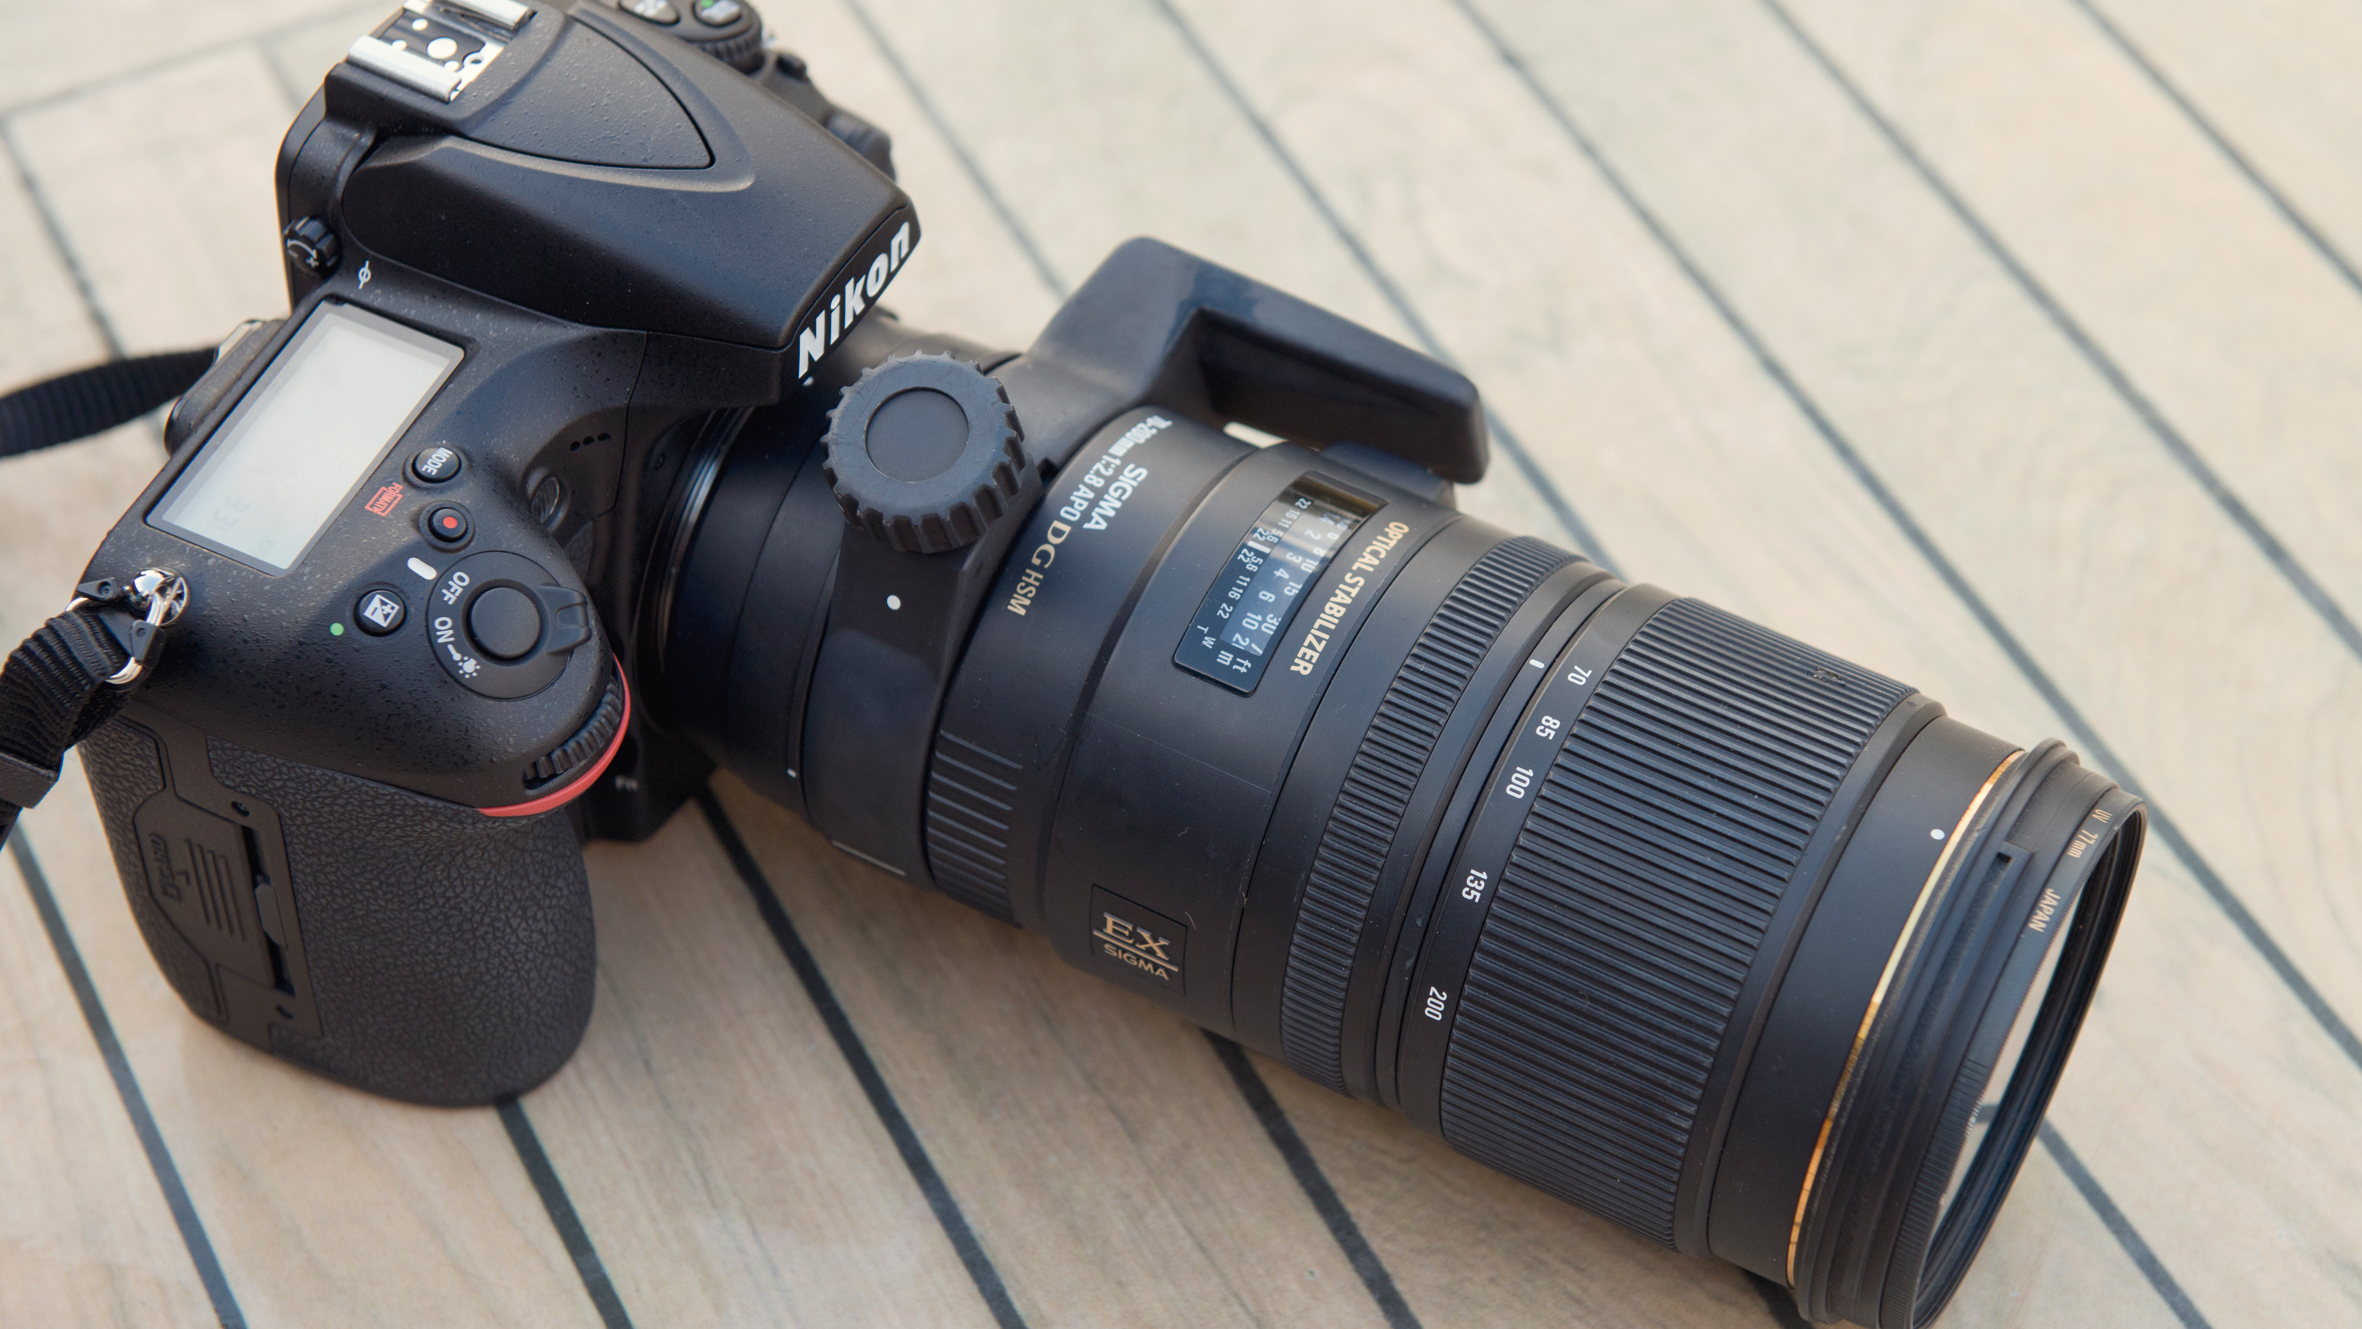
If possible, use a lens with a wide maximum aperture and a long focal length. A shallow depth of field will blur both the backdrop and the snowflakes. We don’t want too many flakes of the fake snow in focus, because their foamy texture gives the game away.
5. Set-up your camera
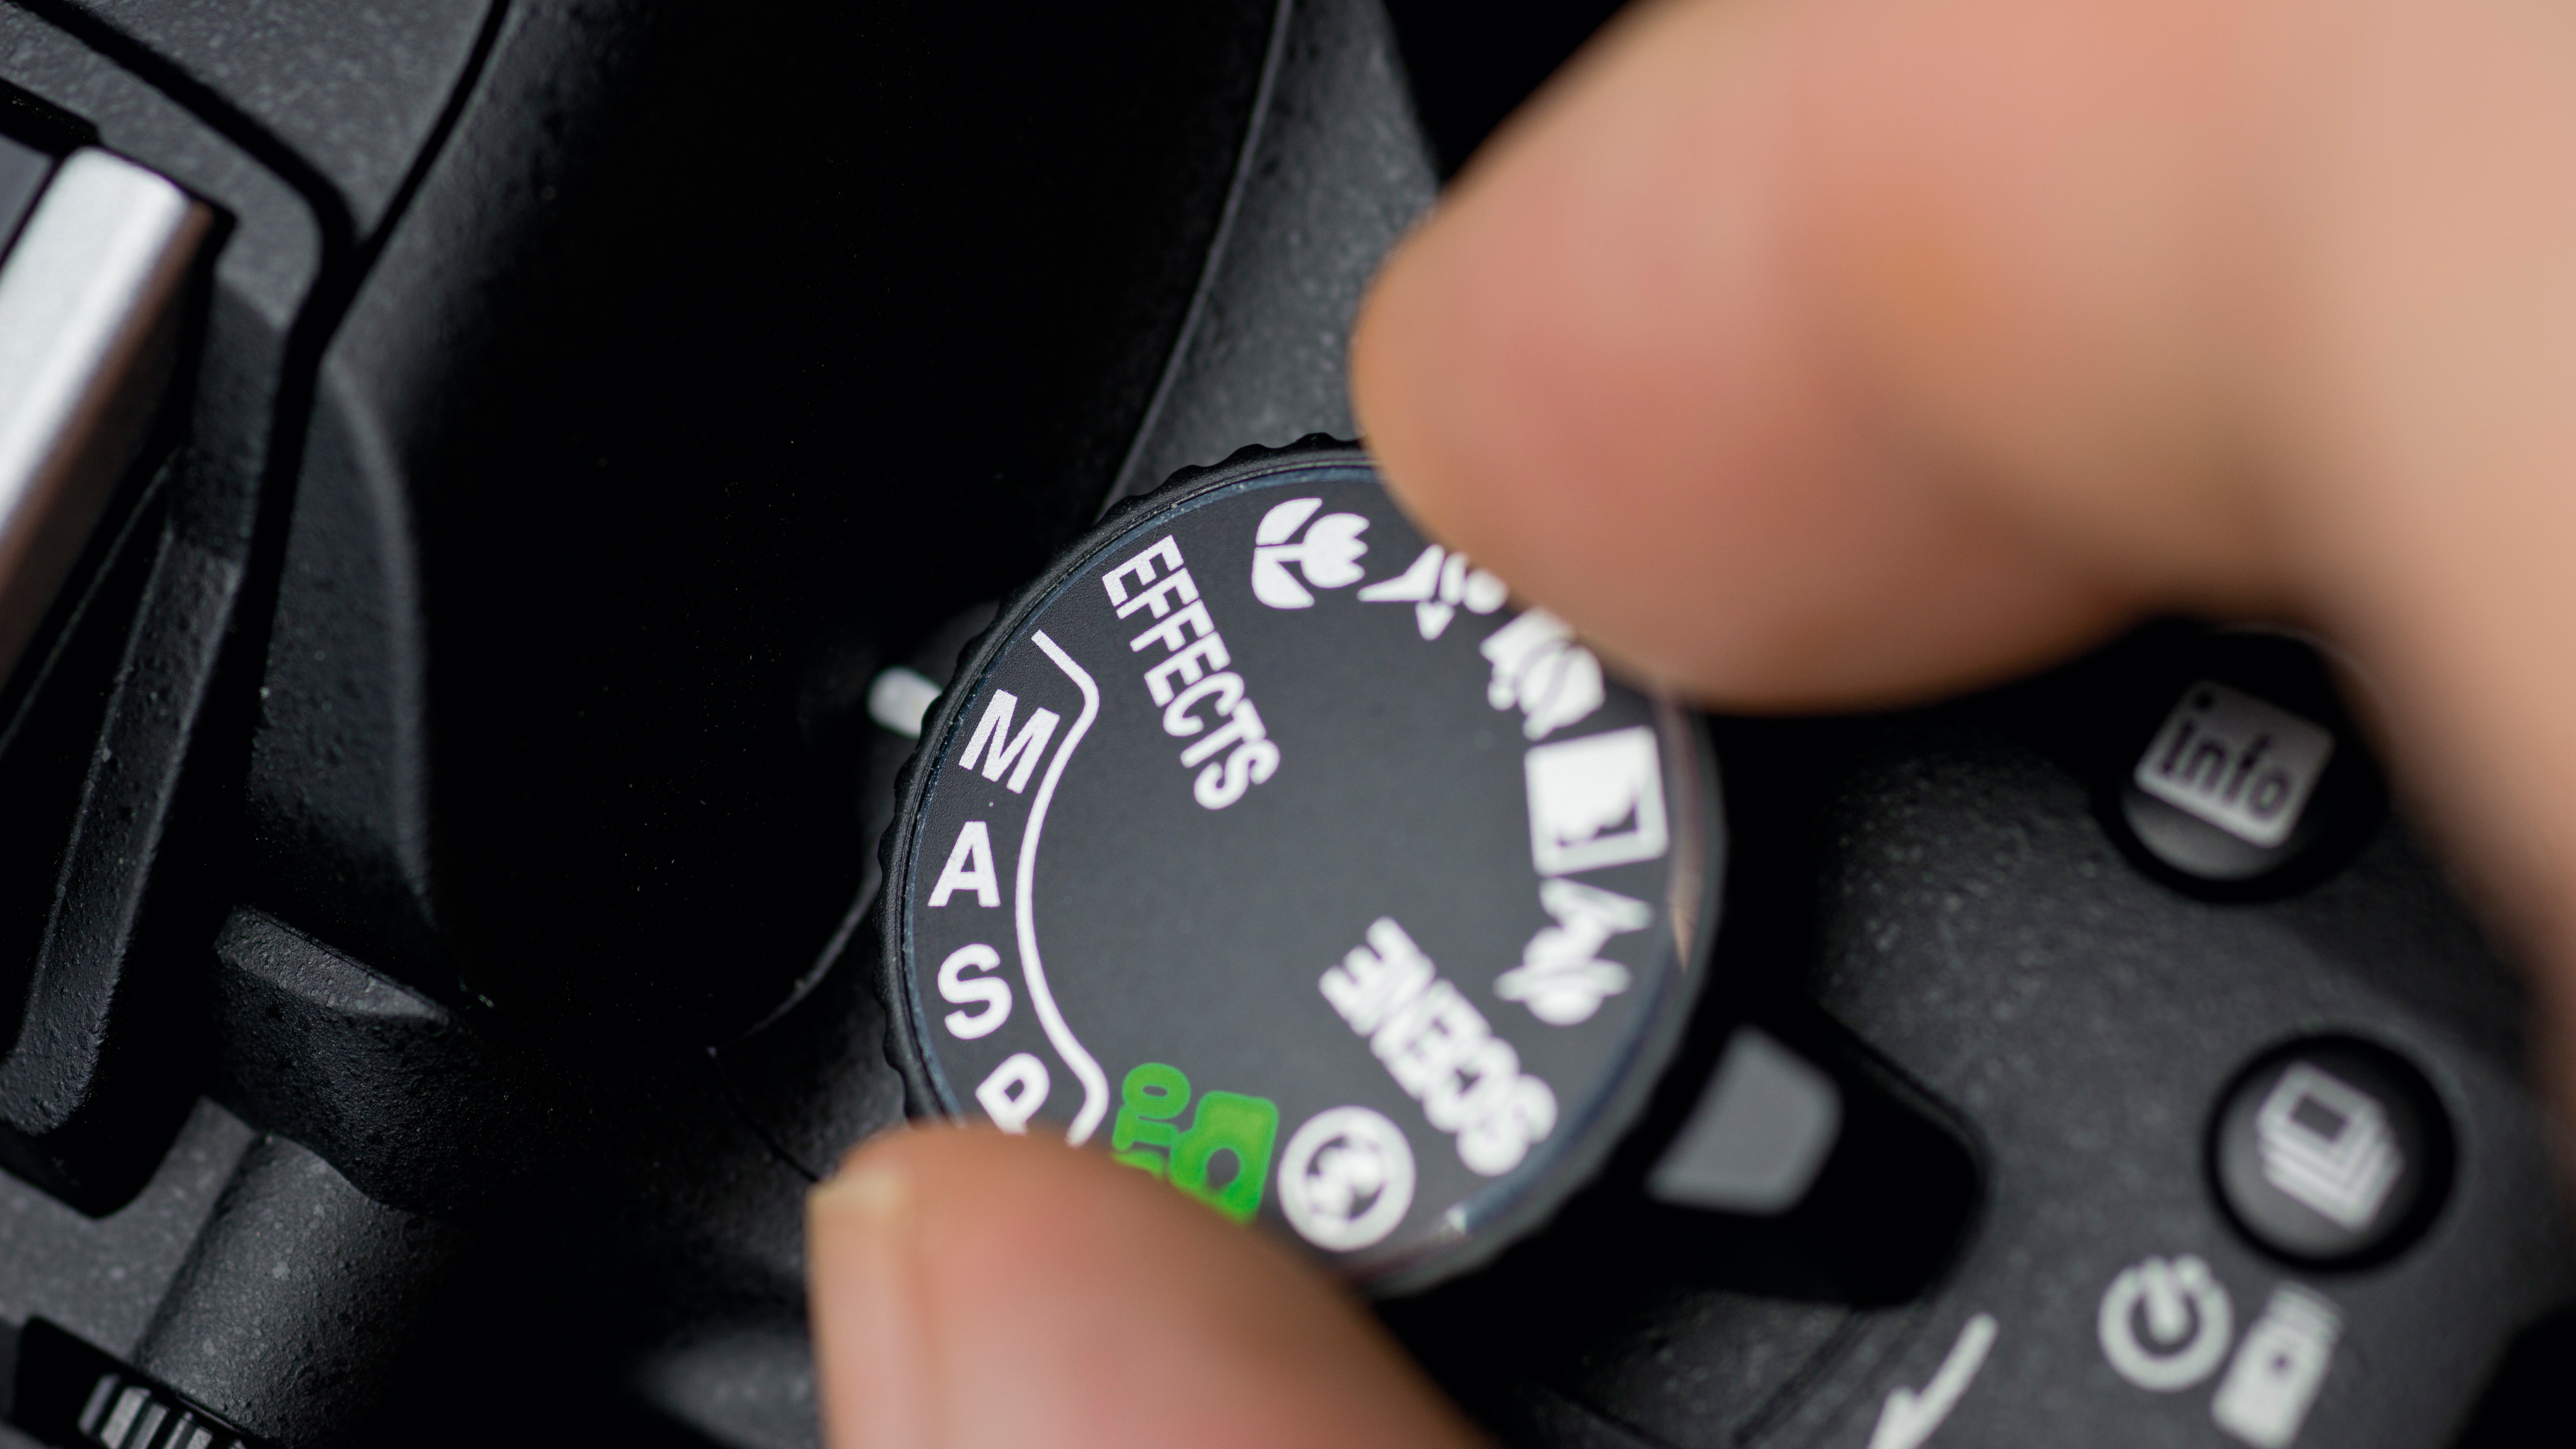
Manual mode with Auto ISO is a good set-up for outdoor portraits – this enables you to choose a shutter speed and aperture while the ISO adapts to the light. To shoot handheld use a shutter speed of at least 1/200 sec, and set a wide aperture such as f/2.8.
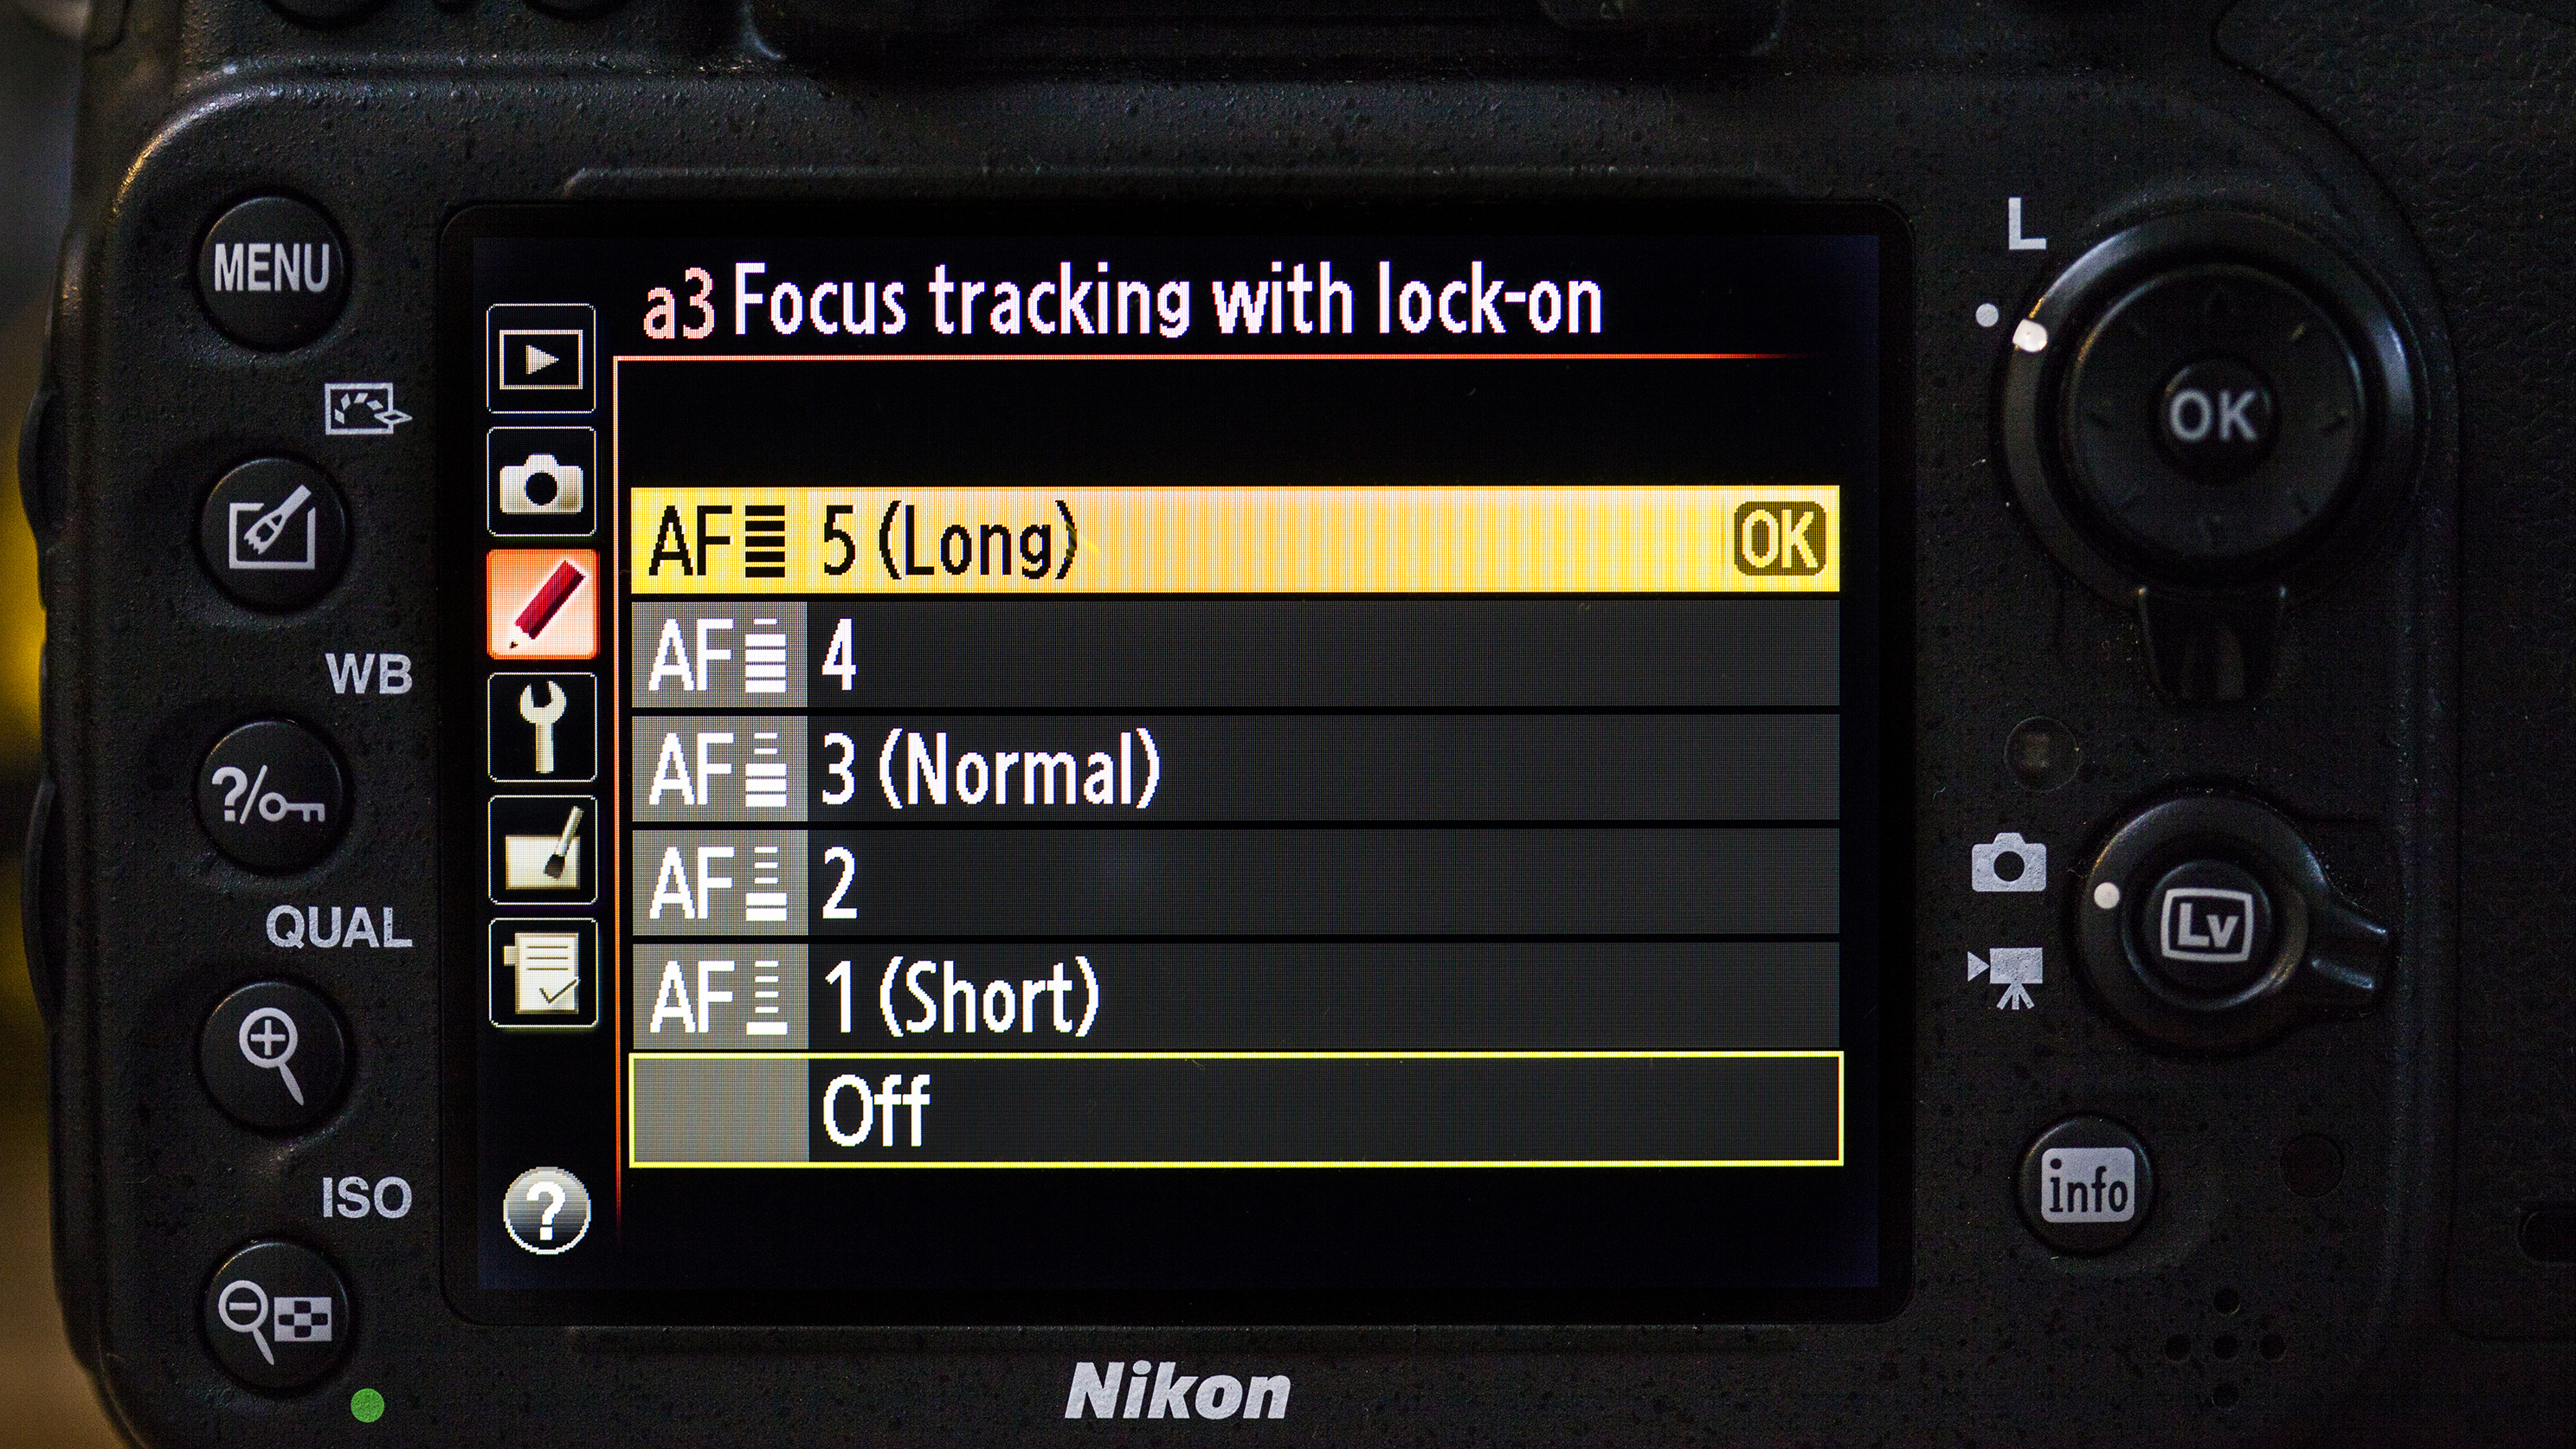
6. Focus on the eyes
Select the focus point over the subject’s closest eye. Go into your DSLR’s AF menu and decrease the tracking sensitivity, so that the AF system will ignore small objects, such as the snowflakes in this scene, that pass between the camera and the subject.
Sign up for breaking news, reviews, opinion, top tech deals, and more.
Current page: Wintery portraits
Prev Page Introduction and Christmas bokeh Next Page Festive light painting
Phil Hall is an experienced writer and editor having worked on some of the largest photography magazines in the UK, and now edit the photography channel of TechRadar, the UK's biggest tech website and one of the largest in the world. He has also worked on numerous commercial projects, including working with manufacturers like Nikon and Fujifilm on bespoke printed and online camera guides, as well as writing technique blogs and copy for the John Lewis Technology guide.